LMAC - A Contest for All Creatives on Hive - Round 138 - Where do you go when you're blue?
Hello Everyone!
I can't believe that it has been 2 months since the last time I participated in a @lmac contest. I was away from my home for my couisin's wedding and it took me for a while to be completely free to engage with something I really enjoy.
And yes! This is my entry post for the LMAC - A Contest for All Creatives on Hive - Round 138 . If you wish to learn more about the contest, please click the blue written link and it will lead you a huge information about the contest rules. Also the deadline is in two days. So you should hurry up. 😊
Thanks everyone contributed to #lil gallery and @shaka organizing this amazing contest. Here are the beneficiaries;
- @lmac - 20%
- @agmoore - 2%
- @digitalis - 2%
- @evagavilan2 - 2%
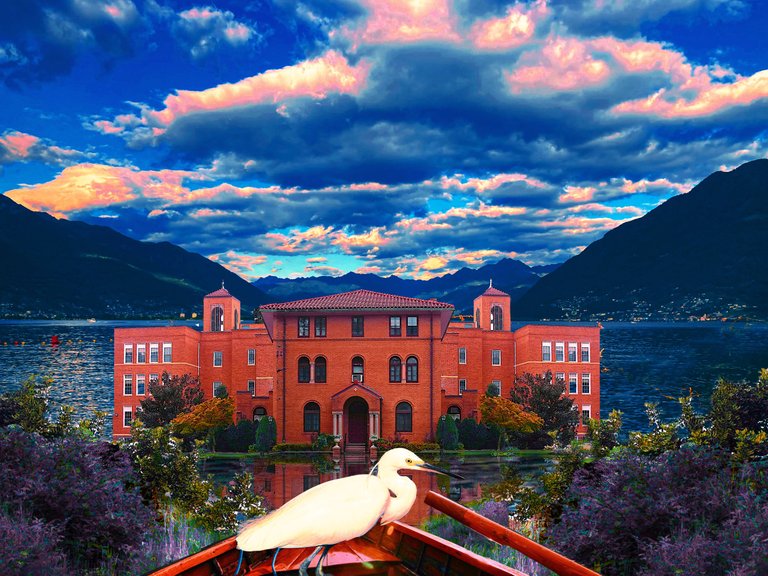
Before moving on to the photos I used in the collage and the steps I followed, I want to show the final version. You can view the collage in detail below.
Sources

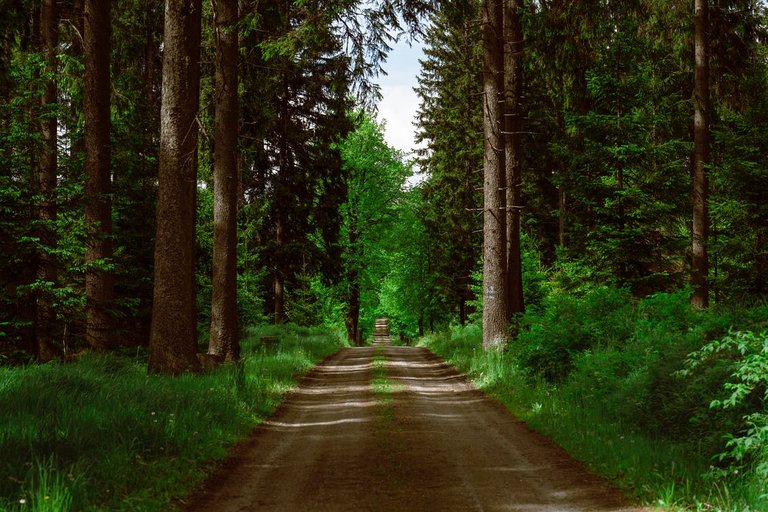
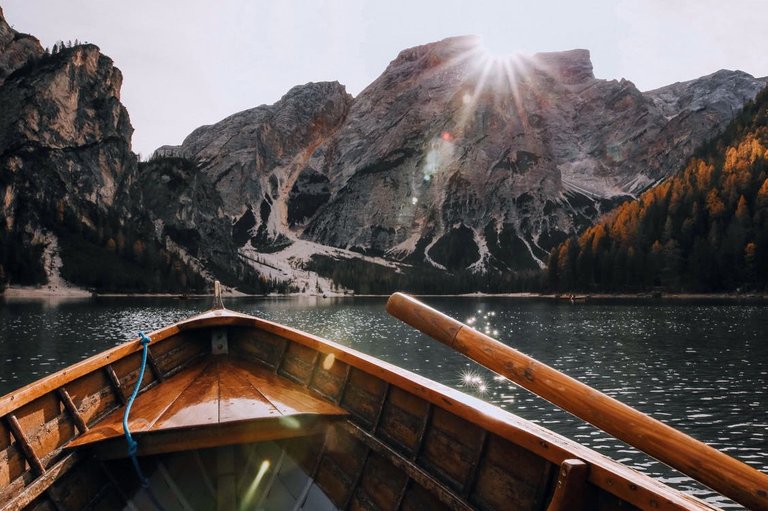
Tutorial
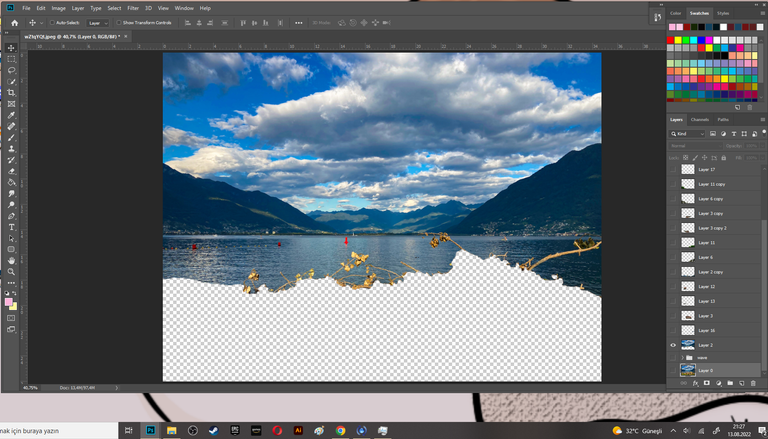
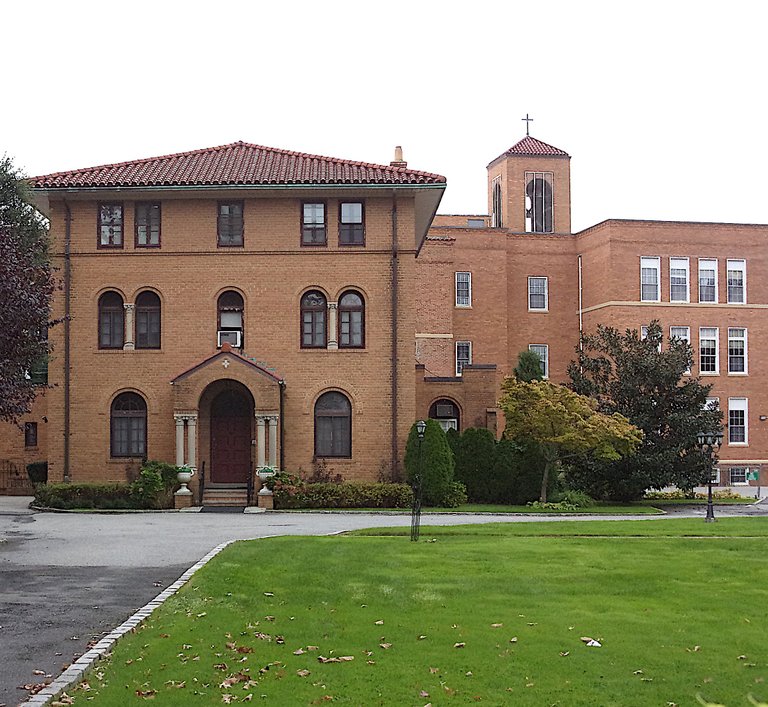
After looking at the original picture for a while I decided that I didn't need the bottom part. So the first thing I did was delete this part using Lasso Tool.
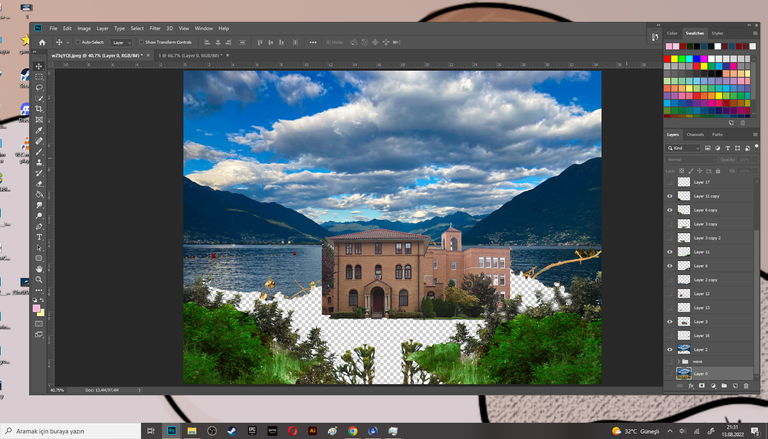
Placing the picture I chose for my collage was the easiest thing. You may think that the ushes in the first row are not in the credits, but it is. I cut a part of this picture (the bottom side) to get the bushes.
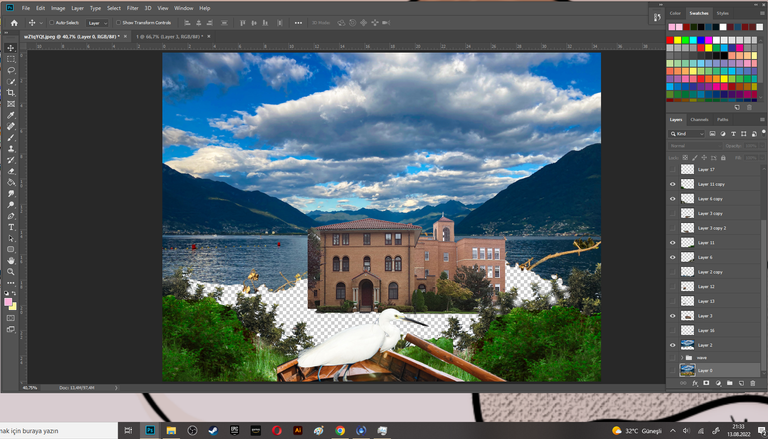
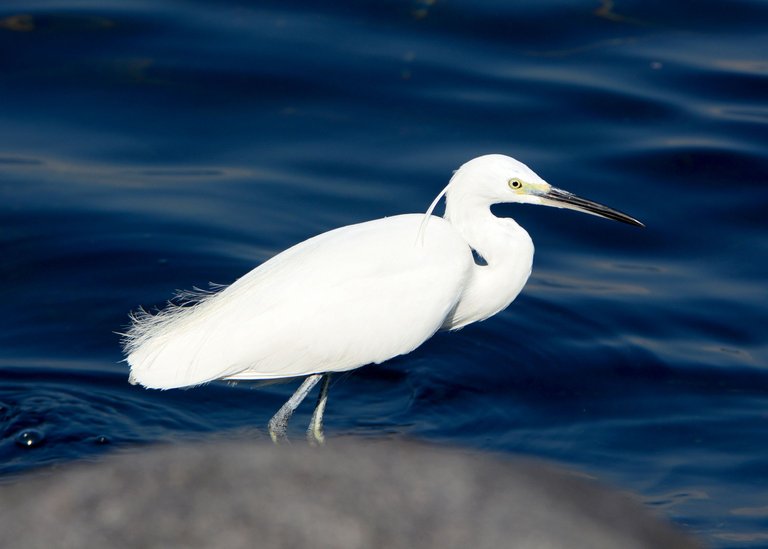
Added rest of the pictures like boat and Egret.
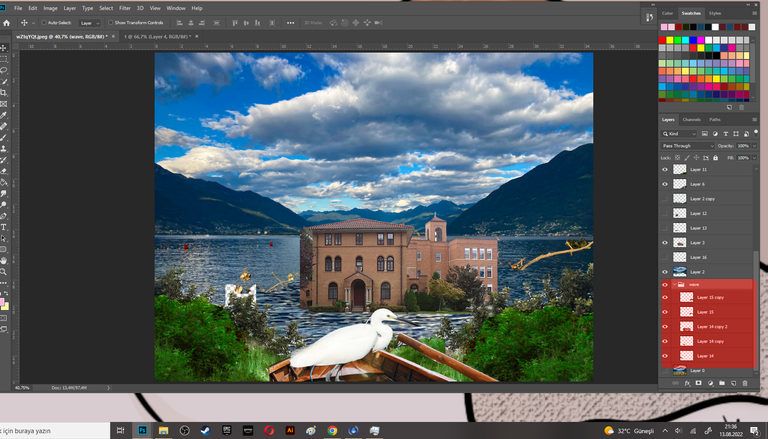
To fix the blank part in the middle, I cut and duplicated a part of the original image. (You can view the red part of the picture above.) The waves're done now.
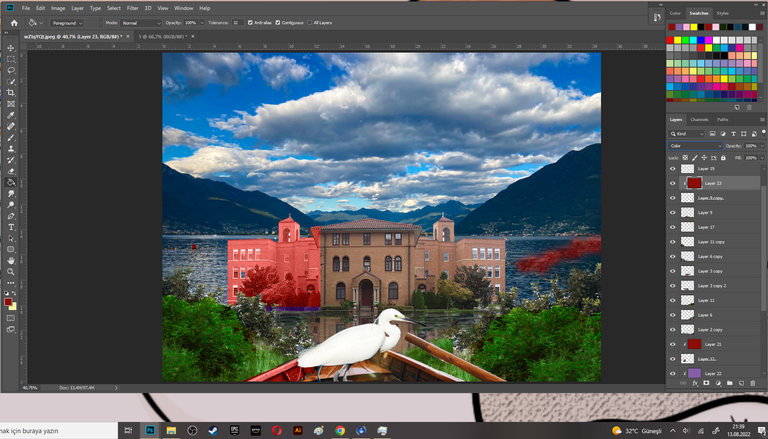
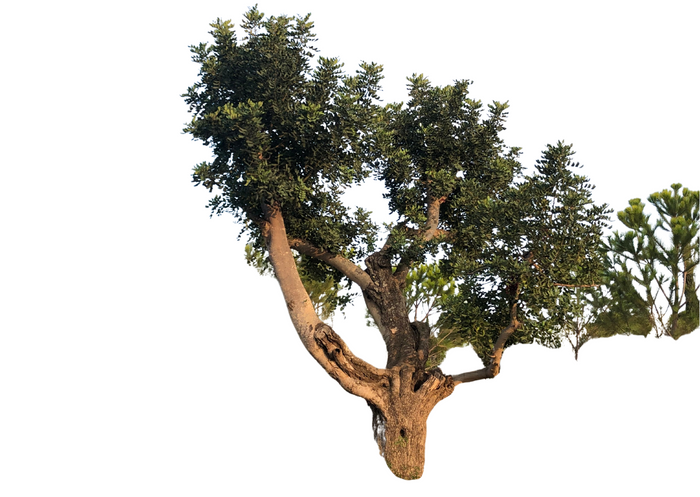
As you can see in the picture, some part of the building and of the the boat are missing. I cut right part of the building, duplicated it, flipped horizontal. I did the same thing for the boat, but instead of flipping it I increased the size a little bit, moved to the left and merged together to make it look natural. With clone stamp tool I erased the branch.
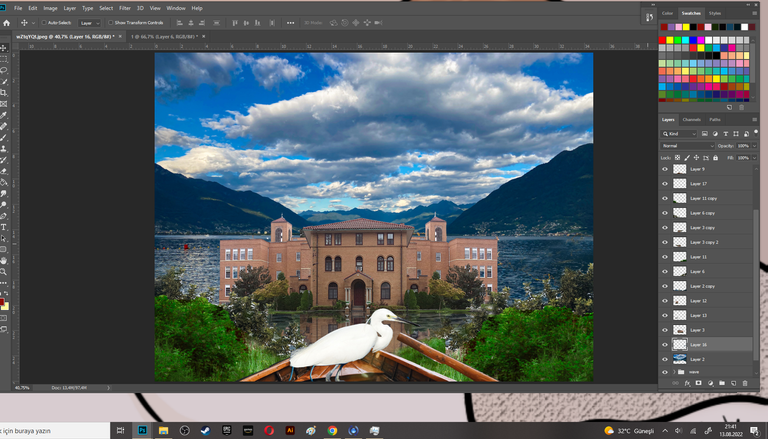
In the final part below, I added some color. I changed the settings of midtones and highlights. Also added some vibrance.
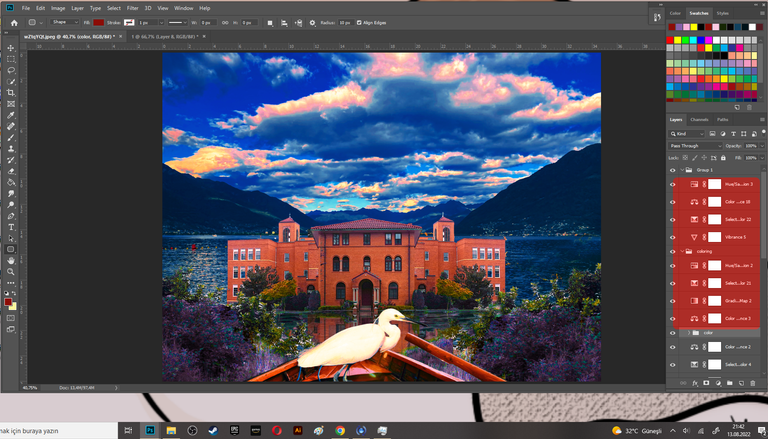
And that's it.

I hope the tutorial's been helpful for you. Thanks again to those who supported the contest and good luck everyone participating in the contest. See you next week. Much loves. 💙
Congratulations @pinkfurby! You have completed the following achievement on the Hive blockchain and have been rewarded with new badge(s):
Your next target is to reach 4000 upvotes.
You can view your badges on your board and compare yourself to others in the Ranking
If you no longer want to receive notifications, reply to this comment with the word
STOPTo support your work, I also upvoted your post!
Wow, that is spectacular, @pinkfurby. My building from LIL is so austere, and you made it beautiful. The sky is amazing.
Great collage. Thanks for using my image. I wish you good luck this week.
My gosh! That's so creative. I didn't expect the final output you created. It was beautifully edited with clean layers. I haven't tried to edit something like this. I'm impressed!
Awee
This is beautiful dear❤️😍❤️
Love how well you improved on the scenes, brilliant🔥🔥🔥 all the best in contest💚
I really like how you put it all together and then saturated the colours 😊.
!PIZZA
PIZZA Holders sent $PIZZA tips in this post's comments:
@blitzzzz(9/20) tipped @pinkfurby (x1)
You can now send $PIZZA tips in Discord via tip.cc!
Great digital art
Wow. Amazing collage @pinkfurby . Loved how the sky turned out colourful. 😊