Tutorial: How to Make These Beautiful Christmas Rings..//[Esp-Esp]
Saluditos Artistas Creativos de las Manualidades y la Joyería, como de costumbre mis deseos porque todos estén de lo más felices, ya estamos a diez de diciembre y solo faltan catorce días para la gran fecha y es que la navidad aunque sea repetitivo es la época más bonita del año y nos contagia con esa alegría y entusiasmo que vemos en todos lados .
Y en Cumaná celebramos un nuevo aniversario de la batalla de Ayacucho doscientos años y lo comento porqué para esta conmemoración se presentaron una serie de actos que vale la pena mencionar,
entre ellos la confección de una Bandera Nacional de once mil kilómetros, que ahora pasa a ser la bandera más grande del mundo ya que este récord lo tenía Colombia con una bandera de diez mil kilómetros.
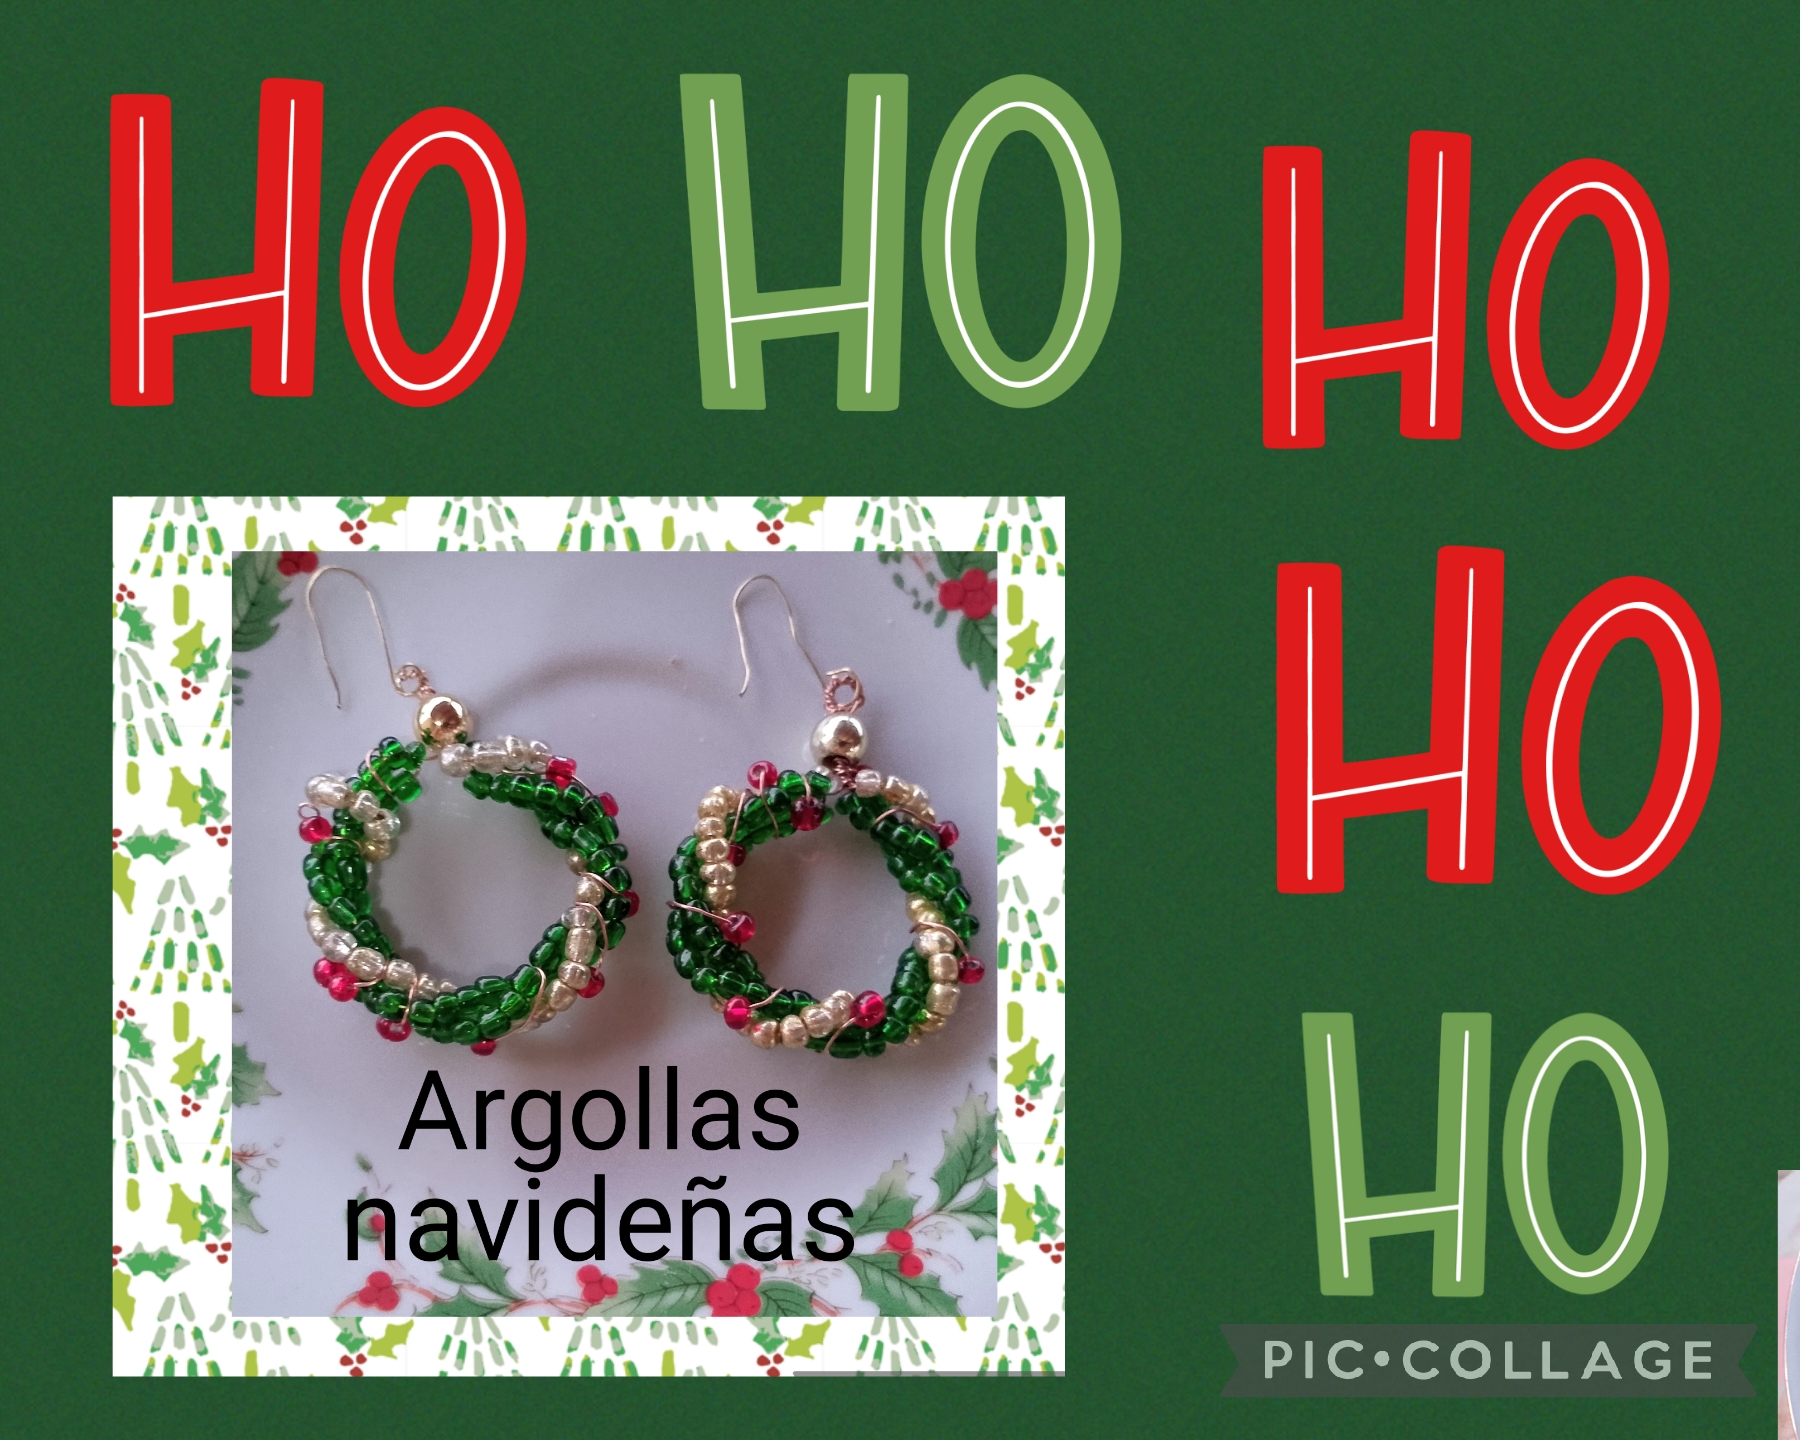
Bueno vamos a continuar nosotros hablando de Navidad y es que les voy a compartir la realización de unas hermosas argollas con la temática de una Corona Navideña; está la hice con mostacillas y alambre, me gustó mucho el resultado así que los invito a seguir leyendo este paso a paso para que vean cómo la hice.
Greetings Creative Artists of Crafts and Jewelry, as usual I wish you all the happiest, it's already December 10th and there are only fourteen days left for the big date and it's that Christmas, although it is repetitive, is the most beautiful time of the year and it infects us with that joy and enthusiasm that we see everywhere.
And today in Cumaná we celebrate a new anniversary of the Battle of Ayacucho two hundred years ago and I mention it because for this commemoration a series of events were presented that are worth mentioning,
among them the making of a National Flag of eleven thousand kilometers, which now happens to be the largest flag in the world since this record was held by Colombia with a flag of ten thousand kilometers.
Well, let's continue talking about Christmas and I'm going to share with you the making of some beautiful rings with the theme of a Christmas Wreath; I made it with beads and wire, I really liked the result so I invite you to continue reading this step by step so you can see how I made it.
MATERIALES QUE UTILICÉ PARA ELABORAR ESTA BONITA CORONA DE NAVIDAD:
✓ Mostacillas verdes.
✓Mostacillas doradas
✓ Mostacillas rojas.
✓ Balines dorados número ocho.
✓ Alambre dorado de cinco milímetros.
✓ Centímetro.
✓ Pinzas.
✓ Anzuelos.
MATERIALS I USED TO MAKE THIS BEAUTIFUL CHRISTMAS WREATH:
✓ Green beads.
✓Gold beads
✓ Red beads.
✓ Gold bead number eight.
✓ Five millimeter gold wire.
✓ Centimeter.
✓ Tweezers.
✓ Fish hooks

CON ESTOS REALICE MI PROYECTO.
PRIMER PASO:
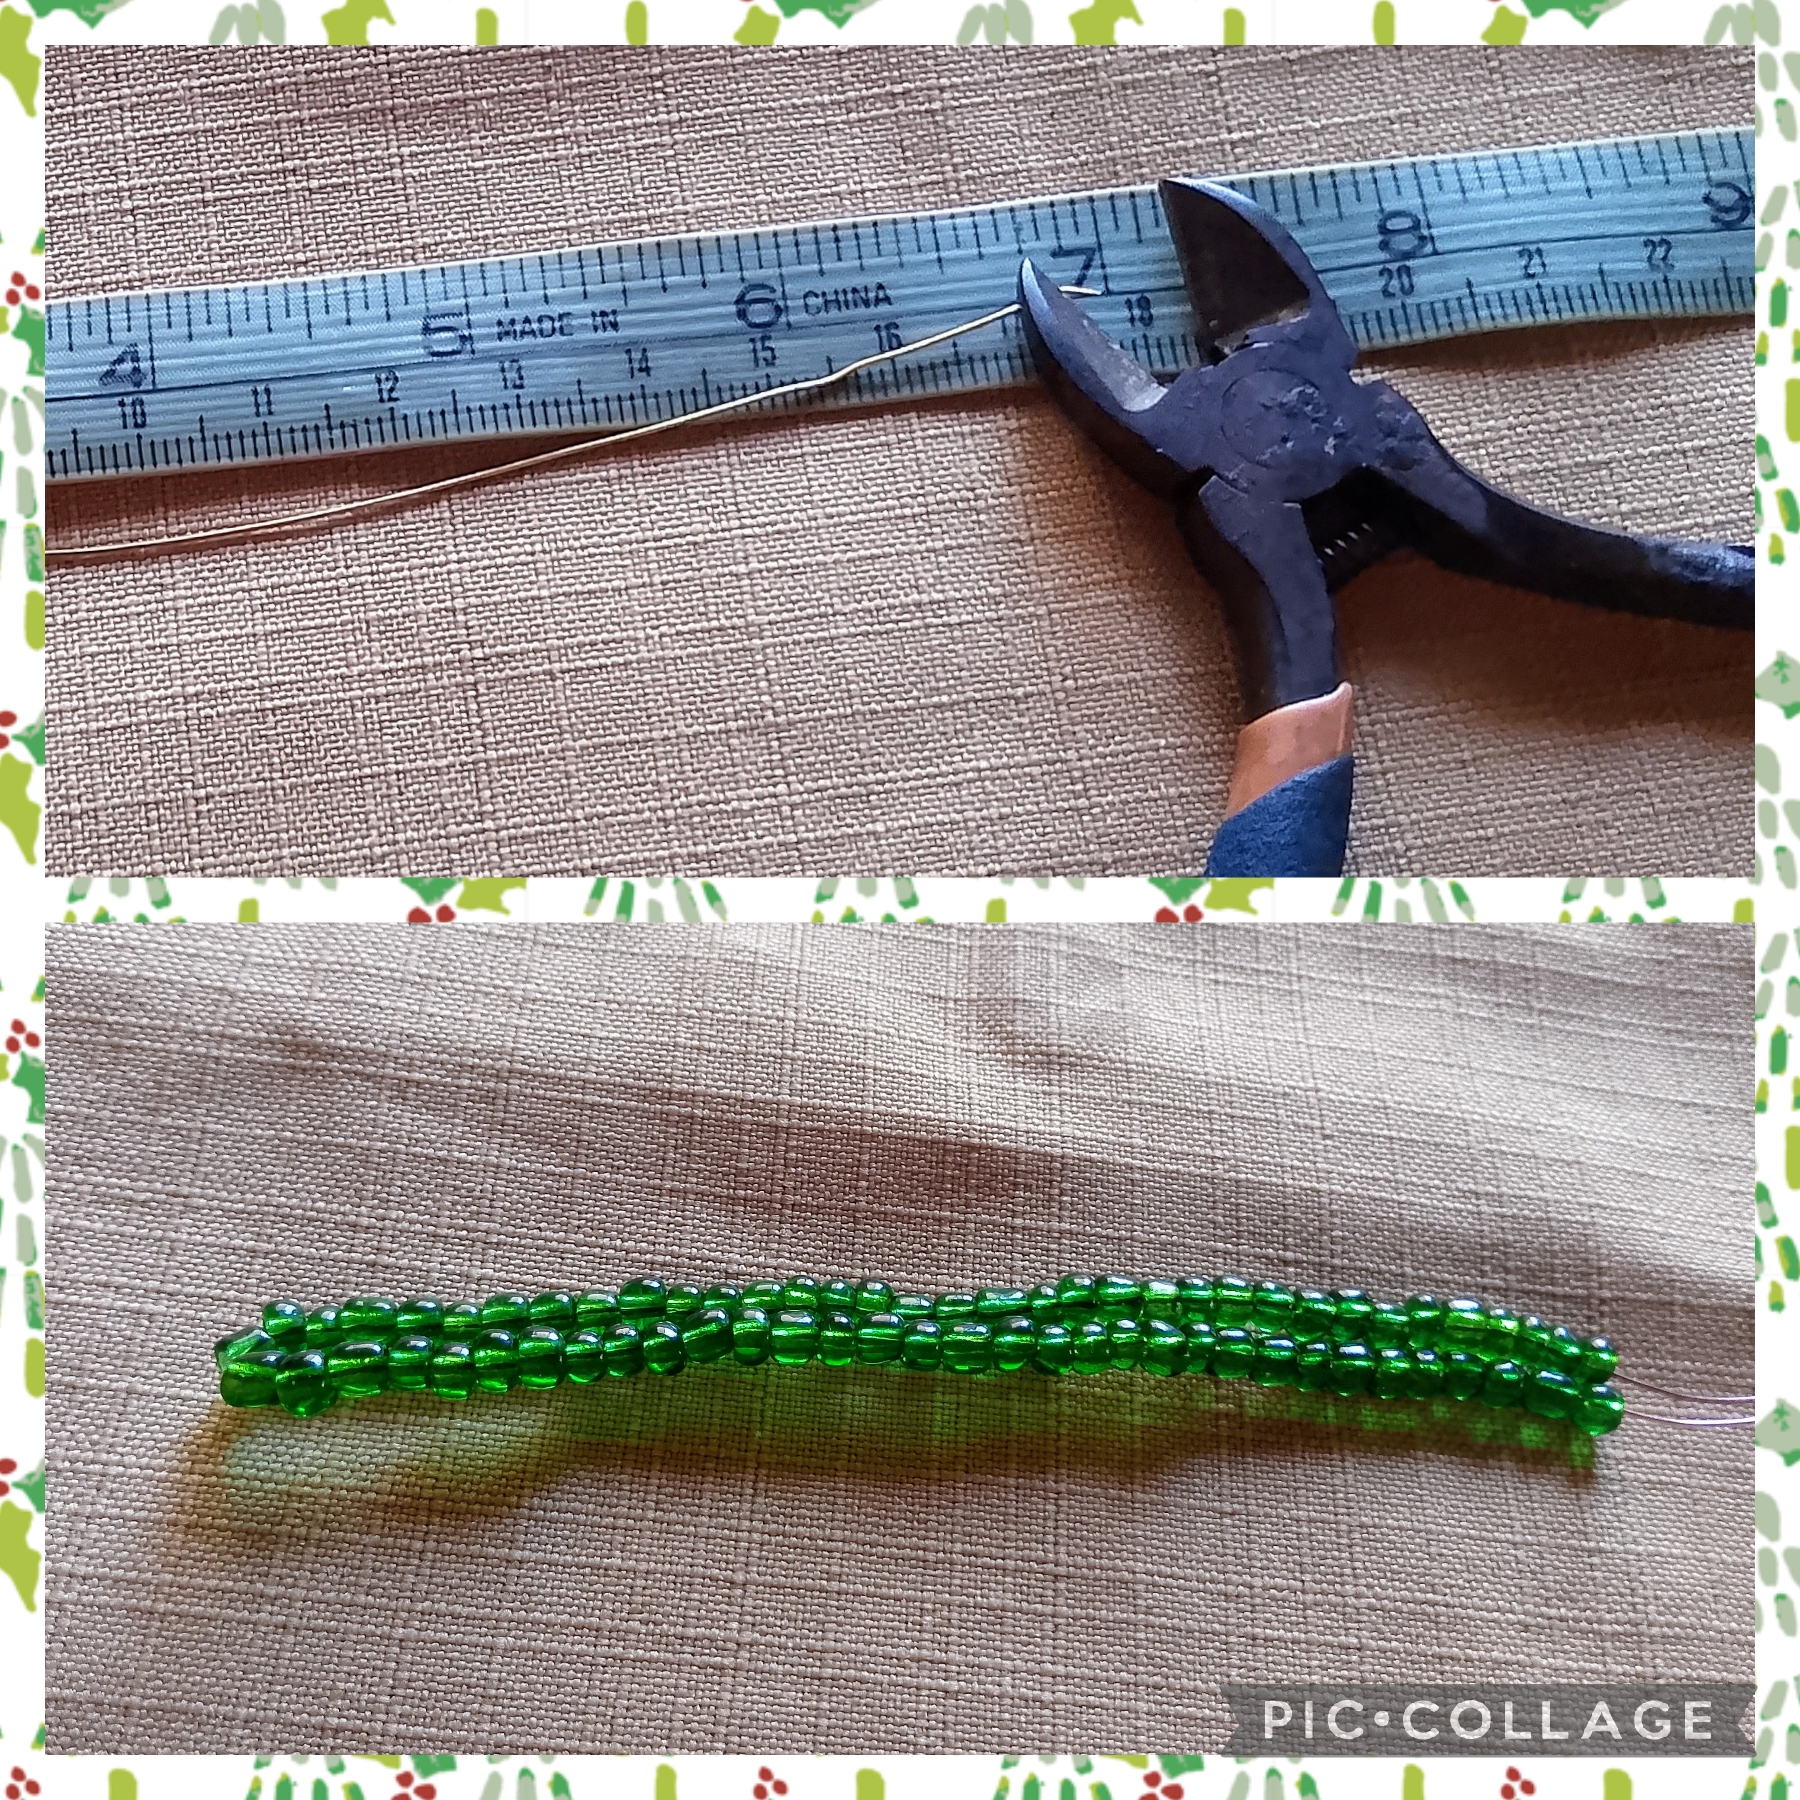
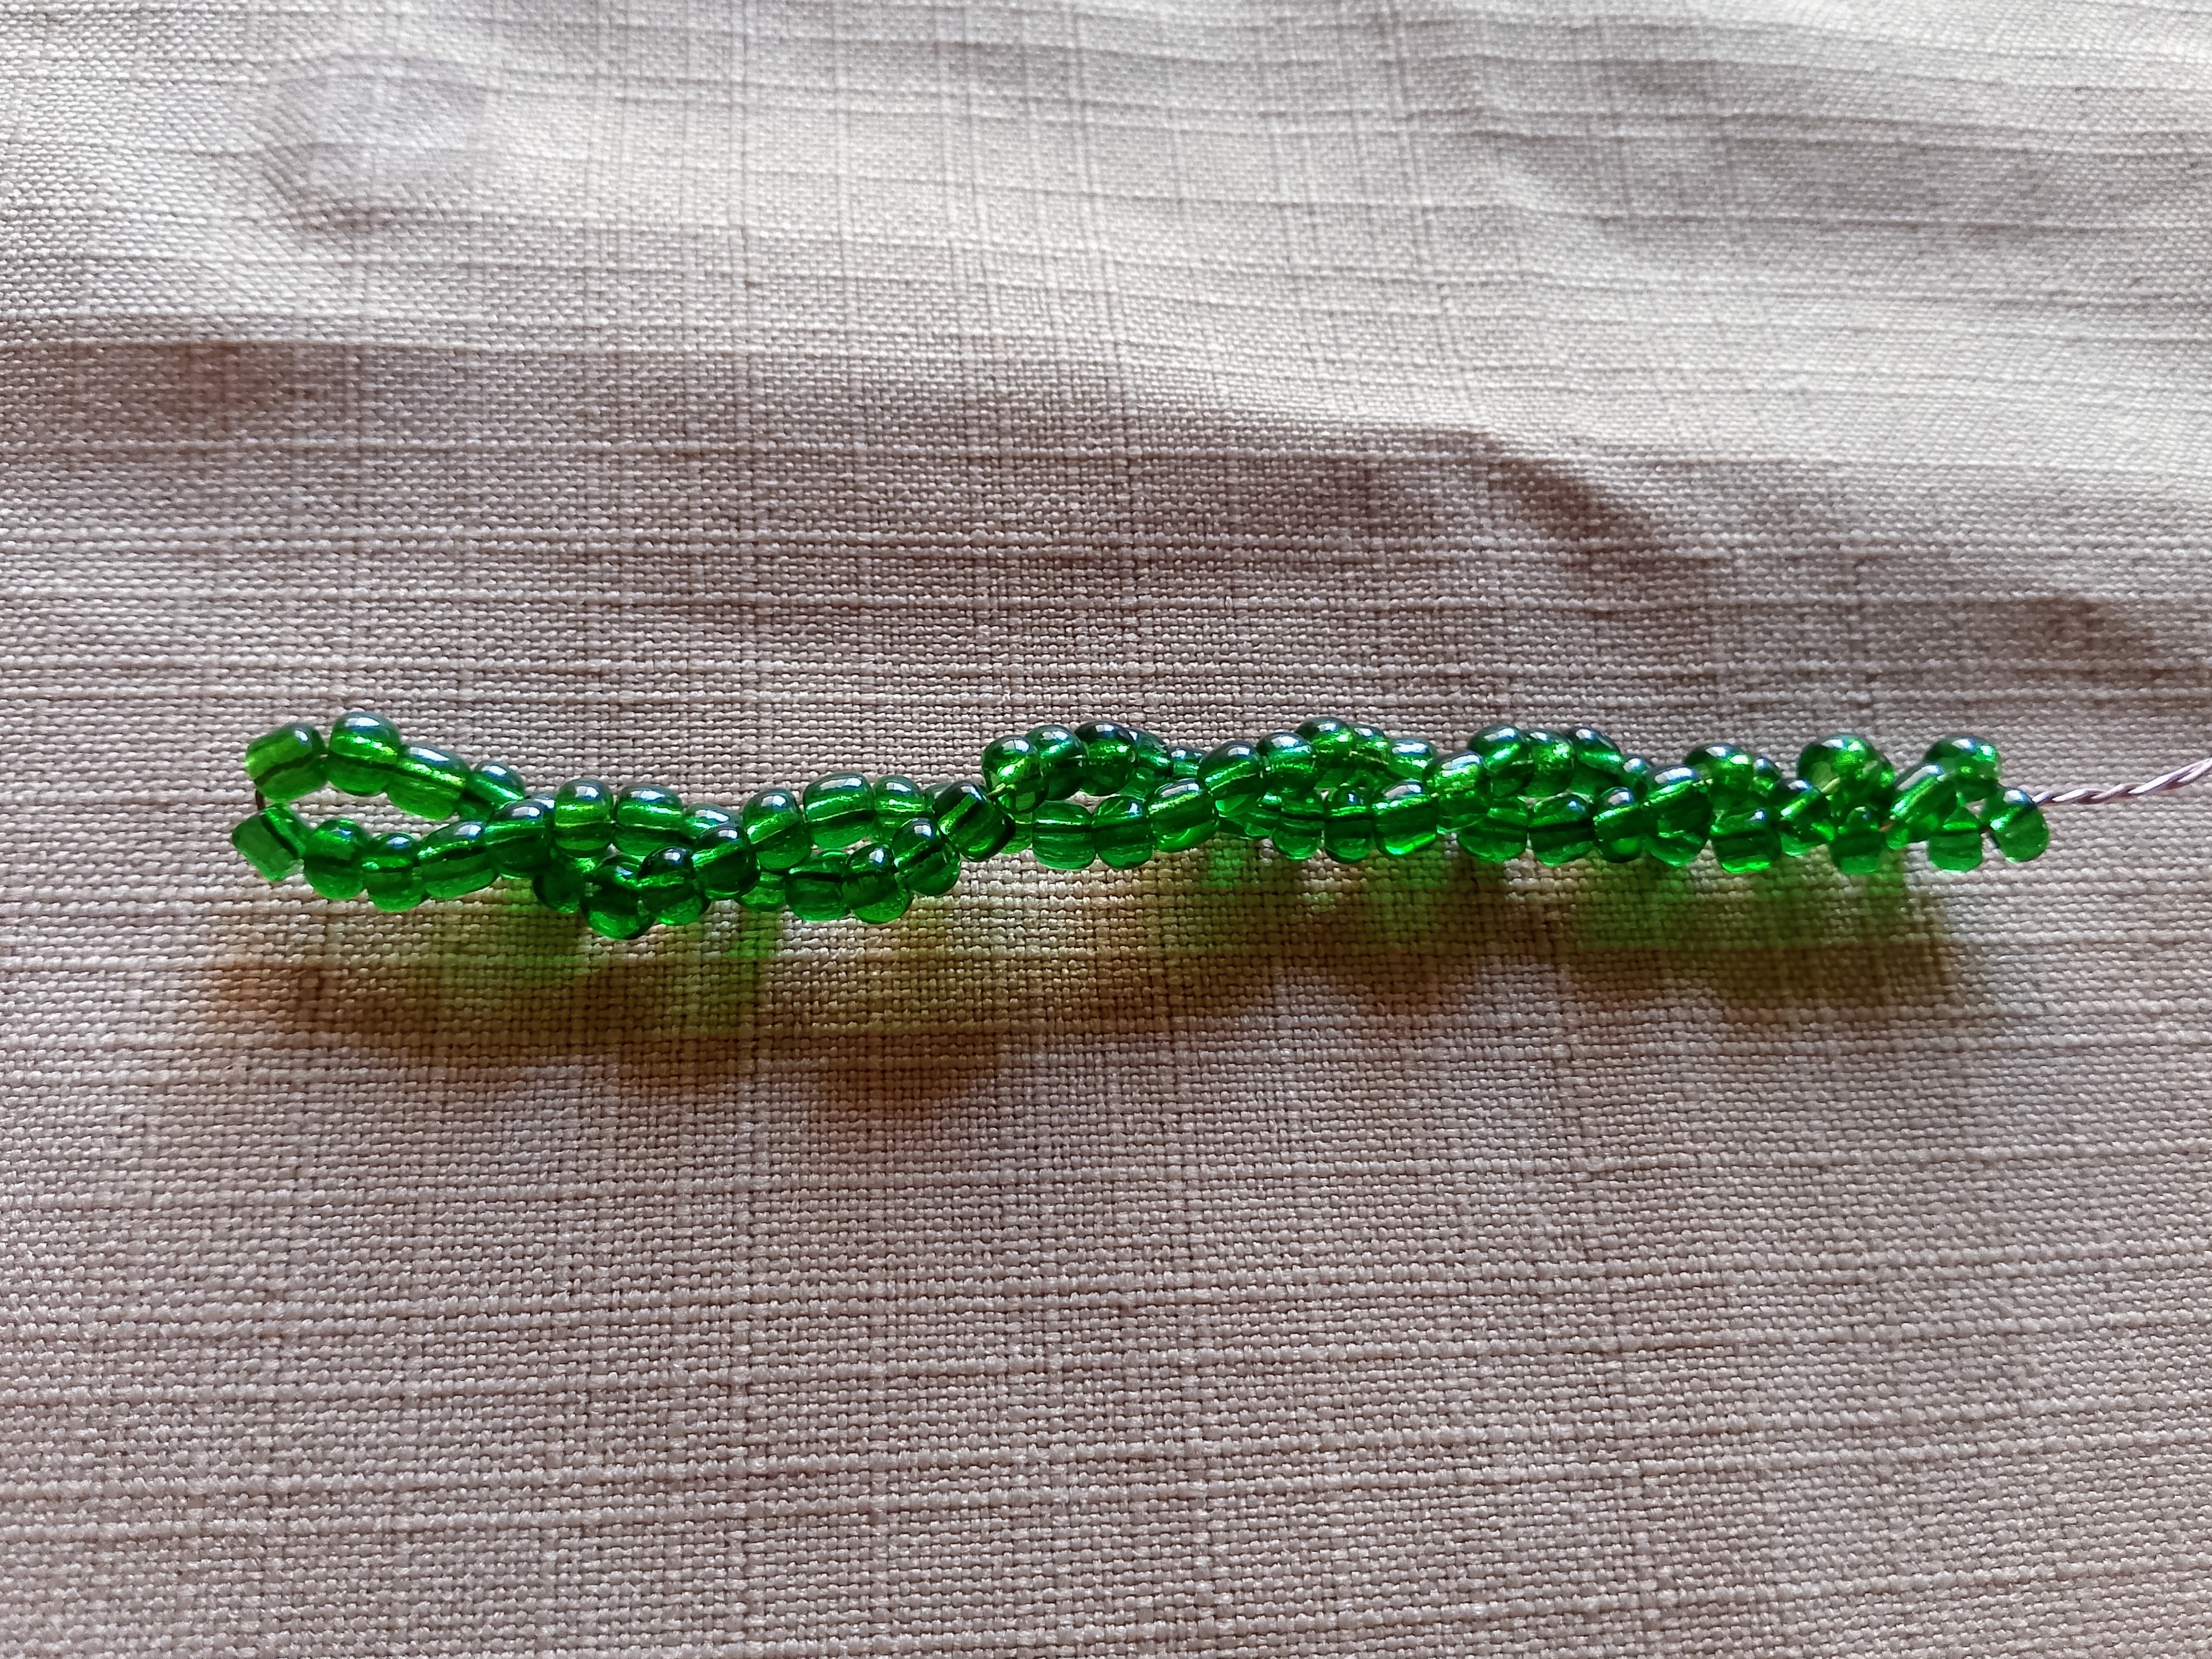
Voy a comenzar a realizar una de las argollas en forma de Corona Navideña; uso el alambre y mido veinte centímetros, corto, con la pinza de punta redonda hago un arito para asegurar que no salgan las mostacillas verdes con las que voy a cubrir toda la superficie del alambre, ahora lo doblo a la mitad y entorcho como muestro en estás fotos.
FIRST STEP:
I'm going to start making one of the Christmas wreath-shaped rings; I use the wire and measure twenty centimeters, cut it, and with the round-tipped pliers I make a ring to make sure the green beads with which I'm going to cover the entire surface of the wire don't come out, now I bend it in half and twist it as I show in these photos.
SEGUNDO PASO:
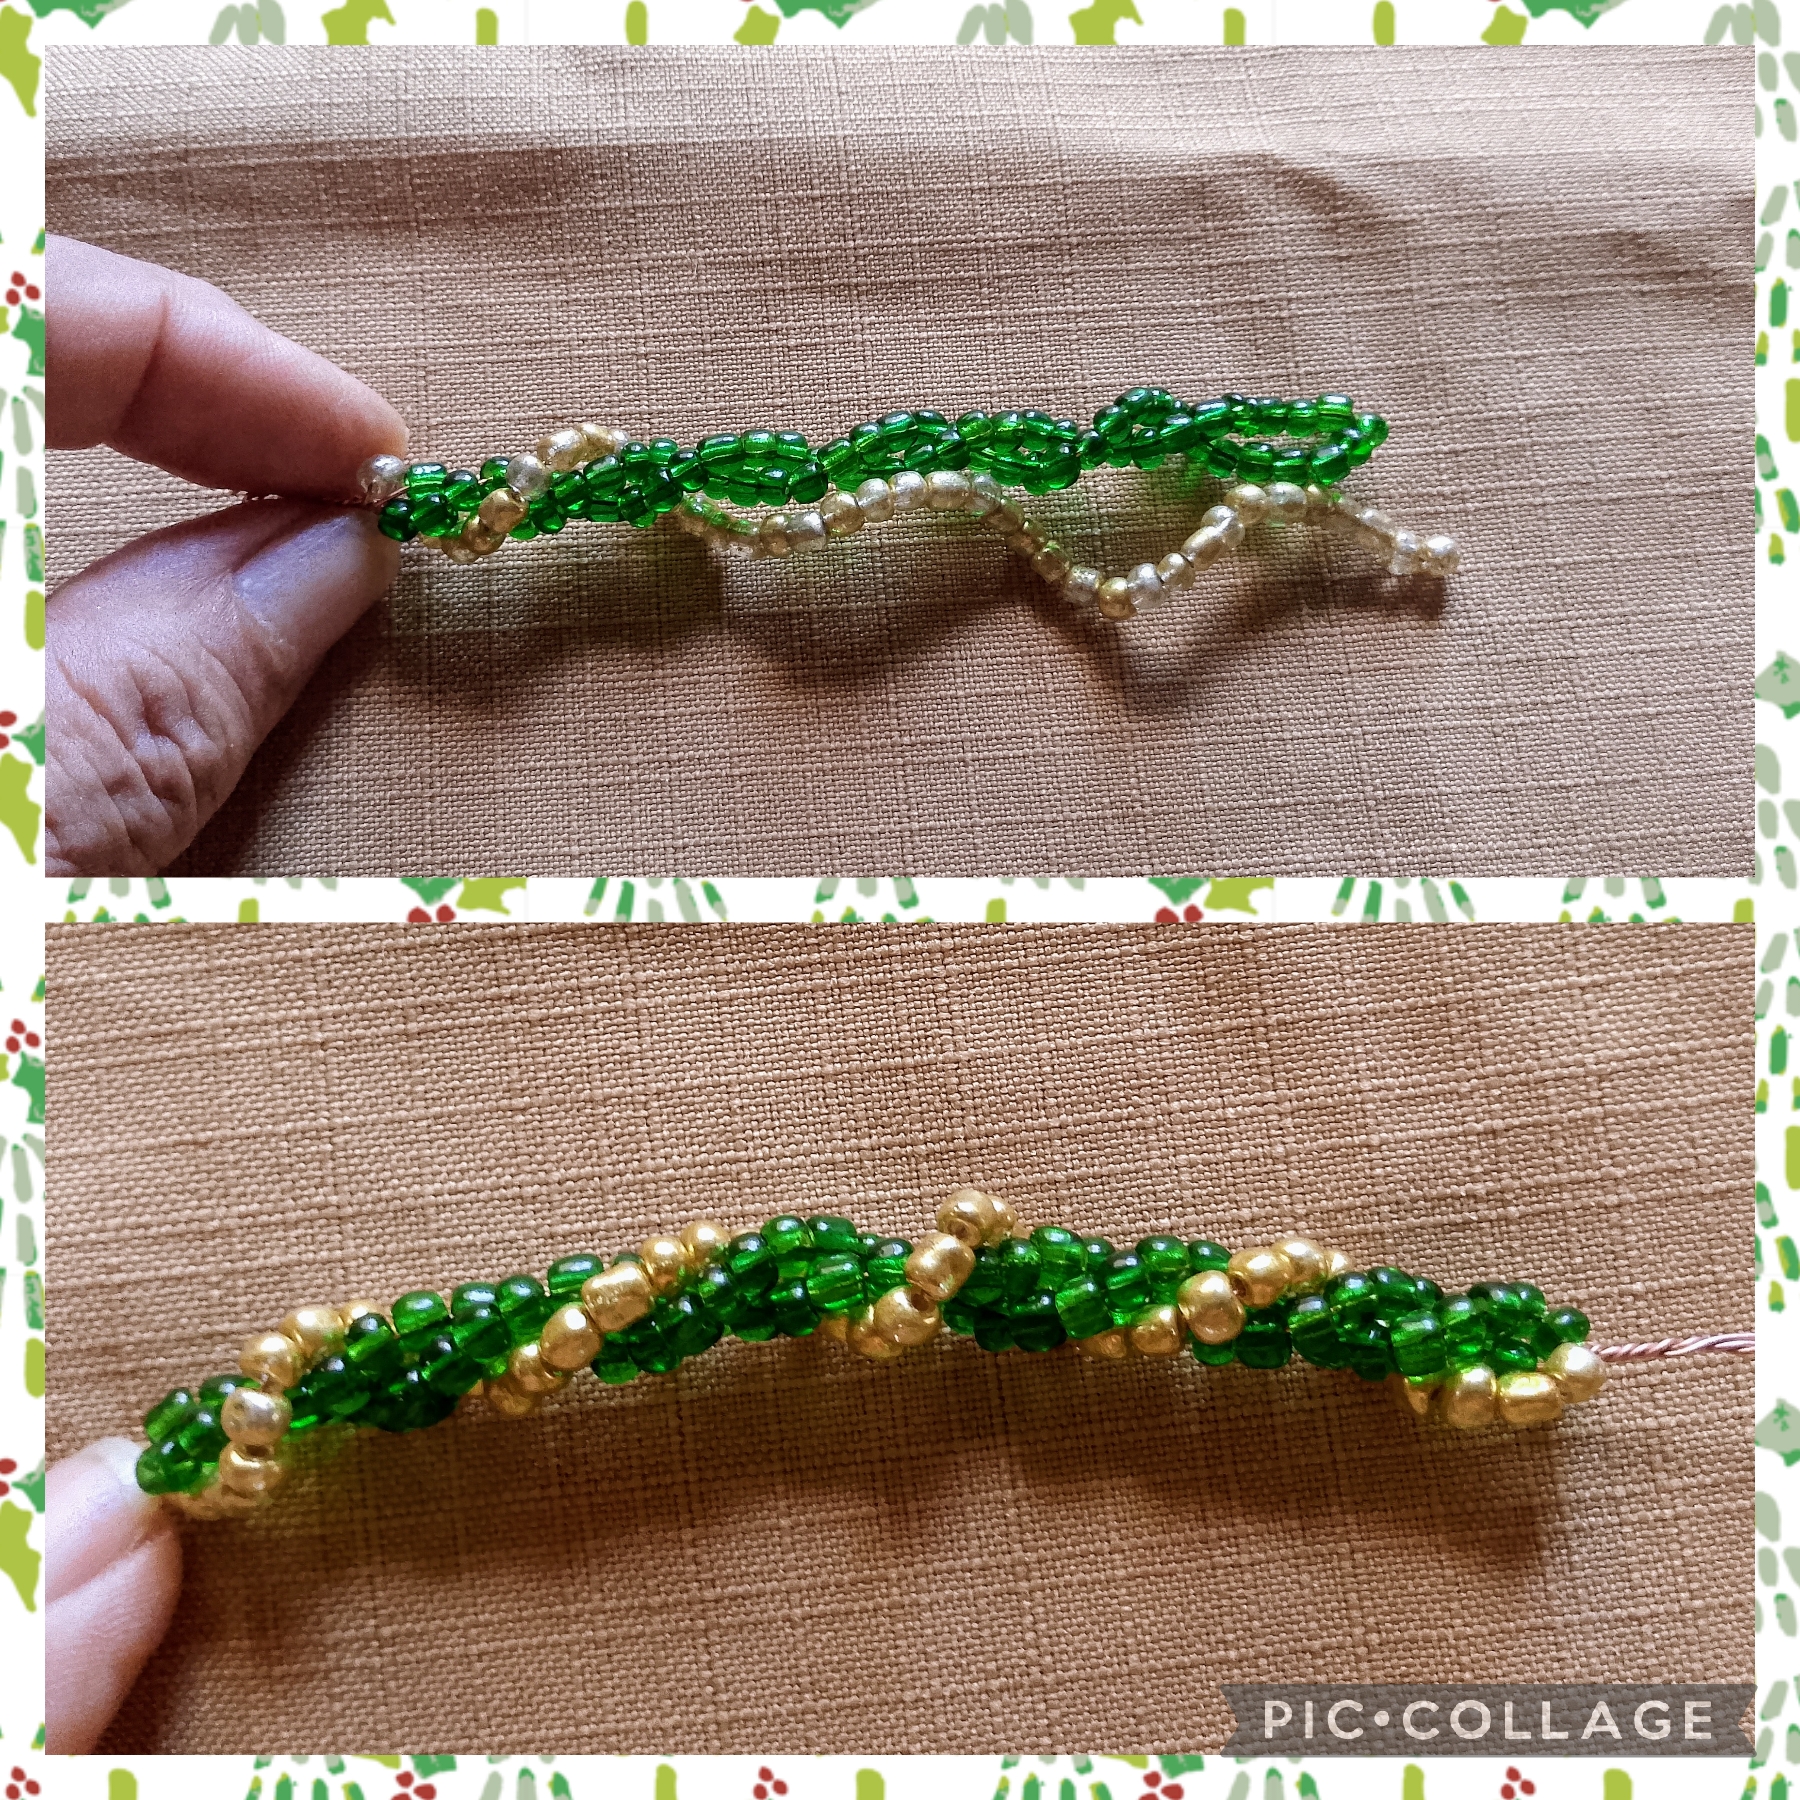
Ahora uso de nuevo el alambre y corto un trozo de diez centímetros, inserto mostacillas doradas hasta llenar el alambre, luego lo coloco en la punta del alambre que entorché con las mostacillas verdes y voy abrazandolos en forma de espiral, así como muestro.
SECOND STEP:
Now I use the wire again and cut a ten centimeter piece, insert golden beads until the wire is full, then I place it on the tip of the wire that I twisted with the green beads and I wrap them in a spiral shape, as shown.
TERCER PASO :
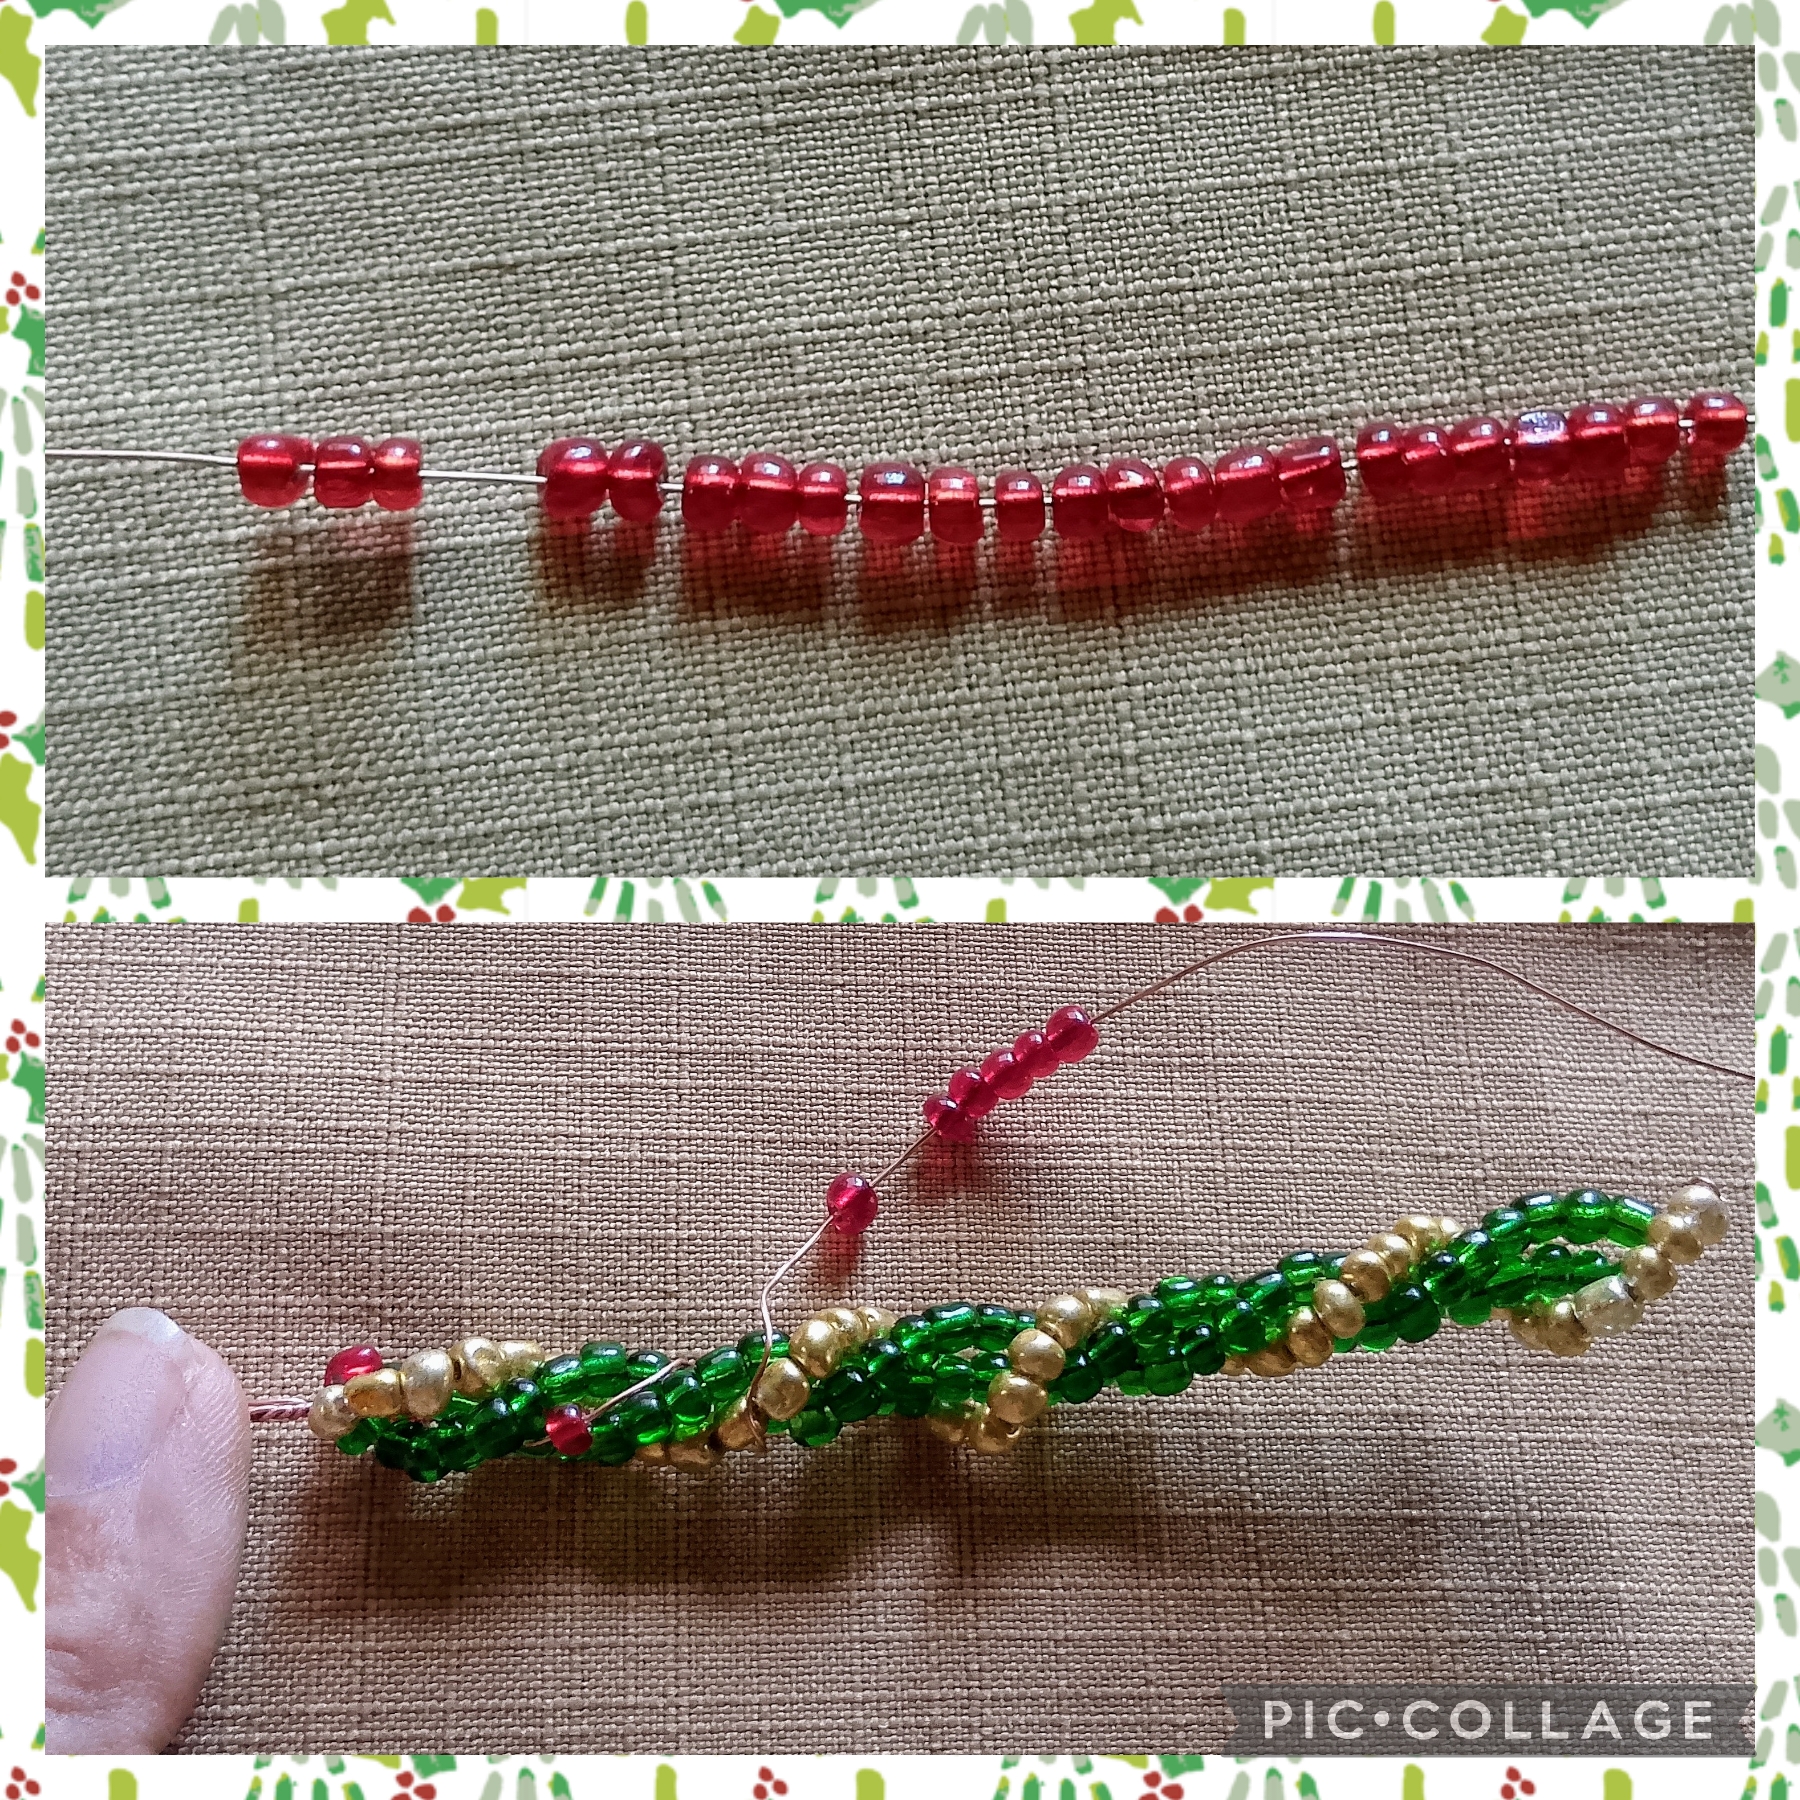
En este paso corto un nuevo trozo de diez centímetros de alambre pongo mostacillas rojas pero sin cubrir el alambre, pues las voy a saltear para que parezcan las flores de la corona, así como se ve.
THIRD STEP:
In this step I cut a new ten centimeter piece of wire and put red beads on it, but without covering the wire, because I am going to skip them so that they look like the flowers of the crown, as you can see.
CUARTO PASO:
En este paso una vez realizado el anterior, junto bien y entorcho las puntas para que se tense, uso las manos para dar forma al diseño de la corona, junto todos los alambres,.aliso entorcho y así la voy formando; ahora inserto un balín número ocho en el alambre y con la pinza de punta redonda hago una argolla y con la pinza de corte quito los excedentes , sigo y tomo un anzuelo para aretes abro la argolla y la pongo en la argolla del arete y así queda
STEP FOUR:
In this step, once the previous one is done, I put the ends together well and twist them so that they are tight. I use my hands to shape the design of the crown, I put all the wires together, I straighten the twist and that's how I form it. Now I insert a number eight ball into the wire and with the round-tipped pliers I make a ring and with the cutting pliers I remove the excess. I continue and take a hook for earrings, I open the ring and put it in the ring of the earring and this is how it looks.
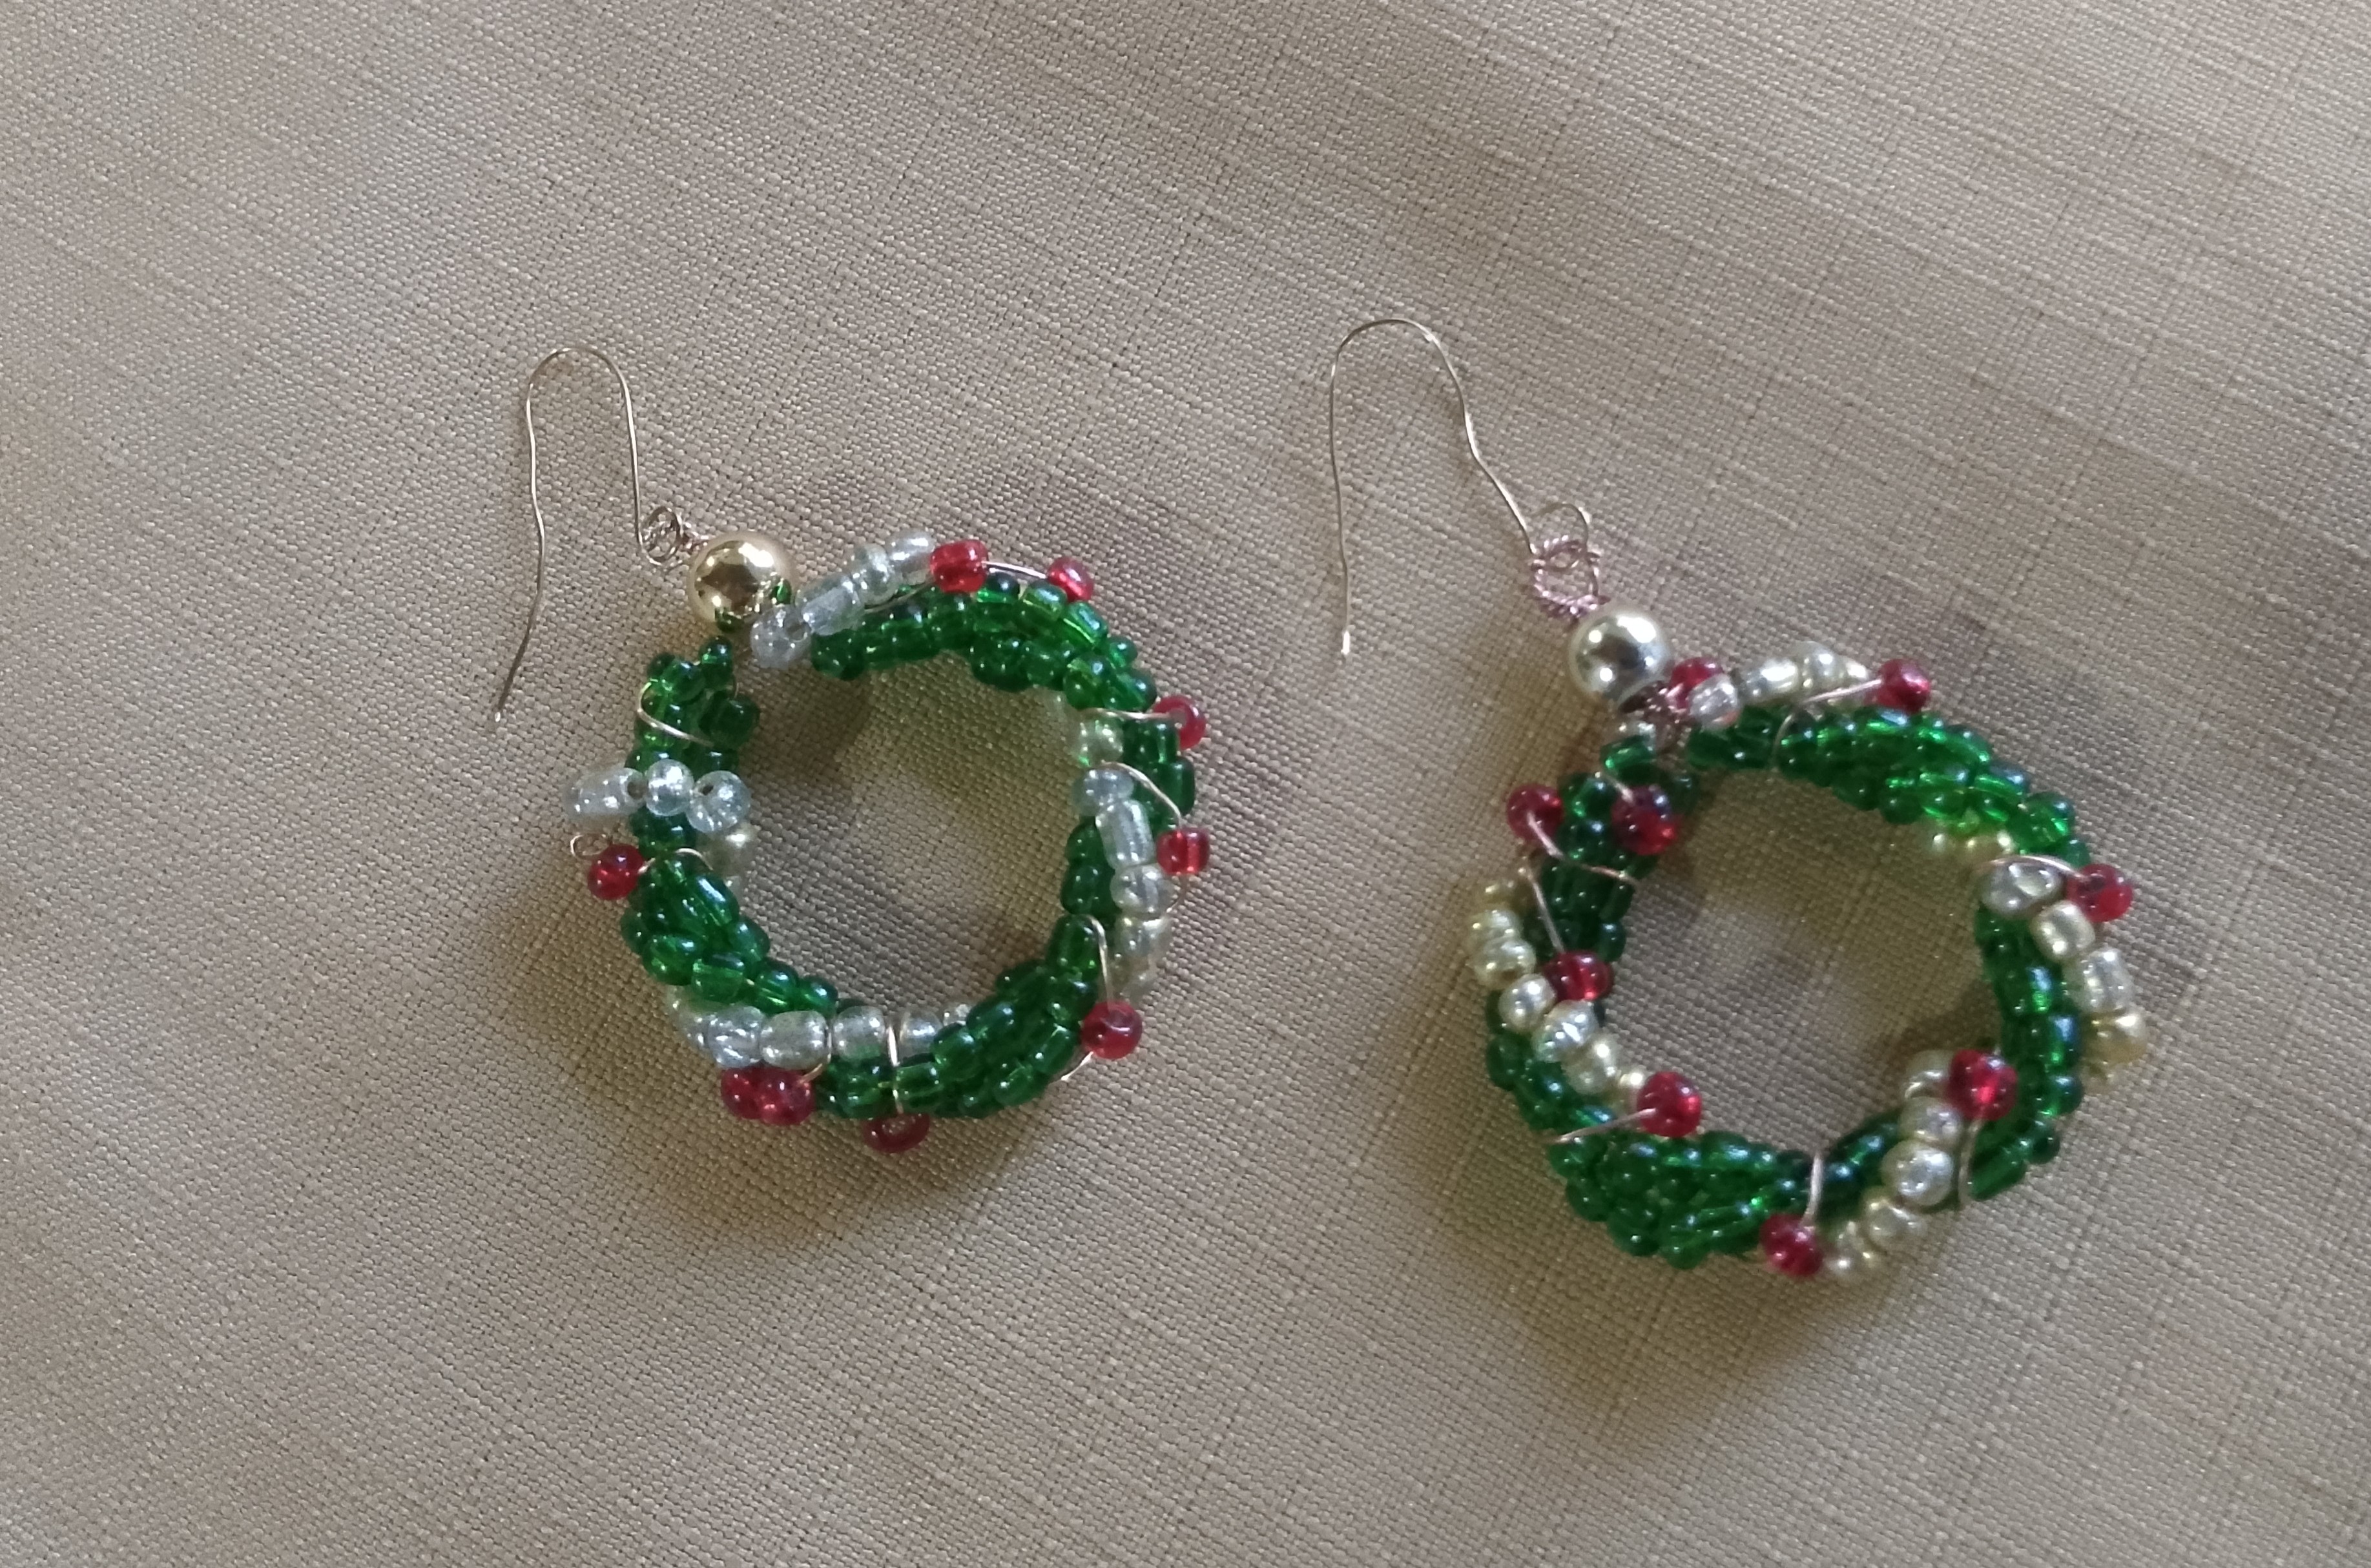
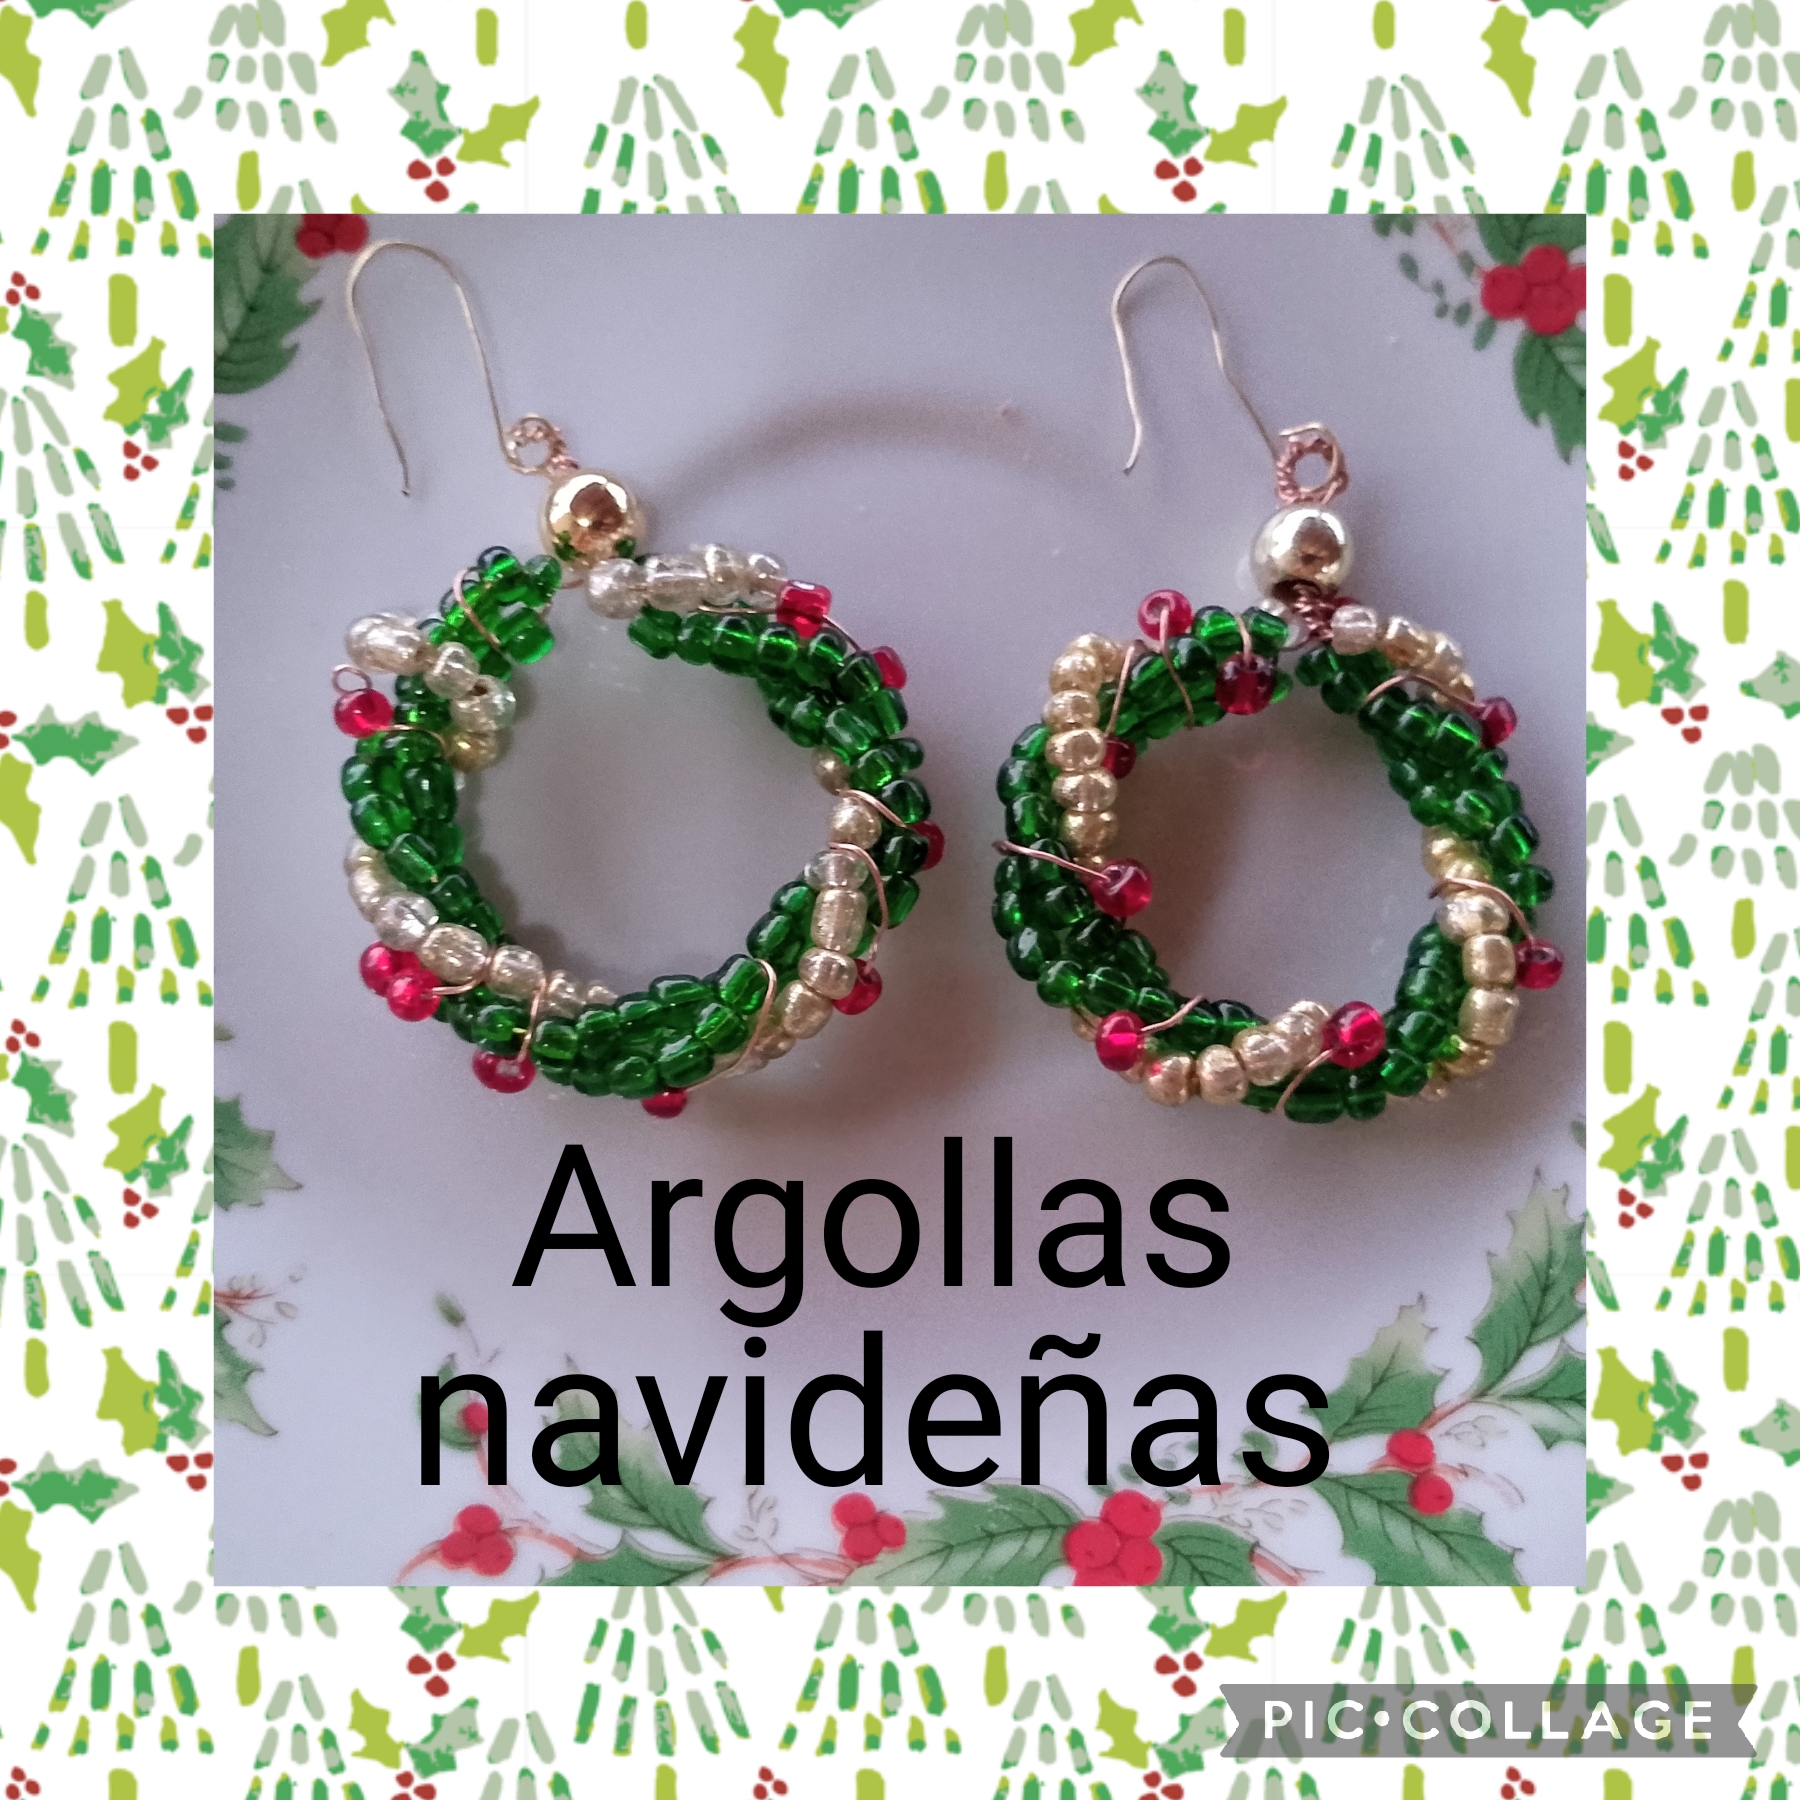
Artistas Creativos de las Manualidades y la Joyería este es el resultado final de estas Argollas como ven realicé otra igual para tener el par y las estrenaré el día de la Natividad, espero que les guste la idea y en esta época que tenemos que hacer los detalles y regalitos de familiares y amigas realicen con su toque personal estás preciosas argollas con temática navideña.
Agradecida con todos los que leen y ven mis publicaciones y me apoyan con sus valiosos comentarios, feliz noche y nos vemos en la próxima manualidad, bye, bye.
Creative Artists of Crafts and Jewelry, this is the final result of these rings, as you can see, I made another one just like it to have the pair and I will wear them for the first time on Christmas Day. I hope you like the idea and during this time when we have to make details and gifts for family and friends, make these beautiful Christmas-themed rings with your personal touch.
I am grateful to all of you who read and see my posts and support me with your valuable comments. Have a nice night and I will see you in the next craft, bye, bye.
Las imágenes y redacción de este tutorial son de mi exclusiva propiedad, las fotos las tome con mi teléfono celular Tecno Spark 20 Go y para traducir texto use Google traductor.
The images and writing of this tutorial are my exclusive property, I took the photos with my Tecno Spark 20 Go cell phone and used Google Translate to translate the text.

Ay que bellas son.
Hola amiga. Me encanta este diseño. Las mostacillas se ven muy brillosas. Gracias por compartir el paso a paso.
Suerte 🍀
Saluditos @creacioneslelys, gracias por el comentario , estás mostacillas son de de vidrio por eso brillan más 🤗
Hola.
Bonitas argollas y buena explicación. Fantástica la forma en que se entorcha y mantiene una forma atractiva. Saludos.
Hola @darwinij veo que leíste el tutorial y si, una de las gracias de trabajar con el alambre es que puedes moldear las piezas a tu gusto, saluditos
Quedaron muy lindas, gracias por el tutorial 🤗
Gracias @marile21 que gusto saludarte 🤗