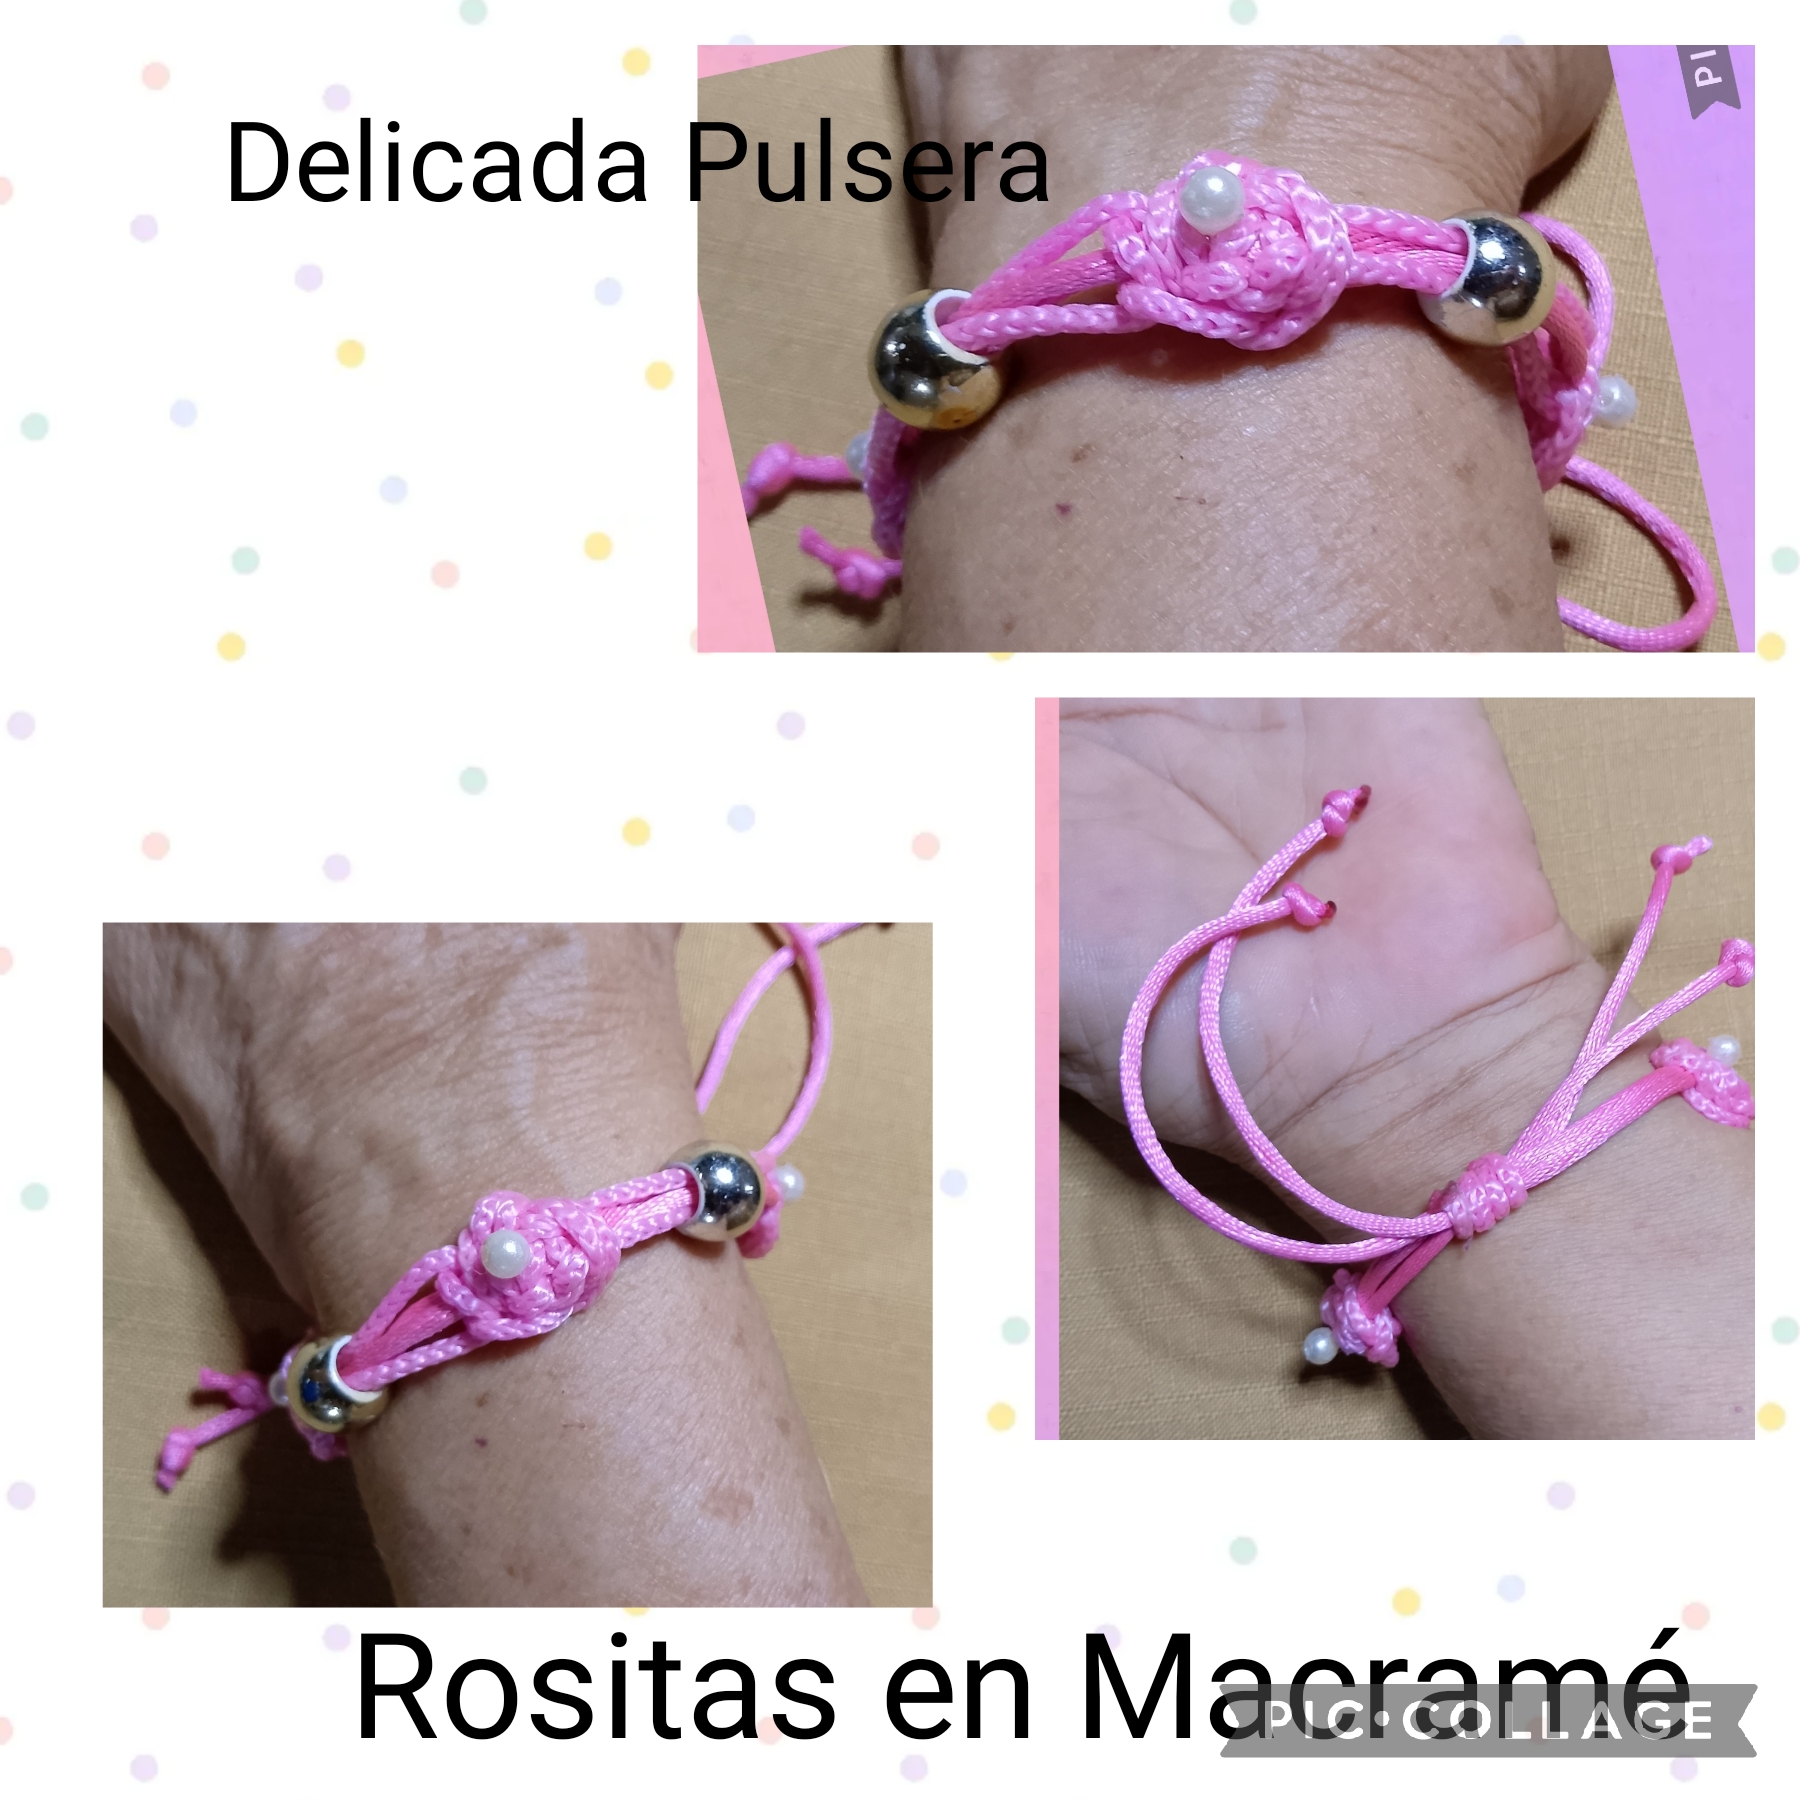
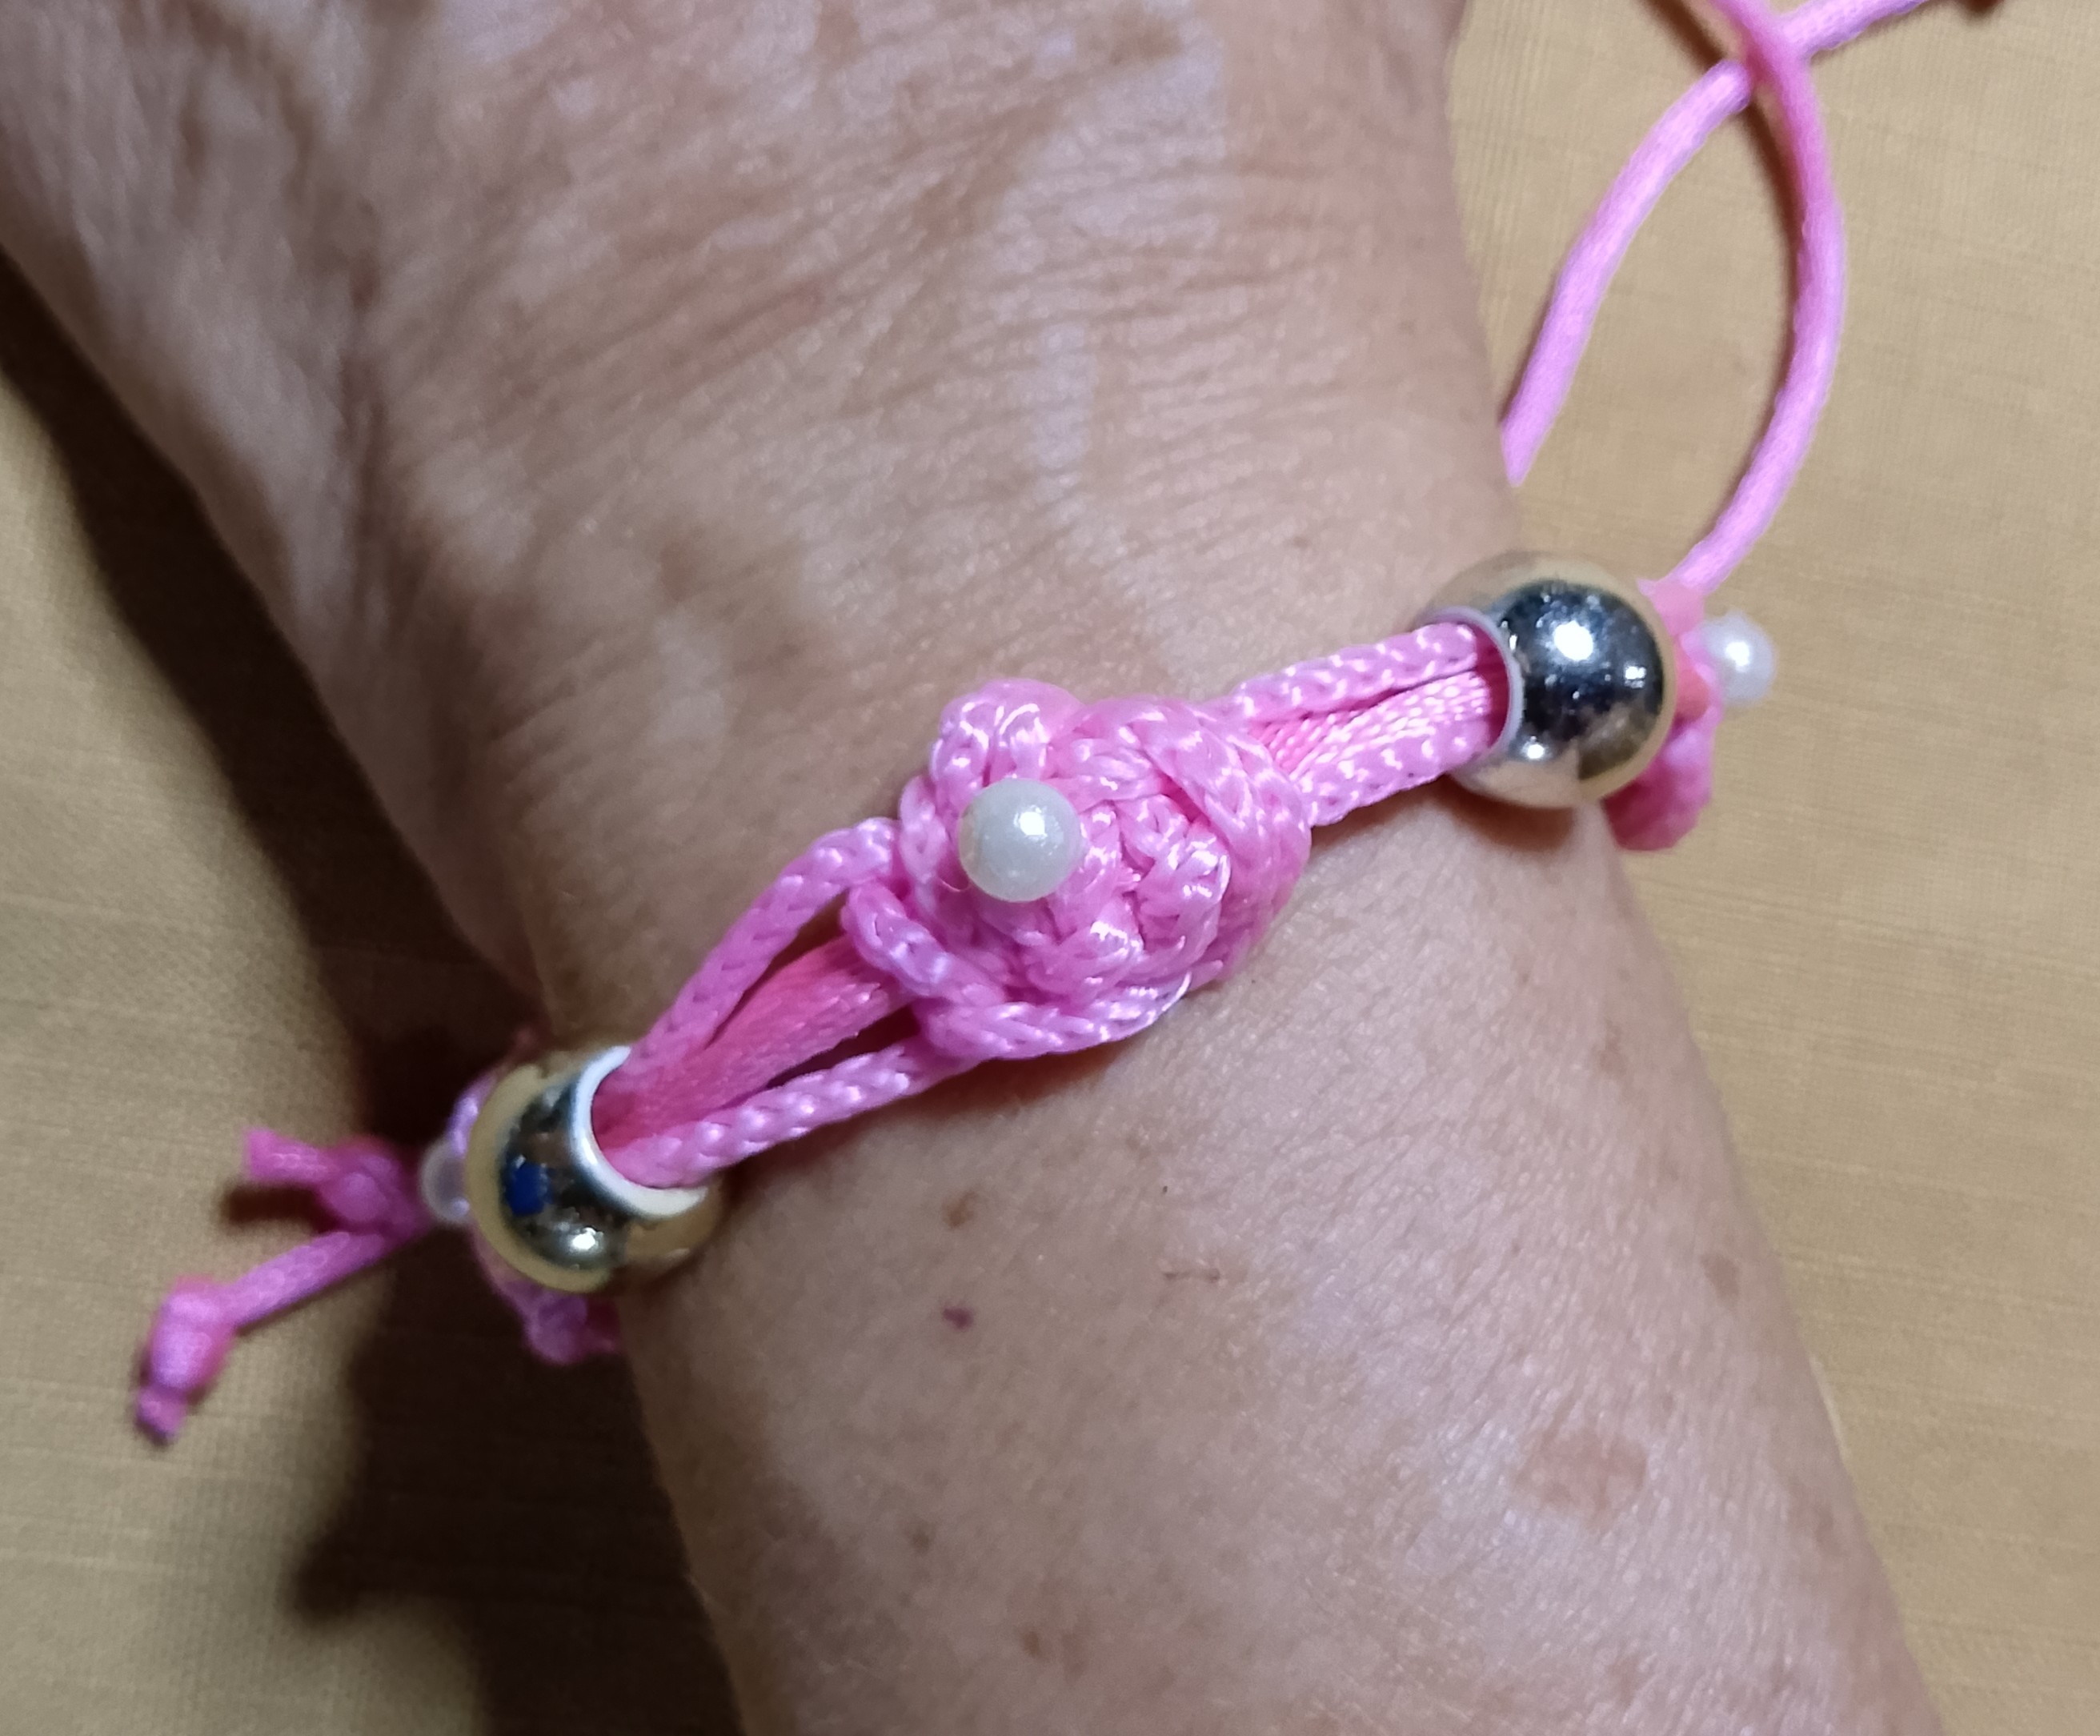
Delicate flower bracelet, made with macramé technique../ [Esp-Eng]
Saluditos y Feliz Año 2025 nuevo mis Artistas Creativos de las Manualidades y la Joyería, mis mejores deseos porque su 2024 lo hayan pasado de lo mejor y como es tradición en estás fechas felices en su entorno familiar con la alegría y el optimismo de que este nuevo año será de bienestar y muchísima prosperidad.
Y mañana todavía se celebra el día de los santos Reyes Magos los amigos Melchor, Gaspar y Baltazar este último el más aclamado por ser dueño del oro que ofrendo al Niño Jesús, los demás Gaspar le entrego el incienso y Melchor la mirra pero no brillaban tanto 😂 entonces el inicio de semana laboral va a ser un poquitito más largo aún podemos disfrutar un día de playa aprovechando el sol.
Bueno fin de las vacaciones, hoy les voy a compartir mi primera manualidad de este año, escogí un encargo que me hizo una amiga para su hijita adolescente, como usan la tradición de poner las medias en la ventana para que los Reyes dejen los caramelos; ella quiere colocarle un detalle que no se coma muy rápido y lo luzca un poco más, su color favorito es el rosado tomando esto en cuenta, elaboré una delicada Pulsera en ese color con unas pequeñas flores usando la temática del macramé.
Sigan leyendo el paso a paso y vean cómo la hice.
Greetings and Happy New Year 2025 my Creative Artists of Crafts and Jewelry, my best wishes that your 2024 has been the best and as is tradition on these dates happy in your family environment with the joy and optimism that this new year will be one of well-being and much prosperity.
And tomorrow is still the day of the Holy Three Wise Men the friends Melchor, Gaspar and Baltazar the latter being the most acclaimed for being the owner of the gold that he offered to Baby Jesus, the others Gaspar gave him the incense and Melchor the myrrh but they did not shine as much 😂 so the start of the work week is going to be a little longer we can still enjoy a day at the beach taking advantage of the sun.
Well end of the holidays, today I am going to share my first craft of this year, I chose an order that a friend made me for her teenage daughter, as they use the tradition of putting the stockings in the window so that the Kings leave the candy; She wants to add a detail that won't be eaten too quickly and will make it look a little more beautiful. Her favorite color is pink. Taking this into account, I made a delicate bracelet in that color with some small flowers using the macramé theme.
Keep reading the step by step and see how I made it.
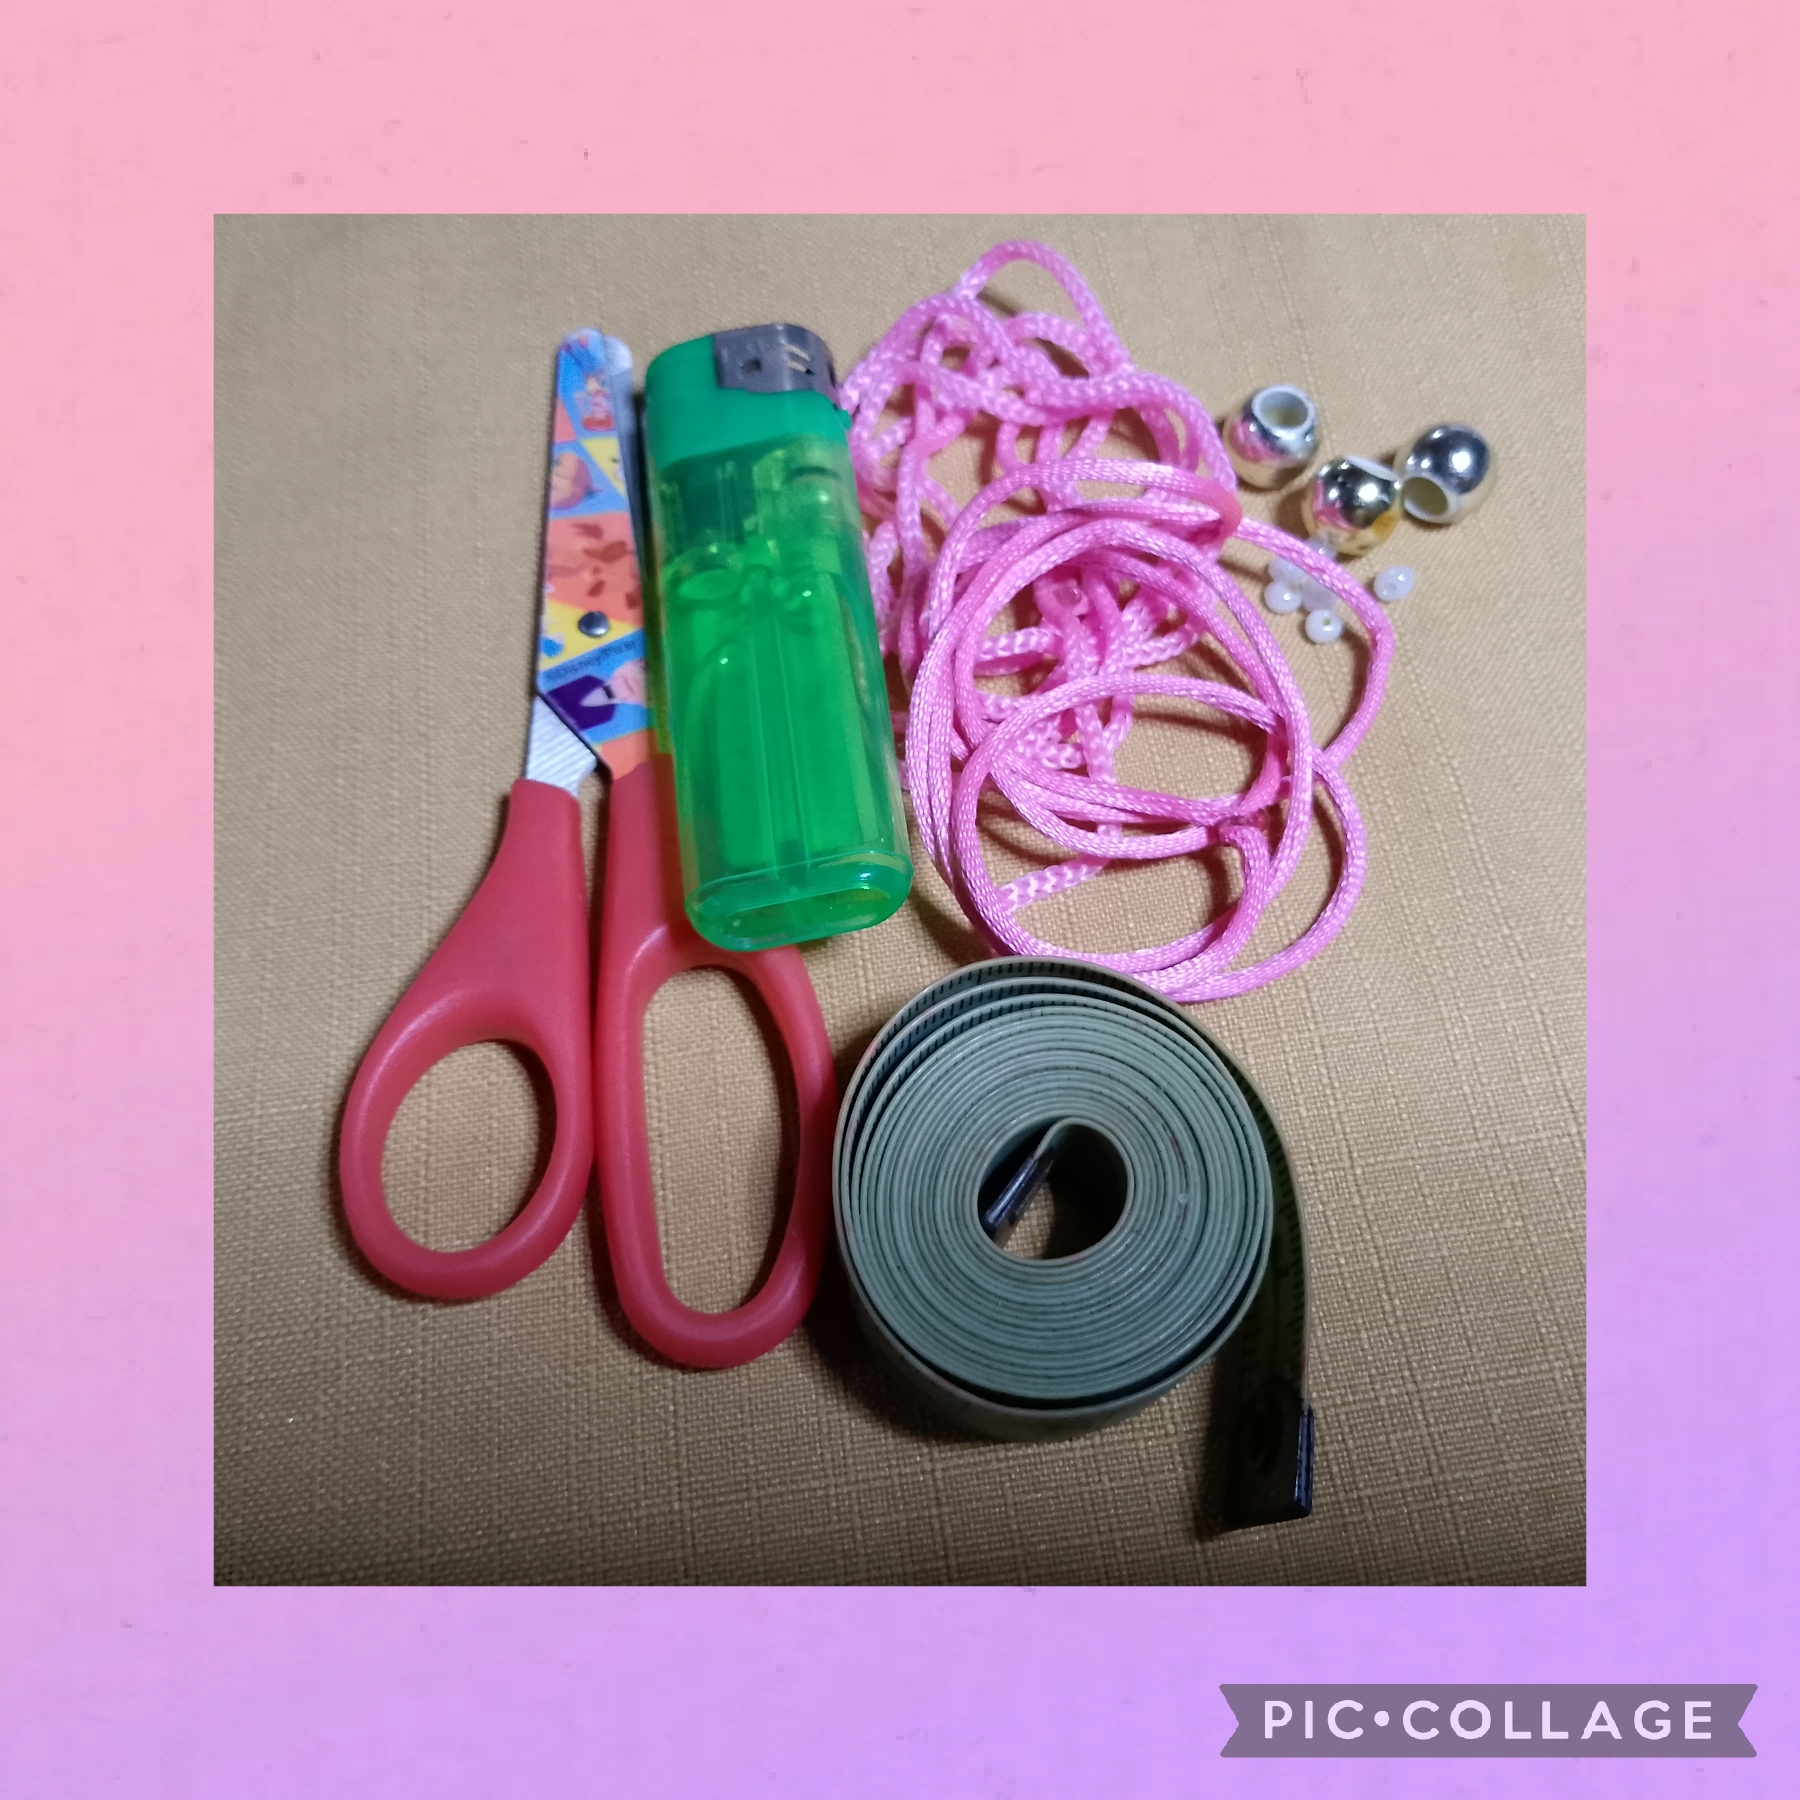
VOY A USAR ESTOS MATERIALES EN SU ELABORACIÓN:
✓ Un metro de cordón trenzado color
rosado.
✓ Ochenta centímetros de cola de ratón.
color fucsia.
✓ Dos balines dorados número diez.
✓ Tres perlitas blancas número dos.
✓ Silicón frio transparente.
✓ Encendedor.
✓ Tijeras.
✓ Centímetro.
I WILL USE THESE MATERIALS IN ITS PREPARATION:
✓ One meter of pink braided cord.
✓ Eighty centimeters of mouse tail.
fuchsia color.
✓ Two golden number ten balls.
✓ Three white number two beads.
✓ Transparent cold silicone.
✓ Lighter.
✓ Scissors.
✓ Centimeter.
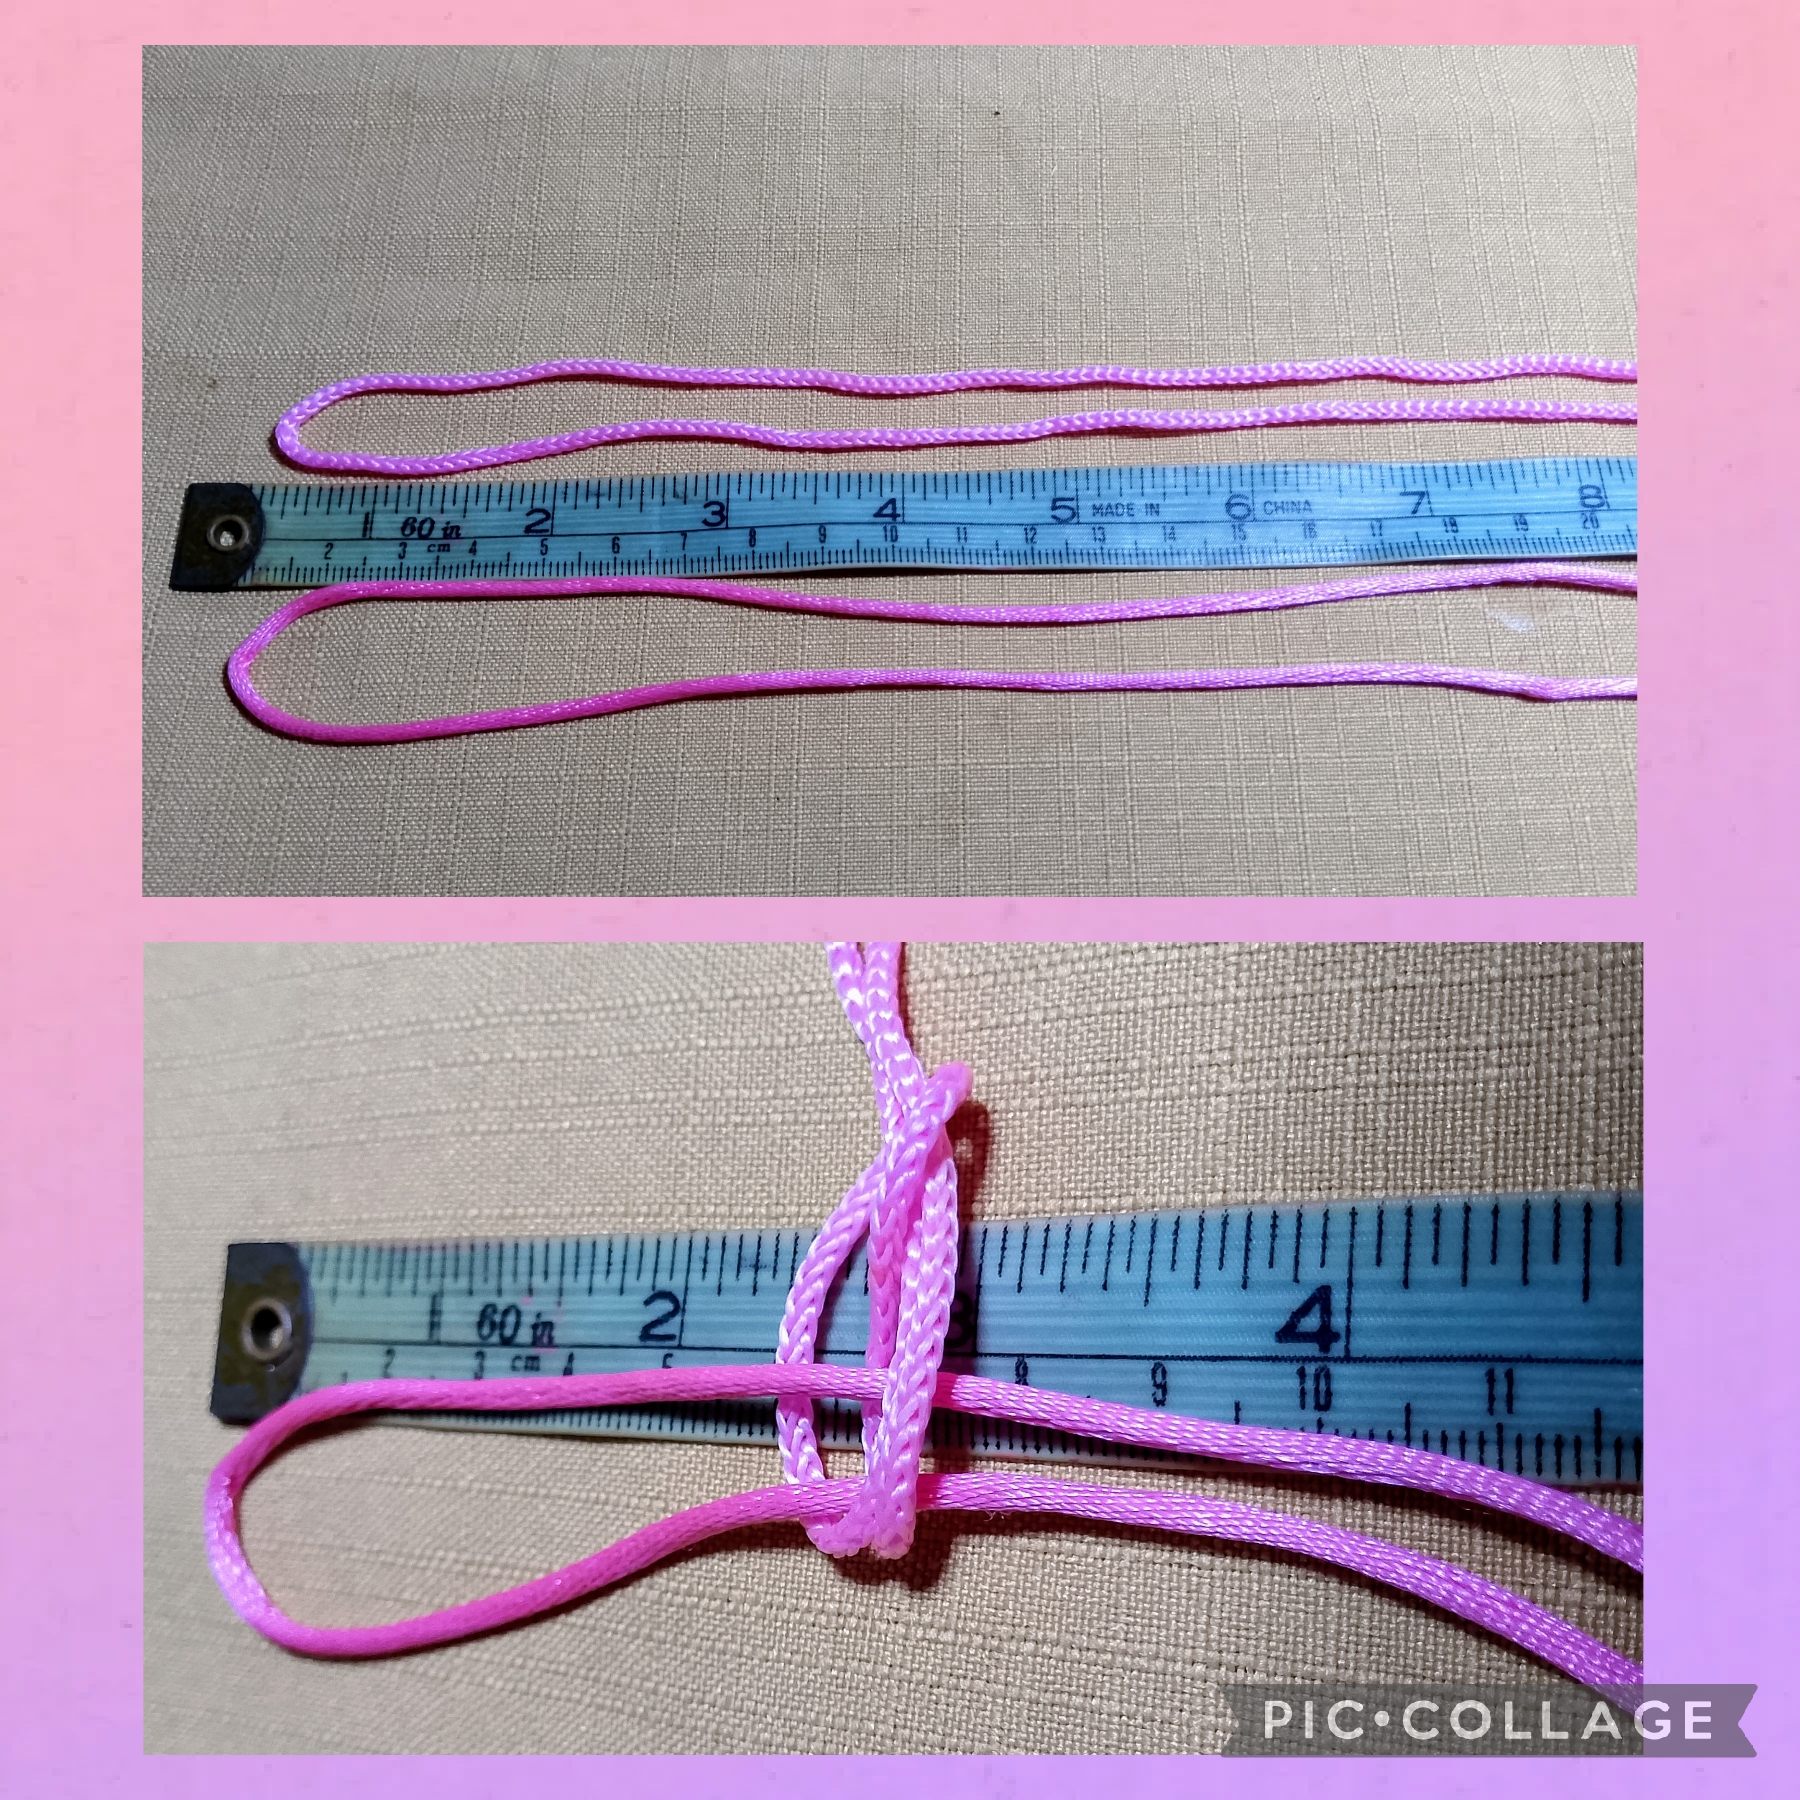
PASOS QUE UTILICÉ PARA REALIZARLA:
PRIMER PASO:
Comienzo usando el centímetro para verificar las medidas como muestro en la imagen, doblo el metro del cordón a la mitad o sea cincuenta centímetros, igual hago con la cola de ratón y la pongo en cuarenta centímetros .
STEPS I USED TO MAKE IT:
FIRST STEP:
I start by using the centimeter to check the measurements as shown in the image, I fold the meter of cord in half, that is, fifty centimeters, I do the same with the mouse tail and I put it at forty centimeters.
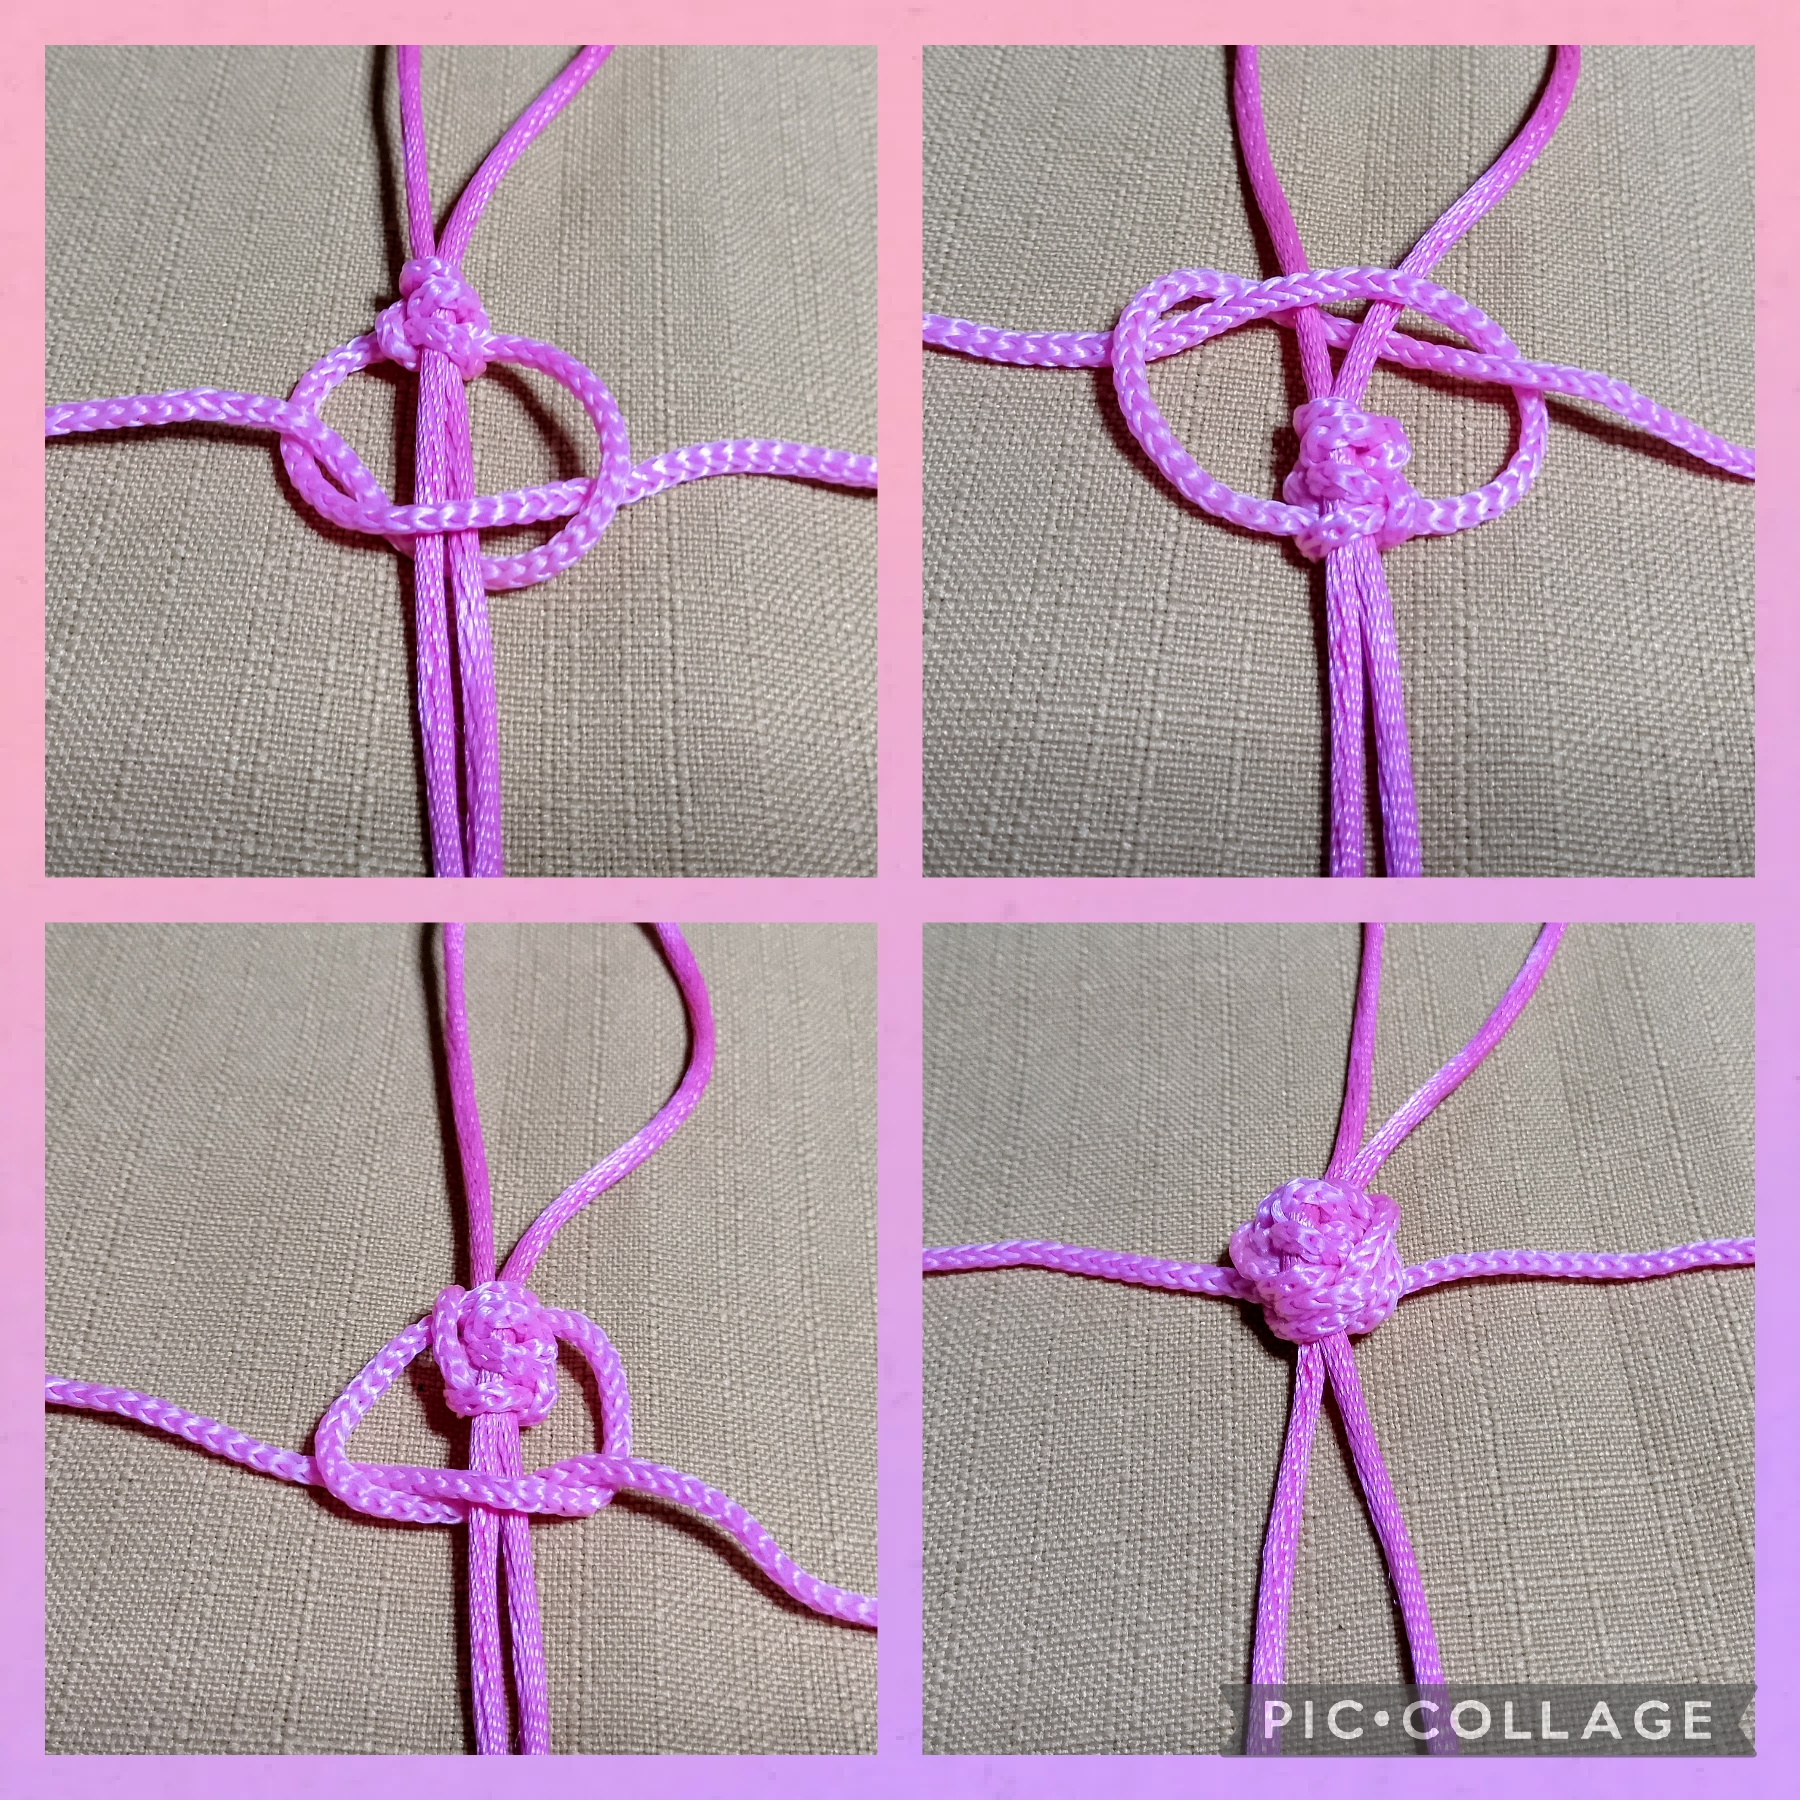
SEGUNDO PASO:
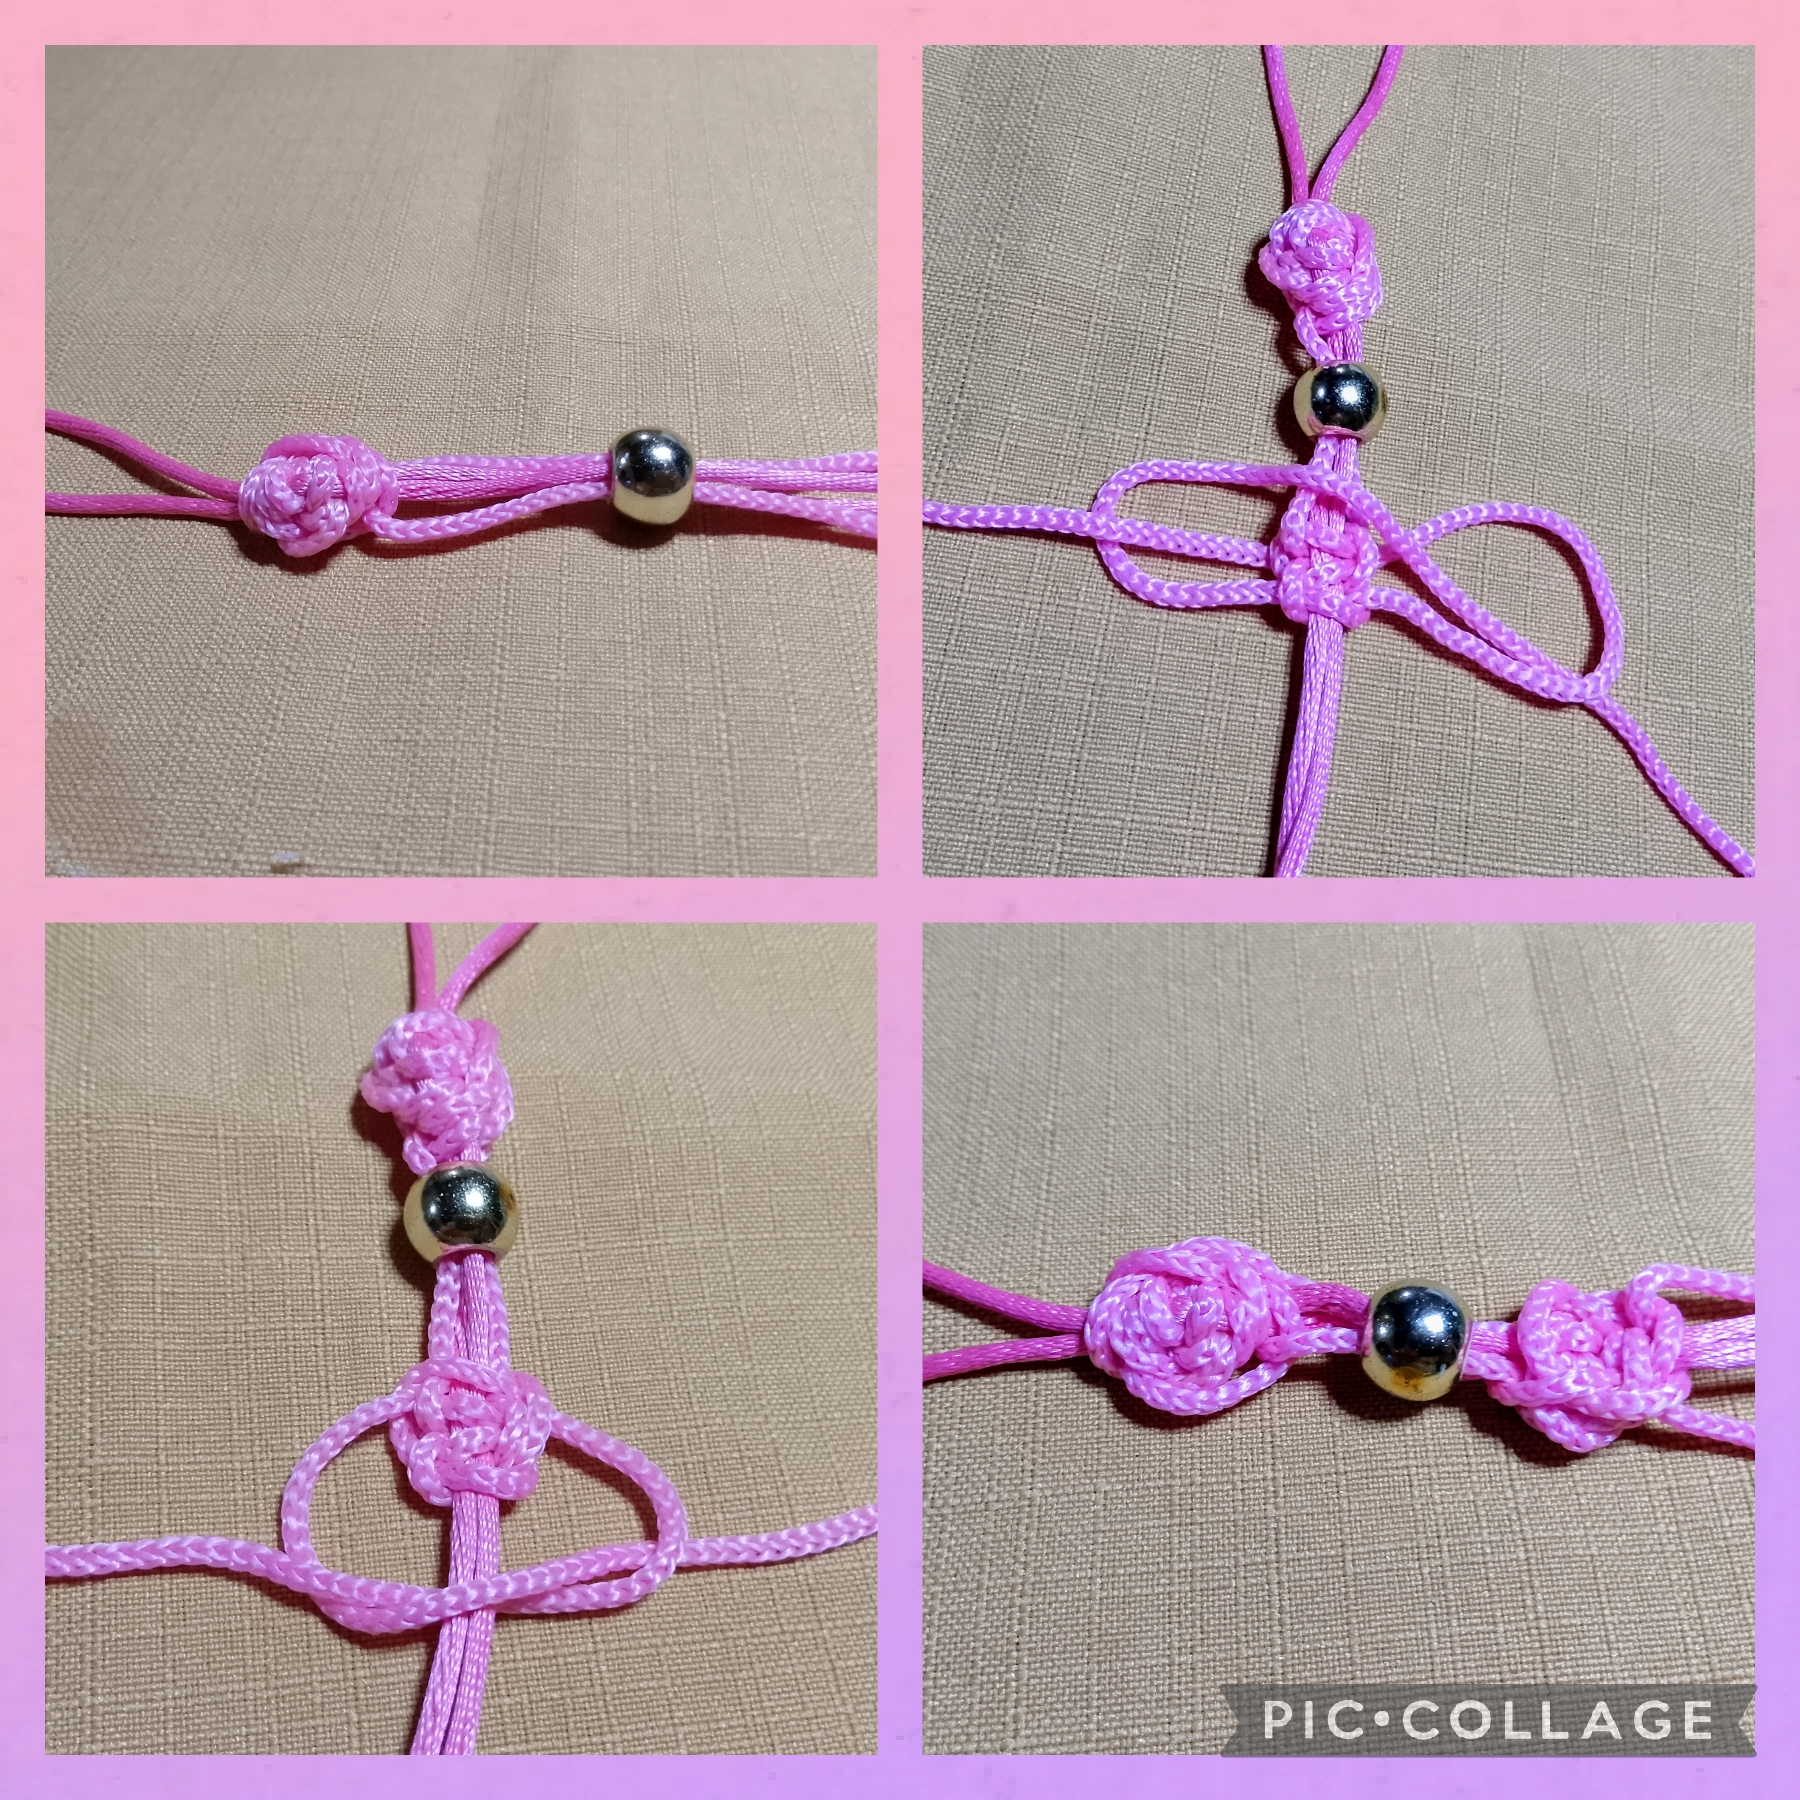
En este paso voy a empezar con el diseño unas florecitas en macramé que realizaré en Nudo Plano este nudo es muy facil de realizar y los que todavía tienen duda de como hacerlo los invito a que visiten mi blog para que vean en tutoriales anteriores el paso a paso de como se hace. Mido diez centímetros de la cola de ratón y en esa medida coloco el cordón rosado para empezar a tejer mi primera flor, realizó tres nudos planos hacia abajo, que serán como el centro de la flor ahora me devuelvo y encima del primer nudo plano de arriba hago un nudo plano como muestra la imagen, bajo y hago otro nudo plano, de nuevo subo y realizó otro nudo plano, bajo y hago otro nudo plano, ajusto bien y me ayudo con las manos para que mi flor quede muy bonita, está florecita esta confirmada por ocho pétalos pero pueden hacerla del tamaño que deseen aumentando los pétalos.
SECOND STEP:
In this step I will start with the design of some little flowers in macramé that I will make with a Flat Knot. This knot is very easy to make and those who still have doubts about how to do it, I invite you to visit my blog to see in previous tutorials the step by step of how it is done. I measure ten centimeters of the mouse tail and in that measurement I place the pink cord to start weaving my first flower, I make three flat knots downwards, which will be like the center of the flower. Now I go back and on top of the first flat knot above I make a flat knot as shown in the image, I go down and make another flat knot, I go up again and make another flat knot, I go down and make another flat knot, I adjust well and I help myself with my hands so that my flower looks very pretty, this little flower is confirmed by eight petals but you can make it the size you want by increasing the petals.
TERCER PASO:
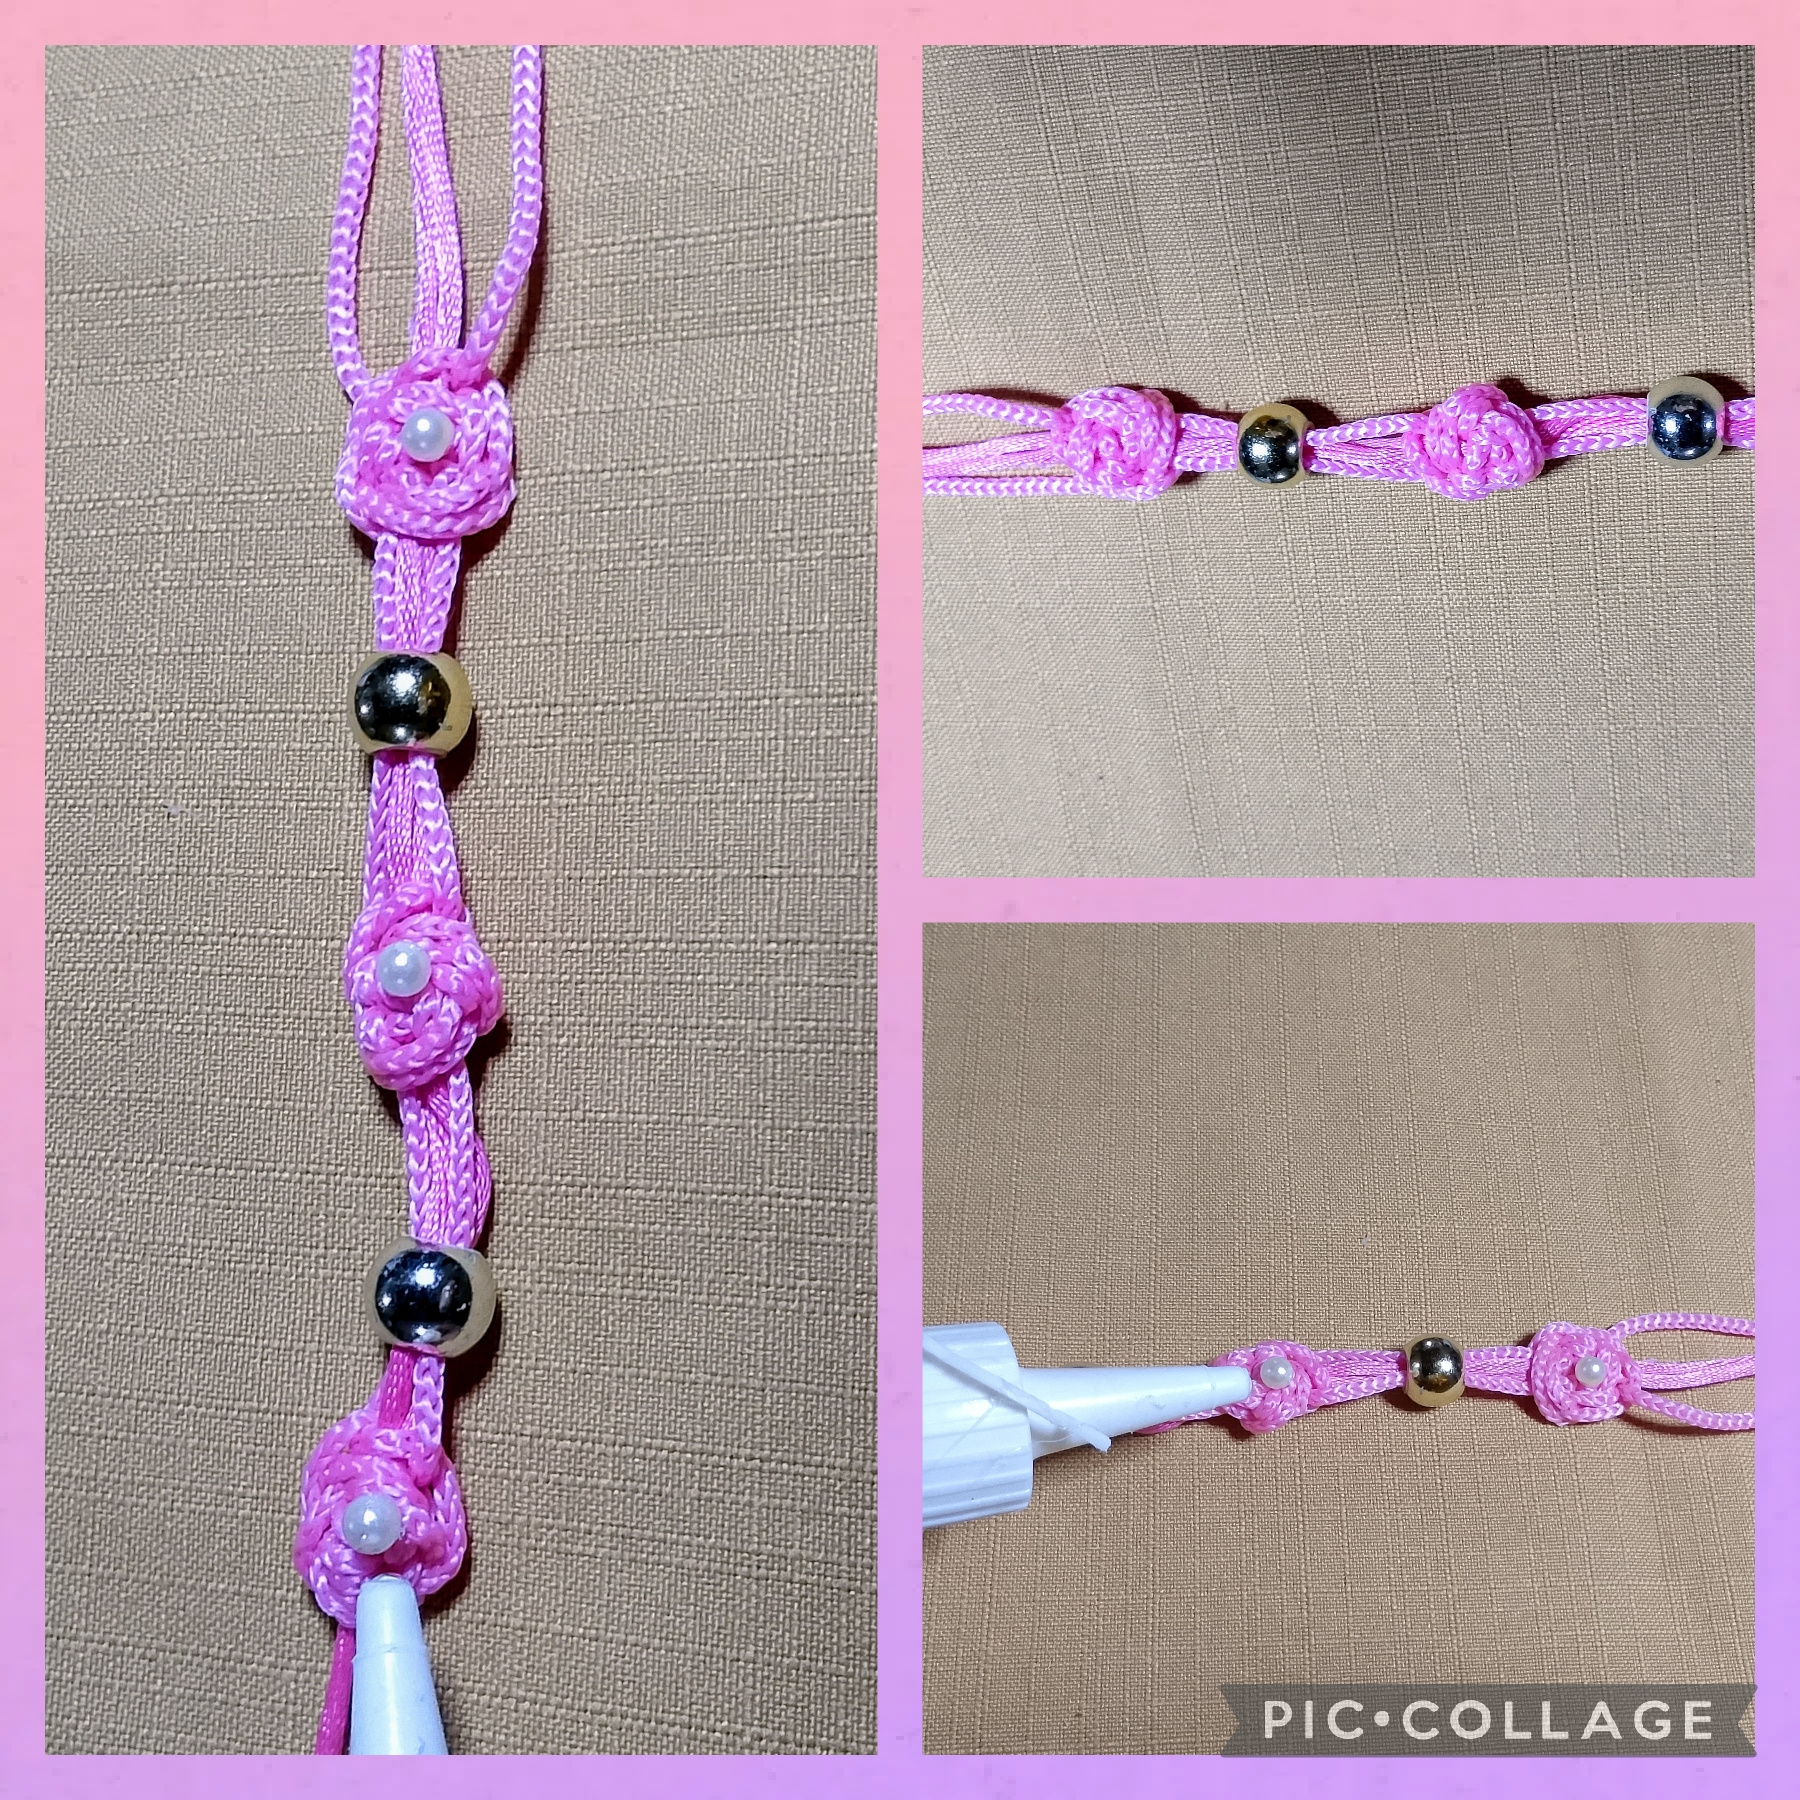
Una vez lista la primera flor, inserto por los cuatro hilos un balín dorado y lo coloco a medio centímetro de la flor dejo medio centímetro del otro lado y comienzo de nuevo a tejer otra flor; hago el mismo procedimiento hasta tejer tres flores y colocar dos balines; este es el largo deseado, ahora con silicón transparente pego encima de cada flor una perlita blanca. Uso las tijeras corto el excedente del cordón y sello con el encendedor para terminar.
THIRD STEP:
Once the first flower is ready, I insert a golden bead through the four threads and place it half a centimeter from the flower. I leave half a centimeter on the other side and begin to weave another flower again. I do the same procedure until I have woven three flowers and placed two beads. This is the desired length. Now, with transparent silicone, I glue a white bead on top of each flower. I use scissors to cut the excess cord and seal it with the lighter to finish.
CUARTO PASO:
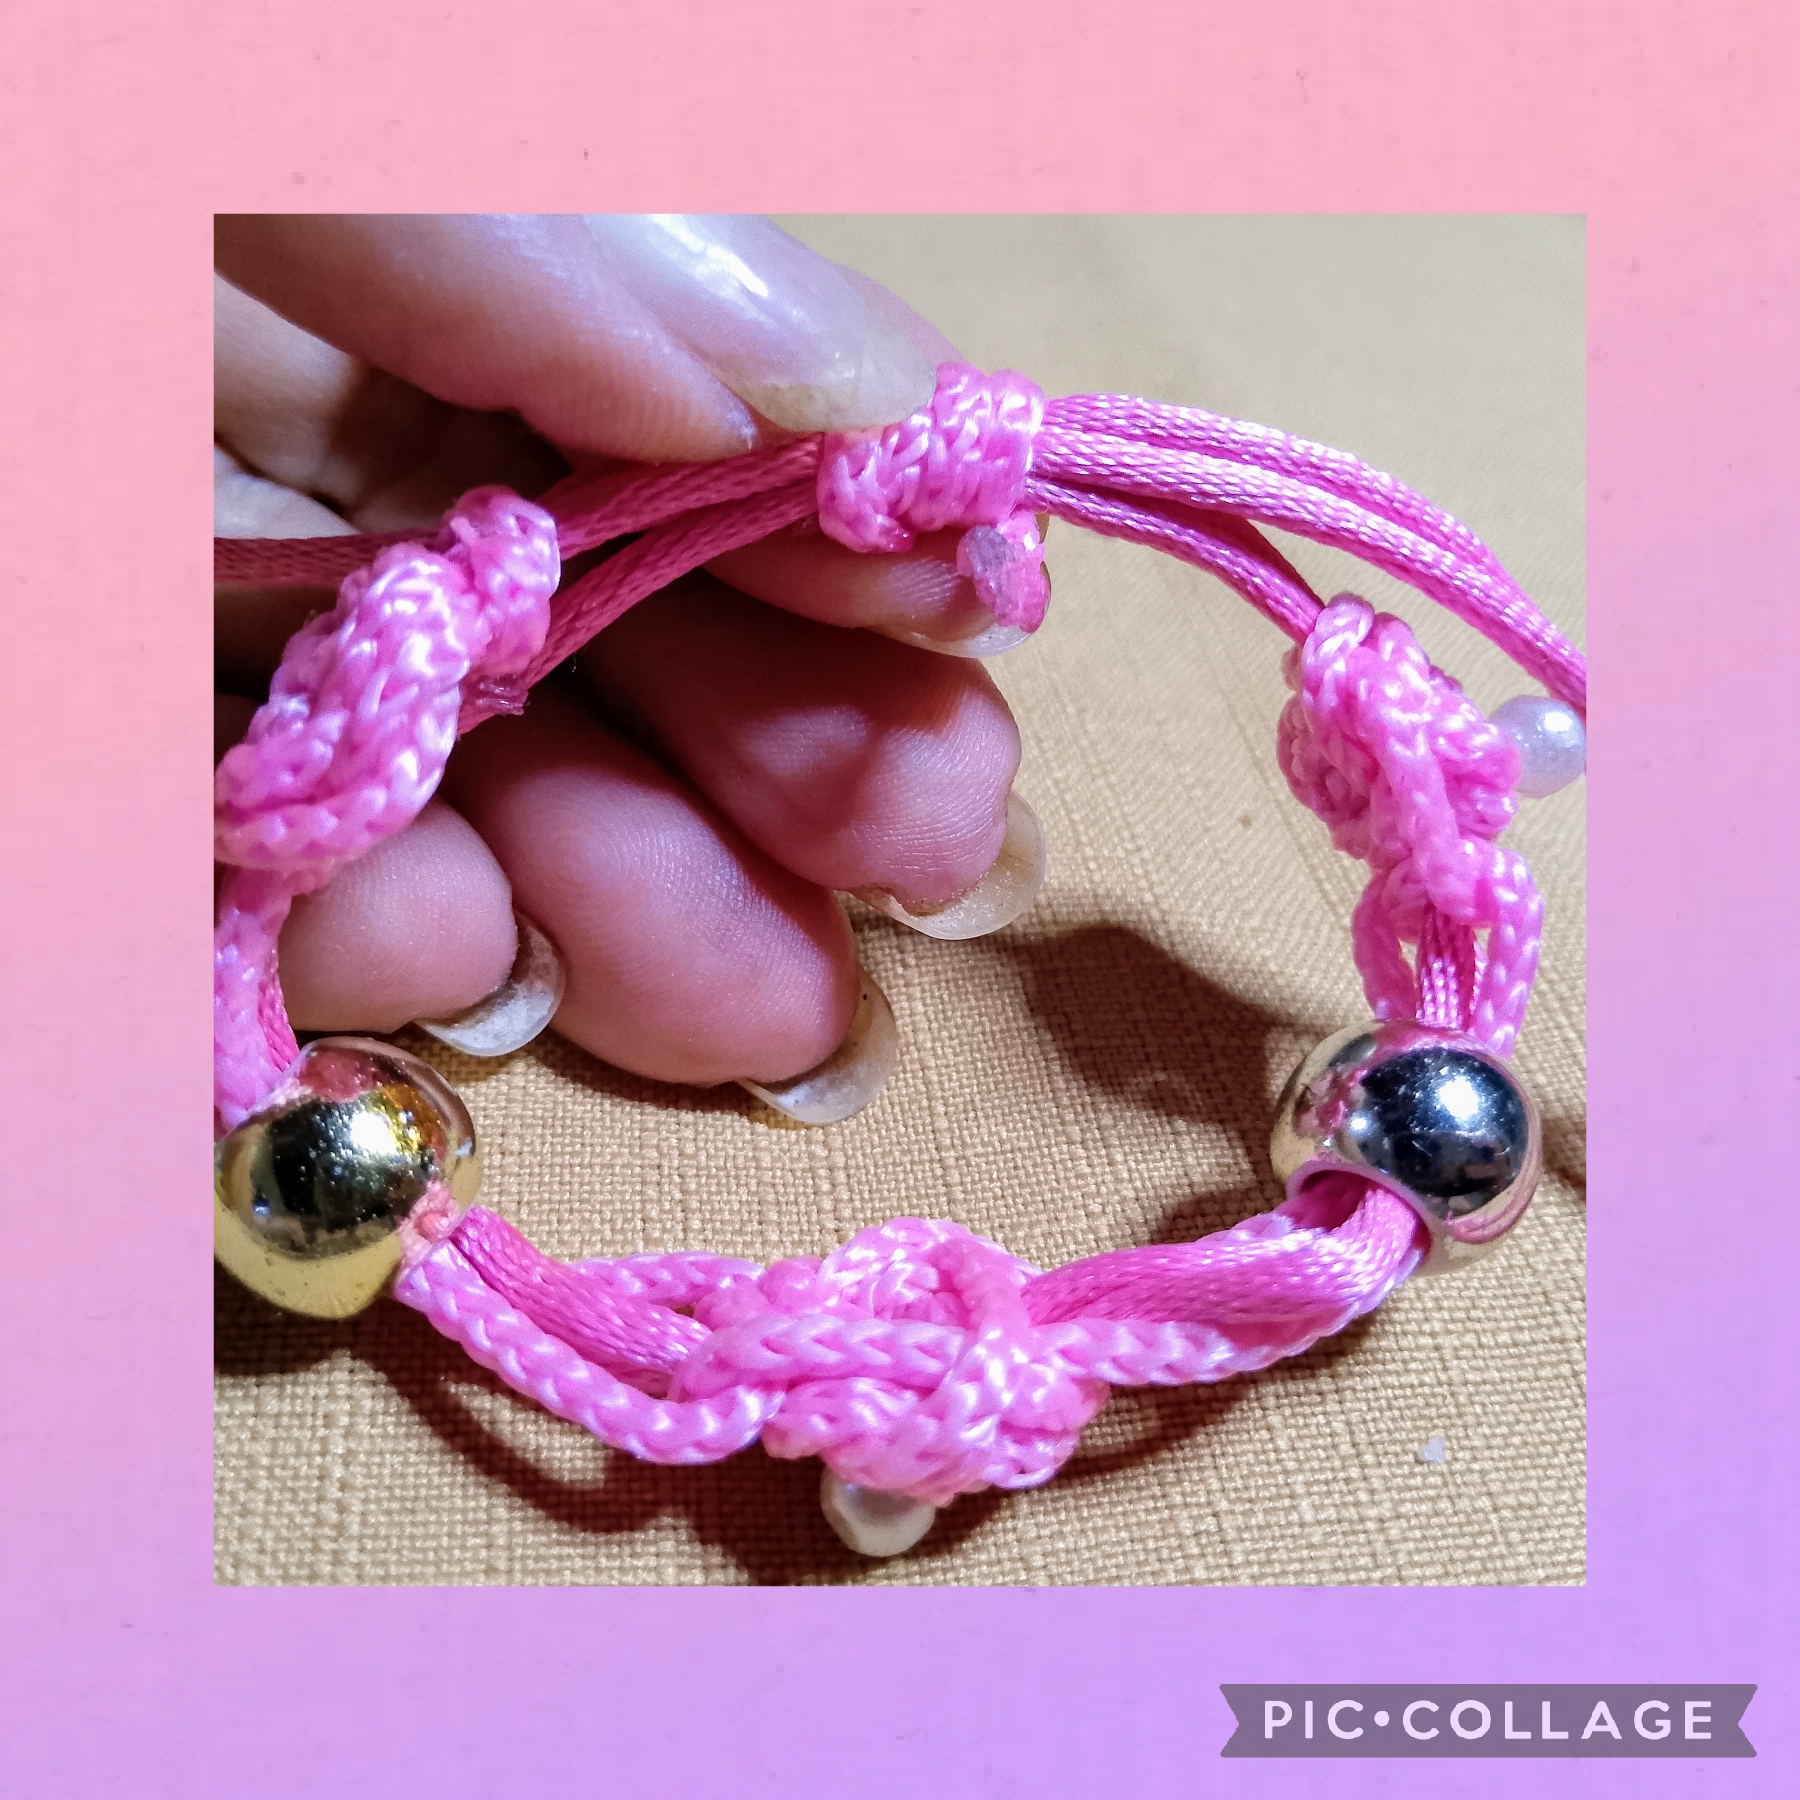
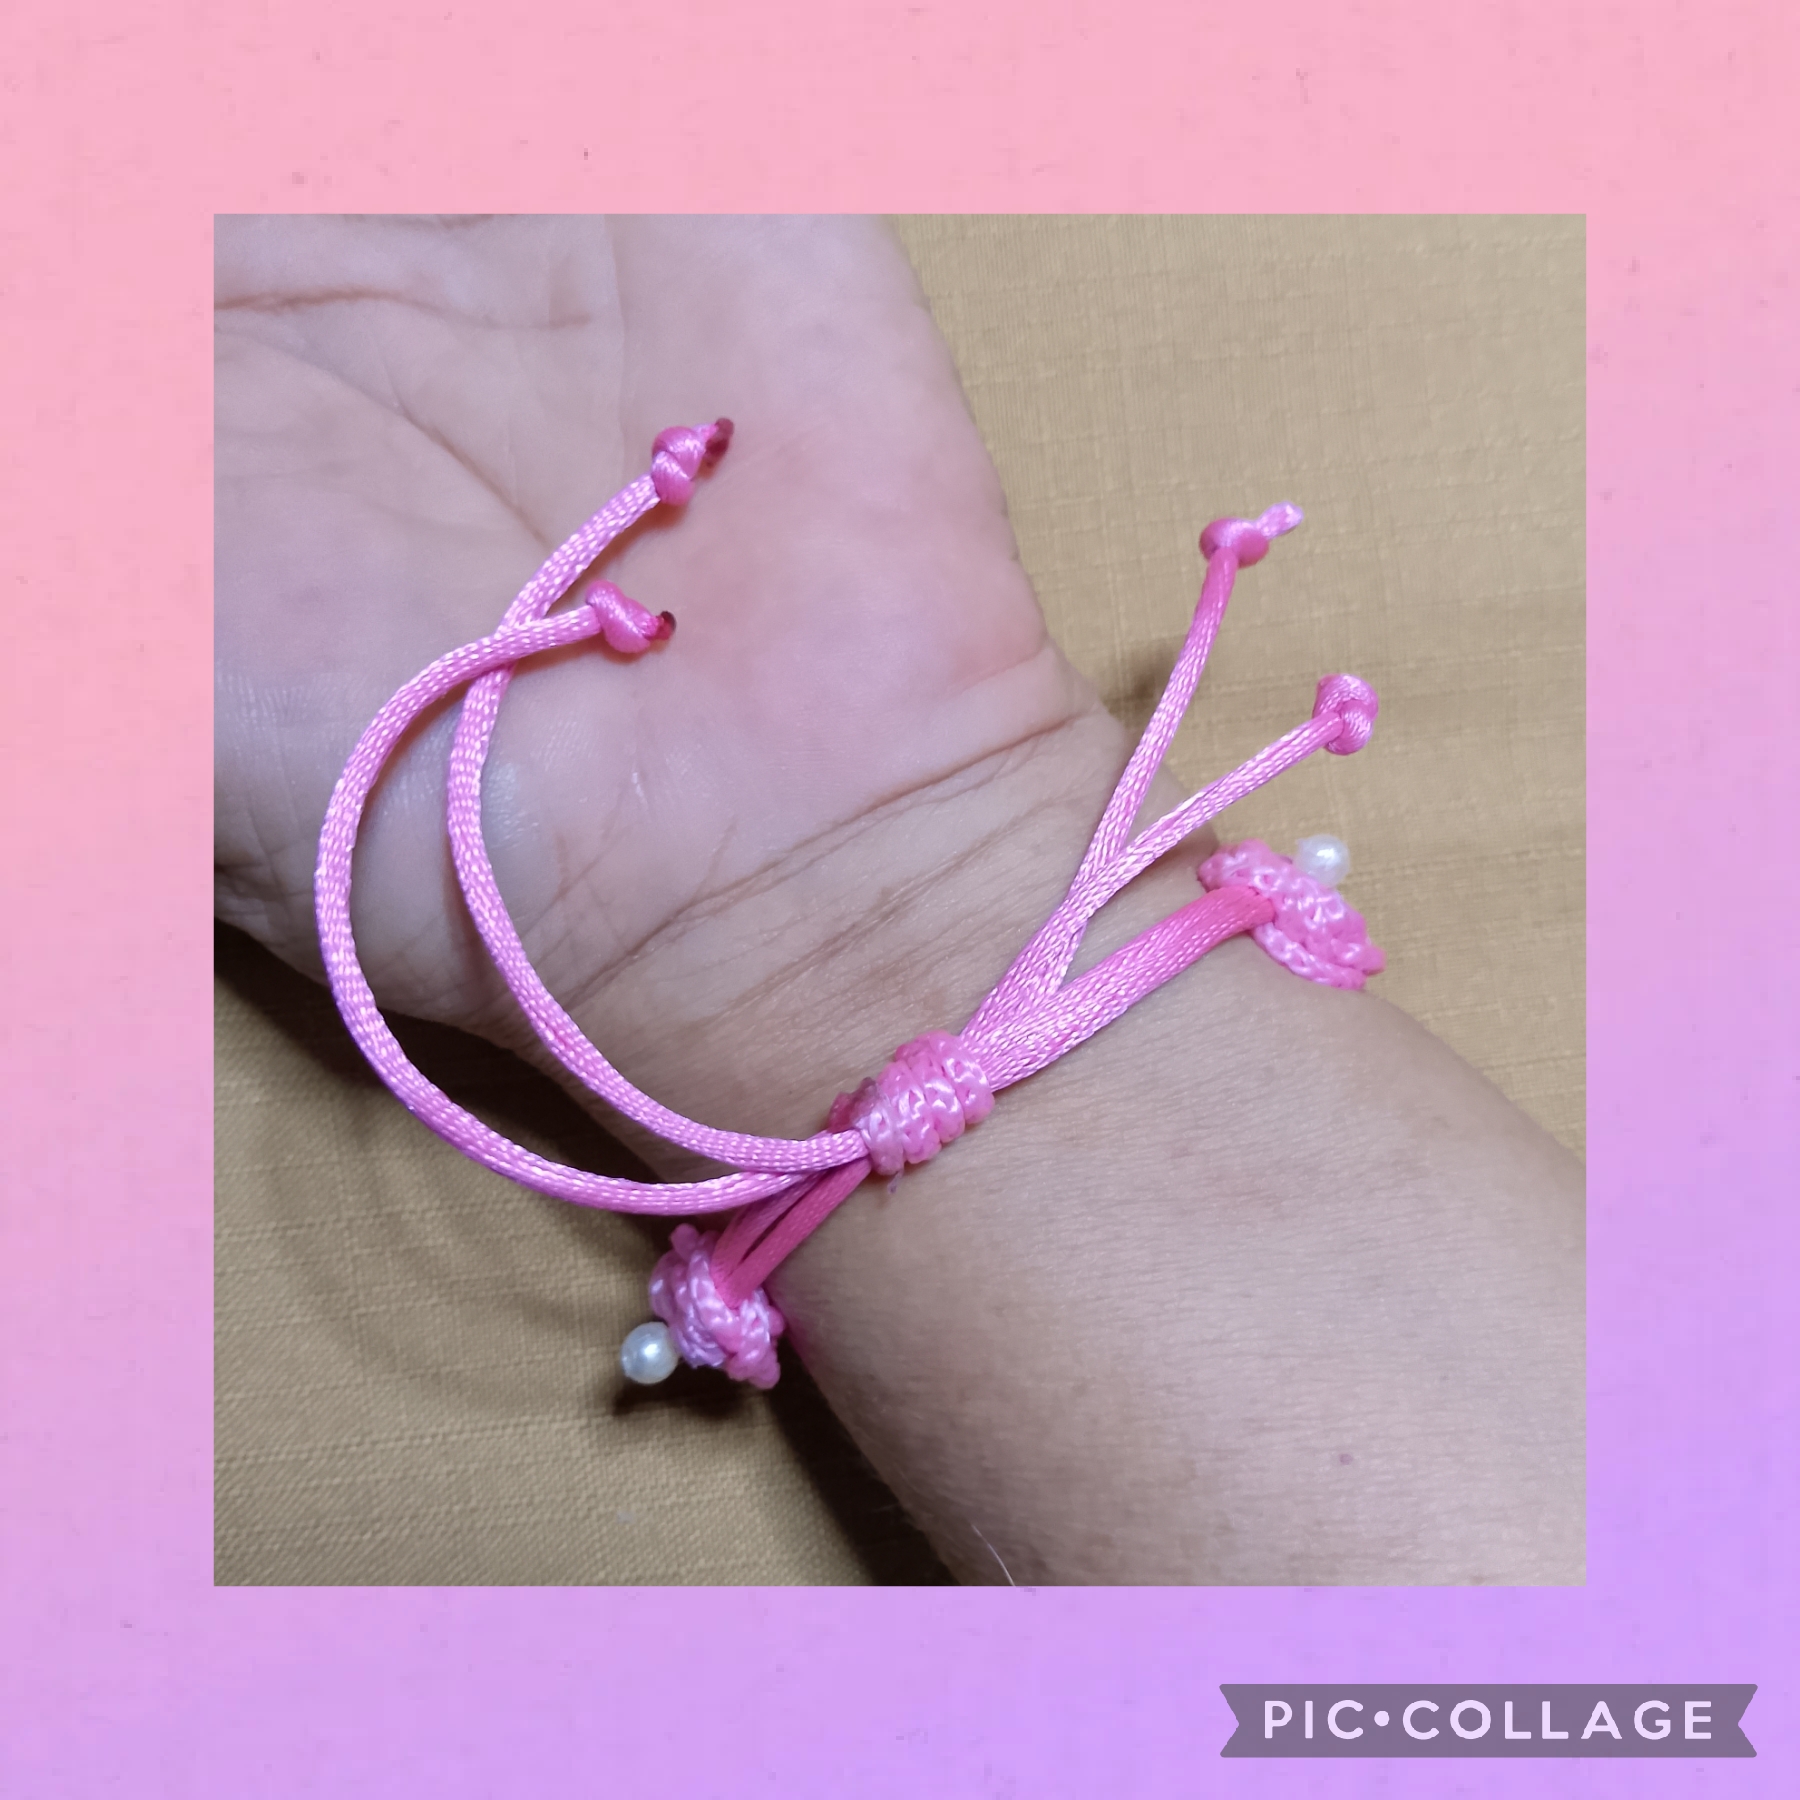
Una vez realizado los pasos anteriores, corto tres centímetros del cordón rosado, lo coloco encima de los cuatro cordones en el centro y usando el encendedor sello para pegar y realizar el cierre doy cuatro vueltas y de nuevo sello con el encendedor. Ahora ajusto hago un nudo decorativo en cada hilo así.
STEP FOUR:
Once the previous steps have been completed, I cut three centimeters of the pink cord, place it on top of the four cords in the center and using the lighter to seal and make the closure, I make four turns and seal again with the lighter. Now I adjust and make a decorative knot in each thread like this.
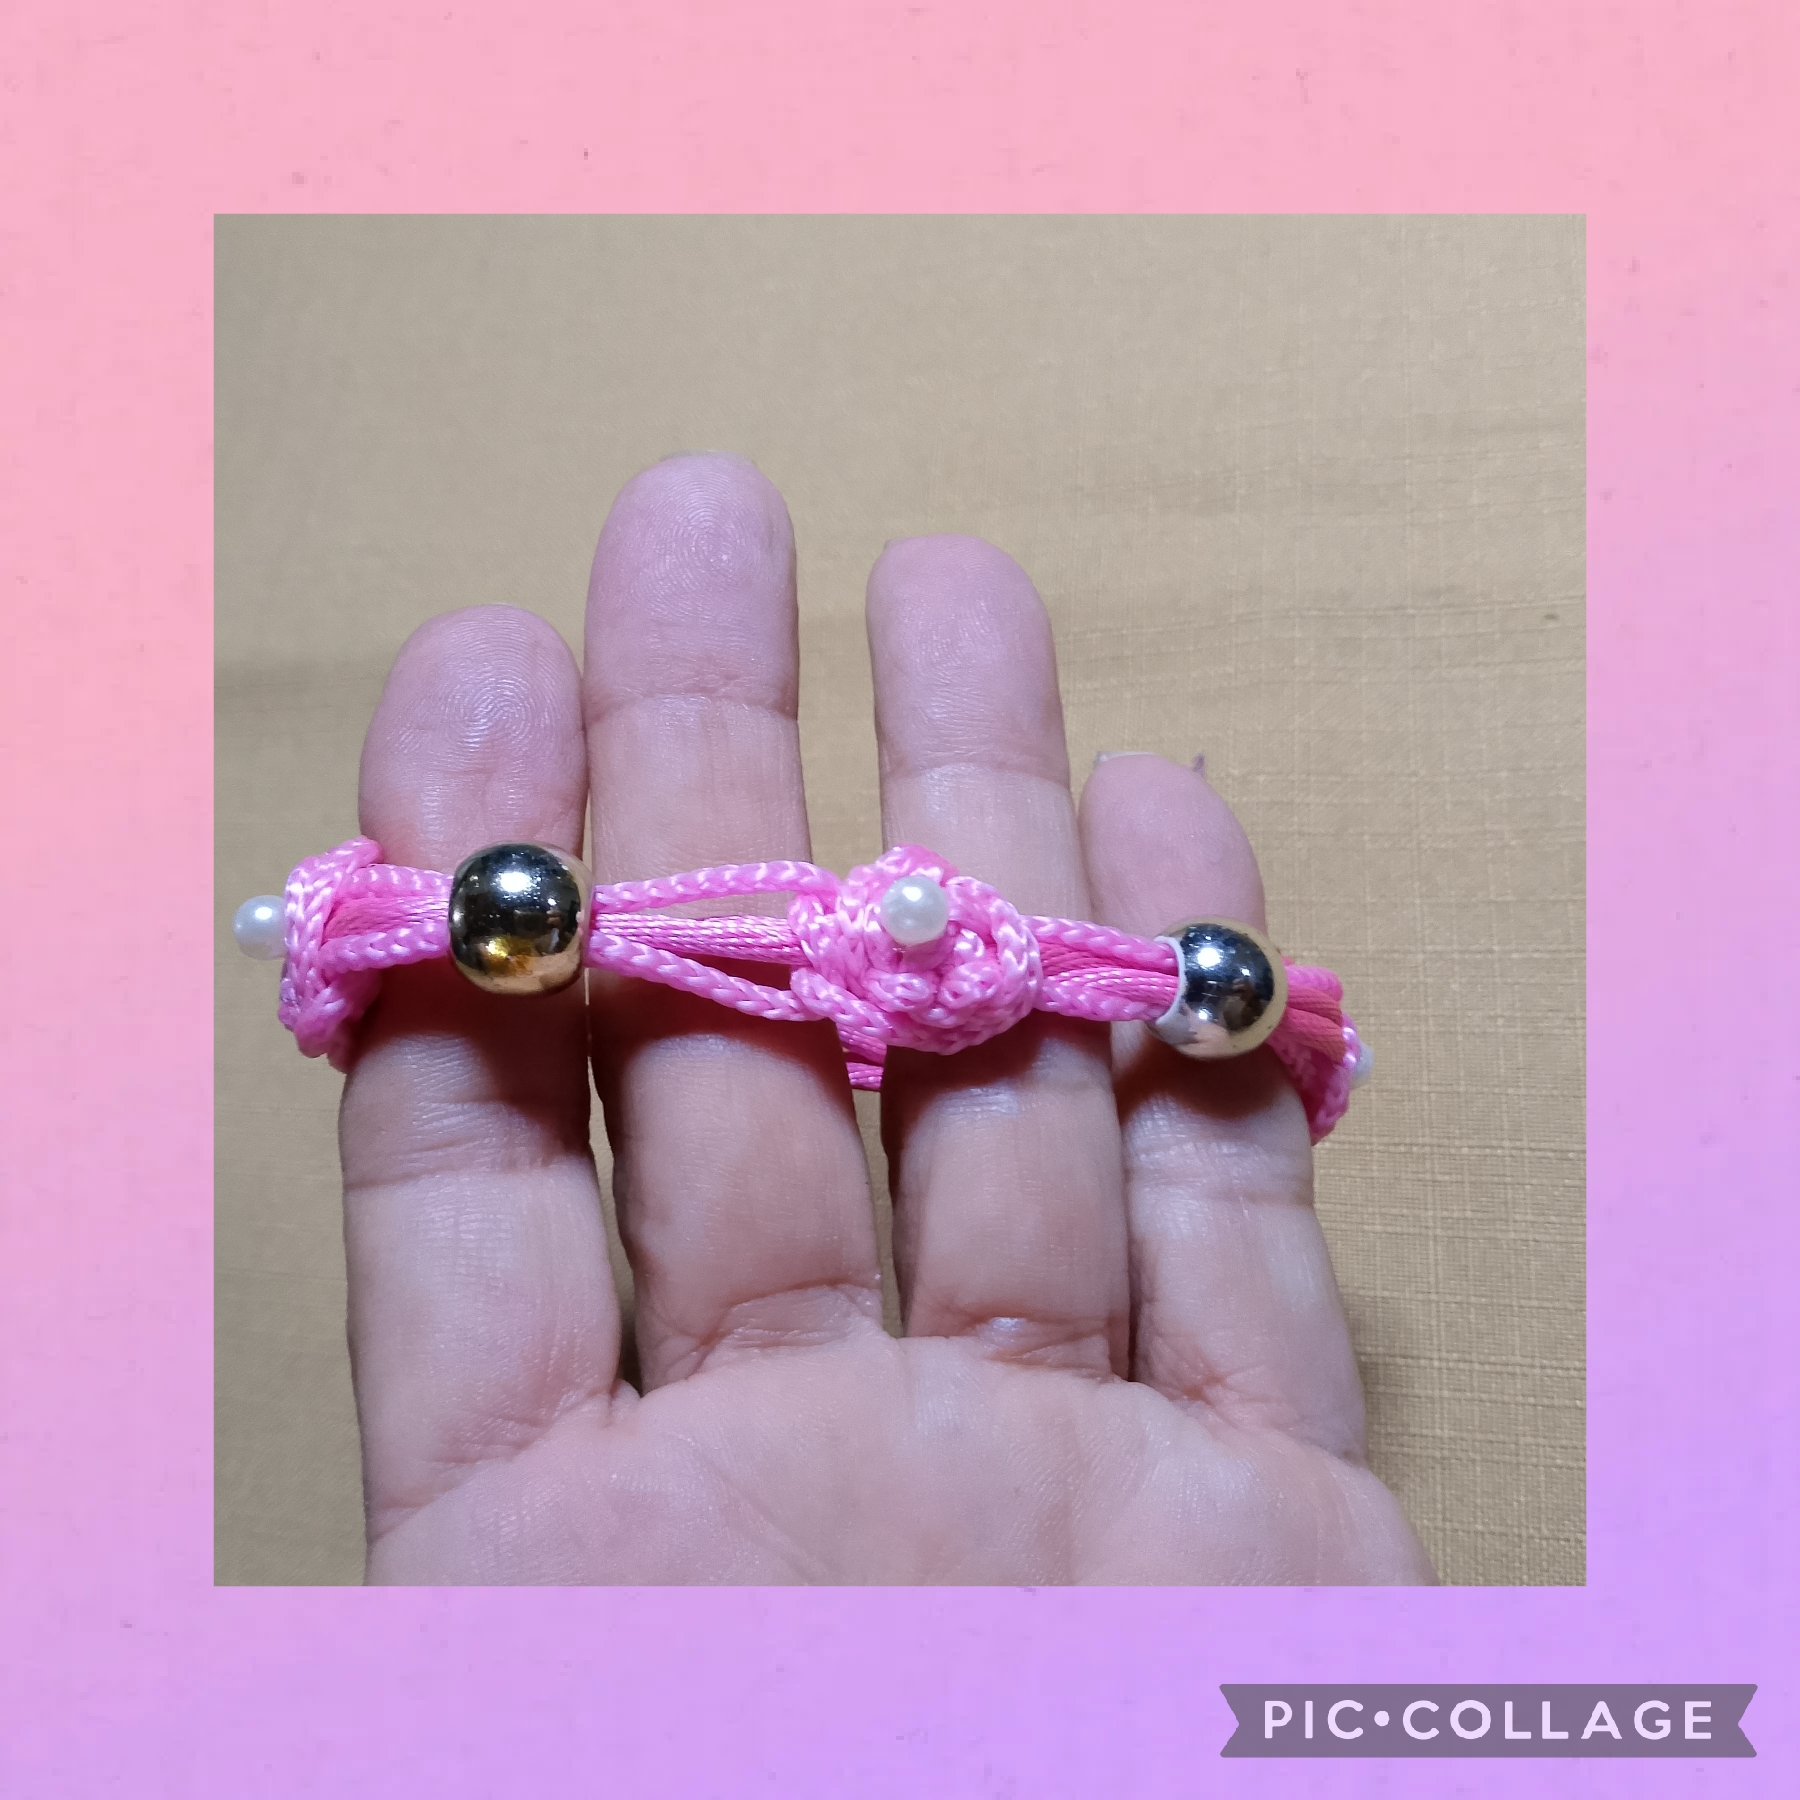
Artistas Creativos de las Manualidades y la Joyería, este es el resultado de mi primer proyecto de este año, espero que les guste y apoyen está idea con sus valiosos comentarios que pueden usar para sus accesorios poniéndole su toque personal, que pasen excelente comienzo de semana y nos vemos en la próxima manualidad, bye bye 🤗
Creative Artists of Crafts and Jewelry, this is the result of my first project of this year, I hope you like it and support this idea with your valuable comments that you can use for your accessories giving it your personal touch, have a great start to the week and see you in the next craft, bye bye 🤗
Las imágenes y redacción de este tutorial son de mi exclusiva propiedad, las fotos las tome con mi teléfono celular Tecno Spark Go 20 y las edite con una aplicación gratis del mismo.
Para traducir texto use Google traductor.
The images and writing of this tutorial are my exclusive property, I took the photos with my Tecno Spark Go 20 cell phone and edited them with a free application from it.
To translate text use Google Translate.

Lindo y delicado. Me gusta mucho la bisutería que es tierna y delicada. Exitos en tu post.
Gracias @yanethstars que bonito tu comentario y si, los colores tienen mucho que ver con lo delicado de tus accesorios, te deseo mucho éxito en este año🤗
Me gusta esa rosita me inspirado ternura 🤗
Gracias muñeca 🥰
Everything about your bracelet is beautiful. You nailed it friend. Well done and cheers to more creative ideas.
Thank you, I was touched by the comment, greetings
Very beautiful 😍
Thanks You.
I like this type of bracelet instead of beaded bracelet because it easy to wear whole day. This is beautiful and amazing bracelet.
Well done you made nice piece!
Thank you very much, the comment is very flattering. Happy Three Kings' Day.
This bracelet is more difficult to make. I really like people who make bracelets with thread because it requires a lot of effort.
Hello @ashirabdullah Well, it's not that difficult, you just have to like what you do, the rest is patience and dedication,greetings.
You made a very beautiful piece of bracelet. I will try this for myself.