Beautiful Bracelet Made of Wire with Golden Beads [Esp-Eng] Tutorial.//
Saluditos mis Artistas Creativos de las Manualidades y la Joyería, como siempre mis deseos porque las mejores vibras rocíen su entorno con mucha salud, prosperidad, armonía, y amor.
Hoy es el día de No al Tabaco, como sabemos este ha sido por muchos años causante de millones de muertes y muchas enfermedades en el mundo; sin tomar en cuenta la aparición de los dispositivos electrónicos que con o sin nicotina no contribuyen ni facilitan para dejar el hábito, sino que por el contrario inducen principalmente a los más jóvenes a utilizarlos sin tomar en cuenta el daño que con su adicción representa .
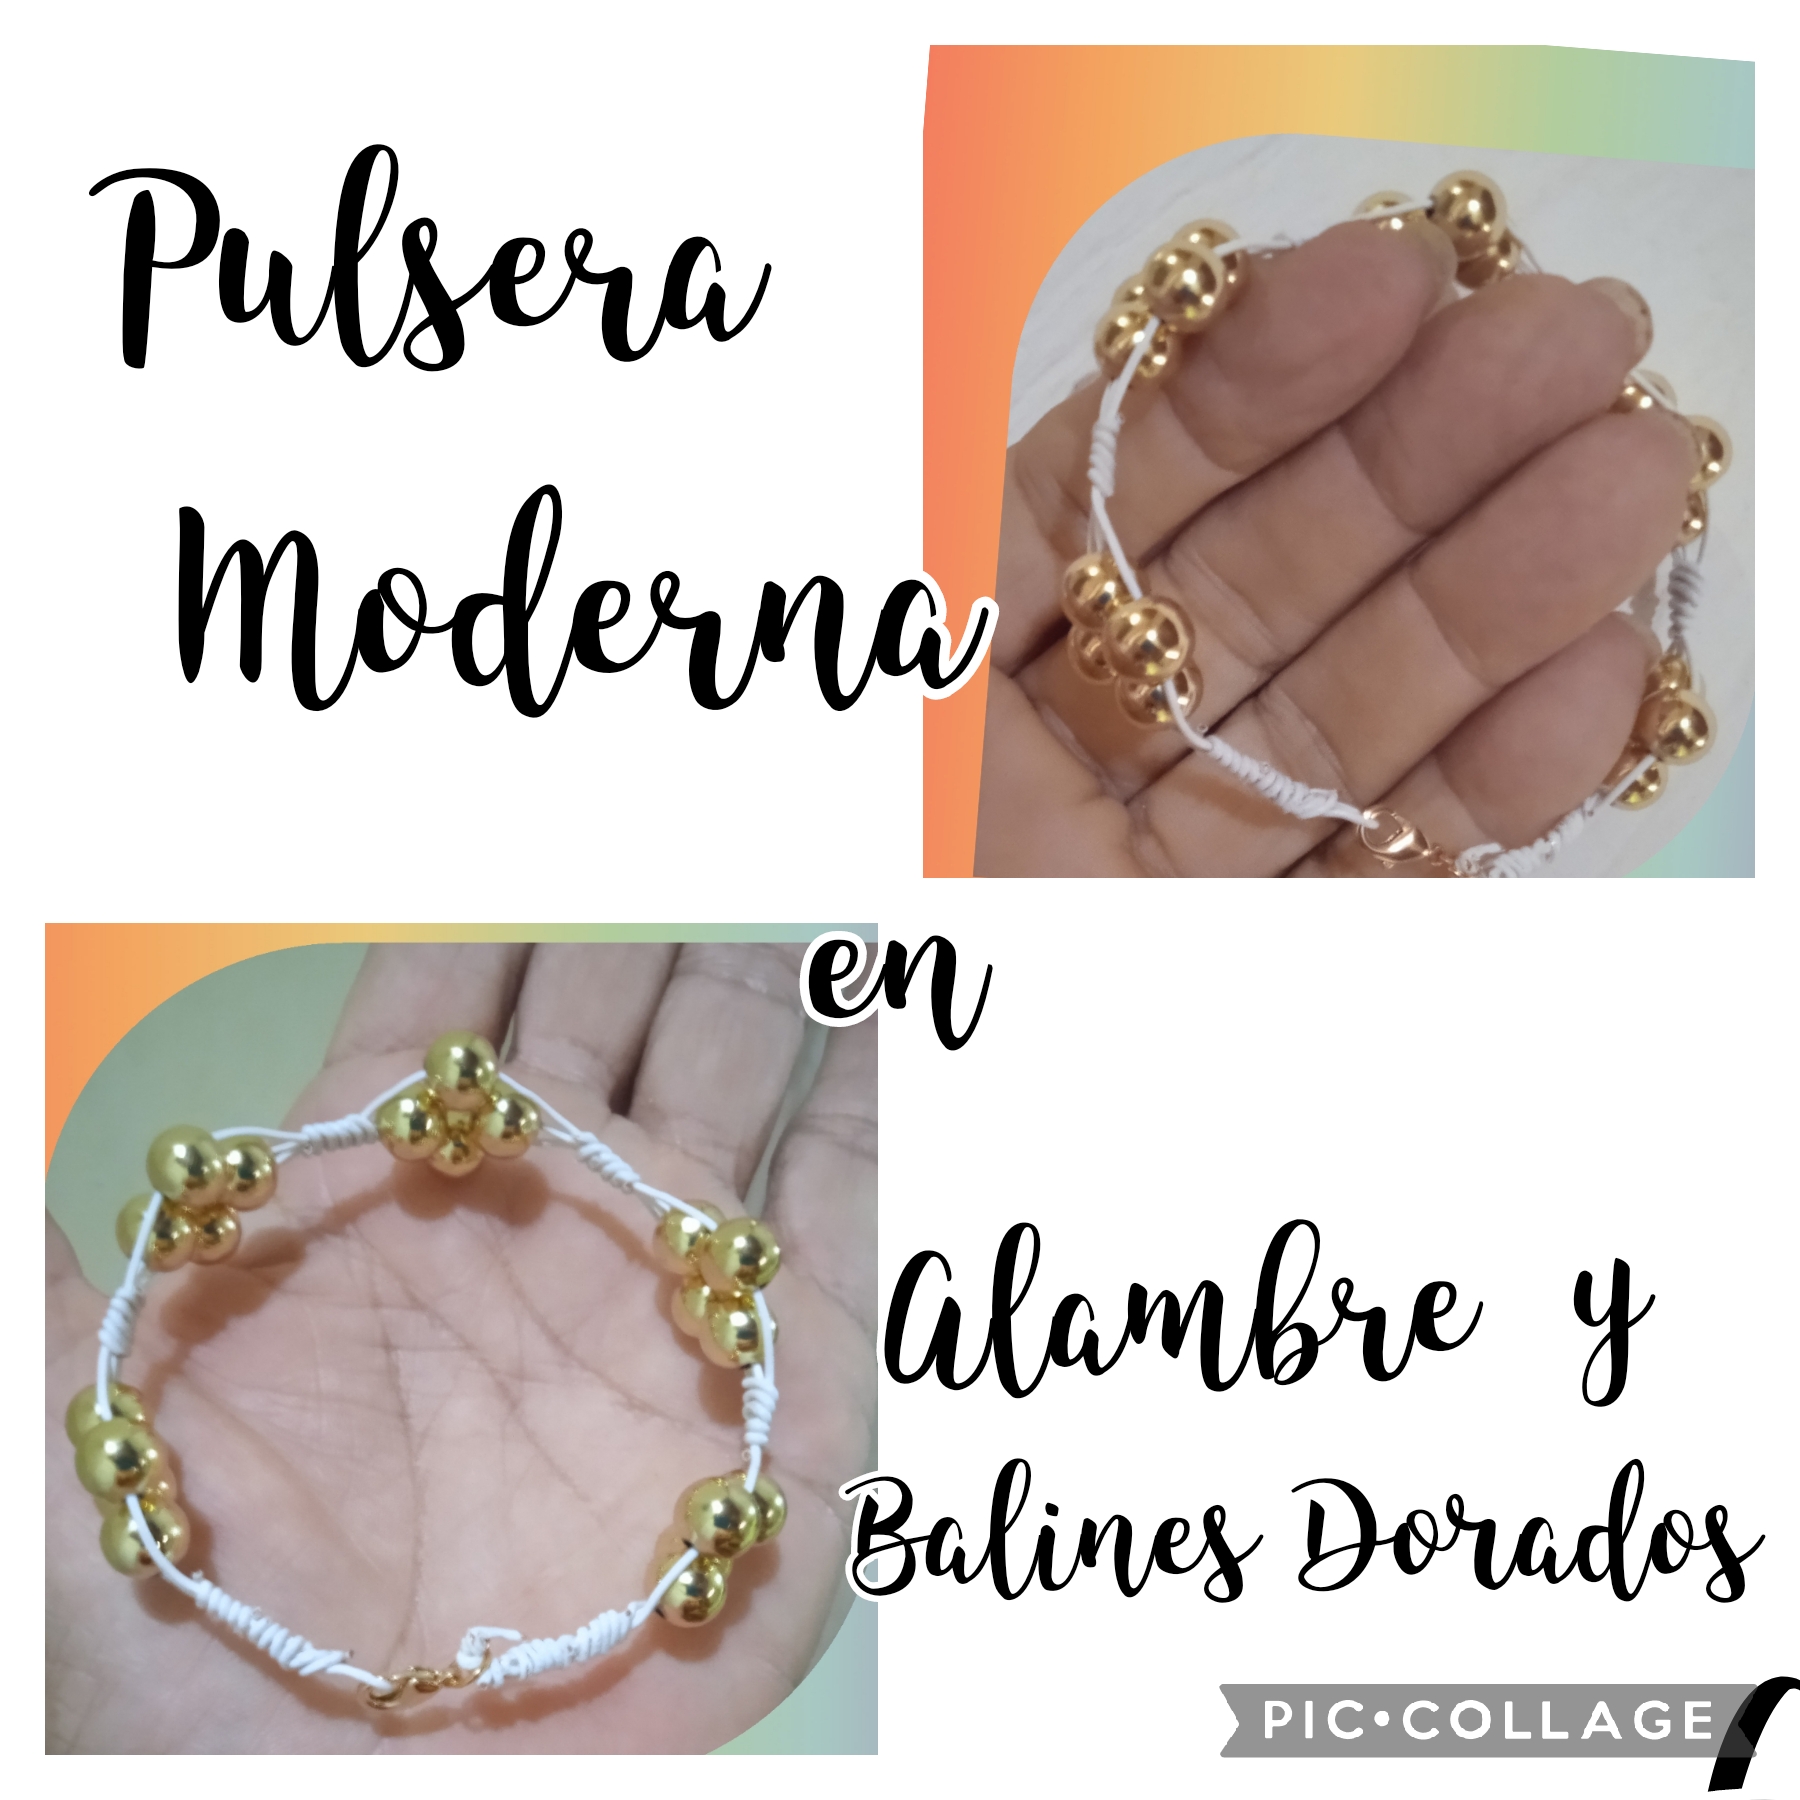
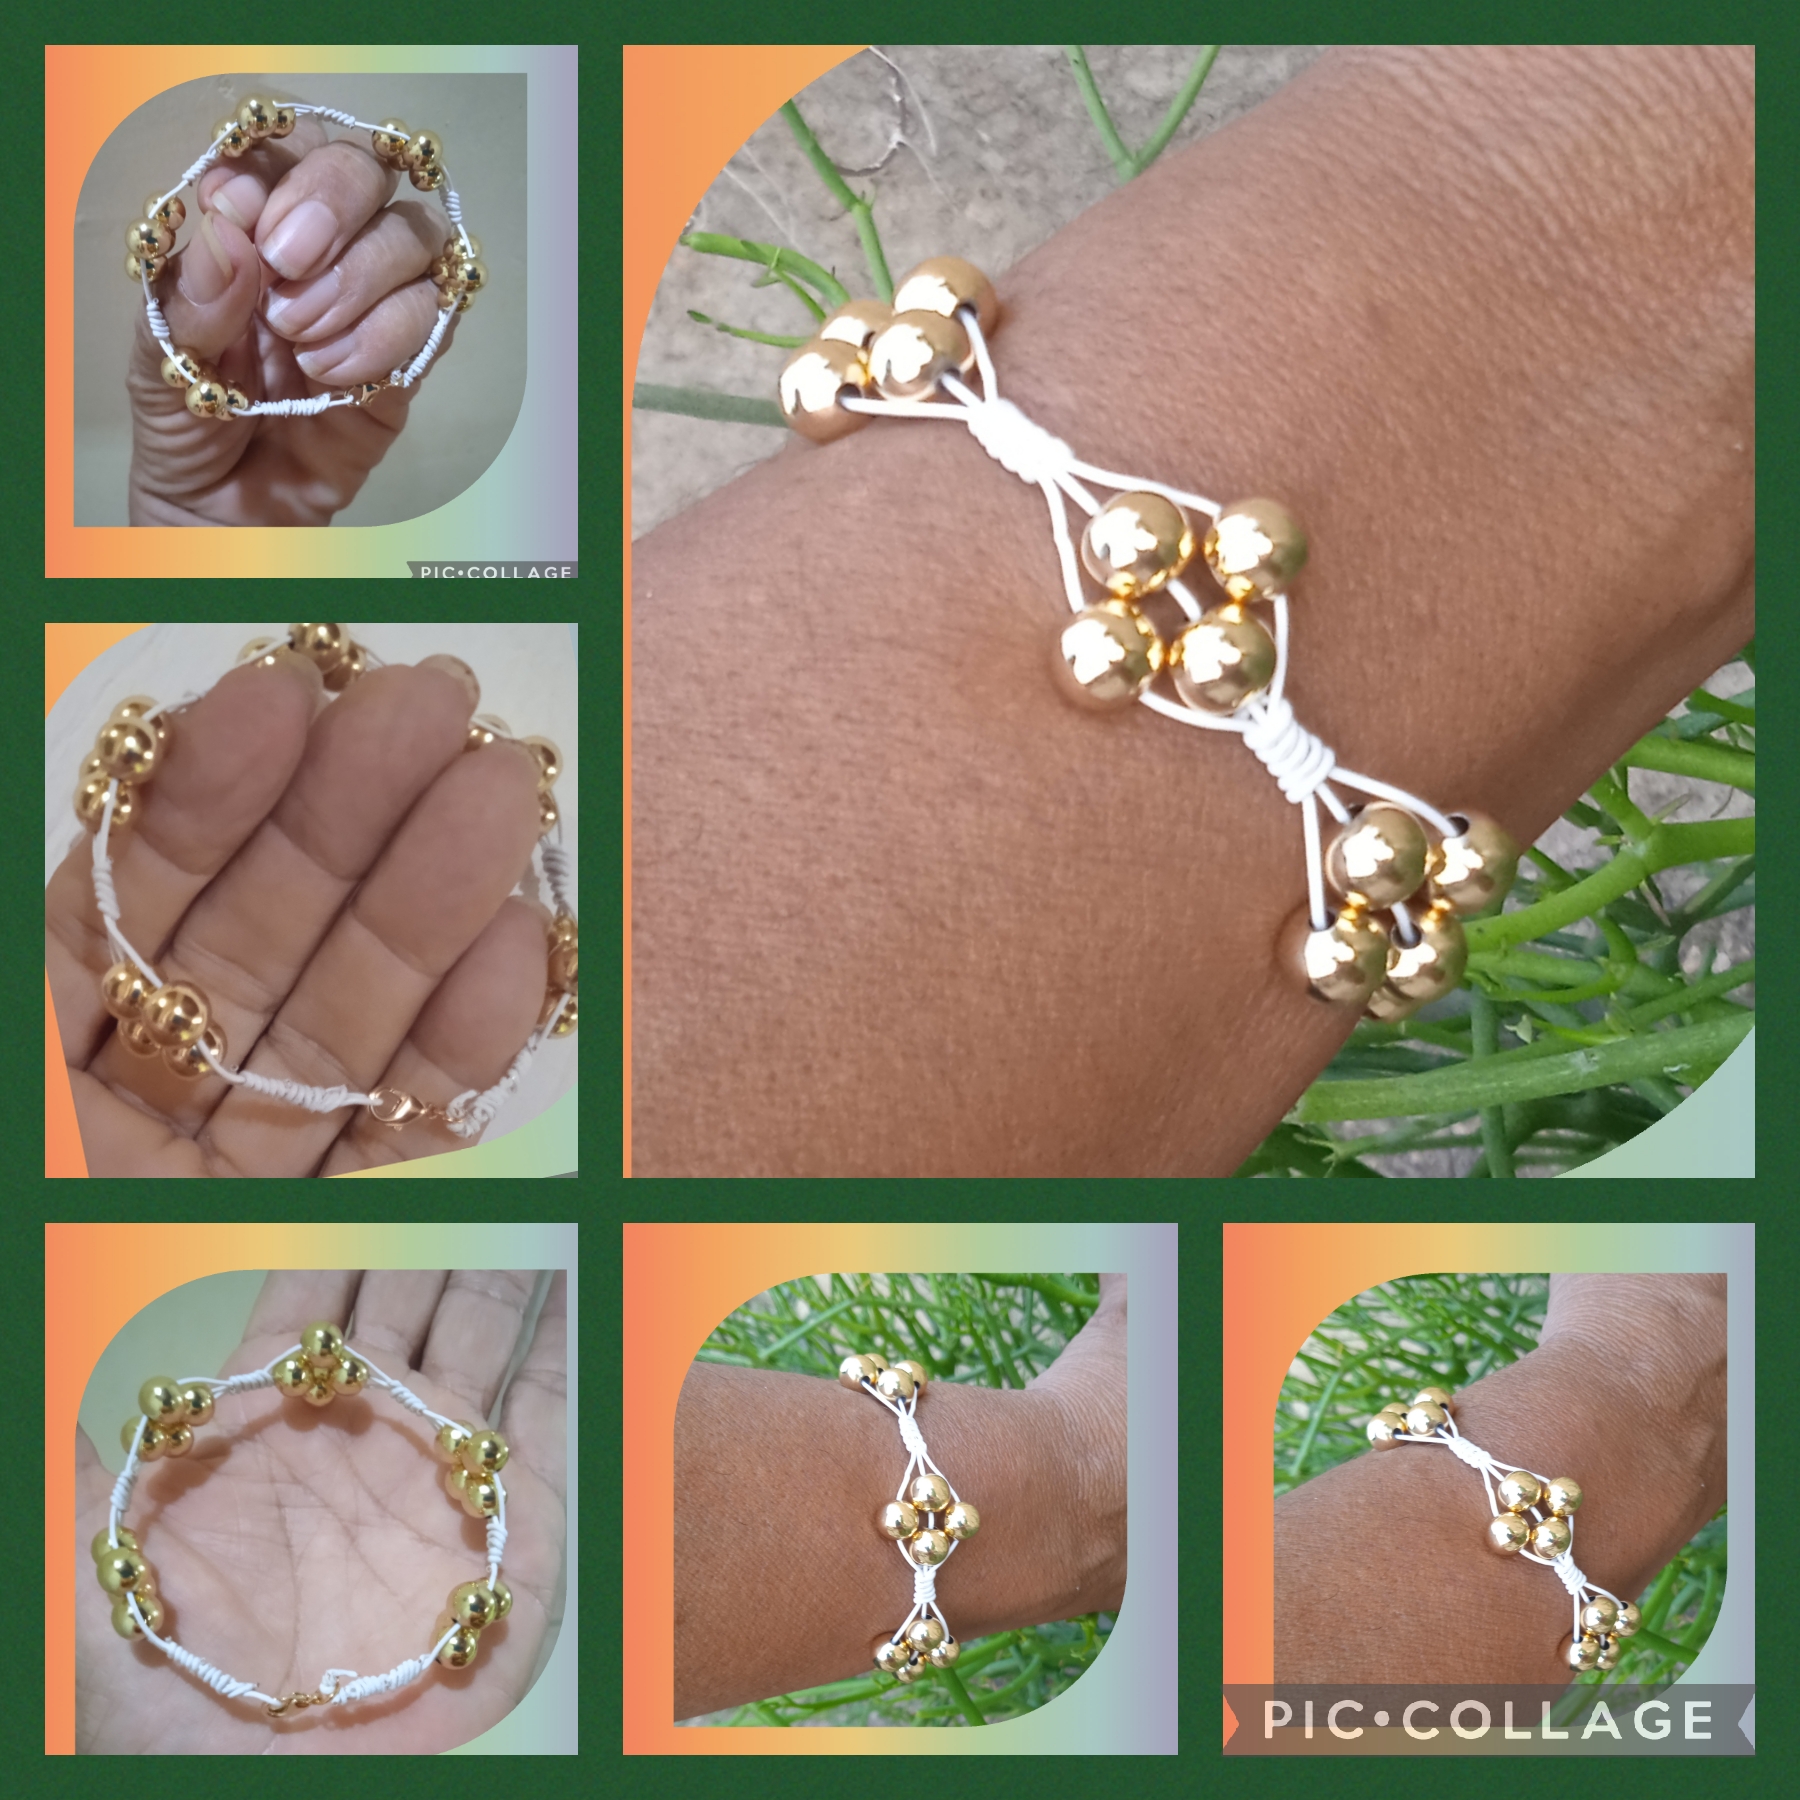
Bueno, bueno hoy traigo una muy bonita y moderna Pulsera realizada con la técnica del alambrismo, adornada con balines dorados.
Sigan leyendo este paso a paso para que vean como la hice:
Greetings my Creative Artists of Crafts and Jewelry, as always my wishes that the best vibes sprinkle your surroundings with lots of health, prosperity, harmony, and love.
Today is No to Tobacco day, as we know it has been the cause of millions of deaths and many diseases in the world for many years; without taking into account the appearance of electronic devices that with or without nicotine do not contribute or facilitate quitting the habit, but on the contrary mainly induce the youngest to use them without taking into account the damage that their addiction represents.
Well, well, today I bring you a very beautiful and modern bracelet made with the wire technique, decorated with golden beads.
Keep reading this step by step to see how I did it:
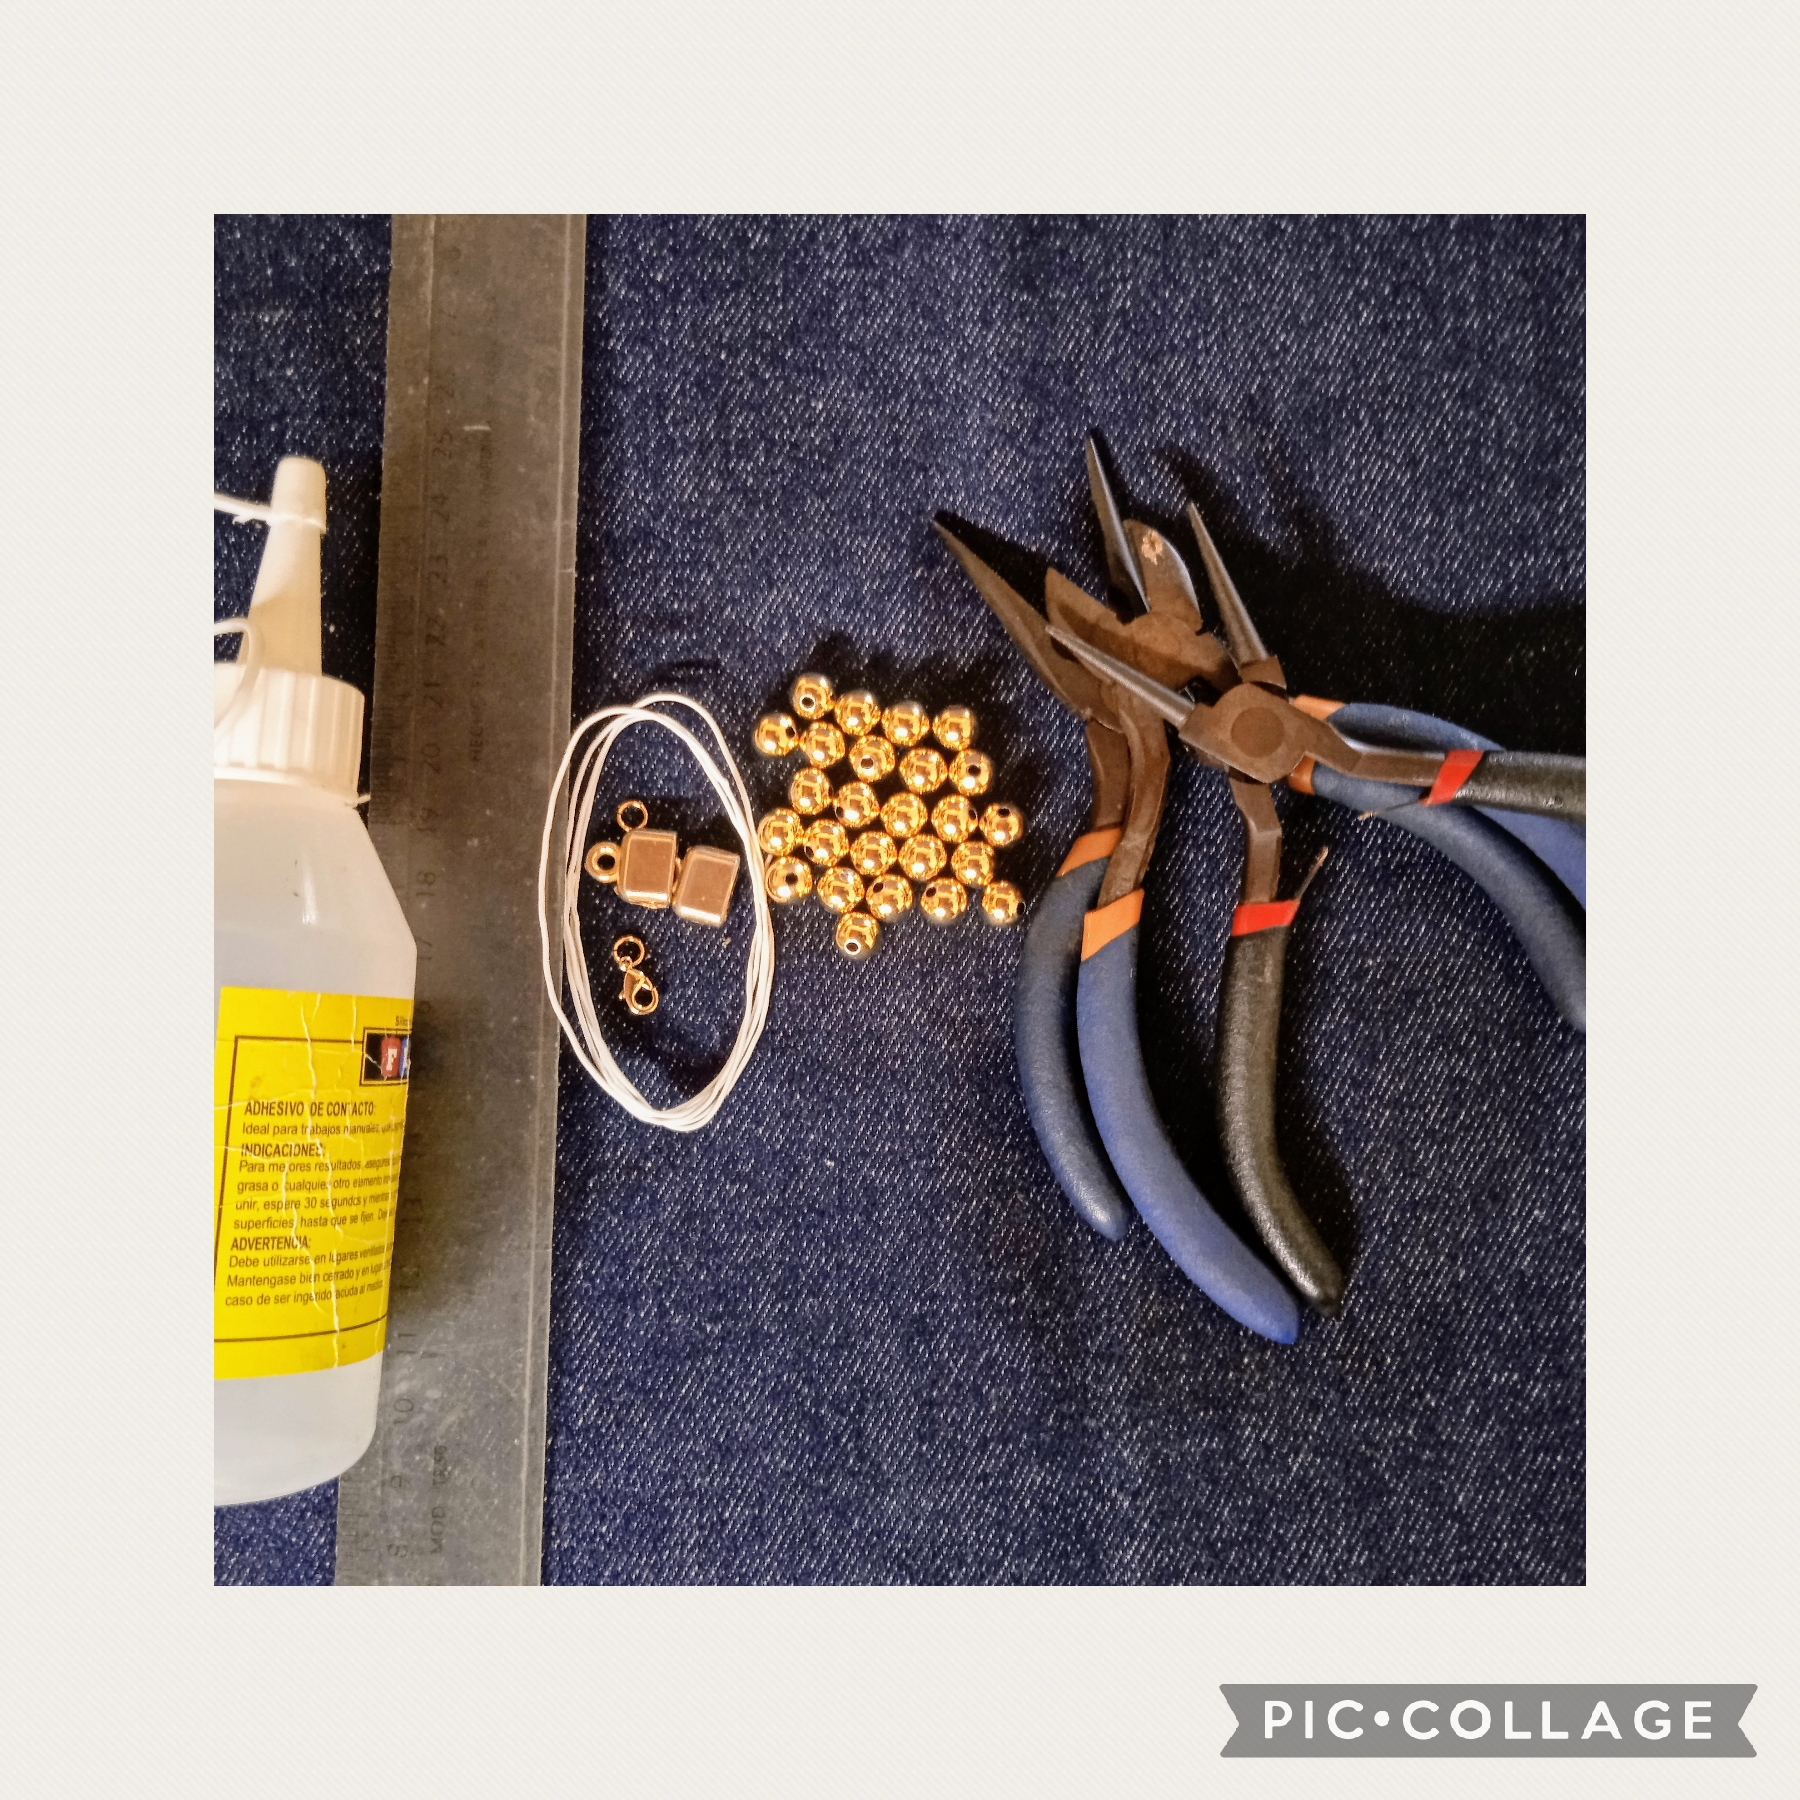
MATERIALES USADOS EN LA ELABORACIÓN DE ESTA HERMOSA Y MODERNA PULSERA:
✓ Un metro de alambre calibre 26 '" color
blanco.
✓ Veinte balines dorados número seis.
✓ Silicón frio.
✓ Tres Argollas doradas.
✓ Una tranca tipo caiman.
✓ Pinza punta redonda.
✓ Pinza plana.
✓ Pinza de corte.
✓ Regla.
MATERIALS USED IN THE PREPARATION OF THIS BEAUTIFUL AND MODERN BRACELET:
✓ One meter of 26'" gauge colored wire
white.
✓ Twenty golden number six pellets.
✓ Cold silicone.
✓ Three golden rings.
✓ An alligator type lock.
✓ Round tip tweezers.
✓ Flat clamp.
✓ Cutting clamp.
✓ Rule.
PARA REALIZAR ESTA MANUALIDAD USO ESTOS SENCILLOS PASOS.
PRIMER PASO:
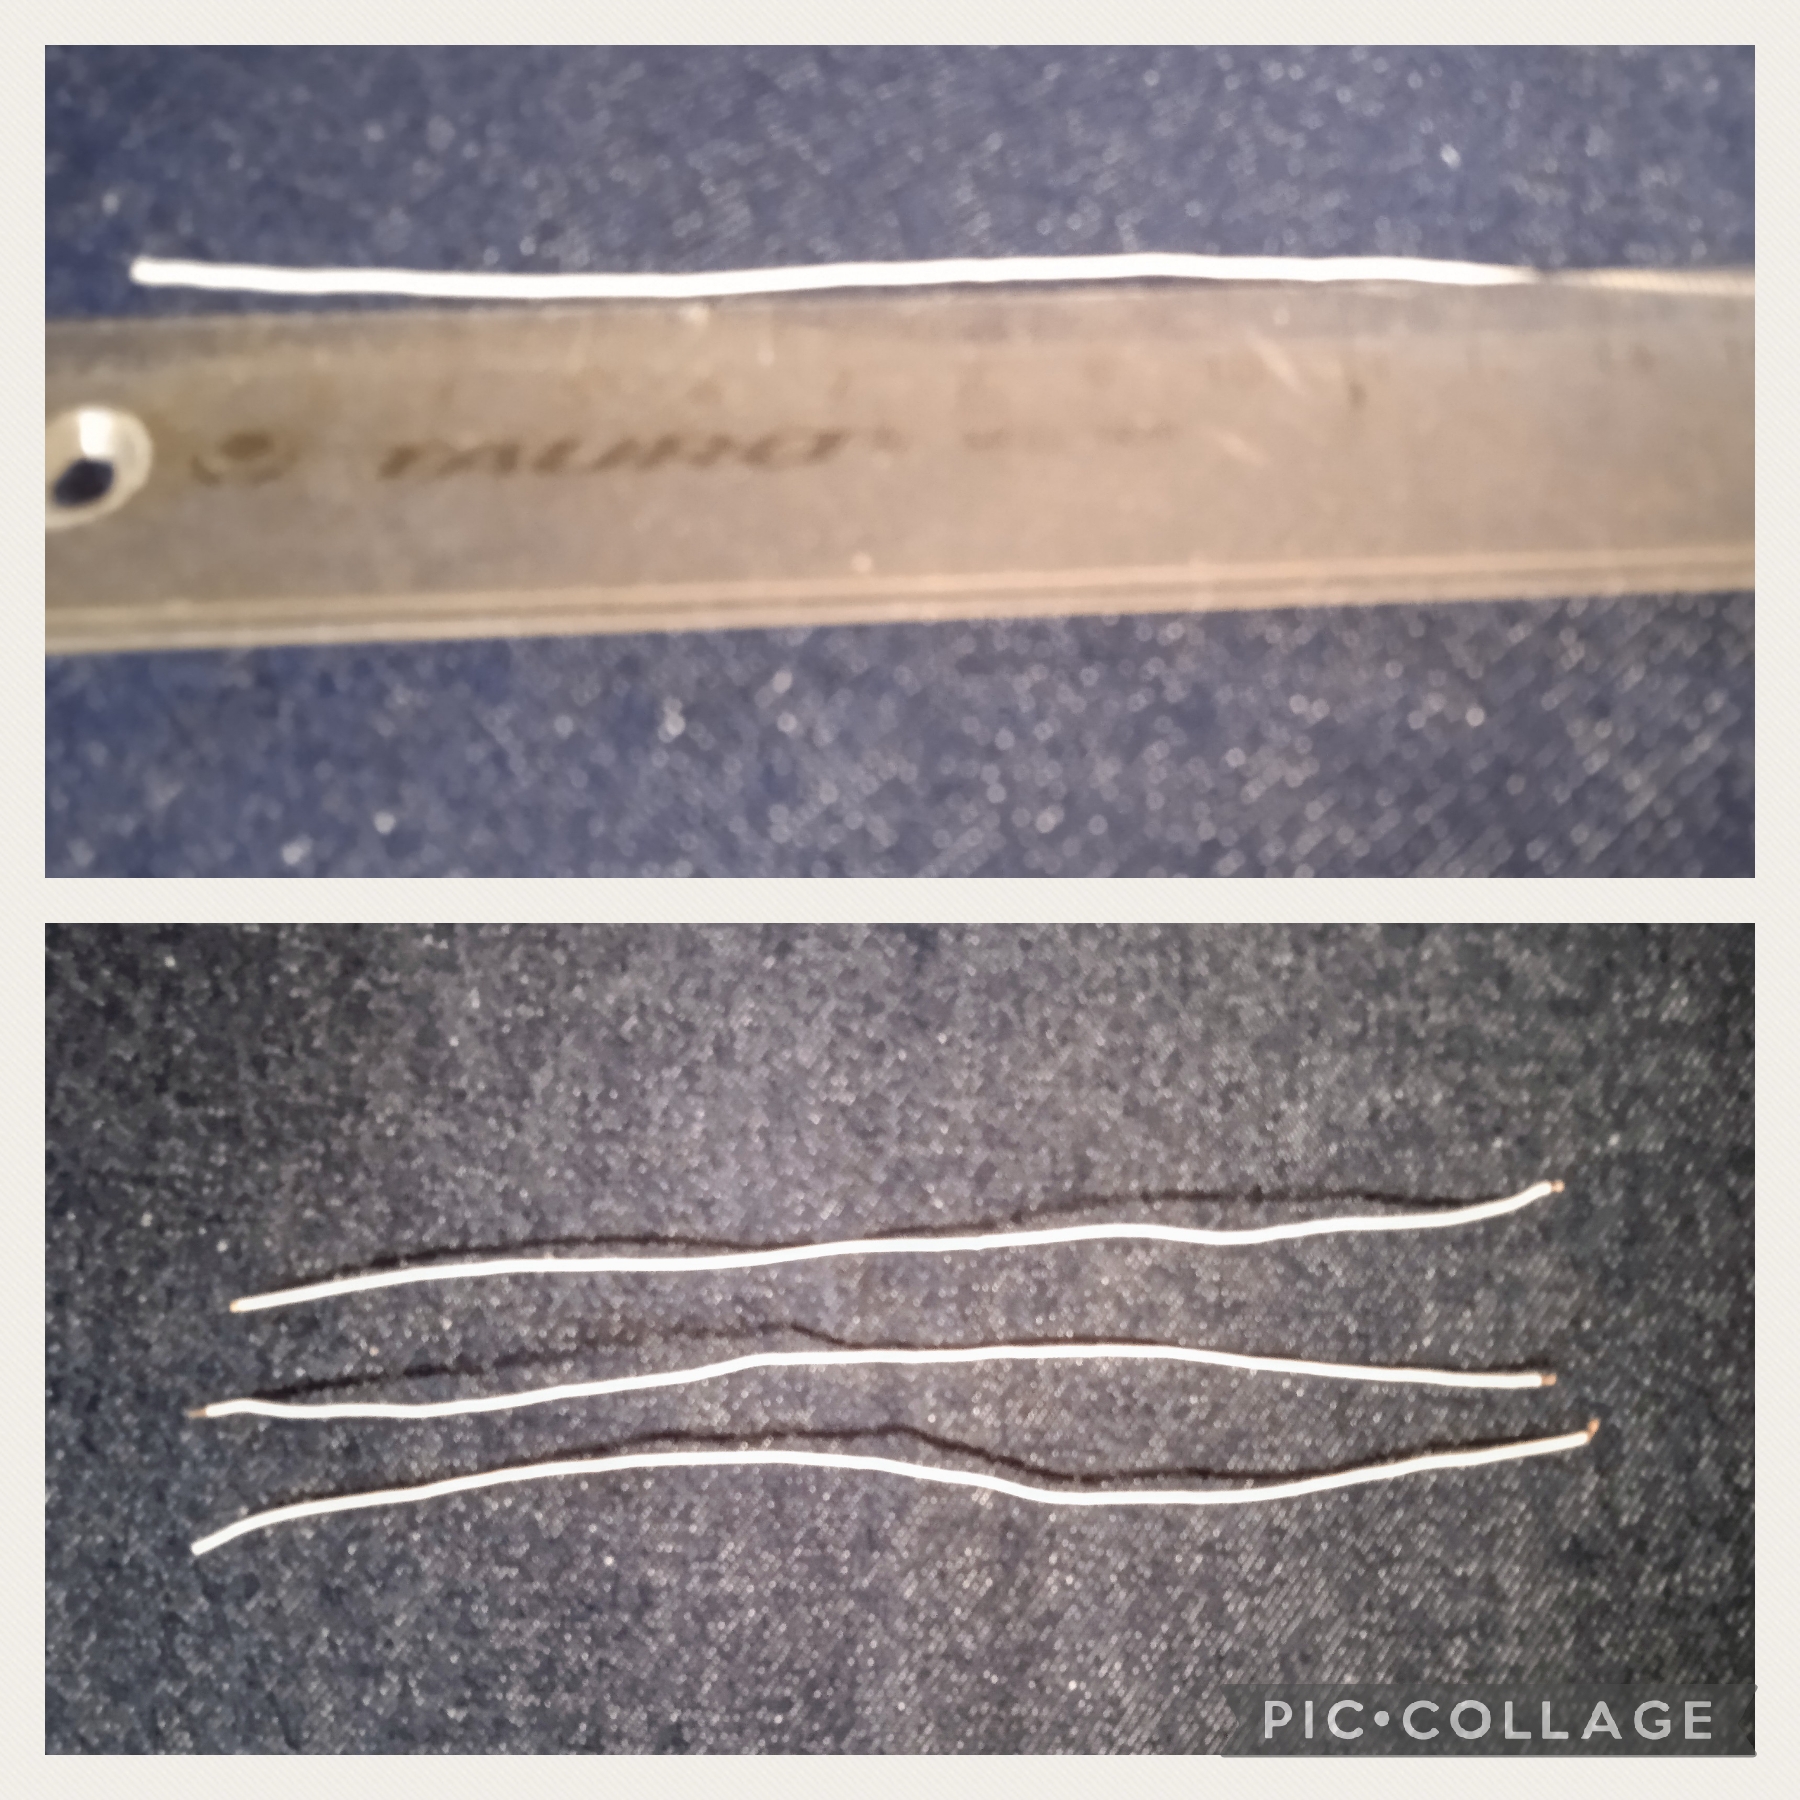
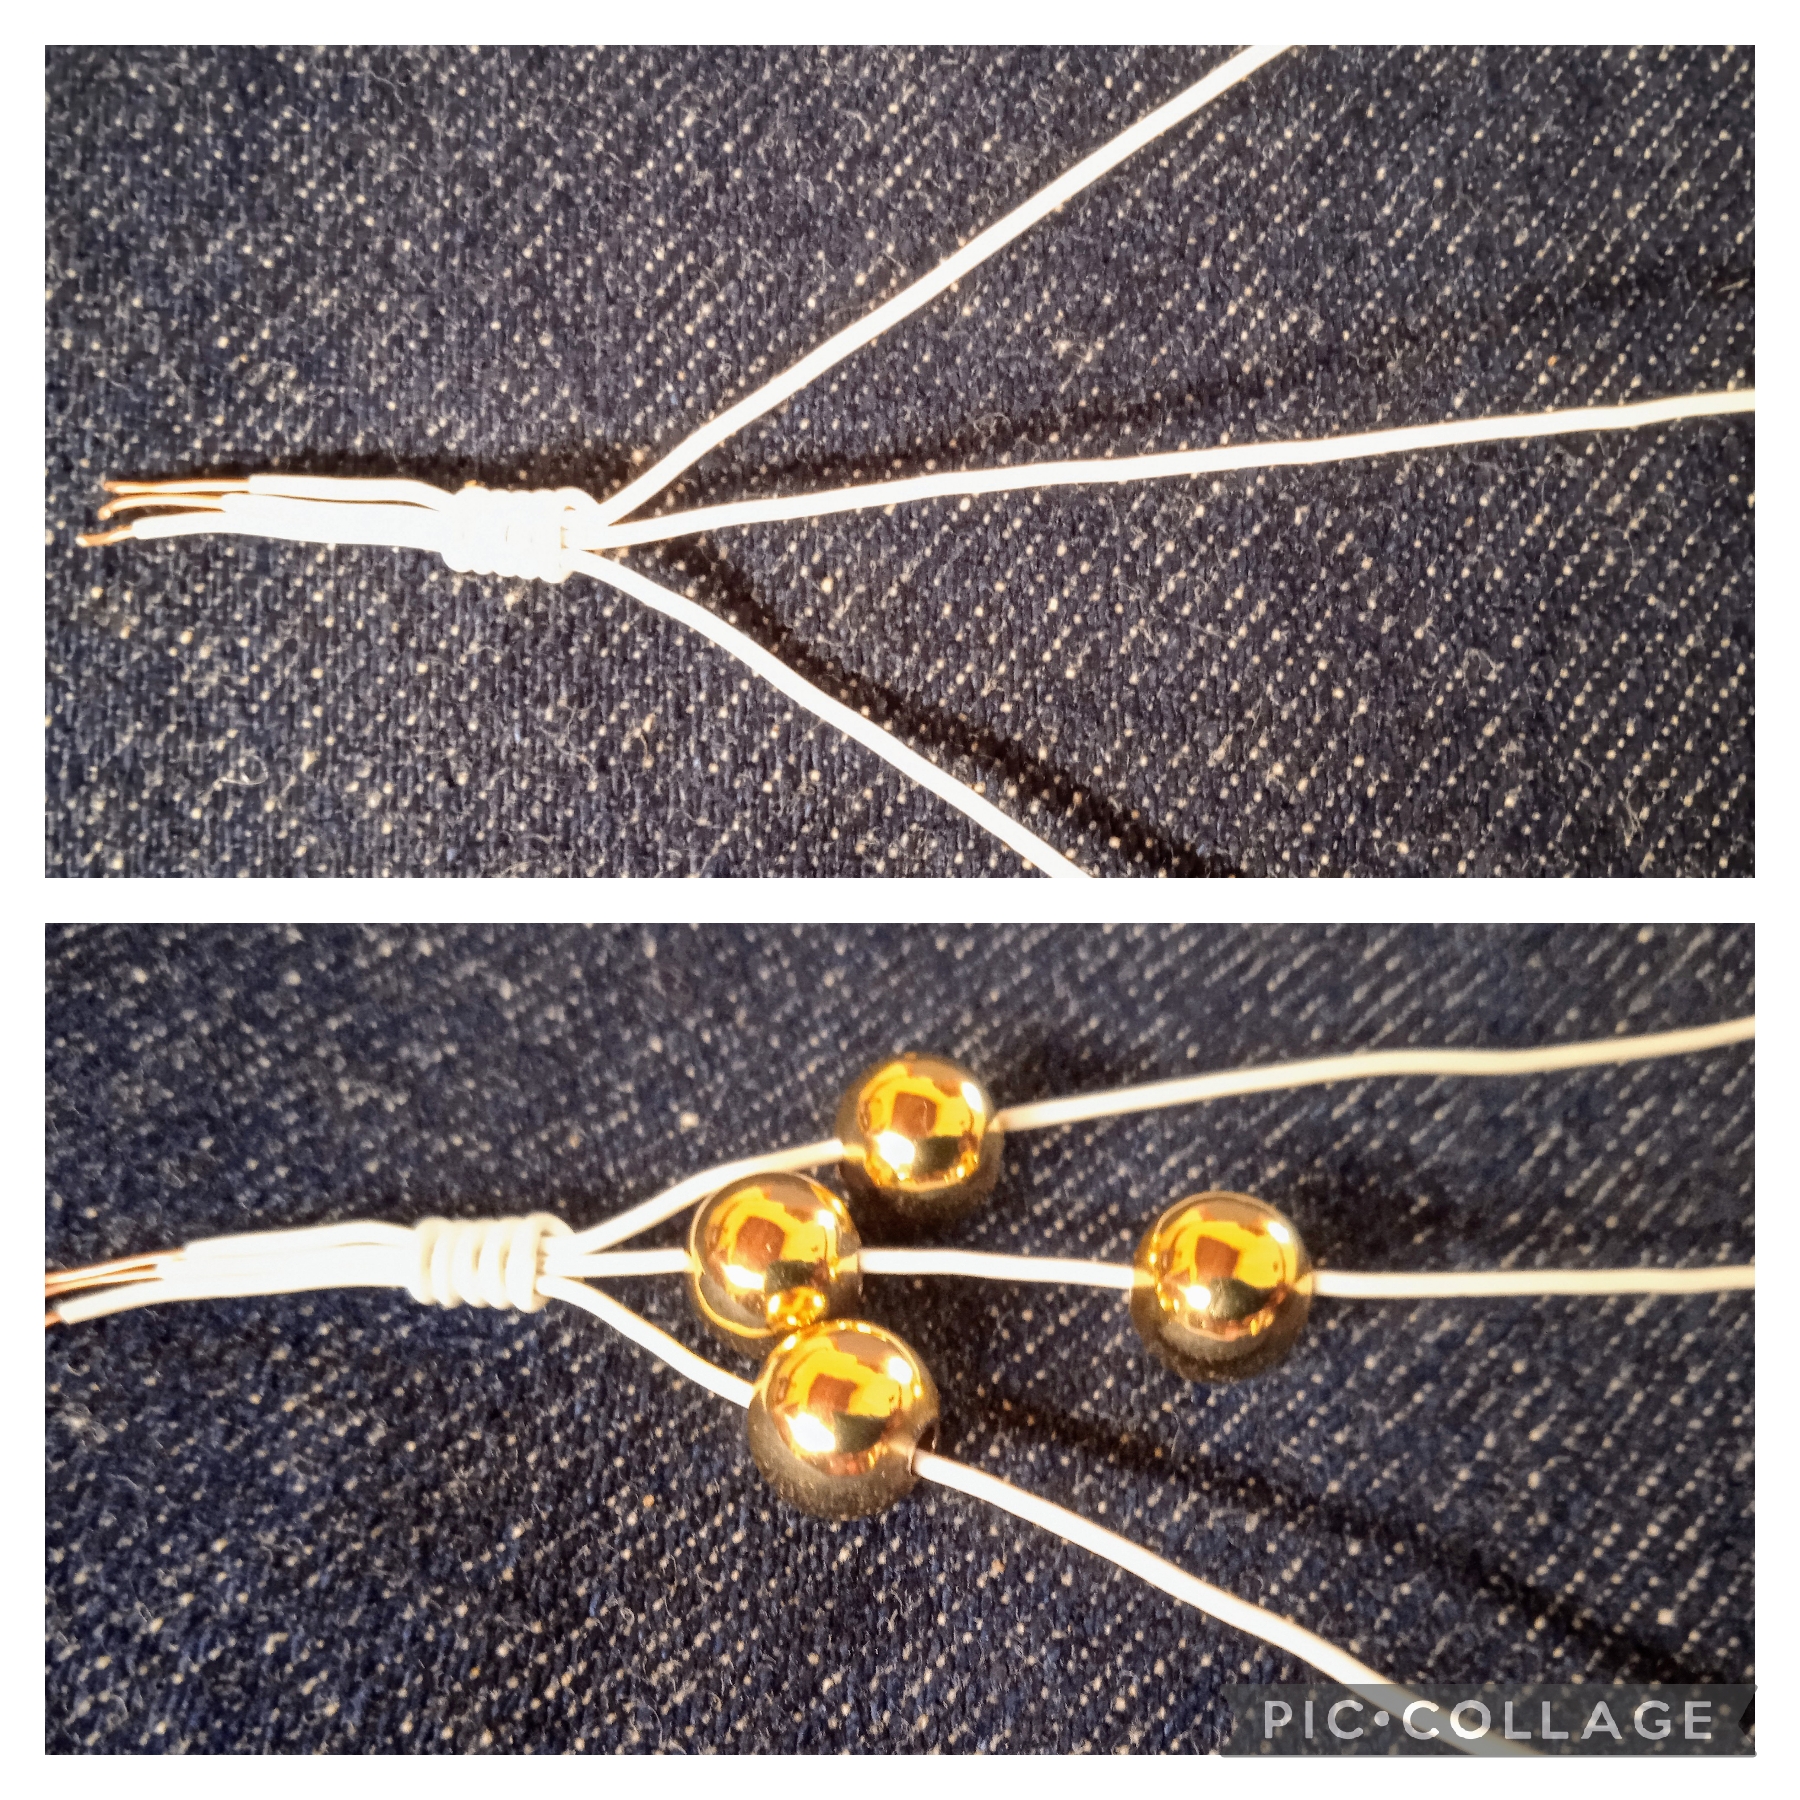
Comienzo usando la regla mido tres trozos de veinte centímetros cada uno de alambre calibre 26 " color blanco y los corto como se ve en la imagen.
TO MAKE THIS CRAFTY USE THESE SIMPLE STEPS.
FIRST STEP:
I start using the ruler, measure three pieces of twenty centimeters each of 26" gauge white wire and cut them as seen in the image.
SEGUNDO PASO:
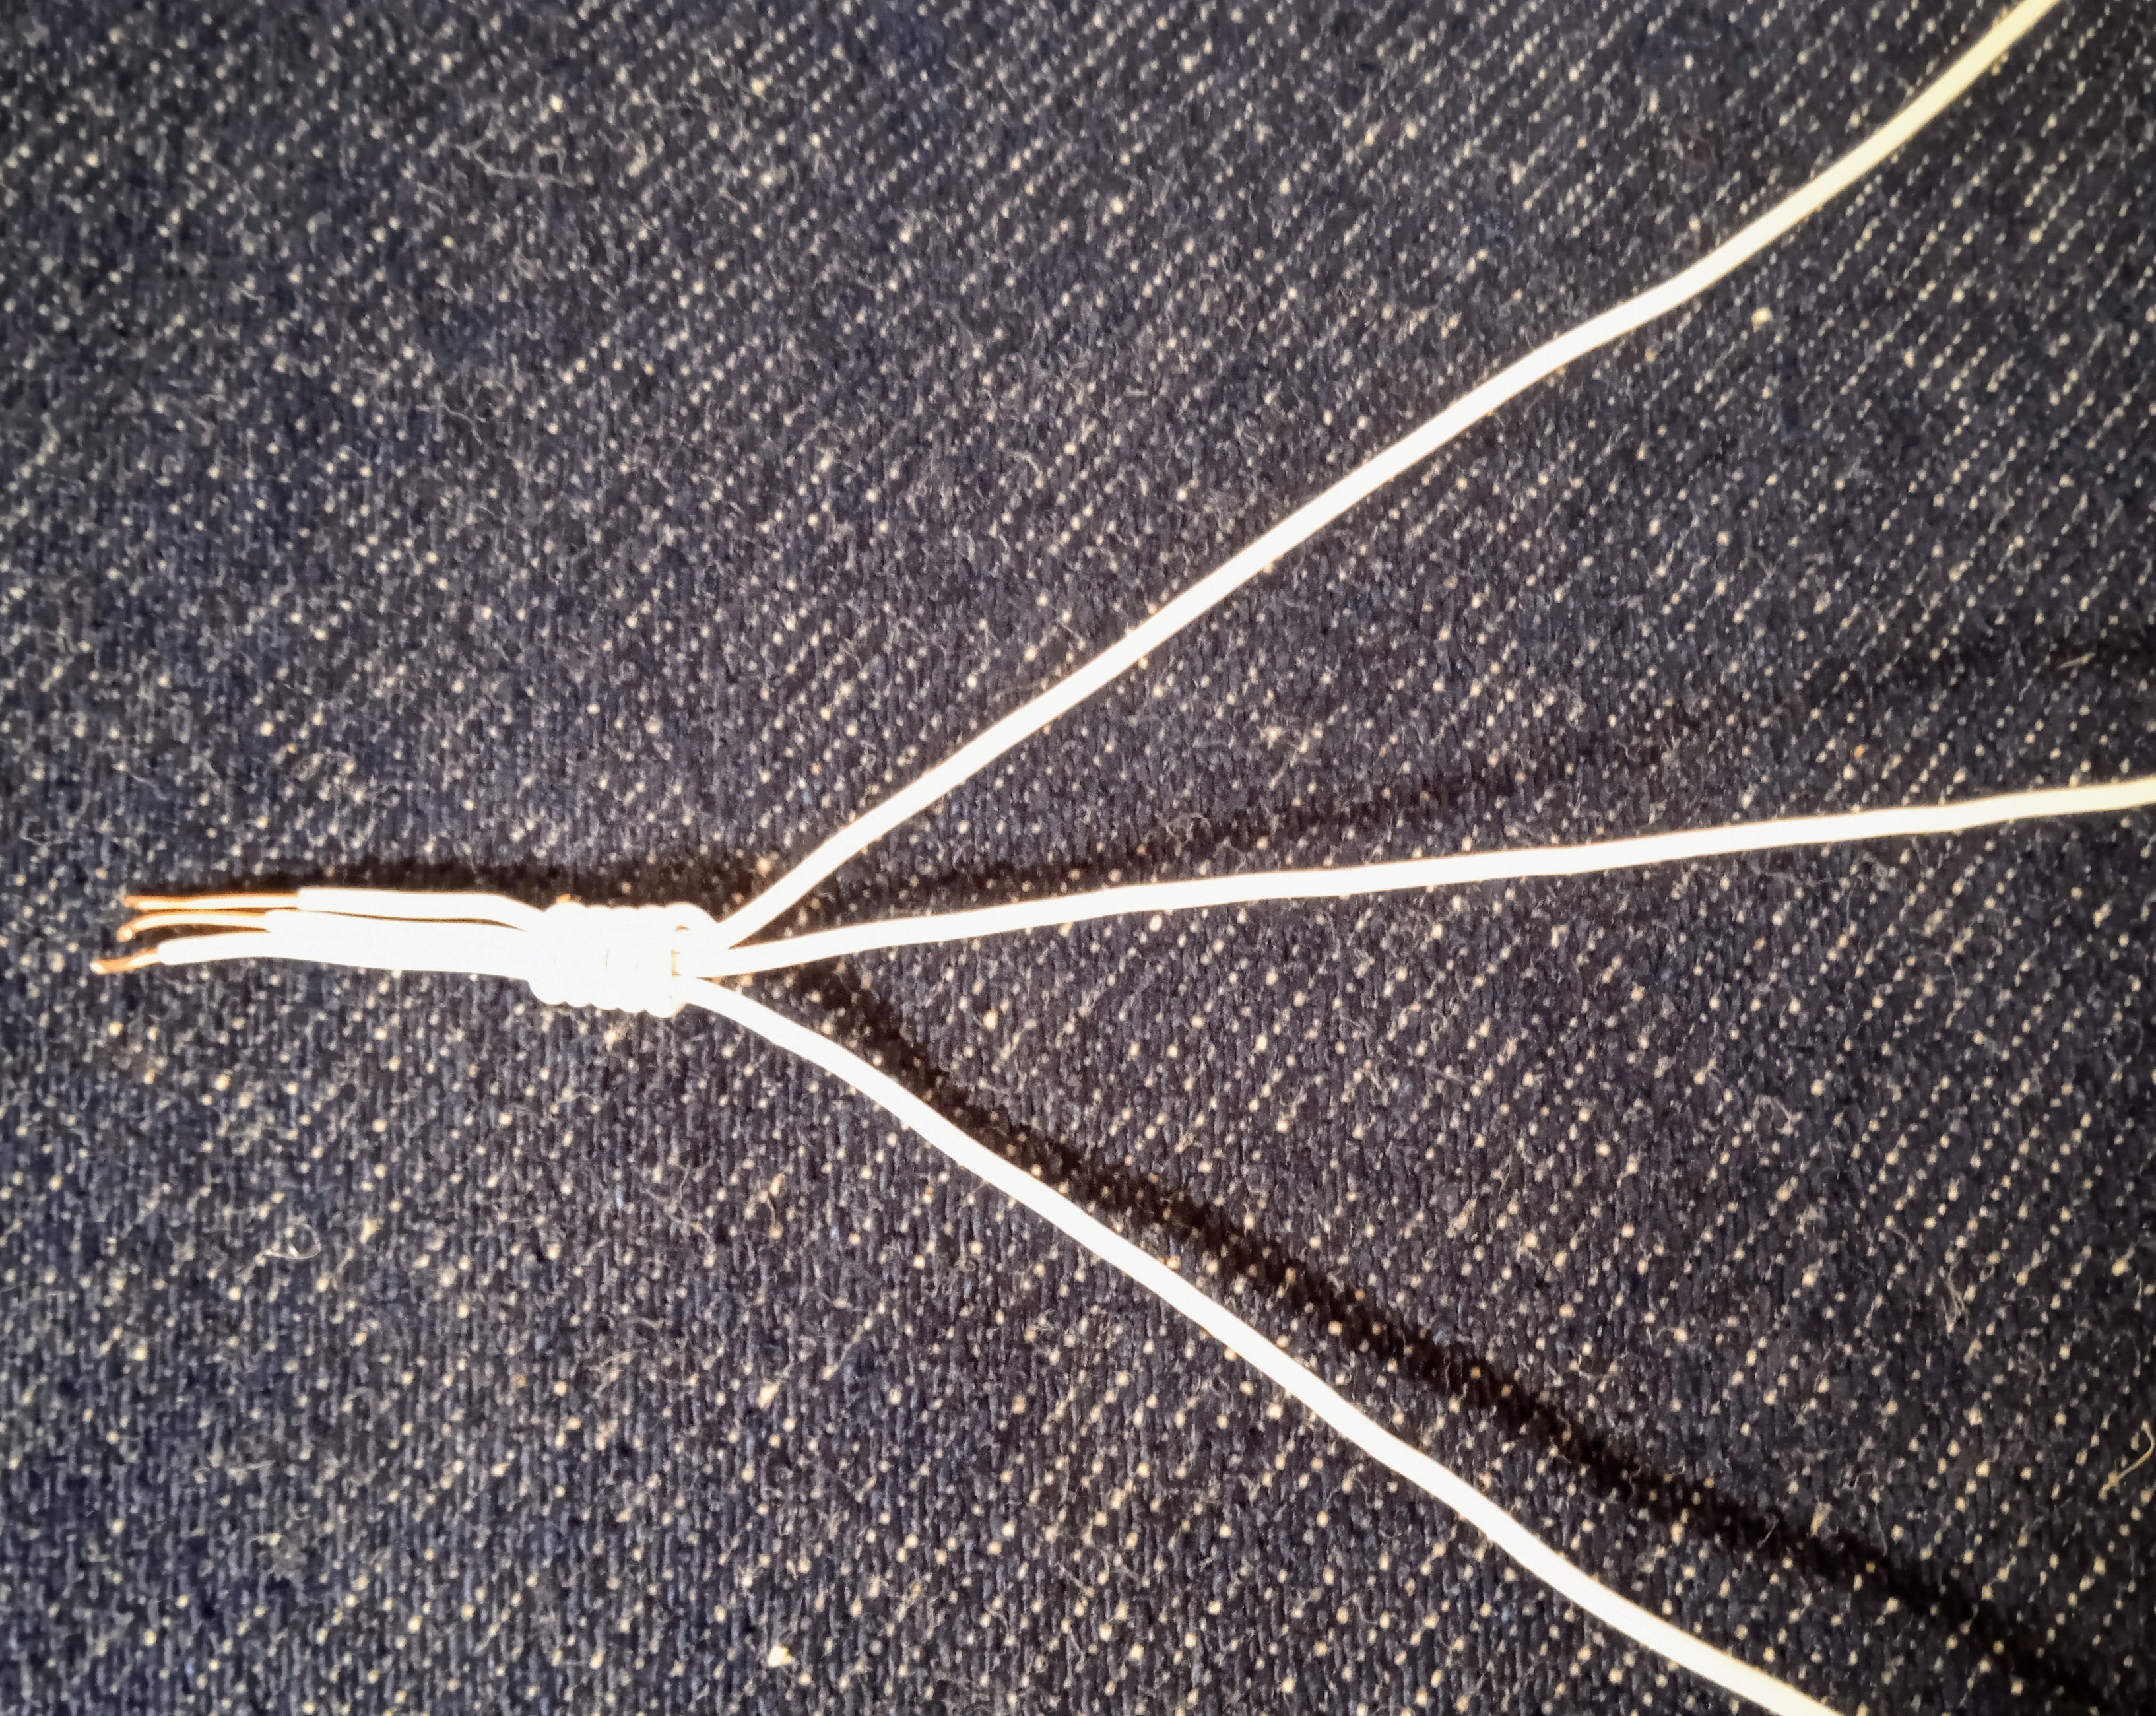
En este paso, tomo los tres trozos del alambre y los junto a una medida igual, corto con la pinza de corte un trozo de cinco centímetros del mismo alambre, le pongo un punto de silicón frio y lo entorcho alrededor de los tres alambres y realizo cinco vueltas; coloco otro punto de silicón, ahora corto el excedente usando la pinza de corte y con la pinza plana doy una forma aplanada ajusto como muestra la imagen y asi elaboro un separador para luego continuar.
SECOND STEP:
In this step, I take the three pieces of the wire and put them together to an equal measurement, I cut a five-centimeter piece of the same wire with the cutting pliers, I put a point of cold silicone on it and I twist it around the three wires and I make five turns; I place another point of silicone, now I cut the excess using the cutting pliers and with the flat pliers I give a flattened shape, adjust as shown in the image and thus make a separator and then continue .
TERCER PASO:
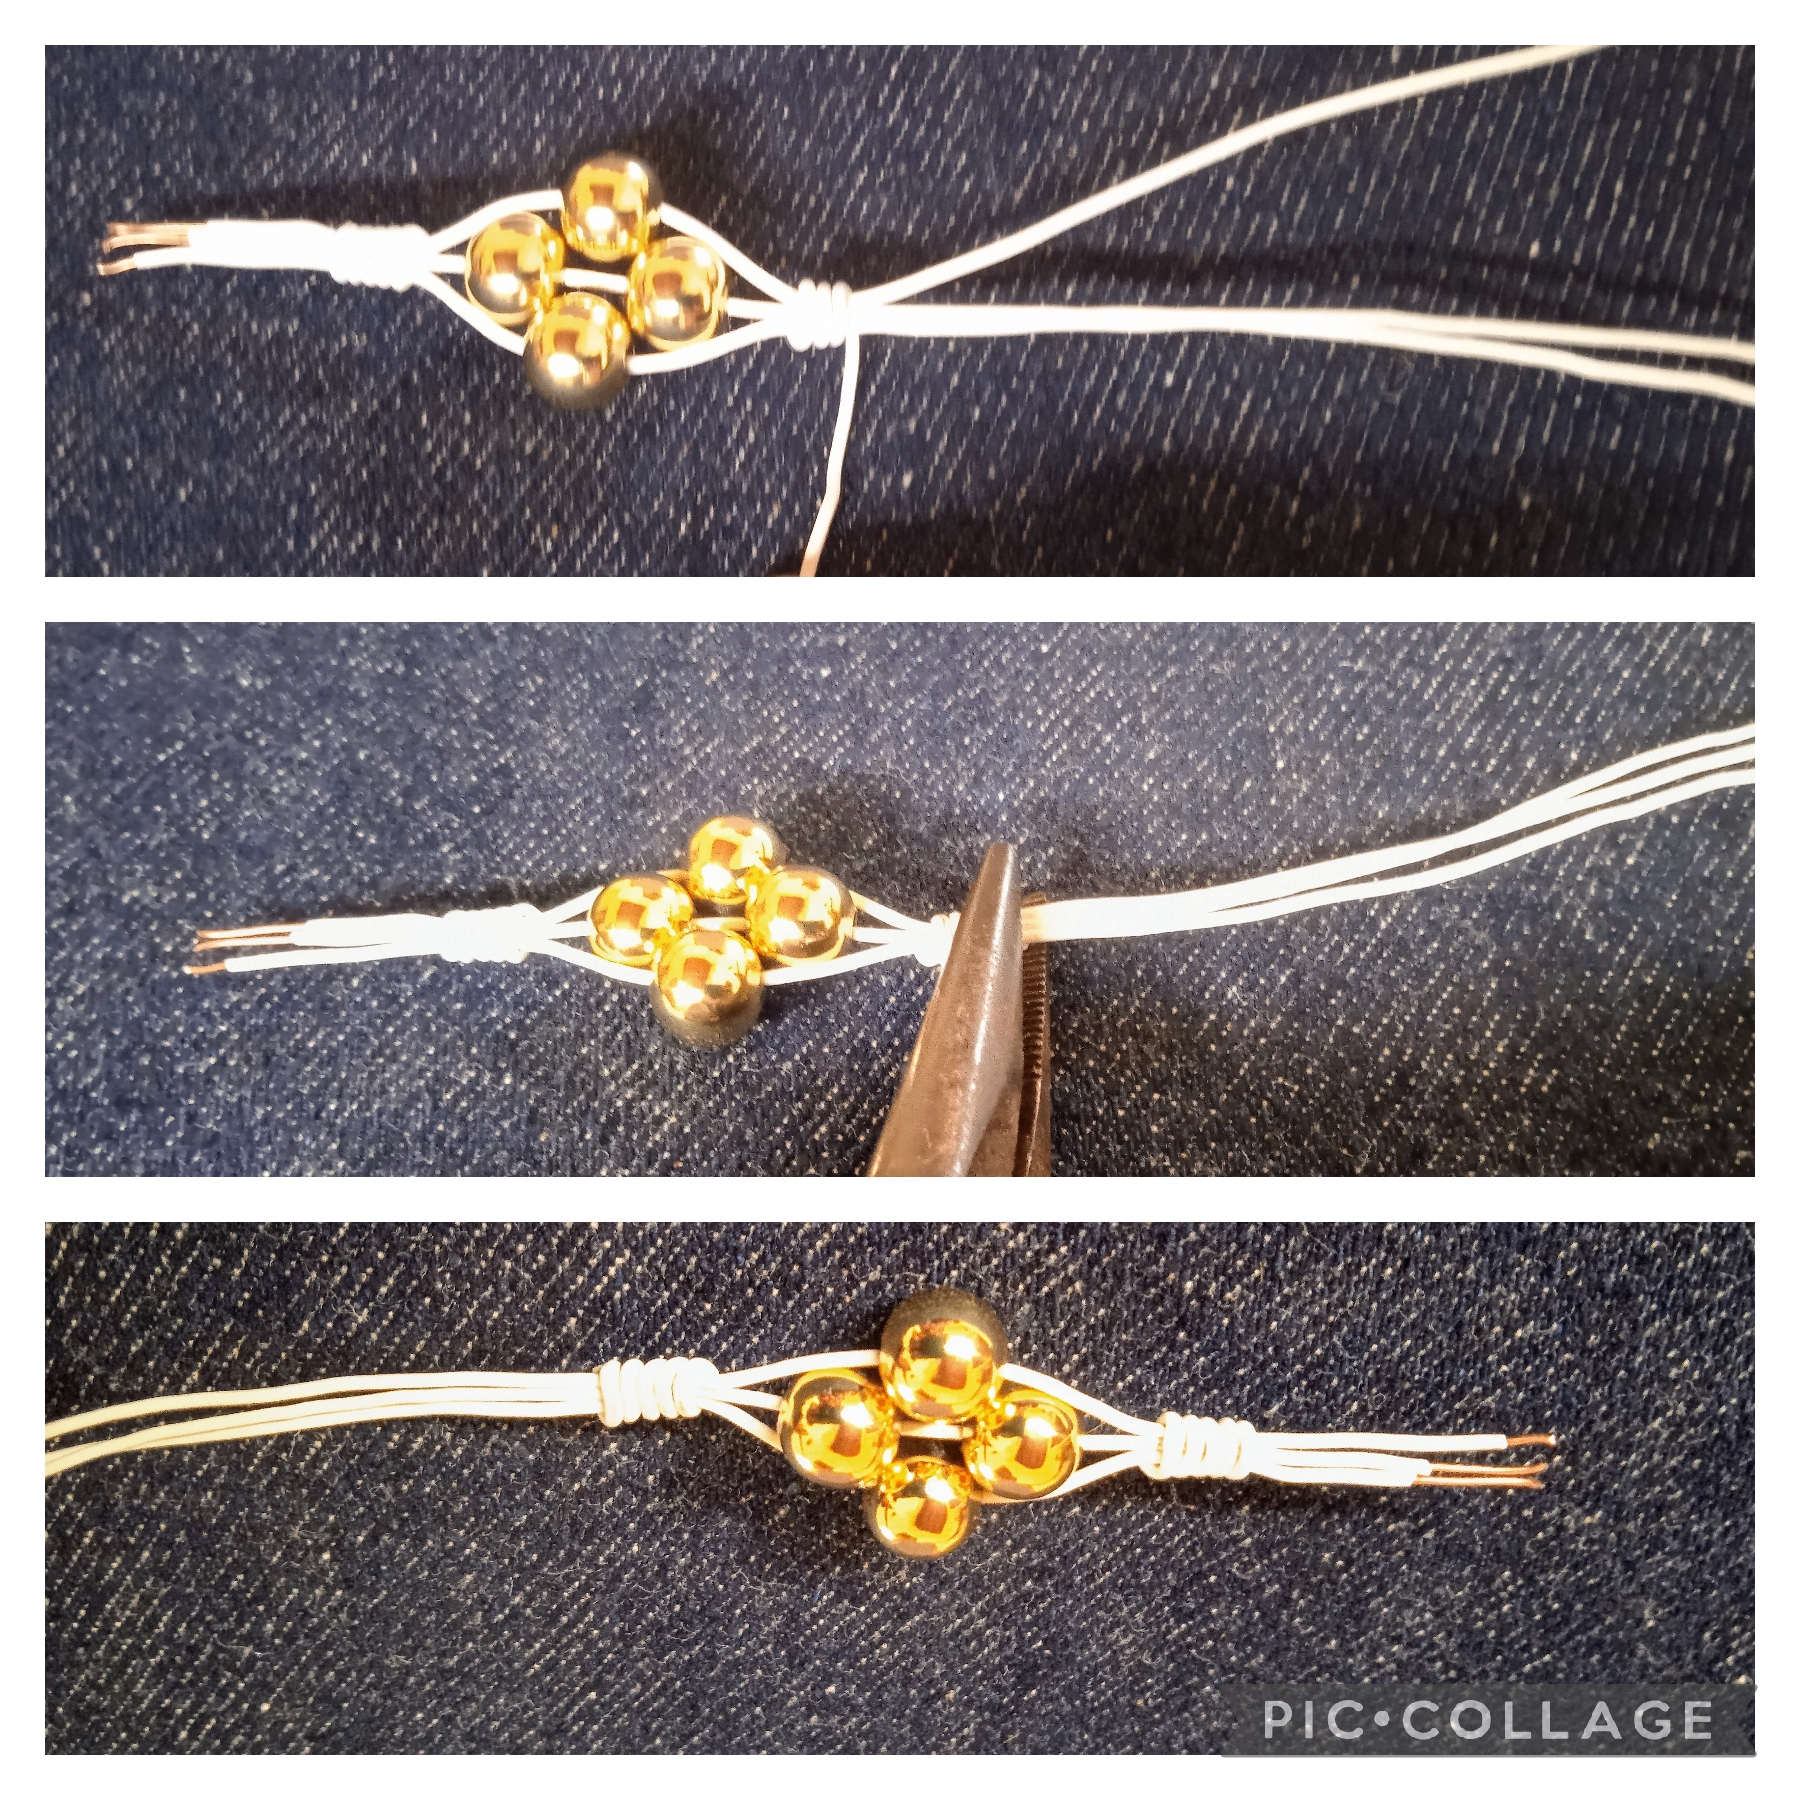
Voy a continuar la elaboración; abro los alambres en tres líneas paso por la línea del centro un balín dorado, luego por las líneas de los extremos coloco un balín en cada uno y de nuevo coloco otro balín dorado en la línea del centro, así como muestra la imagen, de nuevo uso un trozo de alambre de cinco centímetros y hago un procedimiento igual al anterior para realizar un nuevo separador, muestro las imágenes.
THIRD STEP:
I will continue the elaboration; I open the wires in three lines, I pass a golden ball along the center line, then along the lines at the ends I place a ball in each one and again I place another gold ball in the center line, as shown in the image, again I use a five centimeter piece of wire and do a procedure equal to the previous one to make a new separator, I show the images.
CUARTO PASO:
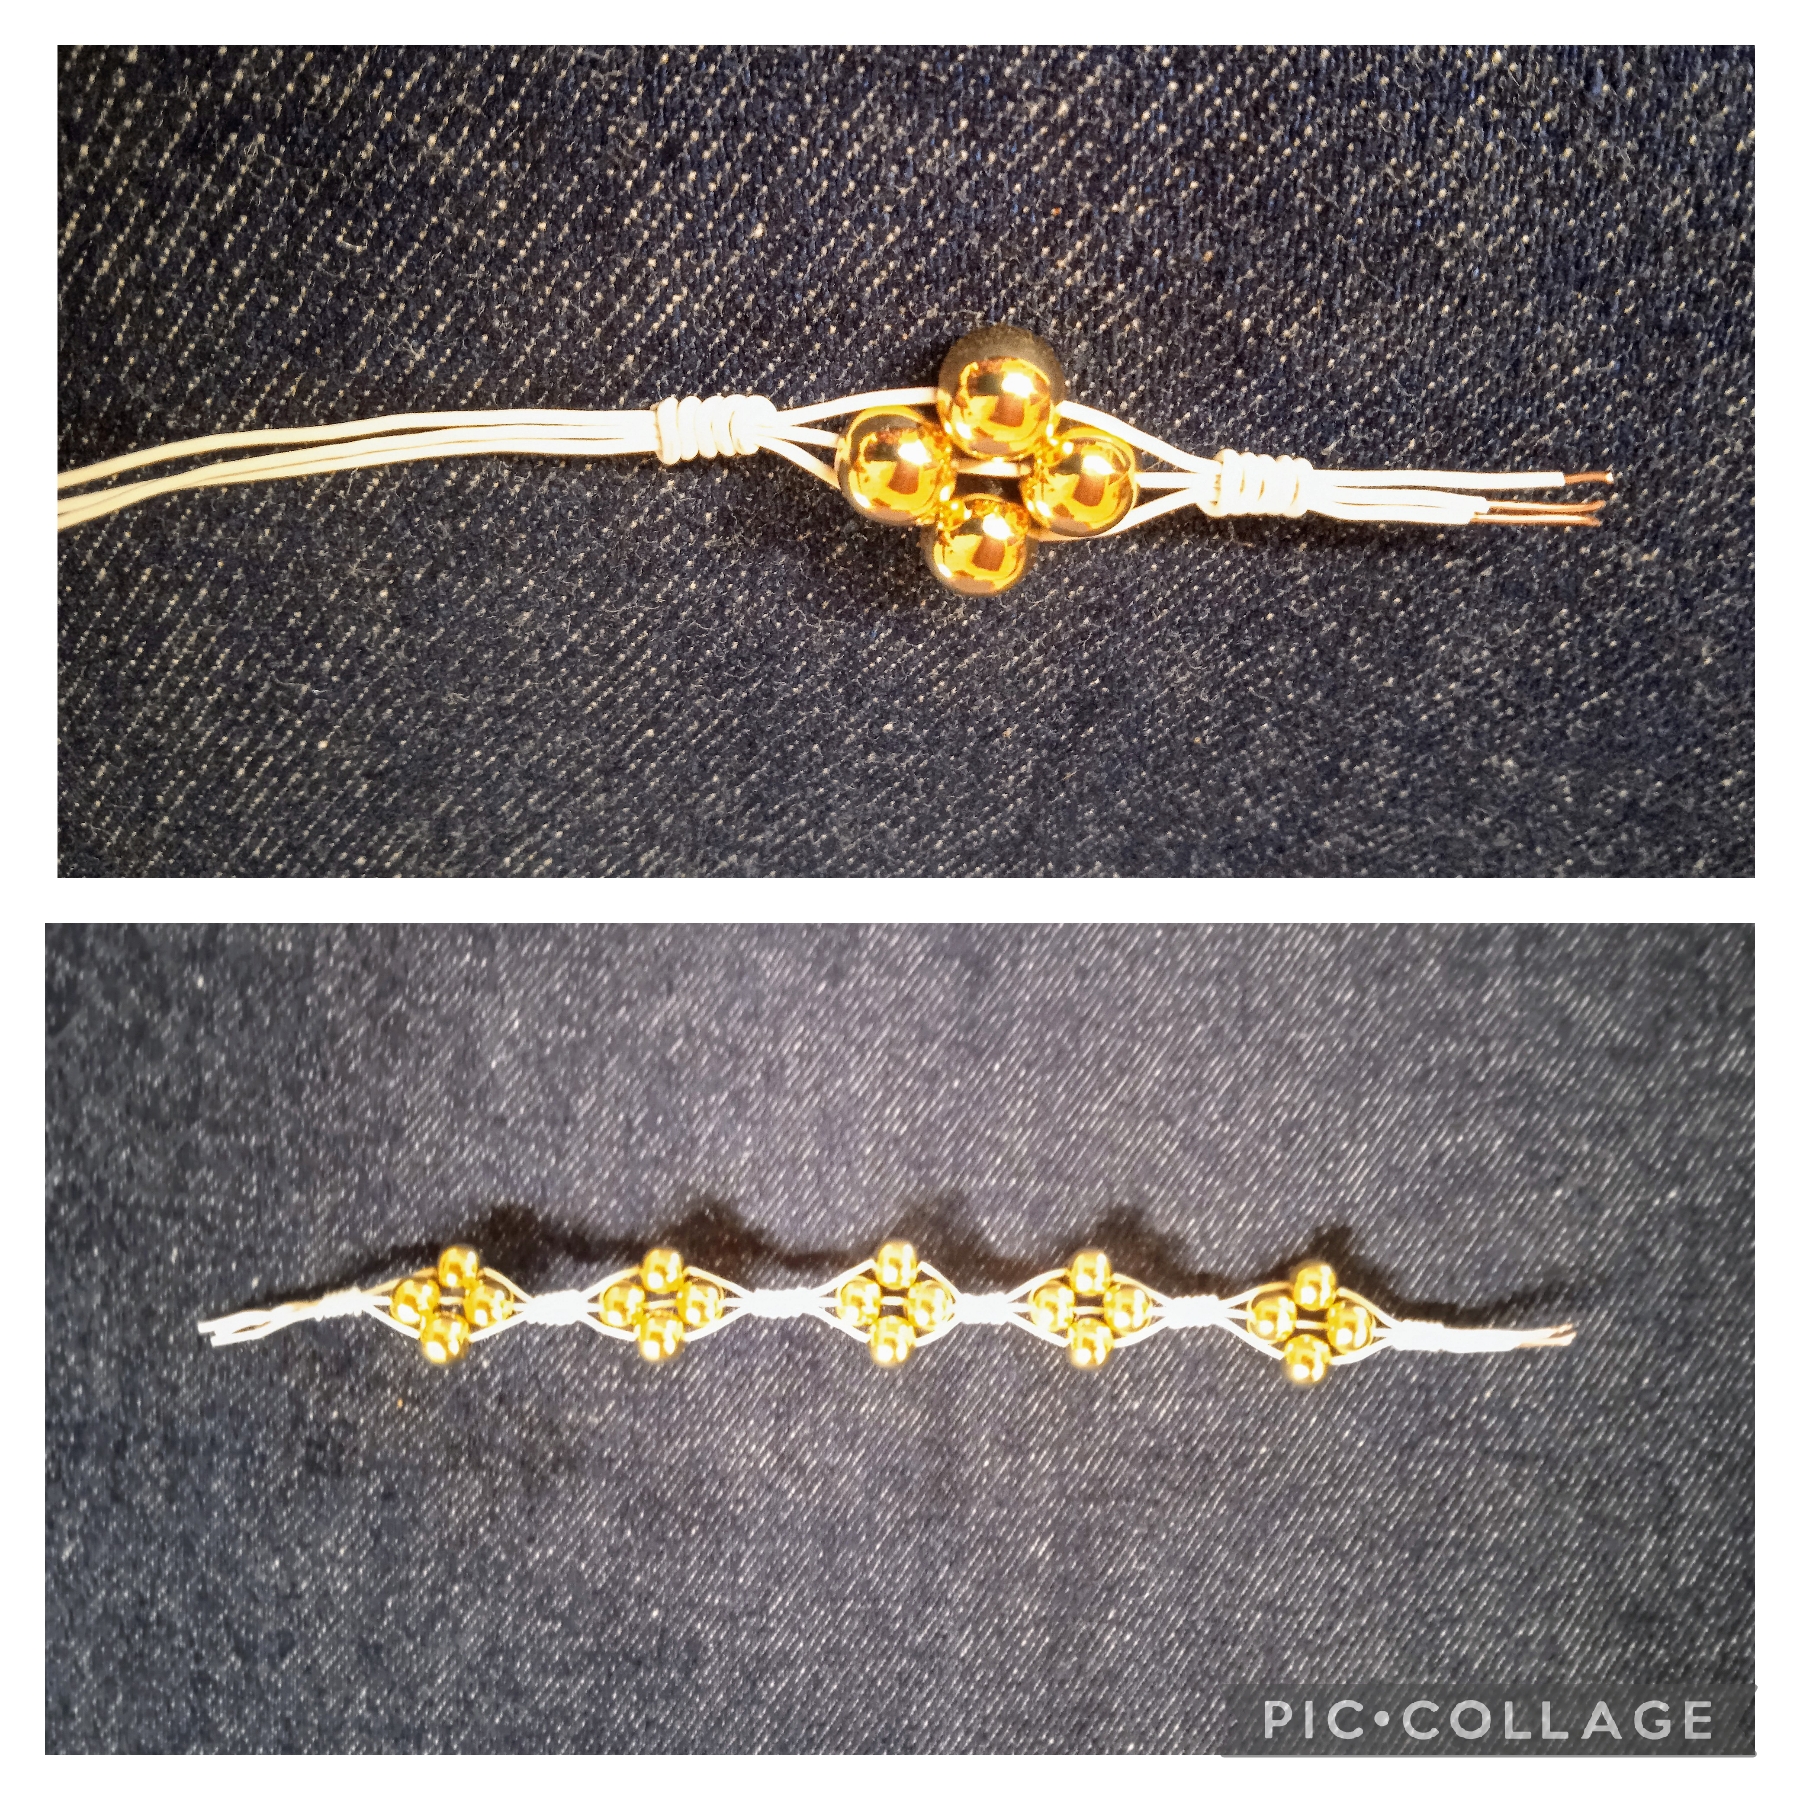
Así como muestra la imagen anterior voy usando un procedimiento igual al descrito anteriormente y a un espacio de medio centímetro realizo cinco módulos iguales para formar la pulsera, ahora junto los alambres corto los excedentes con la pinza y coloco los terminales que ajusto con la pinza plana como muestro en las imágenes.
FOURTH STEP:
As shown in the previous image, I use a procedure equal to that described above and at a space of half a centimeter I make five equal modules to form the bracelet. Now I put the wires together, cut the excess with the clamp and place the terminals that I adjust with the flat clamp as I show in the images.
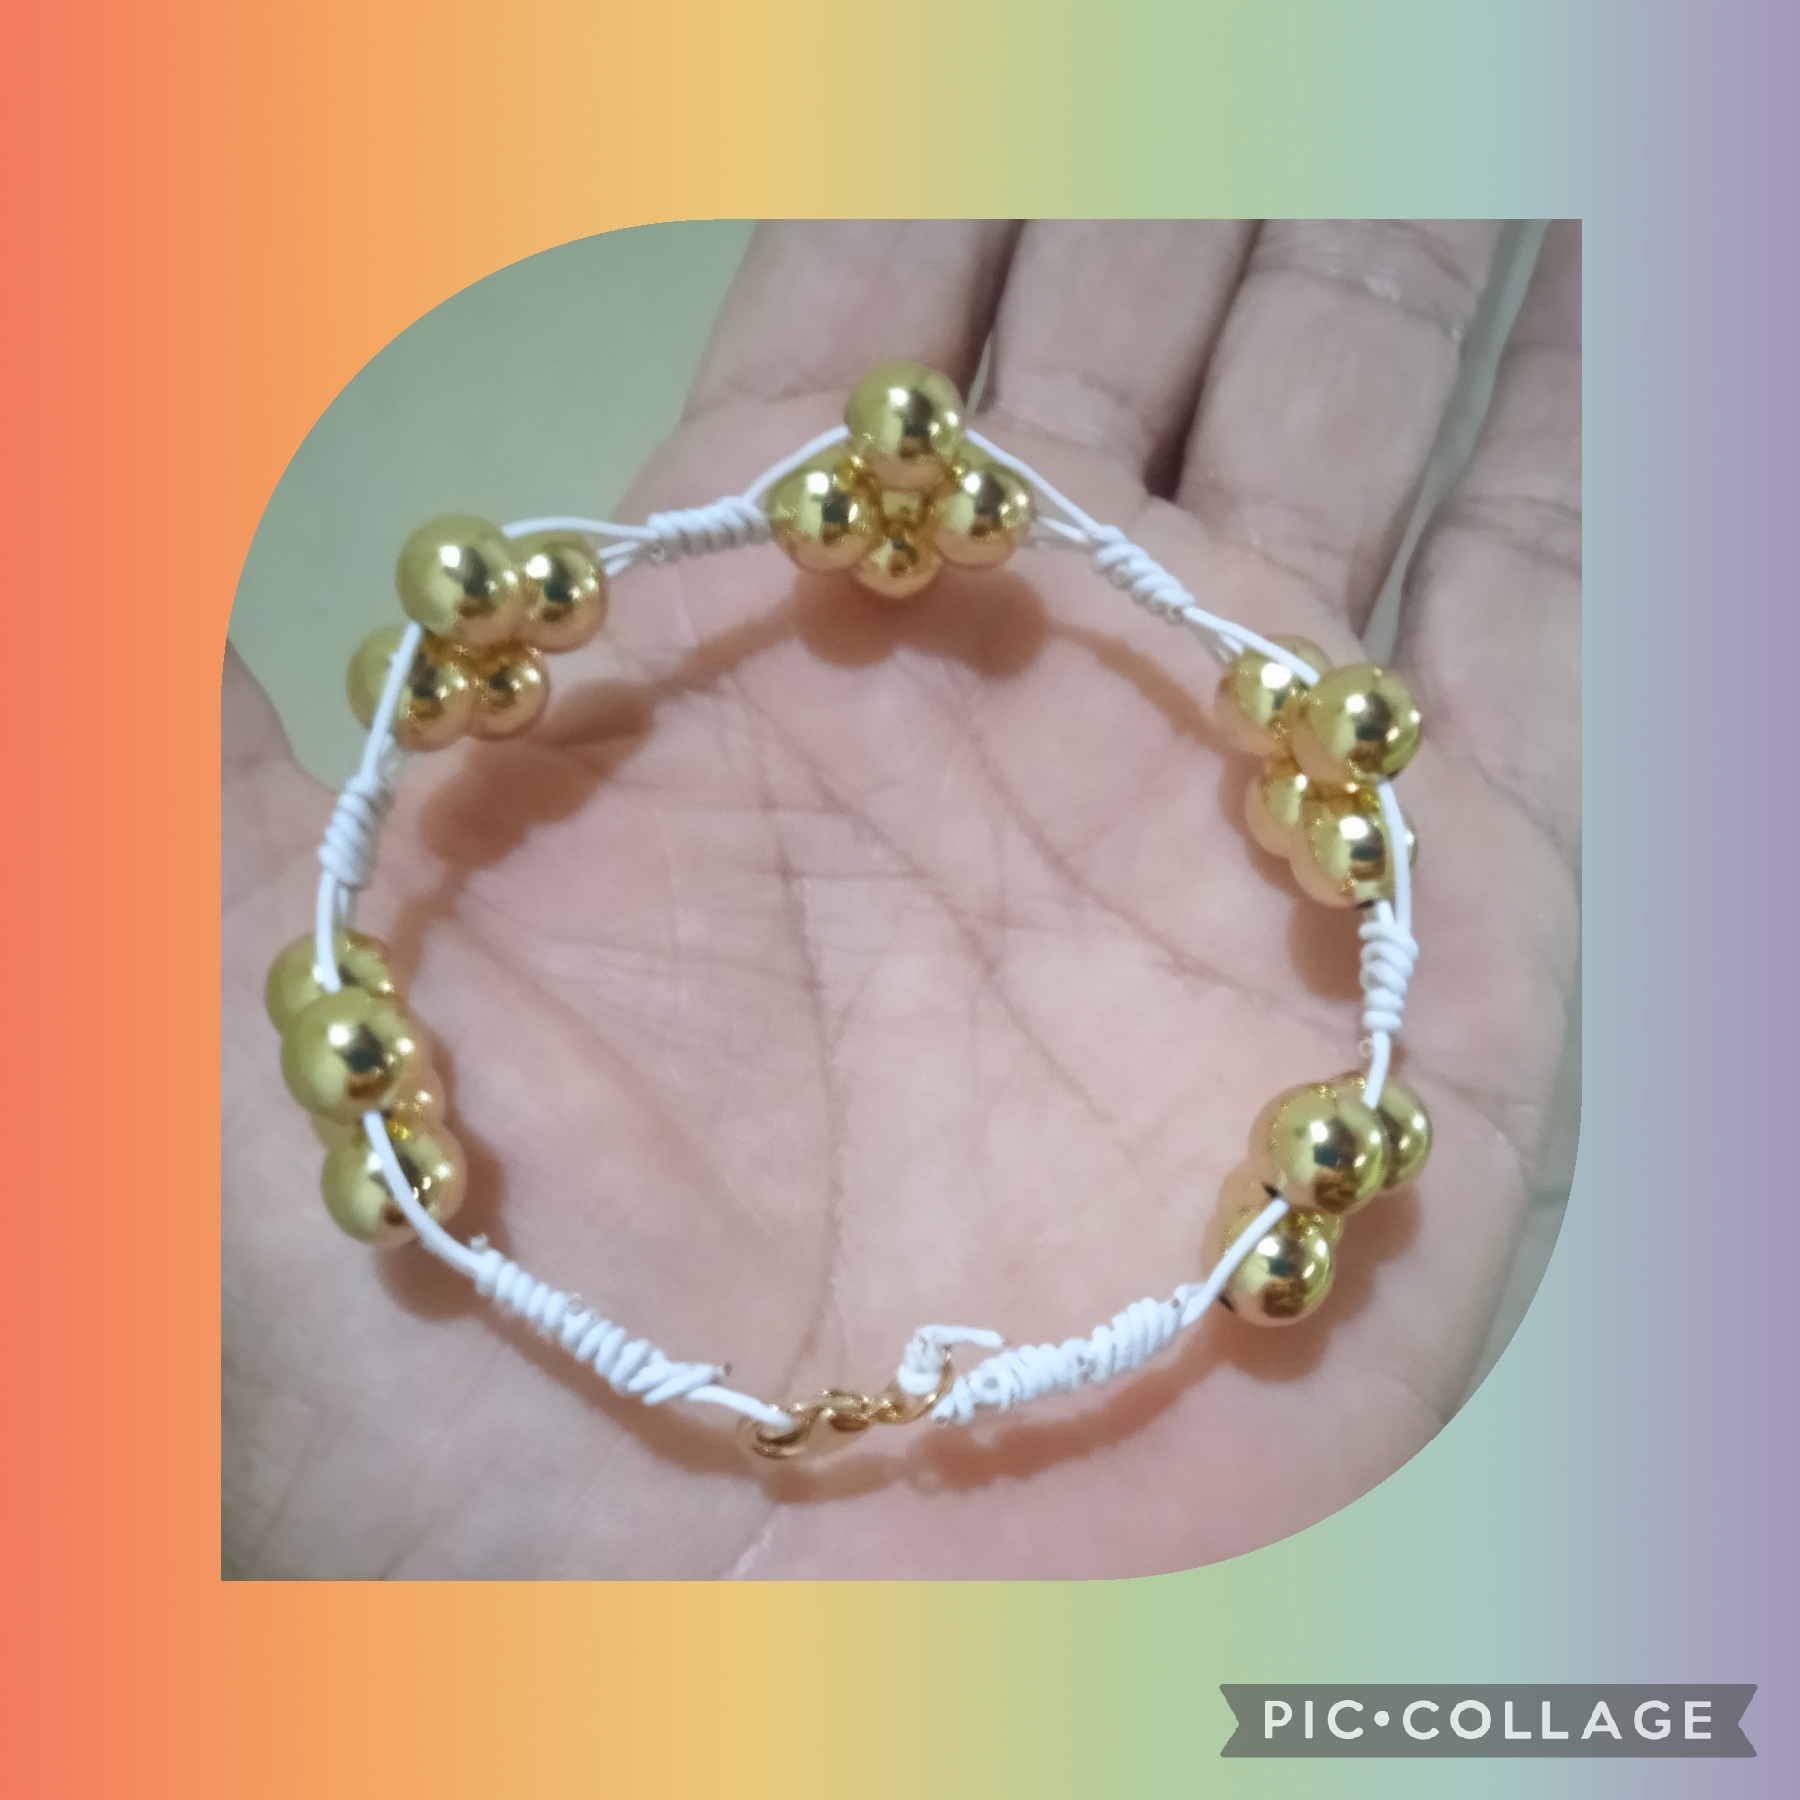
Queridos artistas Creativos de las Manualidades y la Joyería, este es el resultado final de este tutorial explicativo de mi hermoso proyecto una bonita Pulsera que realicé usando la técnica del alambrismo y a la cual adicione balines dorados para darle ese toque elegante y a la moda actual, espero que les guste a mi me pareció ideal para lucirla en cualquier momento y ocasión, muchas gracias a todas los que leen y ven mis publicaciones apoyándome con sus comentarios; les deseo un excelente fin de semana y nos vemos en la próxima manualidad, bye, bye.
Dear Creative artists of Crafts and Jewelry, this is the final result of this explanatory tutorial of my beautiful project, a beautiful Bracelet that I made using the wire technique and to which I added gold beads to give it that elegant and current fashionable touch, I hope That you like it, I thought it was ideal to wear it at any time and occasion, thank you very much to all those who read and see my publications and support me with your comments; I wish you a great weekend and see you in the next craft, bye, bye.
Las imágenes y redacción de este tutorial son de mi propiedad las fotos fueron tomadas con mi teléfono celular redmi 9 y las edité con una aplicación gratis del mismo.
Para traducir texto use Google traductor.
The images and writing in this tutorial are my property. The photos were taken with my Redmi 9 cell phone and I edited them with a free application.
To translate text use Google translator

Wow, u did a great job,is lovely
Thank you @patience2 I liked your visit and lively comment🌹
You are welcome
You are welcome
This is so beautiful. When you started it was like it will not be nice but the finish work look so amazing. I love the beat color
Very grateful for your visit @mosupholstery and for supporting me with that flattering comment 🤗
Congratulations @nhaydu! You have completed the following achievement on the Hive blockchain And have been rewarded with New badge(s)
Your next target is to reach 800 upvotes.
You can view your badges on your board and compare yourself to others in the Ranking
If you no longer want to receive notifications, reply to this comment with the word
STOPCheck out our last posts: