Tutorial de hermoso decorativo navideño para interruptor. // Tutorial of beautiful Christmas decorations for switch. (ESP-ENG)
Hola amigos Hivers, hoy quiero compartir con ustedes cómo logré preparar un lindo adorno decorativo navideño para interruptor, con motivo de reno de papa Noel. Ciertamente, en Navidad se usan varias decoraciones que son clásicas, entre ellos están los renos del trineo de Santa Claus, en lo particular yo soy amante de crear en la historia de ese viejo tierno Papa Noel que hace felices a los niños en Navidad.
Hello friends Hivers, today I want to share with you how I managed to prepare a nice Christmas decorative ornament for switch, with motif of reindeer of Santa Claus. Certainly, at Christmas several decorations are used that are classics, among them are the reindeer of Santa's sleigh, in particular I am a lover of creating in the story of that old tender Santa Claus that makes children happy at Christmas.
Materiales Utilizados / Materials Used:
- Hoja de papel.
- Lápiz grafito.
- Foami de color marrón mate oscuro.
- Foami de color marrón claro y oscuro y brillante.
- Foami de color rojo, blanco y negro.
- Foami de color rojo brillante.
- Silicona líquida.
- Perlas de color blanco.
- Tijera.
- Sheet of paper.
- Graphite pencil.
- Dark matte brown foami.
- Light and dark brown and shiny foami.
- Red, white and black foami.
- Bright red foami.
- Liquid silicone.
- White beads.
- Scissors.
Elaboración:
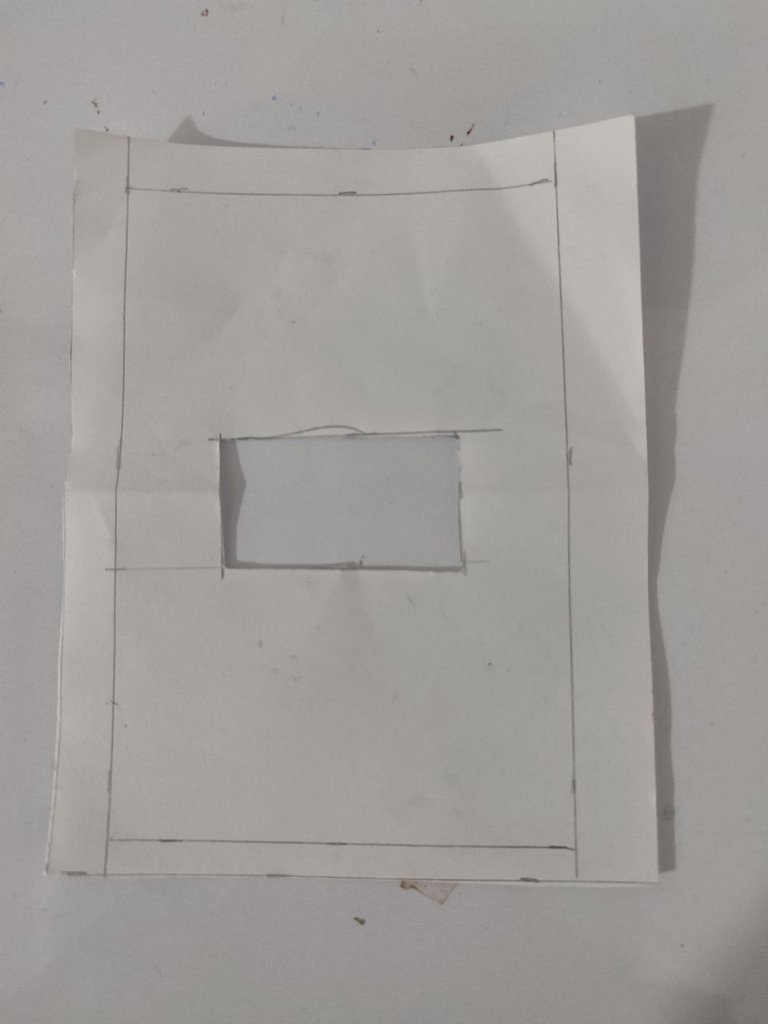
Paso 1: Tomé una hoja de papel y con una regla realicé el rectángulo ideal para cubrir el interruptor y dibujé el espacio para suiche.
Step 1: I took a sheet of paper and with a ruler I made the ideal rectangle to cover the switch and drew the space for the socket.
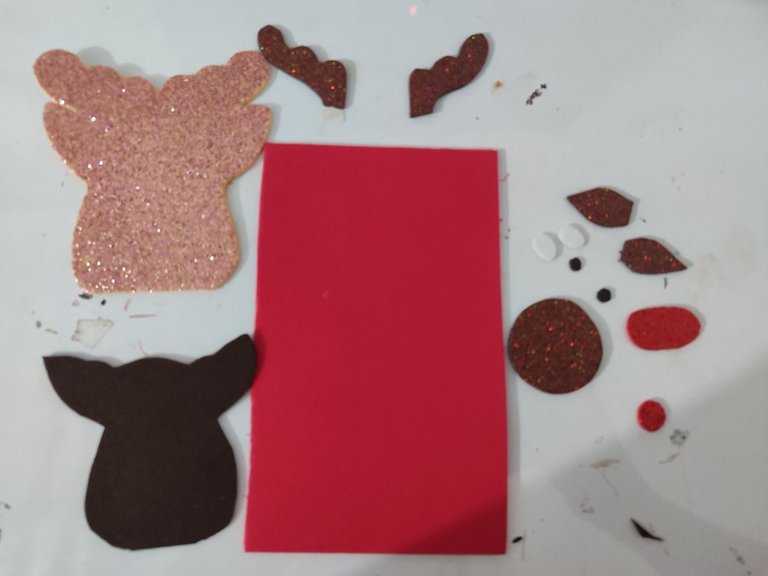
Paso 2: Marque las piezas en el foami para formar el reno, y la base del interruptor, y luego las recorte. Cómo puedes ver recorte, y para formar la cara del reno usé tres tonos de foami de color marrón.
Step 2: Mark the pieces on the foami to form the reindeer, and the base of the switch, and then cut them out. As you can see I cut them out, and to form the face of the reindeer I used three shades of brown foami.
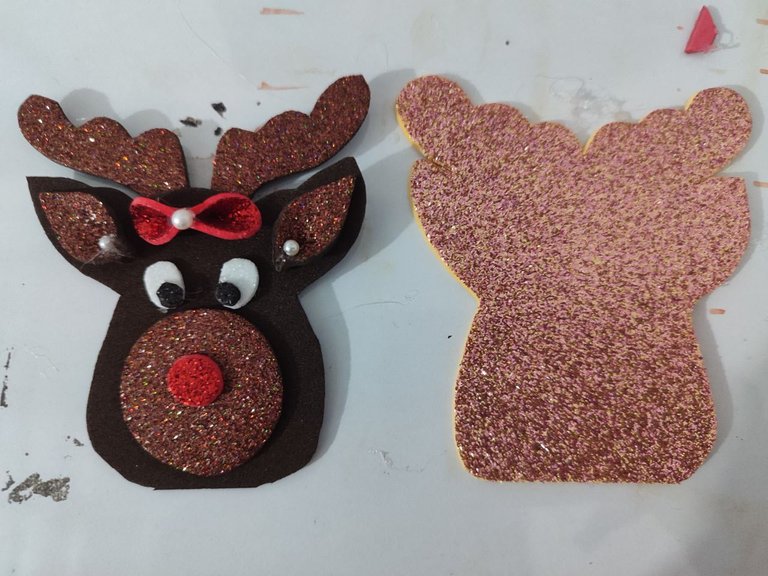
Paso 3: Usé la silicona líquida para pegar las piezas de la cabeza del reno, en la base de color marrón oscuro. Pegué las piezas brillantes que harán resaltar las orejas, la nariz, los ojos, y el lazo de esta tierna, Rena.
Step 3: I used the liquid silicone to glue the pieces of the reindeer's head on the dark brown base. I glued the shiny pieces that will highlight the ears, nose, eyes, and bow of this cute Rena.
Paso 4: Usé la tijera para sacar tiras de foami de color rojo brillante y pegarla a la base del interruptor de color rojo mate.
Step 4: I used the scissors to pull out strips of bright red foami and glue it to the base of the matte red switch.
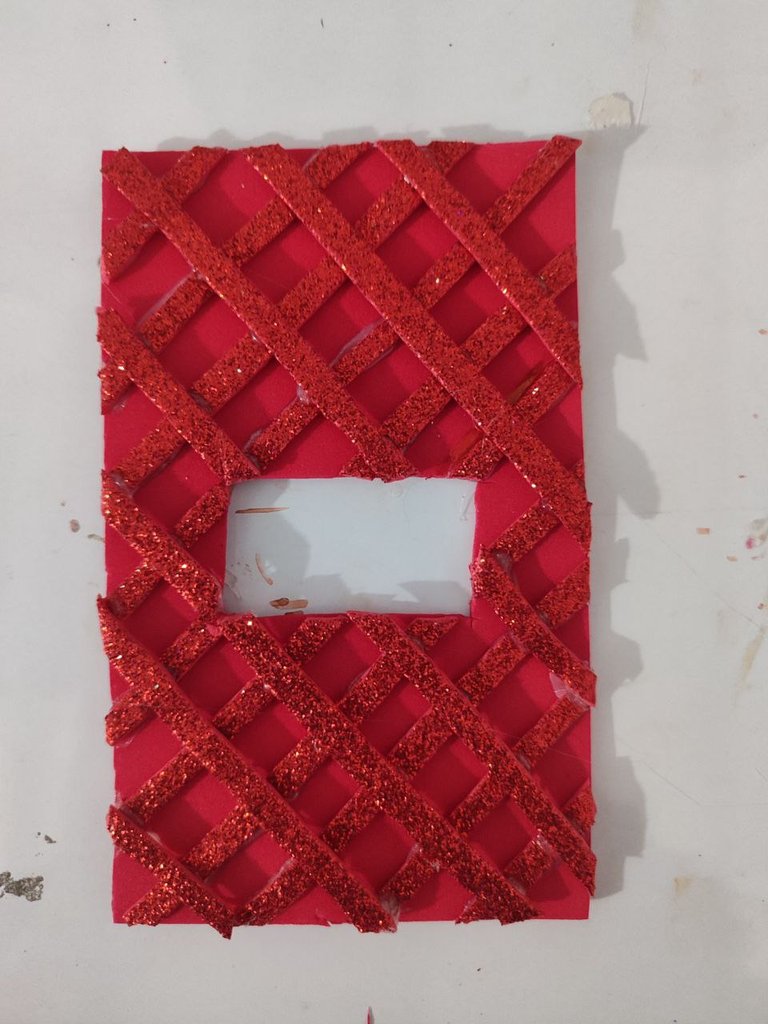
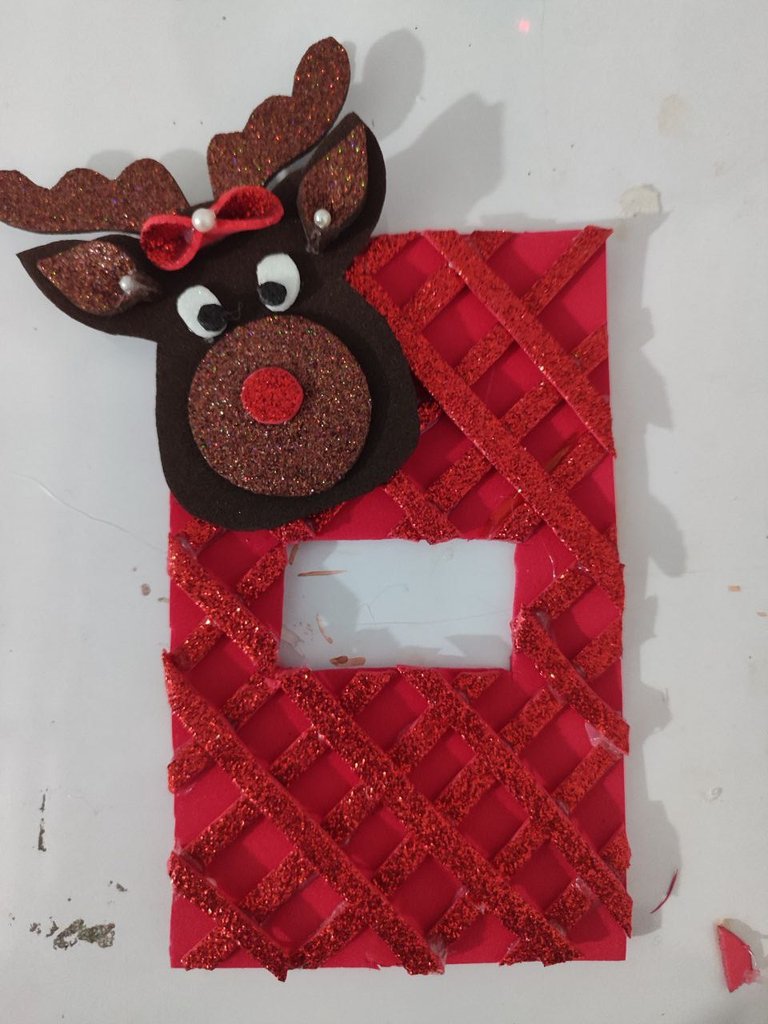
Paso 5: Para culminar, pegué la linda Rena en la base creada para adornar el interruptor y, de esta manera, dejó listo este adorno navideño.
Step 5: To finish, I glued the cute Rena to the base created to decorate the switch and, in this way, left this Christmas ornament ready.
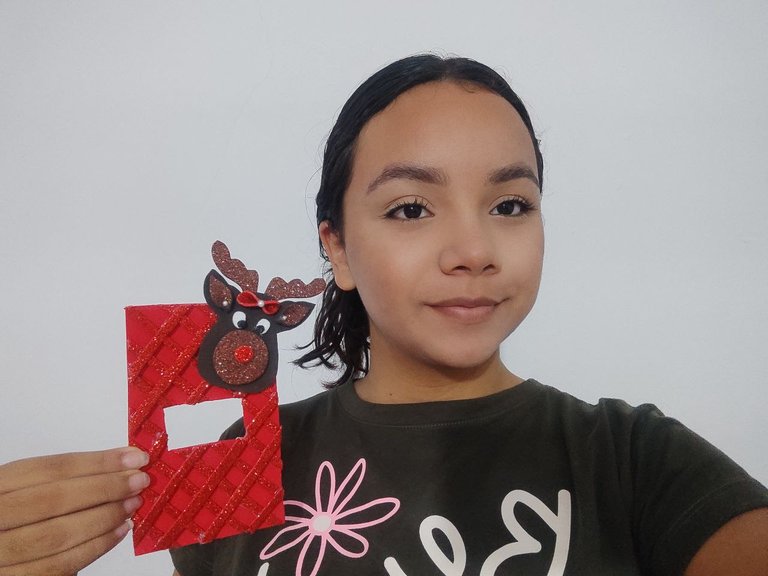
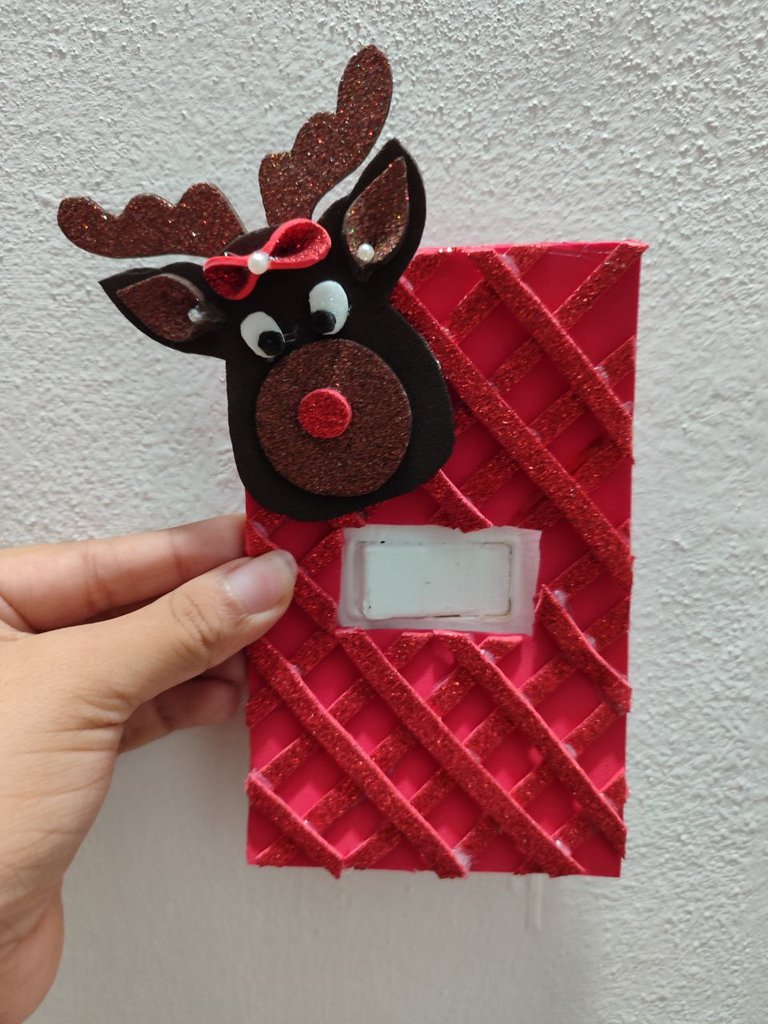
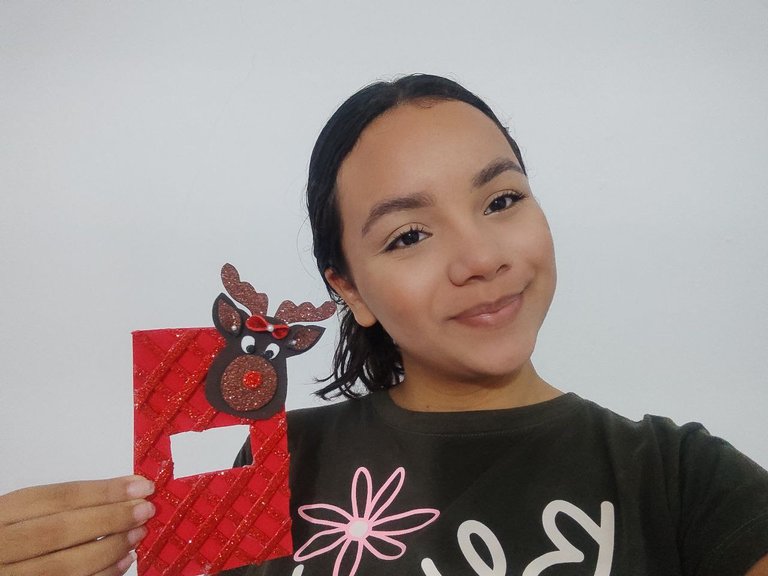
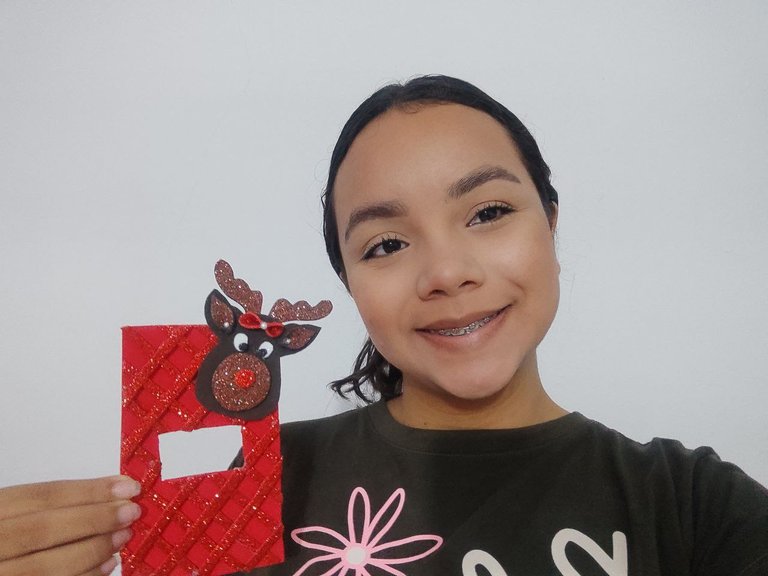
Trabajo Final y mi selfie feliz.
Final work and my happy selfie.

Todas las fotos son de mi propiedad y exclusivas para esta publicación.
Cámara utilizada: Teléfono Redmi Note 9.
He utilizado la aplicación Gridart para collages de fotos.
He utilizado el traductor Deepl.com versión gratuita.
Muchas gracias por leer y visitar mi post.💖
All photos are my property and exclusive for this publication.
Camera used: Redmi Note 9 phone.
I have used the Gridart application for photo collages.
I have used the translator Deepl.com free version.
Thank you very much for reading and visiting my post.💖
