Repairing a car dashboard for my customer
Compliment of the Season, guys
How are you guys enjoying this Christmas ? I hope it is full of joy.
I am happy to share a tutorial post here with you guys on how to replace the leather of a car dashboard with some simple steps.
Today is Friday and the last Friday of this year, and this is going to mark my last post in this community for this year.
A car dashboard is something that will always spoil when it expires, and if you don't fix it, the front of the car will not look nice at all. Working on a car dashboard is very simple, and if you follow me up, you will discover it is something you can do by yourself.
I know this post will really help one or two people's lives in #hive communities. I love to share my skills because, here in the hive, we are here to learn from each other and gain new knowledge, just as I learn from others.
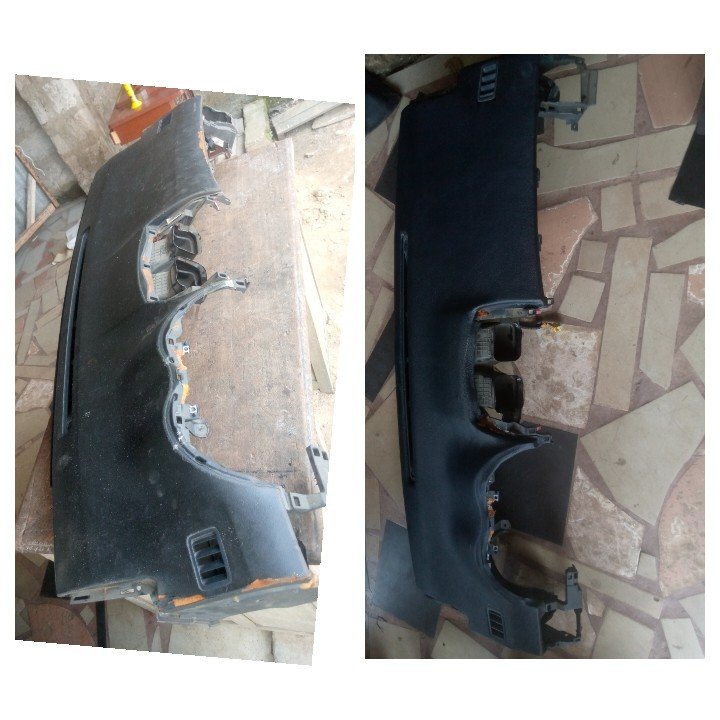
This very project was given to me by my customer. He is traveling with the car for Christmas in their village, so he is just waiting to make the interior of the car neat.
Here was the dashboard before
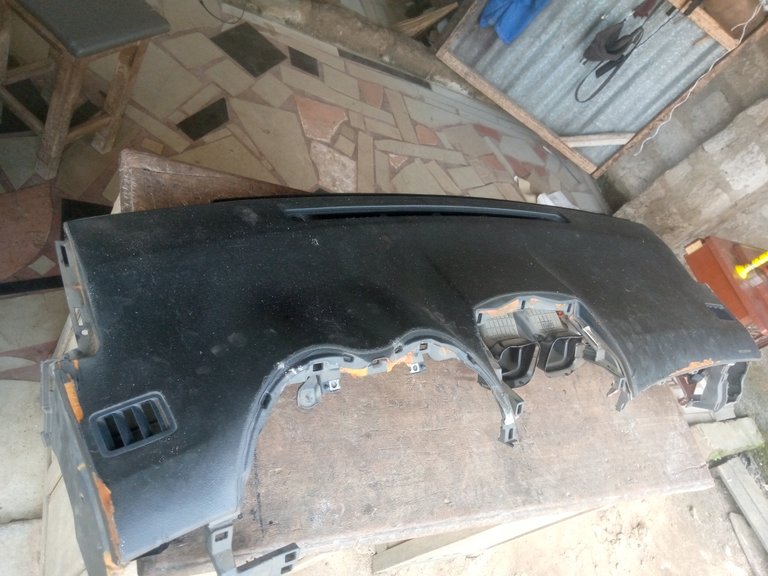
I did not want to lose the dashboard from the car. He paid someone to lose it from his house to my shop, so my work is just to change the leather on the board.
To get it done
With the help of a star screwdriver, I loosen the AC pipe.
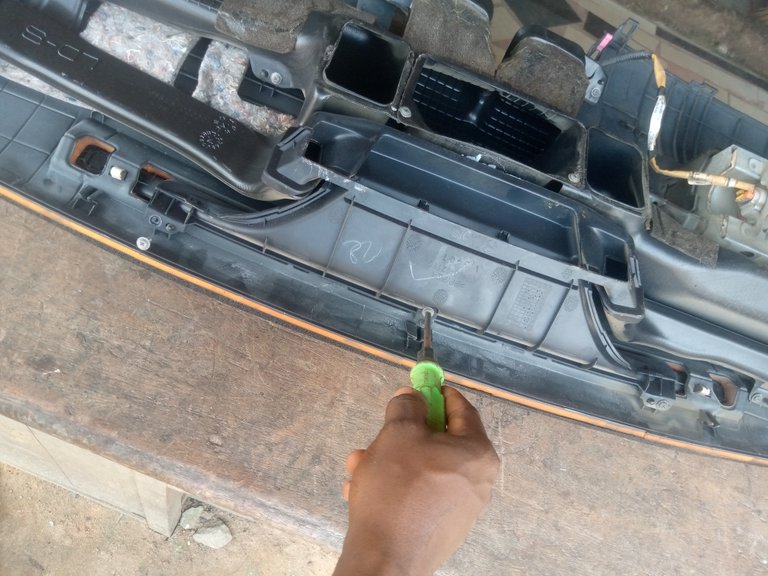
I loosen it out so that some particles of the board will not get inside.
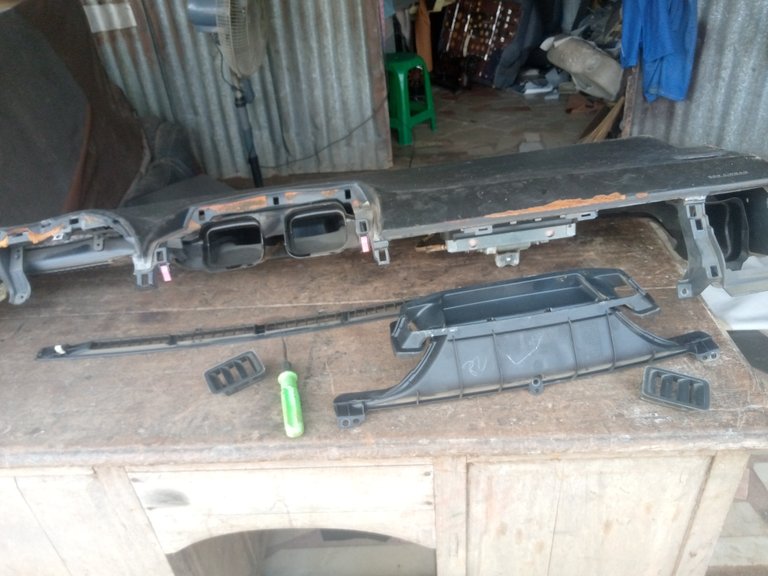
After losing everything, I carefully peeled out the old leather on the board with the help of my hand and knife.
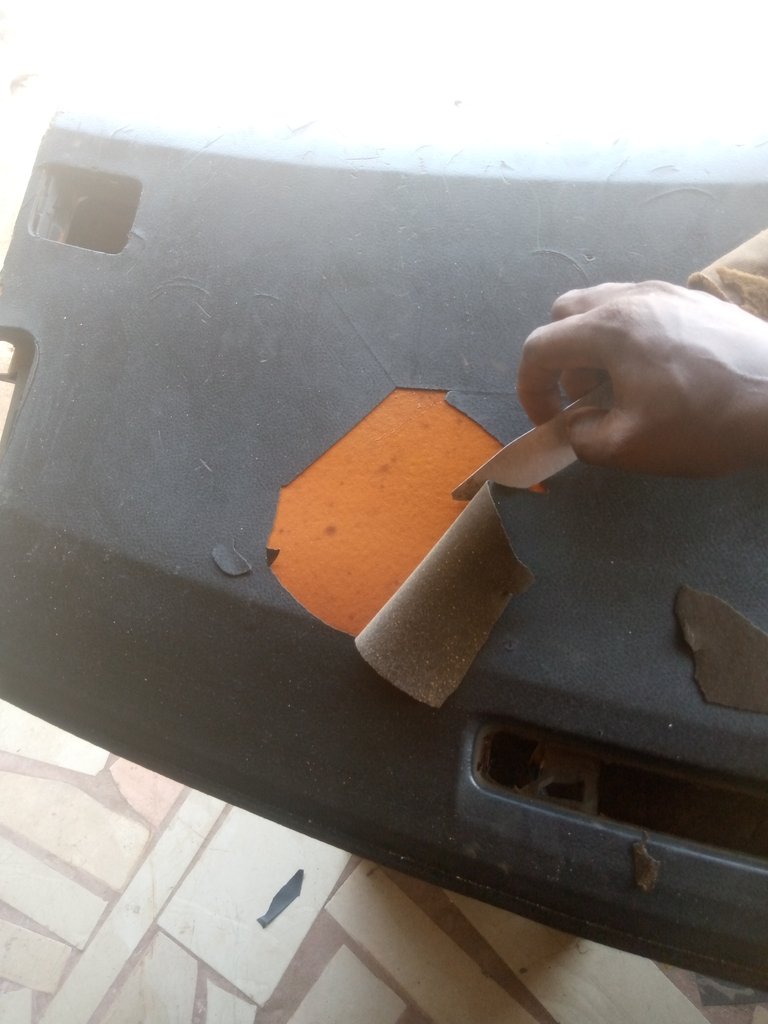
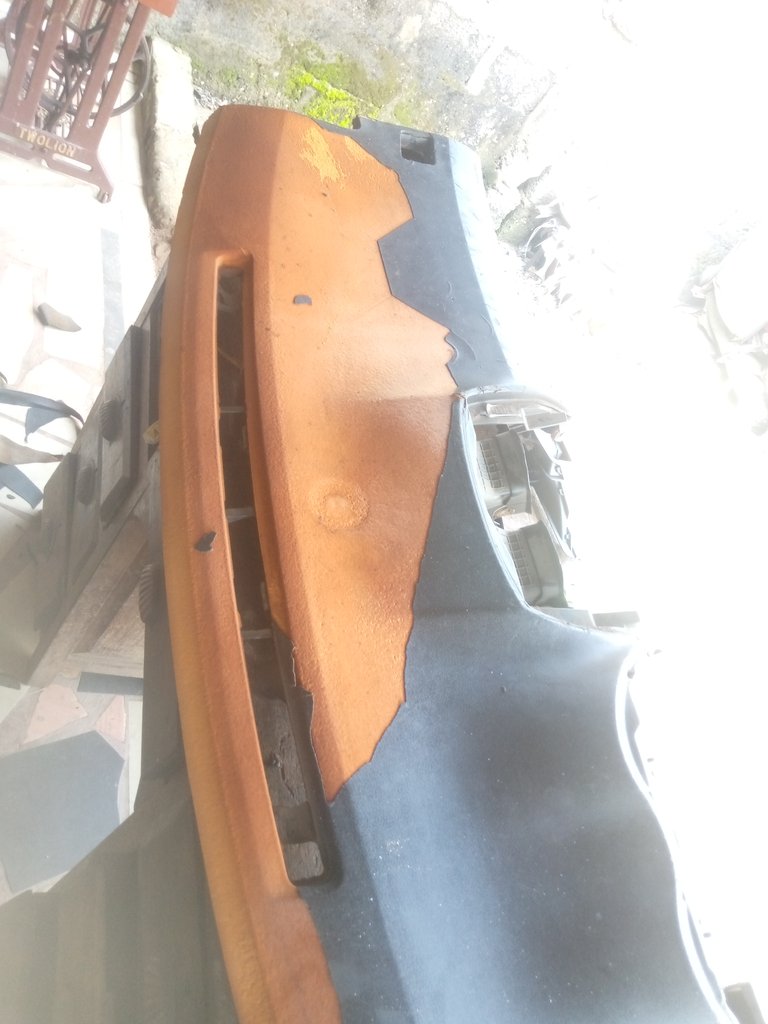
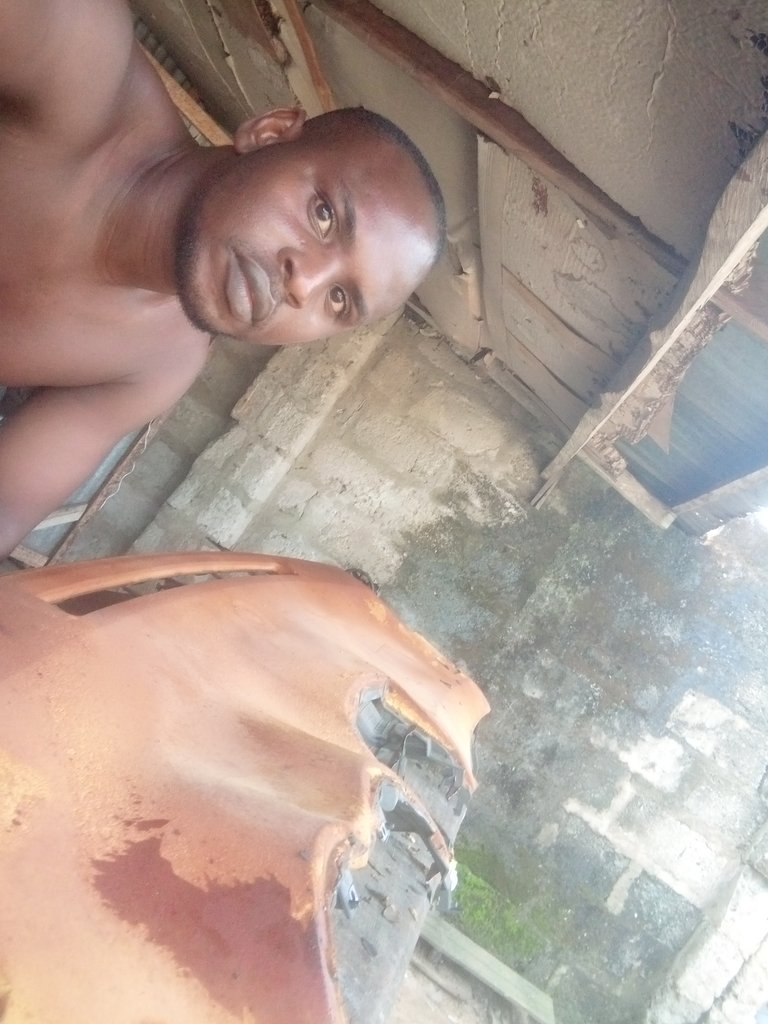
I am done pilling the old leather from the board; see the photo below.
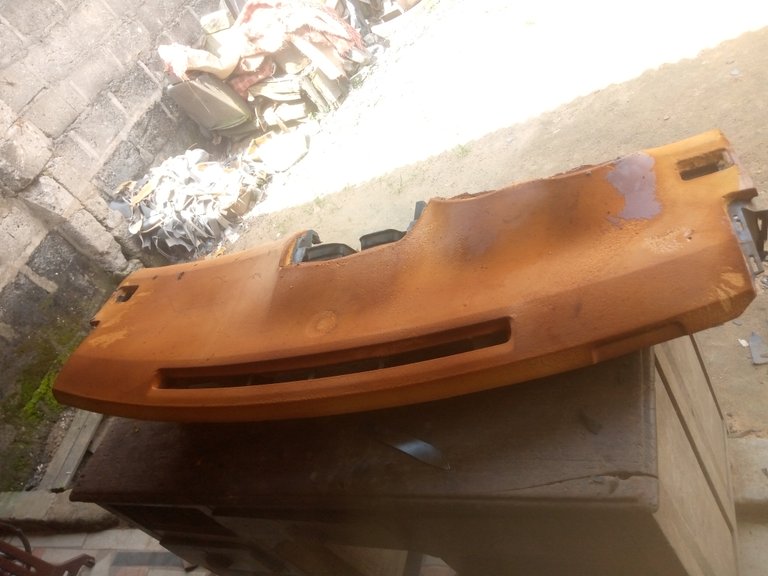
After pilling the leather off the board, I then used sandpaper to sand the board.
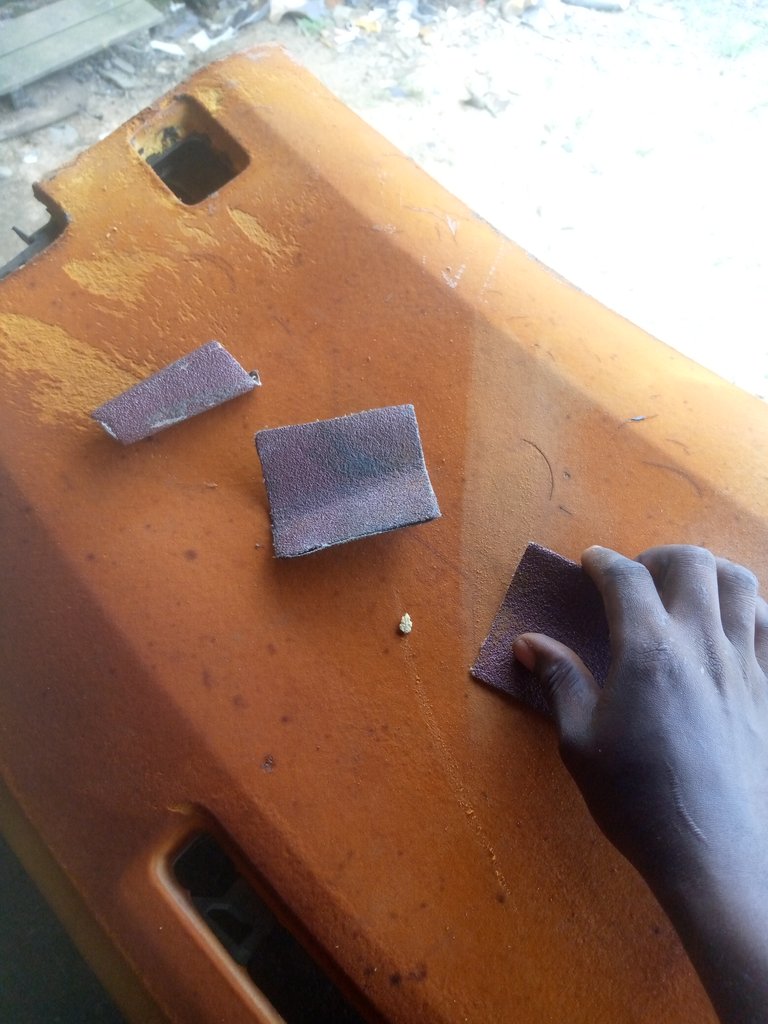
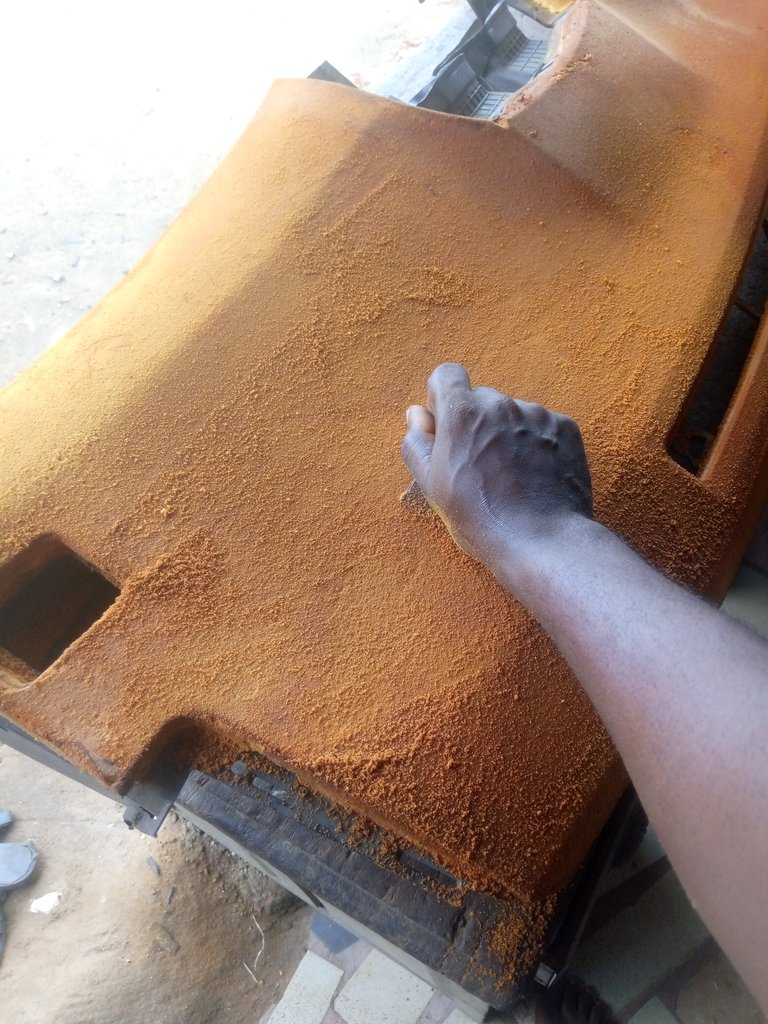
I am done sanding the board.
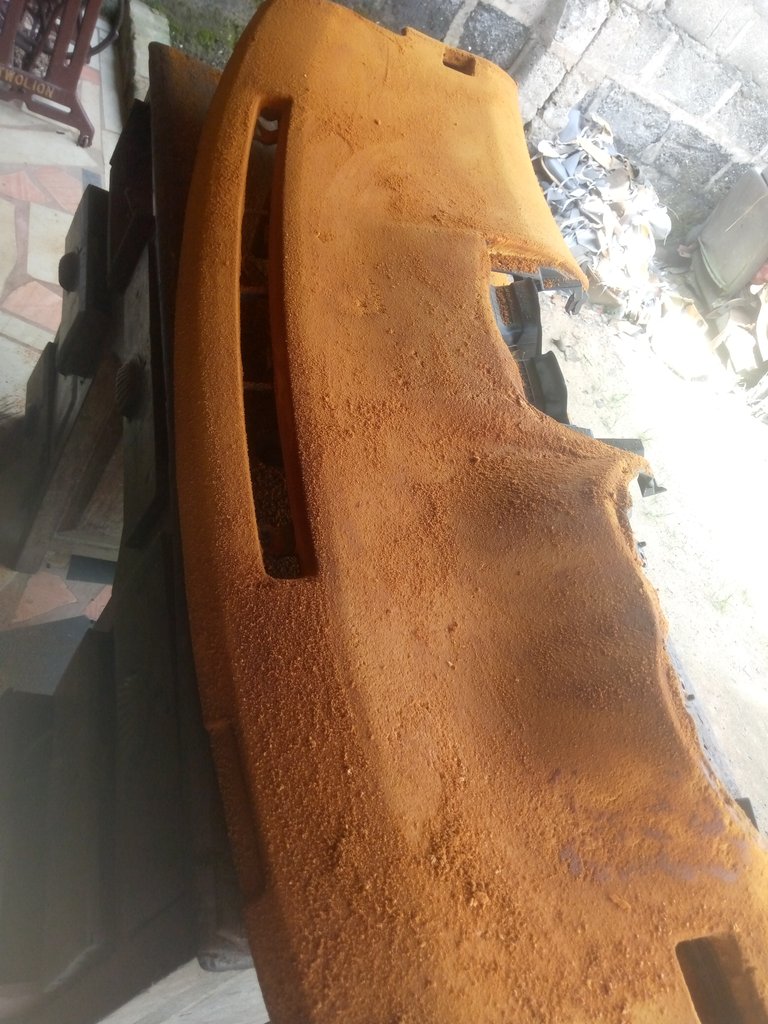
I then use a broom to sweep out the dust from the board. See the photo below.
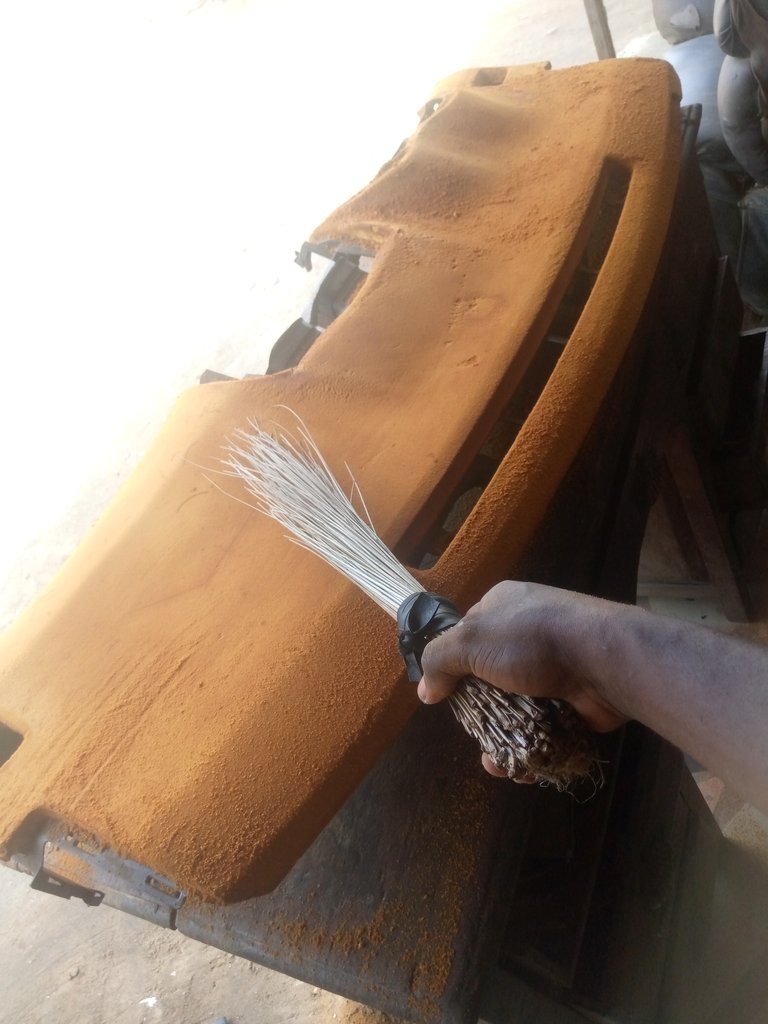
Finally, the board is ready to replace the leather.

It is very important to sand the board so that the surface will be rough so that when you apply gum to it, the gum will be able to hold strong.
I then pick a sample of the leather to market and then get a new leather and the original gum to be used.
Here is the new leather I am using.
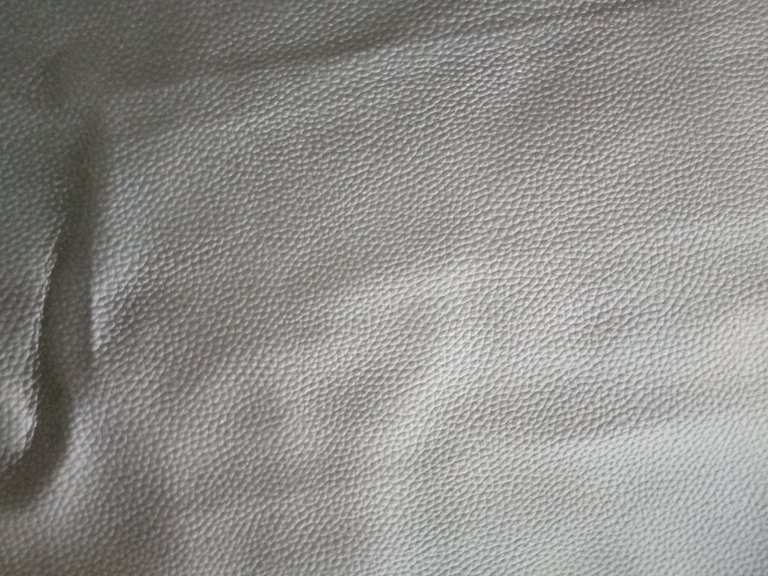
To replace the new leather, I apply gum to the board and also to the new leather and allow it to dry.

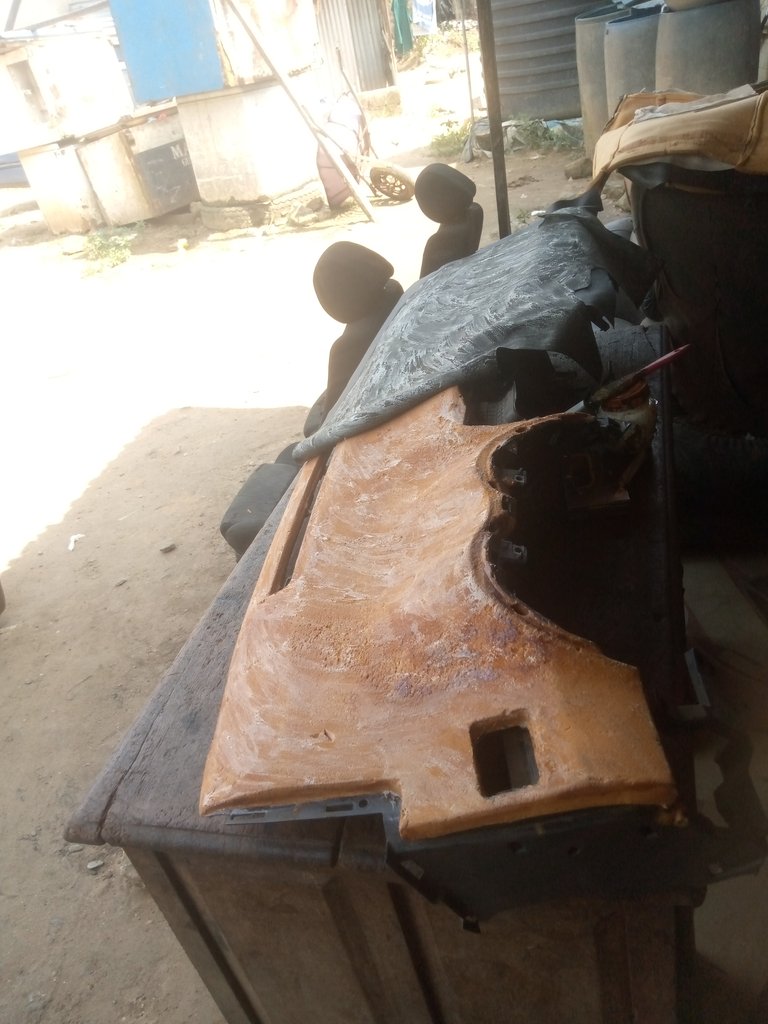
After allowing it to dry, I then gum the leather and the board together smoothly, and the new board is ready.
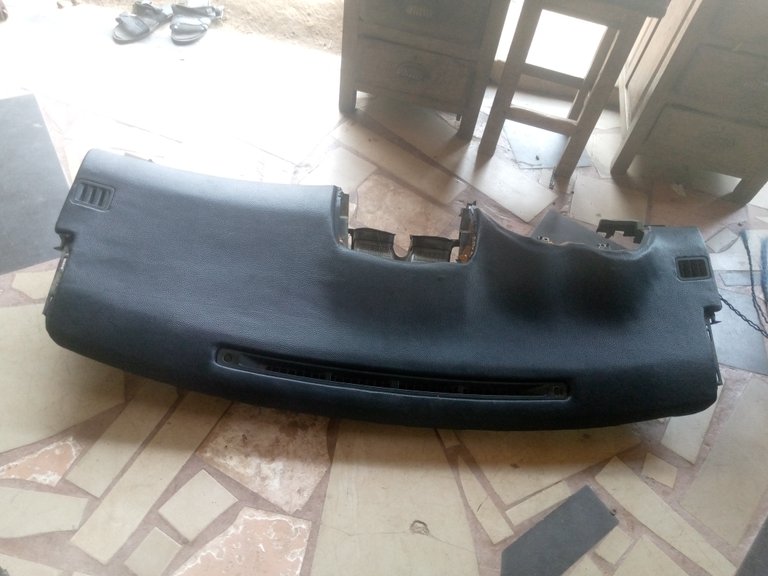
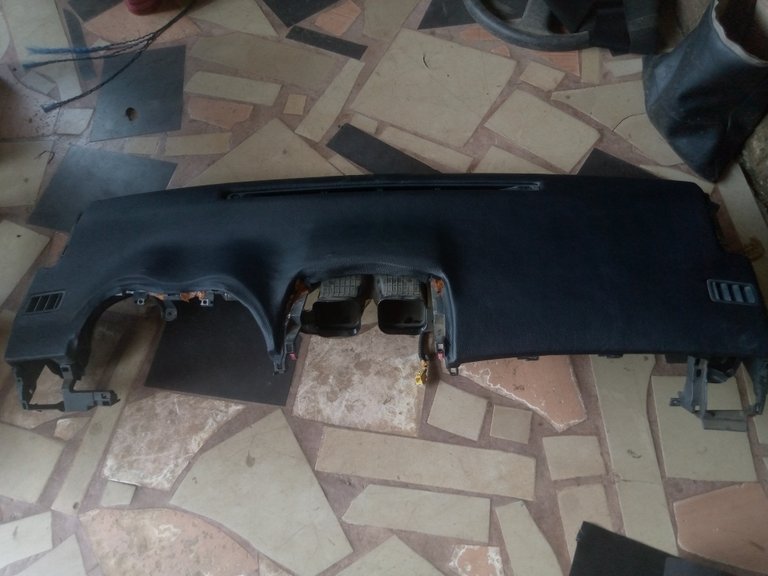
After everything, I then tightened back the AC pipe, and finally the dash bolt turned new.

That is all about changing the leather of a car dashboard. I hope this is a very simple step to follow. Thanks to everyone for their love and support. You are free to ask me any questions in my comment box.
Merry Christmas and a happy new year in advance. See you all in 2024!
Wow this is amazing. I love this. I really fine this simple with your explanation. Thanks for sharing
Congratulations @mosupholstery! You have completed the following achievement on the Hive blockchain And have been rewarded with New badge(s)
Your next target is to reach 40 posts.
You can view your badges on your board and compare yourself to others in the Ranking
If you no longer want to receive notifications, reply to this comment with the word
STOPTo support your work, I also upvoted your post!
Check out our last posts:
Hello, good job, the dashboard of the car turned out very well.