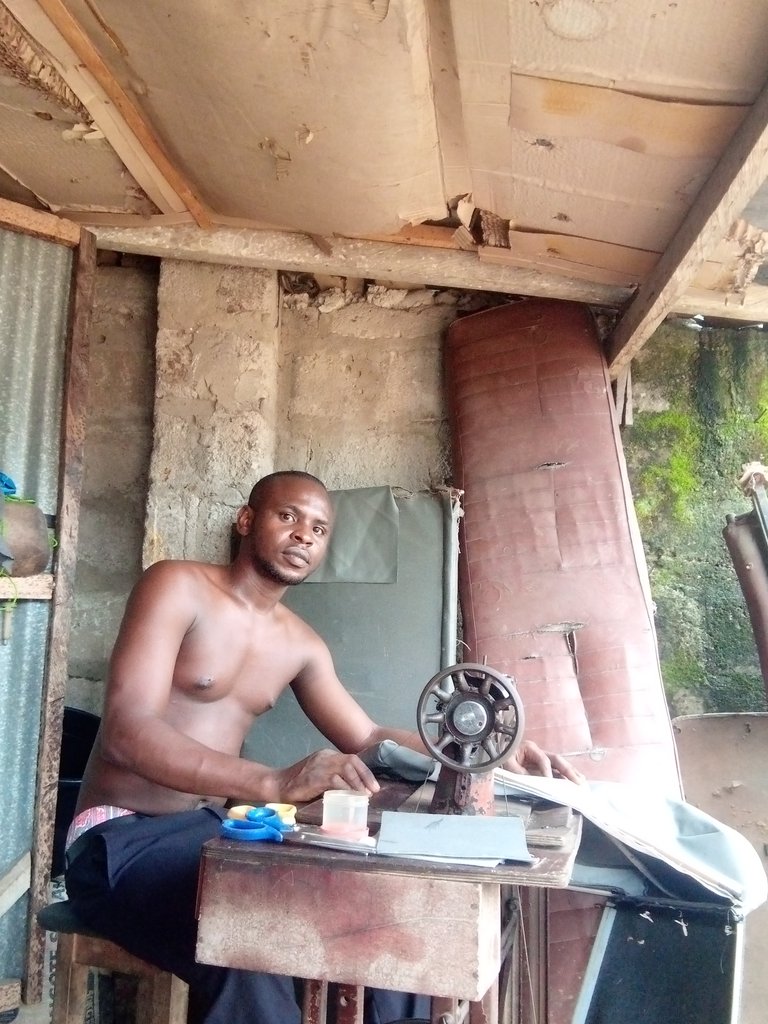
Sharing with you my needle work Monday on sewing a complete Toyota Camry seat with simple steps. @mosesessien
Hello guys
Good morning to you all in this great platform, how are you all doing, I hope you all are doing great has for me I am doing pretty good.
It is a new week and the first day of a week which is Monday, today is a very special day to us here in this great community where we are to share our needle work here. I always feel so happy to share my own needlework here today, going through post here in this community really make alot of sense because at the end you will get to learn more new things
So therefore Today I am sharing with you all the completion of a Toyota Camry seat that I just finished sewing. The start of the project was share here since last month. Click here
Here are the seat
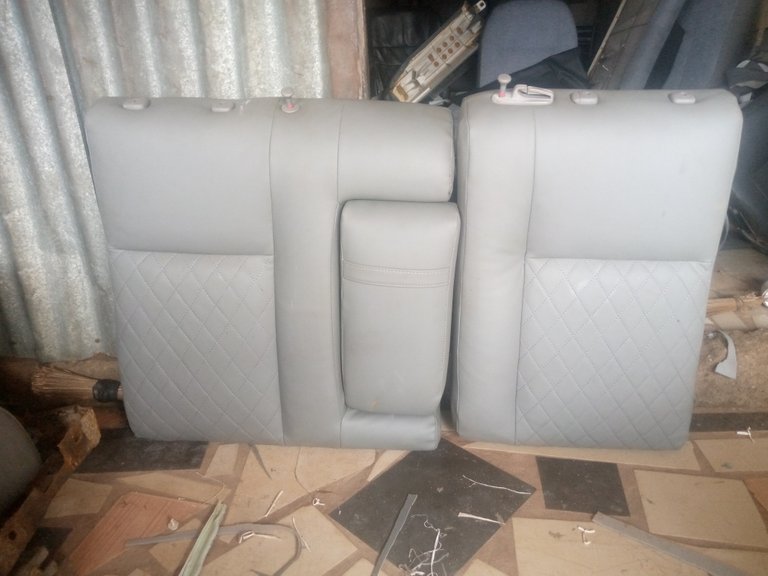
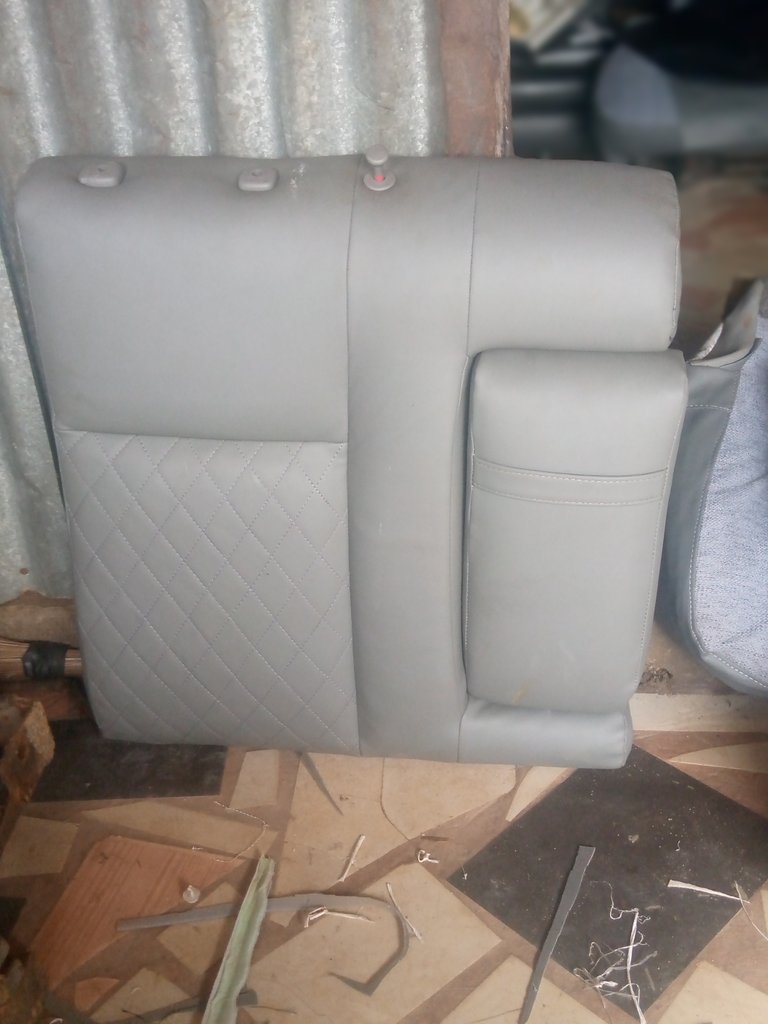
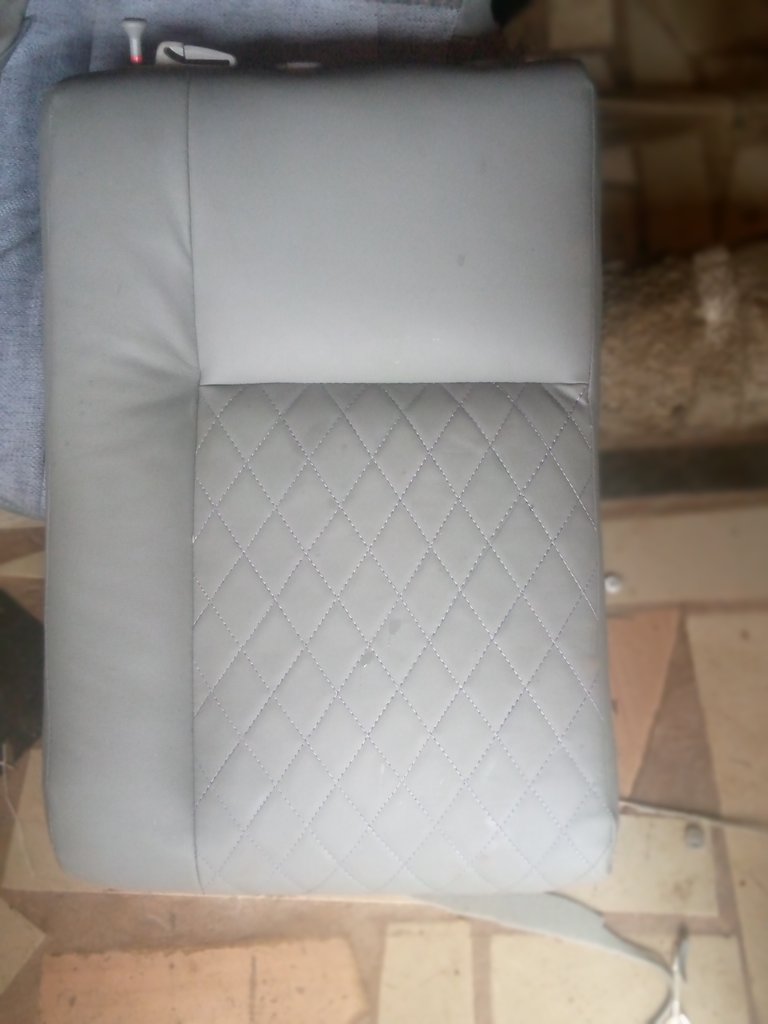
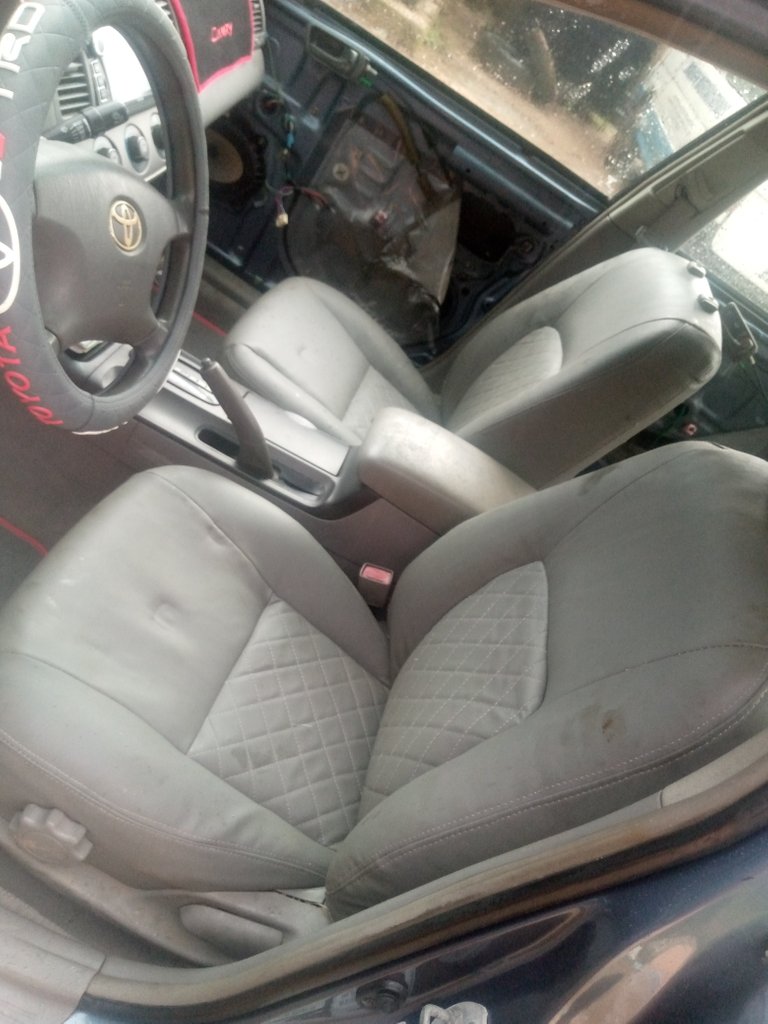
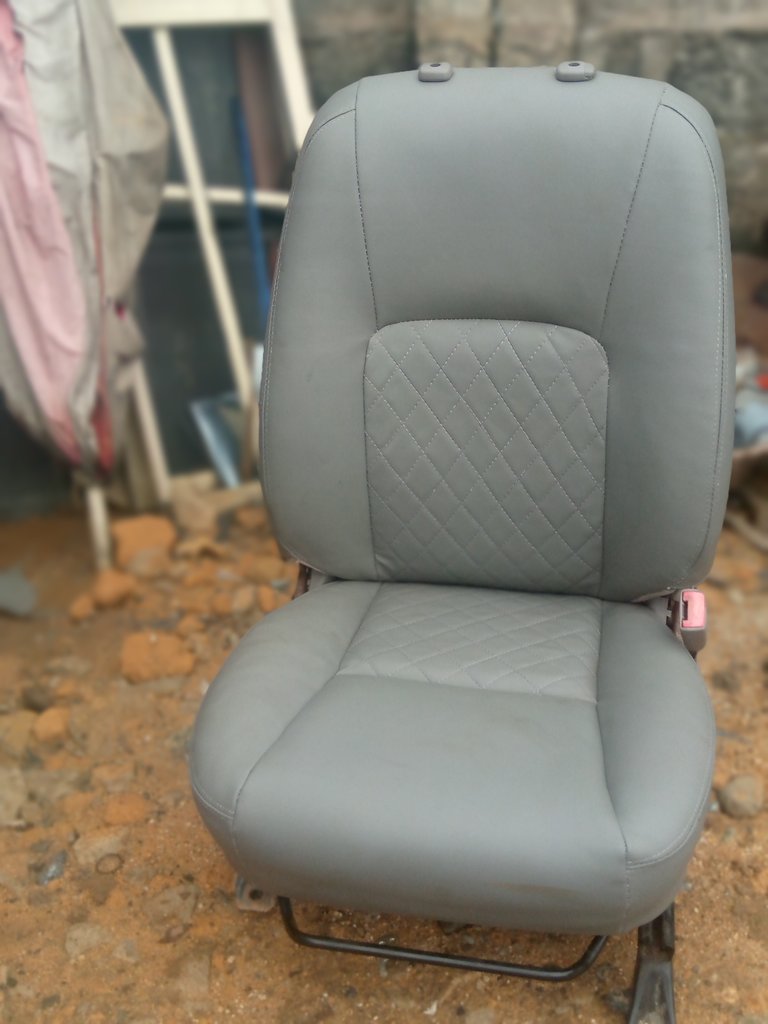
This seat was delayed because the own was still working on the car, because he had and accident with the car and everything was damage and he has to fixed it back so that he can make it come out new. The people that was handling the panel work delay it for 1month that is why I suspend mind.
Has I said before this seat was given to me by my customer because he believes in me that I will do an excellent work for him, and it turn out true. When I fixed the seat for him he was so excited because the seat look amazing inside the car compare to before, mostly the design I make for him at the center, he really love it.
I really love this community and is one if my best community on hive and the is nothing that will stop me from keep contributing to this community.
I will love to share with you all some steps I follow to make the seat come to reality.
Material/tools needed
- Sewing machine
- thread
- needle
- star and flat screwdriver
- roof material
- upholstery gum
- sucket spanner etc
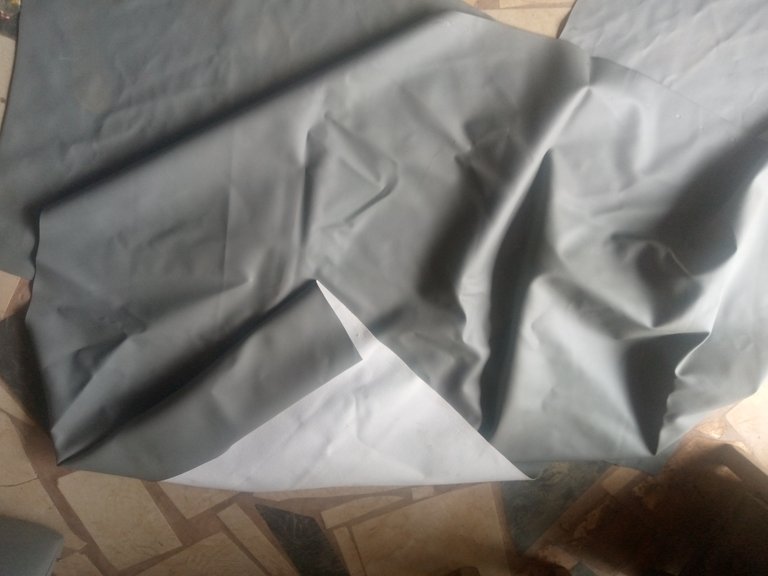
Here is the material I used
Here is the seat before
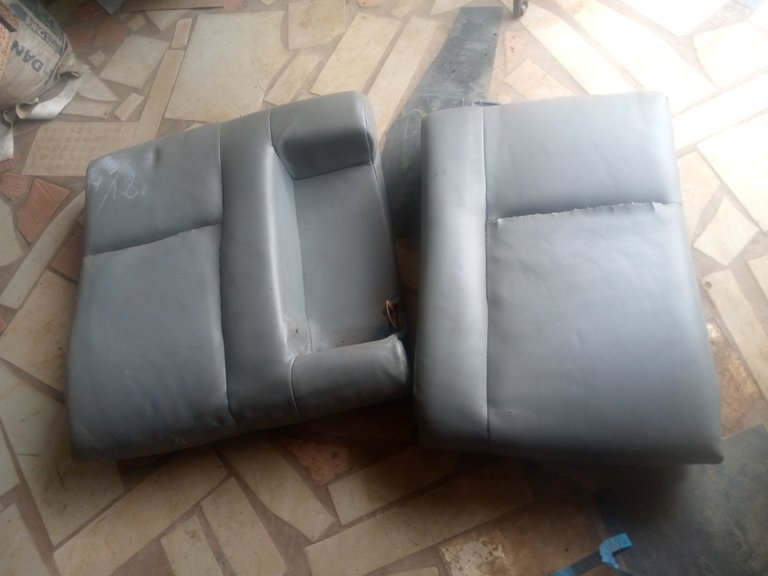
To sew the back seat is simple because everything is just straight forward has you can see on the old seat.
Firstly I use tape to take the measurement, and then write it down
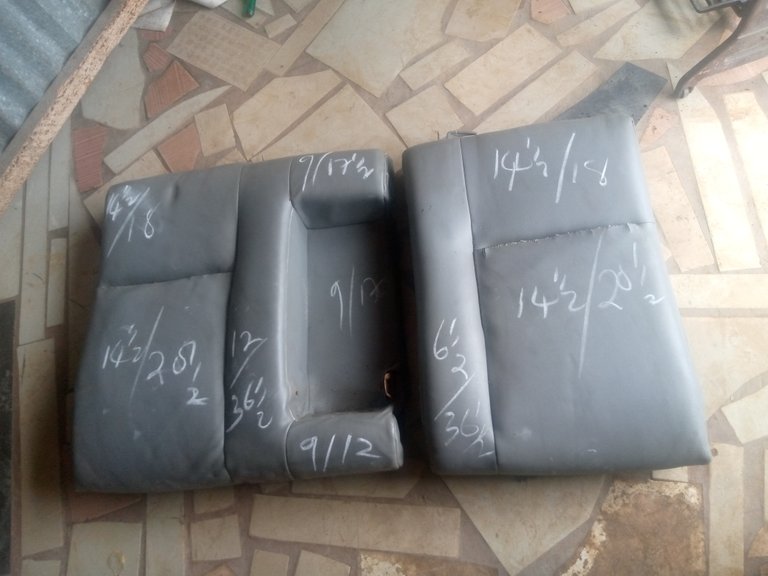
I then transfer the measurement to my new leather and draw it out carefully with the help of my long range and chalk
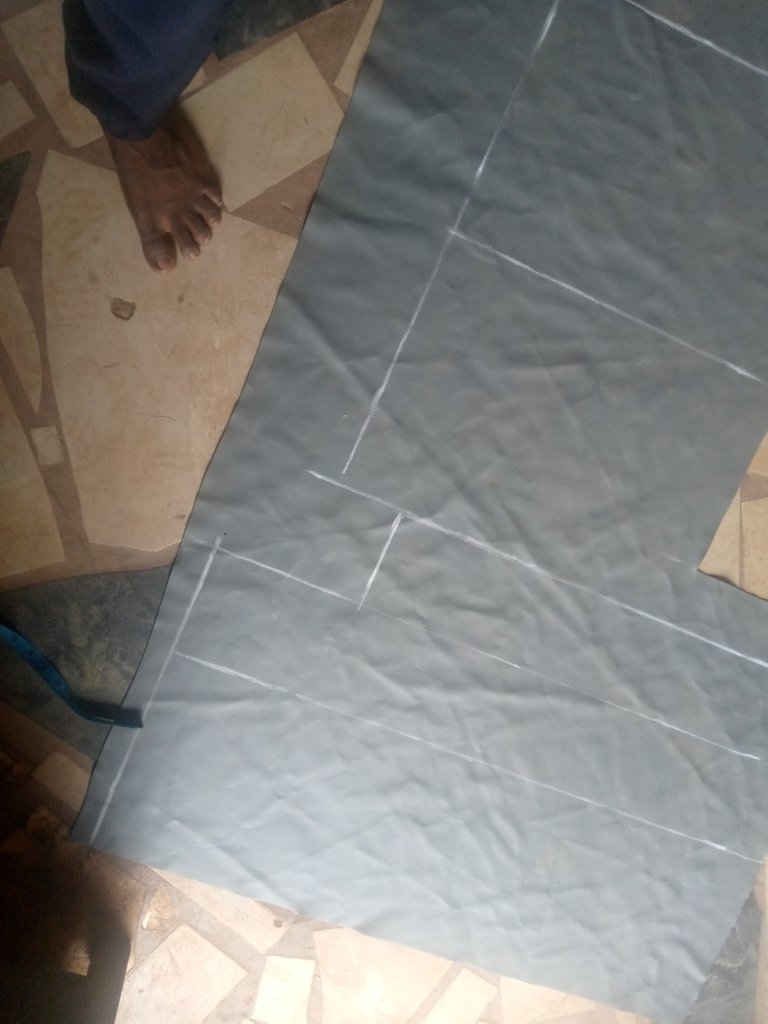
After that I now use scissors to cut them out .
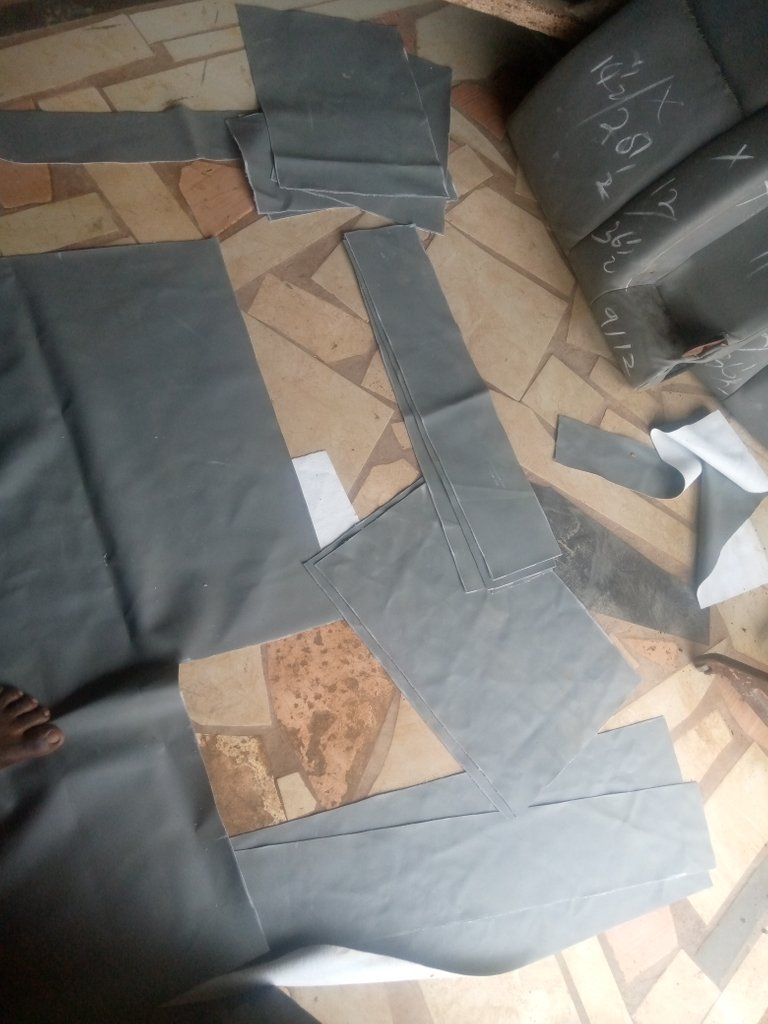
Then I gum it to a roof material to make it stronger and smooth
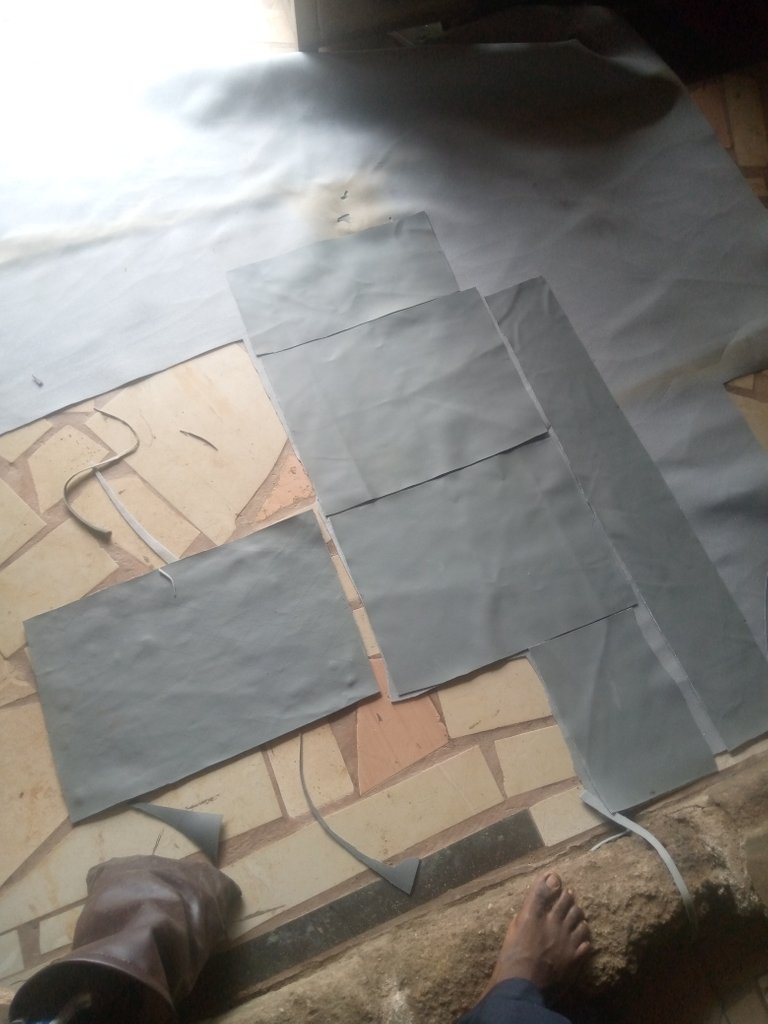
I finally cut them out for sewing process.
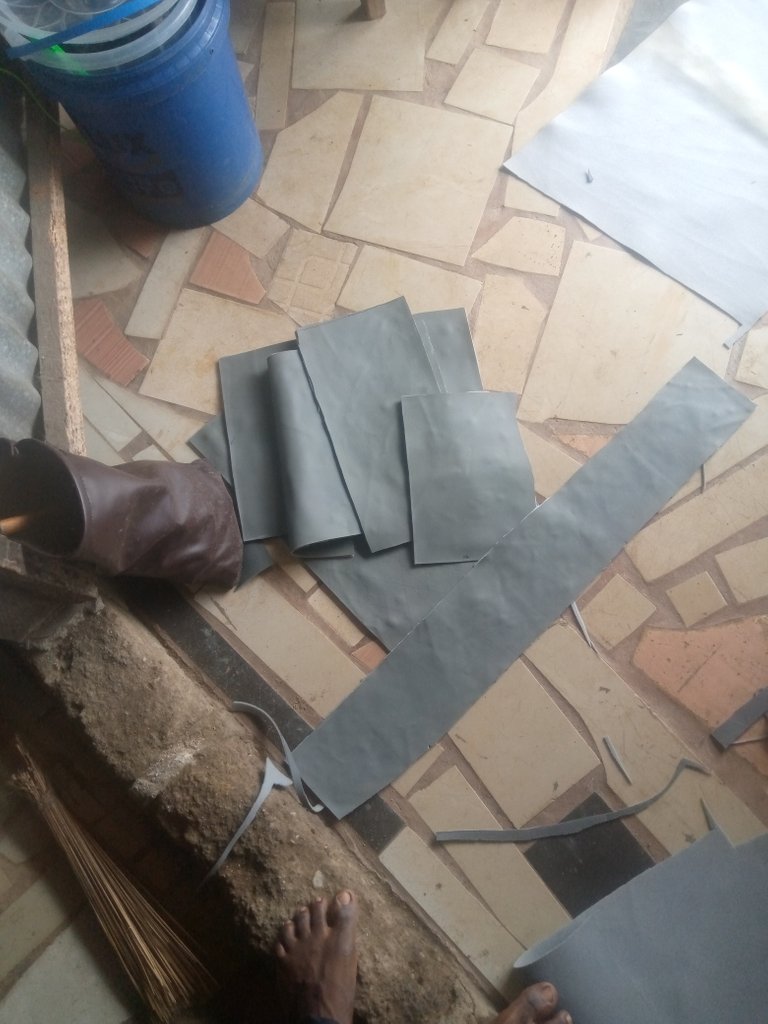
Sewing process
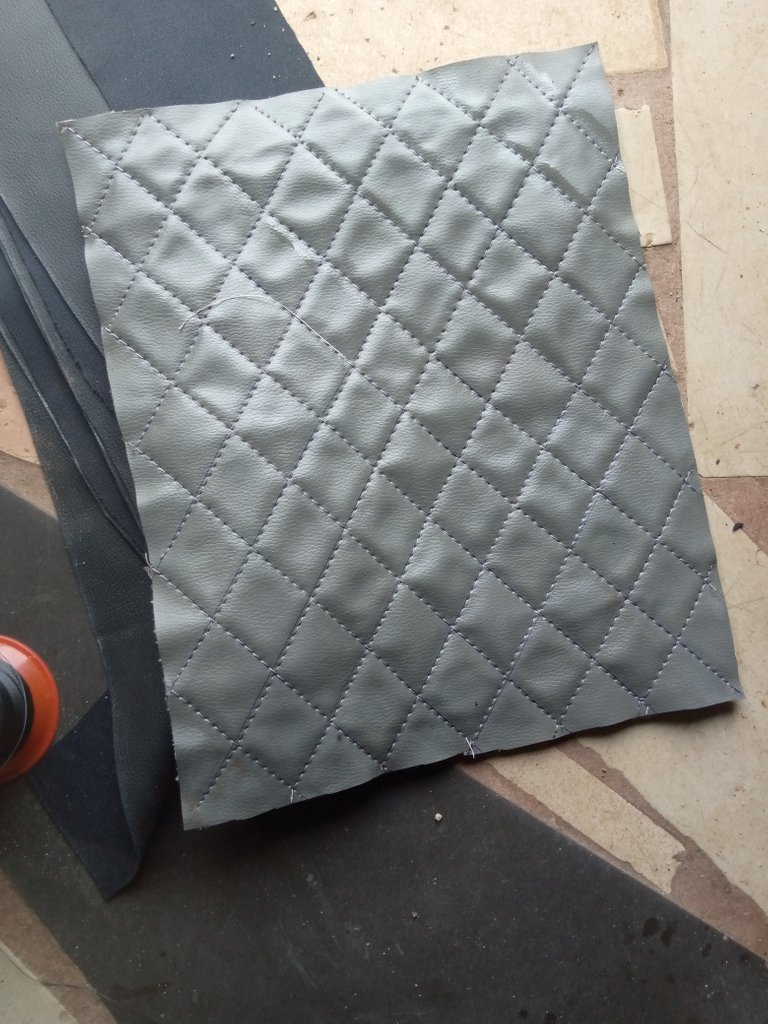
I take time to design this, I use pen to draw those line on the new leather in which when I am sewing I follow the line so that it will make the design straight and neat. It really take time to sew this for the two sides

I then finally finished sewing my design.
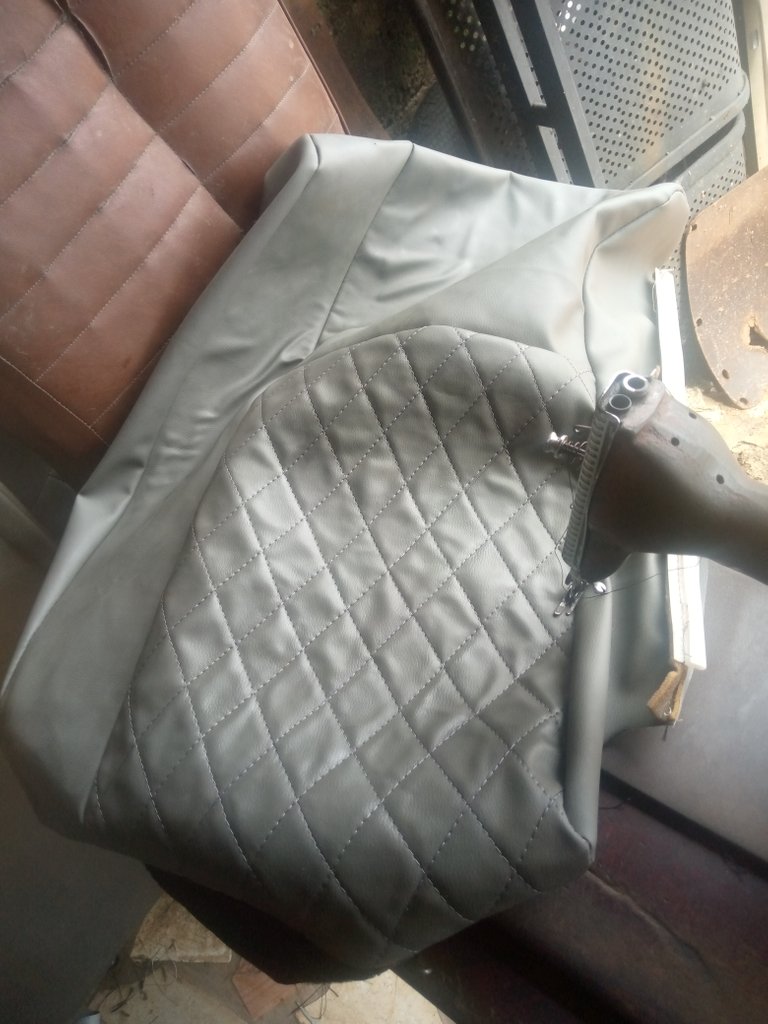
I then join other pattern of the seat to form my new seat cover and the outcome was wow
After finishing sewing the new seat cover I then clip it to the old seat and then cover it
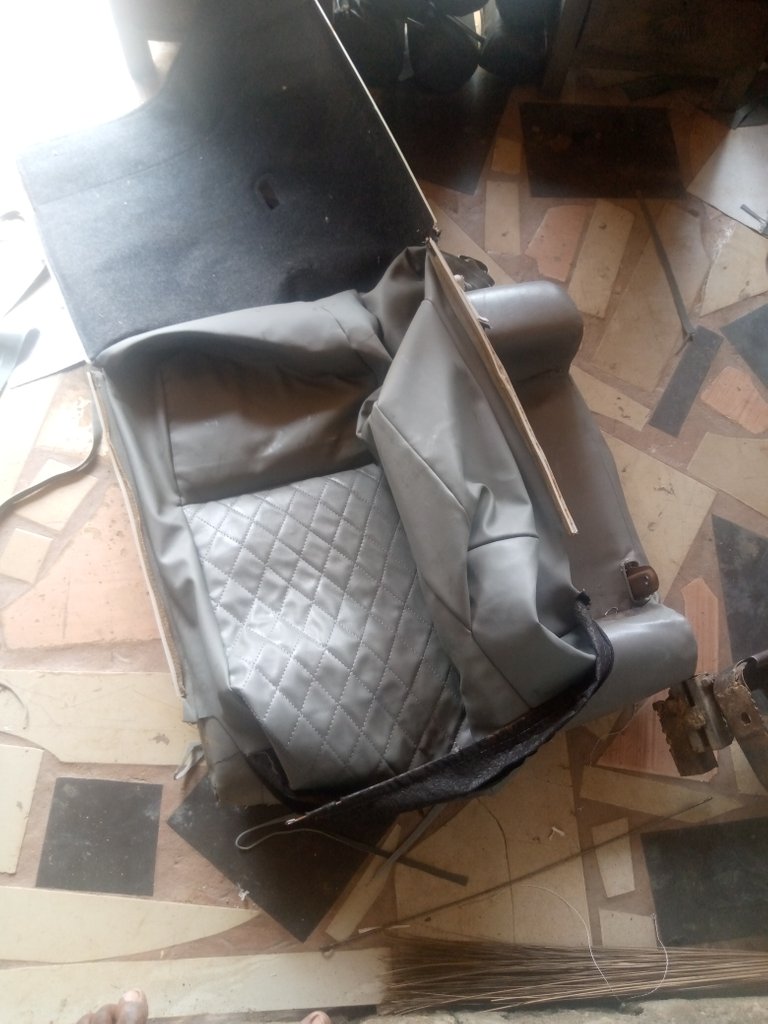
After cover it this is what I get has the results. 


How do you see the finish work, I will love to hear from you all.
This was simple and straight forward, hope you enjoy going through. Thanks so much for stopping by
Hello @mosesessien well.... have always been a big fan of your work, you always come out with the best of content and great stuffs, most of all am really I love with the pattern you used in that car sit the box pattern it’s really beautiful to be honest, great job keep it up, you said your customer trust you’ll do a great job, I trust you too bro from what have seen so far who says you’re not good at what you do, you’re the best bro and so far I think you’re the only one in this community who has such content unlike my own Line of job that we’re just too much but the good thing is that you’ll get to learn new designs from others too.....
Thanks so much brother I really appreciate your comment on my post. I feel so much happy for trusting me
Hi Moses, happy Monday to you :) I love how your rhombus design turned out on this seat. It must not be easy to handle this leather fabric but you do very well. This seat was great.
Thank you for sharing your project and have a good week! ❤️
I am greatful for such a nice comment on my post. Thanks so for for stopping by I really appreciate
Yay! 🤗
Your content has been boosted with Ecency Points, by @mosesessien.
Use Ecency daily to boost your growth on platform!
Support Ecency
Vote for new Proposal
Delegate HP and earn more
Wow that's an amazing work and seems pretty hard!
Thank you for sharing!
Thanks so much for stopping by I really appreciate