How to get red velvet color in butercream cream for a cake [ENG/ESP]
How to get red velvet color in butercream cream for a cake [ENG/ESP]
Good evening friends of the @foodiesbeehive community, I hope you had a nice day, full of blessings for each of you who read and write to me. I am doing well here thanks to God.
Today I meet again with you in this beautiful community of lovers of good taste, to share with you the way to get the red velvet color with buttercream to cover a cake.

The cream can be used to cover any type of cake, and it can also be used as a filling. It is a very versatile topping because it has a dual purpose, ie to decorate and fill, however, the one I'm going to show you I used it only to cover, since the cake I made it marbled, so it did not need to be filled.
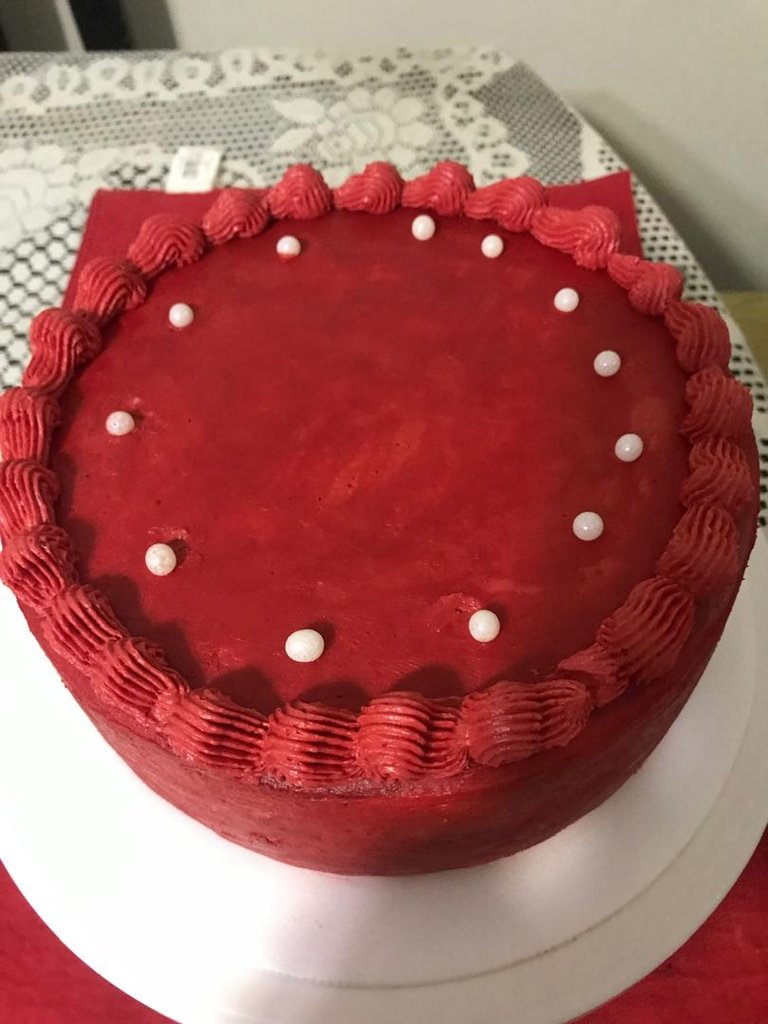
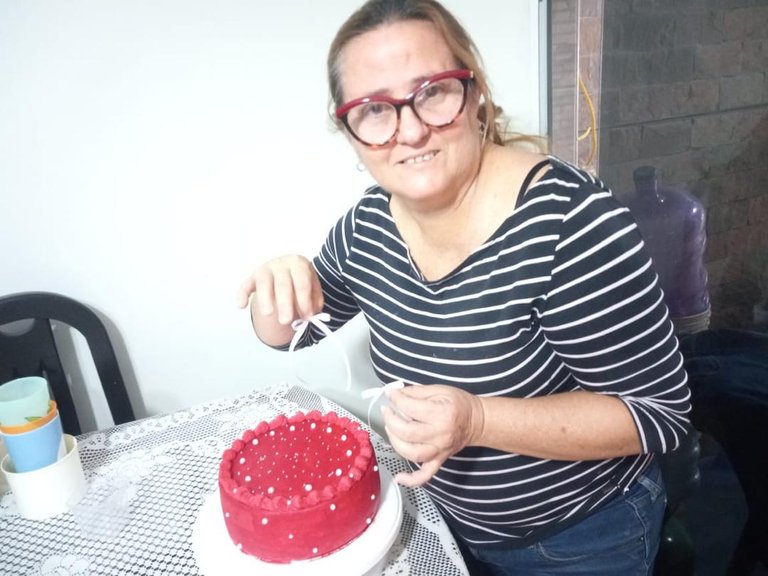
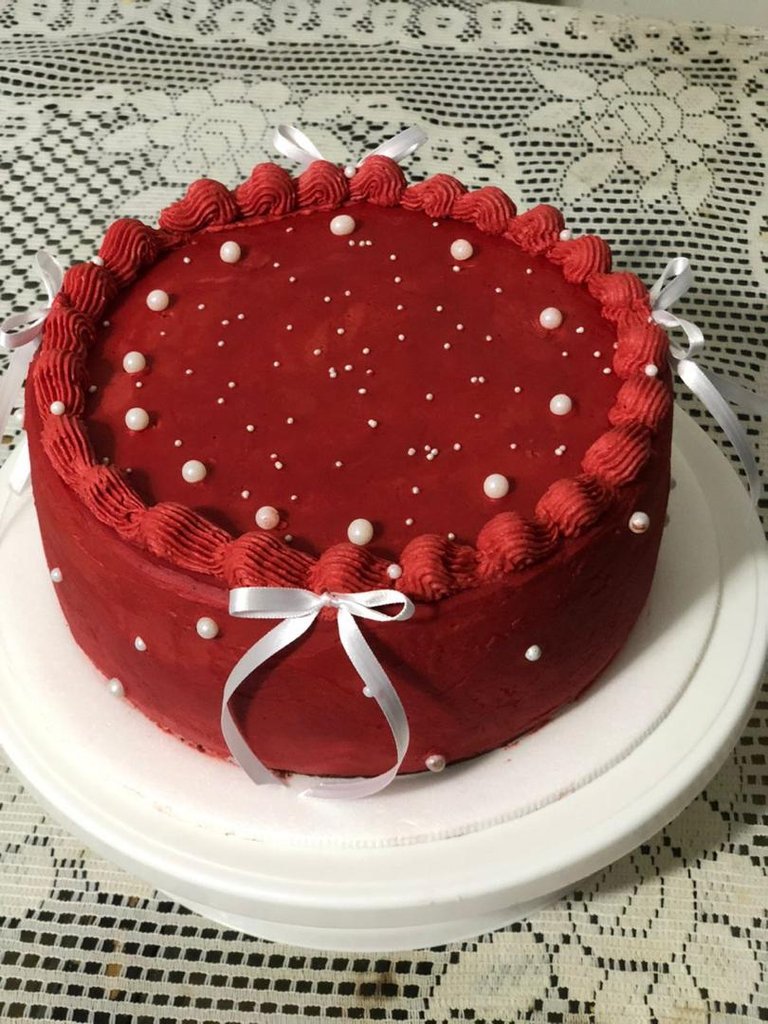
I made this decoration a week ago for a friend's mother's birthday, who asked me for it just as I am going to present it to her. Besides asking me for it in the color I mentioned, she also told me to put some white bows and small white ribbons in shiny satin fabric. It is a decoration that is in trend, it really was very nice and elegant, all the guests loved the taste, texture and color that was a velvet red, a beauty.
I can tell you that all the guests and the birthday girl were very satisfied, as they let me know, it is another level. Now I ask you to join me to do the step by step for the decoration, so I will proceed to quote you the ingredients and the procedure:
 |  |  |
|---|
Ingredients
- 200 grams of unsalted butter
- 150 kilograms of butter
- 400 grams of powdered sugar or nevazucar
- 4 tablespoons warm water
- 12 drops of chefmaster's super red gel color red color
- 7 tablespoons cocoa powder
- 5 drops of cream essence
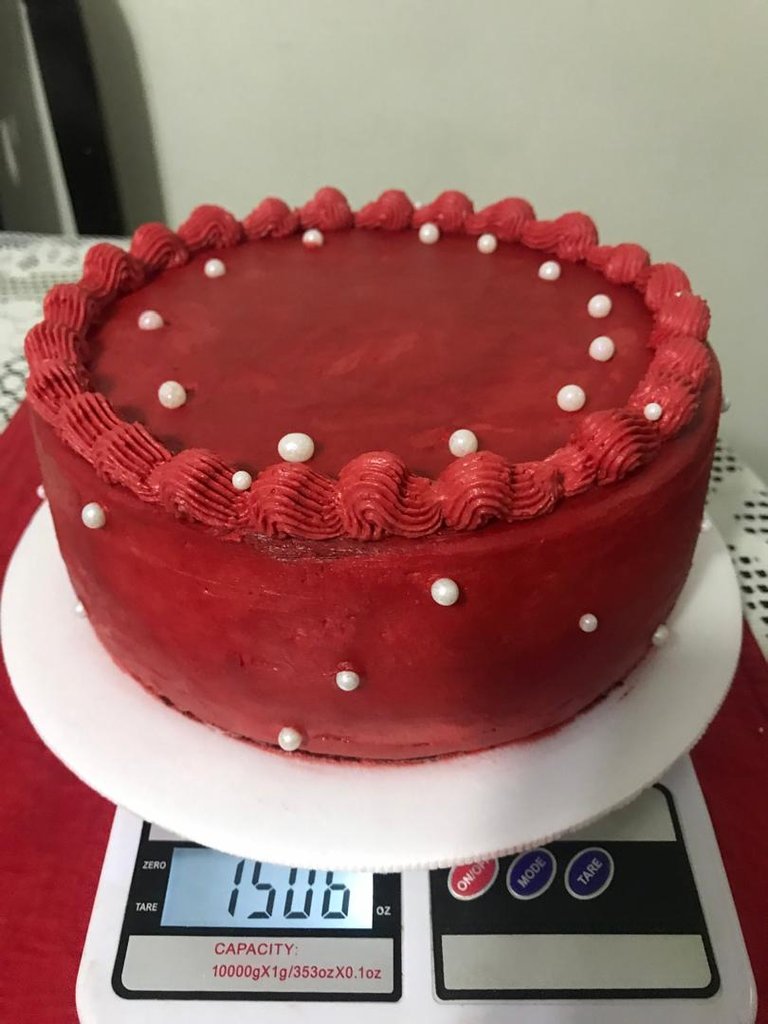
- 1 marbled biscuit of 1kilo 500 grams
- Various sizes of white groats of various sizes
- 2 meters of white satin ribbon to make the bows.
Preparation
In a bowl place the butter and the butter, beat for 5 minutes with an electric mixer until it is well creamed. Add the sifted sugar, little by little, the 4 tablespoons of warm water, beat until well blended.
Add the cocoa little by little, add the essence of cream and add the drops of red color, beat well until everything is united, let stand in the refrigerator for 6 hours or overnight for the next day is better, this is to accentuate more red color and is the way it was, a red velvet.
 |  |  |  |
|---|
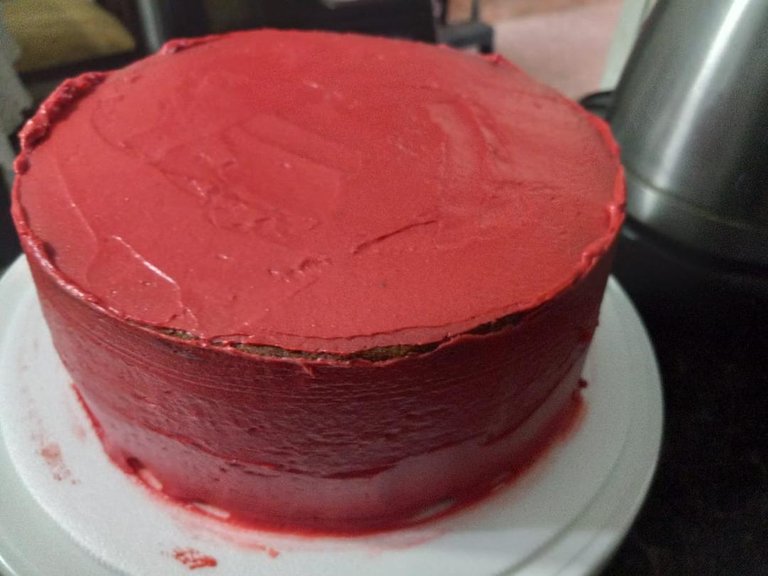
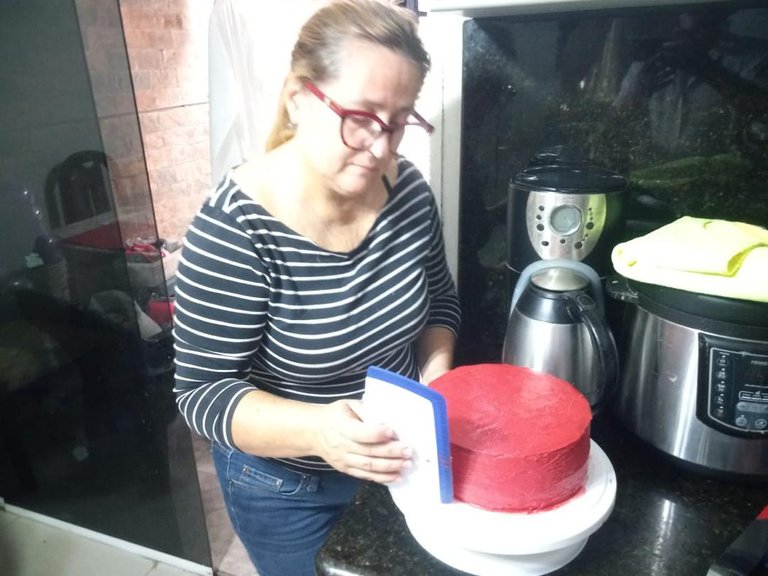
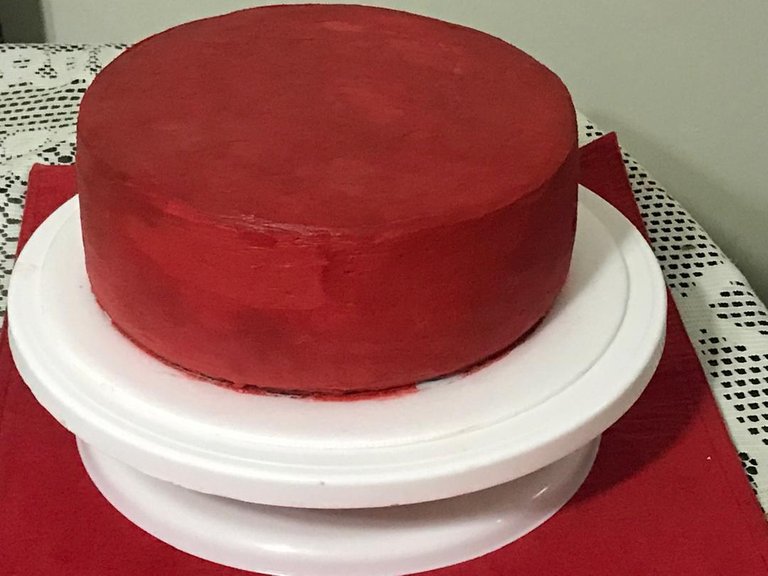
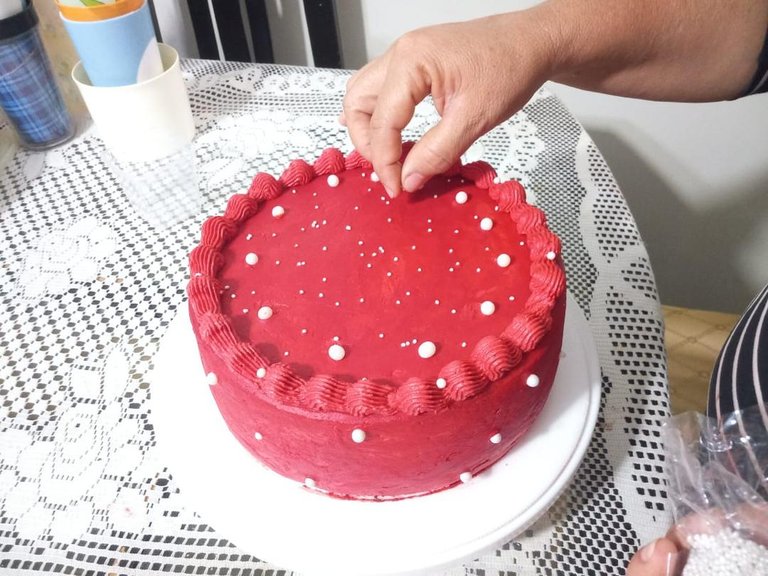
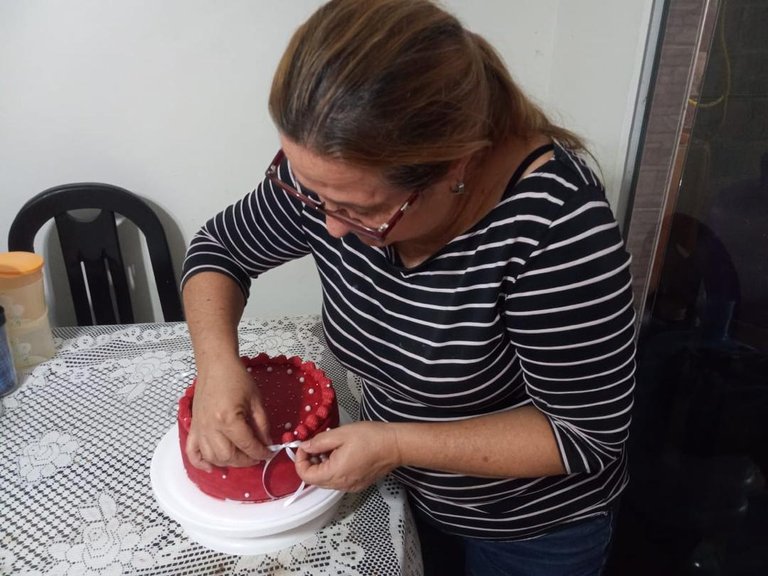
Begin to decorate by placing three tablespoons of the red buttercream frosting in the center and expand to the sides, place with a duya the cream along the contours, start smoothing with a spatula to make the crumb topping and place in the freezer for 3 minutes, remove and place a second layer of cream and do the same procedure, until smooth without pores.
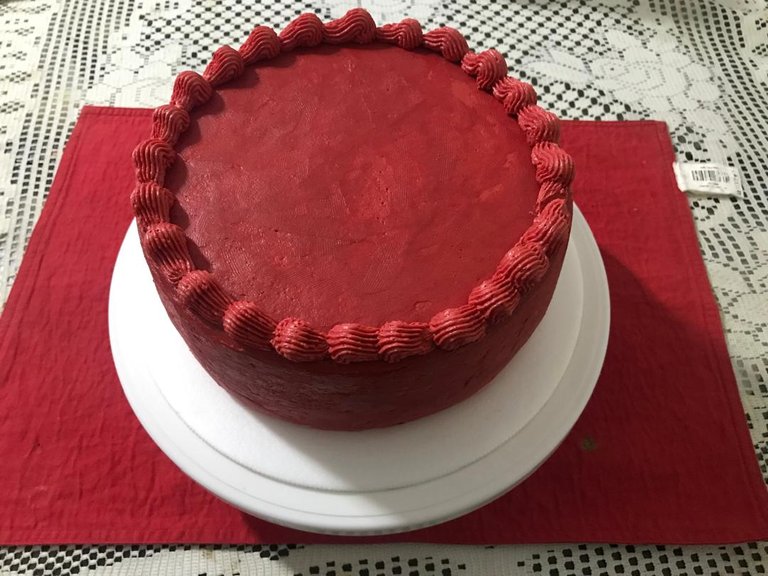
Finally once the cake is completely covered, decorate as desired, add all the sprinkles and bows with a little glue of the same buttercream, ready, leave an hour in the refrigerator and deliver the order.
 |  |  |
|---|
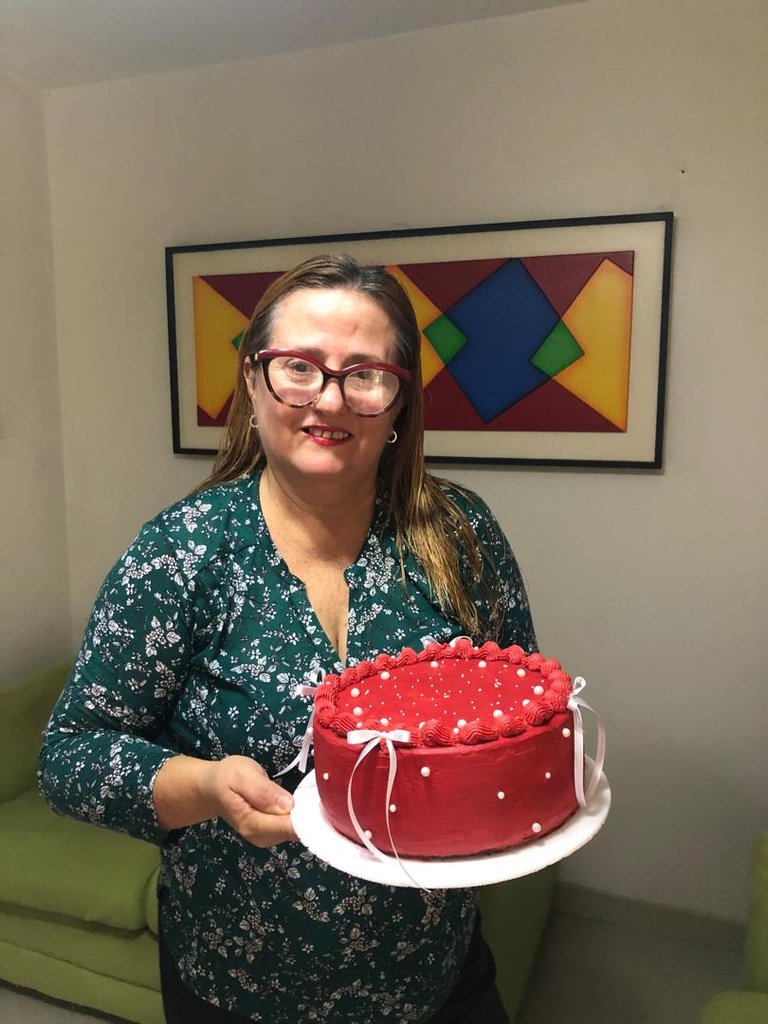
So far my post, I leave you some pictures of the ingredients and the whole decorating procedure, I hope you like it, I thank those who have been able to reach the end of my content. We will keep reading and writing, see you in the next post.

- Photos taken with Iphone 8 plus
- Cover designed with Canva
- Text translated with Deepl
Versión en Español
Como obtener el color rojo terciopelo en crema de butercream para un pastel
Buenas noches amigos de la comunidad de @foodiesbeehive, espero que hayan tenido un bonito día, lleno de bendiciones para cada uno de los que me leen y me escriben. Yo por acá me encuentro bien gracias a Dios.
Hoy nuevamente me encuentro con ustedes en esta hermosa comunidad de los amantes del buen paladar, para compartirles la manera de obtener el color rojo terciopelo con crema buttercream para cubrir un pastel.

La crema se puede utilizar para cubrir cualquier tipo de pastel, además también sirve para rellenar. Es una cubierta muy versátil porque tiene un doble propósito, es decir para decorar y rellenar, sin embargo, el que les voy a mostrar lo utilicé solo para cubrir, ya que el bizcocho lo hice marmoleado, por lo que no necesitaba ser rellenado.
La decoración la realicé hace una semana para el cumpleaños de la mamá de una amiga, quien me la encargo tal cual como se la voy a presentar. Aparte de solicitármela del color que les mencioné, también me dijo que le colocara grajeas y pequeños lazos de color blanco en tela de raso brillante. Es una decoración que está en tendencia, realmente quedó muy linda y elegante, a todos los invitados les encantó el sabor, la textura y el color que fue un rojo terciopelo, una belleza.
Les cuento que todos los invitados y la cumpleañera quedaron muy satisfechos, así me lo hicieron saber, es que es otro nivel. Ahora les pido que me acompañen a hacer el paso a paso para la decoración, por lo tanto procedo a citarle los ingredientes y el procedimiento:
 |  |  |
|---|
Ingredientes
• 200 gramos de mantequilla sin sal
• 150 kilo de manteca
• 400 gramos de azúcar glass o nevazucar
• 4 cucharadas agua tibia
• 12 gotas de color rojo en gel super red de la marca chefmaster
• 7 cucharadas de cacao en polvo
• 5 gotas de esencia de nata
• 1 biscocho marmoleado de 1kilo 500 gramos
• Grajeas de varios tamaños color blanco tamaño
• 2 metros de cinta de raso de tela color blanco para hacer los lazos.
Preparación
En un tazón colocar la mantequilla y la manteca, batir durante 5 minutos con batidora eléctrica hasta que esté bien cremada. Agregar la nevazucar ya cernida, poco a poco, las 4 cucharadas de agua tibia, batir hasta integrar.
Colocar el cacao poco a poco, agregar la esencia de nata y agregar las gotas de color rojo, batir bien hasta que todo este unido, dejar reposar en la nevera por 6 horas o de la noche para el siguiente día es mejor, esto es para que acentué mas el color rojo y quede de la manera que quedó, un rojo terciopelo.
 |  |  |  |
|---|
Empezar a decorar colocando tres cucharadas del frostin de buttercream rojo en el centro y expandir hacia los lados, colocar con una duya la crema por los contornos, empezar a alisar con espátula para hacer la cubierta recoge miga y colocar en el freezer por 3 minutos, sacar y colocar una segunda capa de crema y hacer el mismo procedimiento, hasta obtener un alisado sin poros.
Por ultimo una vez cubierta la torta en su totalidad, decorar como desee, agregar todas las grajeas y los lazos con un poco de pegamento del mismo buttercream, listo, dejar una hora en la nevera y entregar el pedido.
 |  |  |
|---|

Hasta aquí mi post, les dejo algunas fotos de los ingredientes y todo el procedimiento de decorado, espero que sea de su agrado, les doy las gracias a quienes han podido llegar hasta el final de mi contenido. Nos seguimos leyendo y escribiendo, hasta un próximo post.

- Fotos tomadas con Iphone 8 plus
- Portada diseñada con Canva
- Texto traducido con Deepl
Posted Using InLeo Alpha
Espectacular ese decorado para una torta el color rojo me encantó 👍🏽👍🏽
Gracias @lileisabel, si quedó muy lindo, un rojo tercio pelo espectacular, a pesar de que el rojo, negro y azul fuerte no es fácil obtenerlo, las personas que asistieron al cumpleaños les gusto mucho tanto el color, sabor y textura. Ya me encargaron 2 mas para dos cumpleaños.
Agradecida por pasar por mi post, saludos y bendiciones.
https://www.reddit.com/r/blogger/comments/1gmbz9e/how_to_get_red_velvet_color_in_butercream_cream/
The rewards earned on this comment will go directly to the people( @lileisabel ) sharing the post on Reddit as long as they are registered with @poshtoken. Sign up at https://hiveposh.com. Otherwise, rewards go to the author of the blog post.
Join the foodie fun! We've given you a FOODIE boost. Come check it out at @foodiesunite for the latest community updates. Spread your gastronomic delights on and claim your tokens.
Thanks foodies for the support
En verdad ha quedado con lindo color rojo terciopelo la crema esa torta se observa
una ricura
la mamá de tu amiga ha de haber quedado muy satisfecha
gran trabajo felicidades.
Si quedó muy contenta con su torta, le gustó mucho tanto el sabor porque era marmoleada, la decoración y el sabor de la cubierta. Incluso tengo 3 mas que me encargaron tal cual como esa, para día cumpleaños de la personas que asistieron al cumpleaños de la señora ,
Saludos y gracias por pasar por mi post.
Yo soy mala para decorar pasteles y esta tecnica que nos compartes esta genial, el pastel te quedo hermoso, felicidades! 😊🌹
Gracias amiga.
Saludos y bendiciones.
Se ve rica la torta y el color gracias por compartir
El color quedó hermoso, todos los invitados al cumpleaños les encantó y estaba esponjosa y de sabor muy rica era marmoleada.
Saludos gracias por el apoyo