Still life with blackberry | realistic art 🎨
Process
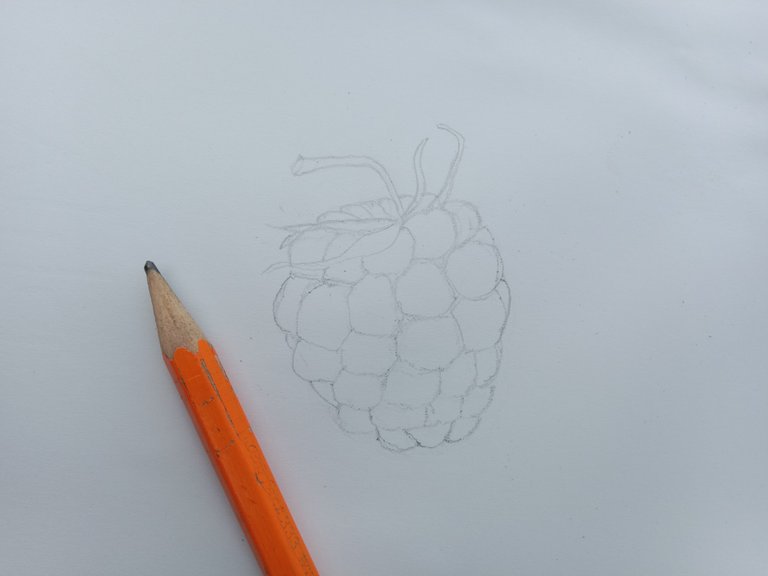
- In the first step with the help of a lead pencil create the sketch of the fruit for making the tiny ball of this beautiful berry I always recommend you guys to use remove able stuff for making this catch so that in case you do something wrong it can be easily removed with the rubber as you can see in the video I attached.
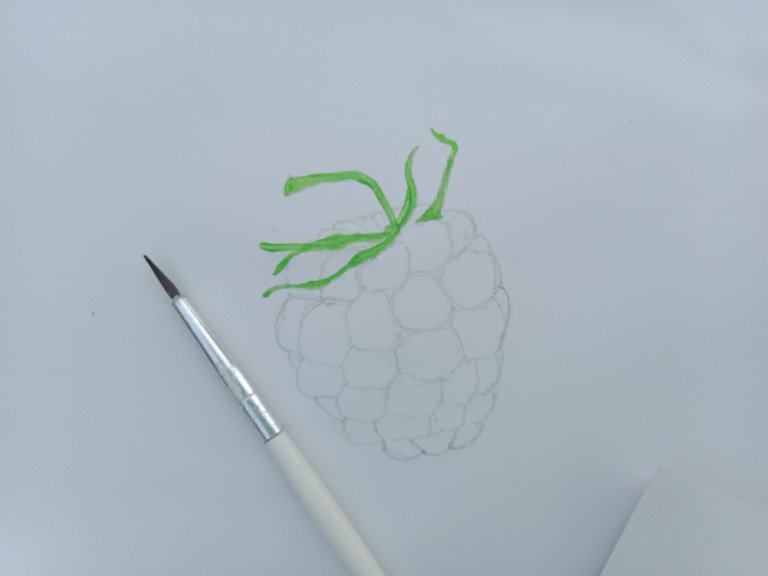
- Now let's start colouring this beautiful fruit I started colouring from top to bottom I made this stick attached to the top of the fruit by mixing equal amount of green and yellow for making a light green tone as a base colour.

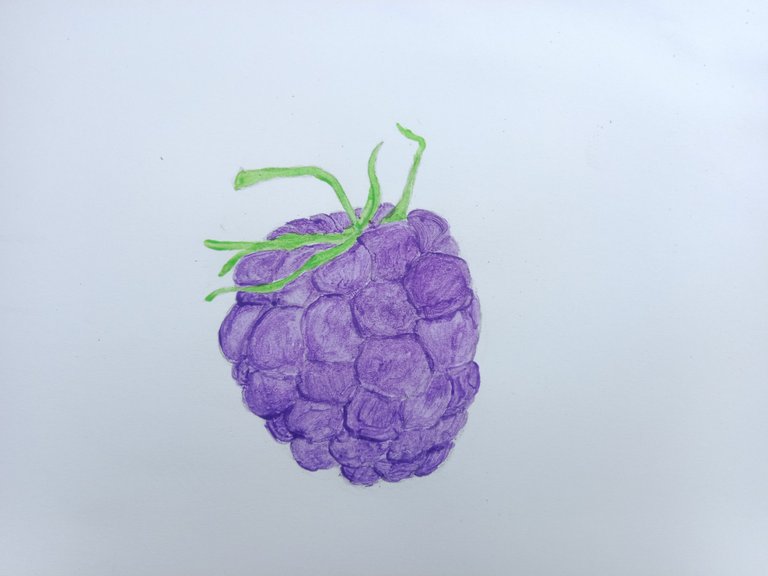
- For making the overall base colour of the berry I use straight purple colour no additive and non mixing just I power the purple colour and didn't used that wide brush but I used thin brush and each ball on the outer surface of the Barry individually.

- Now comes the time to give some more coating of colour on the base colour I called it as base colour as it is the middle range colour of the object to be drawn now as it is supposed to be BlackBerry so I give shades each corner of the object.
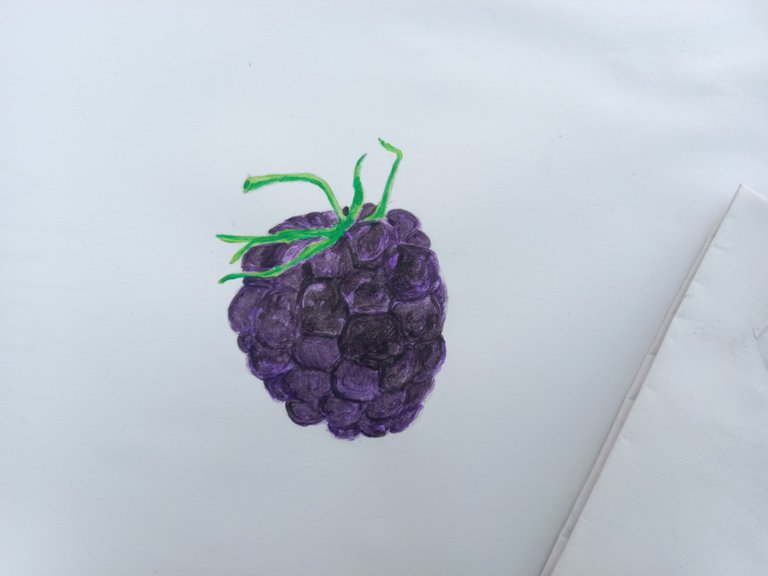
- Just keep going on and turn this purple berry into BlackBerry in this step I tried my best to give dark black to the edges while keeping the central area of each ball on the outer surface of the berry a bit light as compared to the area in between each spore.
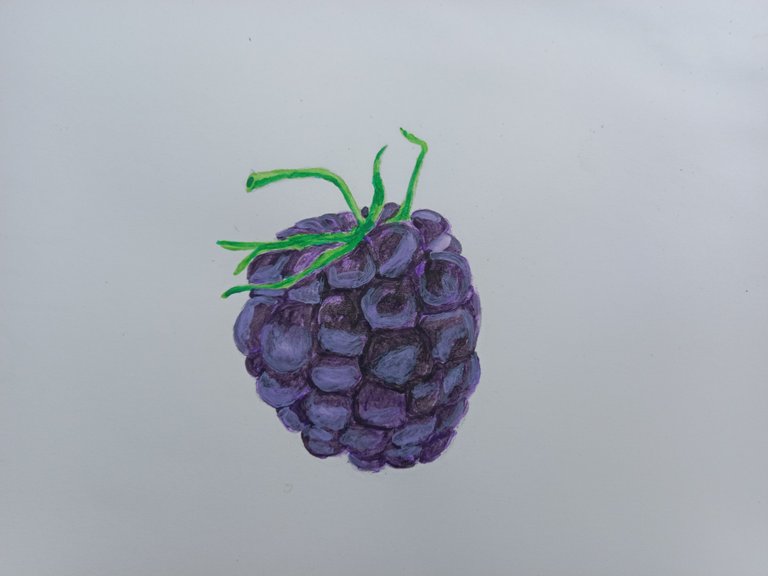
- This is this second last step of making a realistic BlackBerry for making this centre of each spore broght mix equal amount of purple and white now you guys might say as it is Blackberry so why purple guys I just really liked using purple colour in this and let me tell you that Black berry is not 100% black in my opinion so just add this little bright shade to some part of the drawing.

- It is the last step of creating realistic BlackBerry now in this step I didn't used any kind of watercolor for making the white reflection on the Barry I used a thick paste of poster colours as poster colours are epithek so they are very easy to use specially when giving details on the top of drawings 🎨.
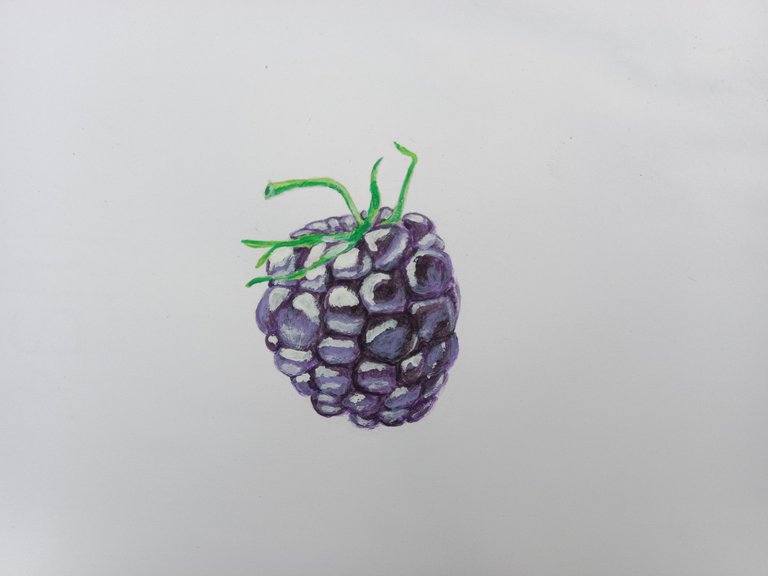
Final look 🌻😁
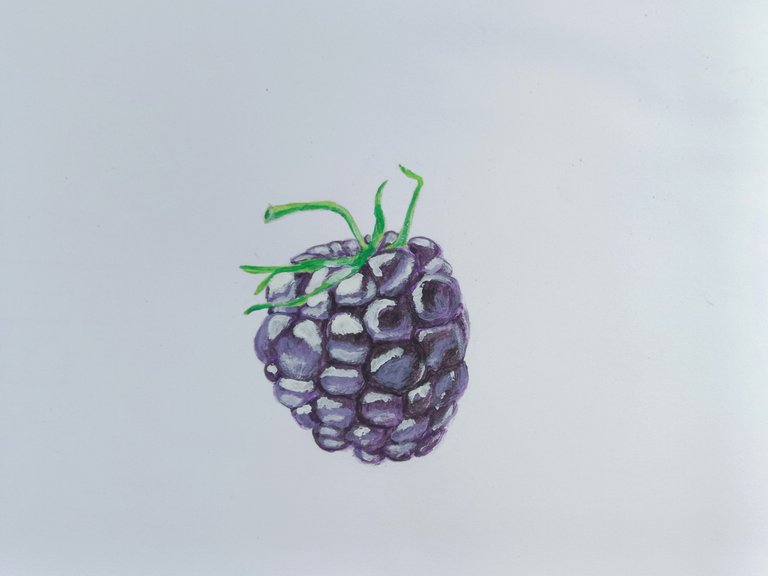

That's it this was all for today's post I hope you guys would have enjoyed reading the post with each step defined I have already attached the shorts of video of creating this piece of art don't forget to watch it as well I hope you guys will like it and appreciate it like always don't forget to give your suggestions below in the comment section see you next time have a nice day.
0
0
0.000
You have really good skills in art @mojiko-blog. I want to learn about it, can you guide me?
I appreciate your blackberry art bro!
Watch the tutorial I attached
As usually you are again mind blowing and stunning. So I am just amazed to see such a creative art with real features.
aha that looks beautiful, thanks a lot for sharing. keep up the good work.