Adorno de bienvenida para una bebé | Welcome ornament for a baby girl
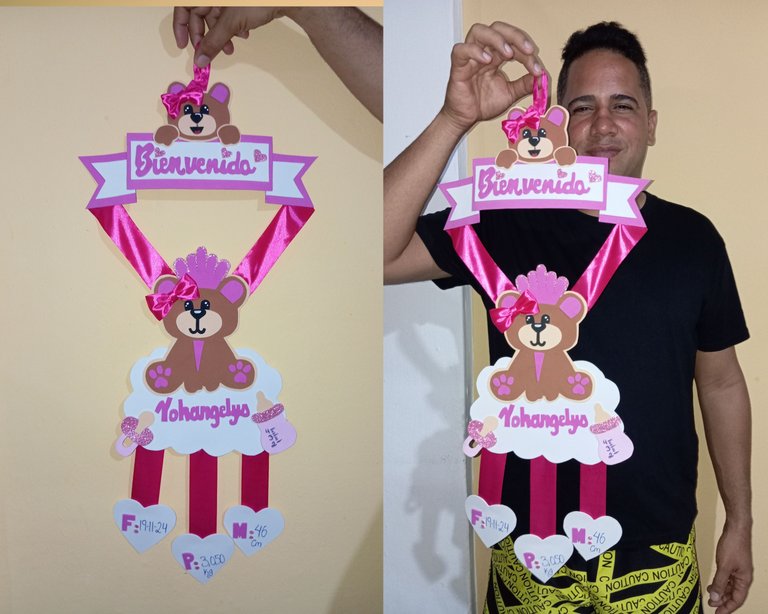
Hola buenas tardes amigos de la comunidad, un abrazo caluroso y fraternal , hoy les quiero compartir cómo elaboré un adorno de bienvenida con temática de oso para una niña, es un proceso que lleva tiempo, pero dará un excelente encanto, esto lo elaboré con un poco de ayuda de mi esposa para hacer feliz a una mamá primeriza , les cuento que pase la noche en esto por qué se fue la luz ,tuve que cambiar de lugar de trabajo , fue un poco complicado pero encantado con mi trabajo
Hello good afternoon friends of the community, a warm and fraternal embrace, today I want to share how I made a bear-themed welcome ornament for a little girl, it is a process that takes time, but will give an excellent charm, I made this with a little help from my wife to make a new mom happy, I tell you that I spent the night on this because the power went out, I had to change my workplace, it was a little complicated but delighted with my work.
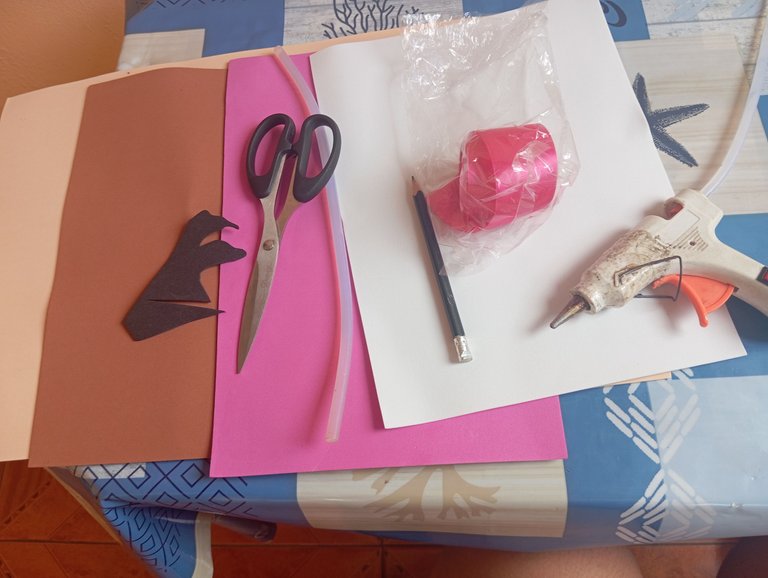
Materiales qué utilice para el adorno de bienvenida:
-Foamis
-Tijera
-Silicon
-Cinta
-Papel y lápiz
Materials I used for the welcome ornament:
-Foamis
-Scissors
-Silicon
-Tape
-Paper and pencil
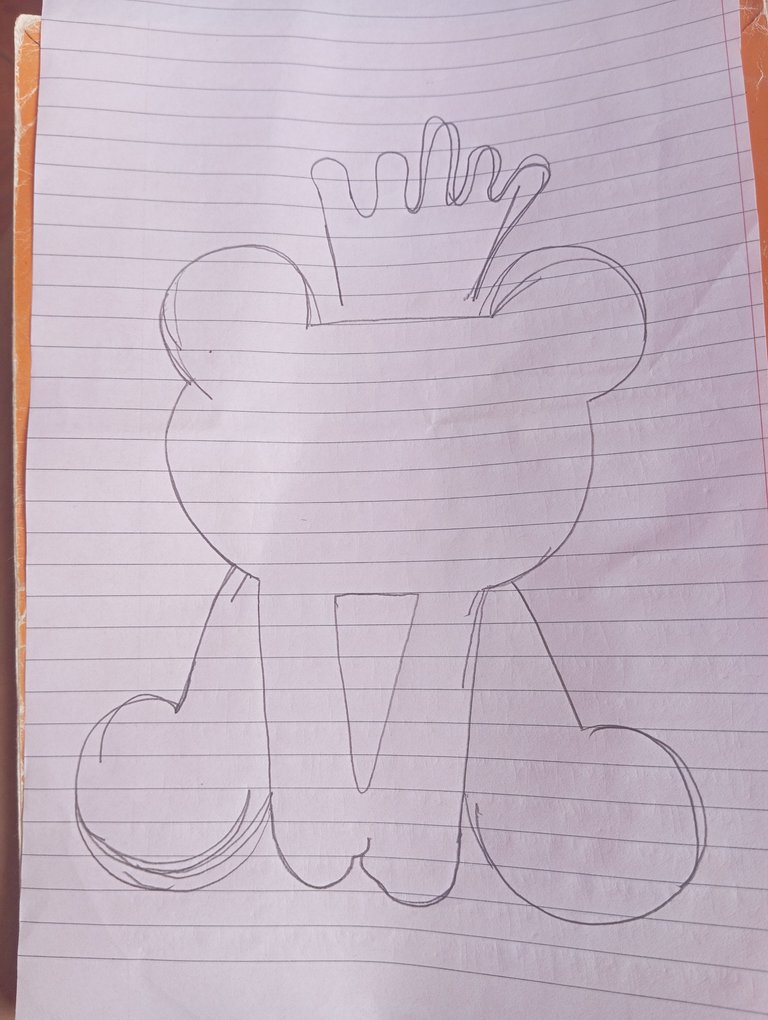
Pasos a seguir:
Comenzamos realizando un patrón para iniciar nuestro trabajo, la temática con la que comencé una osa mamá Reyna
Steps to follow:
We start by making a pattern to start our work, the theme I started with a Reyna mama bear.
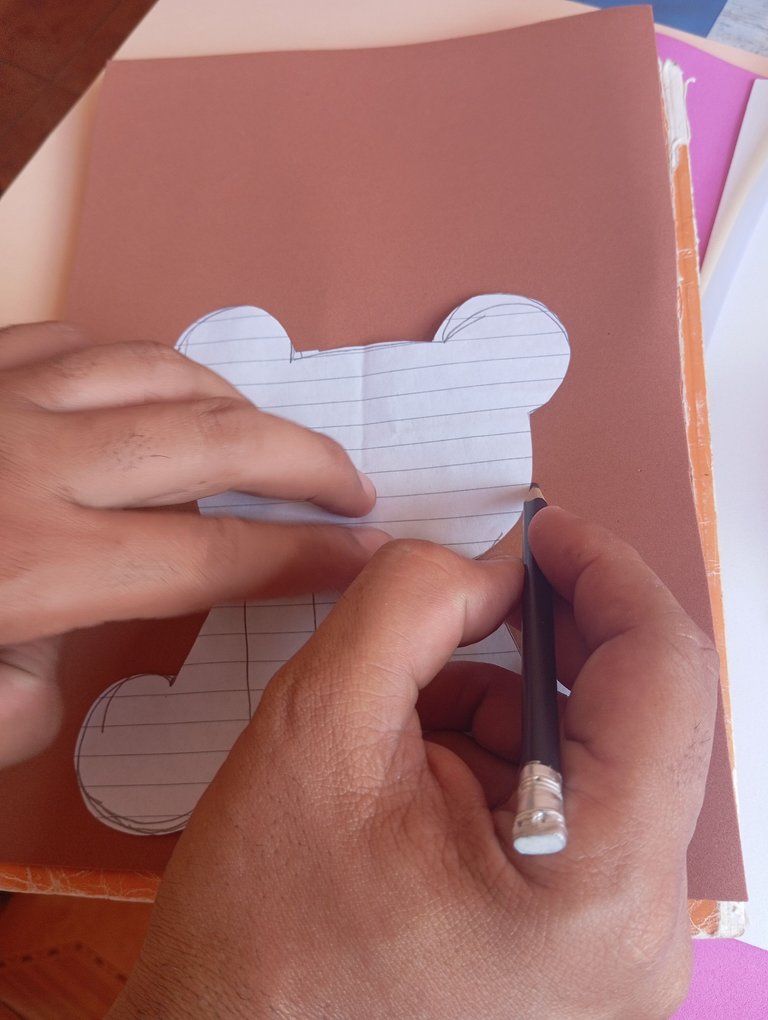
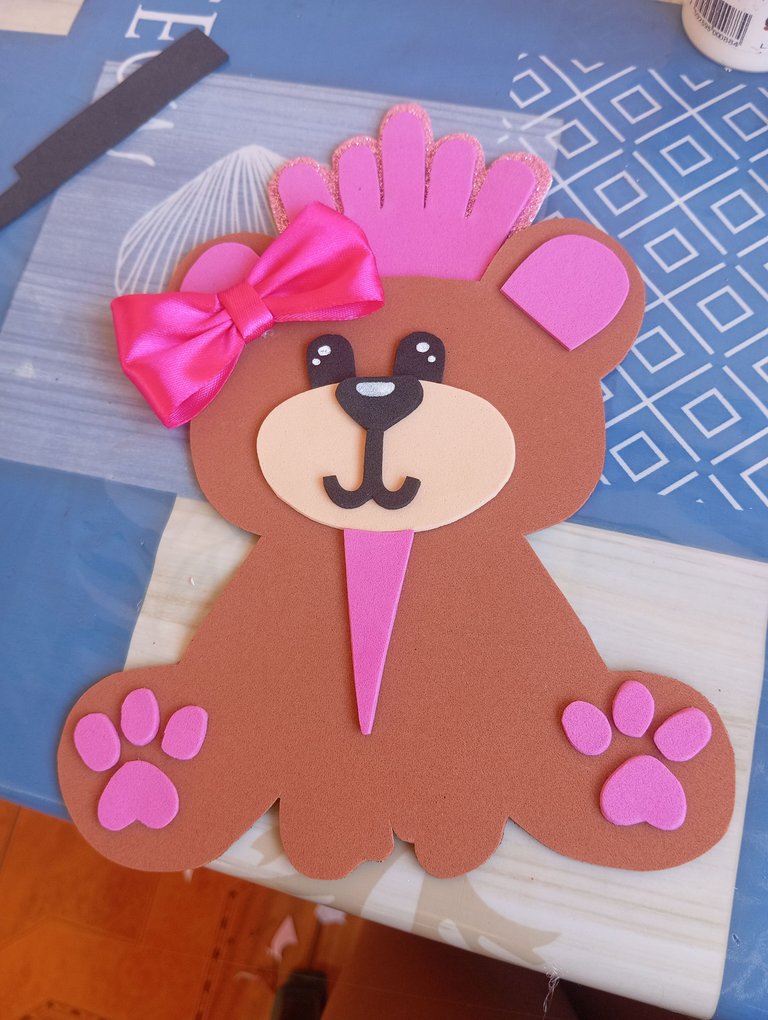
Una vez que tengamos el patrón listo comenzamos marcando el cuerpo de la osa en el foamis marrón, luego vamos a continuar tomando unos recortes de foamis y marcaremos igual el resto de las piezas para formar nuestra osa ,(ojo,hocico, fondo de orejas,huellas)
Once we have the pattern ready we start marking the body of the bear on the brown foamis, then we will continue taking some foamis cuts and we will mark the rest of the pieces to form our bear (eye, snout, bottom of ears, footprints).
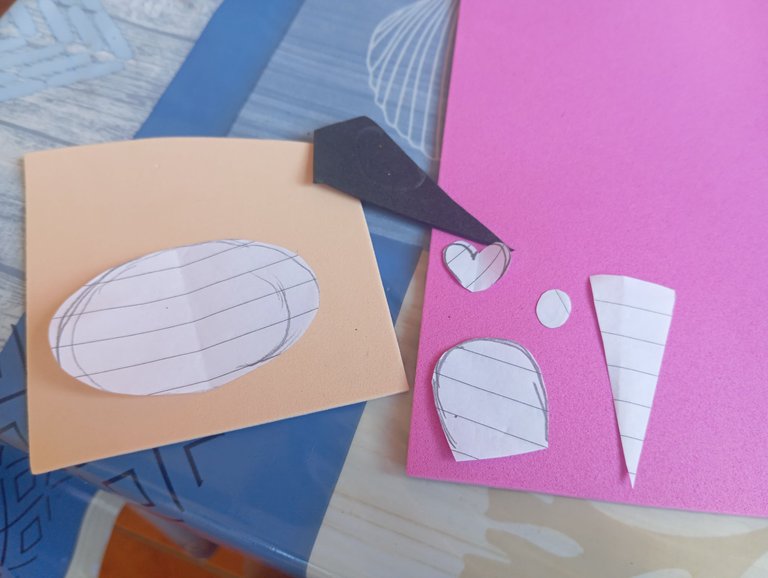
Seguidamente vamos a continuar tomando nuestra tijera y vamos a proceder recortando las piezas para formar nuestra osa (cuerpo,orejas,huellas ,hocico y rostro)
Then we will continue taking our scissors and we will proceed cutting the pieces to form our bear (body, ears, footprints, muzzle and face).
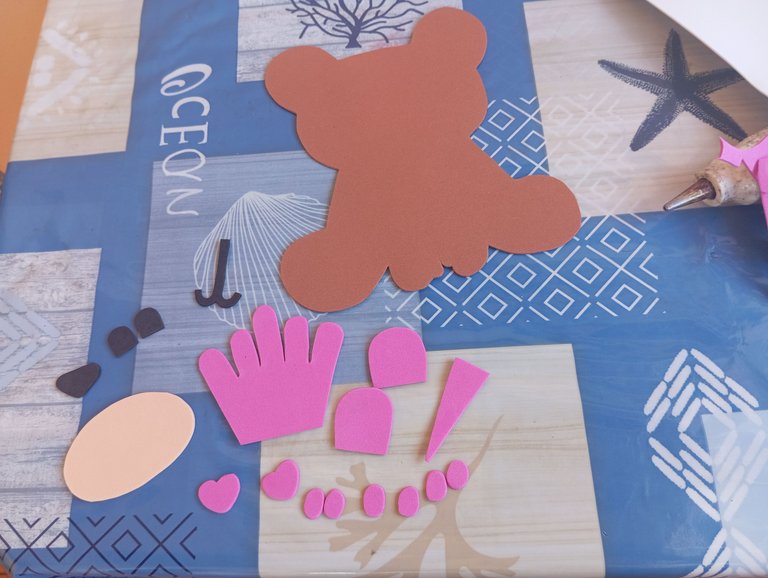
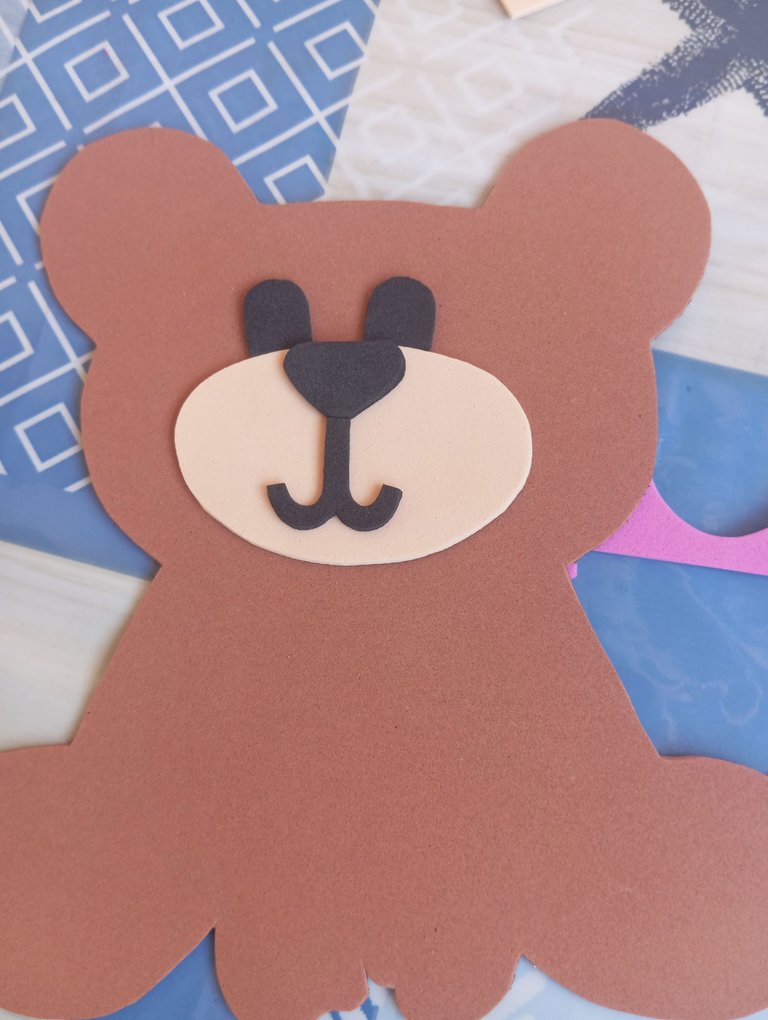
A continuación iniciaremos pegando y formando su rostro, esto incluye su trompa , hocico y ojos
Next we will start by gluing and forming her face, this includes her trunk, snout and eyes.
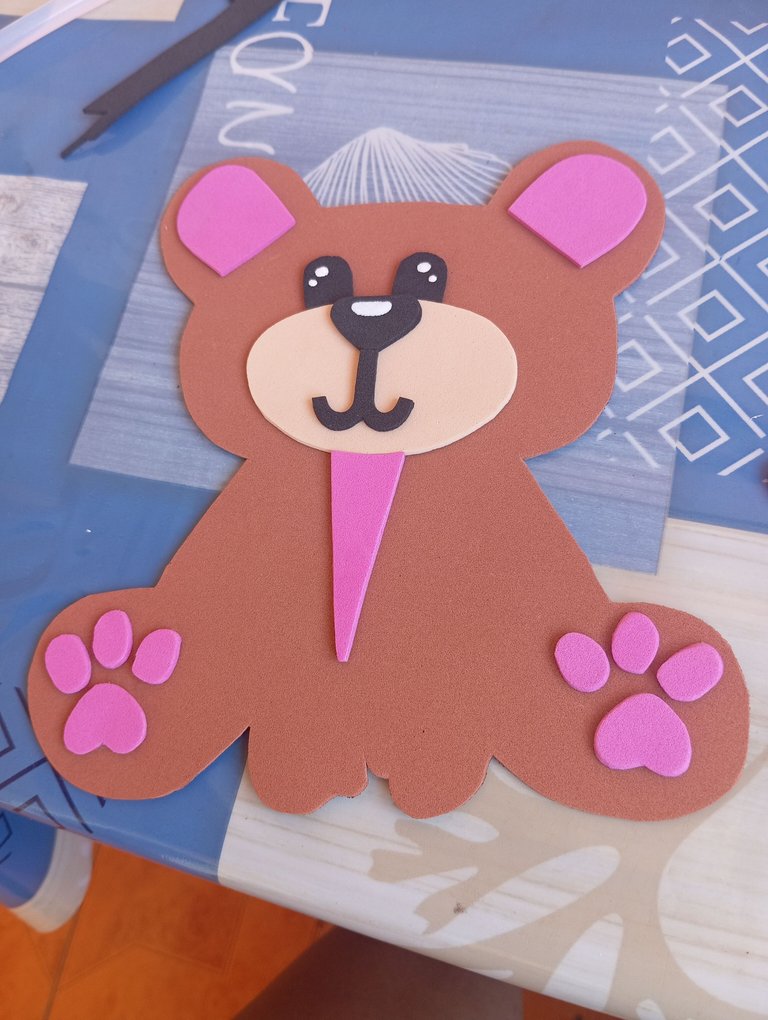
Seguidamente en este siguiente paso vamos a continuar realizando una iluminación con blanco a los ojos y nariz , luego pegaremos el fondo de sus orejas rosa, al igual que sus huellas y centro de su barriga
Then in this next step we will continue making a white lighting with the eyes and nose, then we will glue the bottom of her pink ears, as well as her footprints and the center of her belly.
Para finalizar con la mamá osa , vamos a continuar pegando en una oreja un pequeño lazo y en su cabeza en todo el centro su corona de reina
To finish with the mother bear, we are going to continue gluing a small bow in one ear and in the center of her head her queen crown.
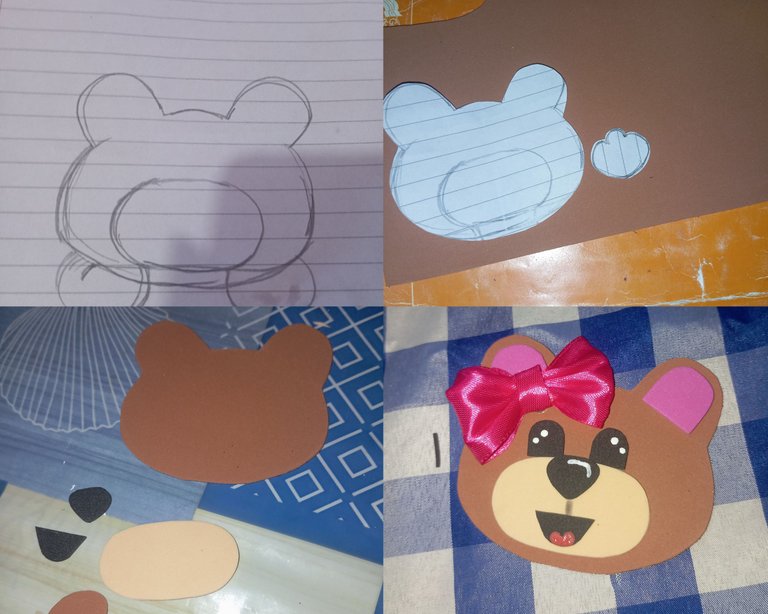
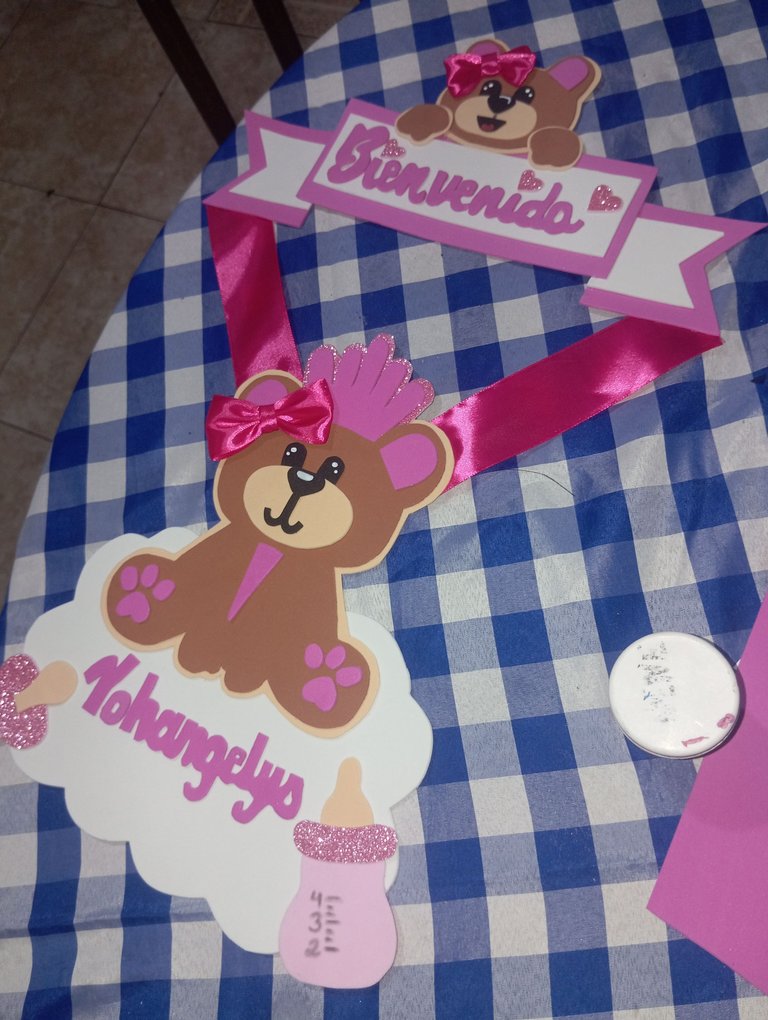
A continuación vamos a realizar a la bebé osa , comenzamos realizando nuestro patrón,solo realizaremos su cabeza y las patas delanteras, marcamos nuestro patrón en los foamis correspondiente, marrón,color piel y negro , luego vamos a proceder recortando las piezas que marcamos , una vez listas comenzamos pegando y formando nuestra bebé osa , pegamos su trompa y rostro, en una esquina adornamos su oreja con el lazo finalizando nuestra osa pequeña
Next we are going to make the baby bear, we start making our pattern, we will only make her head and front paws, we mark our pattern in the corresponding foamis, brown, skin color and black, then we will proceed cutting out the pieces we marked, once ready we start gluing and forming our baby bear, we glue her trunk and face, in a corner we decorate her ear with the bow finishing our little bear.
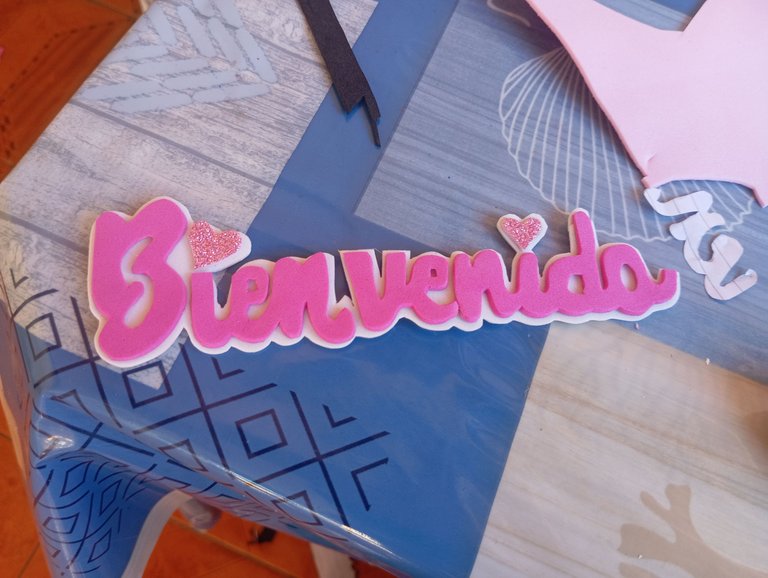
Seguidamente continúe recortando la palabra bienvenida en letras semi cursivas , más adelante el nombre de la bebé y las iniciales (f,m,p, que significa fecha , medí y pese)
Then continue cutting out the word welcome in semi cursive letters, then the baby's name and the initials (f,m,p, which means date, measure and weigh).
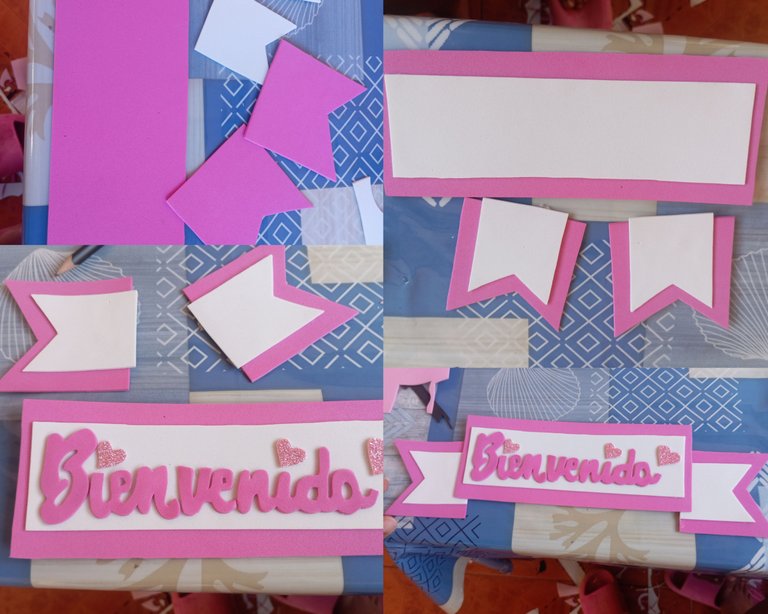
A continuación realizaremos un adorno que irá ubicado en la parte de arriba con la palabra bienvenida, recortamos una pieza de foamis larga y dos con fleco en la punta , en el centro de ellas pegaremos las mismas piezas pero más pequeñas color blanco , estás irán ubicadas hacia los lados ,finalmente pegaremos en todo el centro la palabra bienvenida
Next we will make an ornament that will be located at the top with the word welcome, we cut a long piece of foamis and two with fringe at the tip, in the center of them we will glue the same pieces but smaller white color, these will be located to the sides, finally we will glue the word welcome in the whole center.
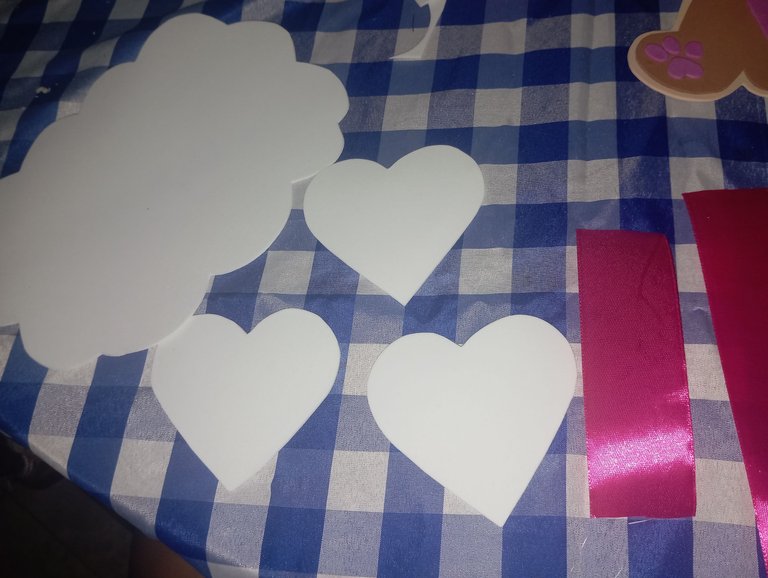
Luego continúe tomando el foamis blanco recorté una nube y tres corazones donde irán ubicados nombre y datos de la bebé del día que nació , así mismo recorté 5 piezas de cinta , dos largas para la parte de arriba y tres para la parte de abajo
Then continue taking the white foamis cut out a cloud and three hearts where they will be located name and data of the baby the day she was born, also cut 5 pieces of ribbon, two long for the top and three for the bottom.
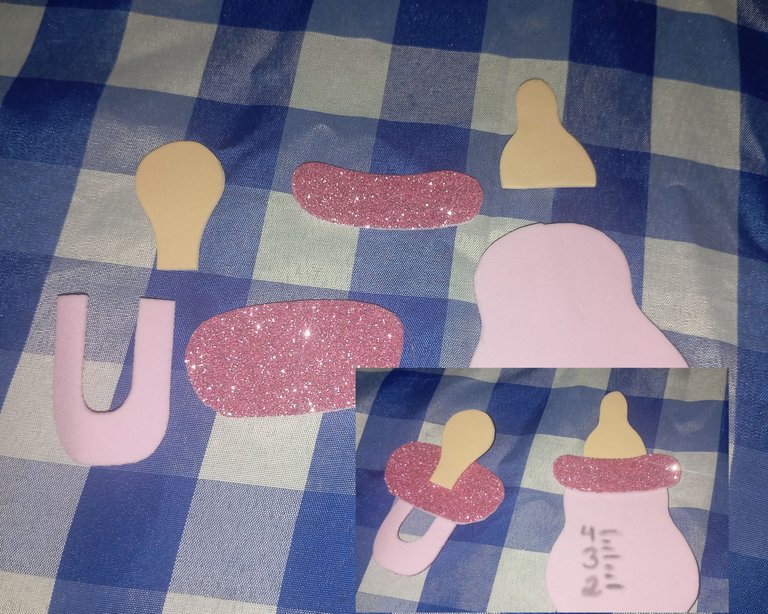
A continuación realicé con el foamis rosa claro y rosa escarchado un chupón y un tetero para decorar el alrededor del nombre
Then I made with the light pink and frosted pink foamis a pacifier and a teapot to decorate around the name.
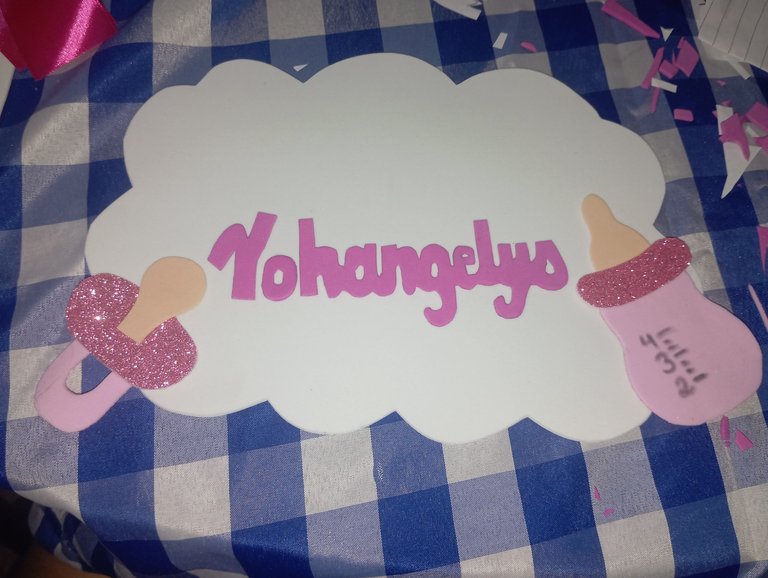
En el centro de la nube continúe pegando el nombre de la bebé , a los lados pegué el chupón y el tetero
In the center of the cloud I continued gluing the baby's name, on the sides I glued the pacifier and the teat.
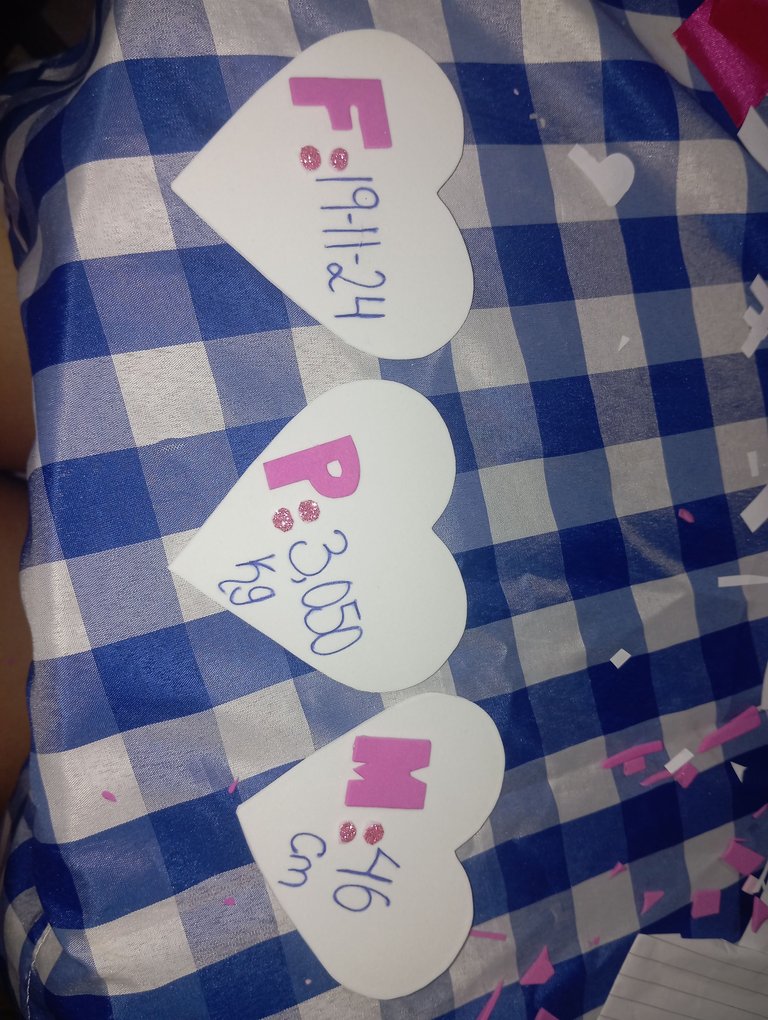
Finalmente continúe pegué la inicial y coloqué con lápiz los datos de nacimiento, fecha ,peso y medida
Finally glued the initial and placed with pencil the birth data, date, weight and measurement.
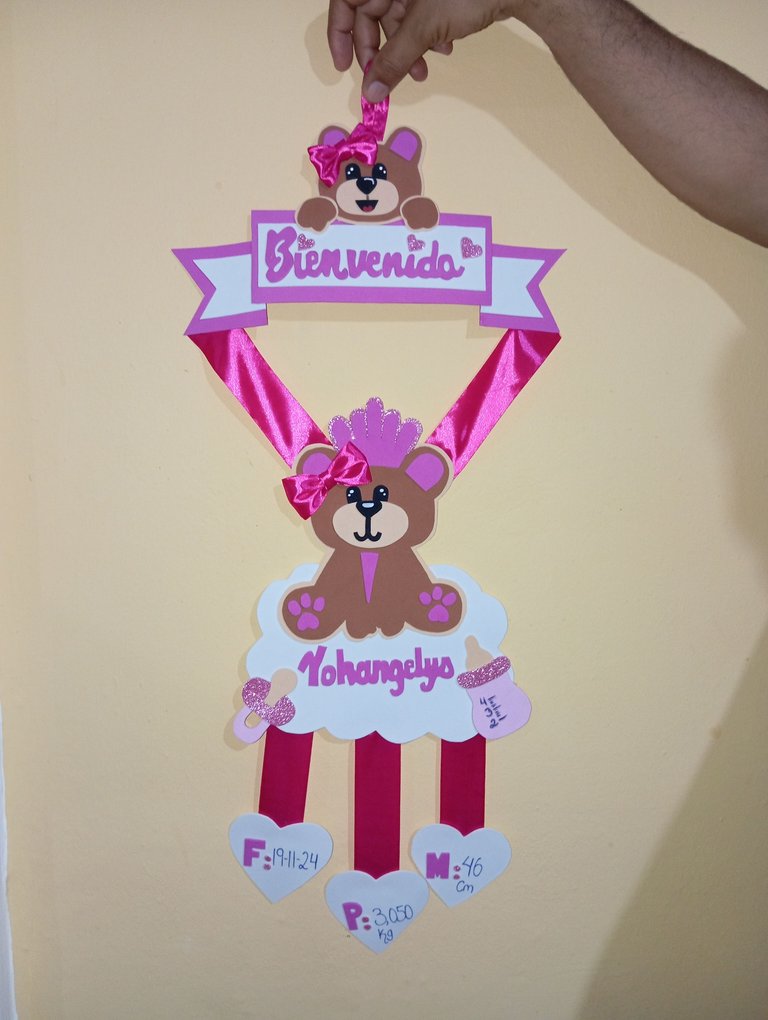
Una vez que tengamos todas las piezas para realizar nuestro adorno de bienvenida, vamos a continuar pegando y terminando nuestro adorno , pegaremos arriba del letrero de bienvenida a la bebé osa , en la parte de abajo ubicaremos a la mamá osa con la ayuda de la cinta, finalmente en la parte de abajo iran ubicados la nube y los corazones colgando con los datos de la bebé , finalizando así nuestro adorno
Once we have all the pieces to make our welcome ornament, we will continue gluing and finishing our ornament, we will glue the baby bear on top of the welcome sign, at the bottom we will place the mother bear with the help of the ribbon, finally at the bottom we will place the cloud and the hearts hanging with the baby's data, finishing our ornament.
Así fue como elabore este bello adorno , con la ayuda y motivación de mi esposa , enseñándome cada día a no limitar me ,espero les guste saludos
This is how I made this beautiful ornament, with the help and motivation of my wife, teaching me every day not to limit myself, I hope you like it greetings.
This is beautiful. Weldone boss
thanks friend greetings
¡Felicidades! Esta publicación obtuvo upvote y fue compartido por @la-colmena, un proyecto de Curación Manual para la comunidad hispana de Hive que cuenta con el respaldo de @curie.
Si te gusta el trabajo que hacemos, te invitamos a darle tu voto a este comentario y a votar como testigo por La Colmena.
Si quieres saber más sobre nuestro proyecto, te invitamos a acompañarnos en nuestro servidor de Discord.
Te quedó muy precioso🥰
Gracias saludos