Cone 🍦 by Clay
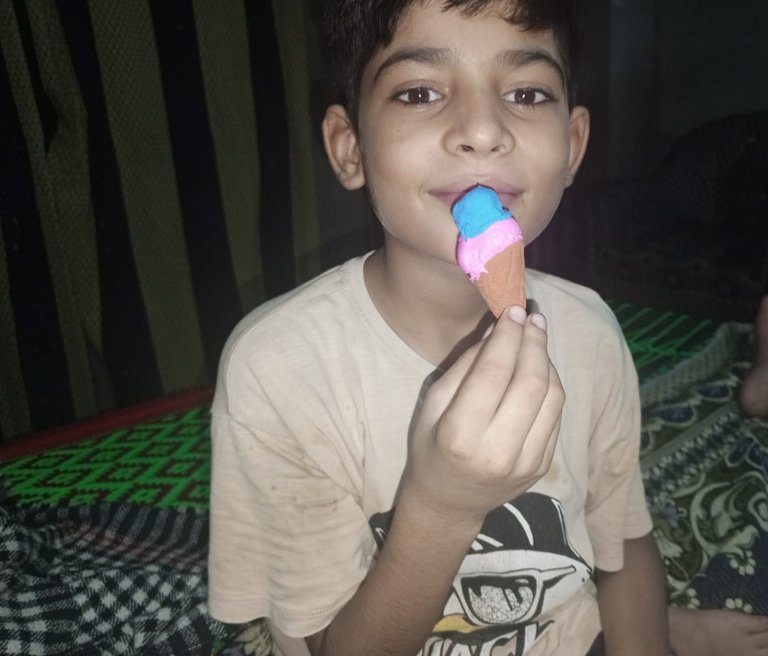
Things to Use
Molding clay
Basic tools
Glue
The picture was deleted by me, but I have written the things we need for this craft.
Here Is the procedure
First if all I selected the colors. As you know, the cone part is always in brown or chocolate color. So I used dark brown color to make its bottom. So I took brown clay and started to make a bowl of it. I make it round and round and make a circle.
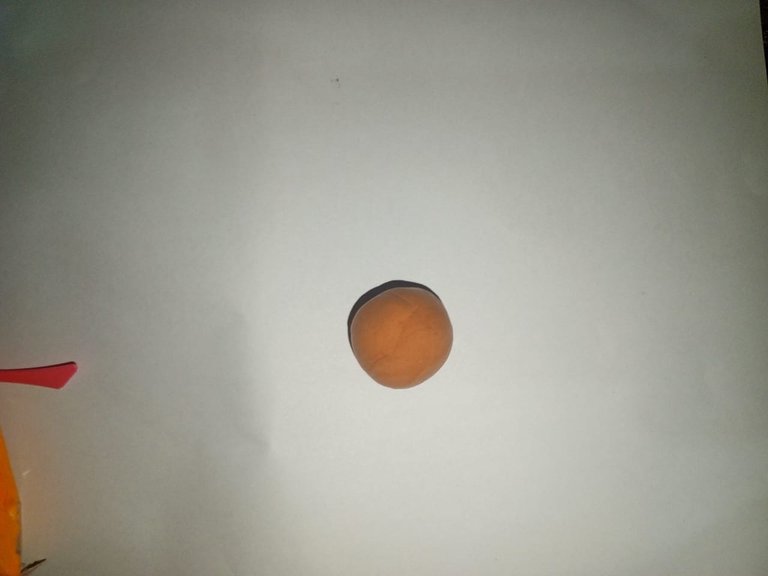
After making the circle, I used my mobile's backside to press it and make a round bread shape. So I press it and it was ready. Bow it was time to give details.
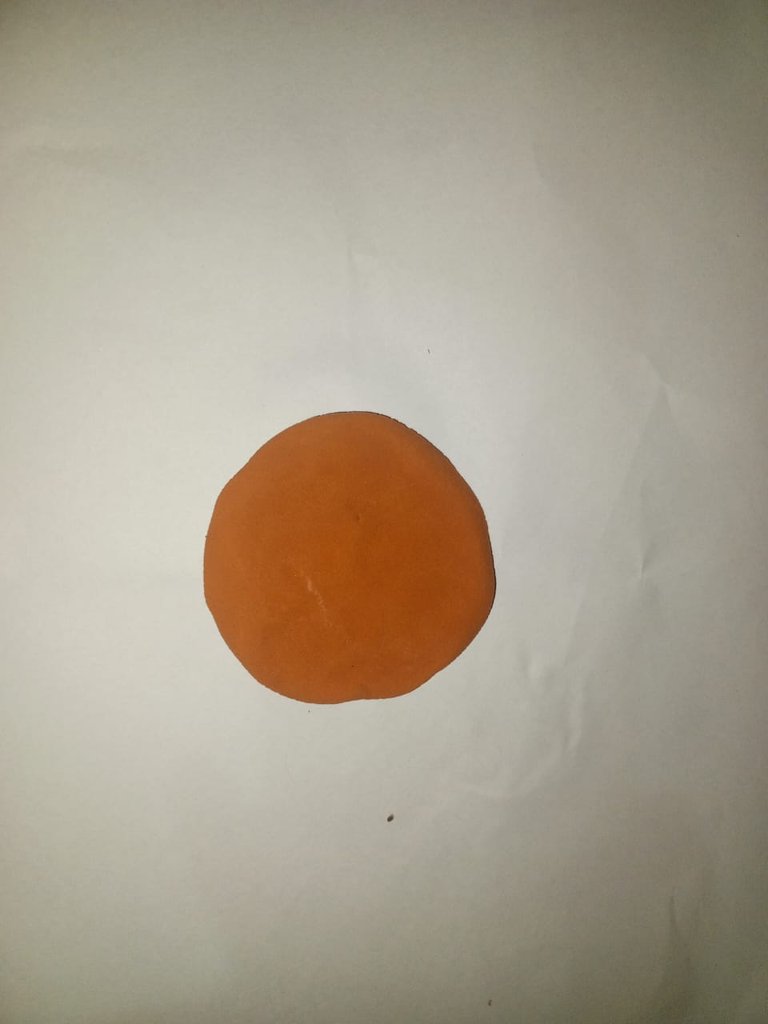
So here I took basic tools. I don't buy it separately, it was gifted from the shopkeeper. It was a stick with curve part. So I used it to make a designer pattern on it. And here is the bottom ready.
Now I put up its one corner and joined to another. And make a cone shape. So here is the final results of cone part.
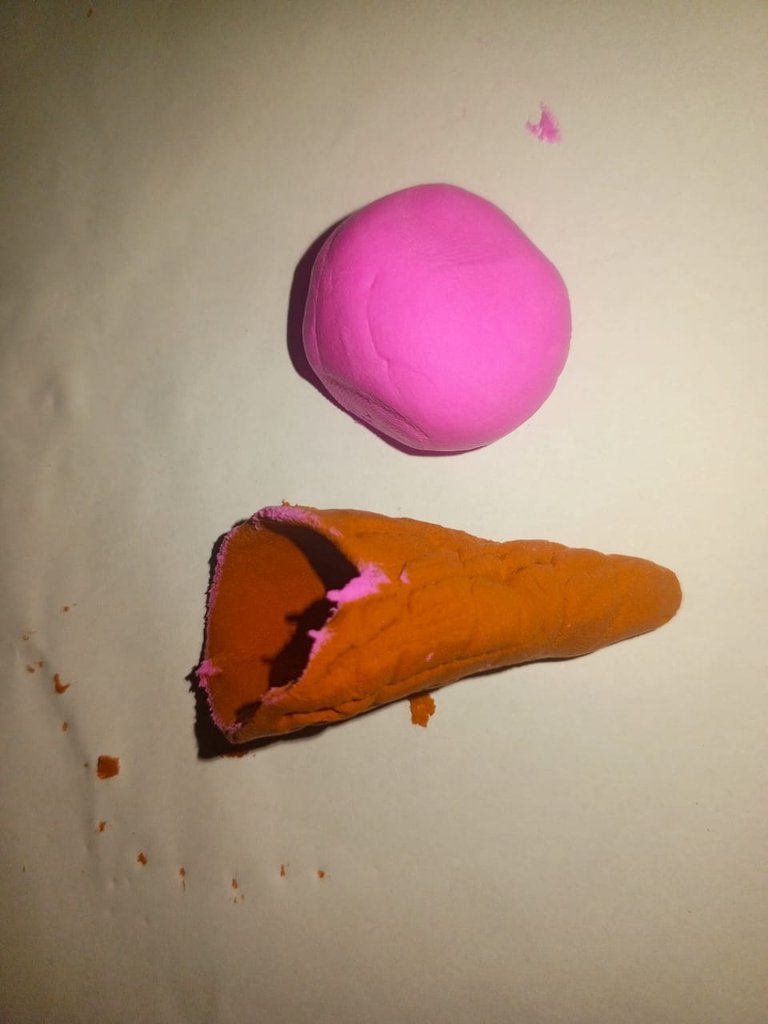
Here I took a packet of pink clay. And make a circle of it. It make it according to the size of cone. And here i complete it. And then I fix it on the upper part.
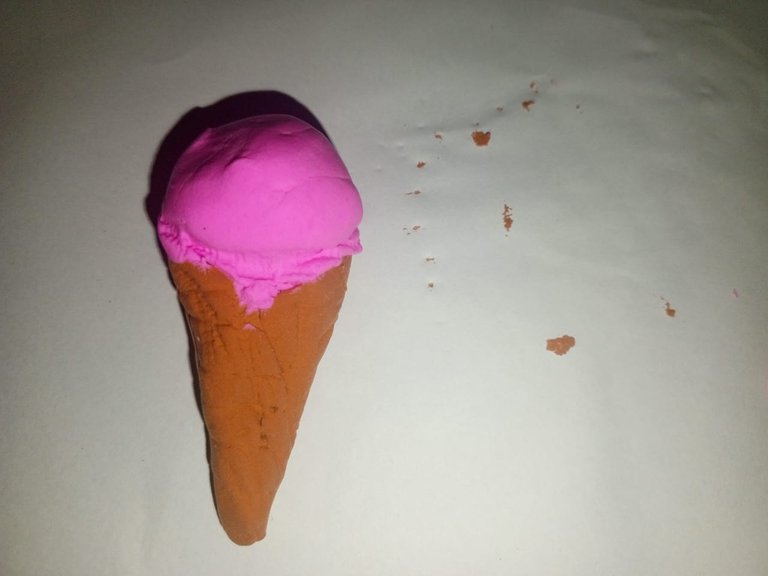
Now I took blue color. And again make a small circle. It was small instead of pink clay. So I put it on the pink clay.
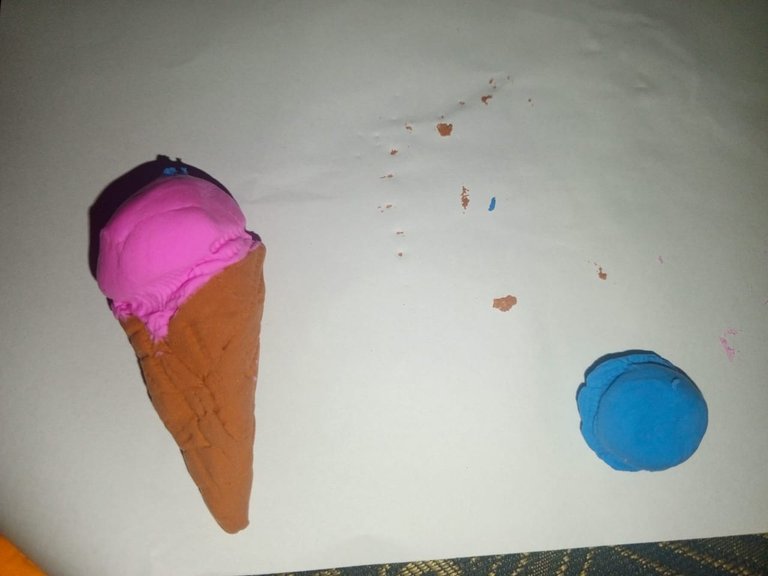
Here I used again stick and make some melting details on the ice scopes and here my ive cream was ready.
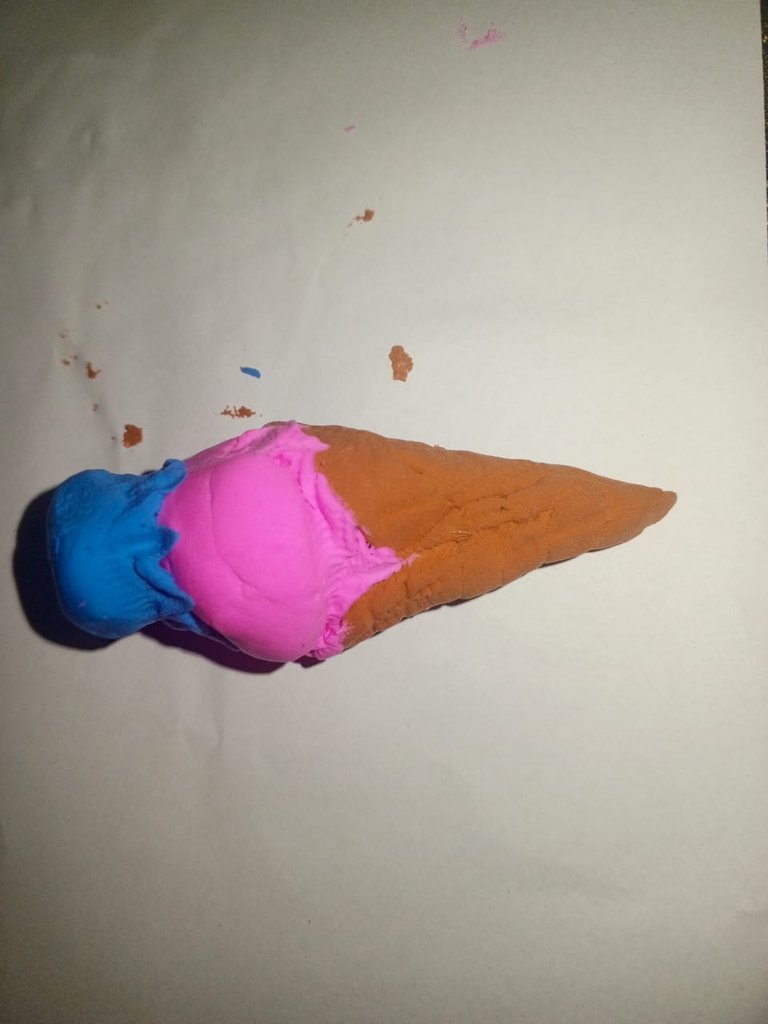

I hope you will like it. Thanks for watching. Stay sfae. Allah Hafiz. Take care. Be positive. By.
I have uploaded video in the beginning of the post.

This is so lovely,and I sure do like it.
You get an award from @ecency, Keep up the spirit to be active on @ecency.