Mi primer maquillaje de halloween del año 🎃// My first Halloween makeup of the year 🎃
Hola querida comunidad Hive ❤️// Hi dear community Hive ❤️
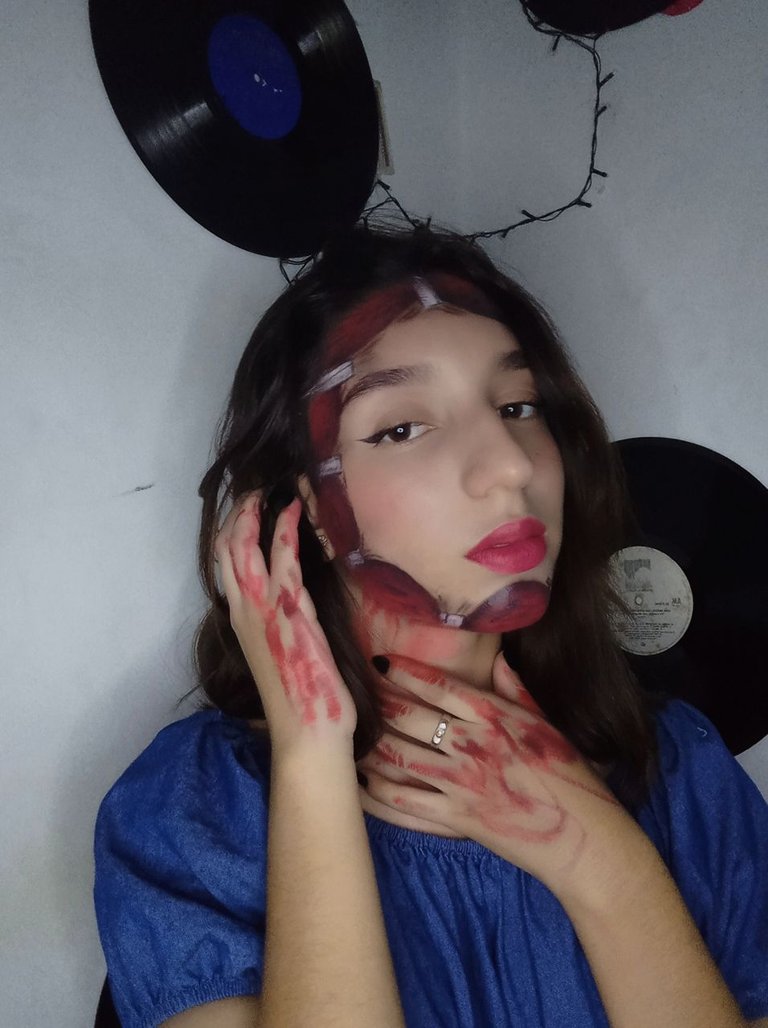
Ya era hora de hacer mi primer maquillaje de halloween de este año, he estado muy ocupada y de verdad no he tenido tiempo de hacer un maquillaje con tan producción como un maquillaje de halloween lo amerita, pero no quería dejar pasar una de mis épocas favoritas del año. Creo que es la época favorita de todo maquillador ya que es el mes donde nos podemos dejar llevar con las ideas y mientras mas detalles tenga y más cargado sea, mucho mejor ✨.
Así que si, realmente me emocionan estos maquillajes jajaja.
It was about time to do my first halloween makeup this year, I've been very busy and I really haven't had time to do a makeup with as much production as a halloween makeup deserves, but I didn't want to miss one of my favorite times of the year. I think it's every makeup artist's favorite time of year since it's the month where we can get carried away with ideas and the more details it has and the more loaded it is, the better ✨.
So yes, I really get excited about these makeup looks hahaha.
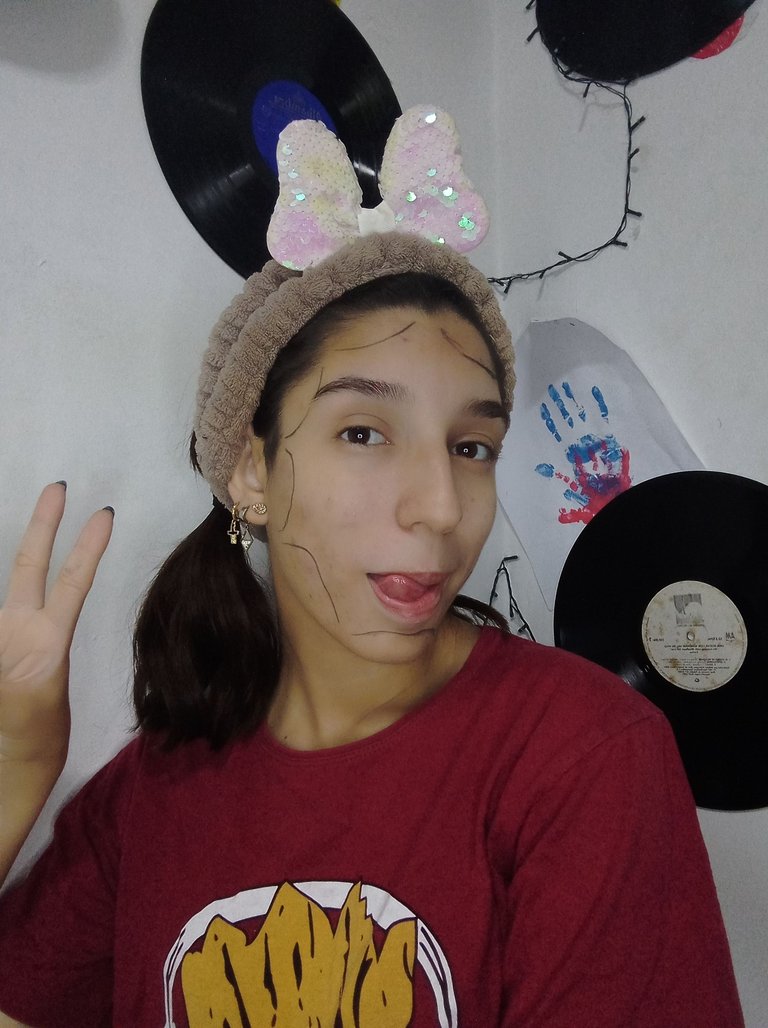
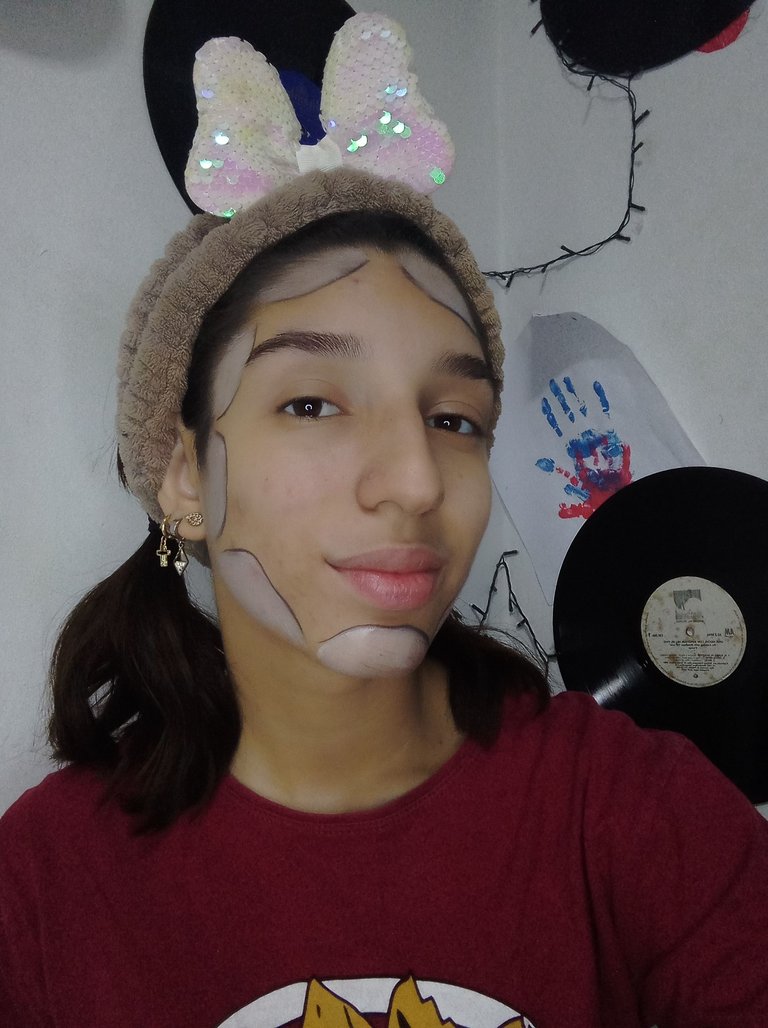
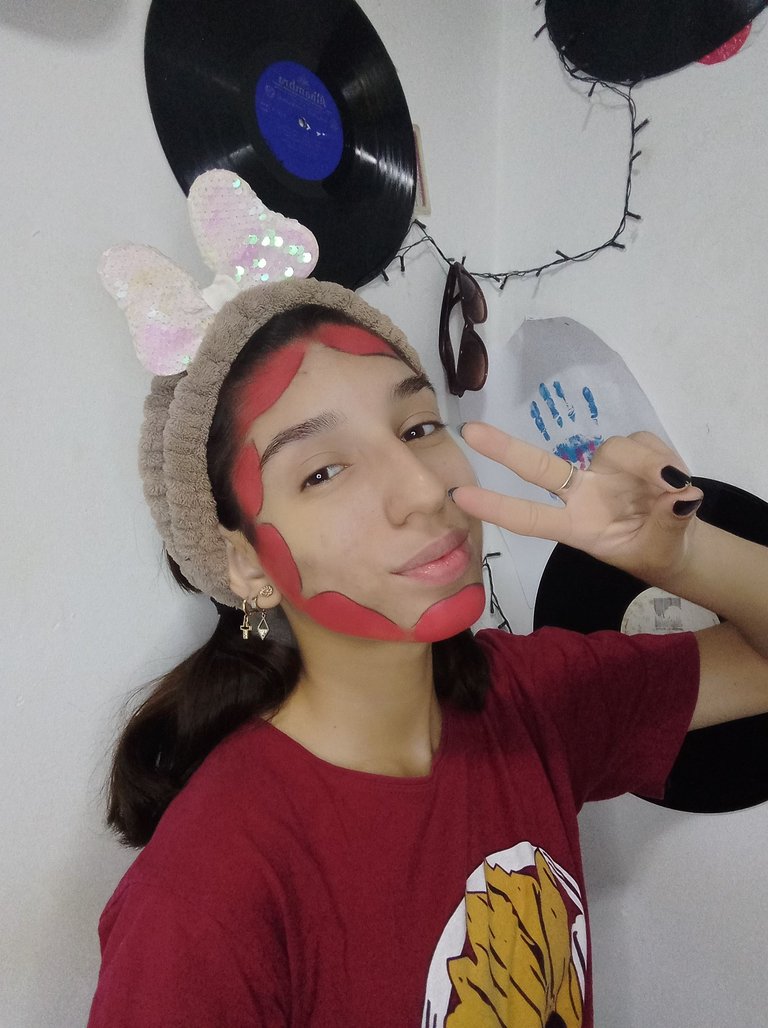
Empezamos haciendo los espacios donde irá la parte que simula estar sin piel, así que con un crayón negro hacemos las lineas por todo el borde del rostro. Empezamos en la frente, luego bajamos por los lados bien pegado de la cejas, por debajo de los pómulos, por el menton y por último la barbilla. Luego con corrector blanco rellenamos cada uno de los espacios delimitados para empezar a realizar el trabajo de sombras.
aplicamos una sombra color rojo ❤️ en todos los espacios, que quede todo bien pintado incluso hasta el nacimiento del cabello y por debajo de la barbilla, si es necesario se debe aplicar una segunda capa de este color para que quede bien intenso.
We start by making the spaces where the part that simulates being without skin will go, so with a black crayon we make the lines all around the edge of the face. We start on the forehead, then we go down the sides of the eyebrows, under the cheekbones, under the chin and finally the chin. Then with white concealer we fill in each of the delimited spaces to start working on the shadows.
We start by applying a red color ❤️ in all the spaces, which was all well painted even up to the hairline and under the chin, if necessary a second layer of this color should be applied to make it very intense.
 |  |  |
|---|
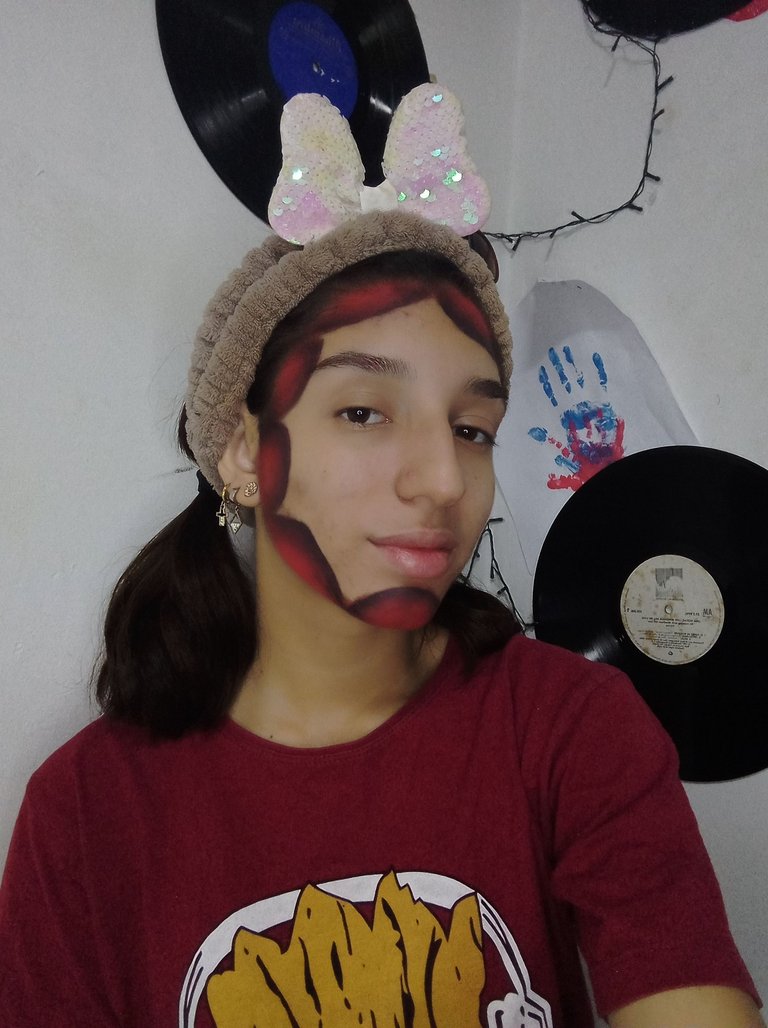
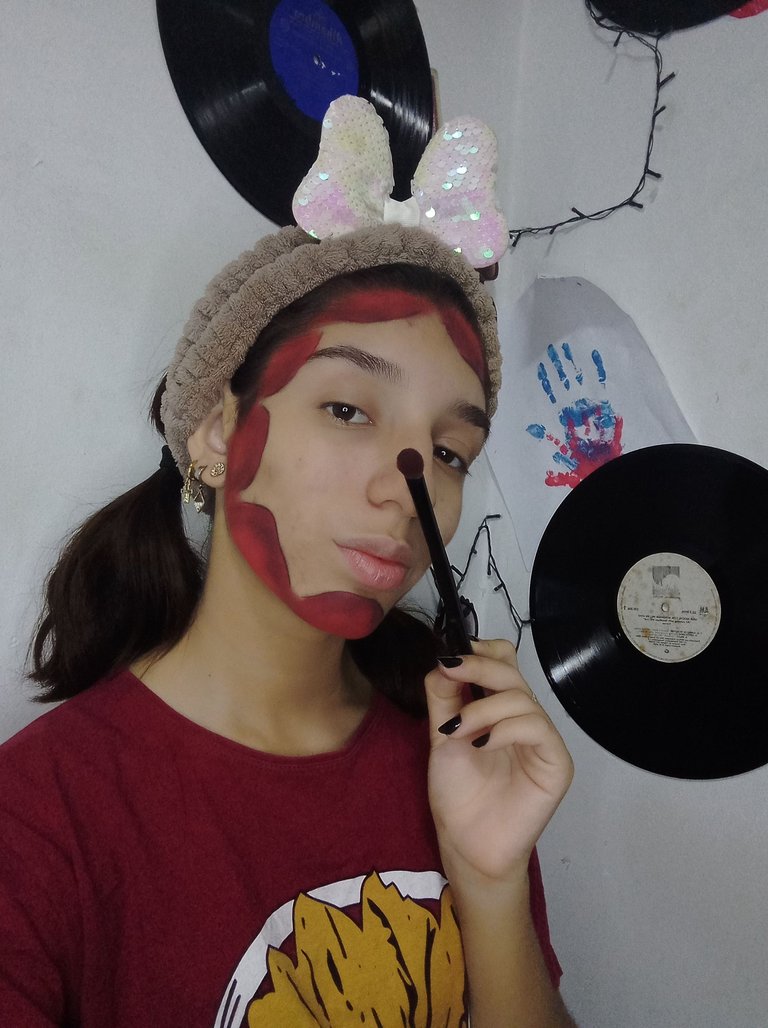
Luego con un color marrón bien oscuro haremos sombras en cada uno de los espacios, por todo el borde y lo difuminamos para oscurecer al color marrón, pero también hay que dejar espacios con ese color rojo vino ya que estamos haciendo el efecto de carne viva lesionada, músculo y demás.
Para darle ese toque como "quemado" con pomada negra marcaremos nuevamente las líneas trazadas con crayon anteriormente y con un pincel difuminaremos todo hasta abajo. No solo es para darle apariencia de carne chamuscada sino tambien vendría siendo la sobra de la piel "intacta" que está en el centro y para perfeccionarlo más, con una toallita limpiamos todos los bordes y los espacios entre cada uno.
Then with a very dark brown color we will make shadows in each of the spaces, all around the edge and we blur it to darken the brown color, but we must also leave spaces with that wine red color since we are making the effect of injured flesh, muscle and so on.
To give it that "burnt" touch with black pomade we will mark again the lines drawn with crayon previously and with a brush we will blur everything down to the bottom. It is not only to give it the appearance of scorched flesh but also the "intact" skin that is in the center and to perfect it more, with a wipe we clean all the edges and the spaces between each one.
 |  |
|---|
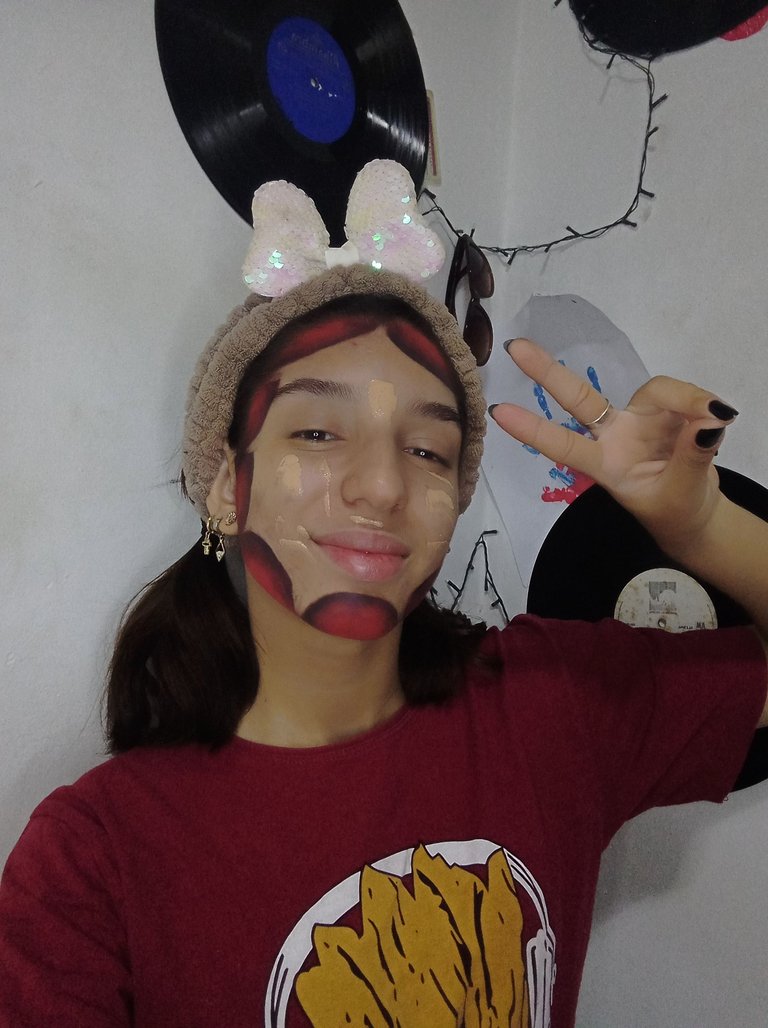
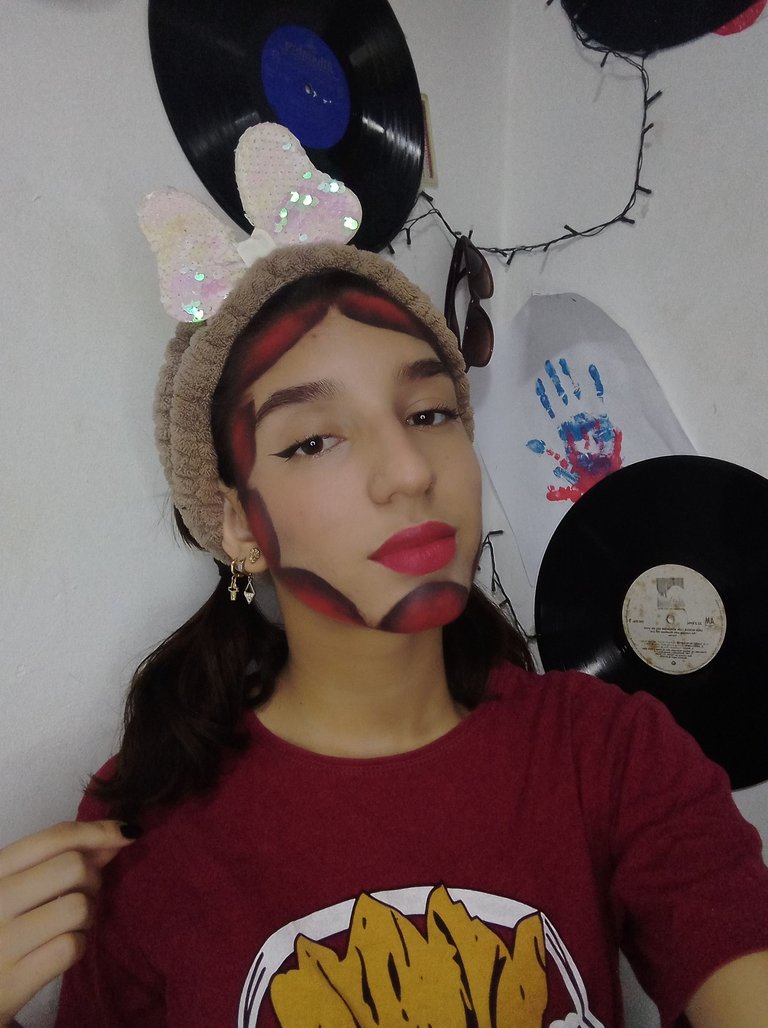
Pasamos a la piel que está en el centro, allí solo maquillaremos como normalmente nos hacemos, aplicamos base, corrector blush líquido y sellamos con polco compacto.... Hacemos nuestras cejas rellenando con sombra los espacios vacíos, hacemos un delineado sutil y aplicamos máscara de pestañas. Para los labios yo use un tono rojo no muy intenso, pero cualquier color nude le vendría bien.
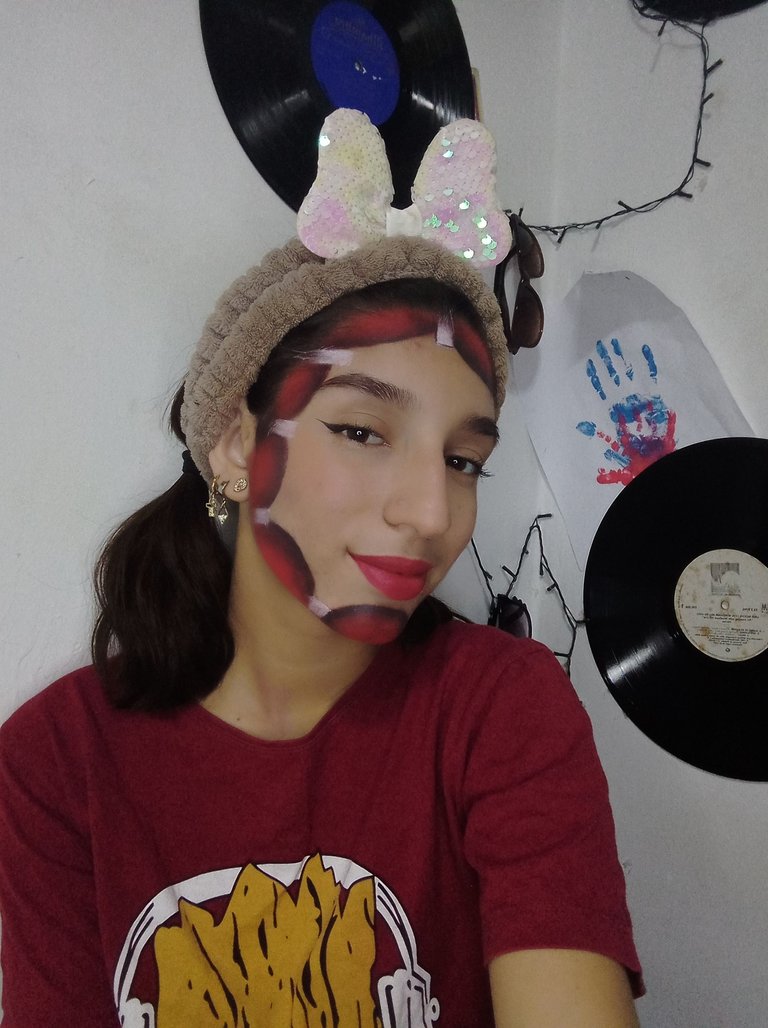
Volvemos a la parte "sin piel", ahora con pomada blanca haremos unos rectángulos en casa espacio entre las curvas que hicimos inicialmente, esos van a hacer como una especie de "ganchos" que van a sostener la piel tratando de llevarla hacia la parte que no tiene, igualmente los haremos pegados a desde el nacimiento del cabello o los bordes del rostro.
Con crayon negro los delinearemos y les haremos los detalles para que parezcan madera, y debajo de ellos les haremos unas líneas simulando el pinzamiento y estiramiento de la piel hacia arriba.
We move on to the skin that is in the center, there we just make up as we normally do, apply foundation, liquid blush concealer and seal with compact powder..... We do our eyebrows filling with shadow the empty spaces, we do a subtle eyeliner and apply mascara. For the lips I used a not too intense red tone, but any nude color will do. We go back to the part "without skin", now with white pomade we will make some rectangles in the space between the curves that we did initially, those will make a kind of "hooks" that will hold the skin trying to bring it to the part that does not have, we will also make them glued to the hairline or the edges of the face. With black crayon we will outline them and we will make the details to make them look like wood, and under them we will make some lines simulating the pinching and stretching of the skin upwards.
 |  |  |
|---|
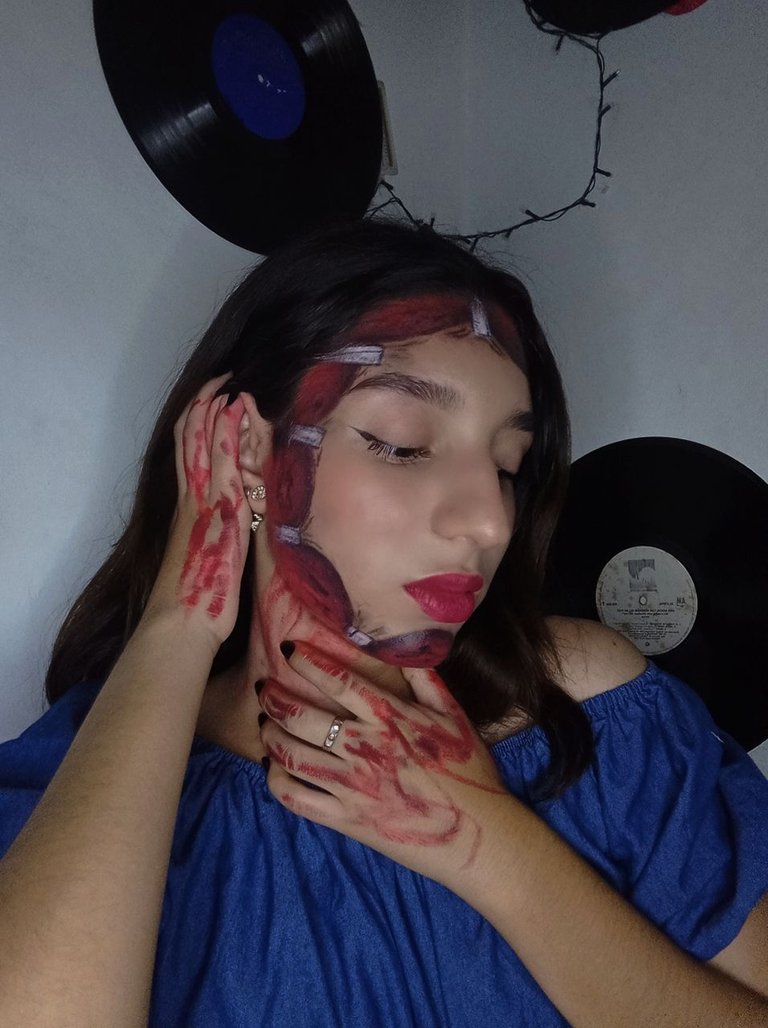
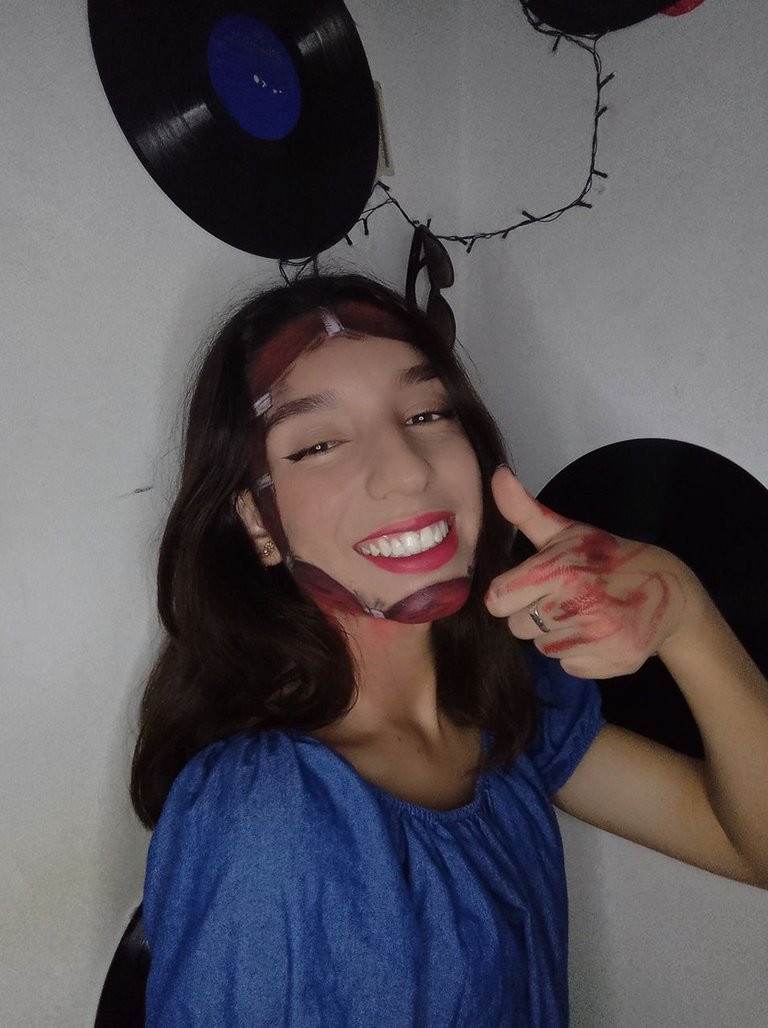
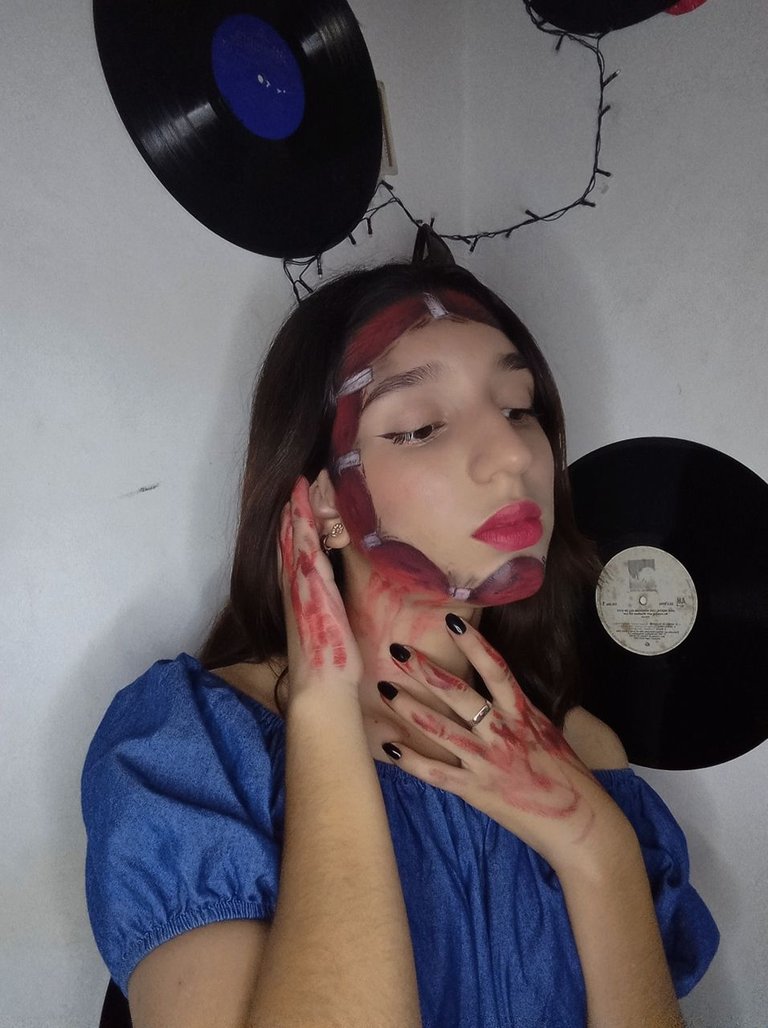
And that's it, that was the first Halloween make up of this year, actually normally I do up to two halloween make ups a week haha, I'm a big fan of halloween .... But I've been very busy with college and personal stuff but it's always good to take some time and do what you like, thanks for reading my post and I hope you like my not so subtle makeup, bye ❤️.
 |  |
|---|
AHHHHHH ME ENCANTA ✨🤍😉 Te quedó super chévere, en la última foto realmente se percibe la dimensidad del maquillaje. Divina💖
Awww gracias 🥺✨, es un maquillaje con mucho potencial y de verdad me alegra que te haya gustado 😊
https://x.com/milabarriosr/status/1851048689227141336
Wow Génesis, se ve muy real jajajaja, que gran trabajo el que nos compartes hoy, felicitaciones. Estas fechas son excelentes para ver la creatividad de los amantes del maquillaje como tú. Bravo!!!
Muchas gracias ✨, de verdad que hice todo lo que pude para que se viera real jajaja, que bueno que te gustó 😊
¡Felicidades! Esta publicación obtuvo upvote y fue compartido por @la-colmena, un proyecto de Curación Manual para la comunidad hispana de Hive que cuenta con el respaldo de @curie.
Si te gusta el trabajo que hacemos, te invitamos a darle tu voto a este comentario y a votar como testigo por La Colmena.
Si quieres saber más sobre nuestro proyecto, te invitamos a acompañarnos en nuestro servidor de Discord.
¿ᴺᵉᶜᵉˢᶦᵗᵃˢ ᴴᴮᴰ? ᵀᵉ ˡᵒ ᵖʳᵉˢᵗᵃᵐᵒˢ ᶜᵒⁿ @ruta.loans
Congratulations @milabarrios! You have completed the following achievement on the Hive blockchain And have been rewarded with New badge(s)
Your next target is to reach 4500 upvotes.
You can view your badges on your board and compare yourself to others in the Ranking
If you no longer want to receive notifications, reply to this comment with the word
STOPCheck out our last posts: