I made Italian bread for the first time! [EN/PT]
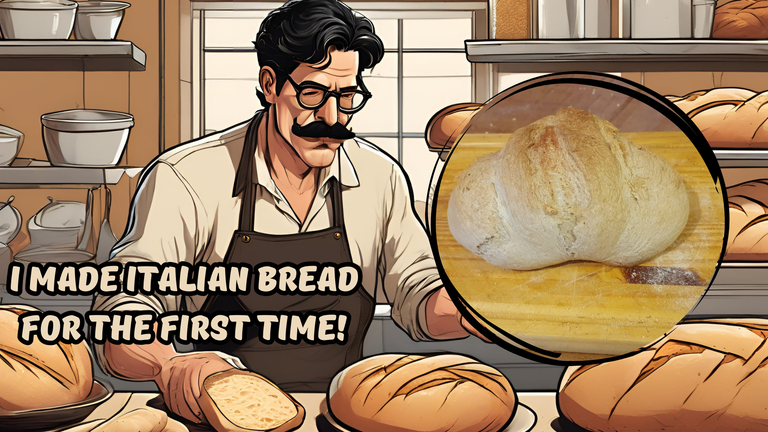
Last weekend, some friends and I arranged to meet at the house of one of them to play some board games. We came up with the idea of having fondue, so everyone had to bring something and my job was to make the bread. I like to cook, but I'd never made bread in my life, but I was up for the challenge!
I searched the internet for a recipe for this bread to eat with fondue and was surprised by two things: The bread takes very few ingredients, but it is a very time-consuming process and requires meticulousness at every stage. But the good news is that, if you do everything right, you'll get a bread that tastes incredible!
Well, I'm going to share this recipe with you and you don't necessarily have to eat it with fondue, this bread is tasty and goes very well with any kind of filling.
You'll only need 5 ingredients:
- Wheat flour
- Water
- Dry biological yeast
- Salt
- Olive oil
Step 1
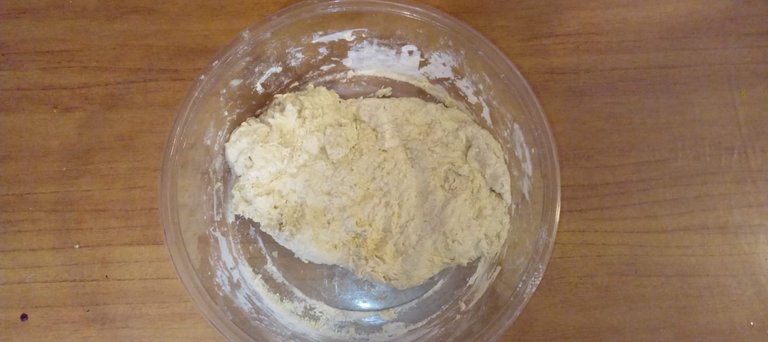
First, take a large bowl and mix 3 and a half cups of flour with two teaspoons of salt and add approximately 10g of yeast. Gradually add one and a half cups of water while mixing. After mixing thoroughly, leave the dough to rest for 10 minutes so that the water is completely absorbed by the dough.
Step 2
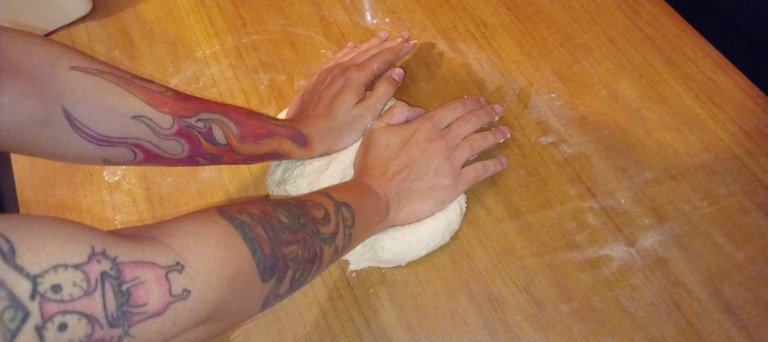
After 10 minutes, turn the dough over, fold it over and do this until it has a consistency that is easier to handle. Take the dough to a table and knead it for 15 minutes: fold, knead, stretch and knead a lot until it is very smooth, soft and moist.
Step 3
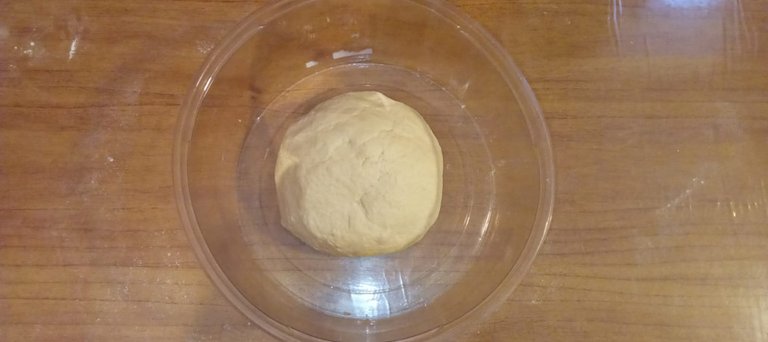
Take a large bowl and grease it with olive oil. Shape the dough into a ball and place it in the greased bowl. Cover with a tea towel and wait for 1 hour or until it doubles in size.
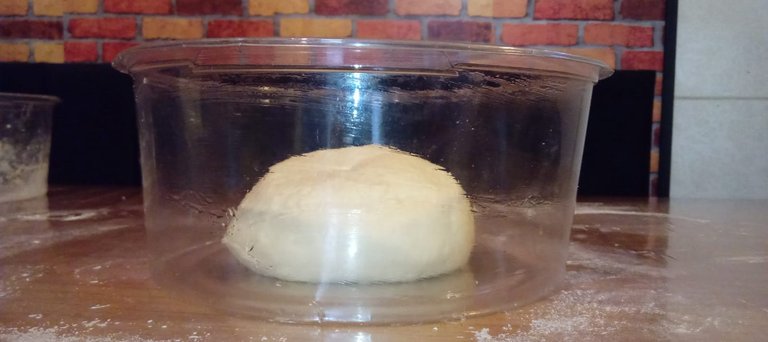
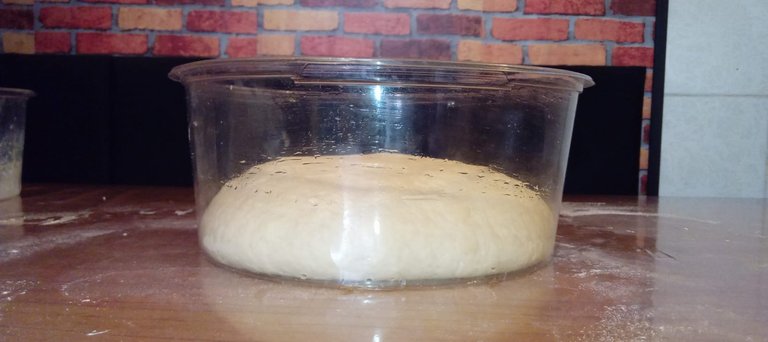
Step 4
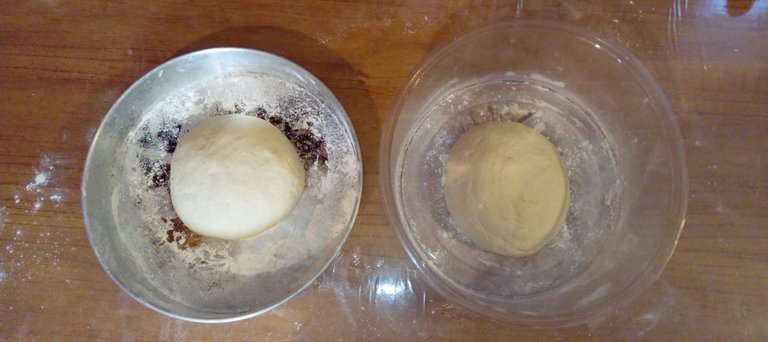
After the dough has risen, sprinkle a little flour on the table and knead again for about 5 minutes. Shape again into a ball, cover again with a cloth and leave to rest for another 10 minutes. While you're waiting, take a baking sheet and sprinkle a little flour on it.
Step 5
On the table, split the dough in half and shape two round loaves and place them on the baking sheet with the dough seam side down and cover with the cloth again and leave to rest for another 30 minutes.
Step 6
While the dough is resting, preheat the oven to 220 °C, so the temperature will be just right when the dough has finished resting.
Step 7
After the 30 minutes have elapsed, take a knife and make 3 parallel cuts on the surface of each loaf. Sprinkle with a little water and place in the oven. Bake for 30 minutes until golden brown.
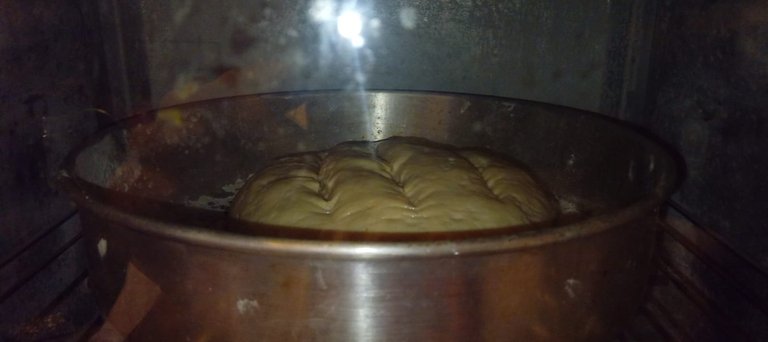
After that, all you have to do is enjoy this delicious bread! See how it turned out:
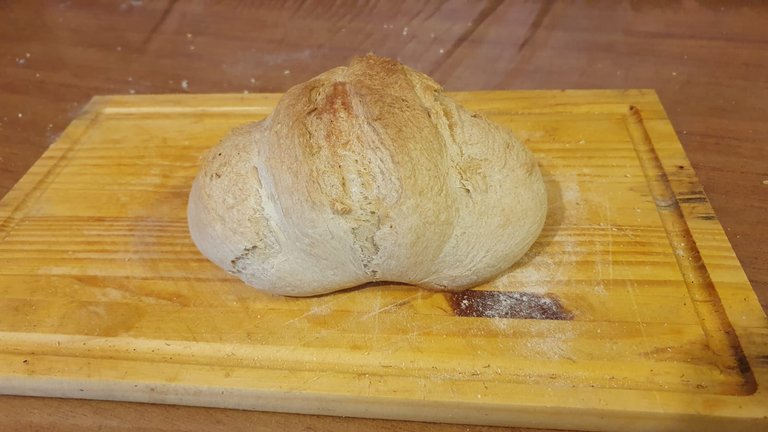
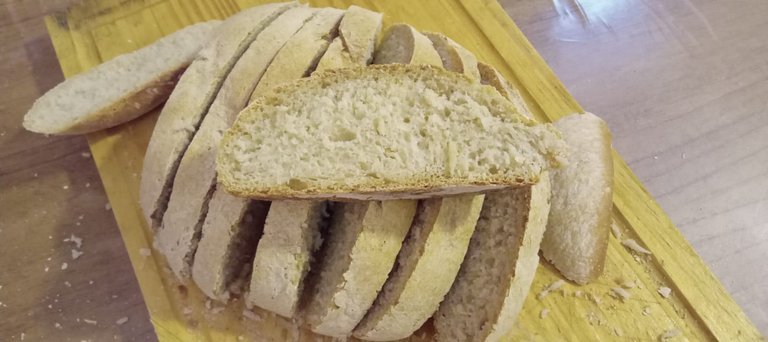
This was the first time I made bread and I was surprised by the result. I have to say that this bread was the star of the evening among my friends and despite the simplicity of the ingredients, it was very tasty.
This bread is very moist, so it's a good idea to store it in a container with a lid once it's ready to keep it moist. It will also keep for up to a week after baking in tightly sealed plastic wrap and its flavor will keep well under these conditions.
So that's it, I hope you enjoyed it and although this is a bread that takes a lot of manual work, it's worth all the effort and I recommend that you make it at home!
[PT]
No último fim de semana, eu e uns amigos combinamos de se encontrar na casa de um deles para jogar uns jogos de tabuleiro. Tivemos a ideia de comer fondue e para isso, cada um deveria levar algo e a minha missão foi fazer o pão. Eu gosto de cozinhar, mas nunca tinha feito pão na minha vida, mas estava pronto para esse desafio!
Procurei na internet algum receita desse pão próprio para comer com fondue e me surpreendi com duas coisas: O pão leva uma quantidade bem baixa de ingrediente, mas é um processo bem demorado e exige meticulosidade em cada etapa. Mas a notícia boa é que, se voc~e fizer tudo certo terá um pão de sabor incrível!
Bem, vou compartilhar com vocês essa receita e você não precisa necessariamente come-lo com o fondue, esse pão é saboroso e combina muito bem com qualquer tipo de recheio.
Você vai precisar de apenas 5 ingredientes:
- Farinha de trigo
- Água
- Fermento biológico seco
- Sal
- Azeite
Passo 1
Primeiro, pegue um tigela grande e misture 3 xícaras e meia de farinha com duas colheres de chá de sal e coloque aproximadamente 10g de fermento. Coloque um xícara e meia de água aos poucos enquanto mistura. Depois de misturar bastante, deixe a massa descansando por 10 minutos para que a a água seja absorvida completamente pela massa.

Passo 2
Depois de 10 minutos revire a massa, dobre e faça isso até que ela fique com uma consistência mais fácil de manusear. Leve a massa para uma mesa e sove ela por 15 minutos: dobre, amasse, estique e amasse bastante até que ela fique bem lisa, macia e úmida.

Passo 3
Pegue um tigela grande e unte ela com azeite. Molde a massa em forma de uma bola e coloque nessa tigela já untada. Cubra com um pano de prato e espere por 1hora ou até que ela dobre de tamanho.


Passo 4
Depois da massa ter crescido, polvilhe um pouco de farinha de trigo na mesa e sove novamente por cerca de 5 minutos. Modele novamente em forma de uma bola, cubra novamente com um pano e deixa descansar por mais 10minutos. Enquanto você espera, pegue uma assadeira e polvilhe um pouco de farinha.
Passo 5
Sobre a mesa, separe a massa ao meio e modelo dois pães redondo e os coloque na assadeira com a emenda da massa para baixo e cubra com o pano novamente e deixe descansar por mais 30 minutos.

Passo 6
Enquanto a massa descansa, pré-aqueça o forno em 220 °C, dessa forma a temperatura vai estar de forma ideal quando acabar o tempo de descanso da massa.
Passo 7
Depois de ter passado os 30 minutos, pegue um estilete e faça 3 cortes paralelos na superfície de cada pão. Borrife um pouco de água e leve ao forno. Deixe assar por 30 minutos até que fique dourado.

Depois disso, é só saborear esse delicioso pão! Veja como ficou:


Essa foi a primeira vez que fiz um pão e me surpreendi com o resultado. Não poderia deixar de dizer que esse pão foi a estrela da noite entre meus amigos e apesar da simplicidade dos ingredientes, ficou muito saboroso.
Esse pão tem uma boa úmidade, então é interessante armazenar ele em um recipiente com tampa depois de pronto para conservar a úmidade. Ele também fica conservado em até uma semana depois de pronto em um plástico bem fechado e seu sabor se conserva bem dentro dessas condições.
Então é isso, espero que você tenham gostado e apesar desse ser um pão que dá bastante trabalho manual, vale a pena todo o esforço e recomendo que você façam ai em suas casas!
Obrigado por promover a comunidade Hive-BR em suas postagens.
Vamos seguir fortalecendo a Hive
Thank you for sharing this easy and wonderful recipe; I guess I can make this soon, especially since bread is perfect in our country's weather. It's rainy season here, so it's great with coffee.
I recommend you do it! This is a bread that requires few ingredients and, despite the extra effort, it is very tasty!
Sending Love and Ecency Vote!

Que rico!
gracias!
I could never be patient with the resting but when I do, they're always super delicious! your bread looks amazing too😊