Hermoso cuadro hecho con cartón de huevos // Beautiful painting made with egg cartons 💐
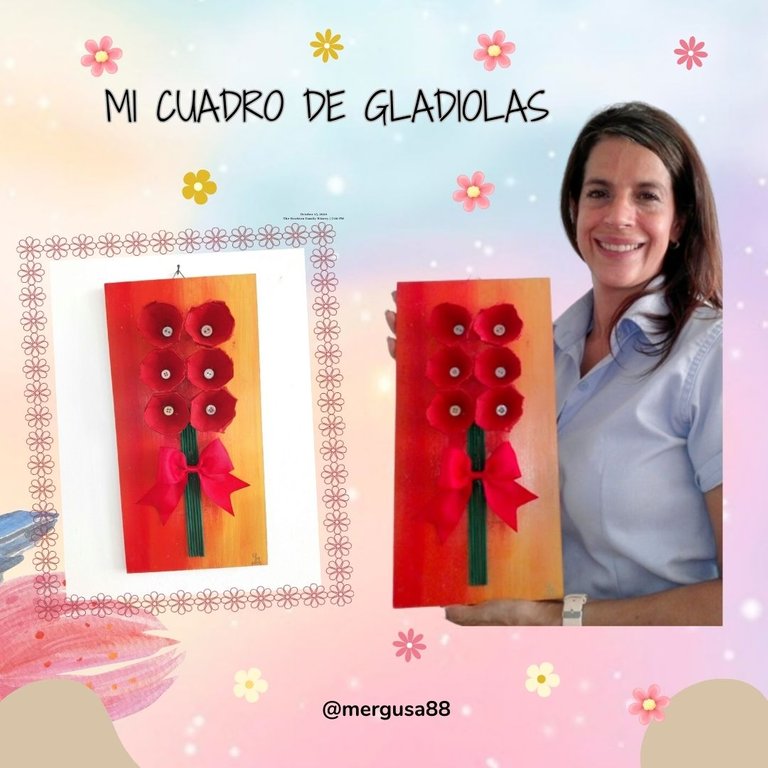

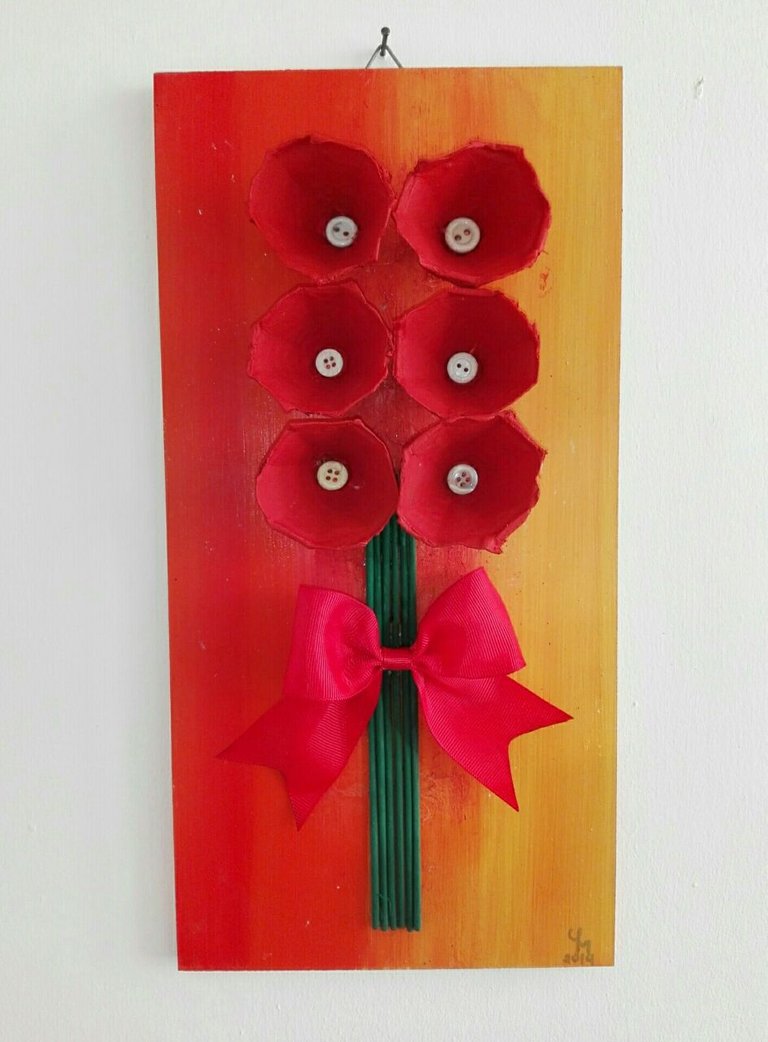
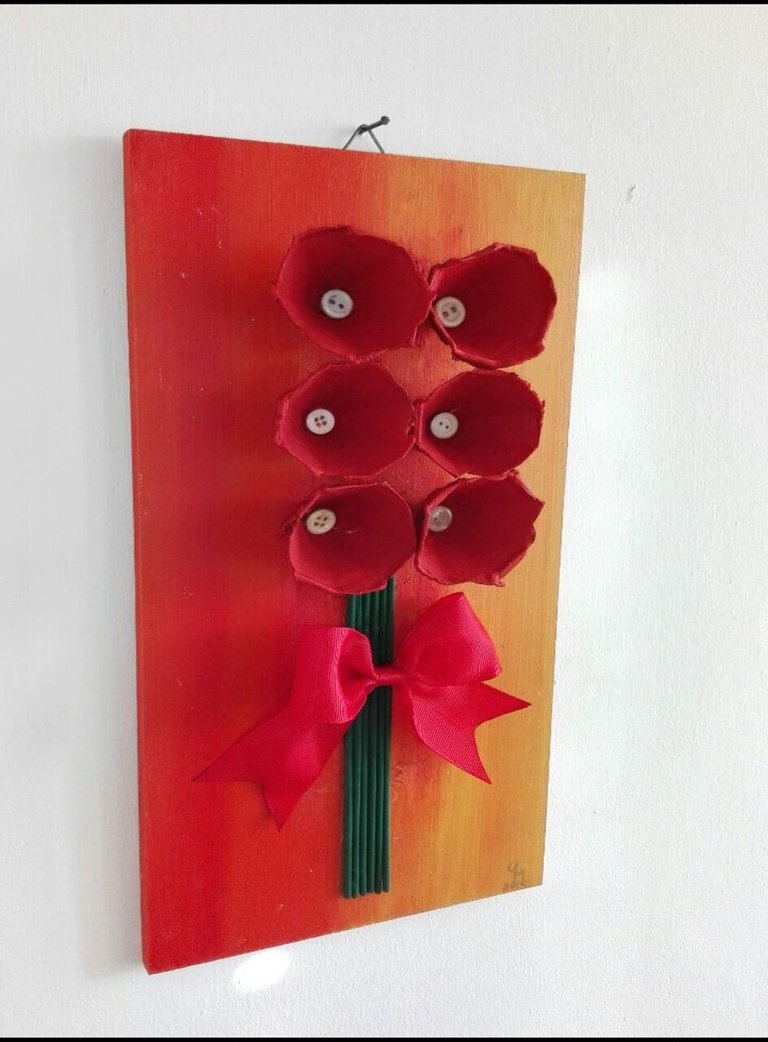
Es un placer escribir para esta comunidad, me presento soy Mercedes Gutiérrez y es mi primera vez por acá , debo comenzar diciendo que uno de mis hobbies desde que era una niña es hacer manualidades y hoy les comparto este proyecto que hice para decorar un espacio en mi oficina. Se trata de un hermoso cuadro que yo llamé "Un cuadro de Gladiolas.
Para este proyecto quería hacer algo con flores y utilicé esta pequeña tabla de MDF que tenía guardada entre mis cosas, ésta tenía una figura de un angel hecho en foami pero al mudarme se dañó la imagen, por lo que tuve que quitarla lo que provocó que quedaran restos de silicón adherido, pero de todas maneras la guardé porque me gustaba como estaba pintada en colores amarillos y naranjas. Mi idea se centró en ocultar estas marcas de siicón y revisando en internet encontré algunas ideas para hacer flores con cartones de huevos.
¡ Así surge este cuadro con flores! Y ahora si comencemos...
It is a pleasure to write for this community, I am Mercedes Gutiérrez and this is my first time here, I must begin by saying that one of my hobbies since I was a little girl is to make crafts and today I share with you this project I did to decorate a space in my office. It is a beautiful painting that I called "A painting of Gladiolas.
For this project I wanted to do something with flowers and I used this small MDF board that I had stored among my things, it had a figure of an angel made of foam but when I moved it the image was damaged so I had to remove it which caused that there were traces of silicone adhered, but I kept it anyway because I liked how it was painted in yellow and orange colors. My idea was focused on hiding these silicone marks and checking on the Internet I found some ideas to make flowers with egg cartons.
This is how this painting with flowers came about! And now let's begin...

Cartón de huevos
Pinturas al frío roja y verde
Tabla de madera MDF
Botones
Cinta de raso N° 5 color rojo
Cinta de raso N° 2 color rojo
Barra de silicón
Pistola para silicón
Palitos de altura
Pincel
Tijera
Hilo
Aguja
Encendedor o fósforos
Egg carton
Red and green cold paints
MDF wooden board
Buttons
Satin ribbon N° 5 color red
Satin ribbon N° 2 red color
Silicone stick
Silicone gun
Height sticks
Brush
Scissors
Sewing thread
Needle
Lighter or matches
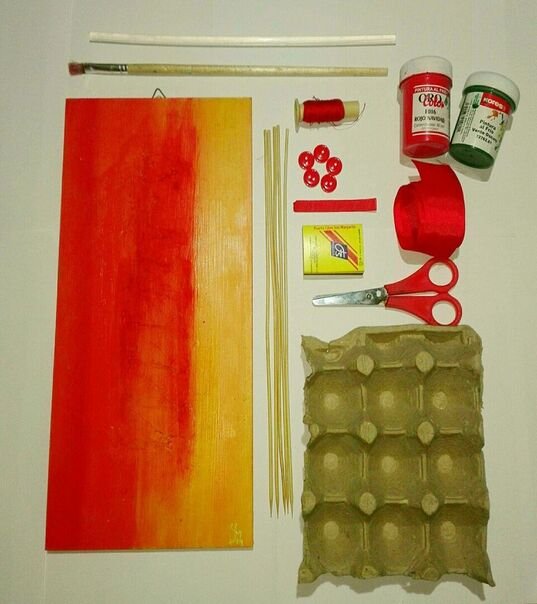

Como ya les había comentado utilicé una tabla de MDF que tenía guardadita, le apliqué una capa de pintura roja para disimular las marcas que había dejado el silicón, también pueden usar cartón doble o grueso. Por acá dejo las medidas de la tablita como referencia: Ancho: 13 cm Largo : 37 cm
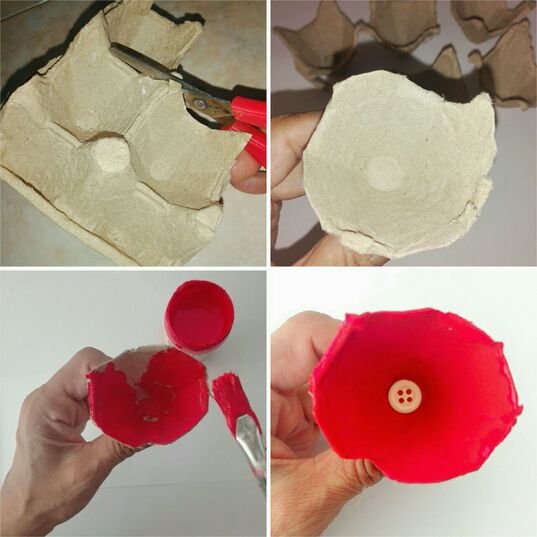
Seguidamente con la tijera procedí a sacar cuadrados del cartón de huevos y luego a recortar los bordes para darle el aspecto como de pétalo. Pintamos de color rojo por ambas caras y dejamos secar muy bien. Una vez que la pintura se haya secado pegamos un botón en el centro , así hacemos con cada uno. En un principio le quería colocarles botones rojos, pero al final me decidí por unos blancos que hacía mejor contraste con el color rojo.
As I mentioned before, I used an MDF board that I had in storage, I applied a coat of red paint to hide the marks left by the silicone, you can also use double or thick cardboard. Here are the measurements of the board as a reference: Width: 13 cm Length: 37 cm
Then with the scissors I proceeded to take squares out of the egg carton and then cut the edges to give it a petal-like appearance. We painted red on both sides and let it dry very well. Once the paint has dried we glue a button in the center, and so we do with each one. At first I wanted to put red buttons on them, but in the end I decided to use white ones, which contrasted better with the red color.
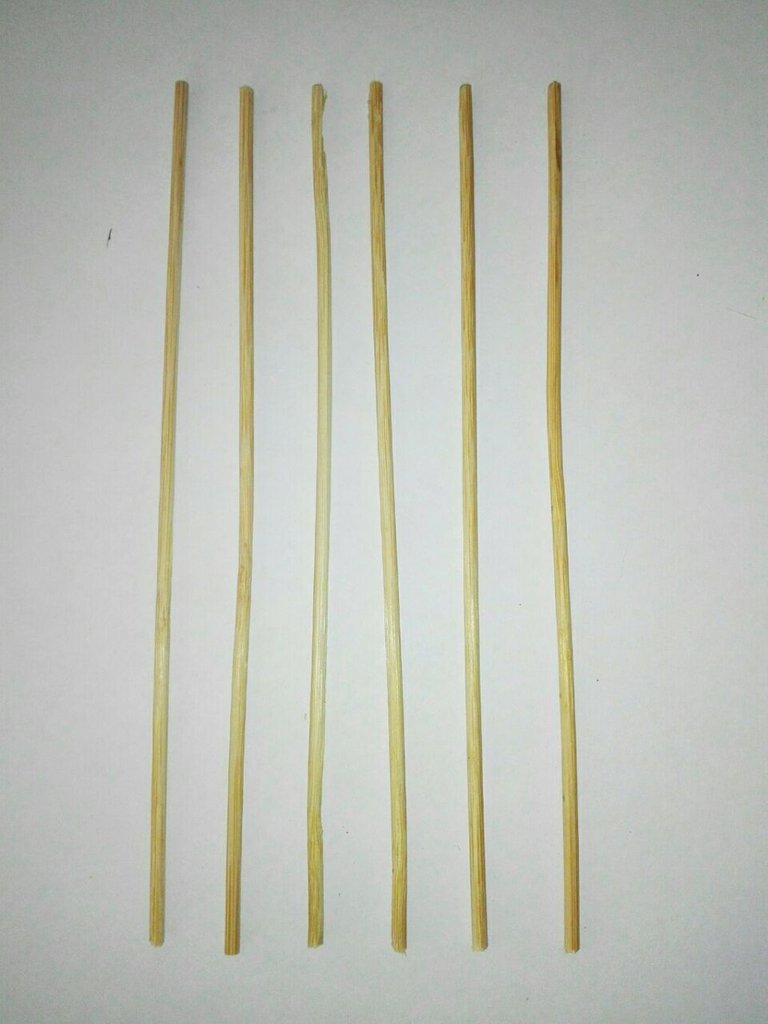
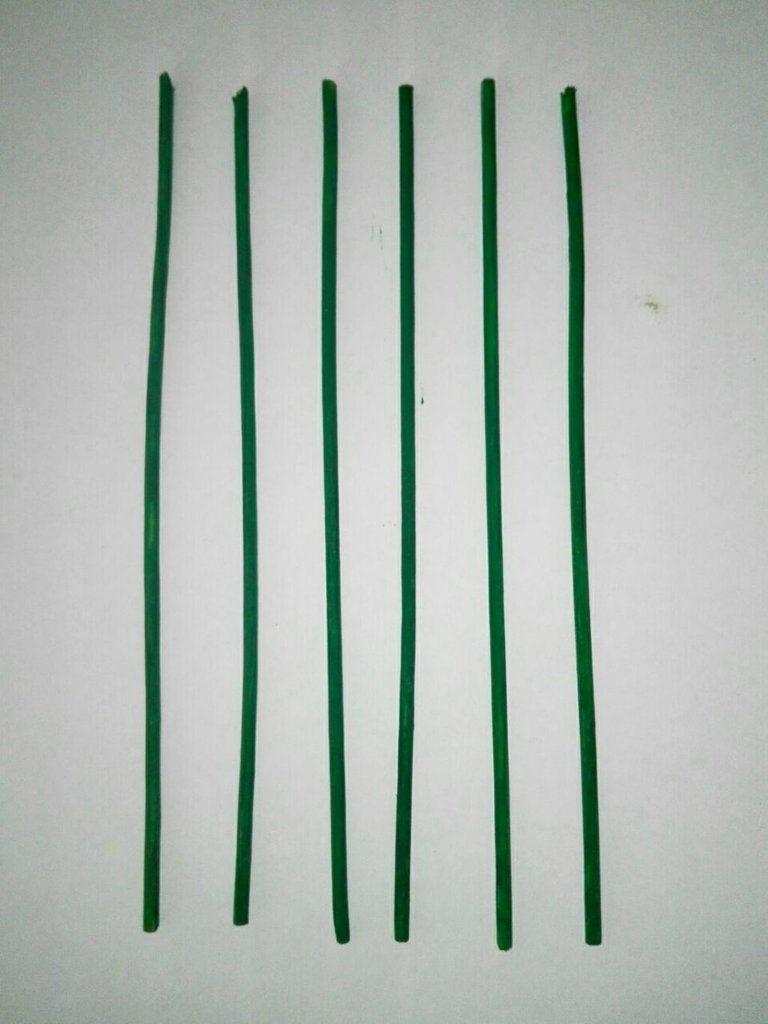
Cortamos los palitos de altura del largo deseado, yo corté seis de 18 cm cada uno. Ahora toma de nuevo el pincel y pinta todos los lados con la pintura verde y deja secar varias horas. Con ellos formaremos el tallo de la flores.
Cut the sticks to the desired length, I cut six of 18 cm each. Now take the brush again and paint all sides with the green paint and leave to dry for several hours. With them we will form the stem of the flowers.
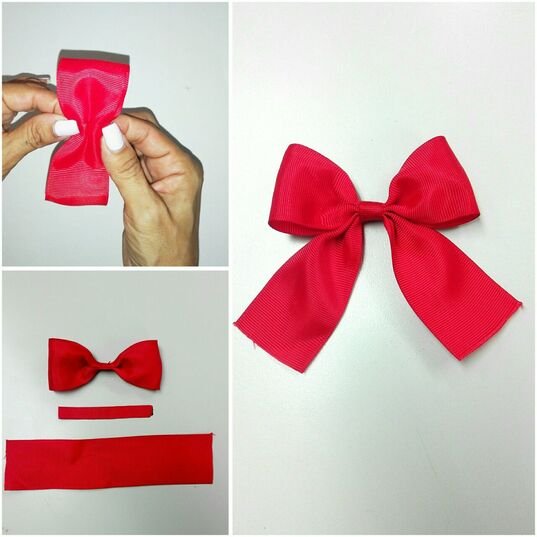
Ahora toca hacer el lazo, así que tomamos la cinta más gruesa, yo utilicé una cinta de 30 cm de largo y la dividí en dos pedazos , uno de 20 cm para la parte superior del lazo y otro de 10 cm para la parte inferior. Unimos ambas trozos y cosemos con hilo y aguja, pasamos la cinta más fina por el medio y volvemos a coser.
Hacer un corte diagonal en ambos extremos del lazo y sellar con el yesquero o fósforo para evitar que se deshilachen.
Now it's time to make the bow, so we take the thicker ribbon, I used a 30 cm ribbon and divided it into two pieces, one of 20 cm for the upper part of the bow and another of 10 cm for the lower part. We join both pieces together and sew with thread and needle, thread the thinner ribbon through the middle and sew again.
Make a diagonal cut at both ends of the loop and seal with the tinder or match to prevent fraying.
El paso final será disponer sobre la tabla; las flores y los palitos uno al lado de otro, fijamos con el silicón caliente. Por ultimo ponemos el lazo encima de los palitos y pegamos también con el silicón.
The final step is to place the flowers and the sticks side by side on the board and fix them with hot silicone. Finally we put the ribbon on top of the sticks and glue with the silicone.
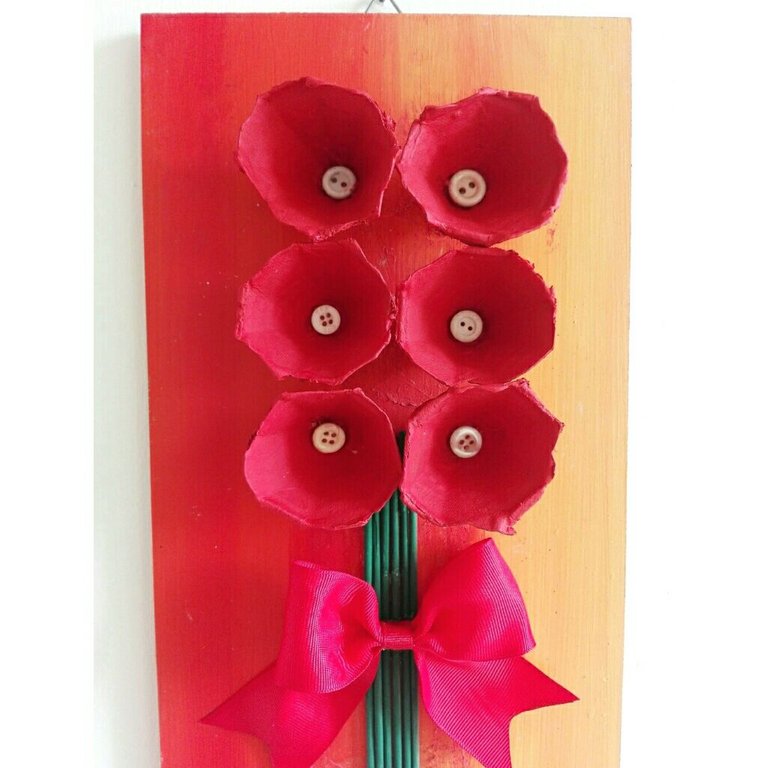
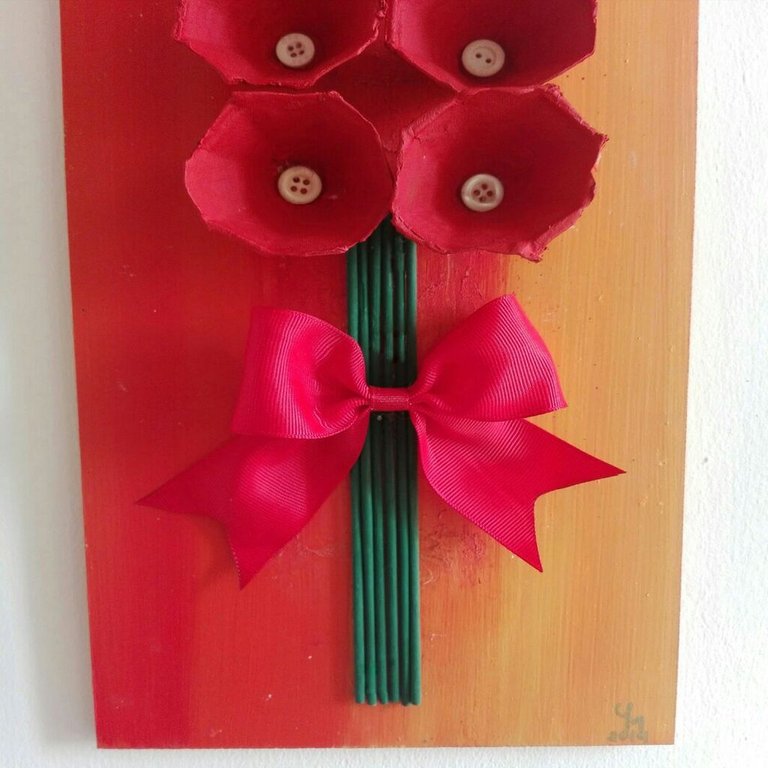
No te limites si no tienes la tabla puedes elaborarlo con cartón grueso y lo pintas o forras. La intención es hacerlo con los materiales que tengamos a mano y darles una segunda oportunidad.
Don't limit yourself if you don't have the board, you can make it with thick cardboard and paint it or cover it. The intention is to do it with the materials we have at hand and give them a second chance.

" Todo lo que se puede imaginar es Real" Pablo Picasso

Ha sido un placer escribir para ustedes y enseñarles este paso a paso para elaborar este lindo cuadro con flores, les envío un caluroso abrazo y espero seguir conectadas con ustedes.
Bendiciones 💜
It has been a pleasure to write for you and show you this step by step to make this beautiful picture with flowers, I send you a warm hug and I hope to stay connected with you.
Blessings 💜

Todas las fotografías fueron tomadas con mi telefóno móvil // All photos were taken with my mobile phone.
Fotografías editadas en Canva y App GridArt // Photographs edited in Canva and GridArt App
Separadores realizados en Canva // Dividers made in Canva
Traducción realizada con www.deepl.com // Translation made with www.deepl.com

so beautiful what you have done with the egg carton. It truly beautifies your space
Hello @diyhub , I greet you , yes a simple and very nice project . A great idea to decorate a space. Thank you for leaving me a comment, I appreciate it very much.
Although we are in June, this work gave me a festive feeling, like Christmas, probably because of the red colour. :) Nice work, Mercedes.
Holaaaa, @mipiano it's true, I hadn't noticed, it has the red and green colours plus the ribbon that complements it gives it the Christmas touch..... Thank you for your comment. I liked your perception 😊
You are welcome :)
Congratulations @mergusa88! You have completed the following achievement on the Hive blockchain And have been rewarded with New badge(s)
Your next target is to reach 3500 upvotes.
You can view your badges on your board and compare yourself to others in the Ranking
If you no longer want to receive notifications, reply to this comment with the word
STOPHola 👋 te felicito por tu hermosa creación de verdad que te que excelente su práctica realización. Gracias por compartir tu excelente post. Muchas bendiciones para tu vida 💛 🙏 🙌
Hola amiga @casmar551 que gusto verte por acá , me alegra que te haya gustado mi post y mi cuadro de flores , si la verdad quedó muy lindo y muy fácil de hacer . Te mando un abrazo 🤗
Reciclar siempre será la opción ideal, me encanta ver proyectos que fomenten el reciclaje, reciclar no significa que la creación deba ser fea, esto está precioso.
Hola @jennyzer así es, con materiales de reciclaje podemos hacer tantas cosas bonitas y útiles , todo está en la creatividad y el amor que le pongamos al proyecto. Me alegra que te haya gustado esta creación , valoro muchísimo tu comentario. Un abrazo de vuelta para tí 💓
A primera vista me pareció precioso y cuando leí que estaba hecho con cartón de huevos necesite fijarme si realmente era así jajaja muy bueno lo que lograste siento que el degrade del fondo le da muchísima personalidad. Te felicito por tu creatividad.
Hola @nitsuga12 gracias ¡¡¡ que bueno que te causó esta impresión , si sorprende hay que verlo muy de cerca para apreciar que las flores son de cartón de huevos jejej, la tablita justo también la guardé por esa degradé de colores entre amarillo y naranja , siempre pensando que uso le daría y pués surgió este proyecto . Un abrazo para tí 🤗