[Esp/Eng]Dibujado a Pikachu/Drawn to Pikachu

Saludos amigos de la comunidad @Hivearte. Ya estoy entre ustedes para presentar mi segunda publicación, en el que les mostraré la creación paso a paso de un dibujo de Pikachu con distintos materiales. Así que sin más preámbulos comencemos.
Greetings friends of the @Hivearte community. I am already among you to present my second publication, in which I will show you the step-by-step creation of a Pikachu drawing with different materials. So without further ado let's get started.
1- como mencioné con anterioridad para este trabajo se tomaron varios materiales, que va desde un trozo de cartón perteneciente a una caja de galletas con chispas de chocolate 🍪
1- as I mentioned before, several materials were taken for this work, ranging from a piece of cardboard belonging to a box of chocolate chip cookies 🍪
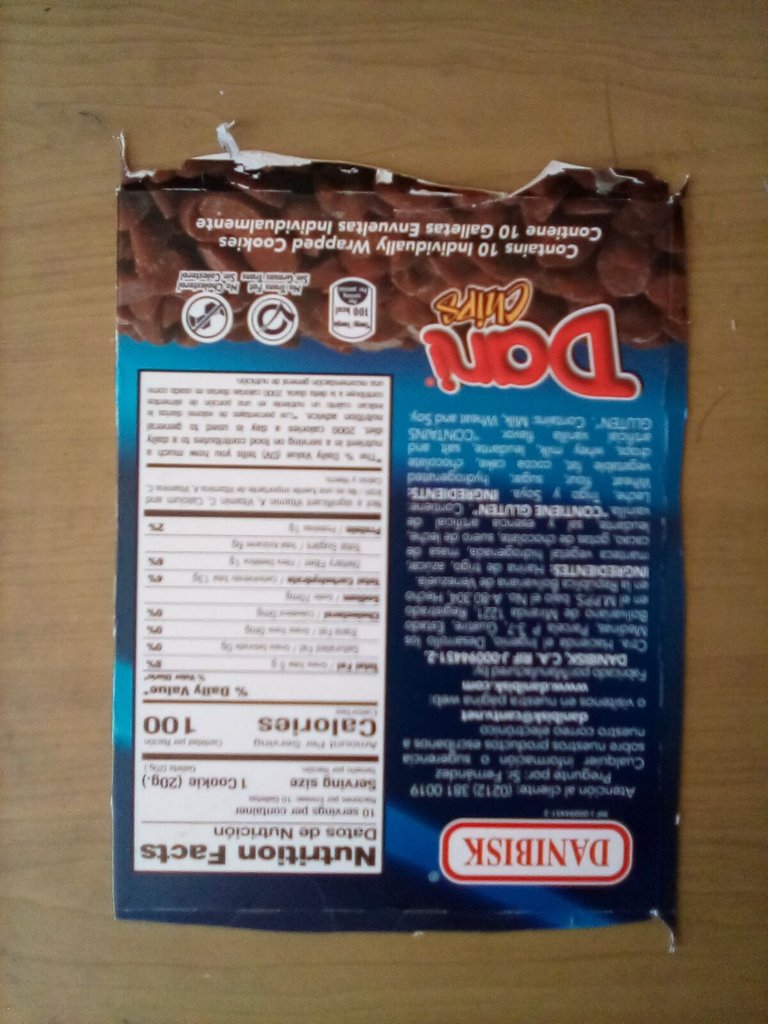
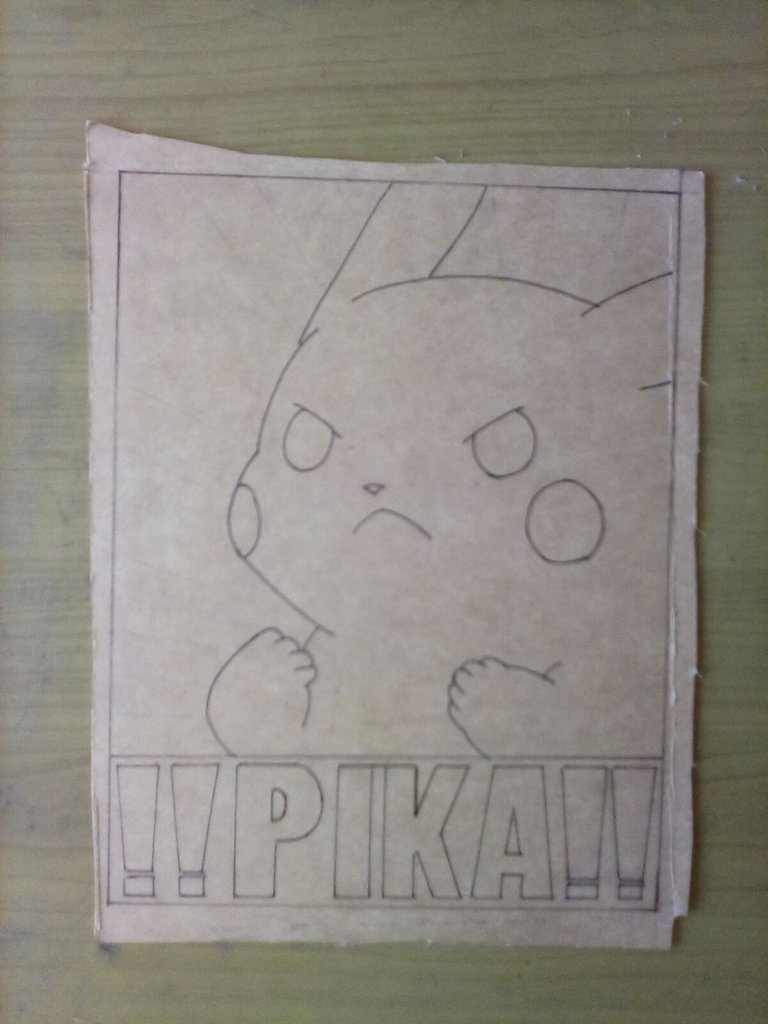
Tras haber hecho los recortes procedemos a crear el boceto con un lápiz 3H y una regla. Primero dibujamos una silueta hasta darle una forma deseada.
After having made the cuts we proceed to create the sketch with a 3H pencil and a ruler. First we draw a silhouette to give it a desired shape.
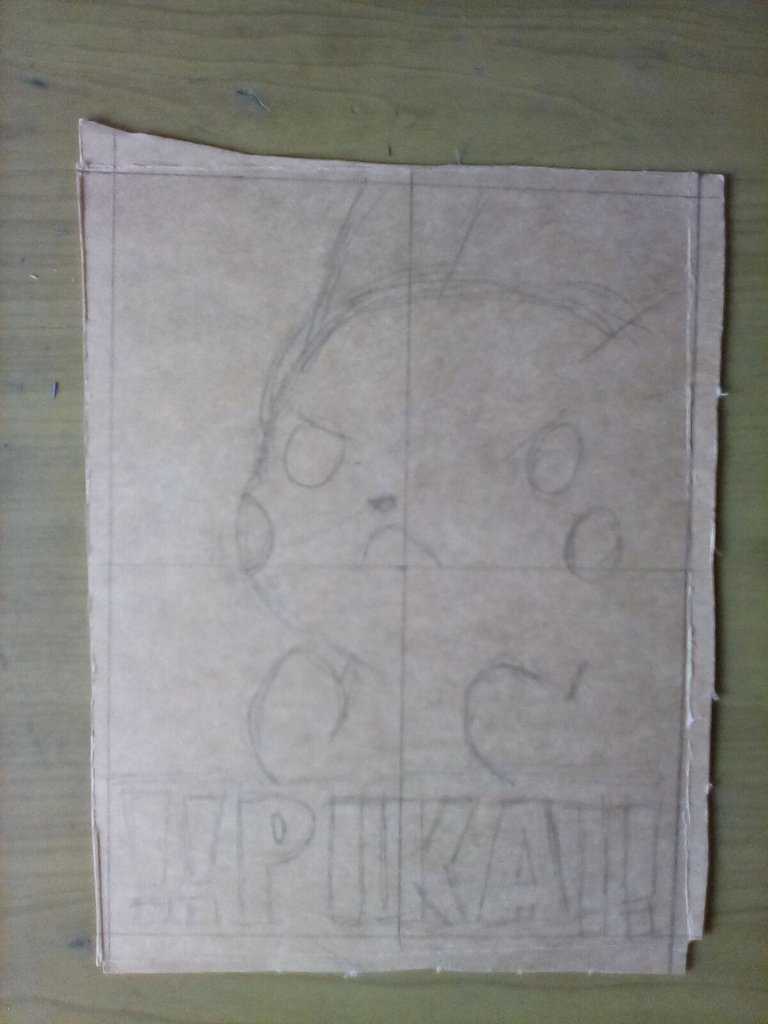
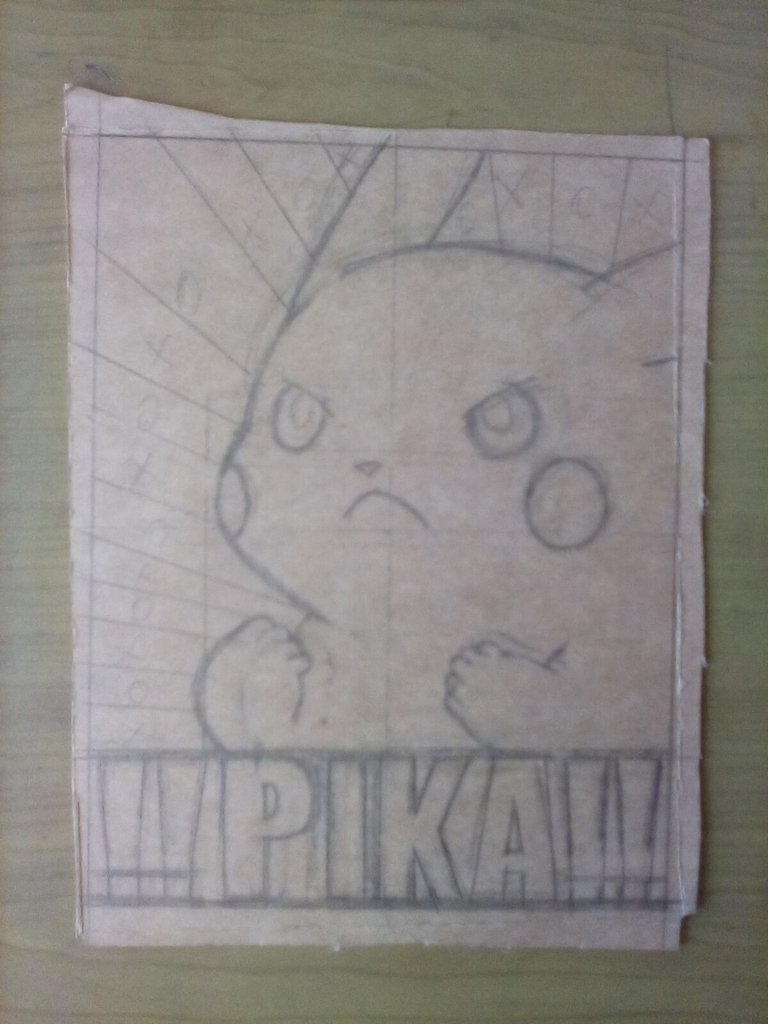
2- acto seguido, remarcamos todas las líneas con un marcador de punta fina para después retirar todo el grafito con un borrador blanco escolar.
2- next, we highlight all the lines with a fine-tipped marker and then remove all the graphite with a white school eraser.
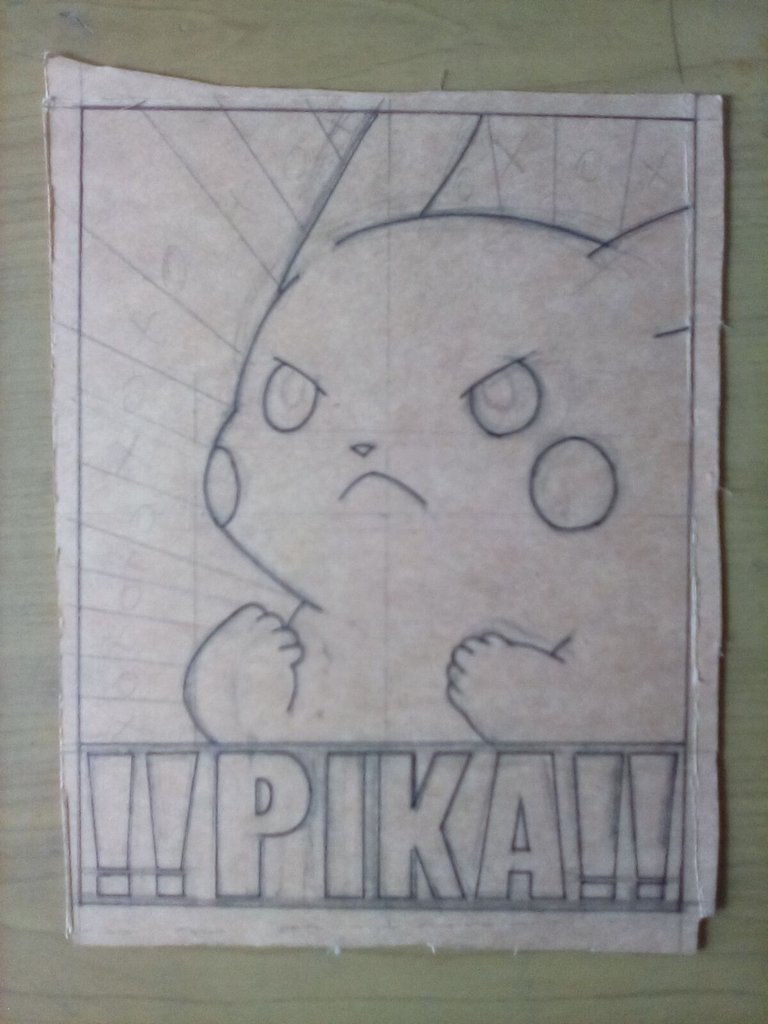
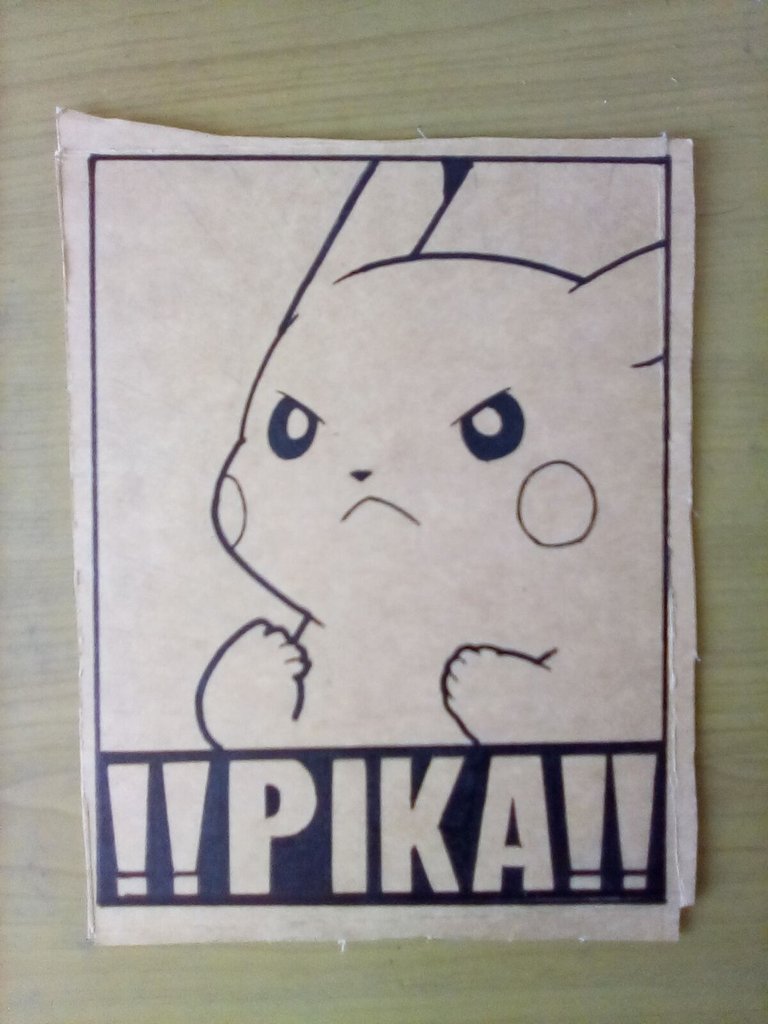
Con un marcador a base de alcohol rellenamos todas las áreas que lo requieran.
With an alcohol-based marker we fill in all the areas that require it.
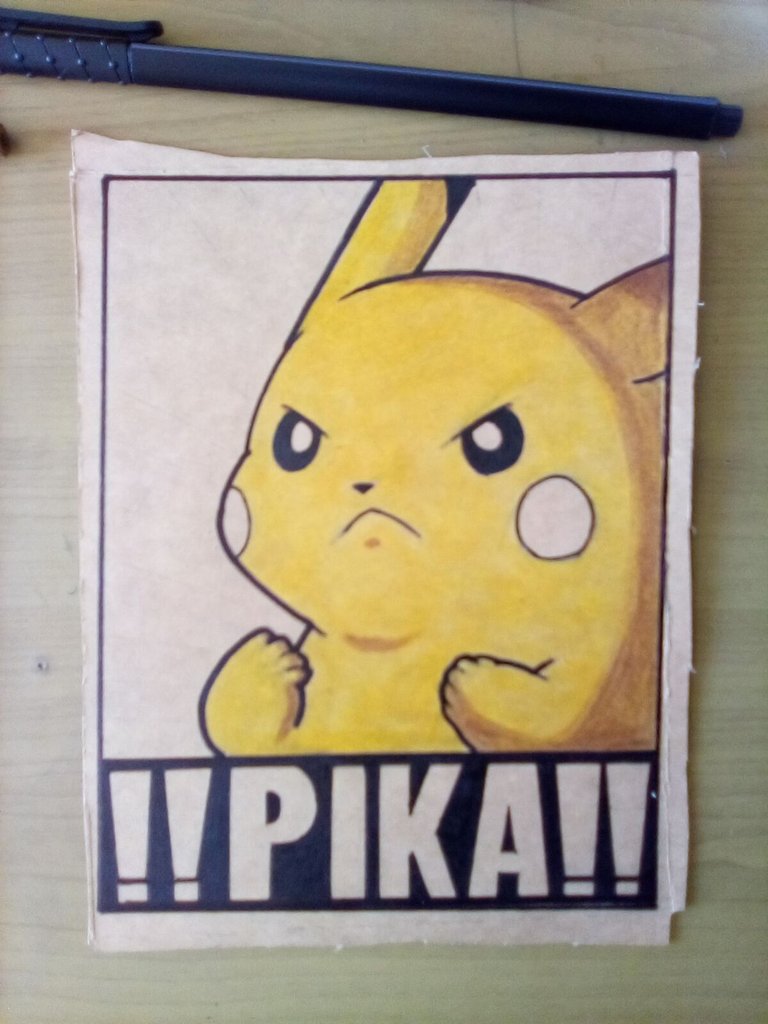
3- a partir de este instante iniciamos con pintar el rostro de Pikachu con amarillo y marrón (para efectos sombras).
3- from this moment we start with painting Pikachu's face with yellow and brown (for shadow effects).
Luego, las mejillas de rojo; puntos blancos en los ojos (Bolígrafo de gel blanco); y, el nombre del personaje con blanco (se usó Témpera).
Then, the cheeks of red; white dots on the eyes (white gel pen); and, the character's name with white (Tempera was used).
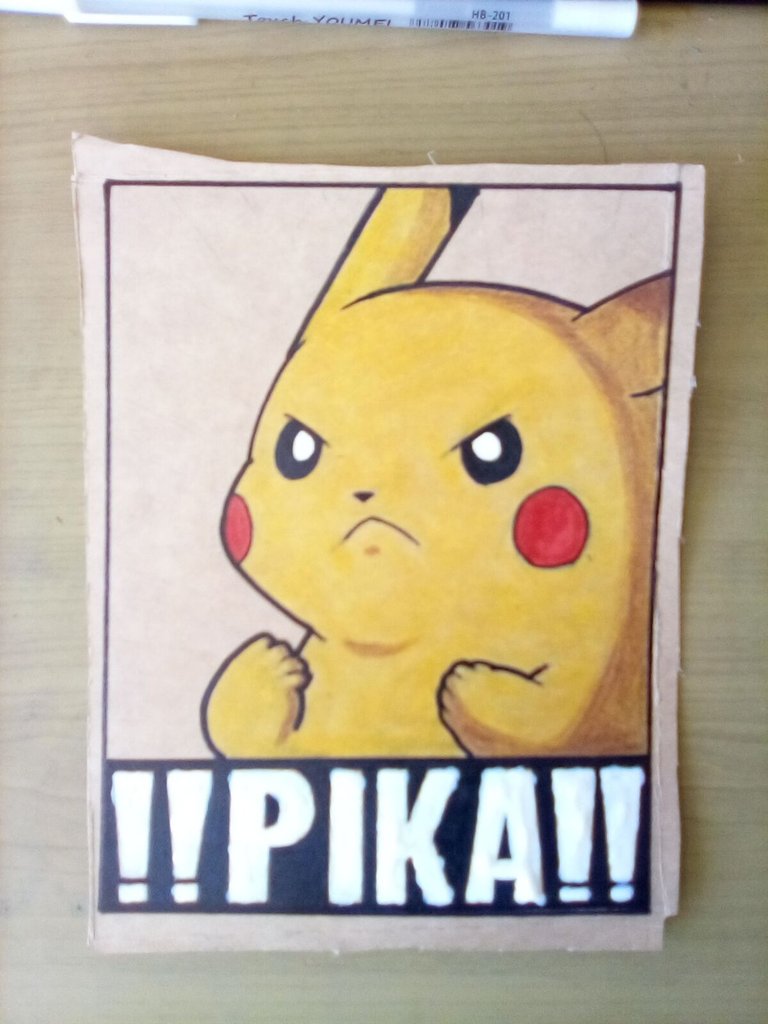
Y para los rayos al fondo: naranja y rojo.
And for the rays in the background: orange and red.
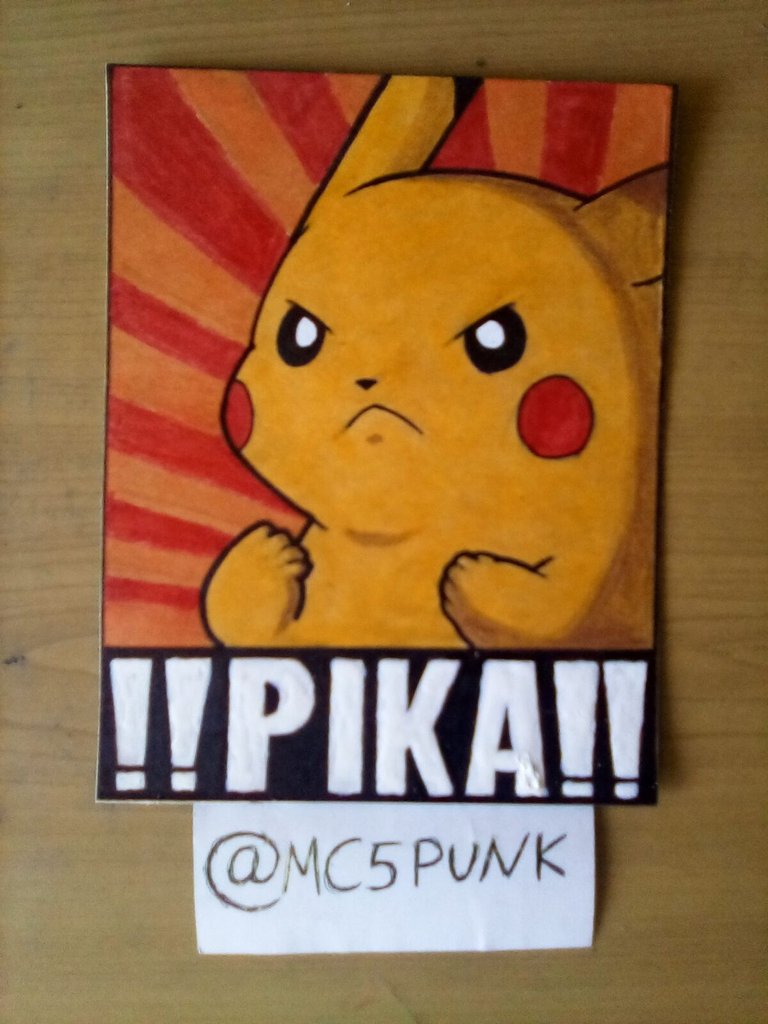
Y listo! Hemos concluido con nuestro trabajo 😃 Que les parece? 😁
And that's it! We are done with our work 😃 What do you think?
Espero que esto les sirva de motivación para hacerlo. Y recuerden que pueden comentar al final de esta publicación, los estaré leyendo y dando respuesta. También agradezco todo el apoyo recibido por parte de todos ustedes.
I hope this will motivate you to do it. And remember you can comment at the end of this post, I'll be reading and giving you feedback. I also appreciate all the support received from all of you.
Sin más que decir nos vemos en una próxima entrega.
Without more to say I'll see you in a next installment.
Hasta entonces😎👍
Until then 😎👍
Materiales usados/Materials used
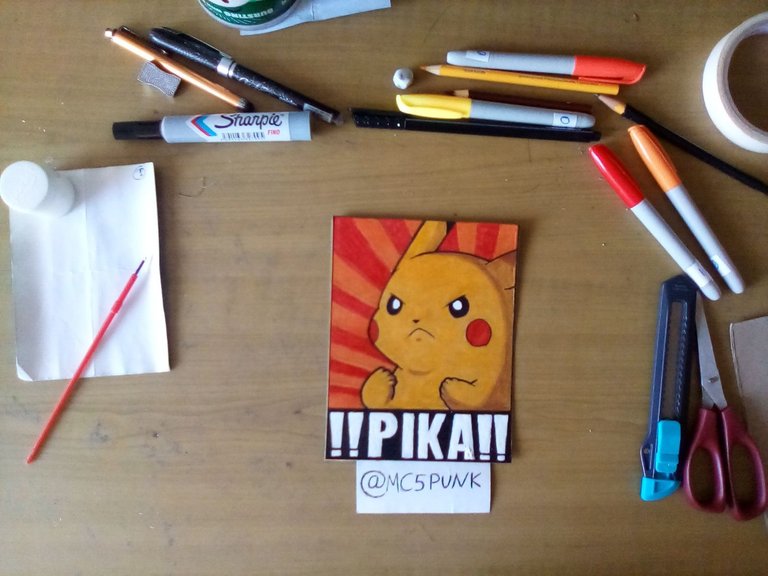
- Lápiz de grafito 3H;
- Cartón reciclado;
- Borrador;
- Bolígrafo de gel blanco;
- Regla;
- Afilador de lápiz;
- Marcador de punta fina;
- Marcadores a base de alcohol;
- Témpera;
- Cutter;
- Tijera.
- Lápices de colores Crayola.
- Graphite pencil 3H;
- Recycled cardboard;
- Draft;
- White gel pen;
- Rule;
- Pencil sharpener;
- Fine point marker;
- Alcohol-based markers;
- Tempera;
- Cutter;
- Scissors.
- Crayola colored pencils.
Fuente de las imágenes/Source of the images
Imágenes capturadas con mi tableta Amazon Fire 8.
Images captured with my Amazon Fire 8 tablet.
Traducido con Deepl.com
@tipu curate 2
Que esperas para unirte a nuestro trail de curación y formar parte del "proyecto CAPYBARA TRAIL"
Upvoted 👌 (Mana: 30/70) Liquid rewards.
So cute! ⚡️⚡️
Thanx 😁👍