[Esp/Eng] Dibujando a Mickey Mouse/Drawing Mickey Mouse
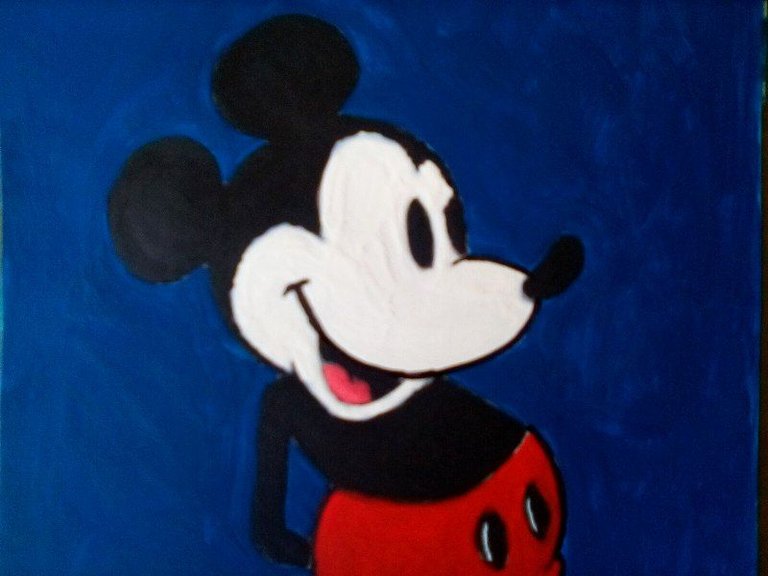
Saludos amigos de la comunidad de @Hivearte. Es un placer para mi estar entre ustedes, ya que está es mi primera publicación en su espacio. Y debo decir que he llegado hasta acá gracias a la invitación por parte de @sarangzg7, quien en un comentario me dio a saber de su existencia.
Greetings friends of the @Hivearte community. It is a pleasure for me to be among you, since this is my first publication in your space. And I must say that I have arrived here thanks to the invitation by @sarangzg7, who in a comment let me know about your existence.
Ahora bien, y sin tantos rodeos vamos a ver el proceso empleado para la creación de este dibujo basado en el famoso personaje de Mickey Mouse, con el uso de Témpera. Comencemos.
Now, and without so many detours let's see the process used for the creation of this drawing based on the famous Mickey Mouse character, with the use of tempera. Let's start.
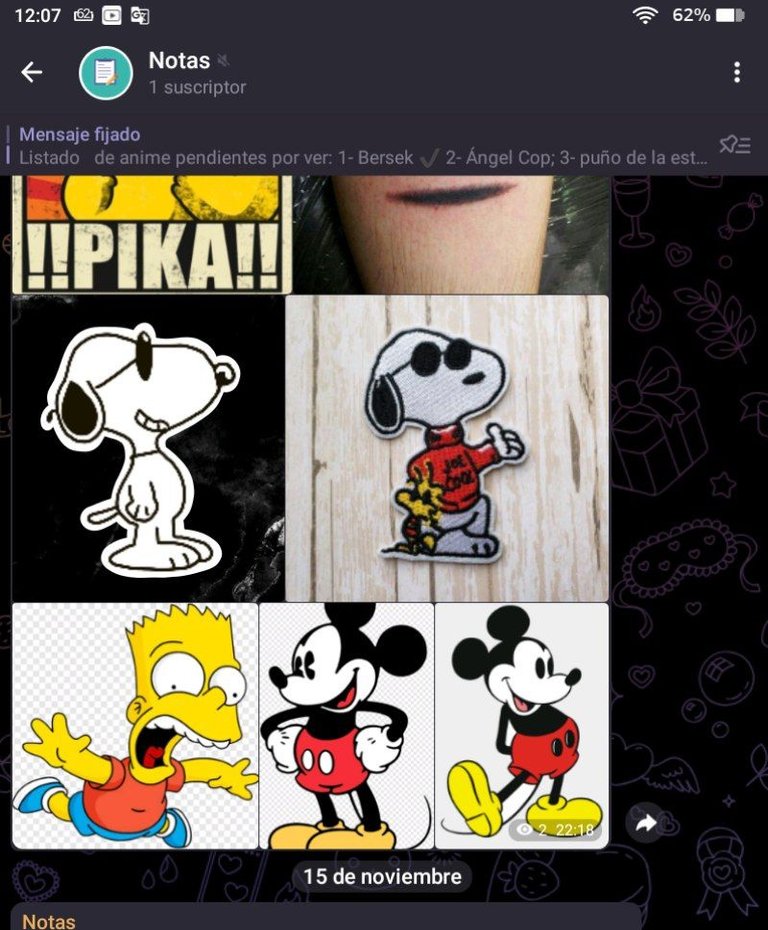
1- entre mis archivos multimedia conseguí esta imagen que será usada como referencia.
1- among my multimedia files I got this image that will be used as reference.
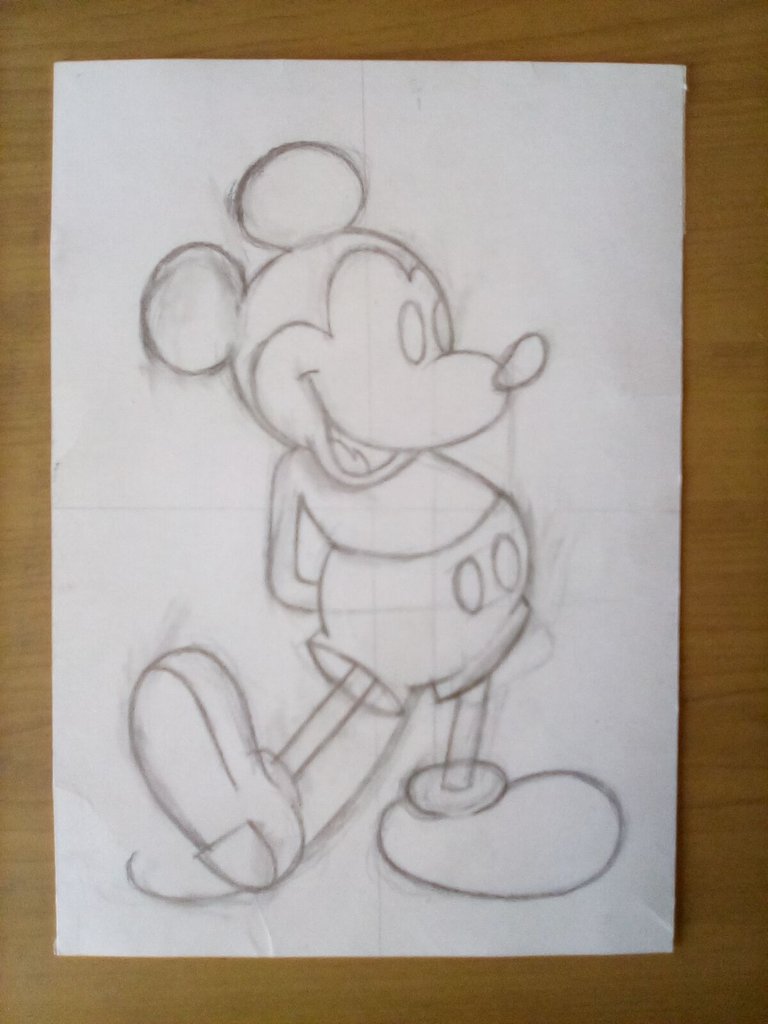
2- ya una vez seleccionada la imagen procedemos a hacer el boceto en un trozo de cartón que podrá resistir la Témpera.
2- once the image is selected we proceed to make the sketch on a piece of cardboard that will be able to resist the tempera.
Con la ayuda de un lápiz 3H y una regla trazamos unas líneas que nos permitirán hallar con el centro, y, crear una silueta del personaje que será modificada hasta tener la apariencia deseada.
With the help of a 3H pencil and a ruler we draw some lines that will allow us to find the center and create a silhouette of the character that will be modified until we have the desired appearance.
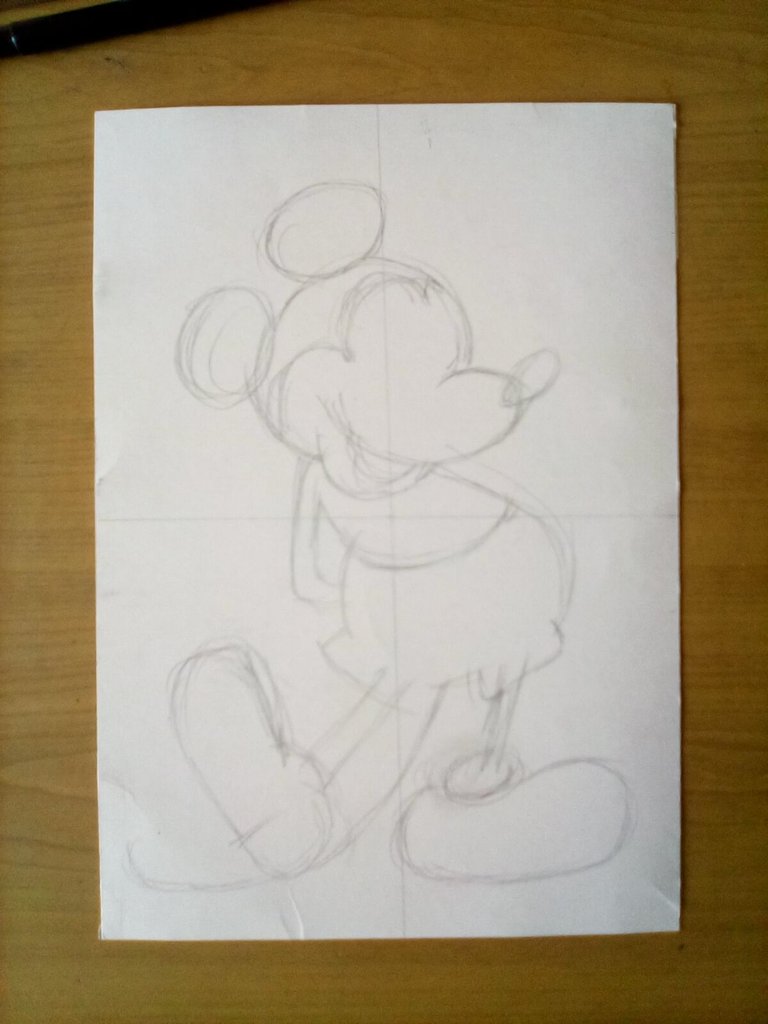
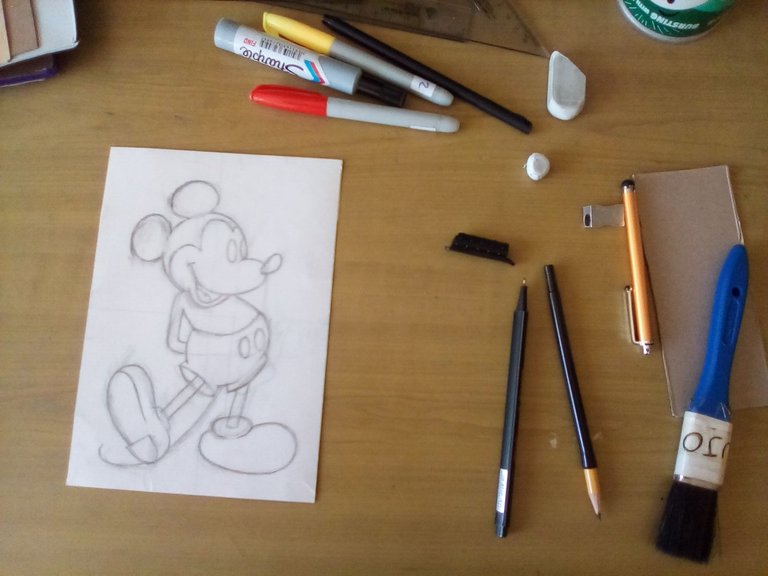
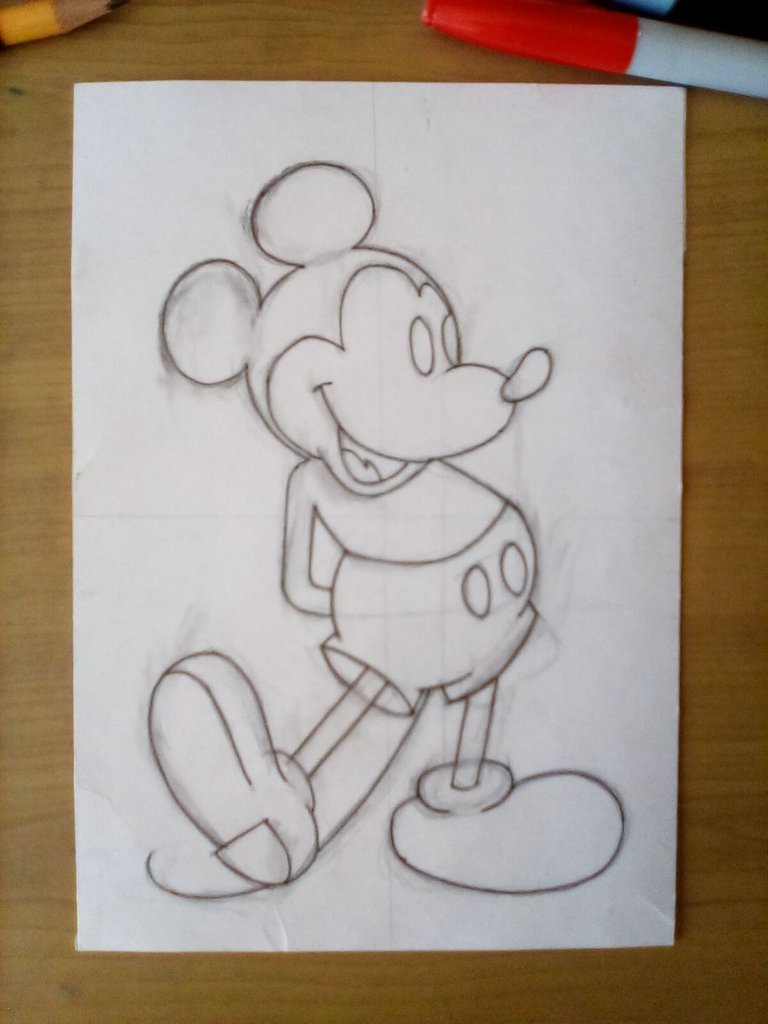
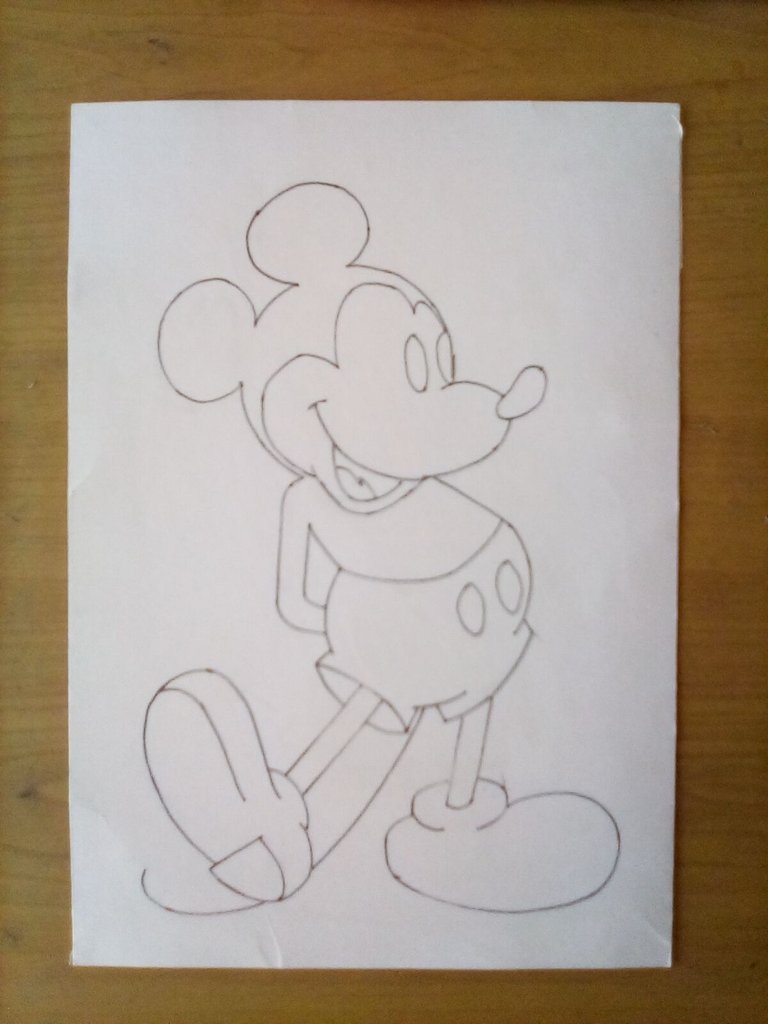
3- acto seguido, delineamos con un marcador de punta fina para después retirar todo el grafito con un borrador blanco escolar.
3- then we outline with a fine tip marker and then remove all the graphite with a white school eraser.
4- empezamos a pintar con los colores respectivos en cada área que lo conforman: blanco, negro, rojo y amarillo. Vale decir también que, los brillos en los botones fueron hechos con un bolígrafo de gel blanco, y el remarcado de las líneas de arte en los zapatos, boca y pantalón corto, con un marcador Sharpie -esto debido a que no tengo un pincel adecuado. por otra parte, el color de fondo será azul.
4- we start painting with the respective colors in each area that conforms it: white, black, red and yellow. It is also worth saying that, the glitter on the buttons were made with a white gel pen, and the highlighting of the line art on the shoes, mouth and shorts, with a Sharpie marker -this because I don't have a proper brush. on the other hand, the background color will be blue.
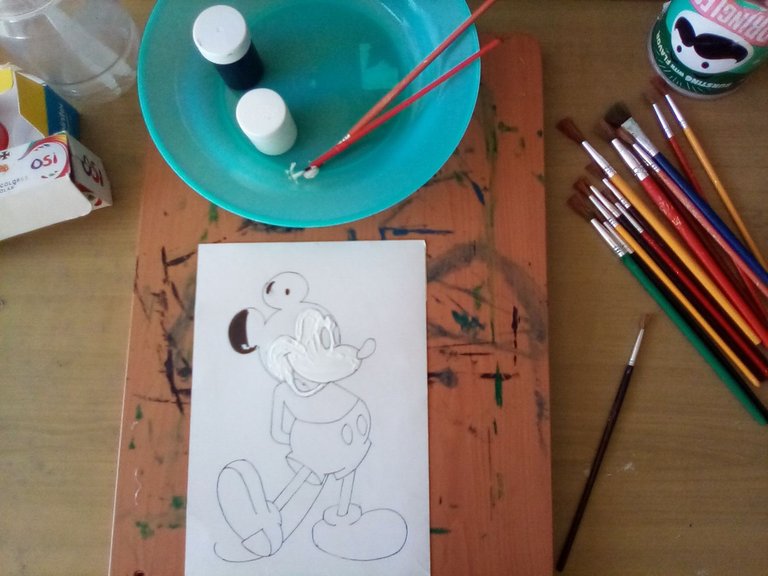
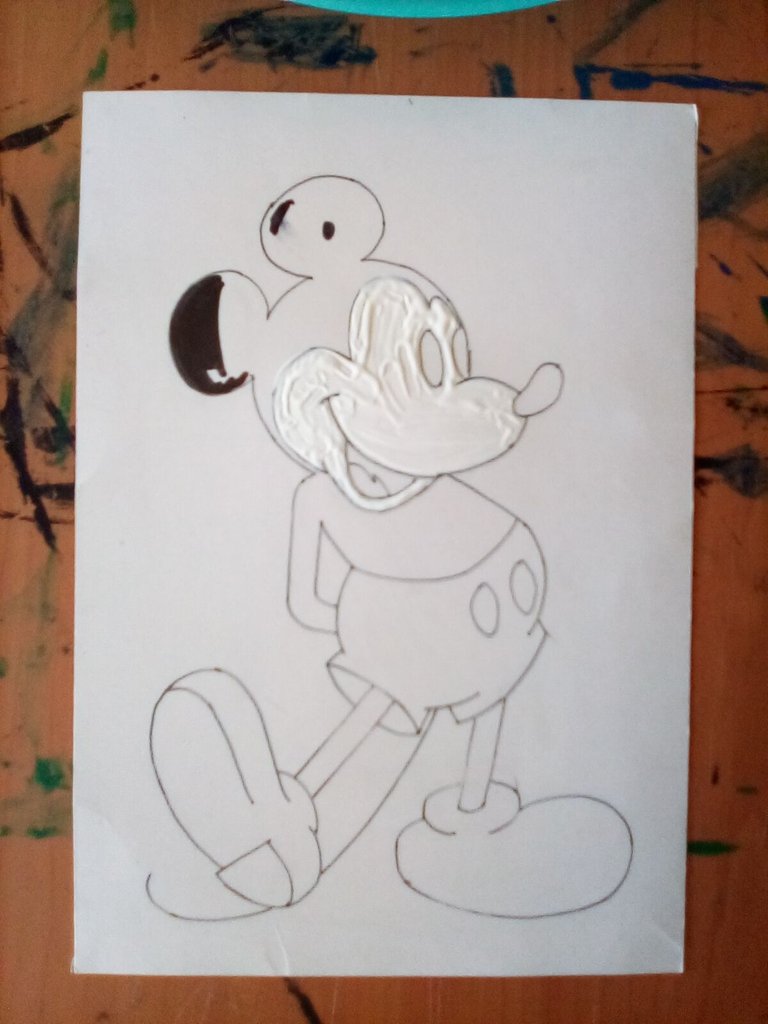
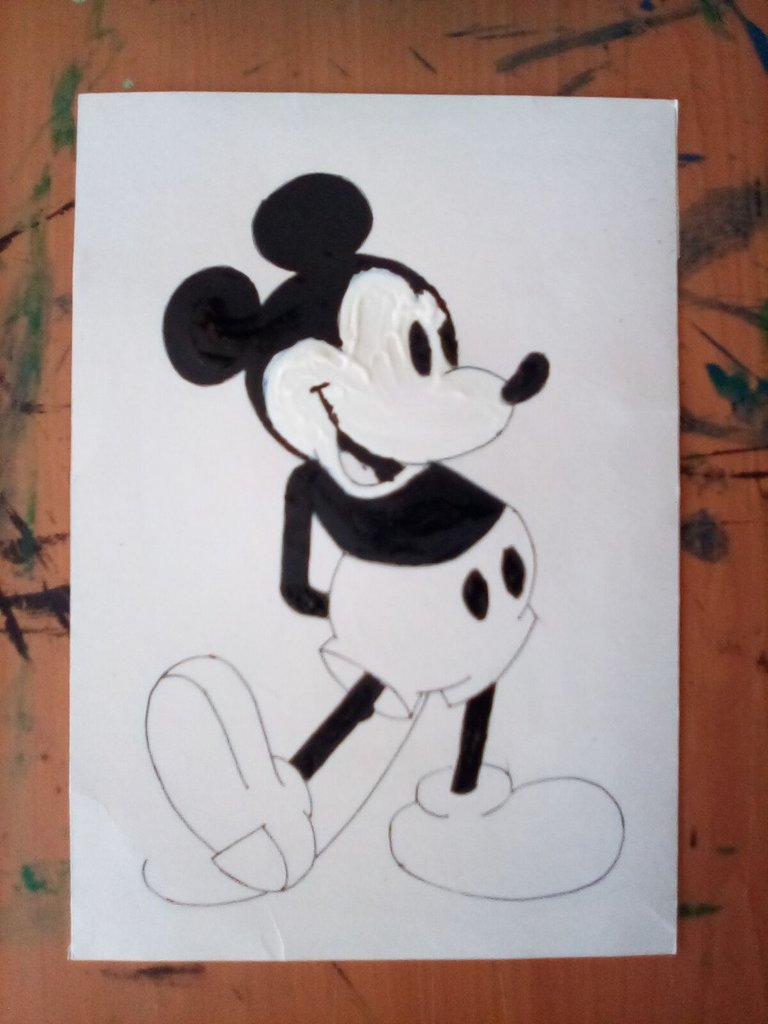
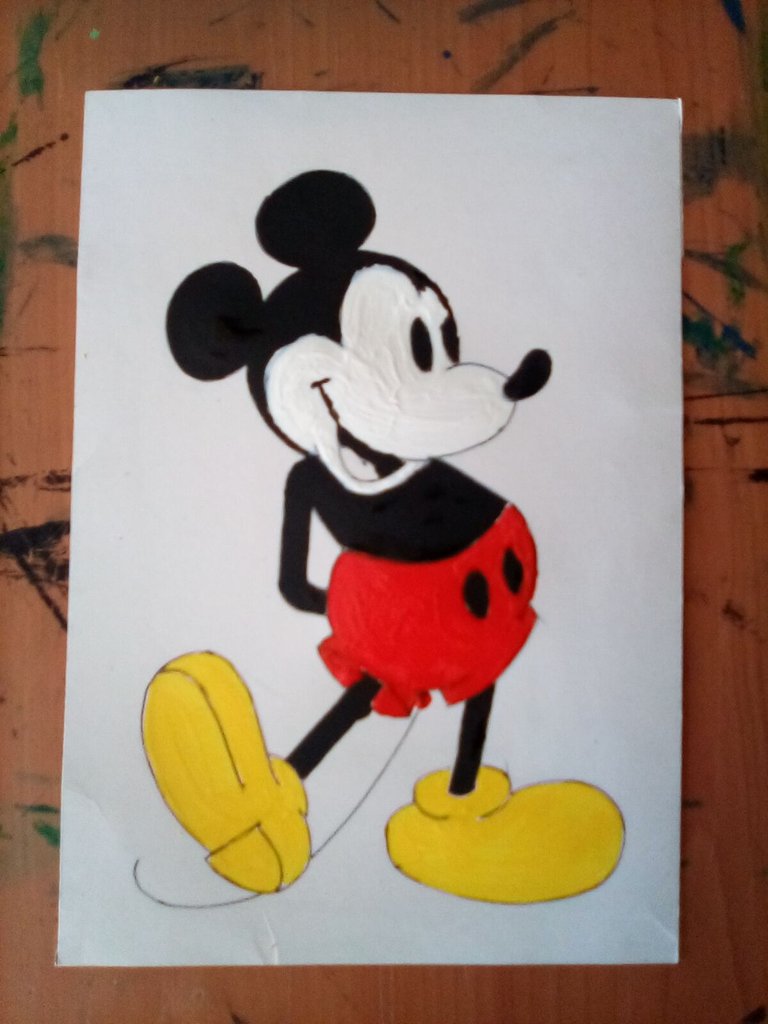
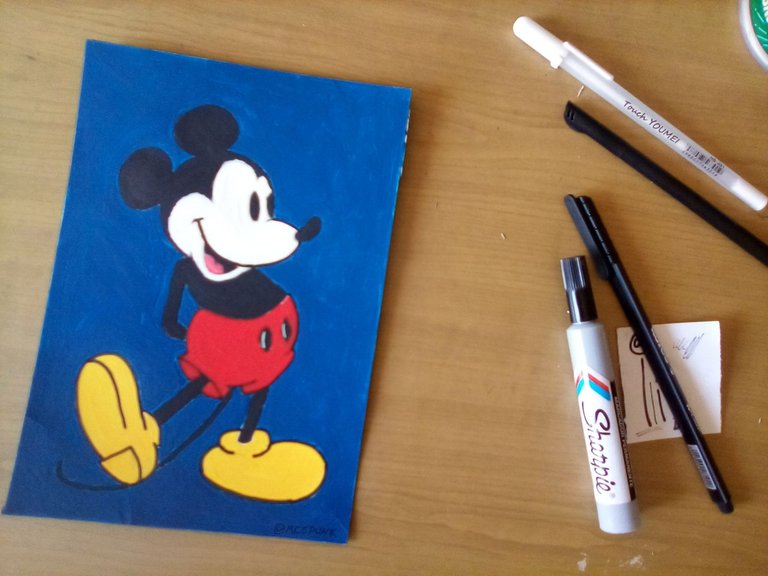
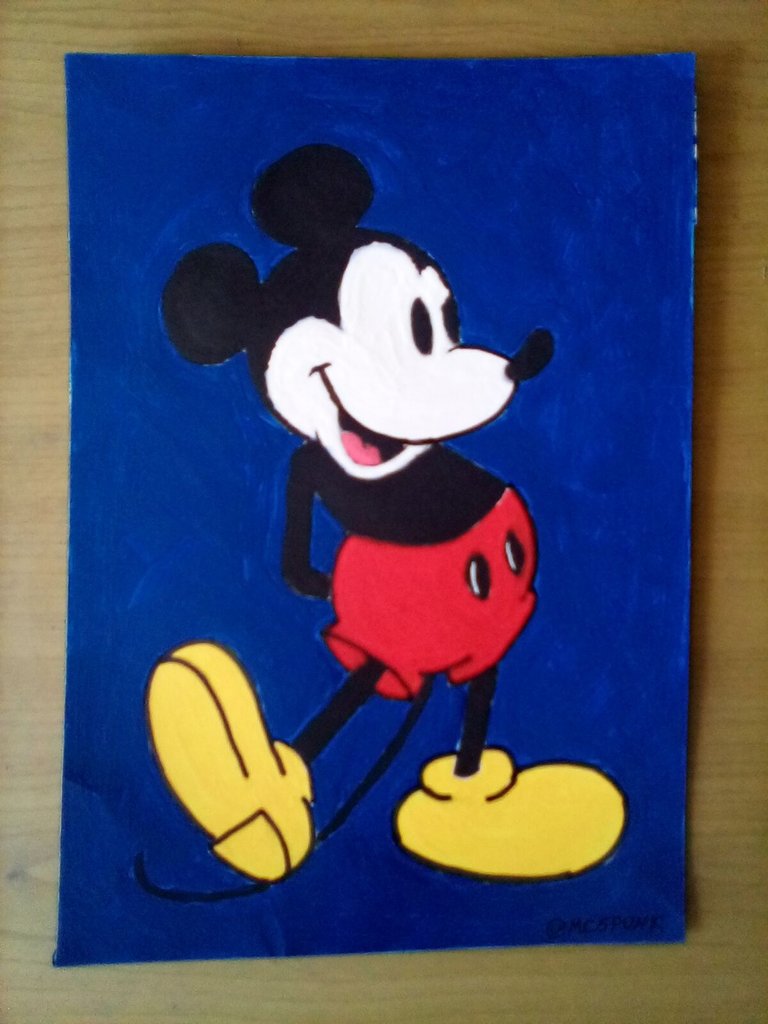
Y listo! Hemos concluido con nuestro trabajo 😃 Que les parece? 😁
And that's it! We are done with our work 😃 What do you think?
Espero que esto les sirva de motivación para hacerlo. Y recuerden que pueden comentar al final de esta publicación, los estaré leyendo y dando respuesta. También agradezco todo el apoyo recibido por parte de todos ustedes.
I hope this will motivate you to do it. And remember you can comment at the end of this post, I'll be reading and giving you feedback. I also appreciate all the support received from all of you.
Sin más que decir nos vemos en una próxima entrega.
Without more to say I'll see you in a next installment.
Hasta entonces😎👍
Until then 😎👍
Materiales usados/Materials used
Lápiz 3H;
Borrador;
Témpera Pointer;
Regla;
Cartón reciclado;
marcador de punta fina;
Bolígrafo de gel blanco;
Pinceles
Pencil 3H;
Eraser;
Pointer tempera;
Ruler;
Recycled cardboard;
Fine tip marker;
White gel pen;
Brushes.
Fuente de las imágenes/Source of the images
Imágenes capturadas con mi tableta Amazon Fire 8.
Images captured with my Amazon Fire 8 tablet.
Traducido con Deepl.com
Contáctenos para saber más del proyecto a nuestro servidor de Discord.
Si deseas delegar HP al proyecto: Delegue 5 HP - Delegue 10 HP - Delegue 20 HP - Delegue 30 HP - Delegue 50 HP - Delegue 100 HP.
Muchas gracias 😀👍
Que esperas para unirte a nuestro trail de curación y formar parte del "proyecto CAPYBARA TRAIL"
Muchas gracias 😀
Amigo usted me gana dibujando, yo aún no experimento mucho ni usa muchas técnicas, sigue así vas súper nunca dejes el arte! 🥰🫂
Agradecido con vos, amiga, y aprecio mucho tus palabras. Saludos y bendiciones 🙂🙏 te mando un fuerte abrazo 🤗