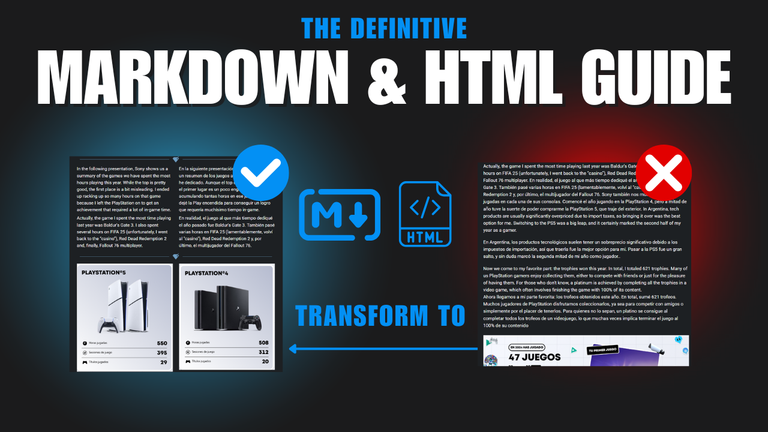
Definitive guide of Markdown and HTML: Improve the structure of your publications


Markdown and HTML Guide

Introduction
Text Size
Text Decoration and Colors
Align the content
Upload images per link
Paragraphs, separators, quotes and spoilers.
Create list of items and numbers and spoilers.
Creation of tables
Redirecting to a link and creating an index

Introduction

Good morning everyone! Today I bring you a guide about Markdown and HTML. Before going into detail about the possibilities that both offer to create publications, I want to clarify an important point: it is not recommended to mix HTML and Markdown excessively in the same section of the text. This can cause problems, such as misalignments or unexpected formatting that could affect the presentation of the content.
Markdown is a simple markup language designed to create documents that are easily readable and convertible to HTML, without the need to write complex code.
HTML is the standard used to structure web pages, allowing you to define the organization and format with tags and attributes.

Text Size

In both HTML and Markdown, we have an option to size the text up to six levels. In the case of Markdown, we place a # (hashtag) at the beginning of the line followed by a space and in HTML we have to use the < h(size)> < /h(size)> tag that closes the text.
|
|---|
|
|
|---|
|
|
|---|
|
|
|---|
|
|
|---|
|
|
|---|
|

Text decoration and colors

We also have several options to decorate our text and only one option to paint red, since Markdown does not support colors and in HTML you cannot apply styles to the tag either.
Bold |
|---|
|
Underlined |
|---|
|
Cross out |
|---|
|
Italic |
|---|
|
|
|---|
|

Align content

The platform offers us a single option to align the content of our post: left, center or right, using the following tags:
| Code | Example |
|---|---|
| <div class="pull-left"> Align to Left </div> |
Align to Left
|
| <center> Align to Center </center> |
|
| <div class="pull-right"> Align to Right </div> |
Align to Right
|
Maybe the table doesn't show it so well, so here is a more practical example:
Center
Right
We can also use Left and Right only, which is a widely used format for making posts in two languages:

Upload image by link

| Using one image per link with Markdown | Use one image per link with HTML |
|---|---|
|
To upload an image in Markdown, you can use the following format:
|
To upload an image in HTML, you can use the following format:
|

|

|

Paragraphs, Dividers, Quotes and Spoilers

|
|---|
|
|
|---|
|
Separators are quite useful for posts. However, it is more advisable to use personal separators like the ones I used. The most used one is this image:

|
|---|
|
|
|---|
|

Lists with items and with numbers.

Lists with items can be made with both Markdown and HTML, in HTML it is enough with two tags and in Markdown it is much easier to do it with a hyphen(-) and space.
Lista con items |
|---|
|
To make a list with numbers, in HTML you have to use two tags and in Markdown just the number with a .
List with numbers |
|---|
|

Create tables

We come to perhaps the most complicated part to understand and explain. In case you have no experience manipulating HTML code, I strongly recommend that you use Markdown to create your tables because it is quite simple:
Glosario
|: It is used to separate columns.---: It is used as a separator between headers and data.
Code:
| Column 1 | Column 2 | Column 3 |
|-----------|------------|------------|
| Data 1    | Data 2    | Data 3    |
| Data 4    | Data 5    | Data 6    |
Result:
| Column 1 | Column 2 | Column 3 |
|---|---|---|
| Data 1 | Data 2 | Data 3 |
| Data 4 | Data 5 | Data 6 |
If you like to complicate your life, here is the tutorial on how to make a table with HTML:
Glosario
<table>: Define the complete table.<thead>: Defines the header of the table, where the column headings go.<tr>: Defines a row of the table.<th>: Defines column headers.<tbody>: Defines the body of the table, where the data is located.<td>: Define cells within the table.
Code:
<table>
   <thead>
     <tr>
      <th><h6>Title 1</h6></th>
      <th><h6>Title 2</h6></th>
      <th><h6>Title 3</h6></th>
     </tr>
   </thead>
   <tbody>
     <tr>
      <td>Data 1</td>
      <td>Data 2</td>
      <td>Data 3</td>
     </tr>
     <tr>
      <td>Data 4</td>
      <td>Data 5</td>
      <td>Data 6</td>
     </tr>
   </tbody>
</table>
Result:
Title 1 |
Title 2 |
Title 3 |
|---|---|---|
| Data 1 | Data 2 | Data 3 |
| Data 4 | Data 5 | Data 6 |
These tables are fully customizable, having the opportunity to add rows and columns as much as you want. The tables is a function that I use very often to capture statistics that I compile.

Links and Index

Redirect to a link |
|---|
|
Create an index to redirect to a section of the post. |
|---|
It is necessary to place the `#` before the `id`, so that the link stays on the page and does not redirect out of it..
|

Here are some tricks I have learned while posting in this and other forums. Unfortunately, this forum's HTML has limitations, as it does not allow adding CSS styles, which makes it difficult to customize aspects such as text colors, table sizes and other visual details. However, with the right techniques, clear and functional presentations can be achieved.
We have reached the end of the detailed guide to Markdown and HTML. If in the future I forget some functionality or have something else to add, I will not hesitate to edit the post and add it. I have tried to create a format as clear and attractive as possible so that the information is easy to read and understand.


Excellent post!
I'll use this guide to improve my own post and I hope helps others users too.
Thanks for sharing :)
Thanks bro : )
Ufff, es una excelente guía, me servirá para crear unas publicaciones más bonitas. Ese conocimiento de programación si se puede ver. Excelente 💫
great post, I need to learn how to use html with my posts, Im saving this one
Thanks!
Thank you for sharing this
This is excellent, thank you very much for sharing this. I'm reblogging, so I can come back to learn this in my free time.