Learning how to make groundnut cake from my mother in law was a beautiful Exprience.
Hello creative hiver,
Good day to you all how our we doing and how is our families I hope we are doing fine.
I will like to share my new experience and new business idea with you all today , I went to visit my mother in law to spent some time with her before I put to birth so staying indoor all the time without doing anything is bored to me so I decided to join her in baking her kuli kuli that is what we called it in Nigeria which is made with groundnut , so should I called it groundnut cake .
Items use in baking groundnut cake
Groundnut
Salt
Dry pepper
Potassium
Ginger
Onion
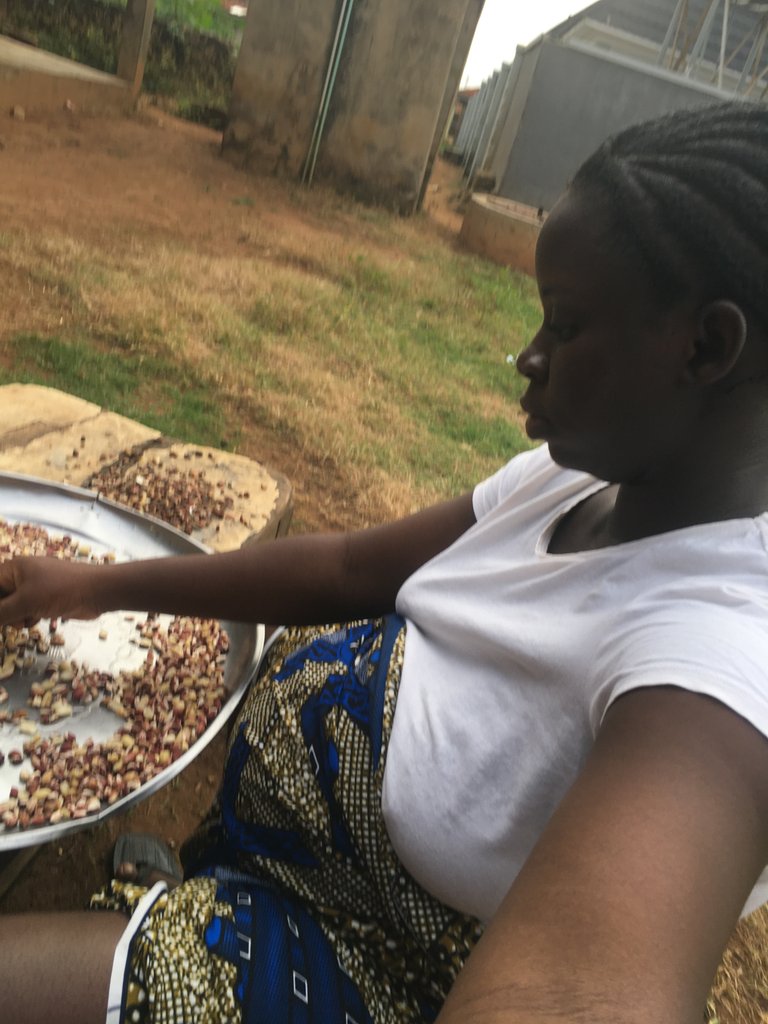
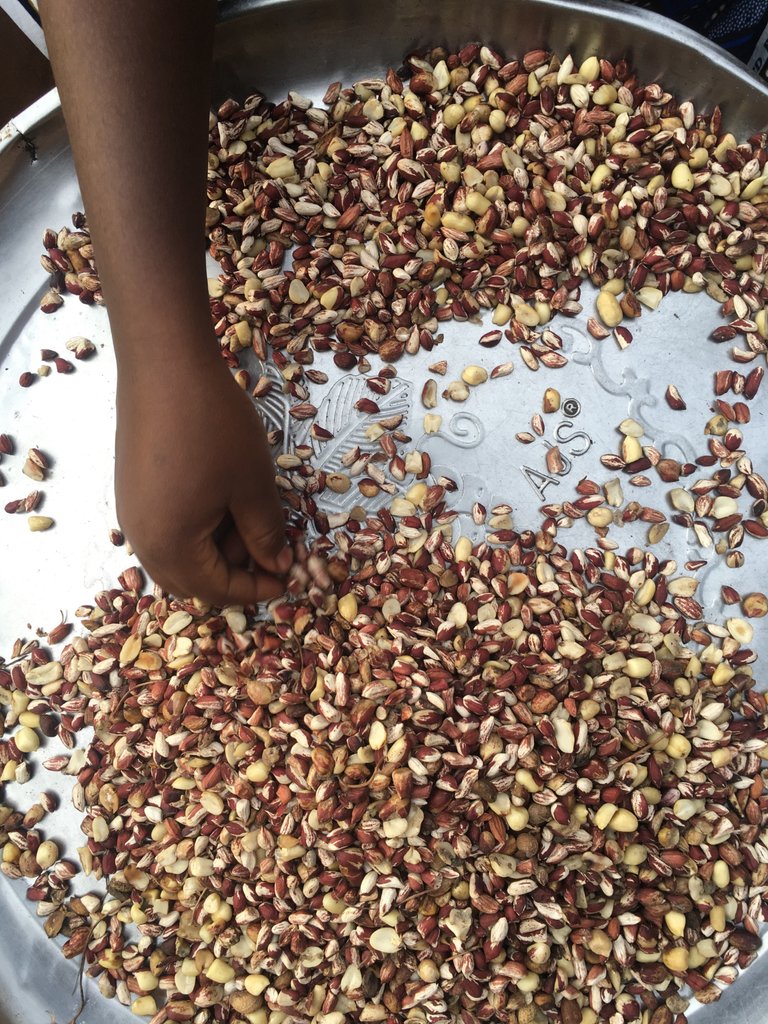
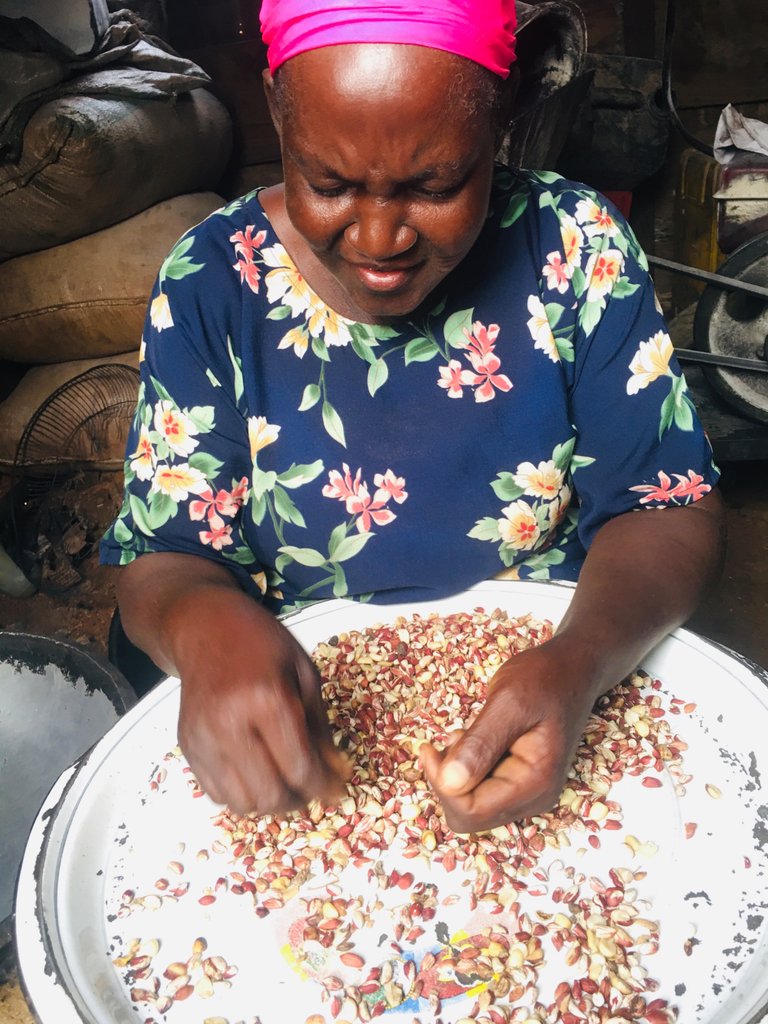
Firstly I help her in picking the ground because there are some stone or other dirty inside the groundnut after buying it from the market, so we did the picking together in the process I was learning the work.
———-
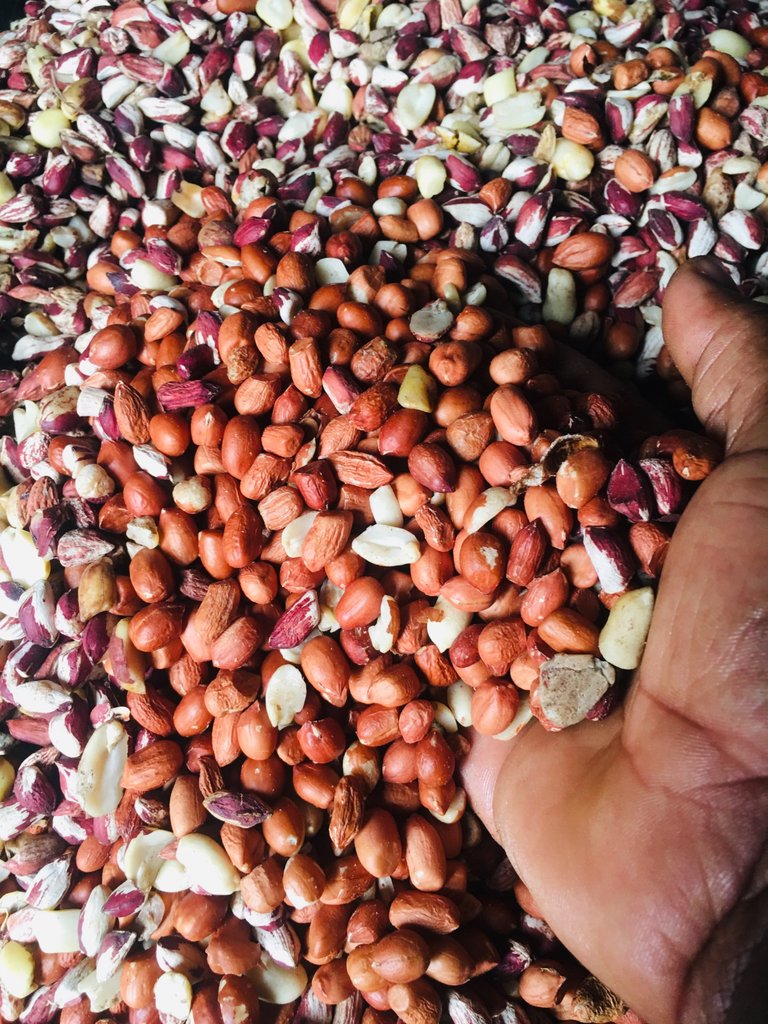
Second step
After picking the ground the next thing is to fry the groundnut, because without frying it wouldn’t bring out enough groundnut oil and it will not stick together when mixing it .
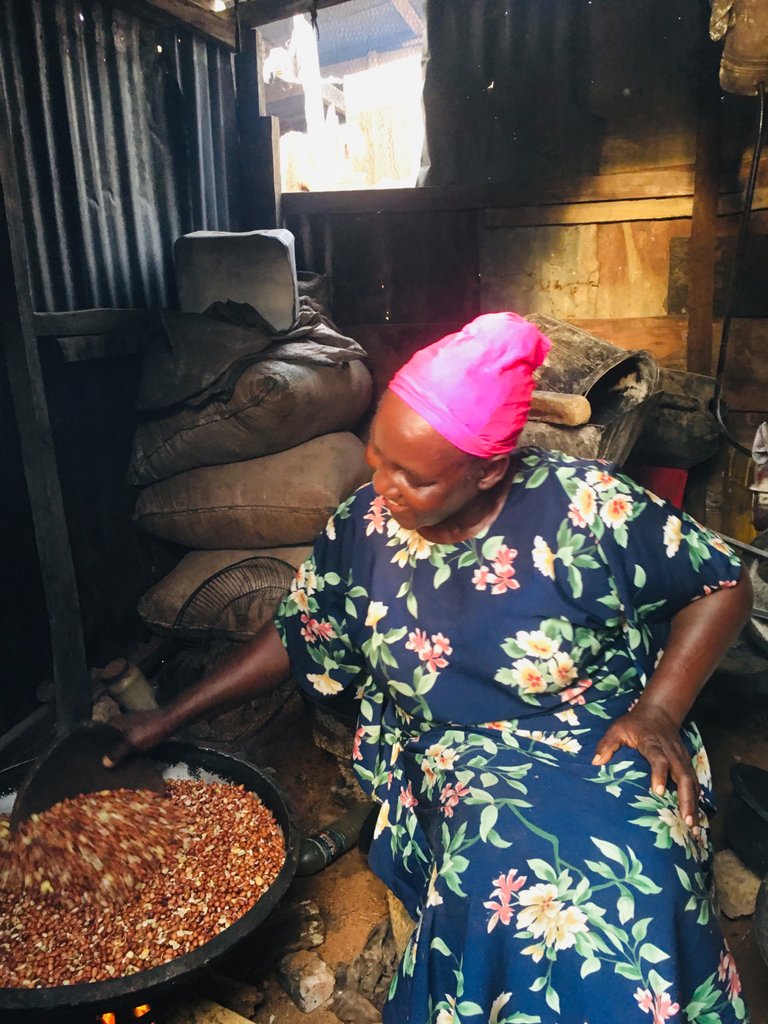
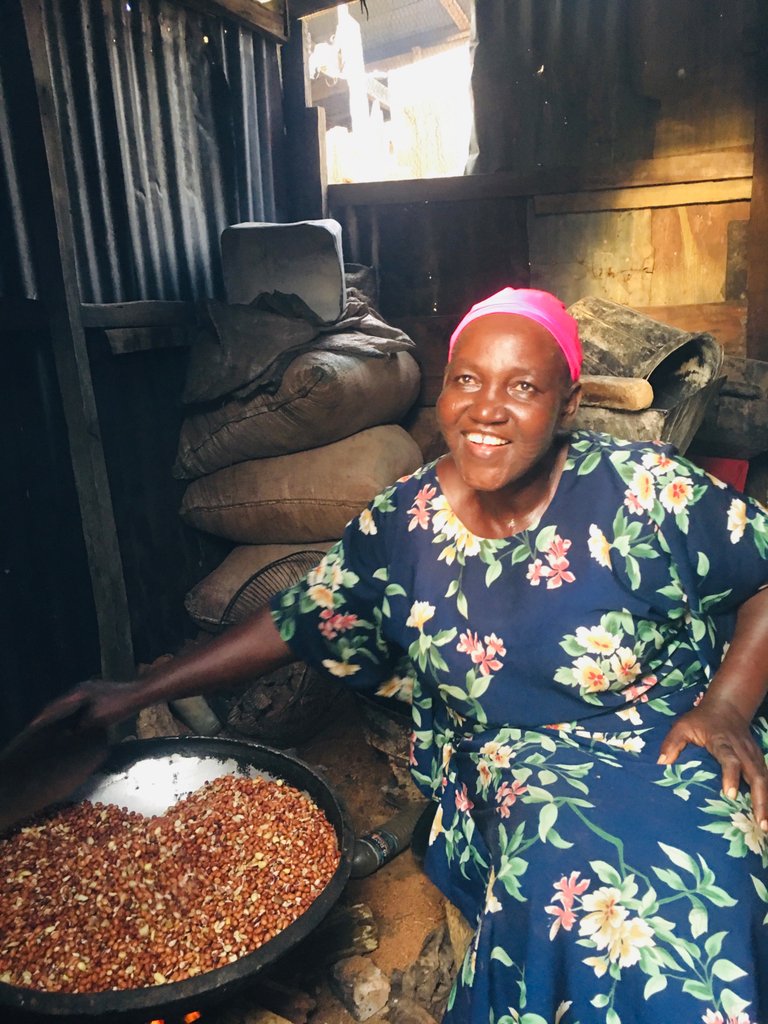
Third step
Grinding
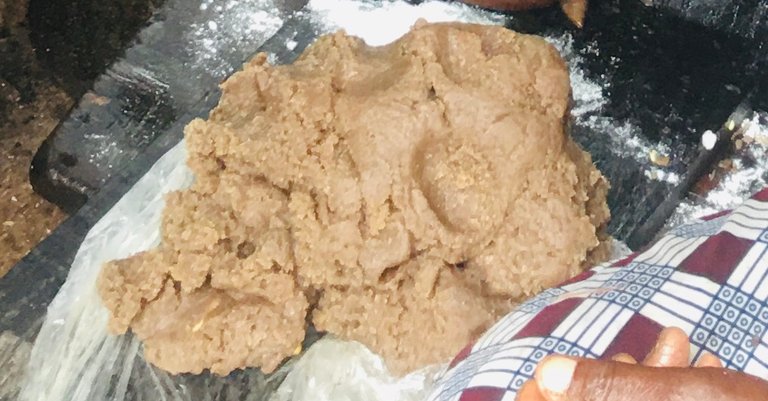
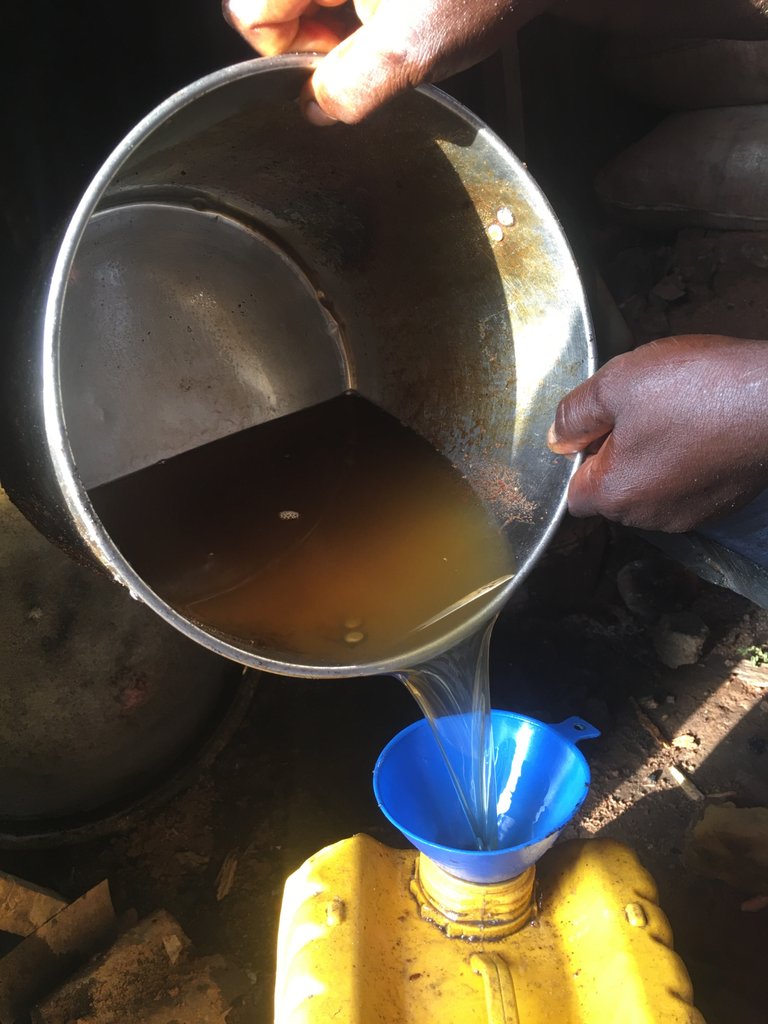
The next step after frying the groundnut is to take it to where they will grind it once it been grind , my mother inlaw compress and mixed it together so that it will bring more oil .
Fourth step
Chopping process
In this case instead of using knife to cut in sizes , hand is been use instead by doing it to the size of your choice.
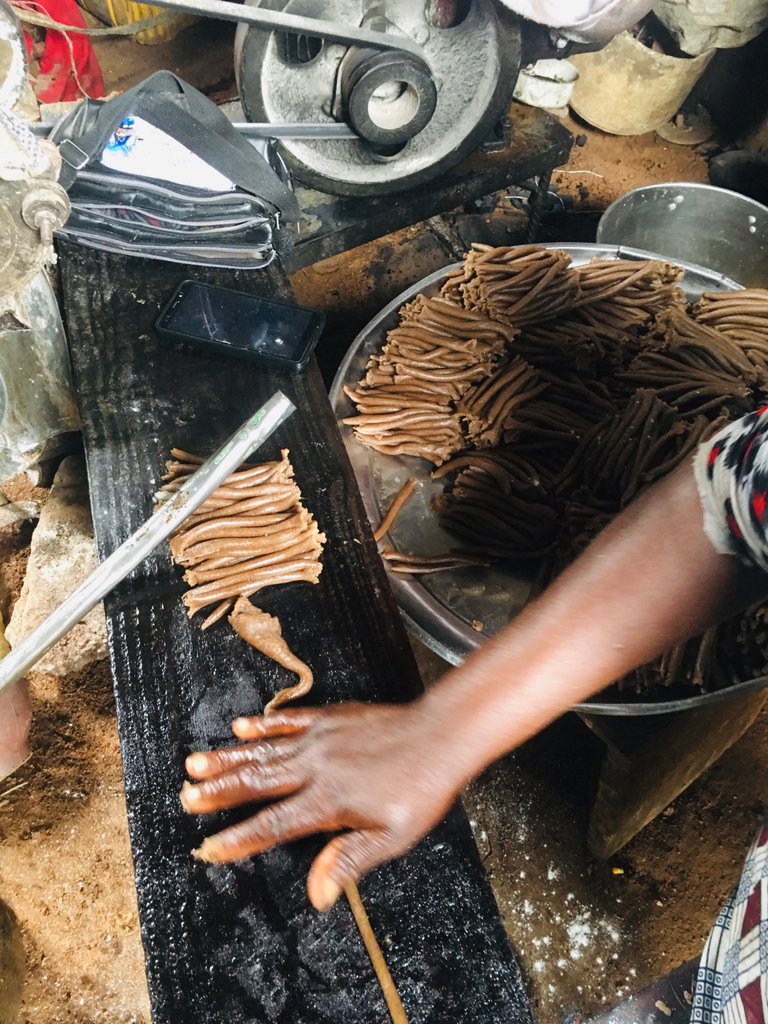
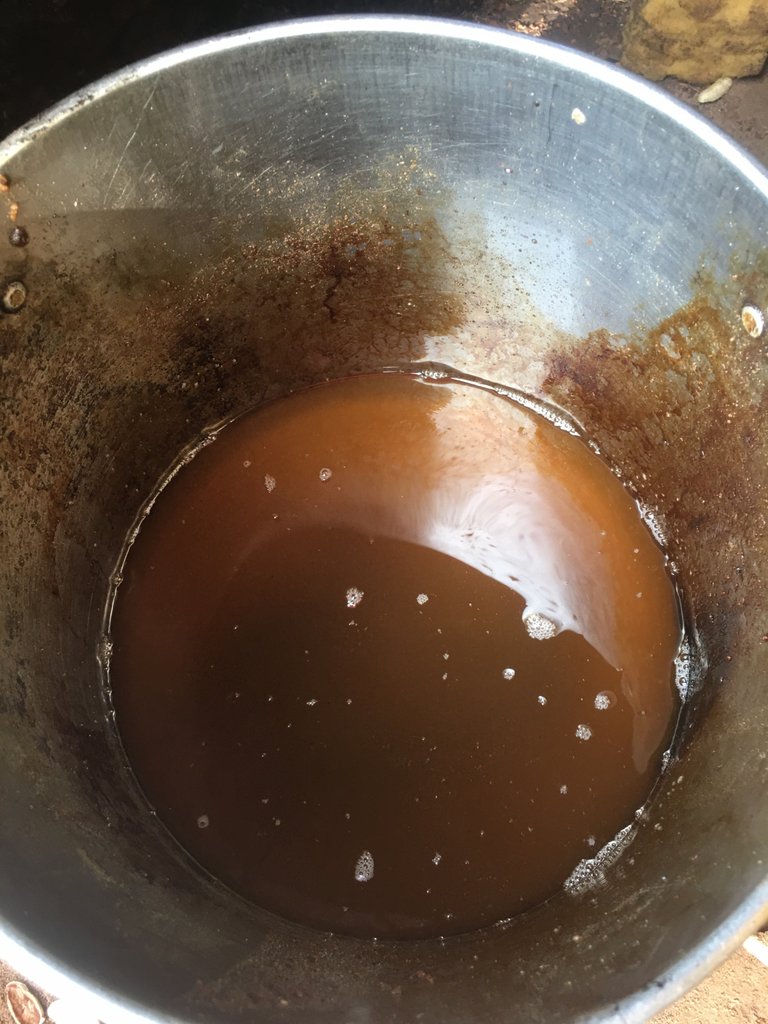
This process will continue until we are done and we set fire 🔥 and place our frying pot on it , then we use the groundnut oil we got from the mixing process that is the oil we use to fry it .
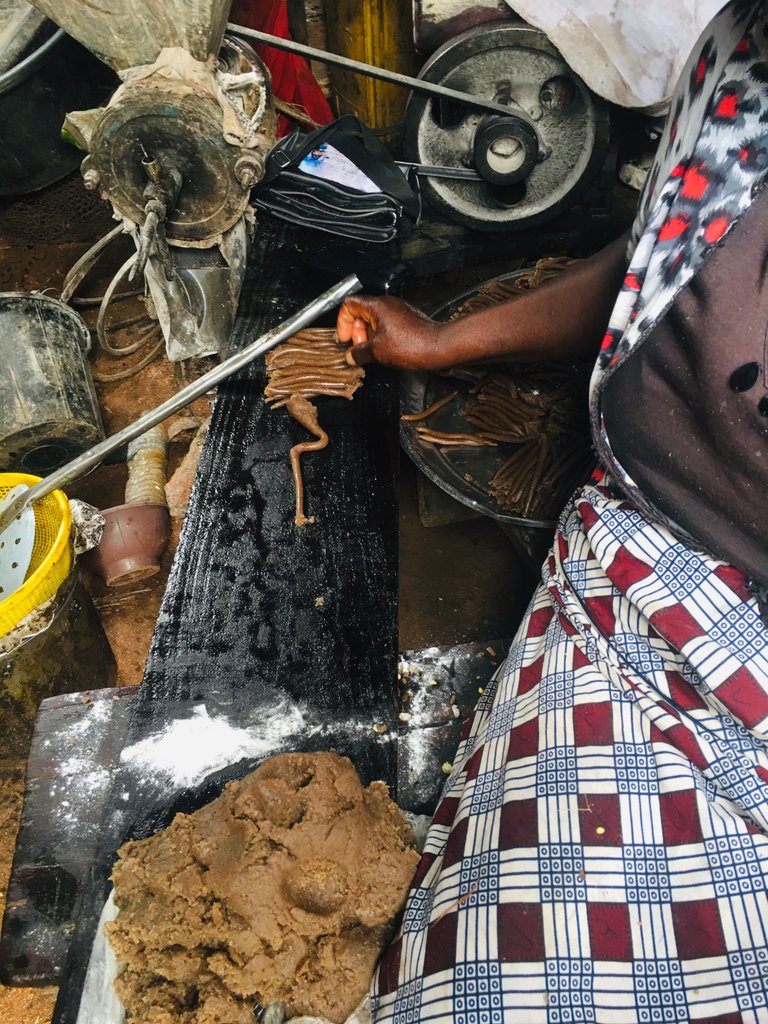
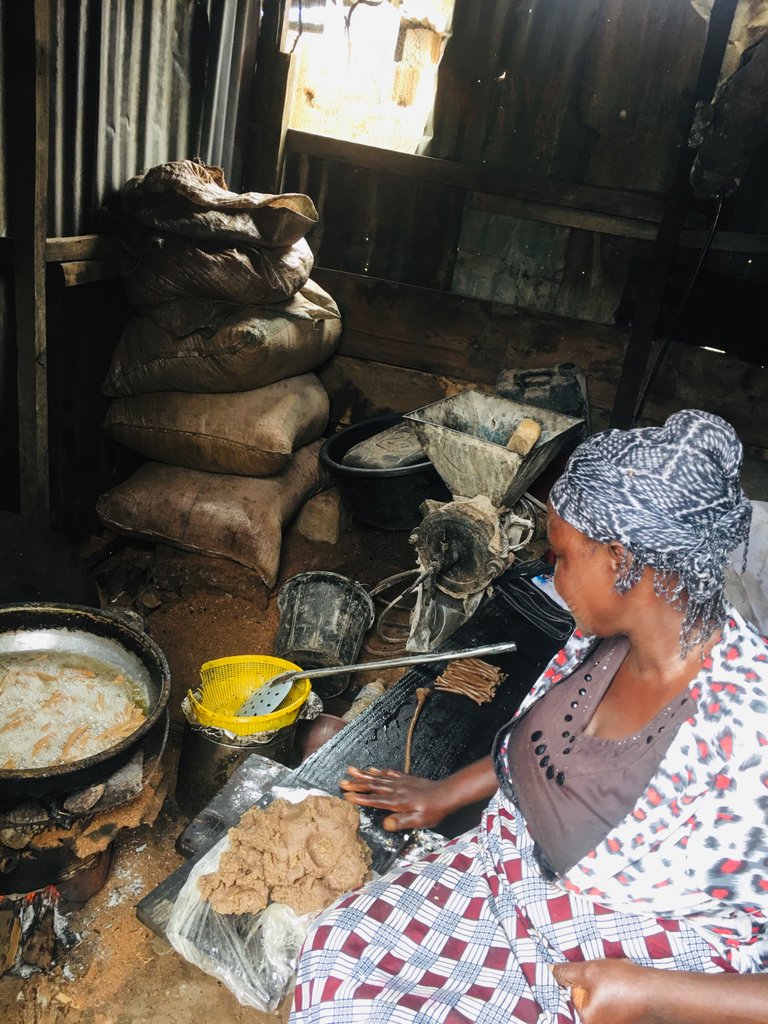
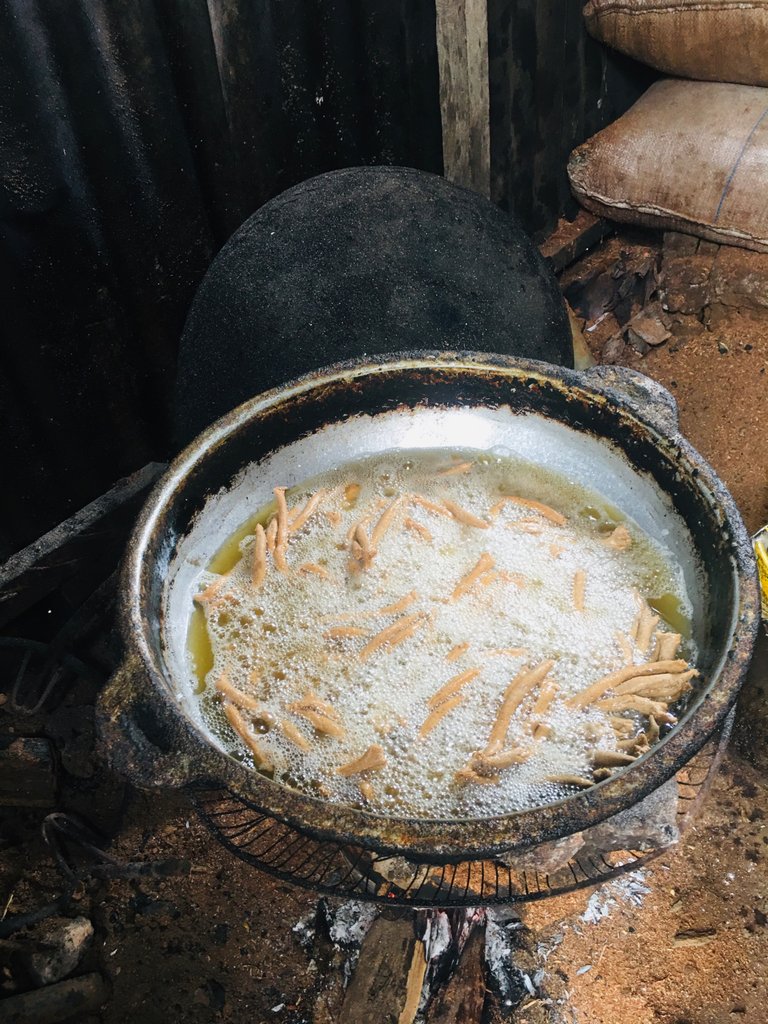
The groundnut oil
Finishing
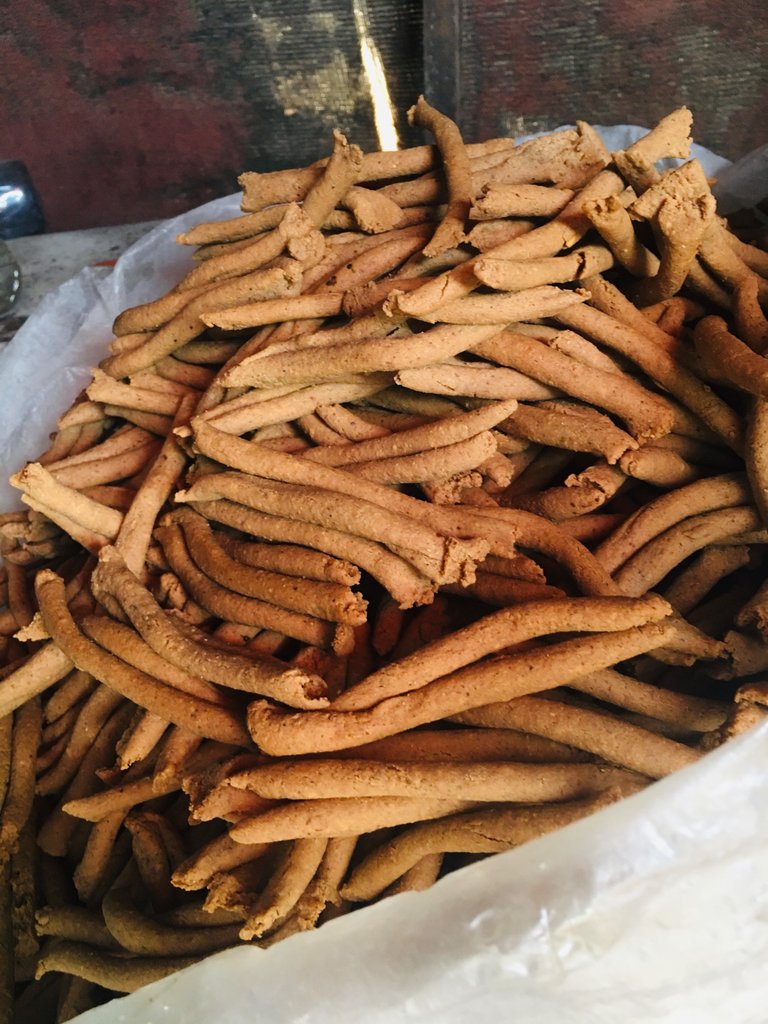
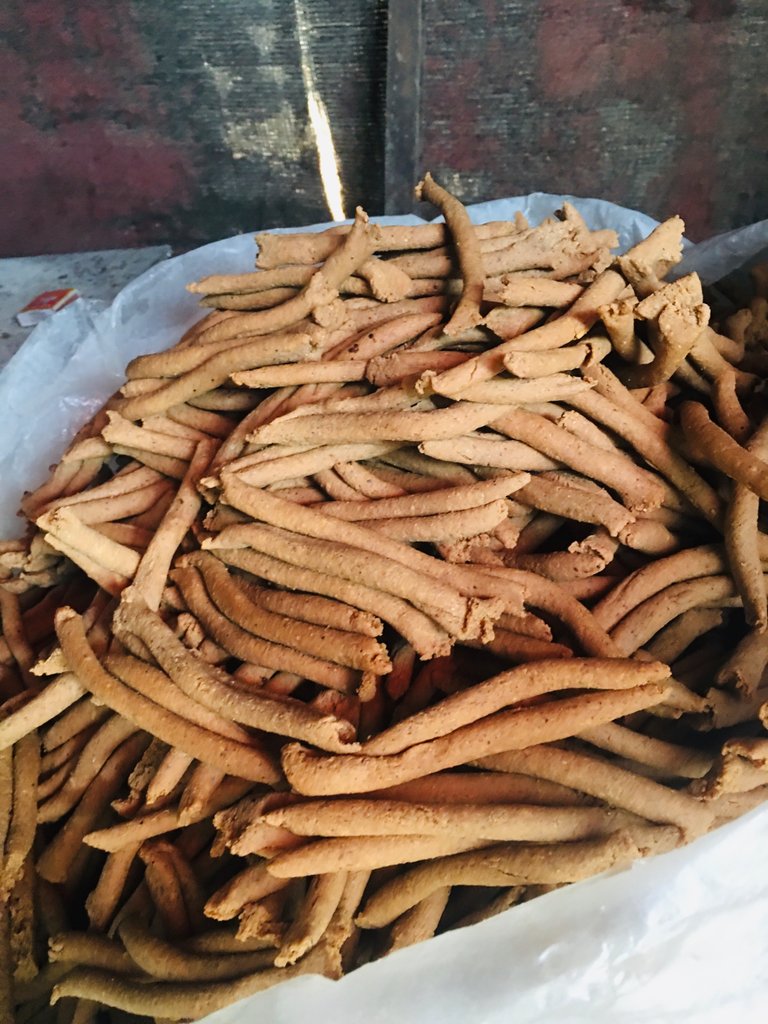
The groundnut cake name kuli kuli came out neat and crunchy and it ready to eat with garri cassava flake.
I really learn new business from my mother in law I hope you all find this tutorial helpful .
Stayed blessed for my next post ❤️❤️❤️❤️
This is beautiful seeing how the famous kulikuli is made, nice job for putting it here. 😊
But should incase of next time, I think similar post should be channel to any of the foodie community just a suggestion though 😃
Ok dear thank you for the correction
You are welcome 😊
Oya ooo send me some kuli.
This is an amazing tutorial.
I learnt quit alot.
Thanks for sharing.
😀😀😀😀 ok ma I will send it.
Such a beautiful experience indeed you had here. Since my childhood I love eating kuli kuli a lot. I would love to follow these steps too to achieve this great result. Thanks for sharing.
Thank you for lovely comments
I wonderful learning experience for you, for sure.
I think your post would be better suited for foodies beehive. Remember to read the pinned post about rules and acceptable posts in the community.
Well done
!diy
!discovery 40
Thank you for your corrections I will take note of that next time .
Well done
Apologies for the late response
Can I repost it in right community?
Yes of course you can
Ok
This post was shared and voted inside the discord by the curators team of discovery-it
Join our Community and follow our Curation Trail
Discovery-it is also a Witness, vote for us here
Delegate to us for passive income. Check our 80% fee-back Program
You can query your personal balance by
!DIYSTATSThank you for your support admin