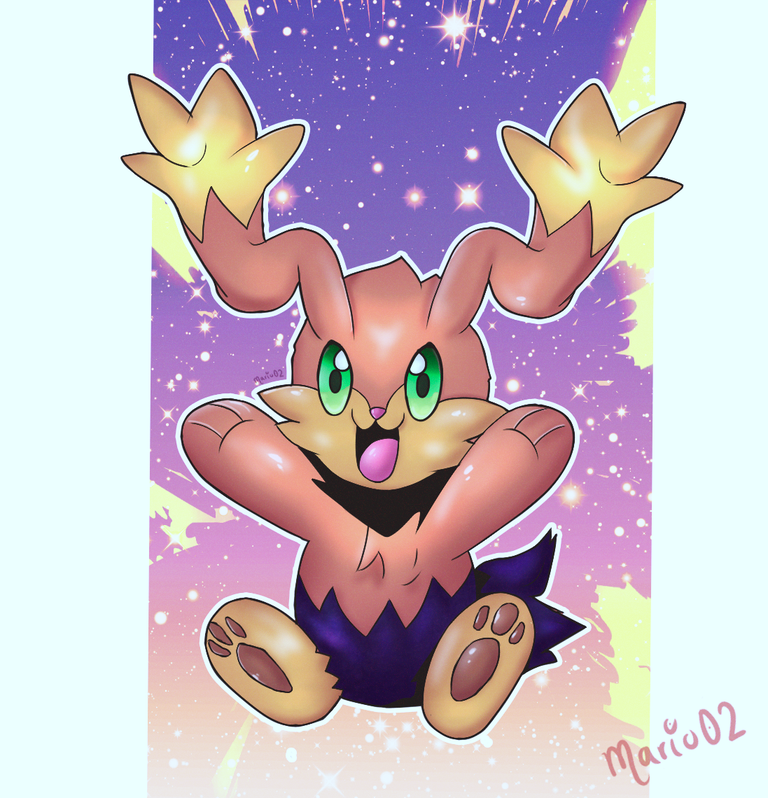
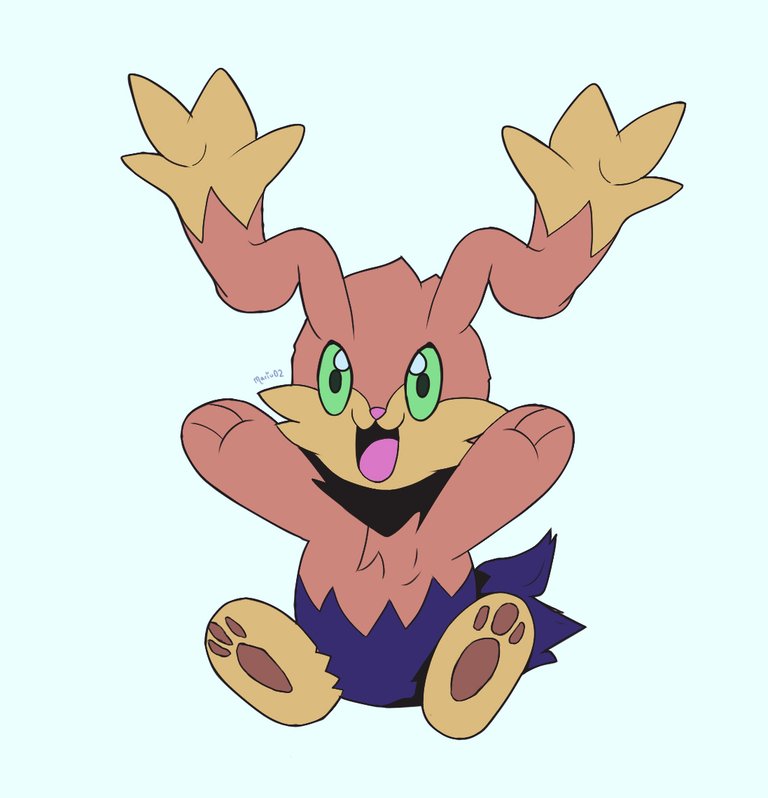
Electric Rabbit Kawaii- Holozing Fan-Art! [ESP/ENG]
Electric Rabbit ⚡️✨
Saludos comunidad de Holozing, espero que se encuentren muy bien. 😁
Tengo casi que 2 semanas sin poder compartir nada con todos ustedes, he tenido algunos días complicados y sin ganas de hacer nada. Finalmente esta semana decidí seguir con mi hábito de dibujar y el día de hoy quiero compartir con ustedes una nueva ilustración fanart de Electric Rabbit.
Esta versión del personaje está orientada hacia el estilo kawaii con un coloreado suave.
¡Espero que les guste esta versión! Comencemos... ⚡️
Greetings Holozing community, I hope you are doing well. 😁
I've been almost 2 weeks without being able to share anything with you all, I've had some complicated days and I didn't feel like doing anything. Finally this week I decided to continue with my drawing habit and today I want to share with you a new fanart illustration of Electric Rabbit.
This version of the character is kawaii oriented with a soft colouring.
I hope you like this version! Let's start... ⚡️
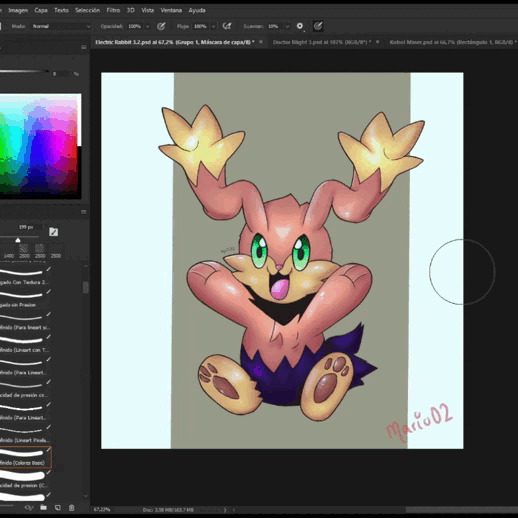
Creative Process | Proceso Creativo💡
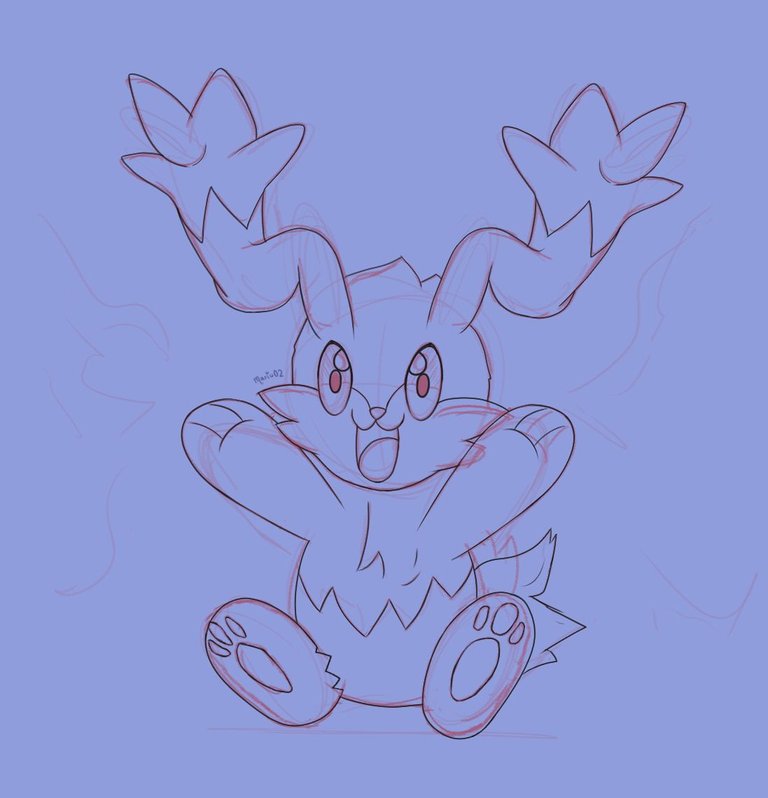
Muy bien, comencé haciendo un boceto con un pincel fino de color rojo. En este paso fui ubicando al personaje en el espacio y definiendo las líneas y pose de este, el cual seria como un conejo de peluche o algo similar.
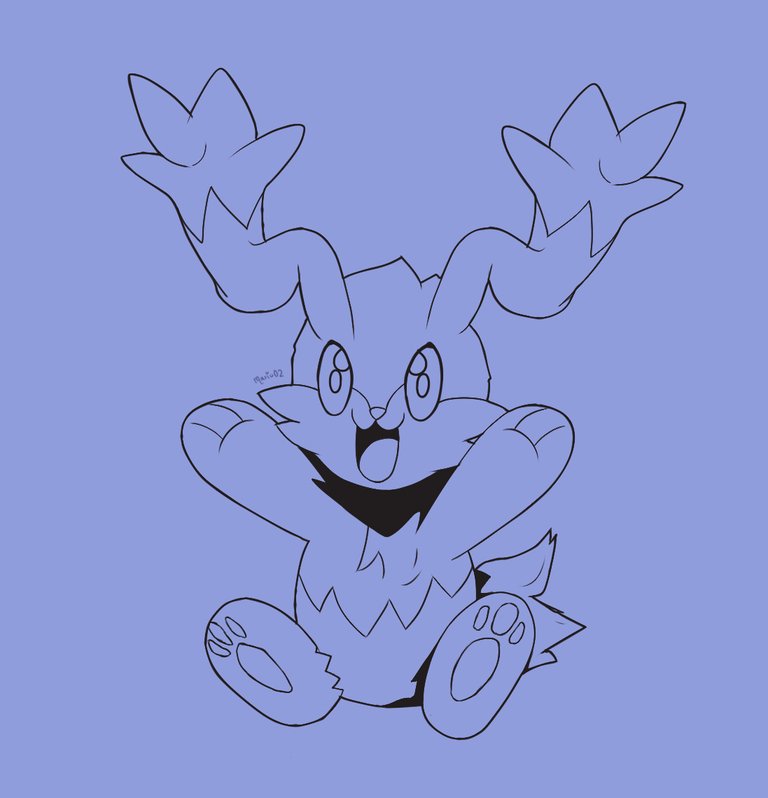
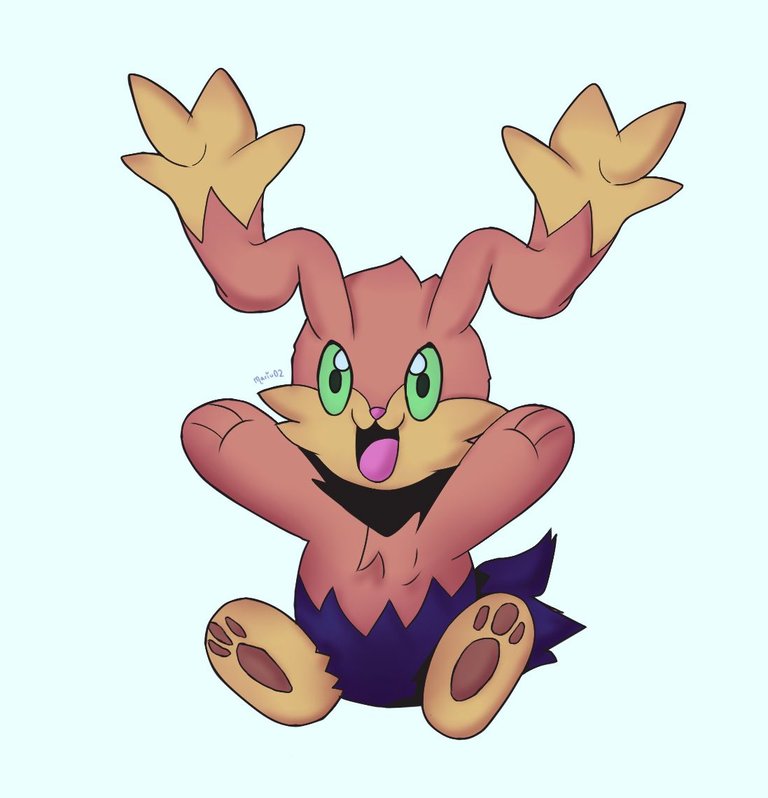
En una nueva capa, comencé a realizar el lineart con un color negro un poco grisáceo, además de jugar un poco con las líneas de contorno y sombras más oscuras.
Very well, I started by making a sketch with a fine red brush. In this step I was placing the character in the space and defining the lines and pose of this one, which would be like a stuffed rabbit or something similar.
In a new layer, I began to make the lineart with a black colour a little bit greyish, besides playing a little with the contour lines and darker shadows.

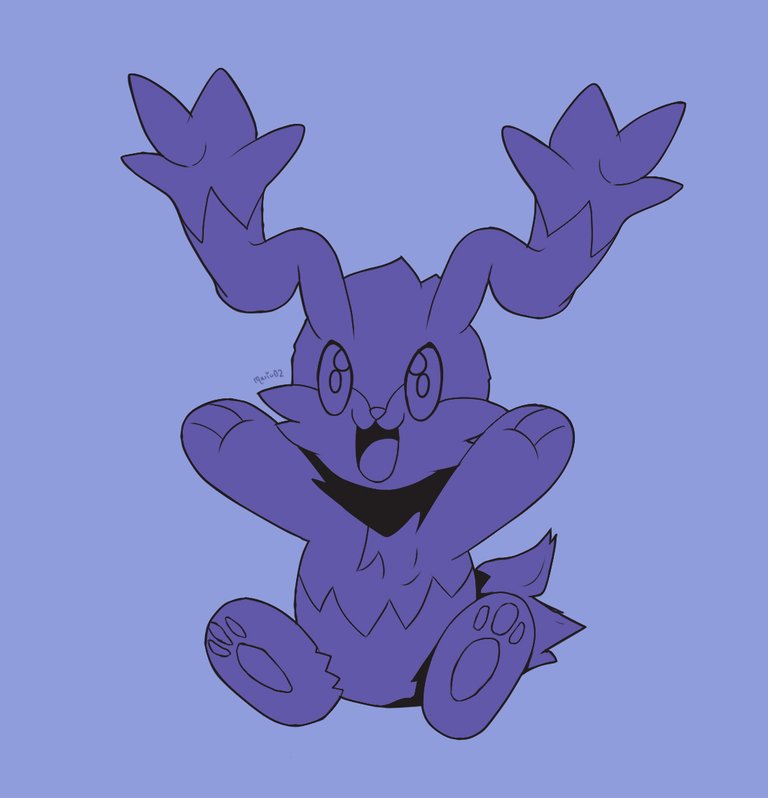
Luego con la varita mágica y lazo marqué los contornos del personaje para crear una capa de color morado en la que aplicaría los colores base sin salirme de los limites de esta capa. Después de aplicar los colores base, pinté con un color blanco el fondo.
Then with the magic wand and lasso I marked the contours of the character to create a purple layer on which I would apply the base colours without going out of the limits of this layer. After applying the base colours, I painted the background with a white colour.
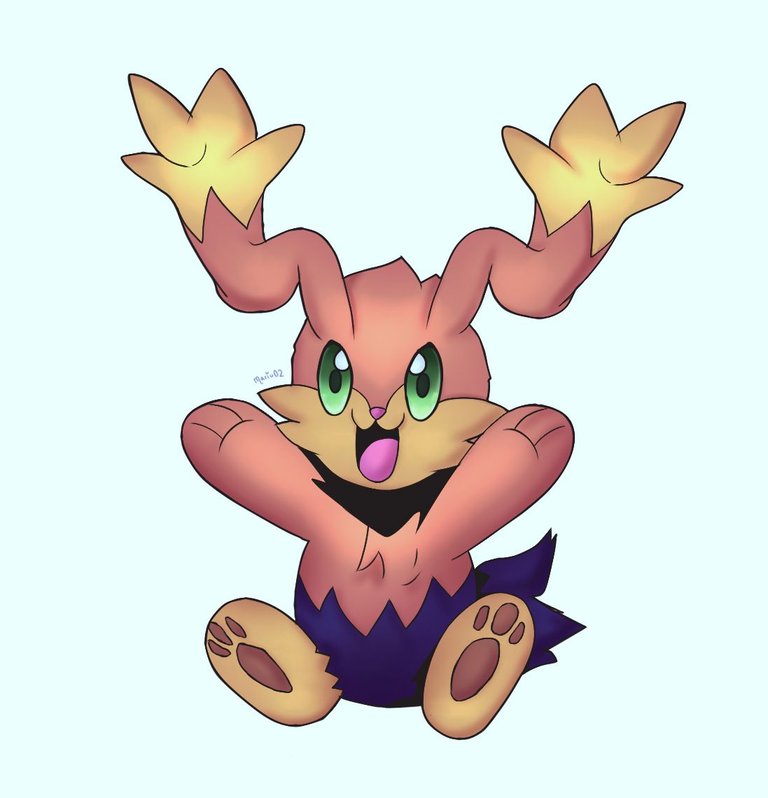
En una nueva capa, pase a trabajar en el volumen del personaje, utilizando un pincel tipo aerógrafo para dar unas sombras suaves las cuales fui haciendo un poco mas oscuras en capas posteriores. Después de terminar con las sombras, utilicé el mismo pincel para agregar las iluminaciones.
También agregue un rectángulo detrás del personaje y con el aerógrafo añadí unos brillitos en color blanco para que el personaje resaltara un poco mas.
In a new layer, I worked on the volume of the character, using an airbrush to give soft shadows which I made a bit darker in later layers. After finishing with the shadows, I used the same brush to add the highlights.
I also added a rectangle behind the character and with the airbrush I added some white glitters to make the character stand out a bit more.
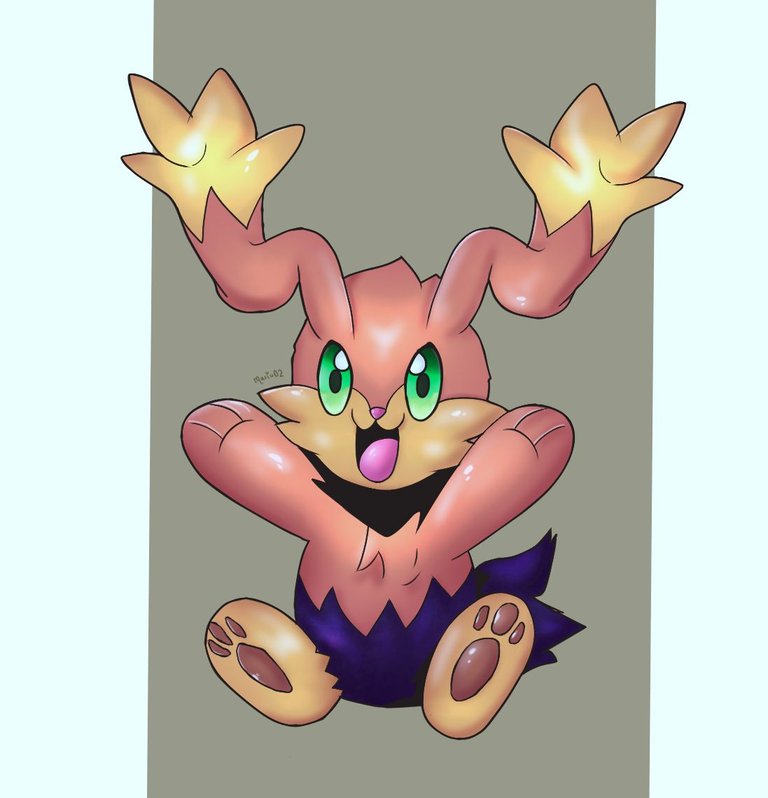
Para finalizar trabaje un poco mas en el fondo y en los detalles finales de la ilustración.
Muchas gracias por llegar hasta aquí y hasta la próxima! 🙏
Finally I worked a bit more on the background and the final details of the illustration.
Thank you very much for making it this far and see you next time! 🙏
Tools Used | Herramientas Utilizadas:
- Photoshop CC versión 64 bits
- Tablet Huion H610 PRO V2
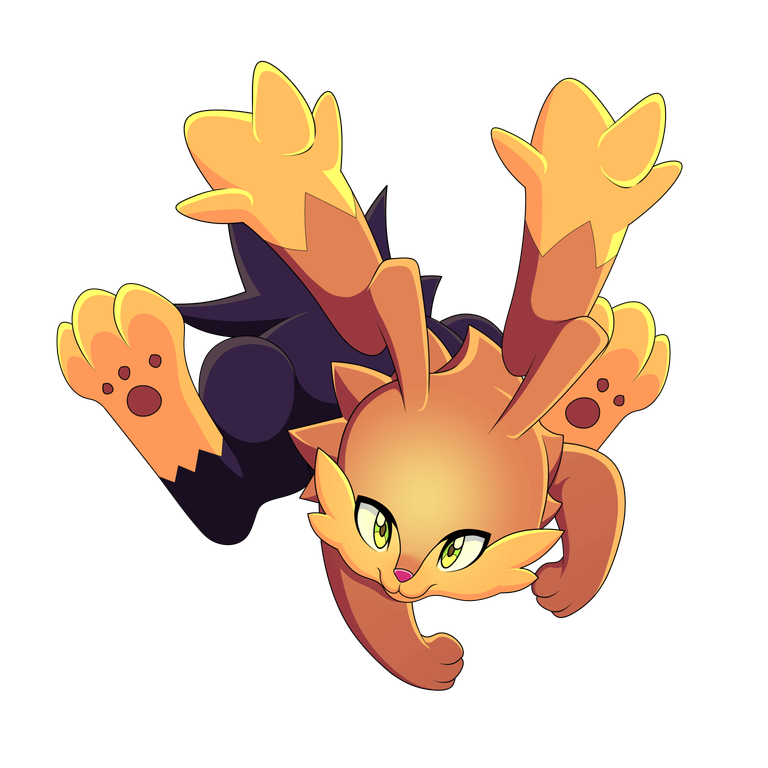
REFERENCE

The illustration and separators used in the post are my property.
Translated with DeepL (free versión)
!PIZZA
$PIZZA slices delivered:
@danzocal(2/10) tipped @mario02