Tutorial de linda y sencilla pulsera en mostacillas para toda ocasión. ✨ / Tutorial for a cute and simple beaded bracelet for all occasions.

Holaaa felíz martes miembros de la comunidad Jewelry, espero se encuentren muy bien saludos a todos los miembros que hacen vida dentro de la comunidad mostrando lo mejor de su creatividad con los accesorios, me siento súper contenta de estar nuevamente compartiendo con ustedes, hoy me encuentro en casa descansando y aprovecho para compartir una nueva creación.
Hello, happy Tuesday members of the Jewelry community, I hope you are feeling very well, greetings to all the members who make life within the community showing the best of their creativity with accessories, I feel super happy to be sharing with you again, today I find myself at home resting and I take the opportunity to share a new creation.
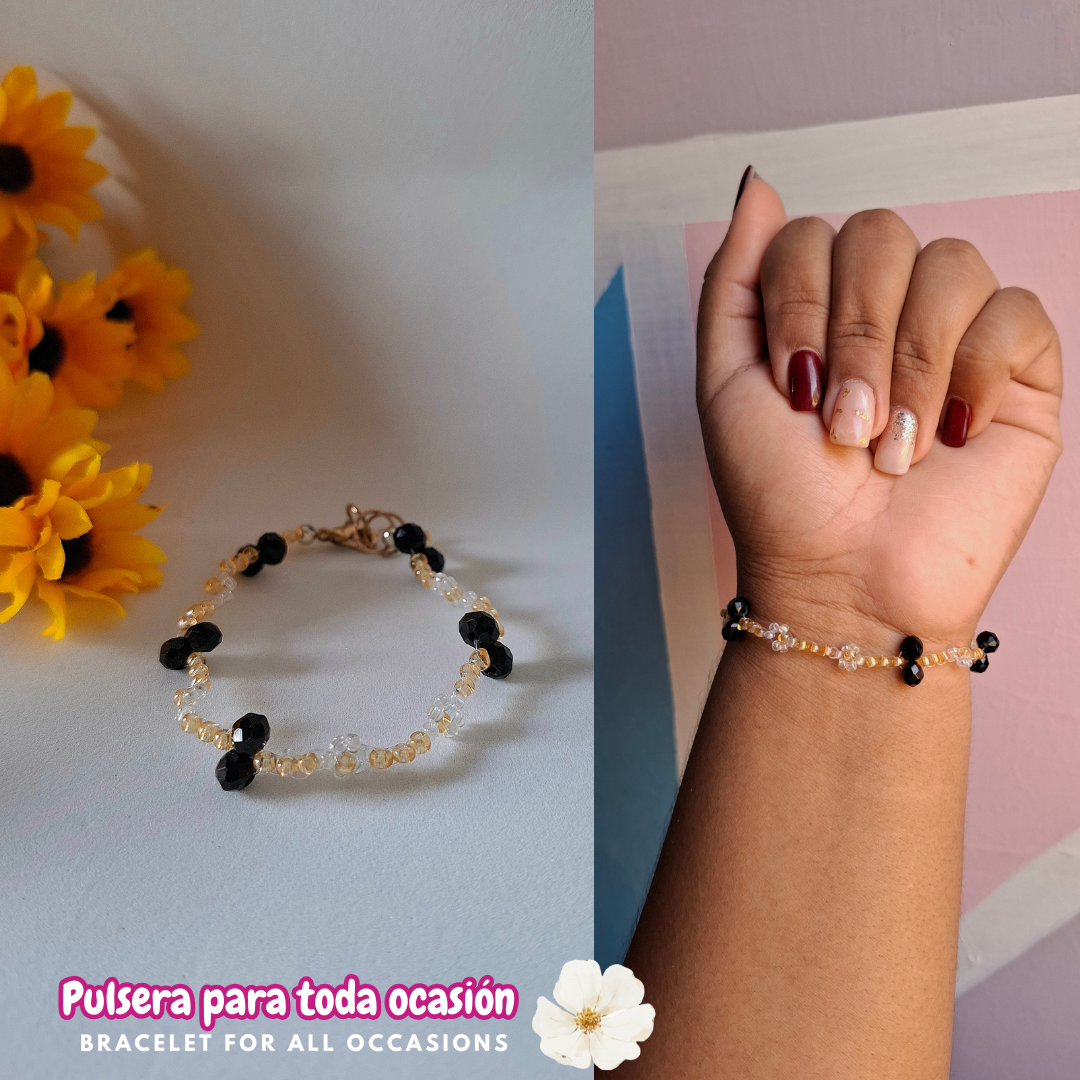
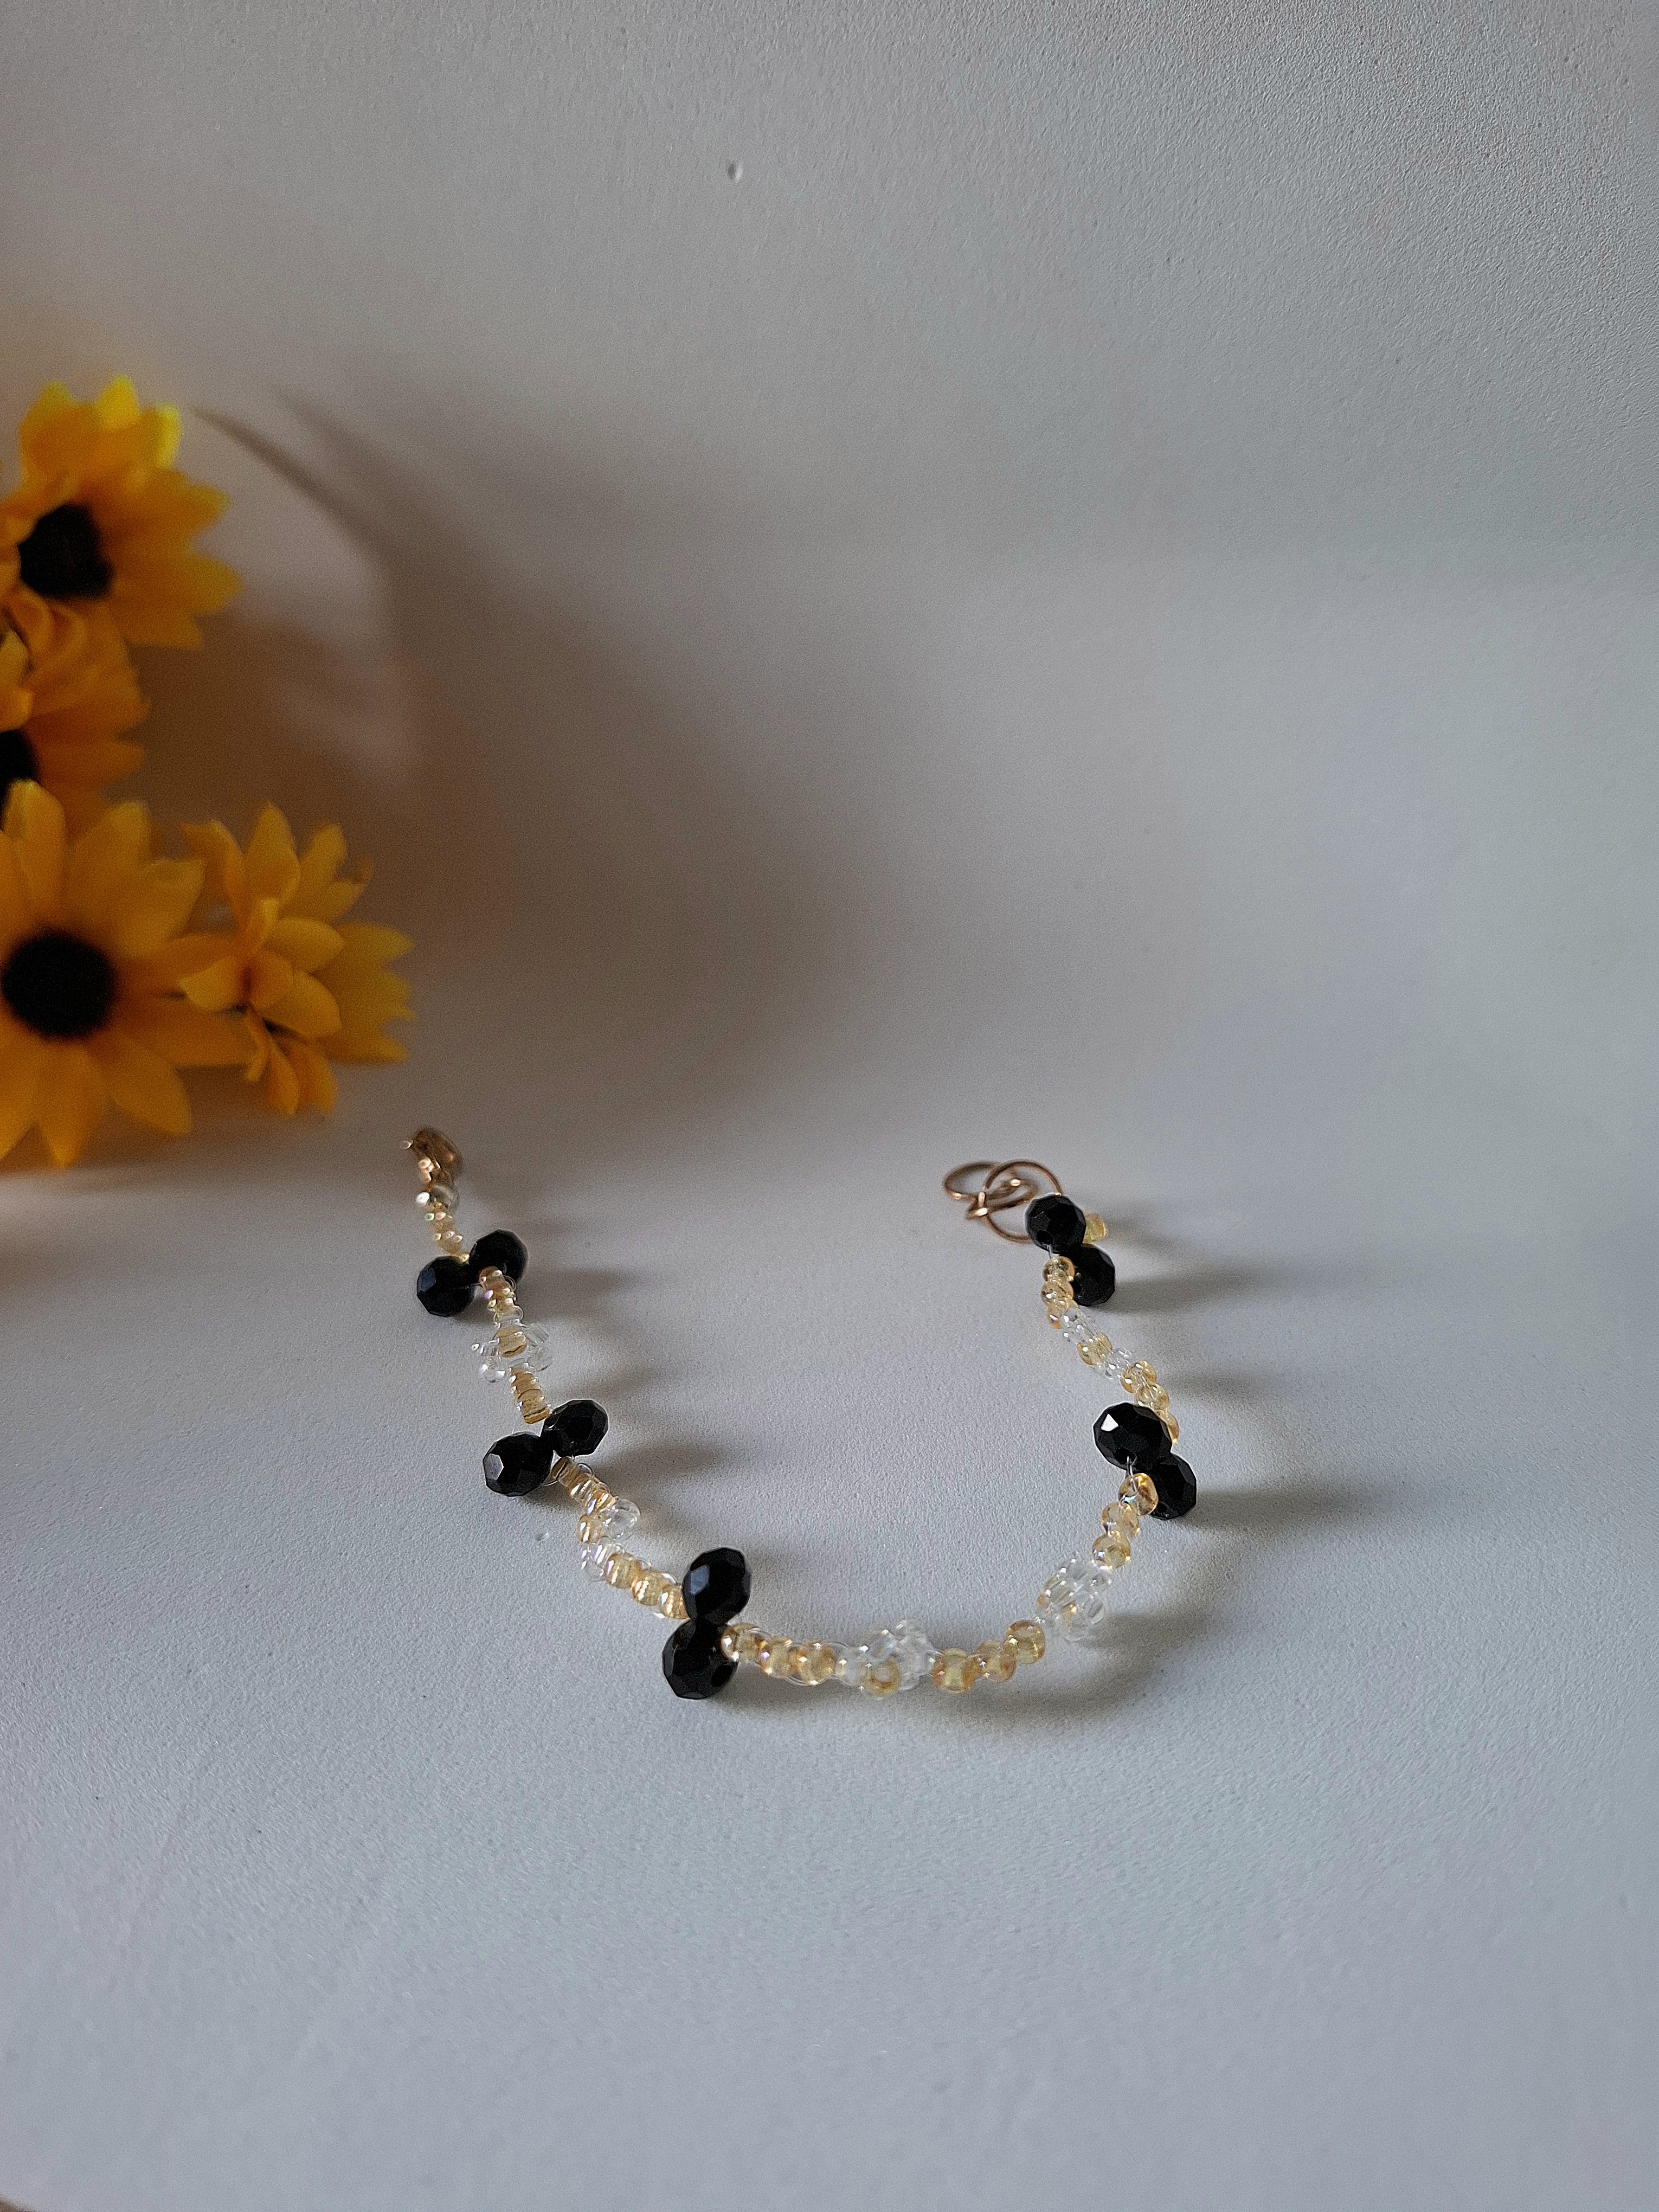
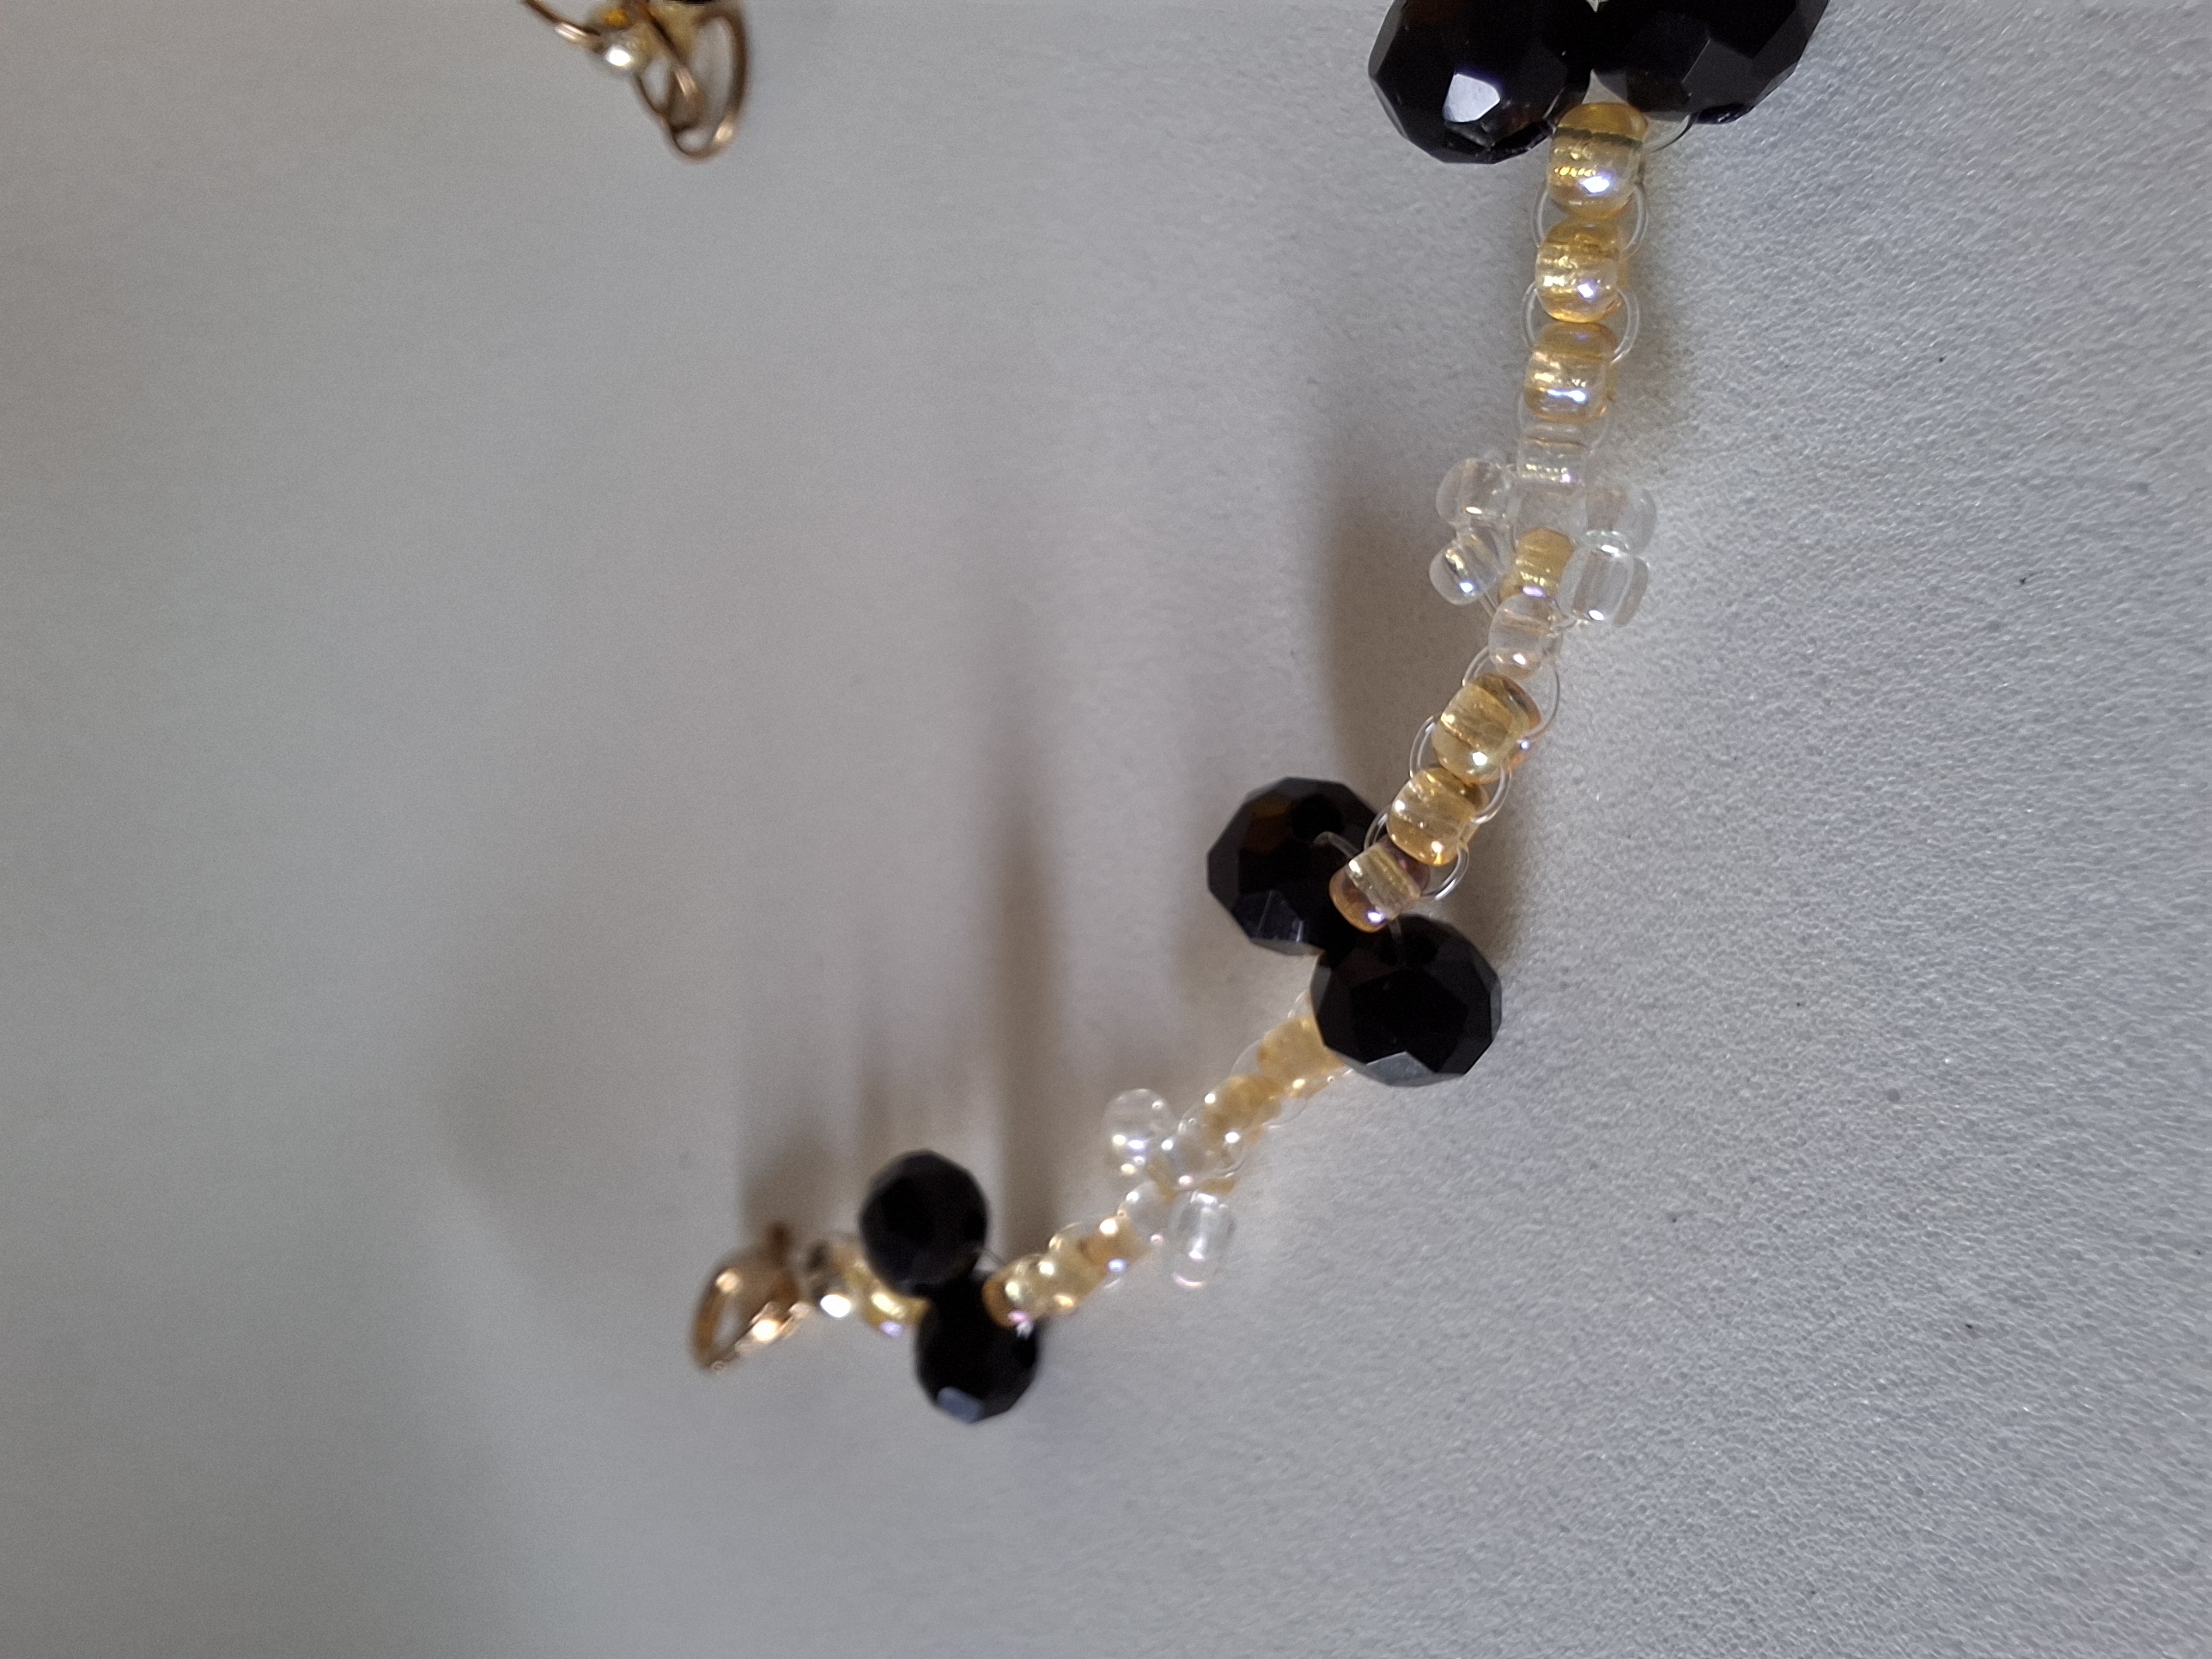
Puede que algunas personas nos llame la atención las pulseras sencillas sin tantos detalles, es por eso que en ésta ocasión les quiero compartir una linda y delicada, pulsera utilizando colores claros y con un toque de negro, esta pulsera queda linda a pesar de ser sencilla lleva flores transparentes en mostacillas y la podemos utilizar a diario, espero les guste y puedan inspirarse en realizarla de forma similar o agregando otros colores y cuentas, a continuación el paso a paso.
Some people may be struck by simple bracelets without so many details, that is why on this occasion I want to share a beautiful and delicate bracelet using light colors and with a touch of black, this bracelet looks beautiful despite being simple It has transparent flowers in beads and we can use it daily, I hope you like it and can be inspired to make it in a similar way or adding other colors and beads, below is the step by step.

Materiales:
🤍38 mostacillas dorado transparente.
🤍28 mostacillas transparentes.
🤍10 cristales checos.
🤍2 balines dorados.
🤍70 cm de nylon 0,3mm.
🤍1 broche.
🤍3 argollas.
🤍Tijera.
🤍Cinta métrica.
Materials:
38 transparent gold beads.
28 transparent beads.
10 Czech crystals.
2 golden pellets.
70 cm of 0.3mm nylon.
1 brooch.
3 rings.
Scissors.
Measuring tape.


Paso a paso / Step by step
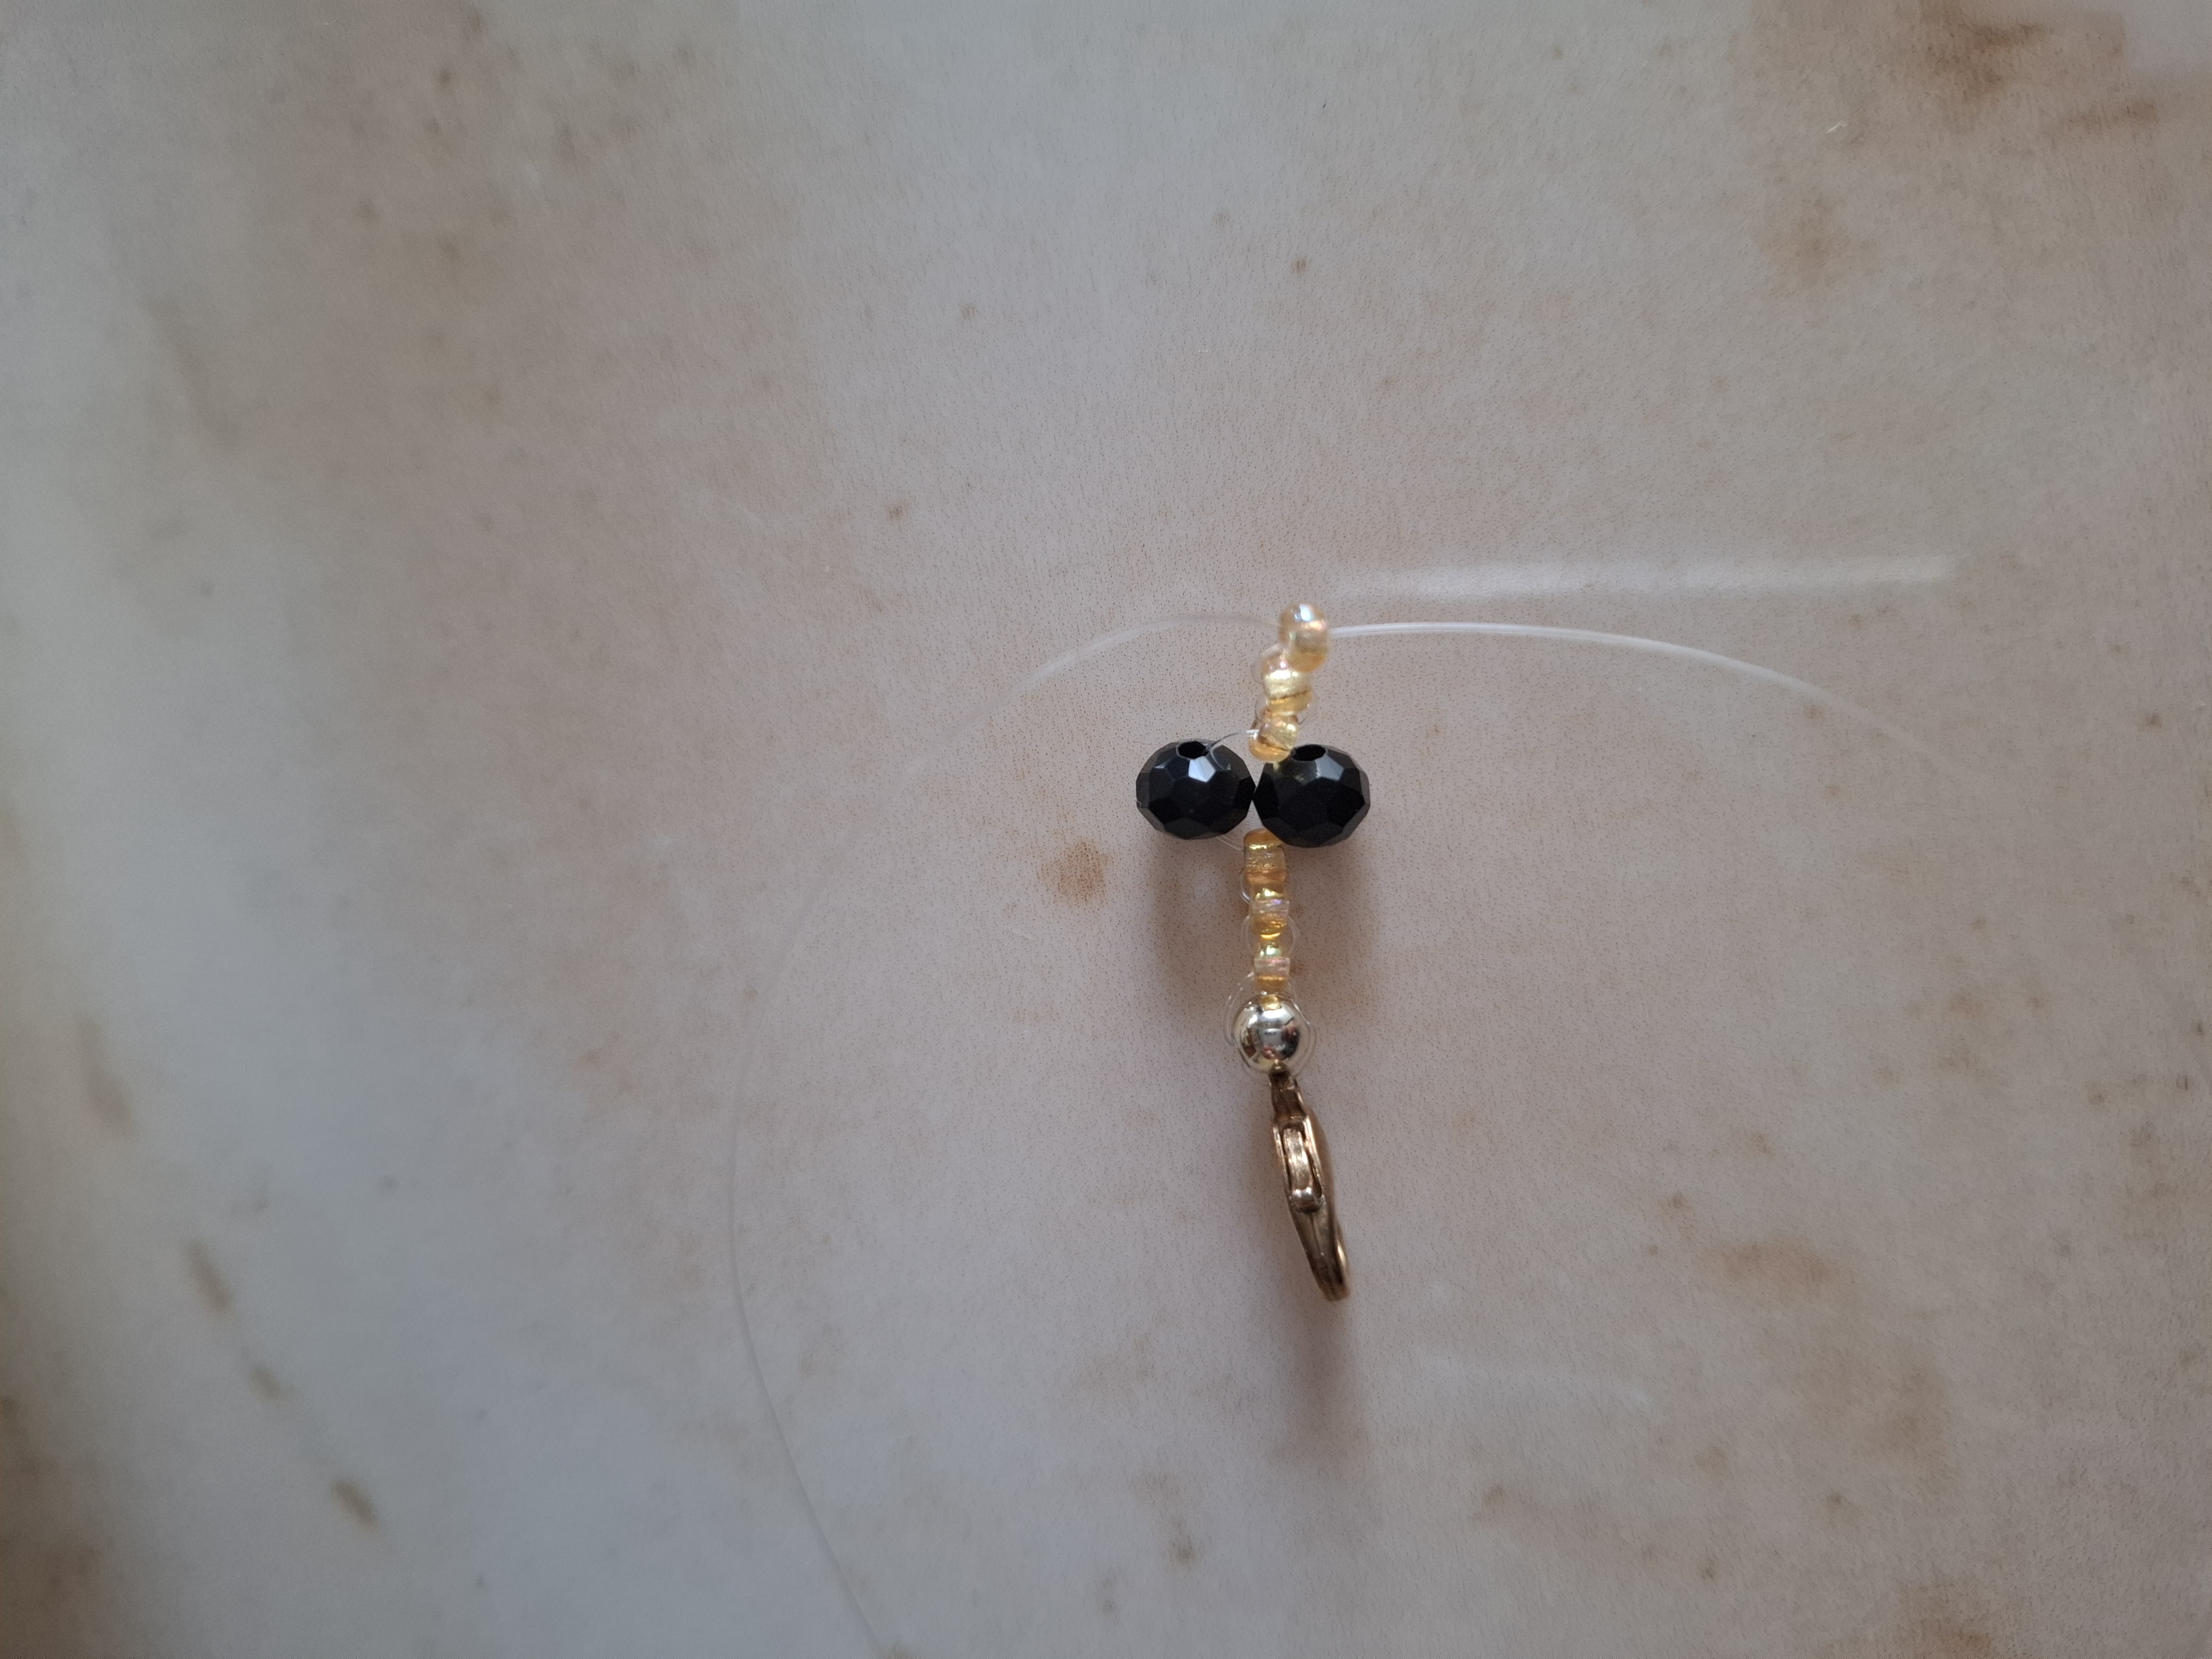
El primer paso se trata de cortar 70 cm de nylon rígido lo voy a doblar en la mitad luego voy a colocar el broche en el centro y luego colocamos un balin en una de las puntas y cruzamos con la otra punta hasta llegar al centro ahora sí vamos a comenzar a introducir las mostacillas.
The first step is to cut 70 cm of rigid nylon. I am going to fold it in half, then I am going to place the brooch in the center and then we place a ball in one of the ends and we cross with the other end until we reach the center, now yes. We are going to start introducing the beads.
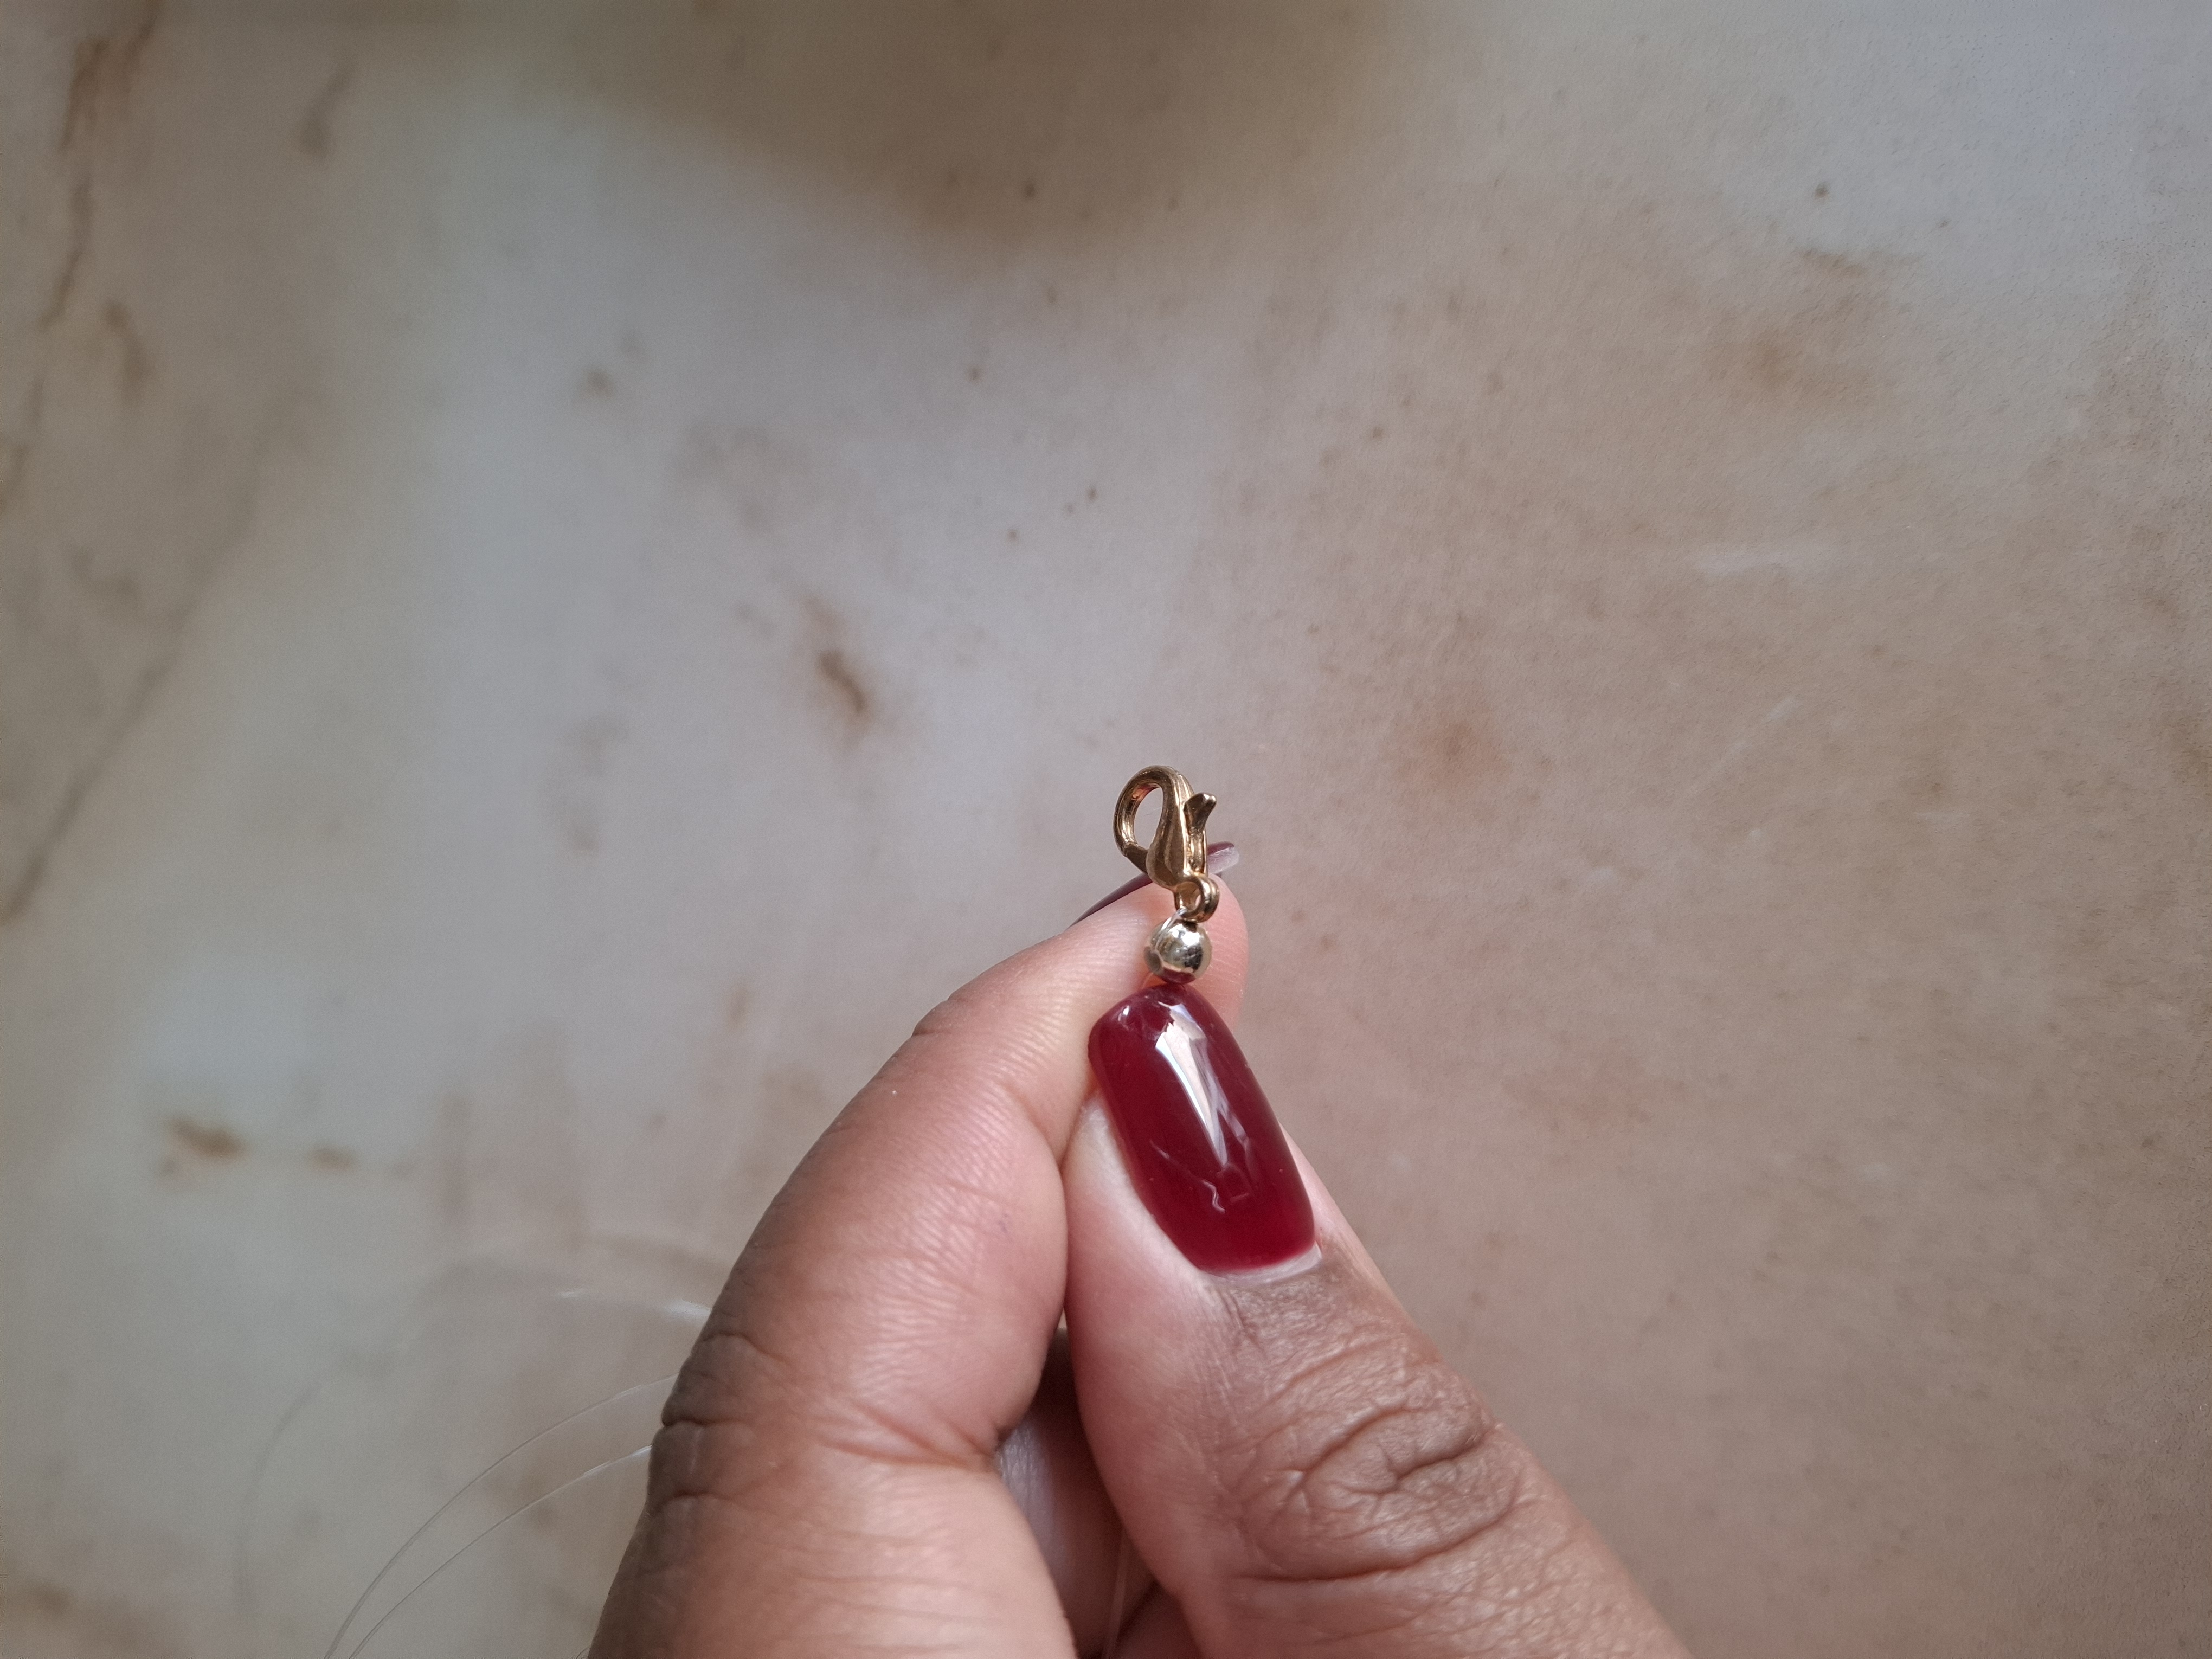

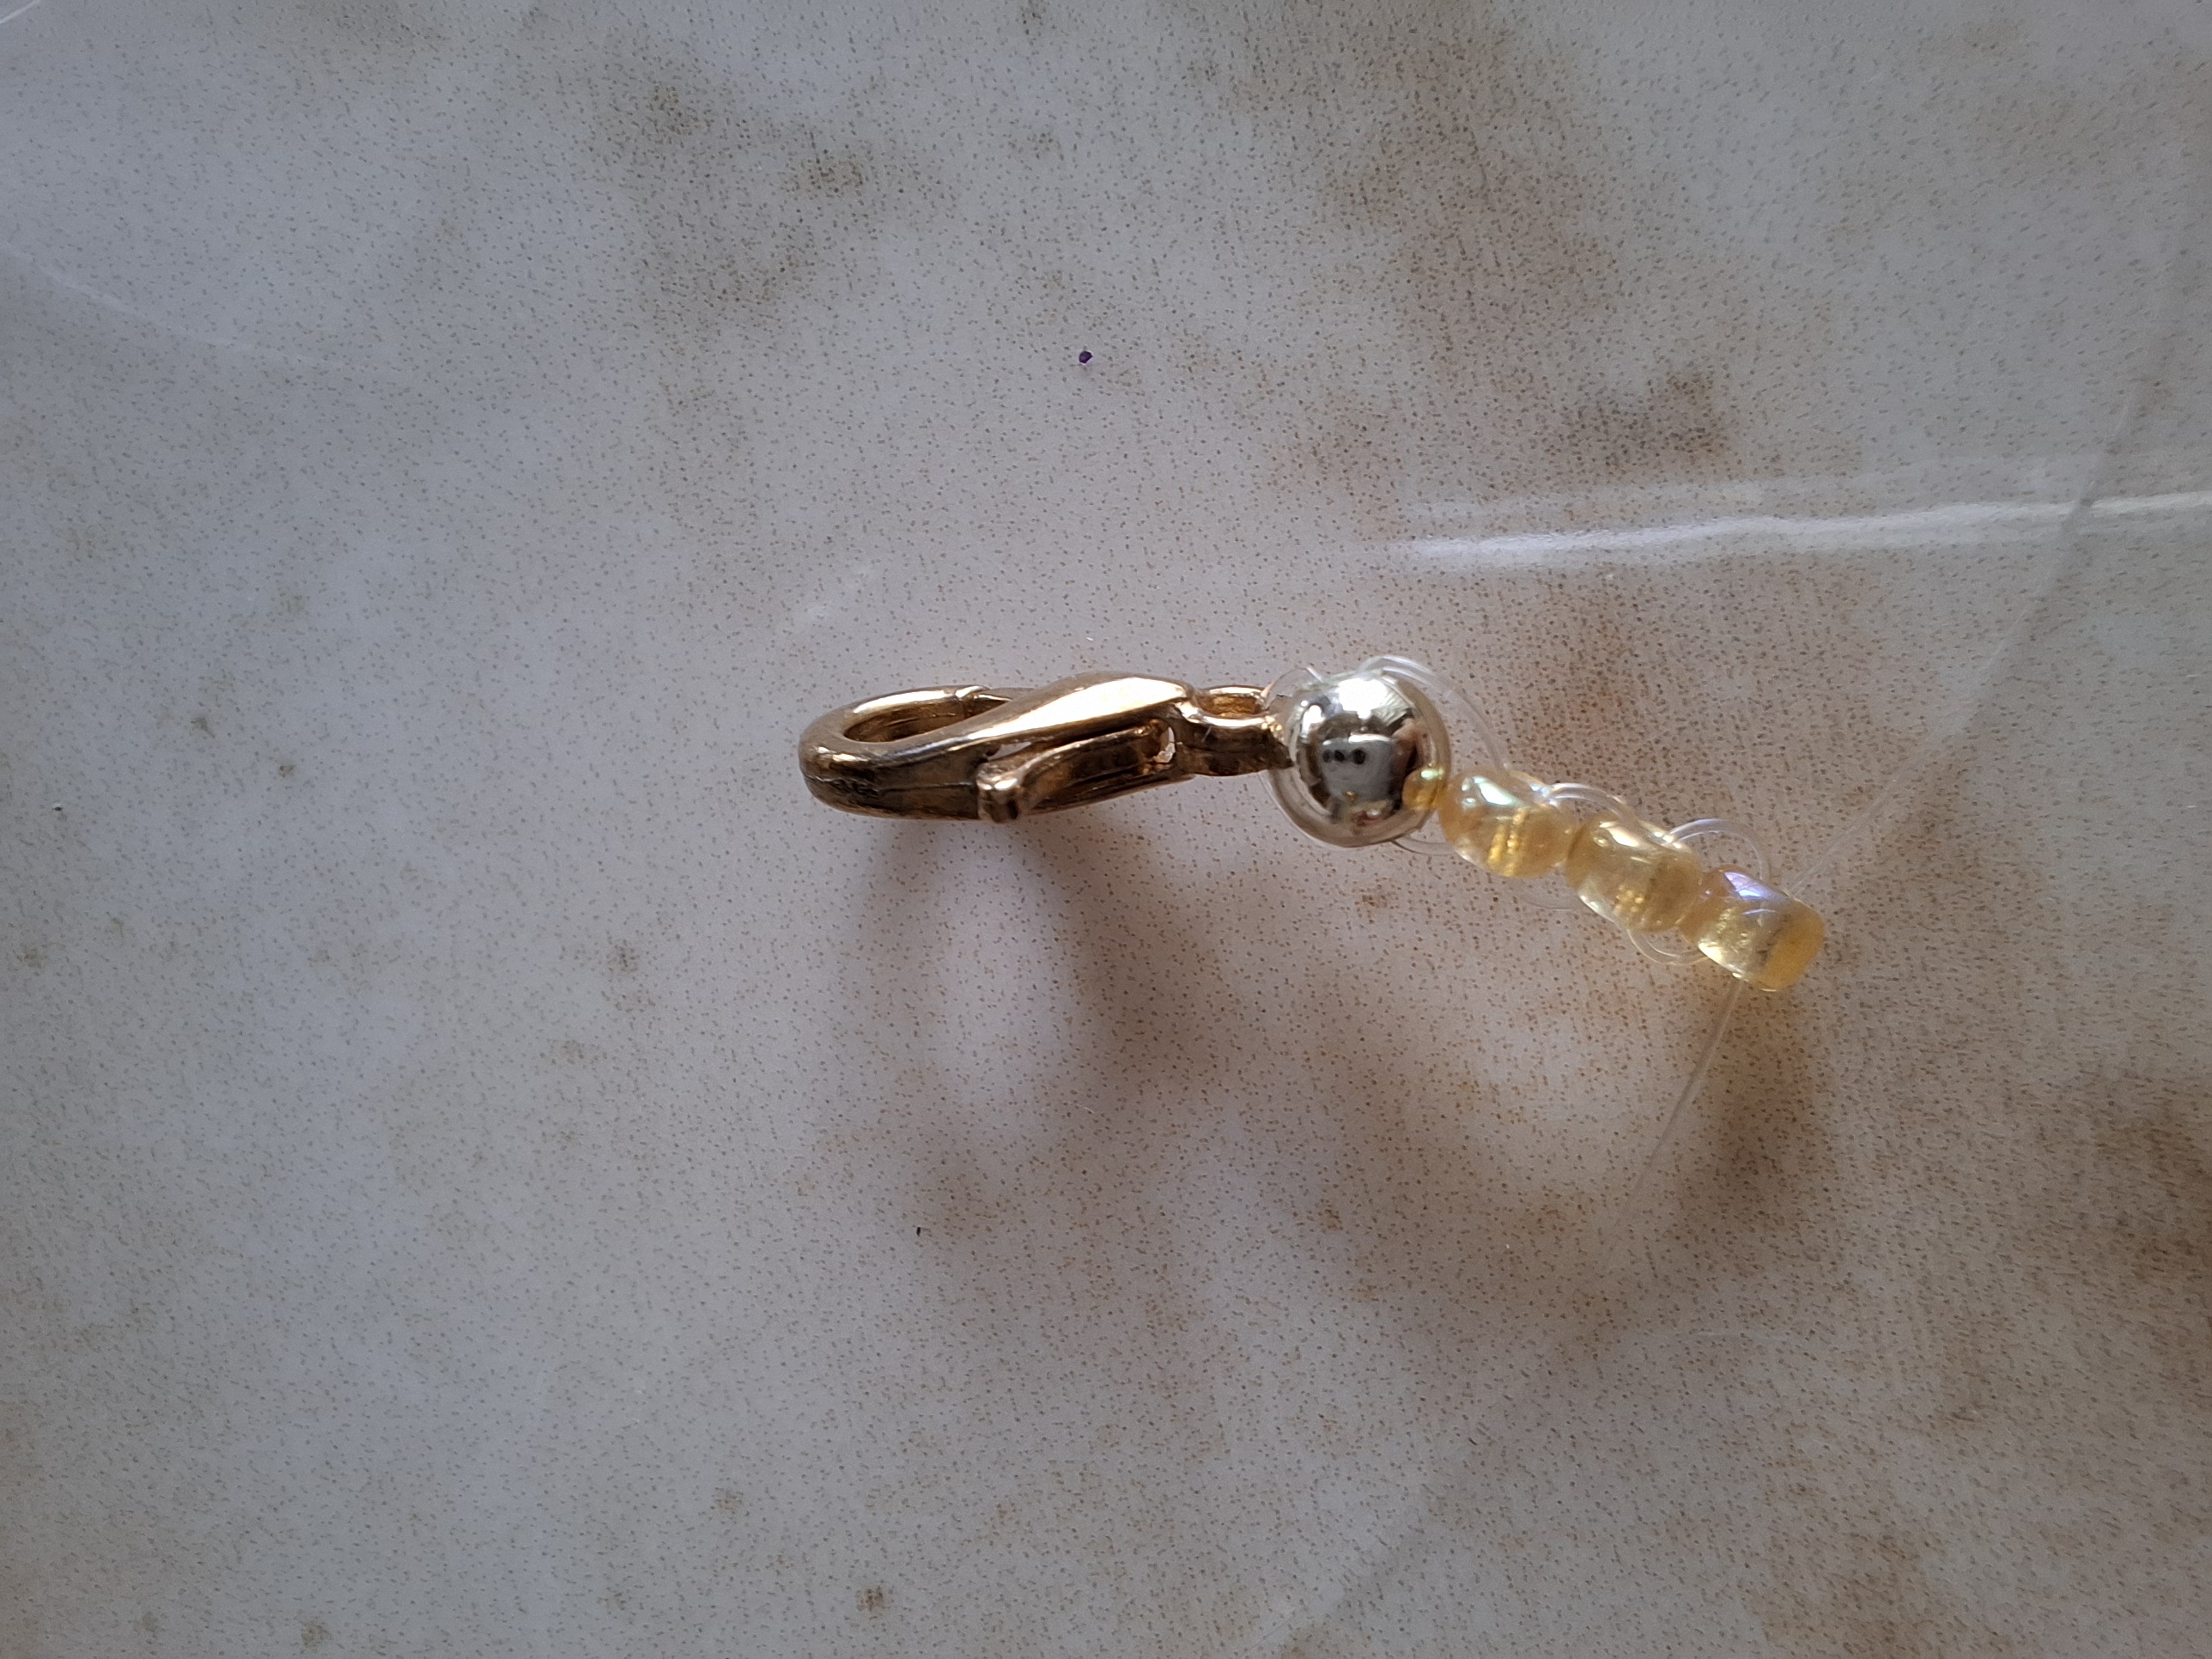
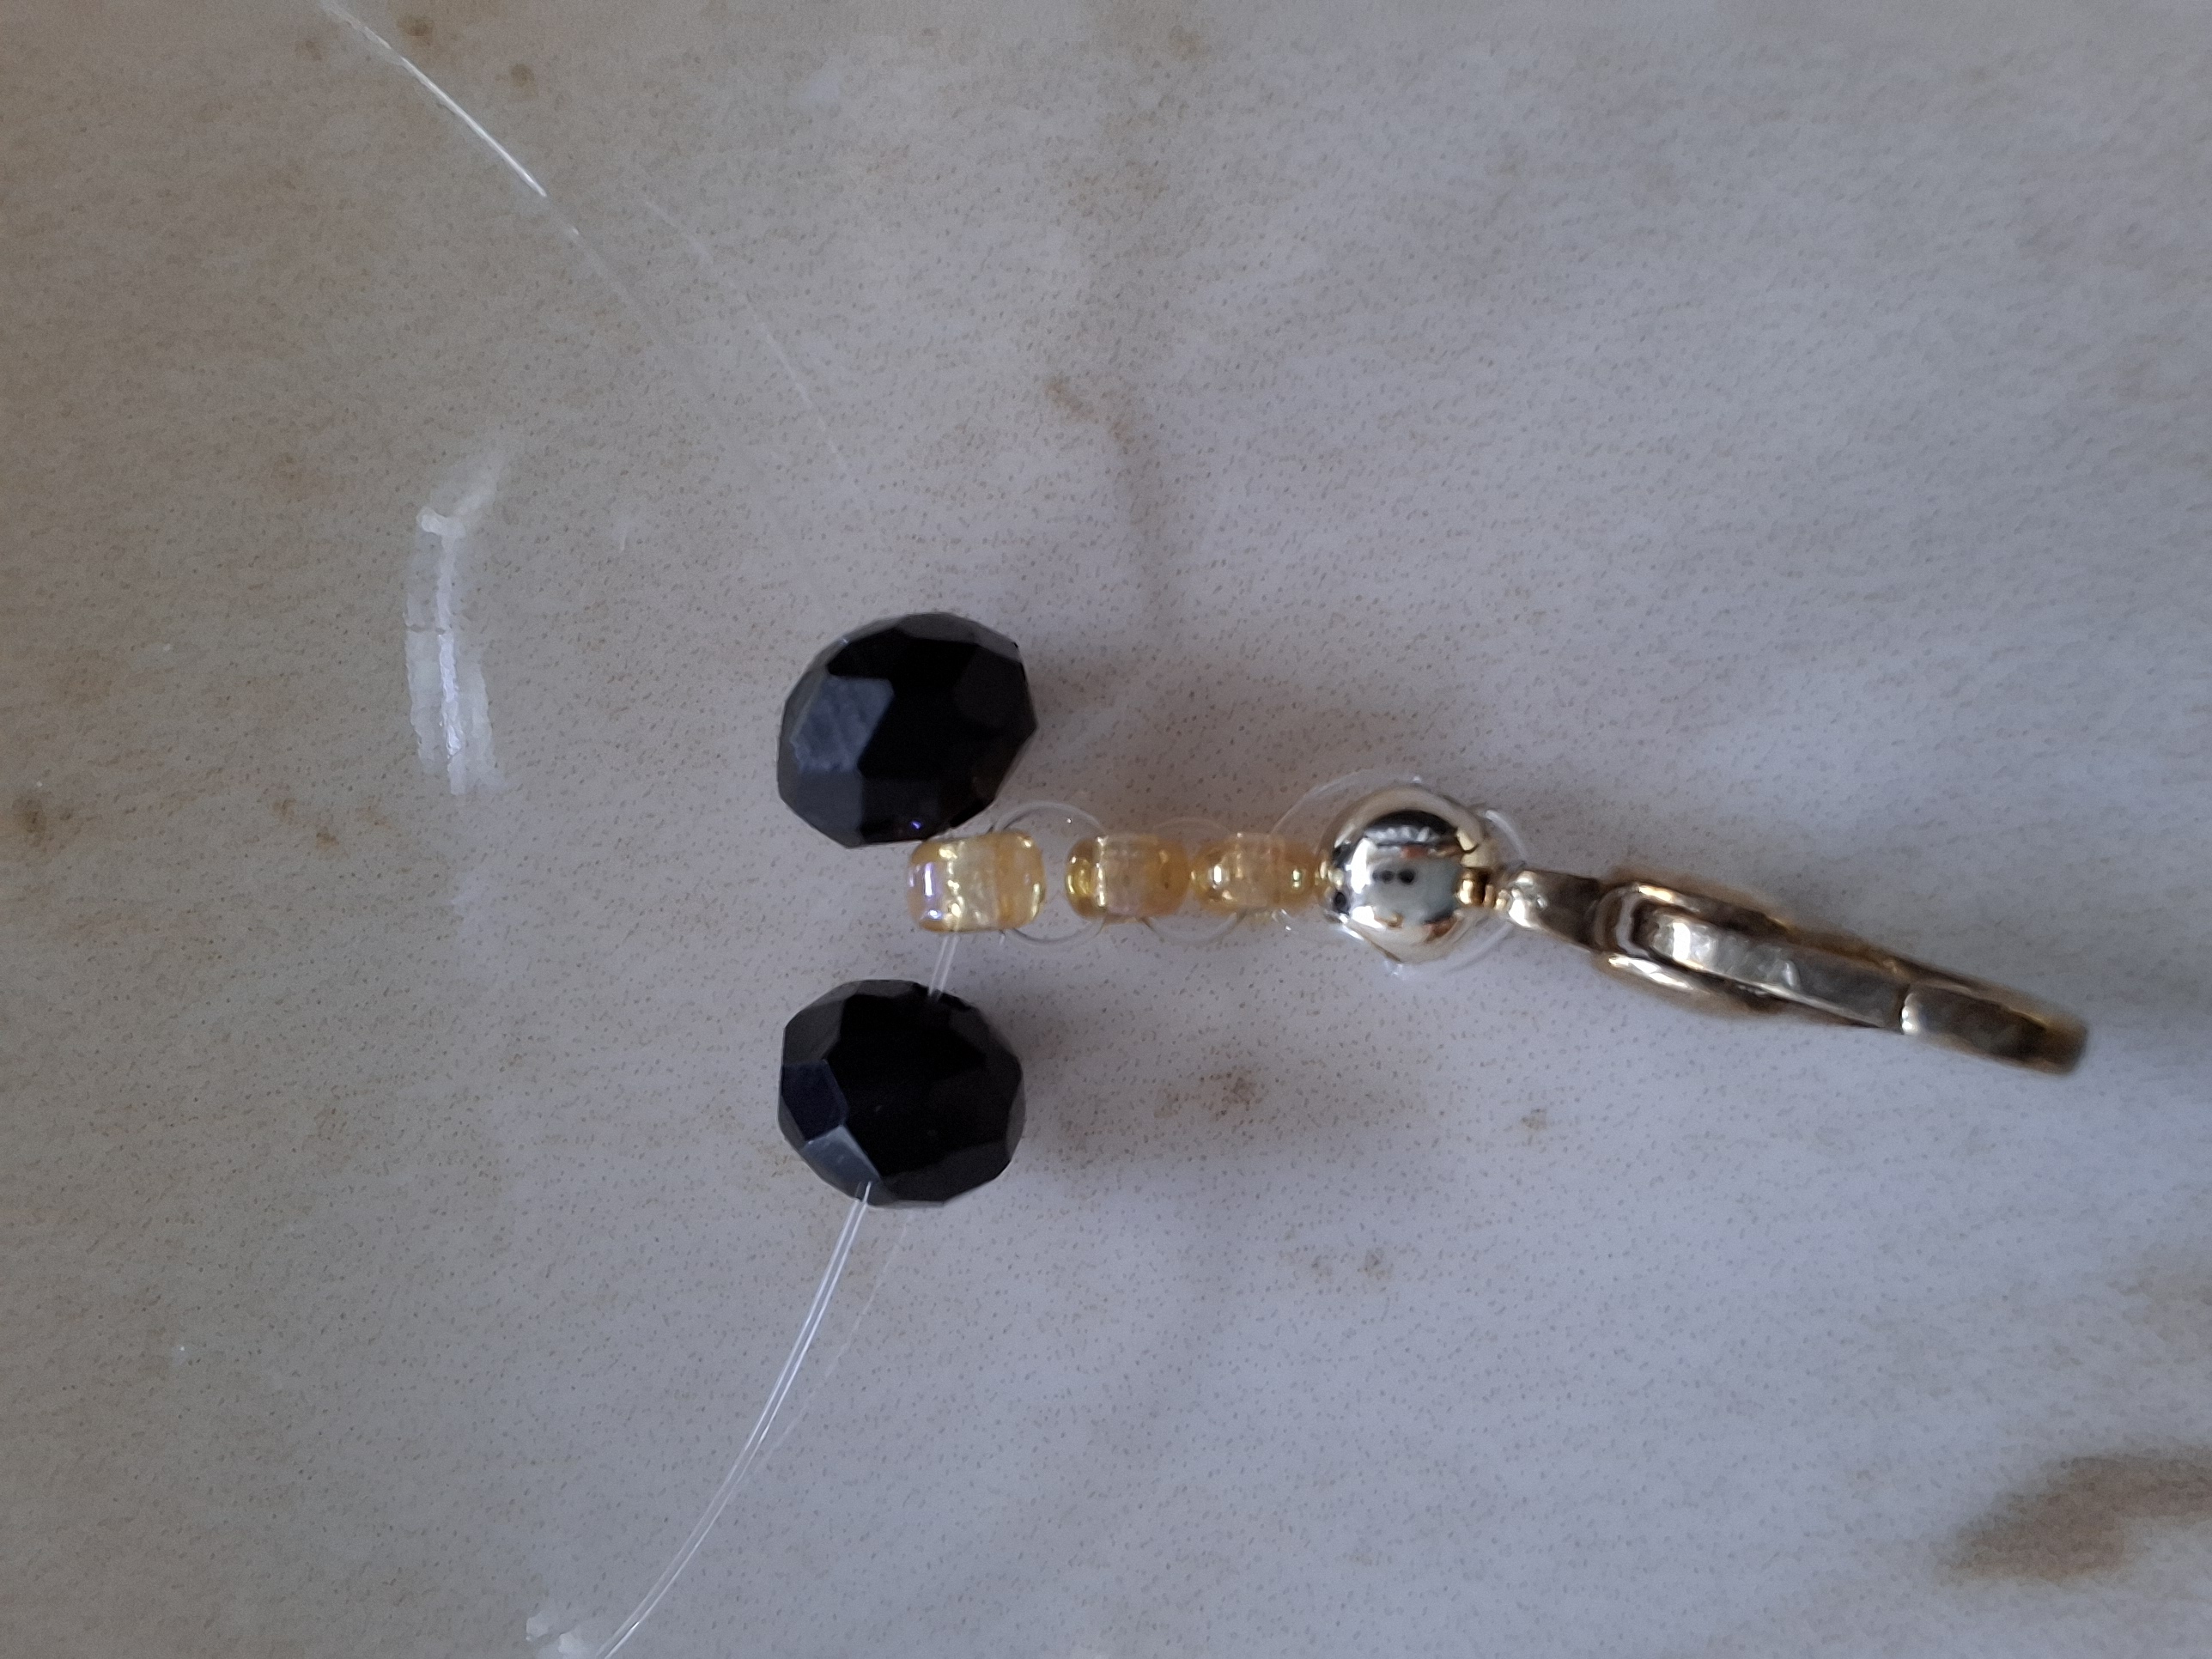
Colocamos una mostacilla en una de las puntas, y con la otra punta cruzamos este paso lo voy a realizar dos veces más, ahora voy a colocar en cada nylon un cristal checo negro, luego de esto tres mostacillas doradas más.
We place a bead on one of the ends, and with the other end we cross this step. I am going to do it two more times, now I am going to place a black Czech crystal on each nylon, after this three more gold beads.
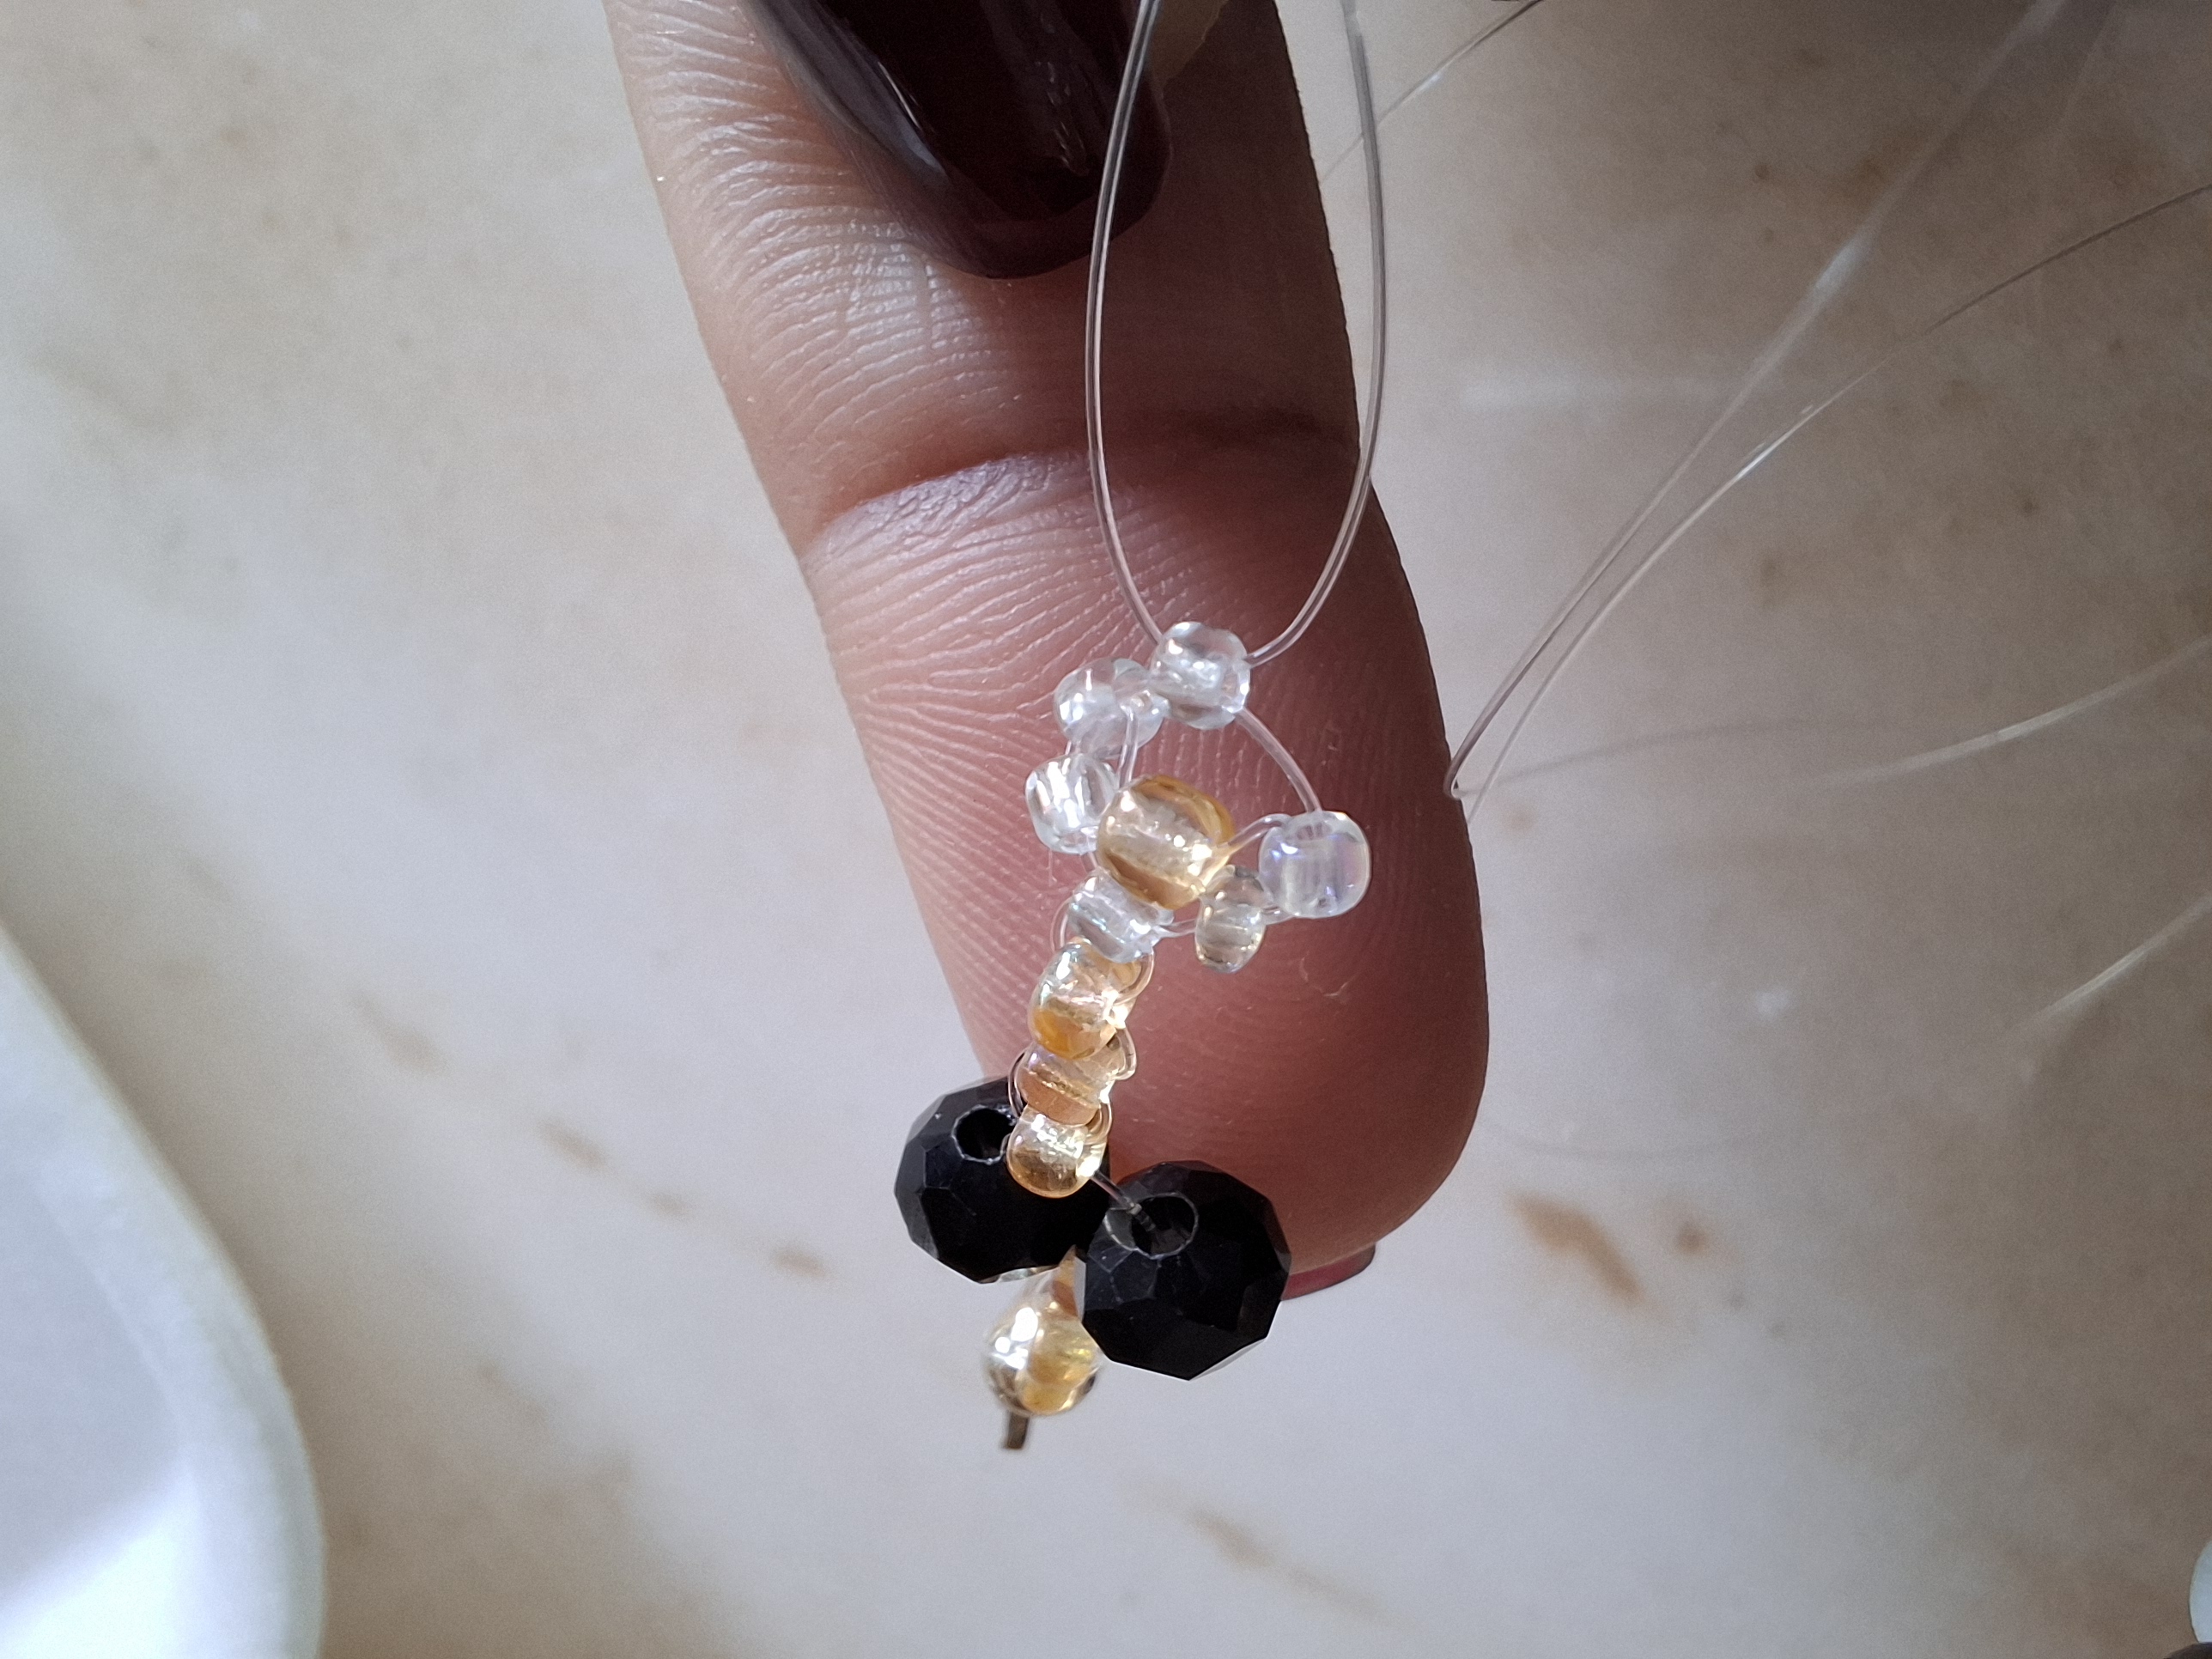
Ahora el próximo paso es colocar una mostacilla transparente en uno de los nylon cruzamos con la otra punta, en cada nylon voy a colocar dos mostacillas transparentes luego una mostacilla dorada, ahora voy a pasar el nylon hacia arriba de cada lado a través de las dos mostacillas que ya colocamos y cerramos con otra para formar una flor.
Now the next step is to place a transparent bead on one of the nylons and cross it with the other end. On each nylon I am going to place two transparent beads and then a gold bead. Now I am going to pass the nylon up on each side through the two. beads that we already placed and closed with another to form a flower.

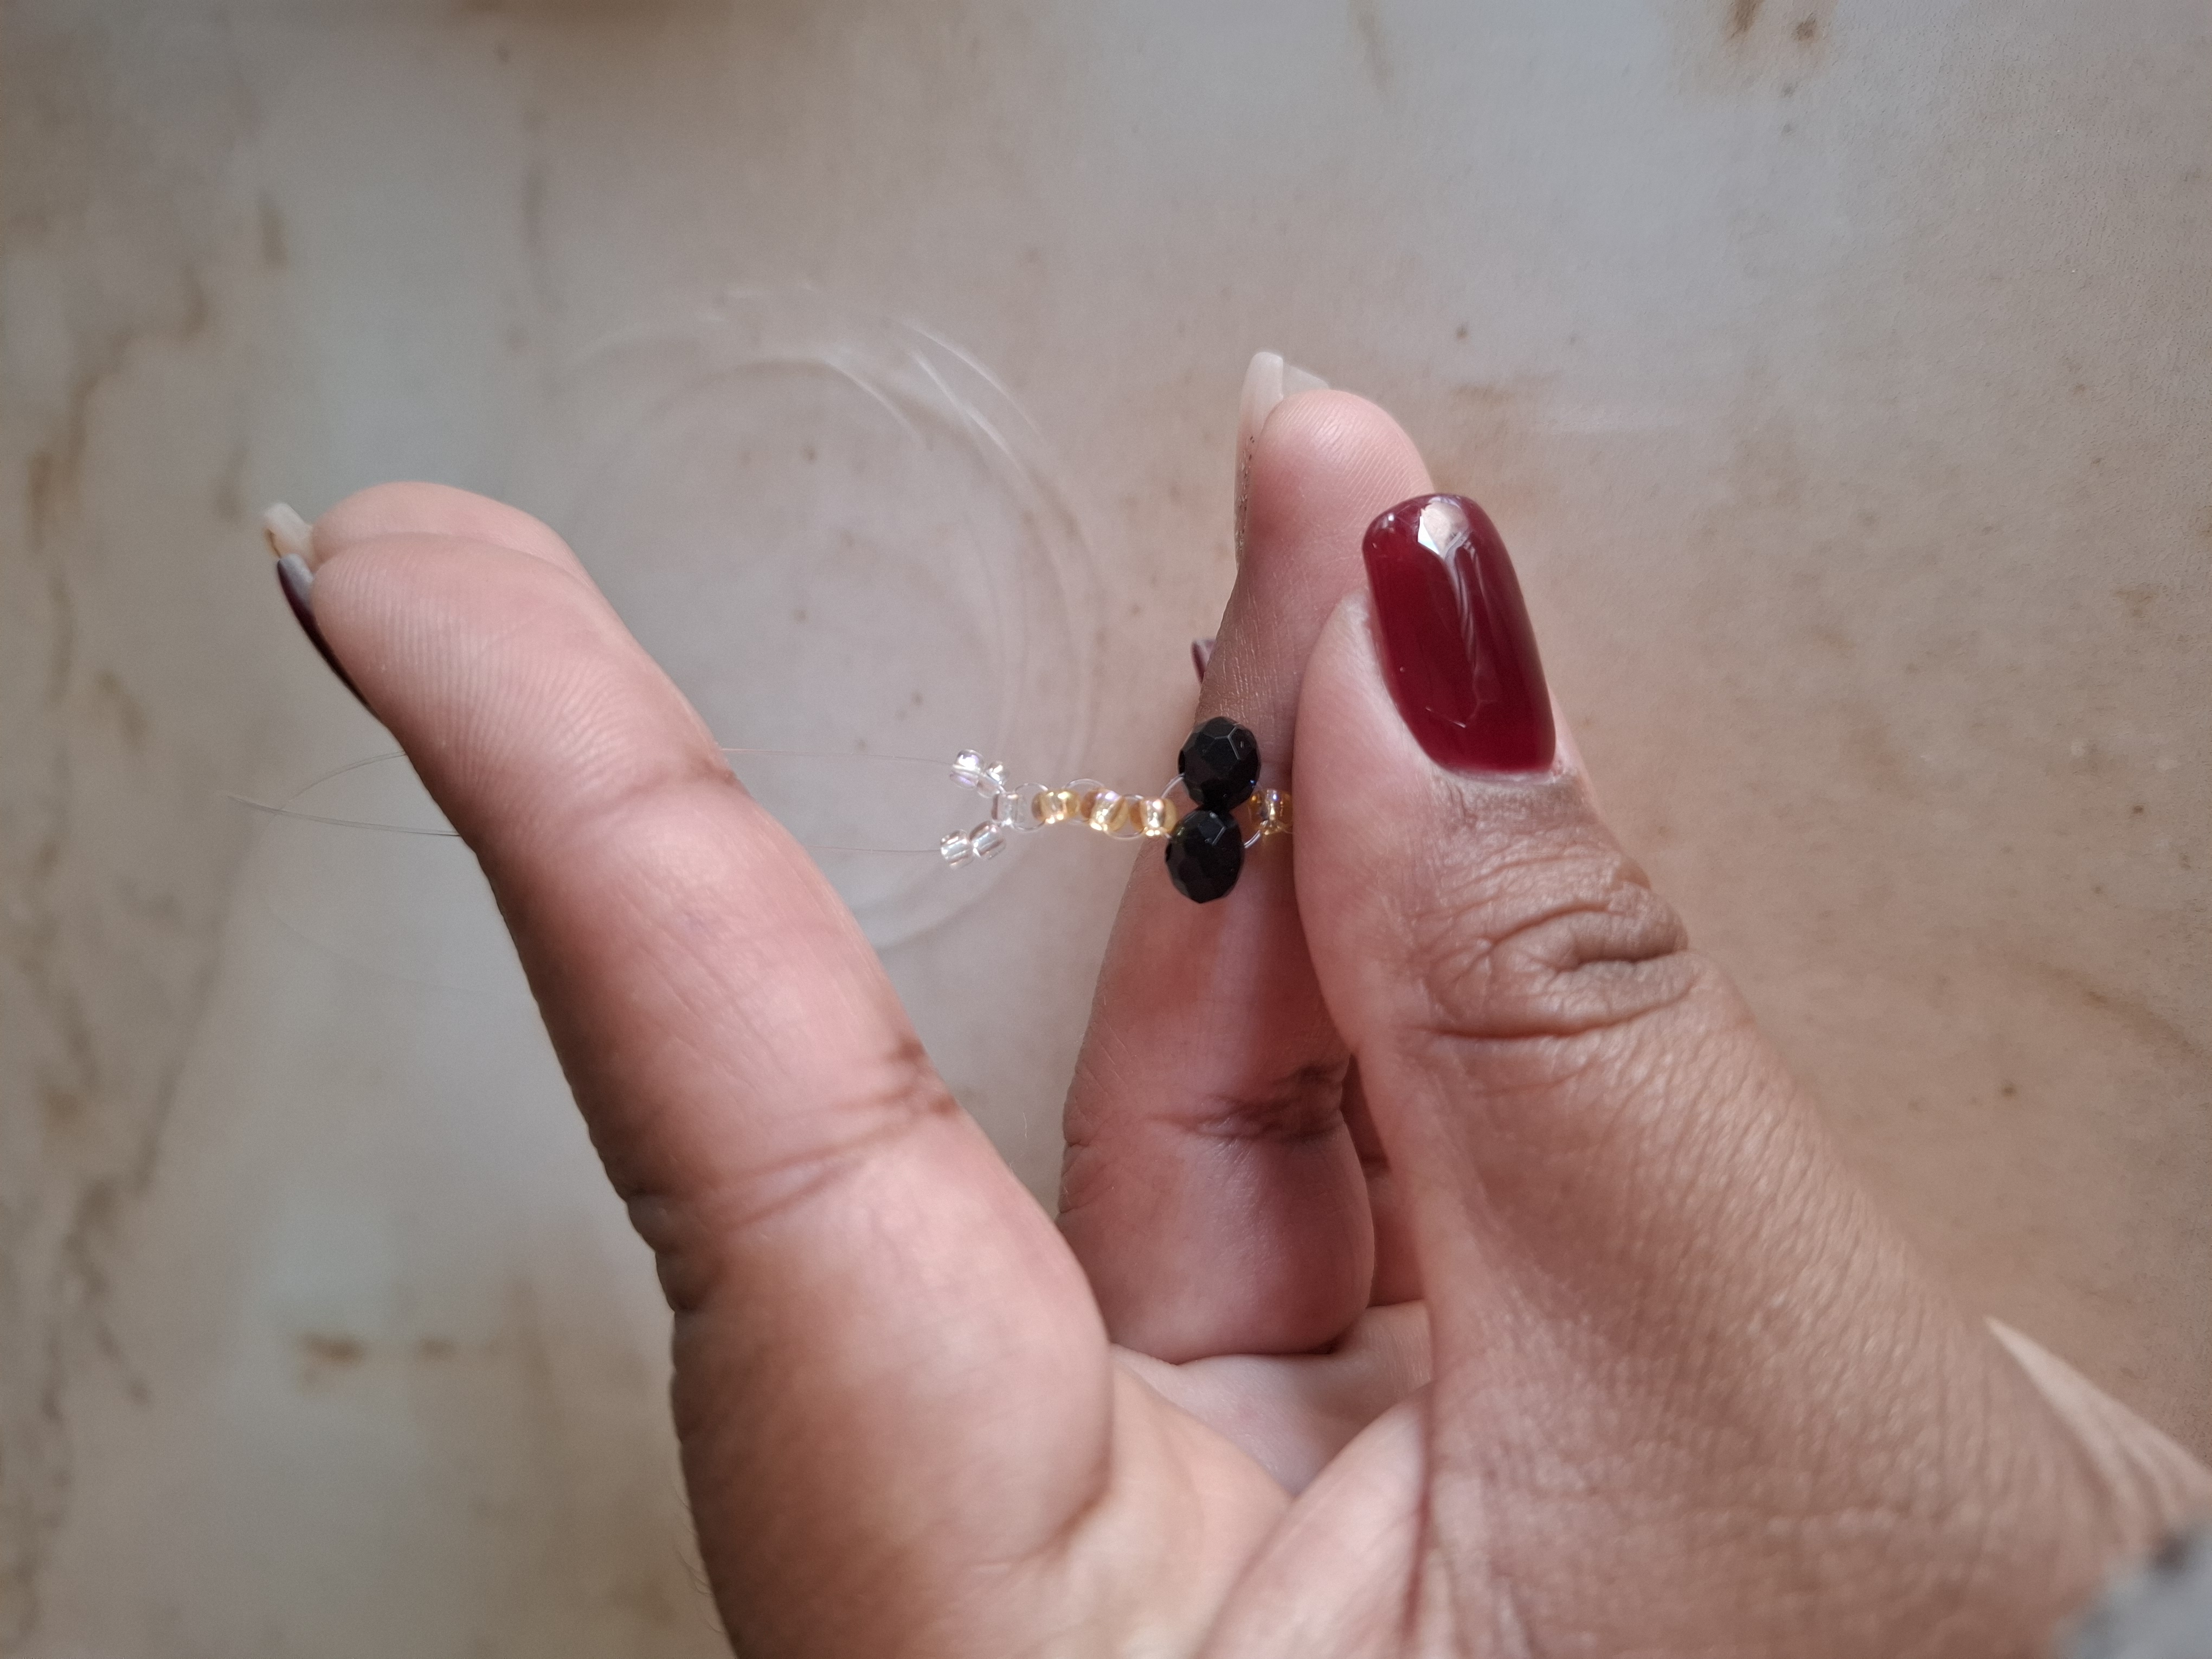
Este paso lo voy a realizar una vez más, luego vamos a realizar dos flores de forma continua y terminamos al igual que al comienzo, luego voy a colocar un balin dorado, seguido de la argolla en mi caso coloqué tres en total para poder cerrarla, de acuerdo al tamaño de mi muñeca.
I am going to do this step one more time, then we are going to make two flowers continuously and we finish the same as at the beginning, then I am going to place a golden ball, followed by the ring, in my case I placed three in total to be able to close it, according to the size of my wrist.

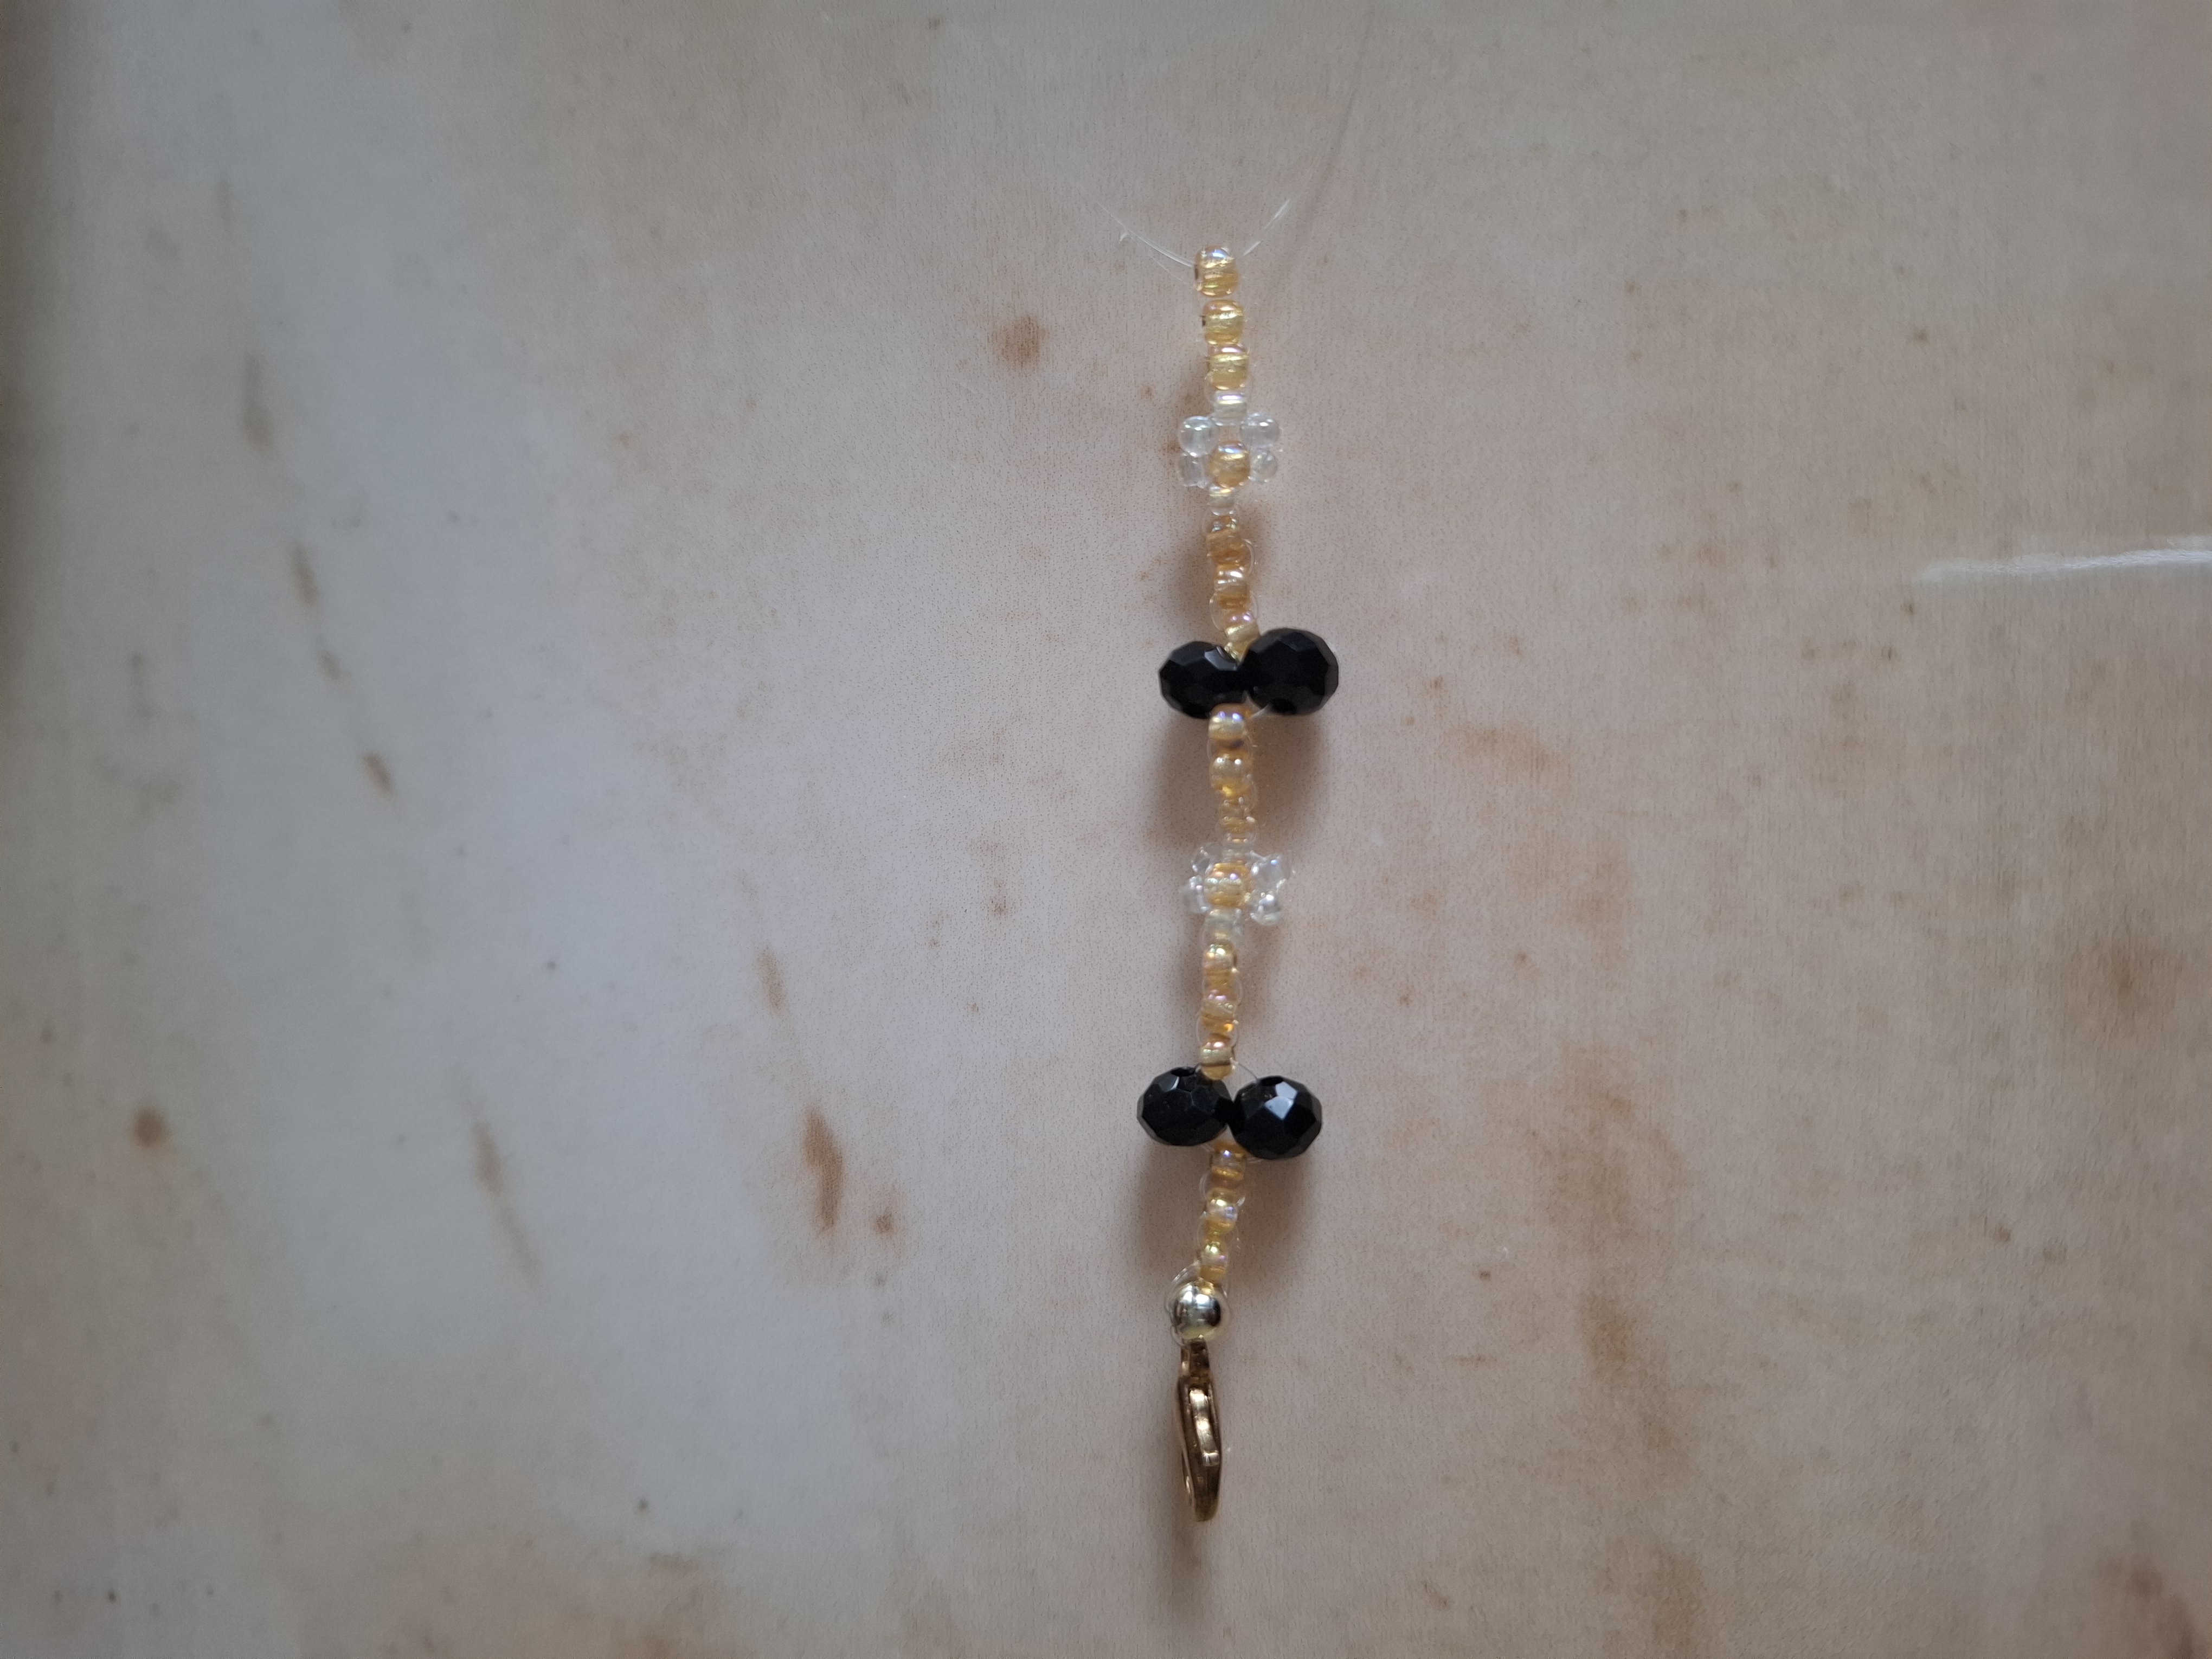
De ésta forma y en poco tiempo terminé esta sencilla pulsera que puedes combinarla con los colores de tu preferencia, muchas gracias por el apoyo, nos vemos en una próxima oportunidad con más ideas creativas.
In this way and in a short time I finished this simple bracelet that you can combine with the colors of your preference, thank you very much for the support, see you next time with more creative ideas.



Contenido original. - original content.
Los separadores y banner fueron realizados en Canva. - The dividers and banner were made in Canva.
Las fotografias son tomadas con mi teléfono Redmi Note 11s y editadas en PicsArt - The photographs are taken with my Redmi Note 11s phone and edited in PicsArt.
Traducción de: Google traductor - Translation of: Google translator.

Muchas gracias 🫂
Sending Love and Ecency Curation Vote!
 Follow Eceny's curation trail to earn better APR on your own HP. : )
What a nice design! It is beautiful, charming, and lovely. It looks amazing. Love it. Well done!
grateful for the support 🩷
Beautiful bracelet. I love the design and the color combination. Thanks for sharing
thank you very much, greetings
Lovely bracelet
thank you so much 🤗
Wow, another beautiful bracelet, so simple yet beautiful, I love it, well-done
thanks friend 😉