Tutorial: Coquetos zarcillos de lazo 🎀 / Tutorial: Flirty bow tendrils.

Felíz lunes e inicio de semana comunidad creativa y amante de los accesorios, hoy amaneciendo con bastante energía, con optimismo y buena vibra, deseo para ustedes bendiciones y nuevas oportunidades en esta semana, por otra parte felíz porque ya casi es navidad 🎄 también tengo en mente crear otros accesorios relacionadas a la navidad más adelante.
Happy Monday and start of the week creative community and lover of accessories, today waking up with a lot of energy, with optimism and good vibes, I wish you blessings and new opportunities this week, on the other hand happy because it is almost Christmas 🎄 I also have in Mind creating other Christmas related accessories later.
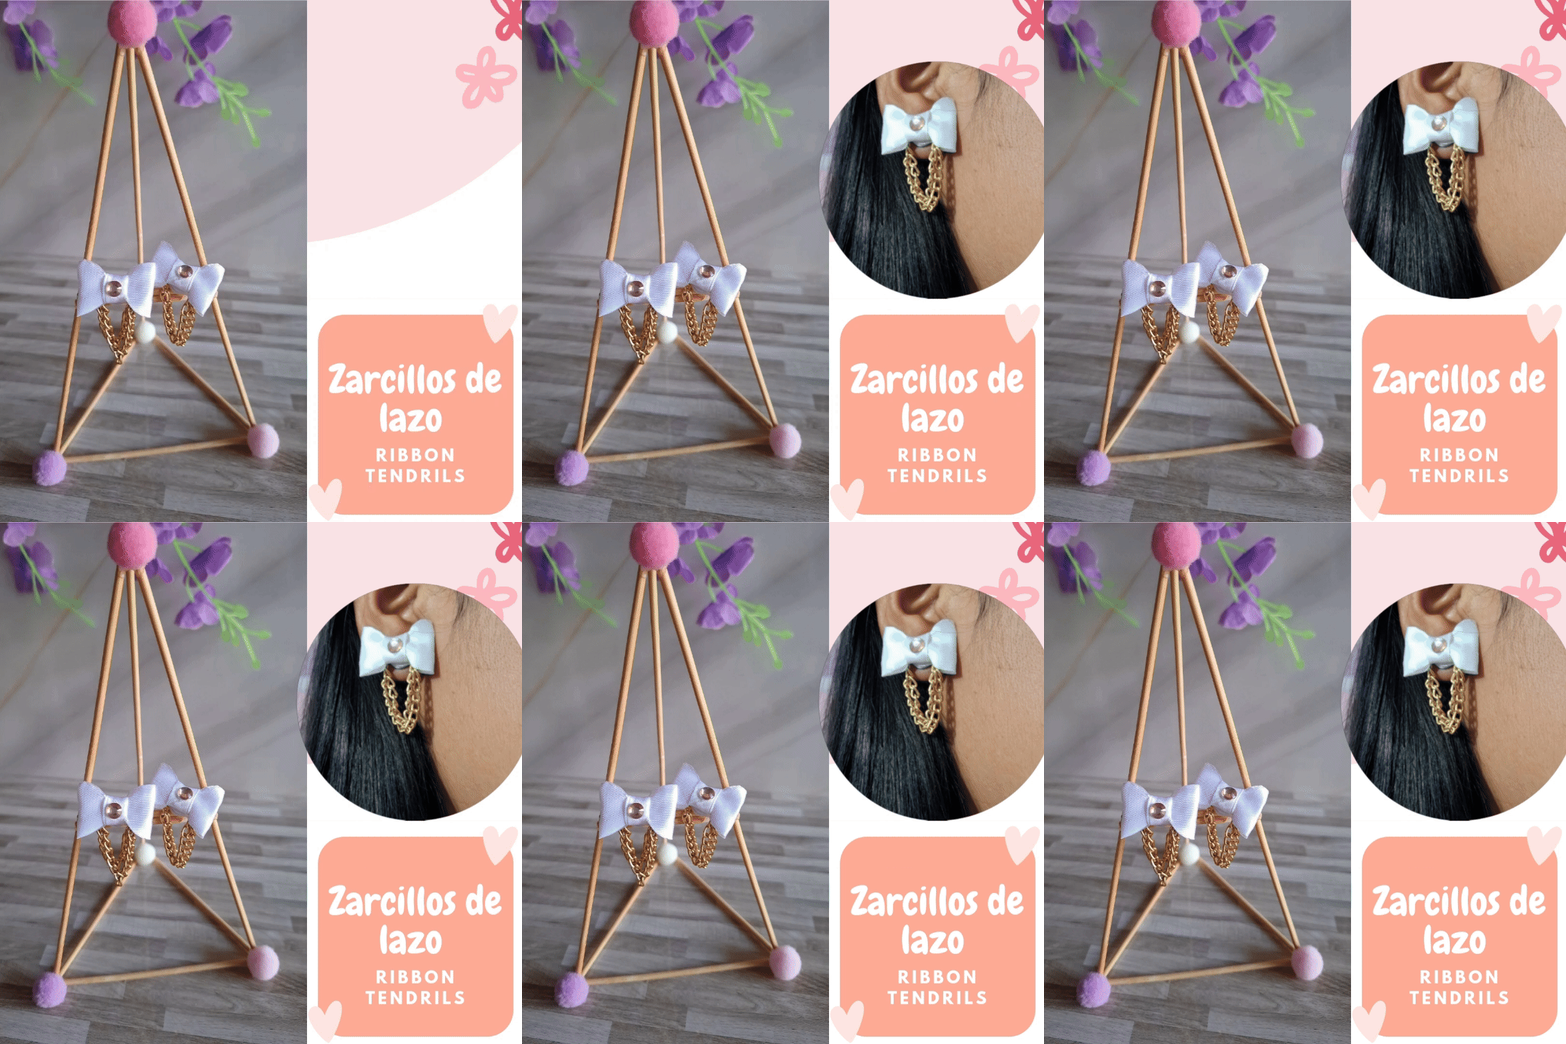
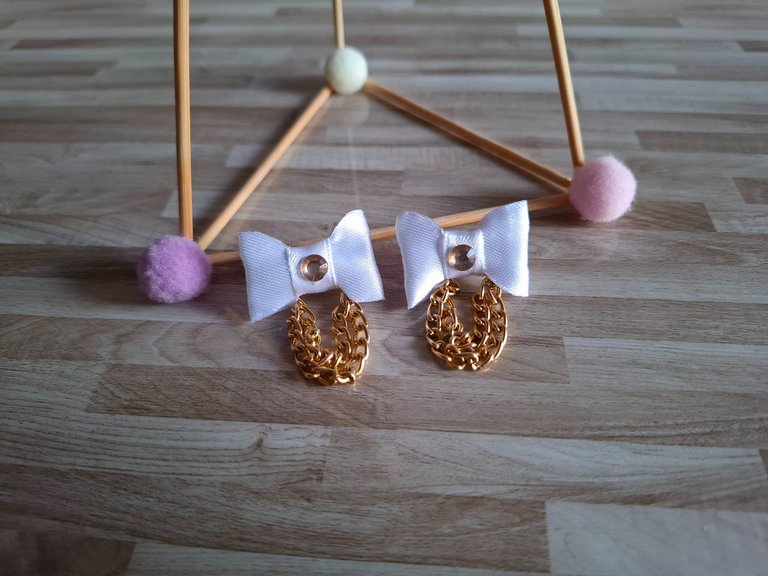
El día de hoy les quiero compartir unos coquetos zarcillos de lazo cortos, reutilizando la cinta en color blanco que había quedado de un detalle de regalo que realice hace una semana, aproveché la oportunidad para realizar estos zarcillos super fáciles además los combiné con cadena dorada, espero les guste el resultado.
Today I want to share with you some cute short bow tendrils, reusing the white ribbon that was left over from a gift I made a week ago, I took the opportunity to make these super easy tendrils and I combined them with a gold chain, I hope you like the result.

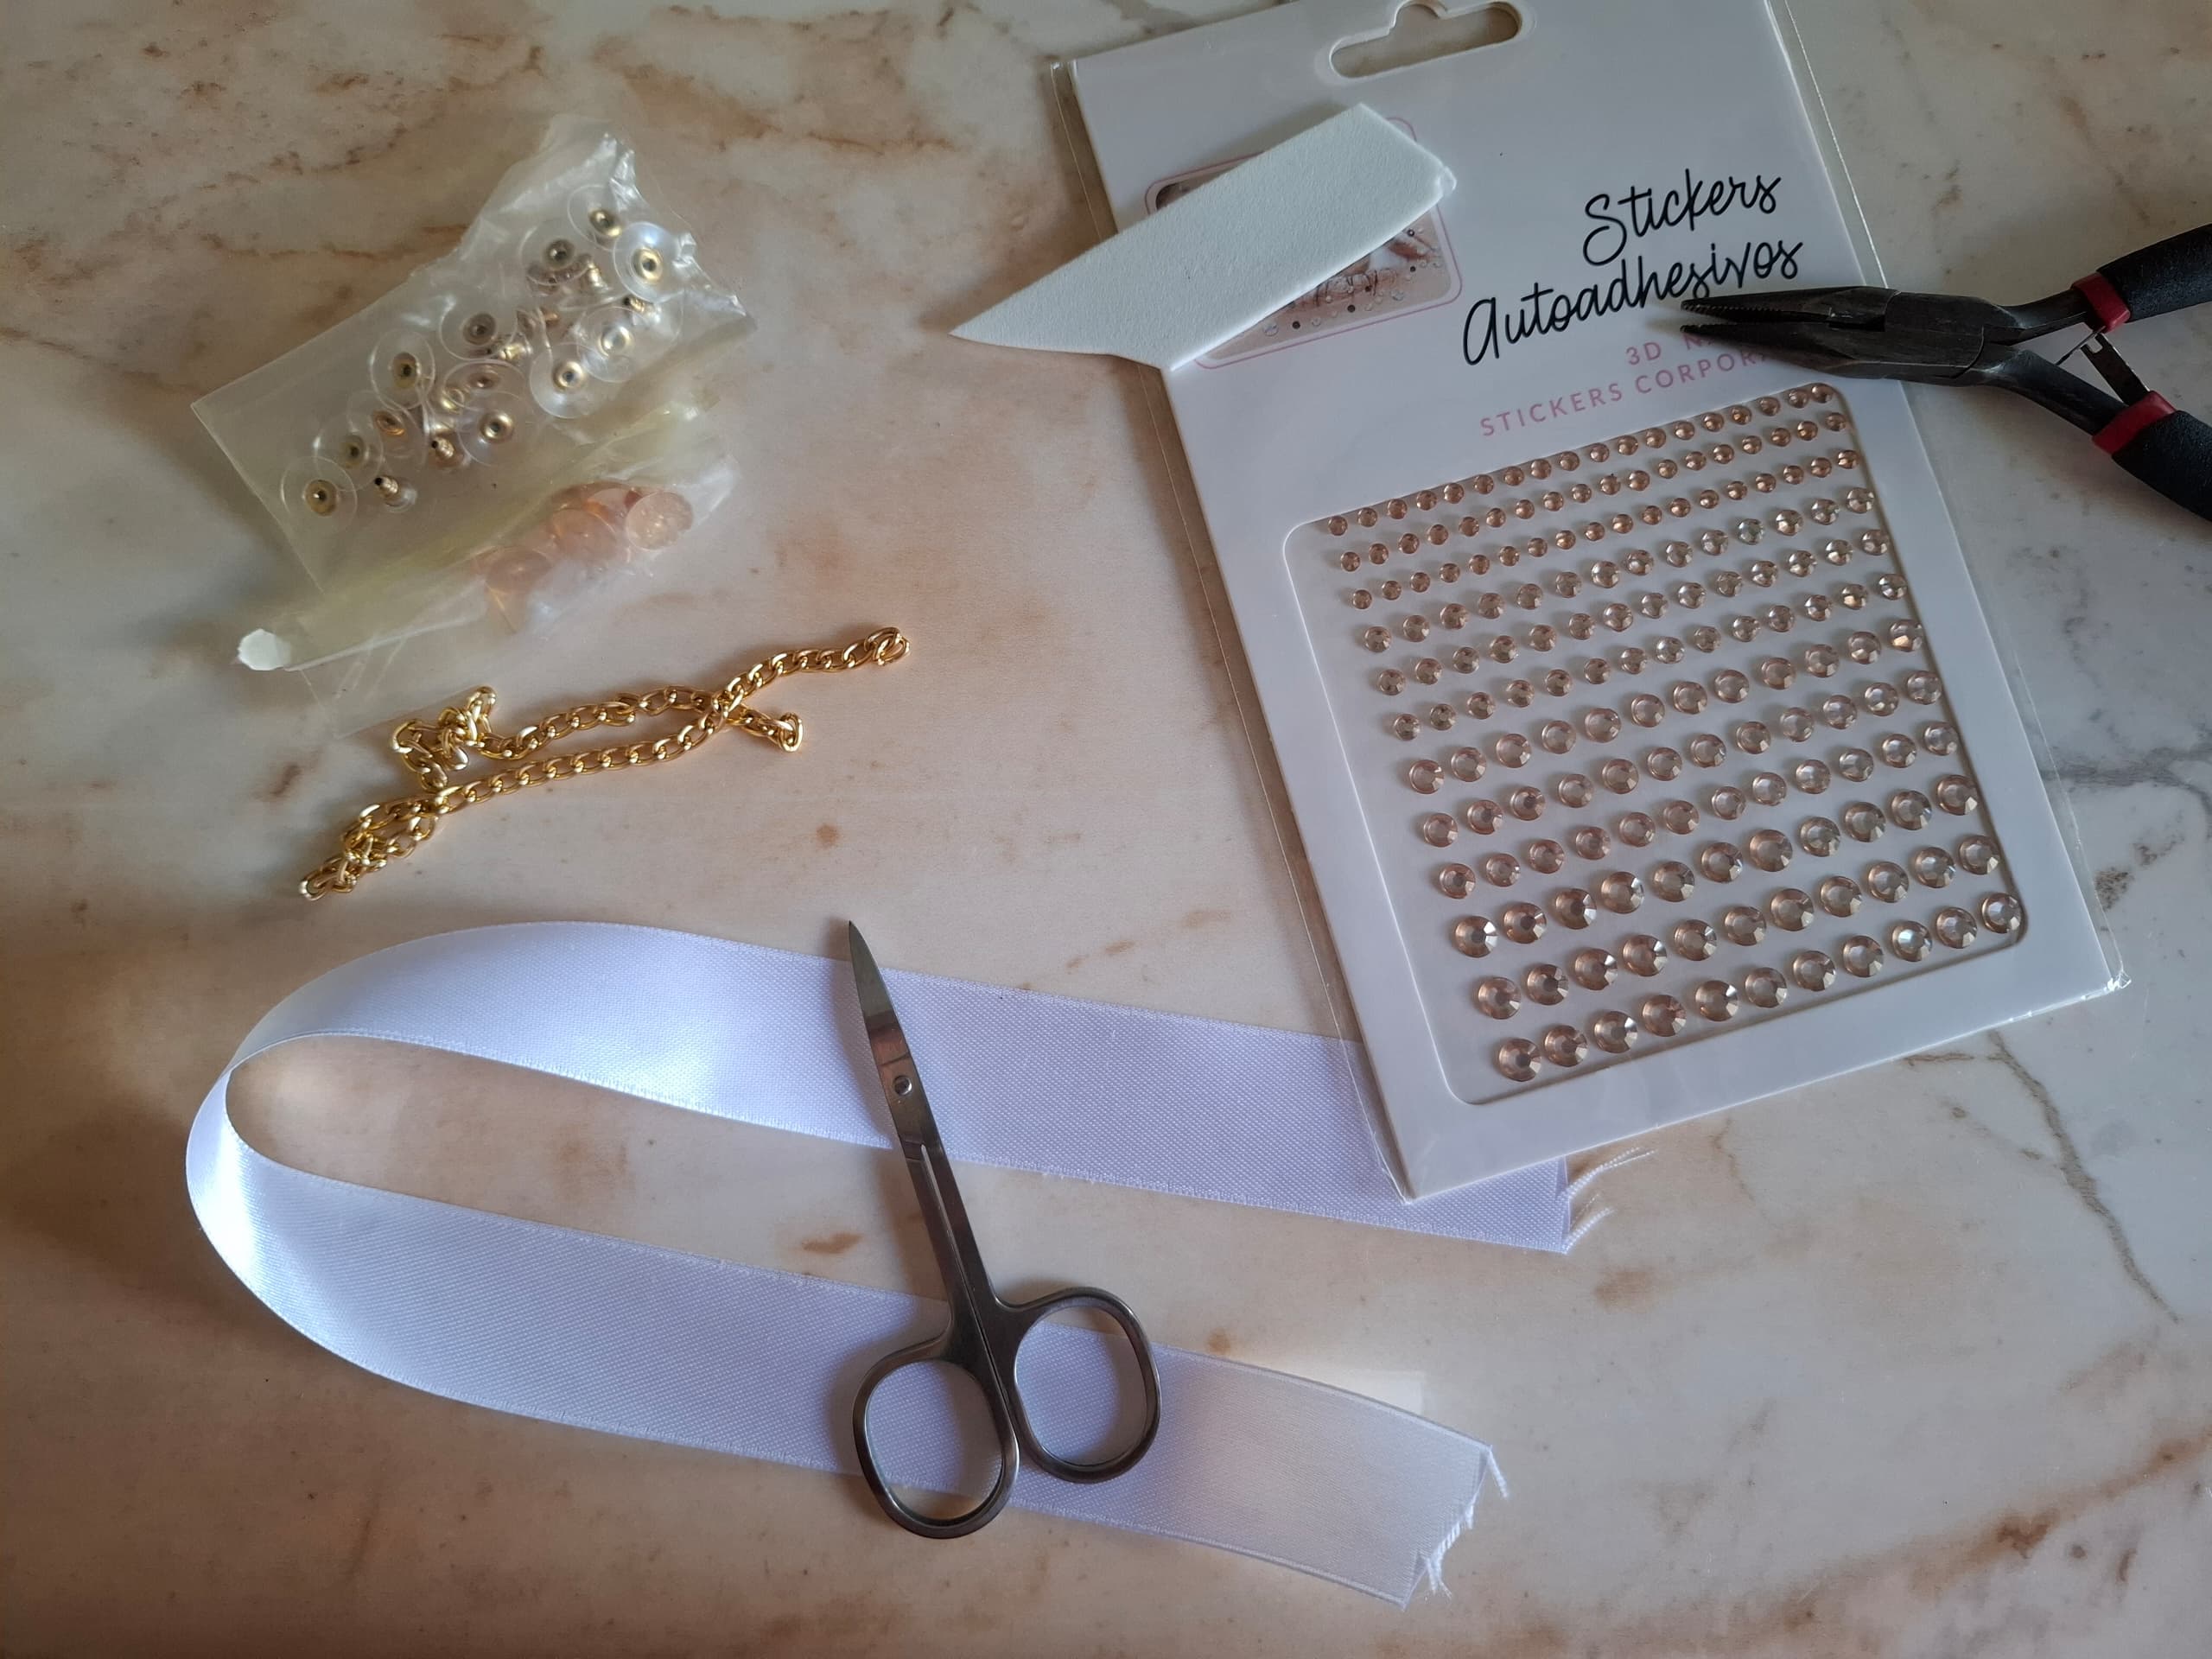
| Materiales | Materials |
|---|---|
| Cinta blanca | white tape |
| Cadena dorada | golden chain |
| Tijera | Scissors |
| Silicón | Silicone |
| Base de zarcillos | Tendril base |
| Pegatinas | Stickers |
| Pinza de bisutería | Jewelry tweezers |

Paso a paso / Step by step
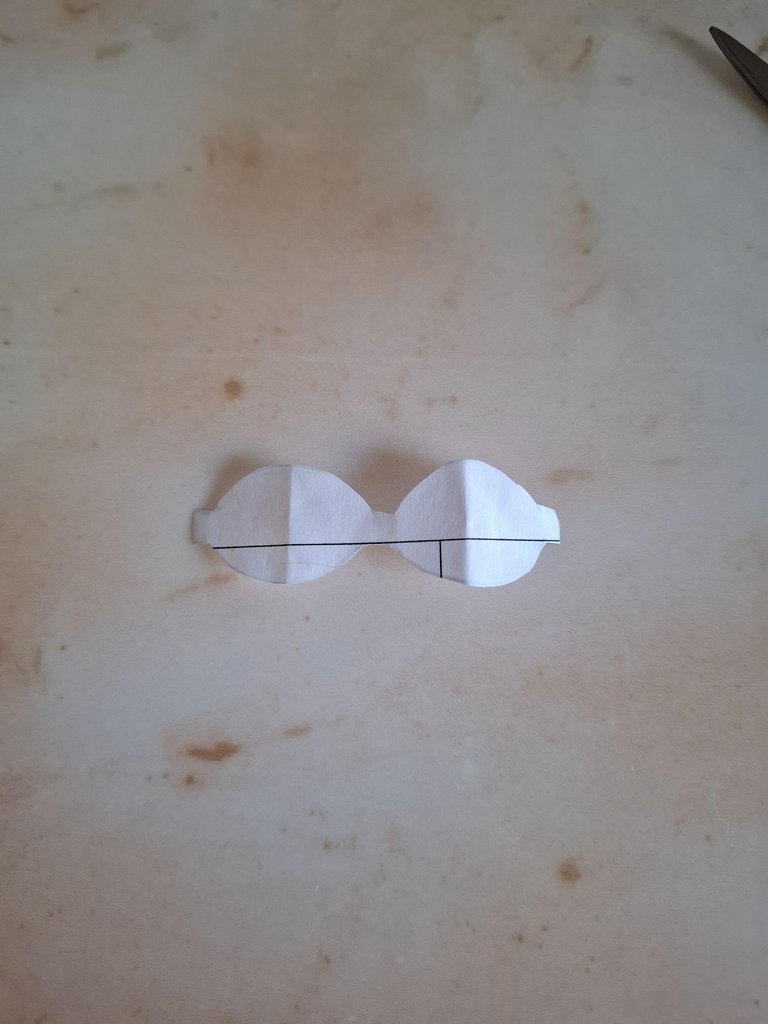
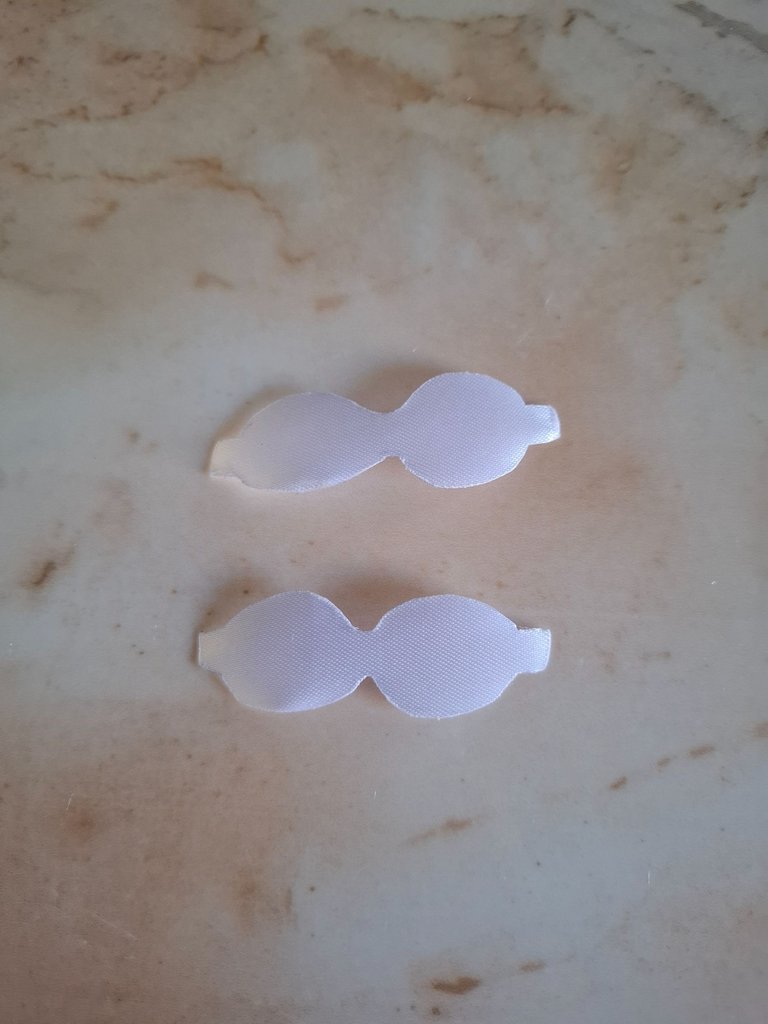
Realizar estos zarcillos es súper fácil, no nos quitará mucho tiempo y utilizaremos pocos materiales, primero vamos a dibujar en un papel la forma del lazo luego cortamos.
Making these tendrils is super easy, it won't take up much of our time and we will use few materials. First we are going to draw the shape of the bow on a piece of paper and then we cut it.
 |  |  |
|---|
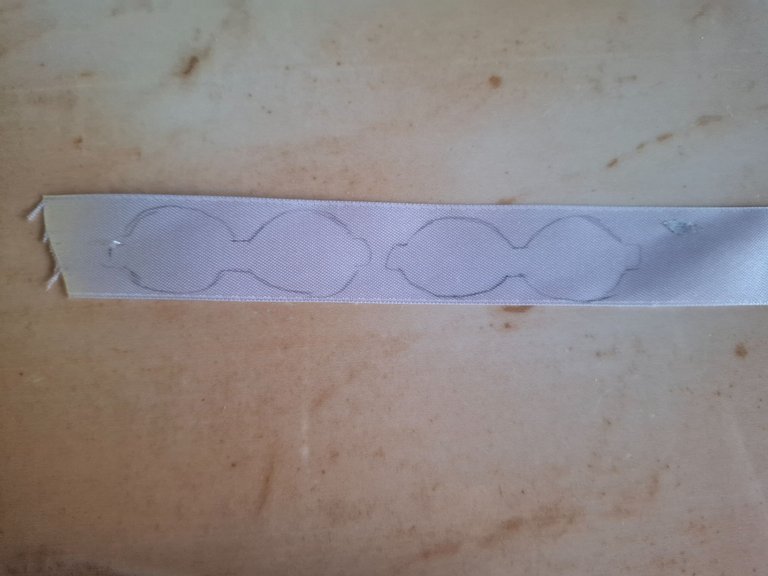
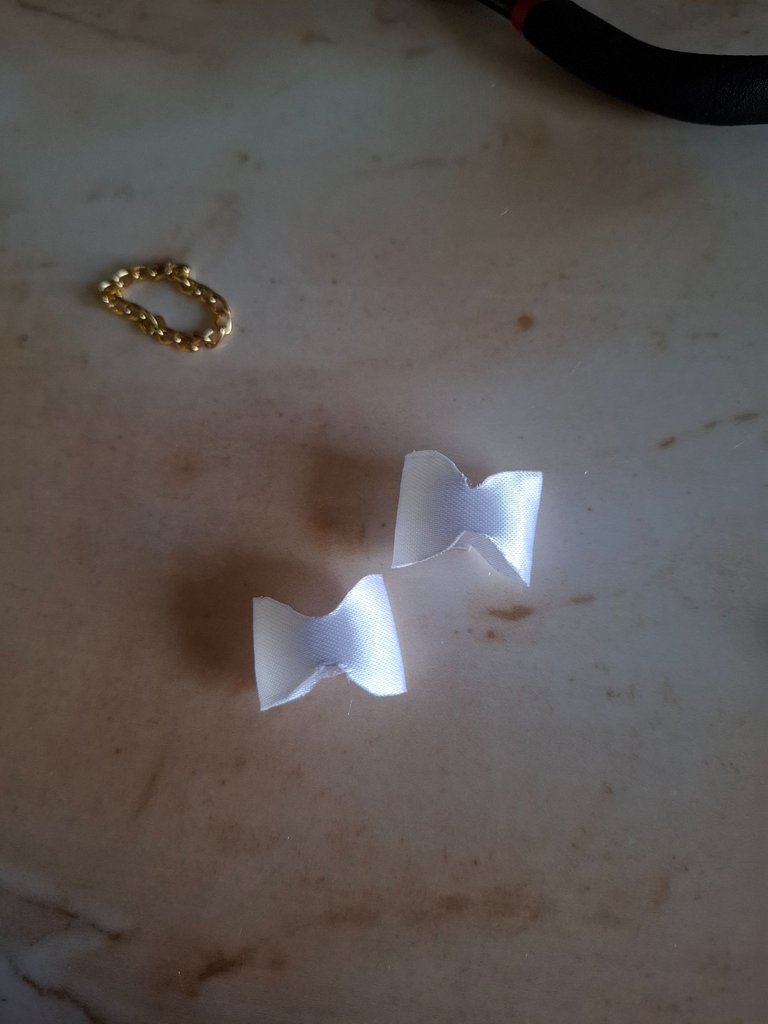
Con el molde voy a dibujar sobre la cinta en todo el centro debe quedar del mismo grosor de esta cinta, cortamos con cuidado y sellamos el borde con un encendedor para que no se deshilache, luego voy a unir las puntas a la mitad y pegamos con silicón.
With the mold I am going to draw on the tape in the entire center, it must be the same thickness as this tape, we cut carefully and seal the edge with a lighter so that it does not fray, then I am going to join the ends in the middle and glue with silicone.
 |  |  |
|---|
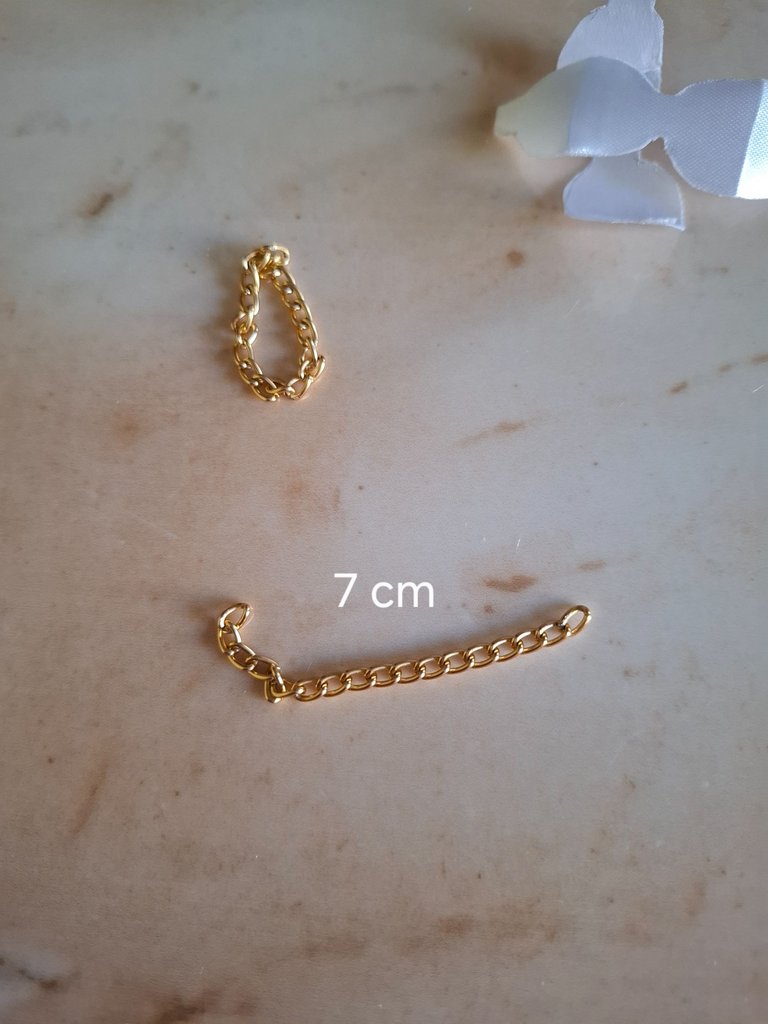
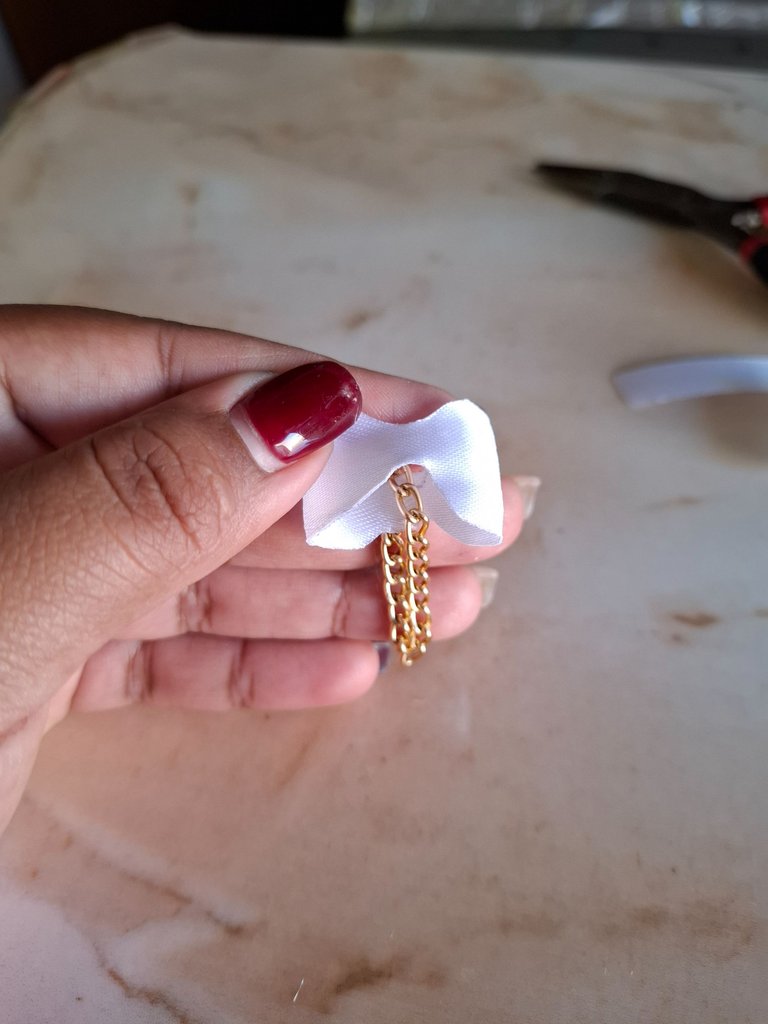
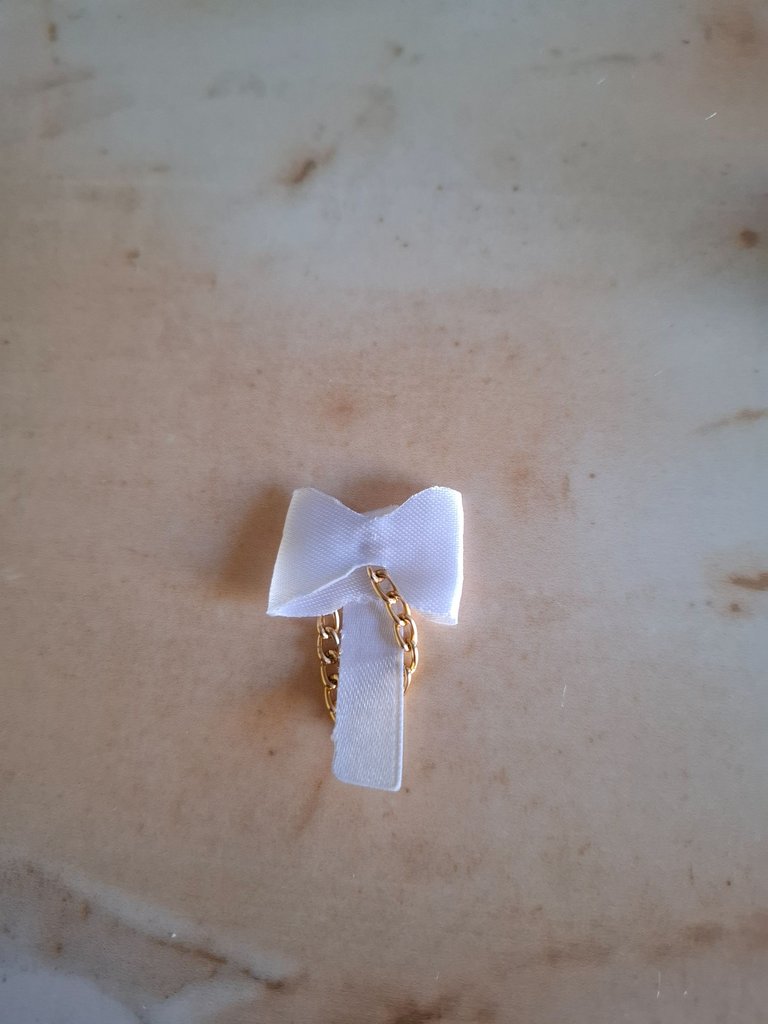
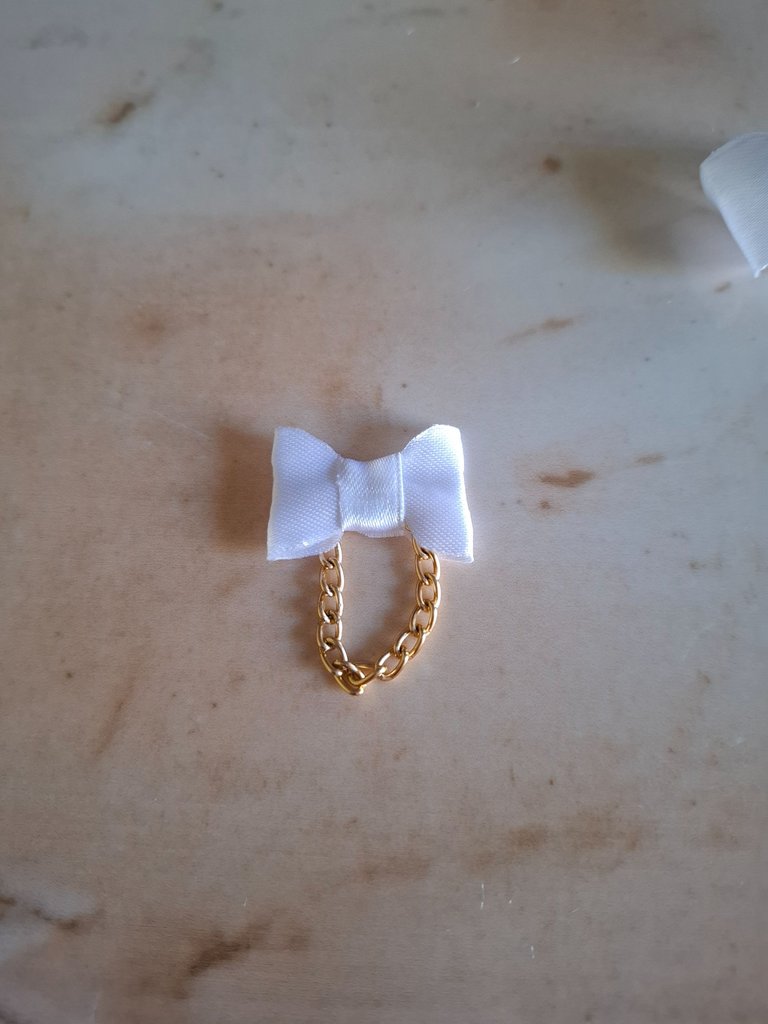
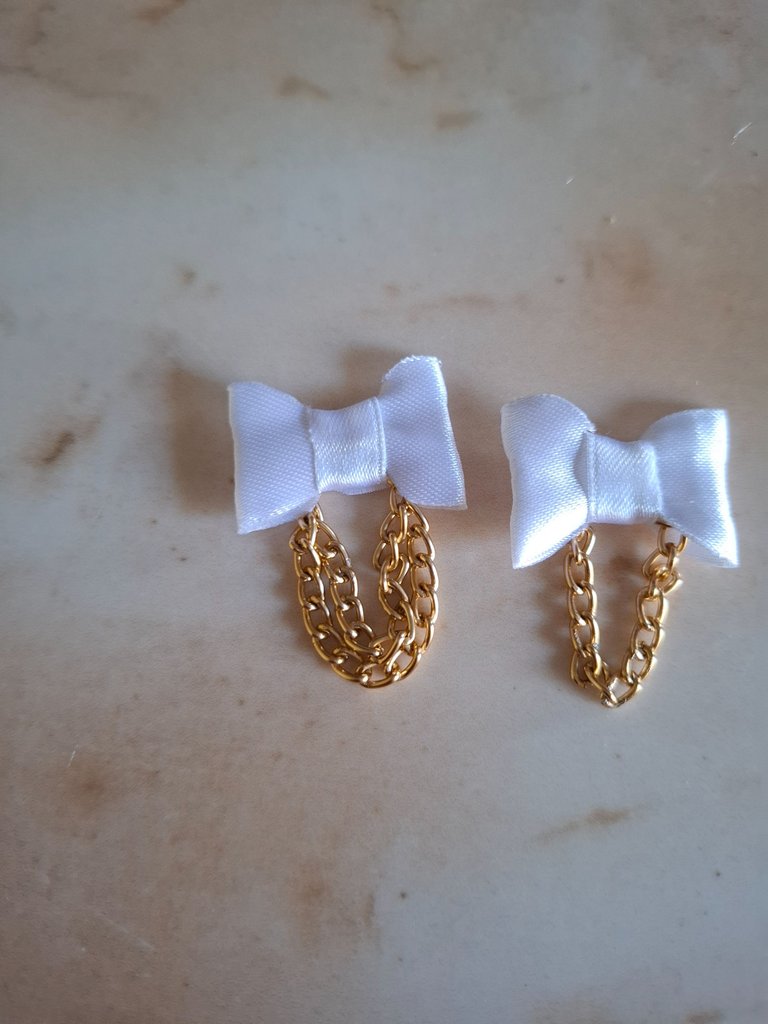
Luego voy a cortar 7 cm de cadena dorada y vamos a colocarla entre en lazo, más sin embargo el tamaño de largo de la cadena puede variar, si los quieres un poco más largos o cortos como yo los realicé, luego cortamos dos franjas finas de cinta y las colocamos en medio, voy a cortar un segundo trozo de cadena del mismo tamaño aproximadamente y vamos a unir a la cadena.
Then I am going to cut 7 cm of golden chain and we are going to place it between the loop, however the length of the chain can vary, if you want them a little longer or shorter like I made them, then we cut two thin strips of ribbon and place them in the middle, I'm going to cut a second piece of chain of approximately the same size and we're going to attach it to the chain.
 |  |  |
|---|
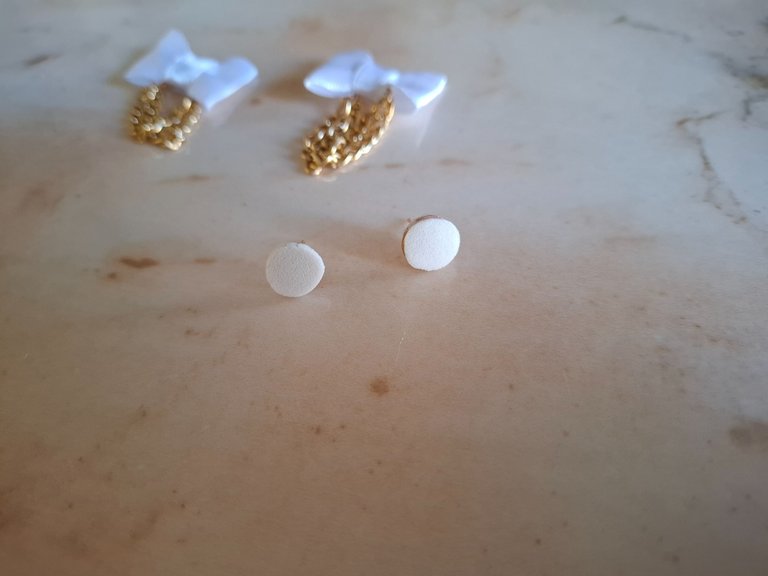
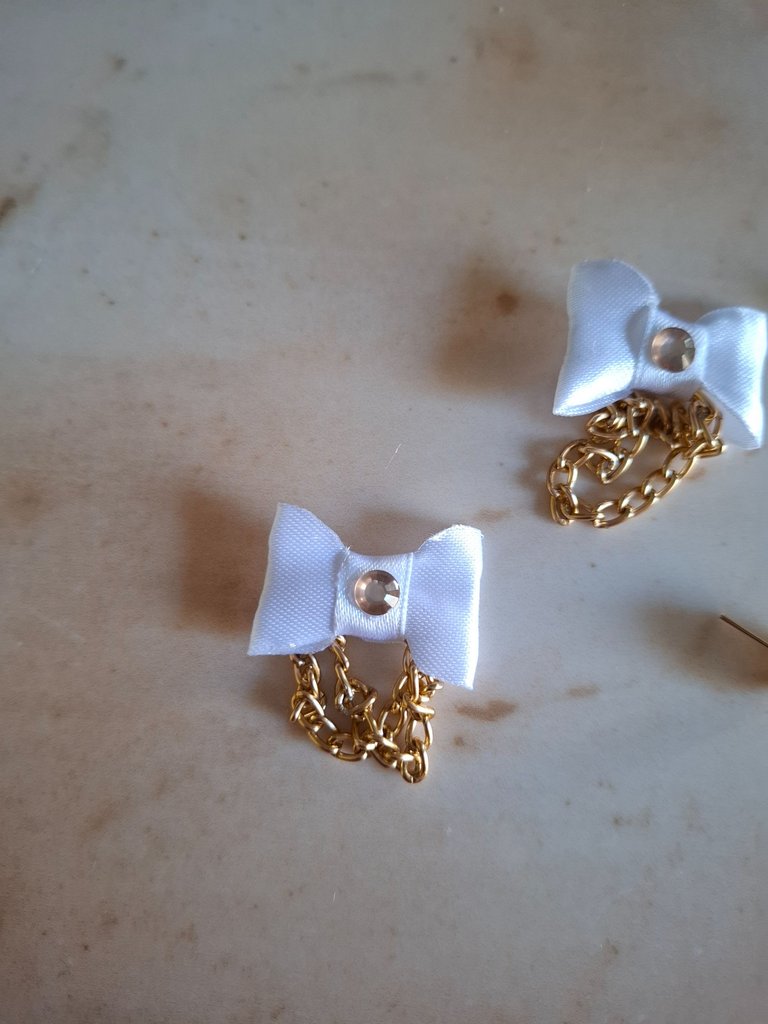
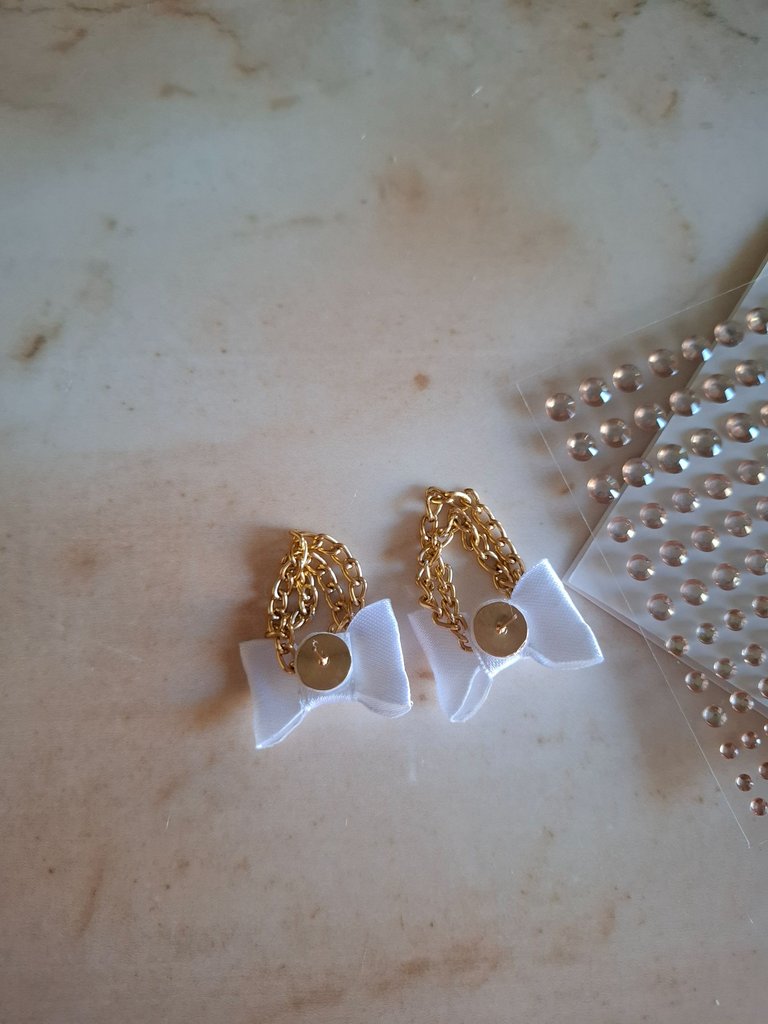
Luego de esto nos aseguramos que no quede ningún hilo suelto ya que puede dañar la cinta, voy a colocar dos pegatinas color claro en el centro del lazo, por último pegamos la base para zarcillos, de esta forma terminé de realizar estos bellos y creativos zarcillos, utilizando materiales de provecho, veremos qué con pocos materiales podemos crear algo sencillo pero bonito y así como en blanco los puedes realizar del color qué mas te guste, espero les haya gustado el resultado.
After this we make sure that there are no loose threads since it can damage the ribbon, I am going to place two light-colored stickers in the center of the bow, lastly we glue the base for tendrils, in this way I finished making these beautiful and creative tendrils Using useful materials, we will see that with just a few materials we can create something simple but beautiful and just as in white you can make them in the color you like the most. I hope you liked the result.
 |  |  |
|---|

Muchas gracias por el apoyo, me siento muy contenta aquí, gracias por la amabilidad y receptividad por parte de cada miembro de la comunidad, un fuerte abrazo, nos vemos en una próxima oportunidad con más ideas creativas.
Thank you very much for the support, I feel very happy here, thank you for the kindness and receptivity on the part of each member of the community, a big hug, see you next time with more creative ideas.


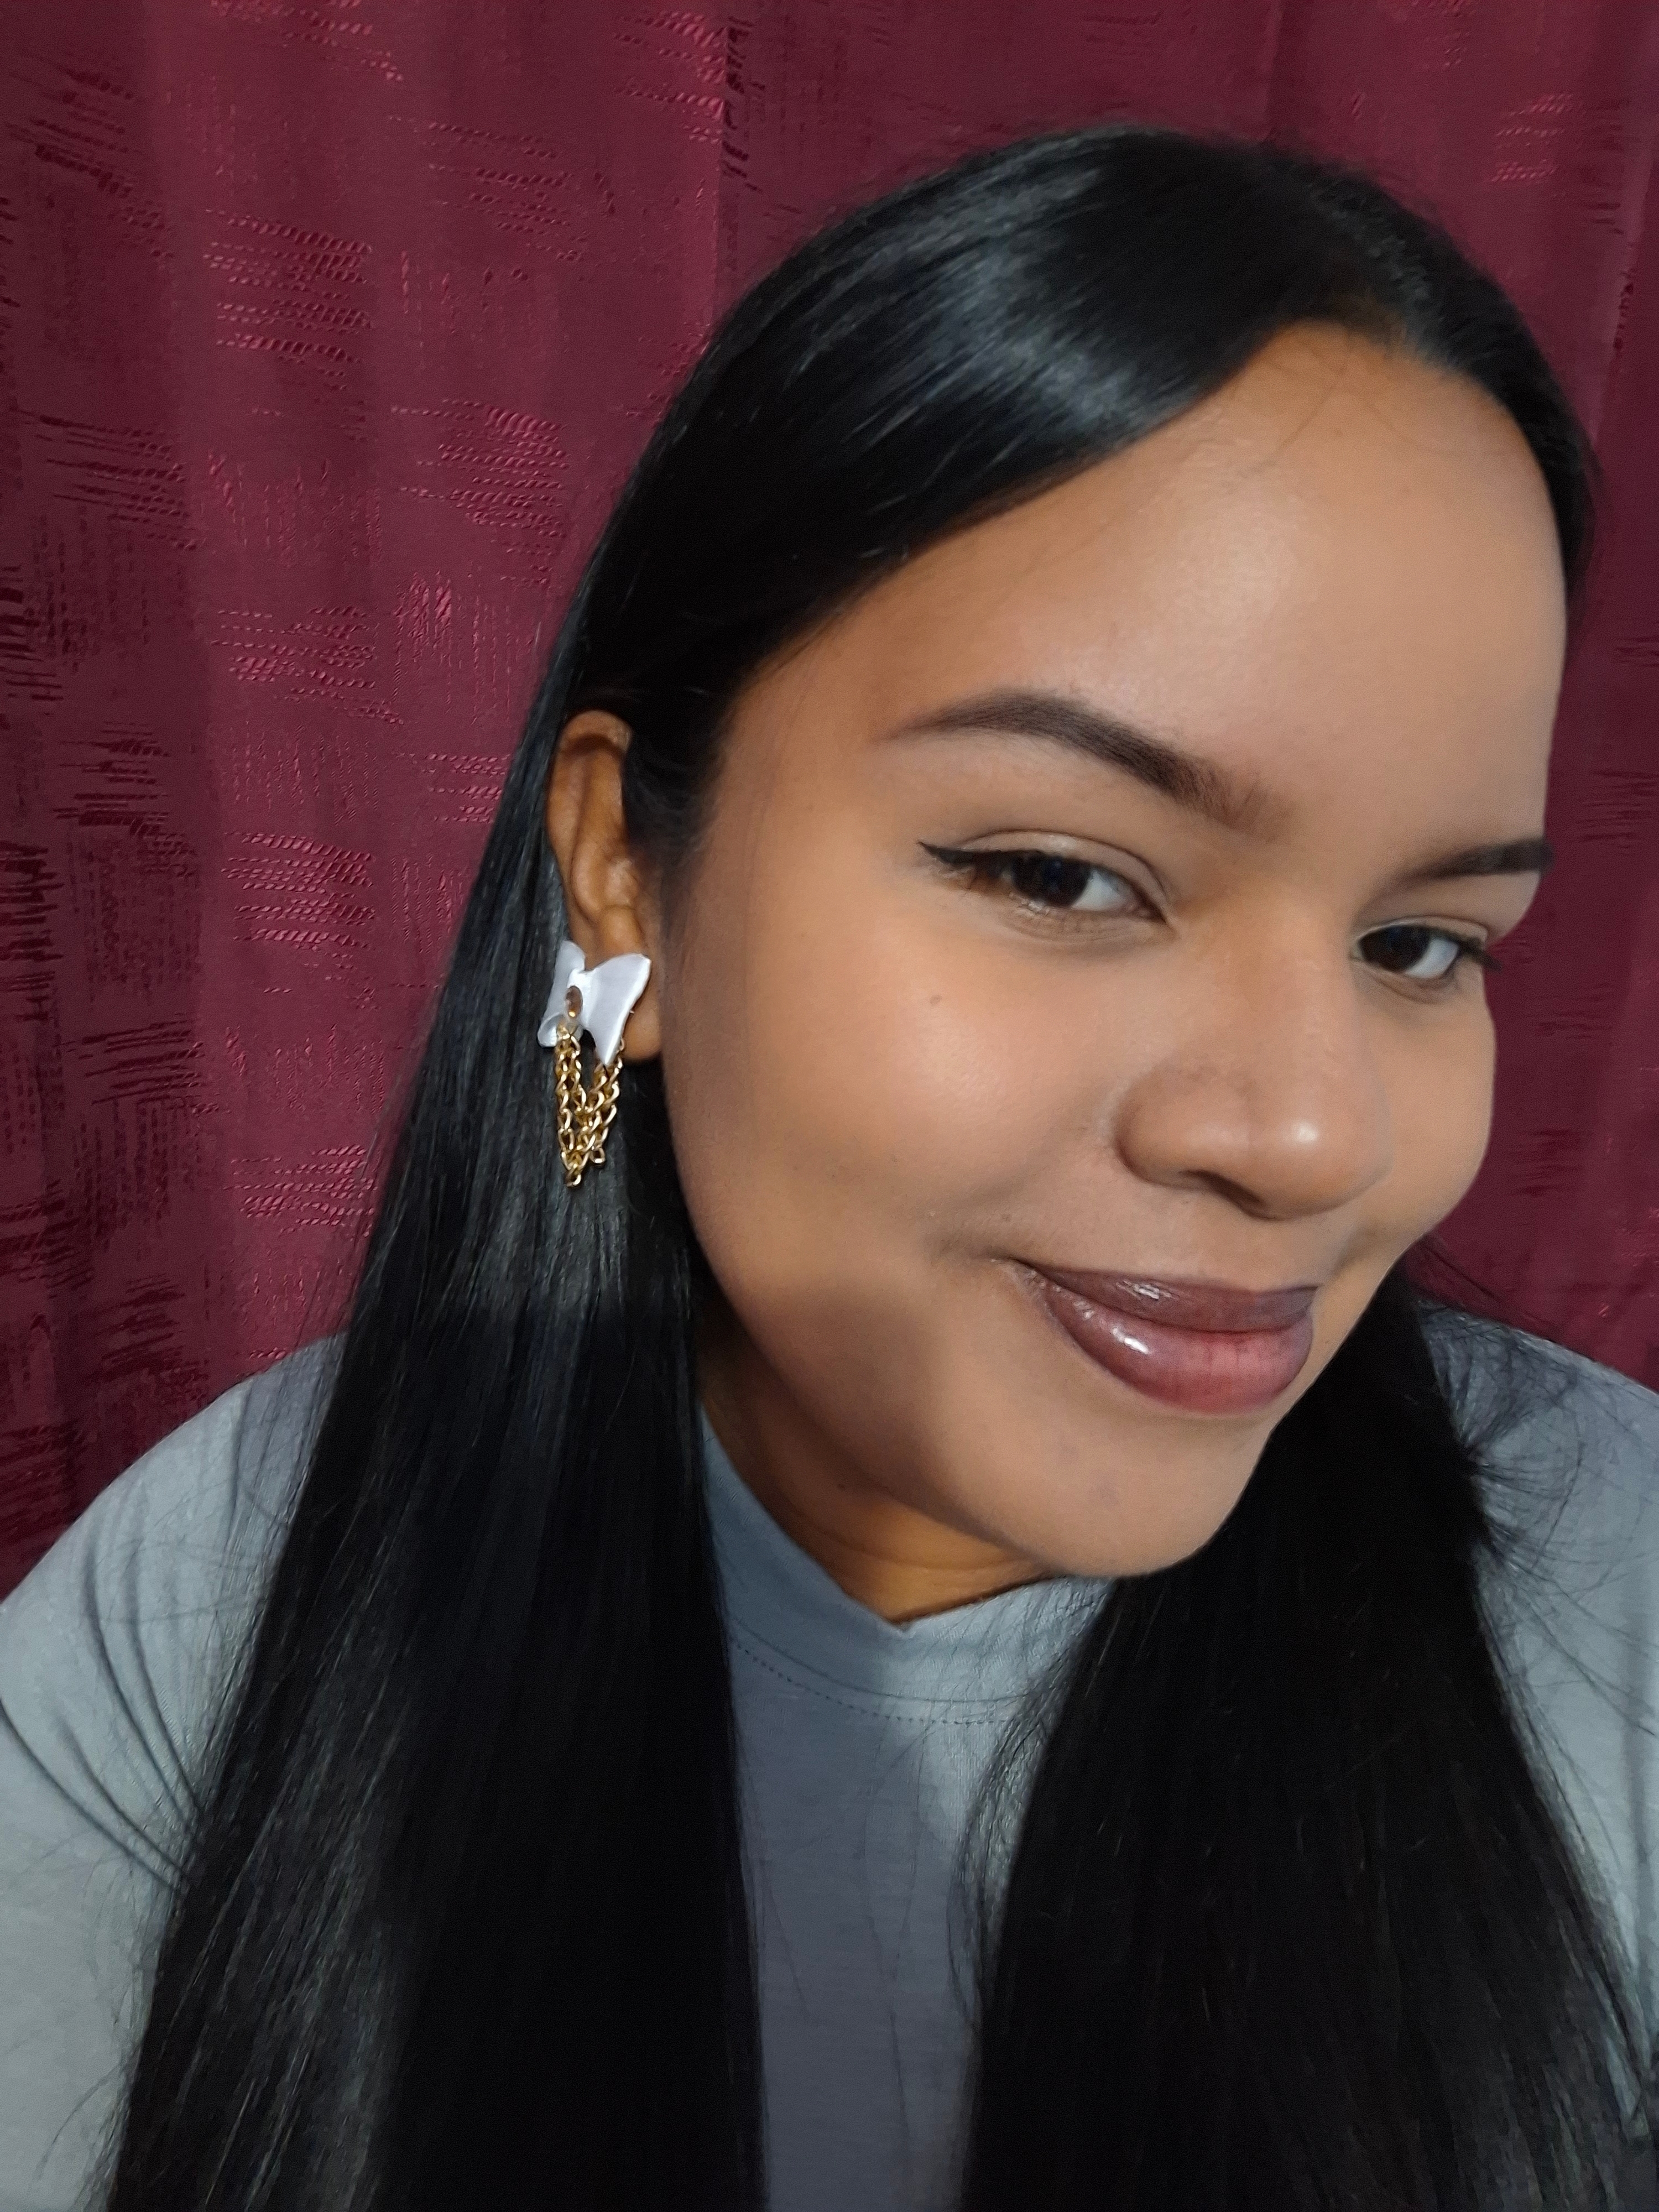

Hermoso amiga te quedó genial como todas las bisuterías que creas ...gracias por compartir
Sending Love and Ecency Curation Vote!
 Follow Eceny's curation trail to earn better APR on your own HP. : )
It is stylish and beautiful. It looks pretty cool. Love its design. It shows your skills. Well done!
It looks simple, beautiful 😍 and perfectly fit on your ears.
Thanks for sharing with us, I wish a great week ahead.
Wow,this is so nice
I love this,is really beautiful