Muñeco de nieve para decorar espacios en esta navidad ⛄🎄 / Snowman to decorate spaces this Christmas.
Muy buenas noches tengan todos, felíz martes amantes de la creatividad, felíz de estar nuevamente en este espacio para compartir nuevas ideas de manualidades, esta semana estoy planeando ir al centro a comprar algunos materiales que me puedan ser útiles en la elaboración de ideas navideñas 🎄 mientras tanto hoy les quiero compartir una nueva y linda creación.
Have a very good night everyone, happy Tuesday creativity lovers, happy to be in this space again to share new craft ideas, this week I am planning to go downtown to buy some materials that can be useful in making Christmas ideas 🎄 Meanwhile today I want to share with you a new and beautiful creation.
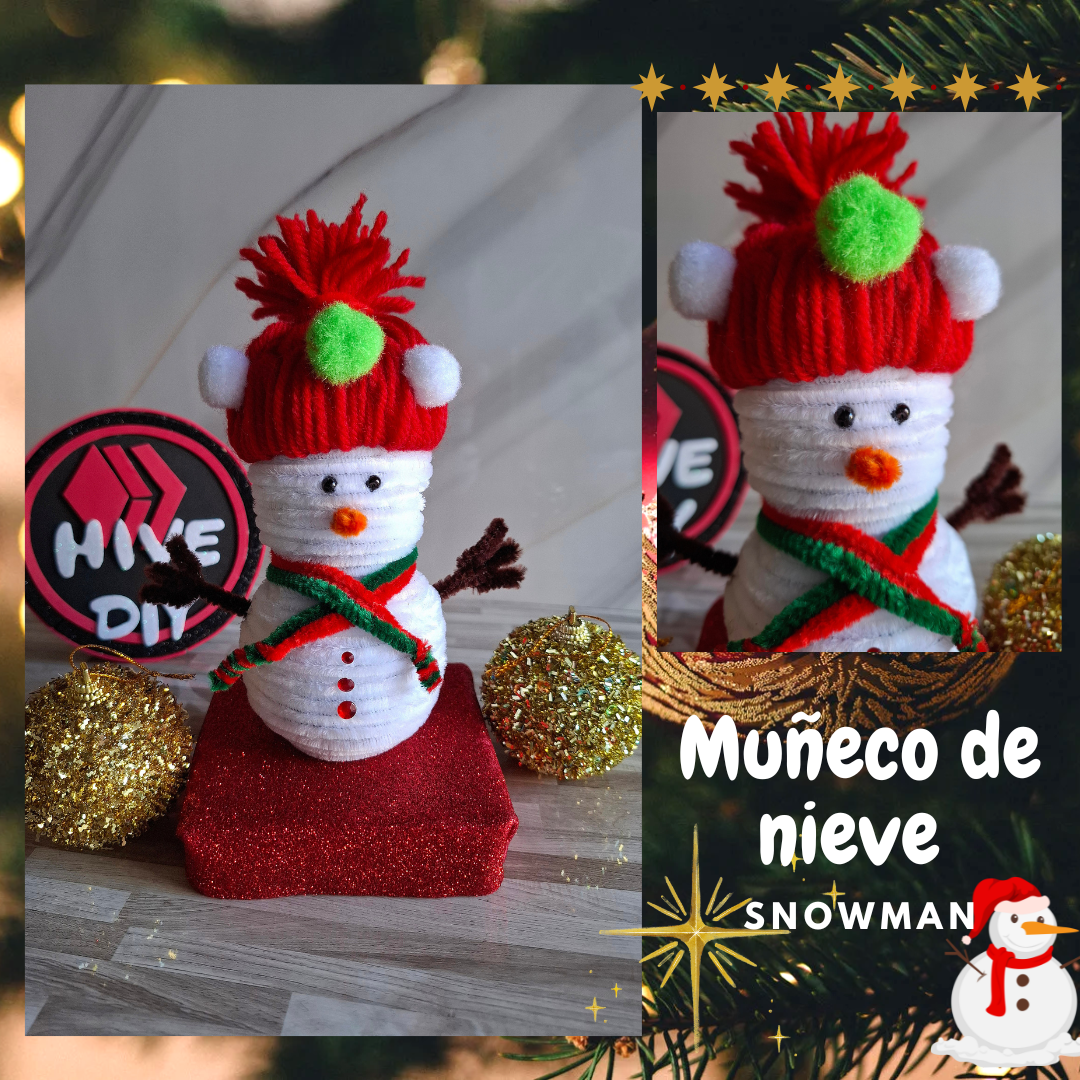
Realicé un muñeco de nieve ideal para decorar espacios en esta navidad, utilizando pelotas de anime, limpiapipas, estambre, yo lo realicé pequeño y ya estoy pensando colocarlo junto al árbol en la parte inferior, me encanta esta idea de poder realizar nuestros propios adornos, me pone feliz ya que me gusta mucho esta temporada y hay demasiadas ideas por crear, a continuación los materiales y el paso a paso.
I made a snowman ideal for decorating spaces this Christmas, using anime balls, pipe cleaners, yarn, I made it small and I'm already thinking of placing it next to the tree at the bottom, I love this idea of being able to make our own decorations, It makes me happy since I really like this season and there are too many ideas to create, below are the materials and the step by step.

| Materiales | Materials |
|---|---|
| Tijera | Scissors |
| Silicón | Silicone |
| Esferas de anime #5 y #7 | Anime spheres #5 and #7 |
| Limpiapipas color blanco | White pipe cleaner |
| Limpiapipas verdes y rojo | Green and red pipe cleaners |
| Limpiapipas marrón | Brown pipe cleaner |
| Estambre color rojo | Red stamen |
| Pompones blanco y verde | White and green pompoms |
| Limpiapipas naranja | Orange pipe cleaner |
| 2 perlas color negro | 2 black pearls |
| Pegatinas color rojo | Red stickers |
| Foami rojo escarchado | Frosty red foam |
| Base de cartón | Cardboard base |
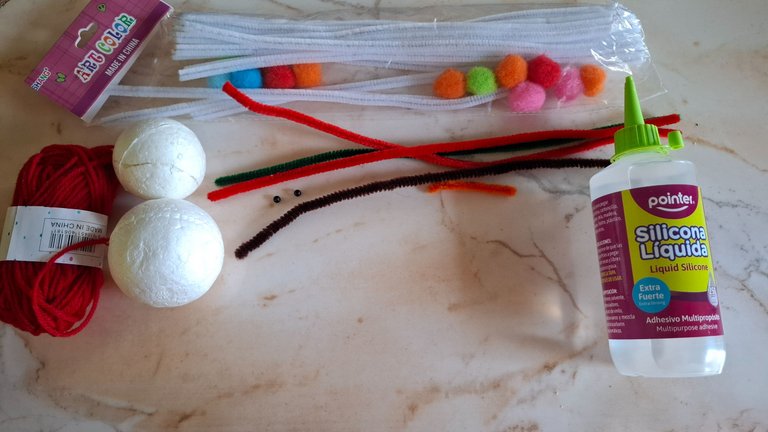

Paso a paso / Step by step
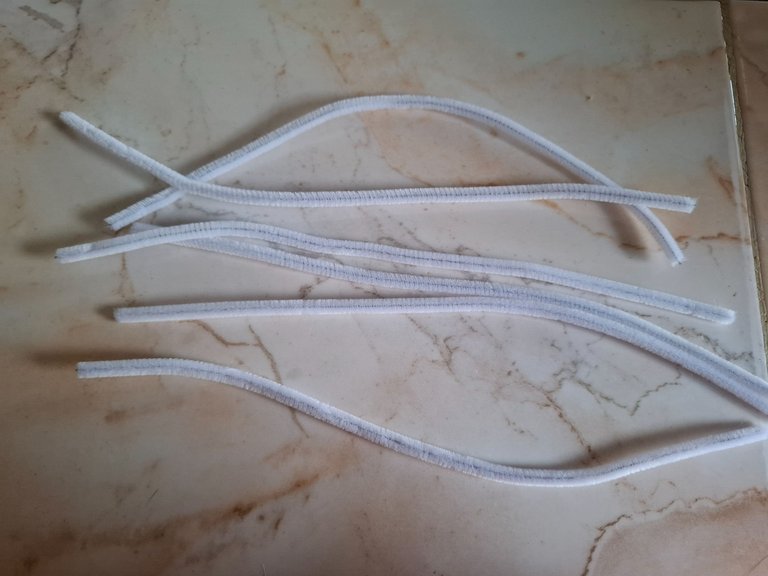
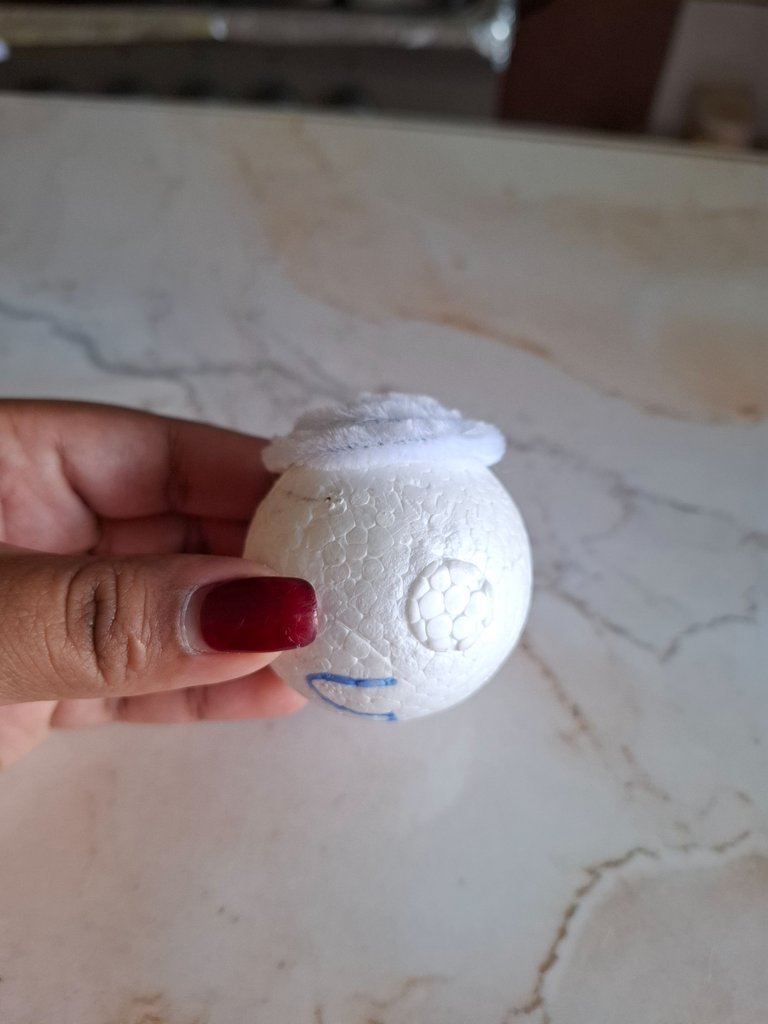
El primer paso se trata de comenzar a envolver las esferas de anime con los limpiapipas blancos, la cantidad que vamos a utilizar depende del tamaño que elijan de las esferas, yo utilicé aproximadamente diez.
The first step is to start wrapping the anime spheres with the white pipe cleaners, the amount we are going to use depends on the size of the spheres you choose, I used approximately ten.
 |  |  |
|---|

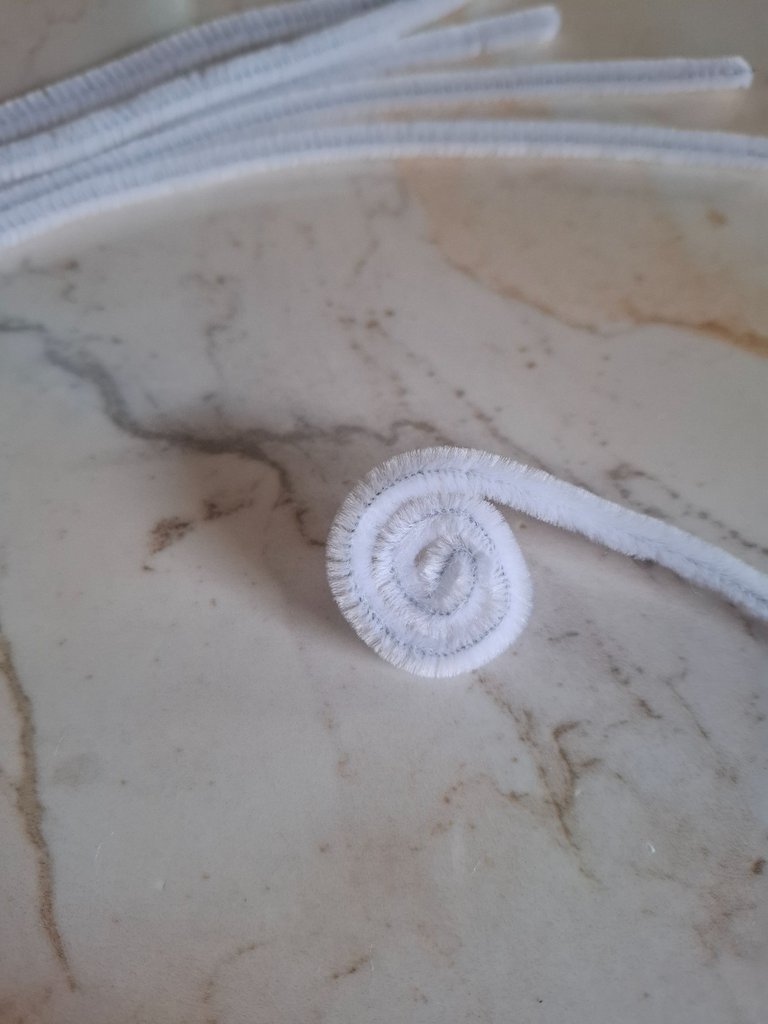
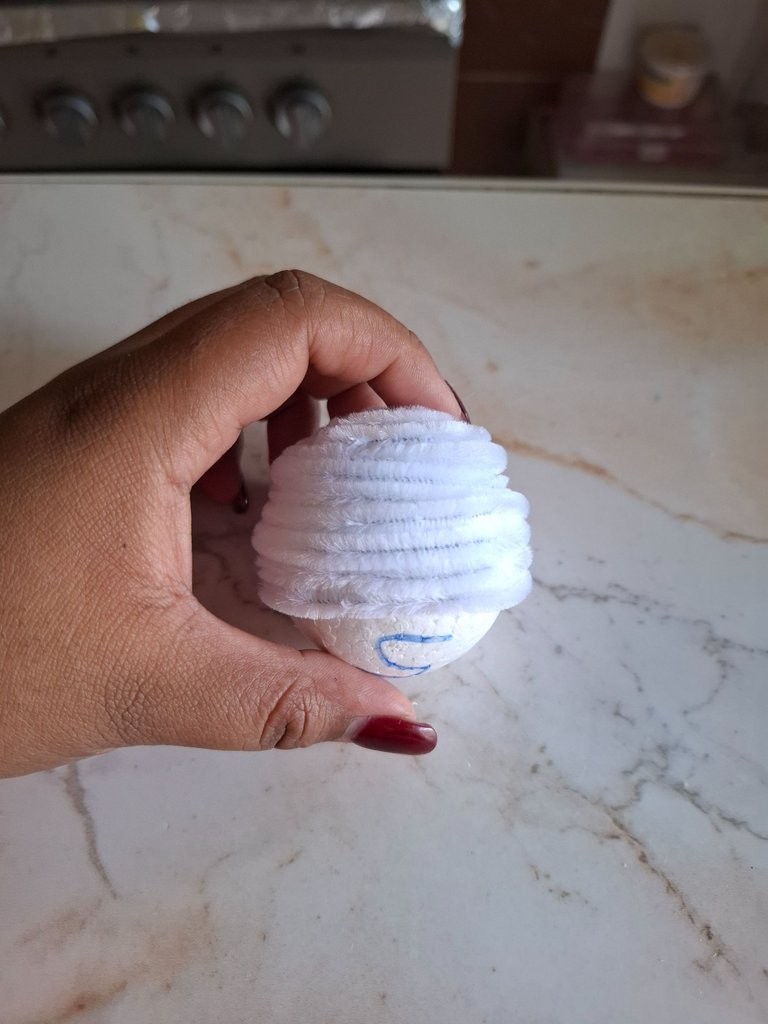
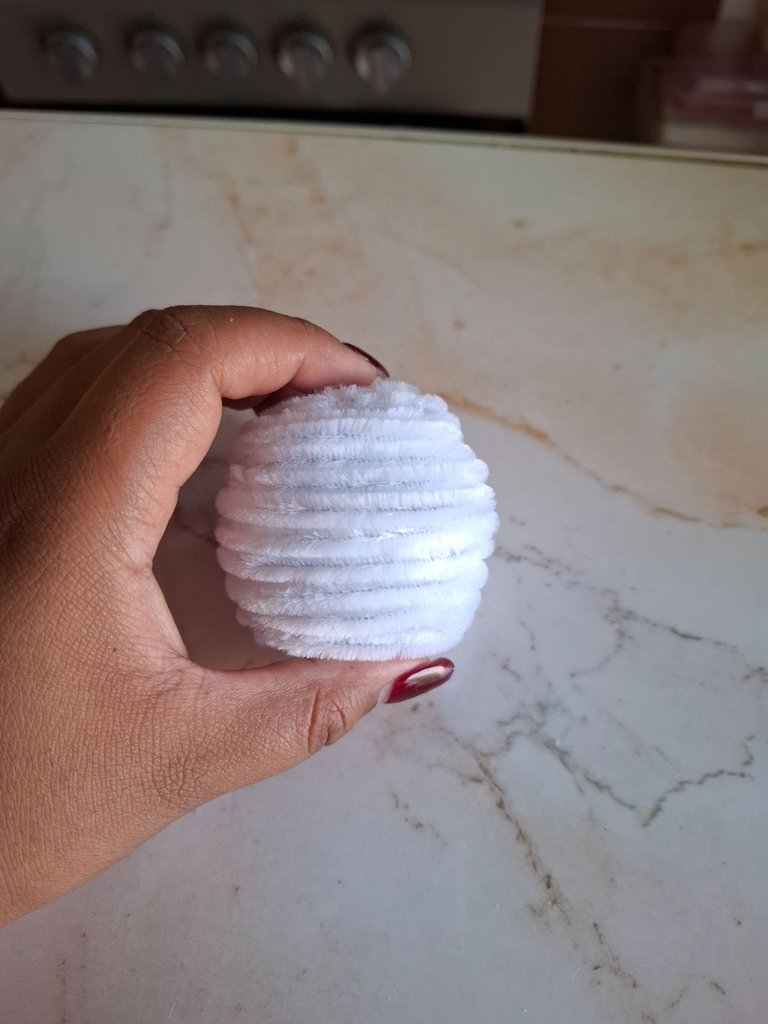
Voy a tomar un limpiapipas blanco y formé un espiral, lo voy a pegar en el centro de la bolita anime con silicón, luego voy a comenzar colocar el resto de los limpiapipas, es importante que no quede partes a la mitad por lo menos en la parte frontal, esto lo realicé con las dos esferas.
I'm going to take a white pipe cleaner and form a spiral, I'm going to stick it in the center of the anime ball with silicone, then I'm going to start placing the rest of the pipe cleaners, it's important that there are no parts in the middle at least in the front part, I did this with the two spheres.
 |  |  |
|---|

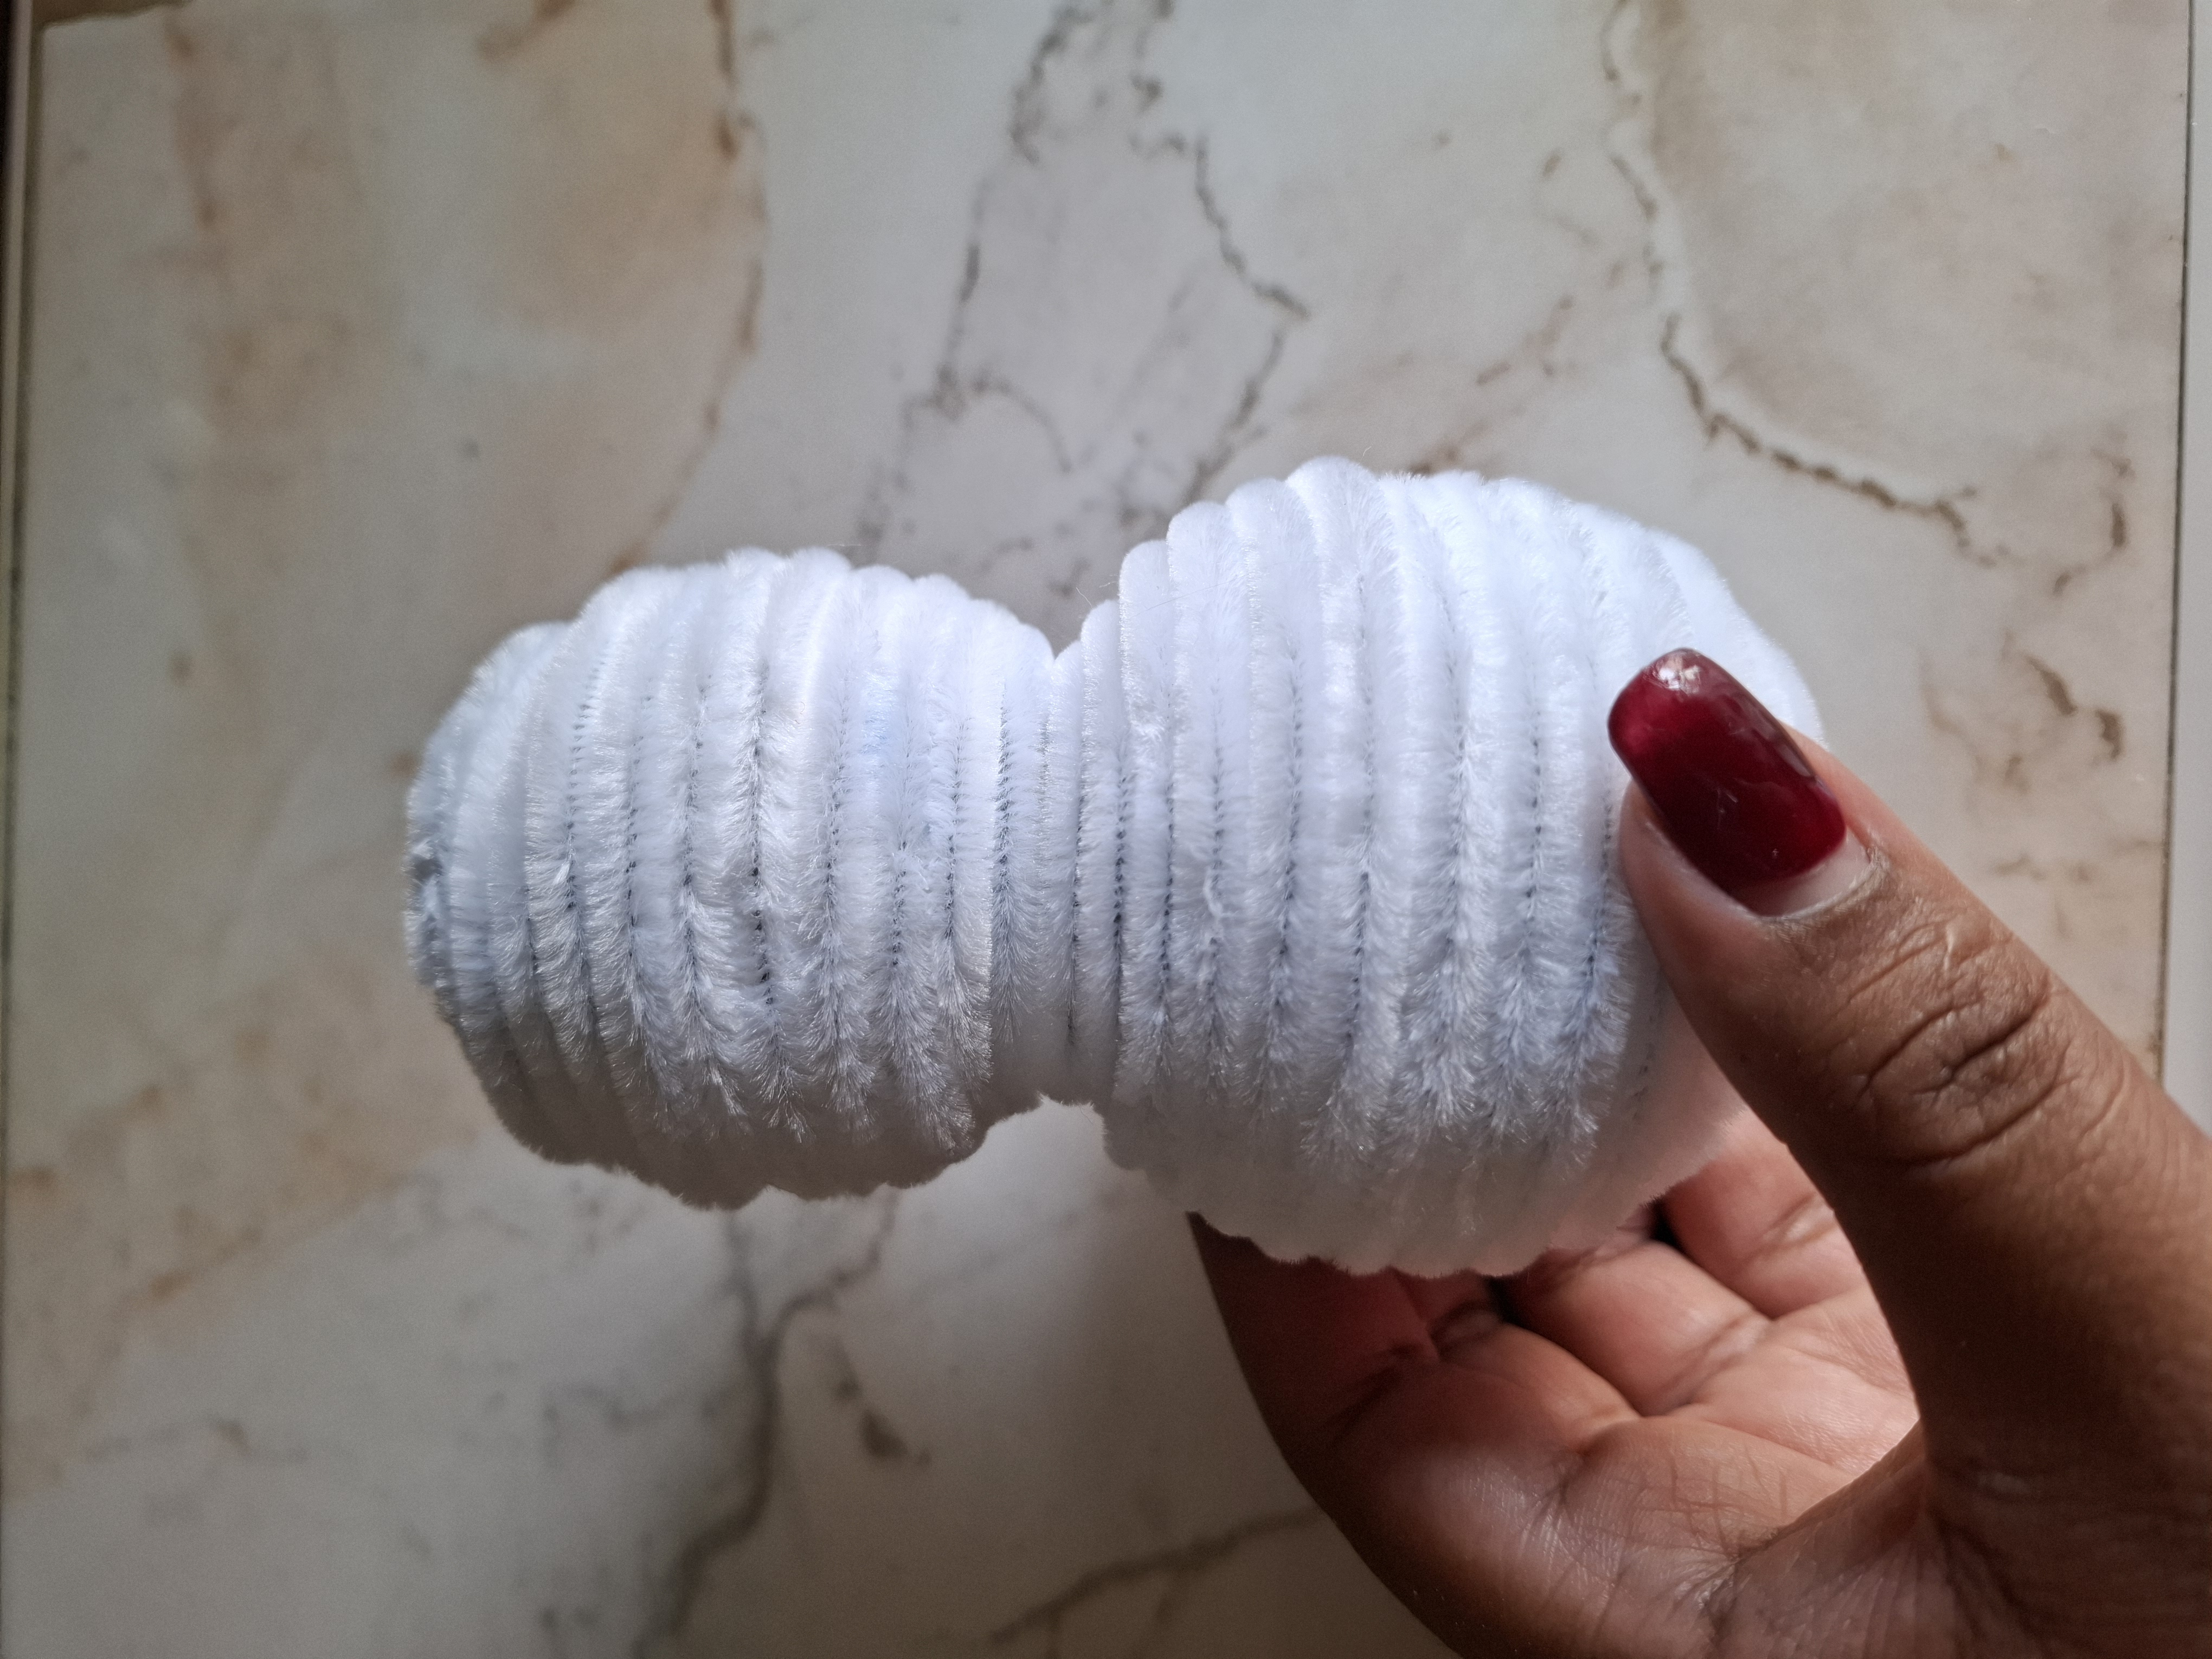
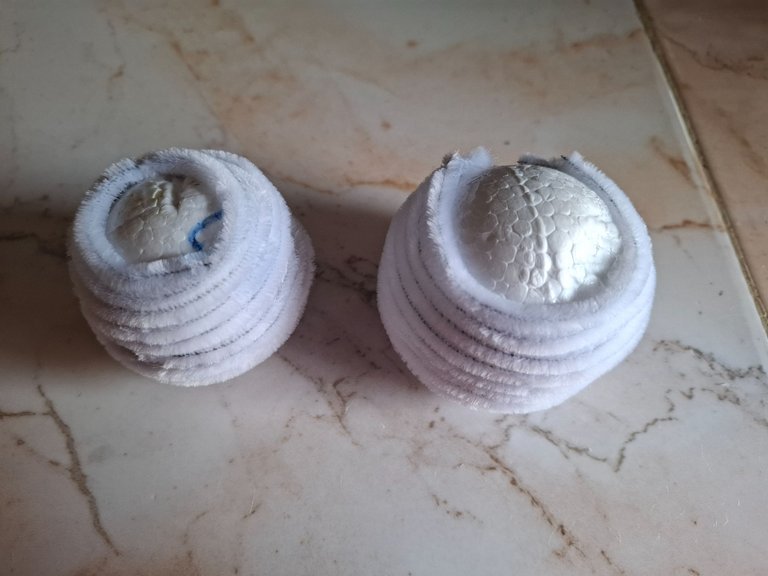
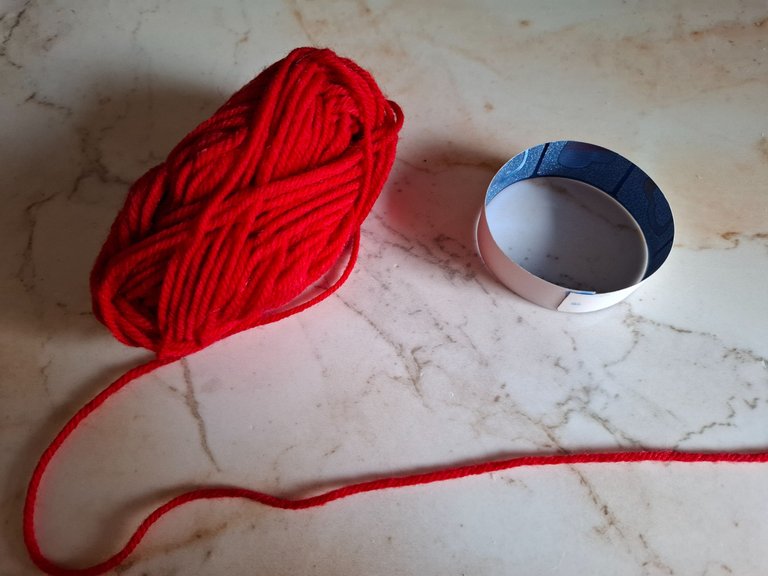
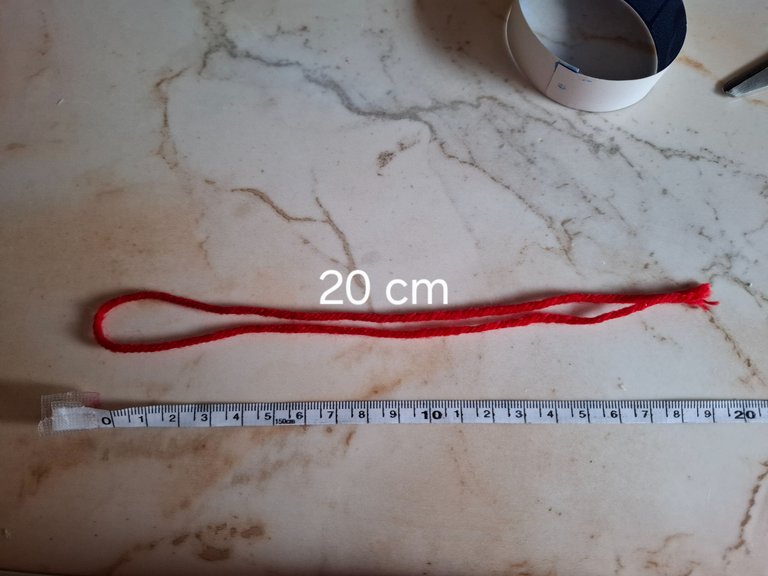
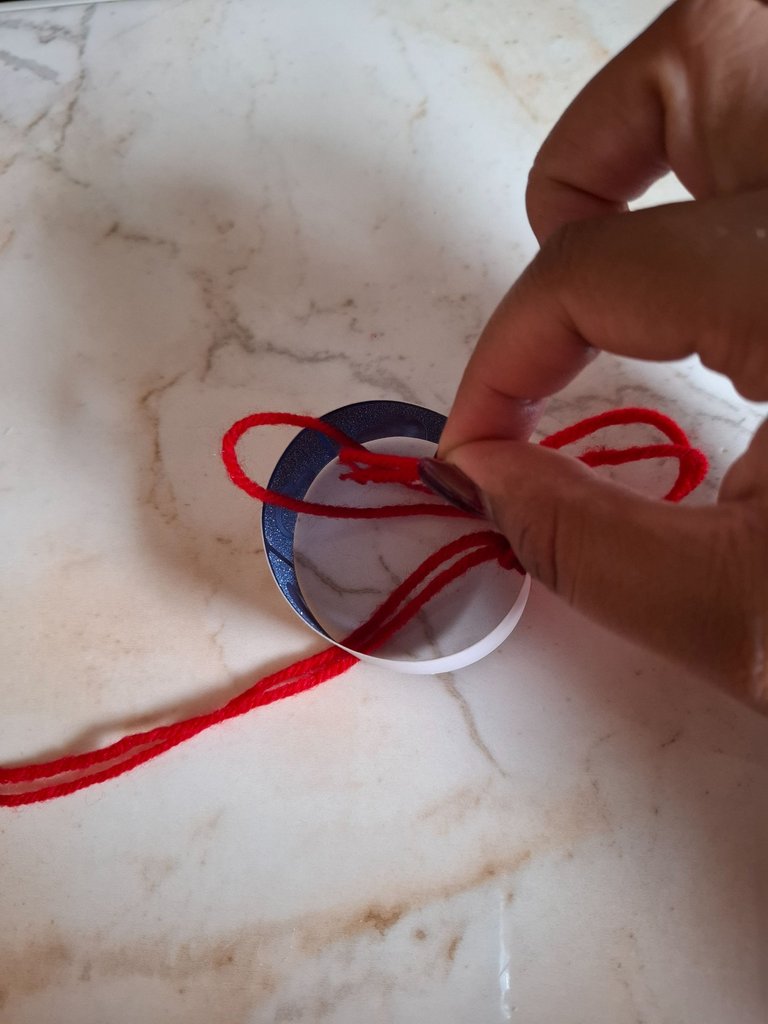
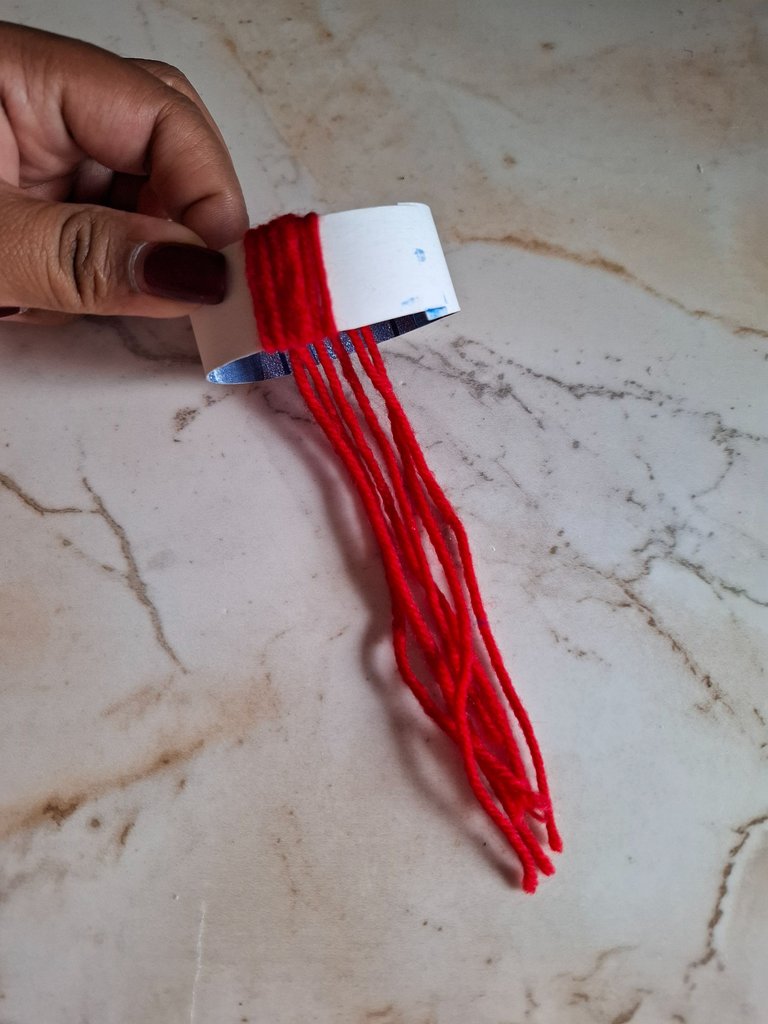
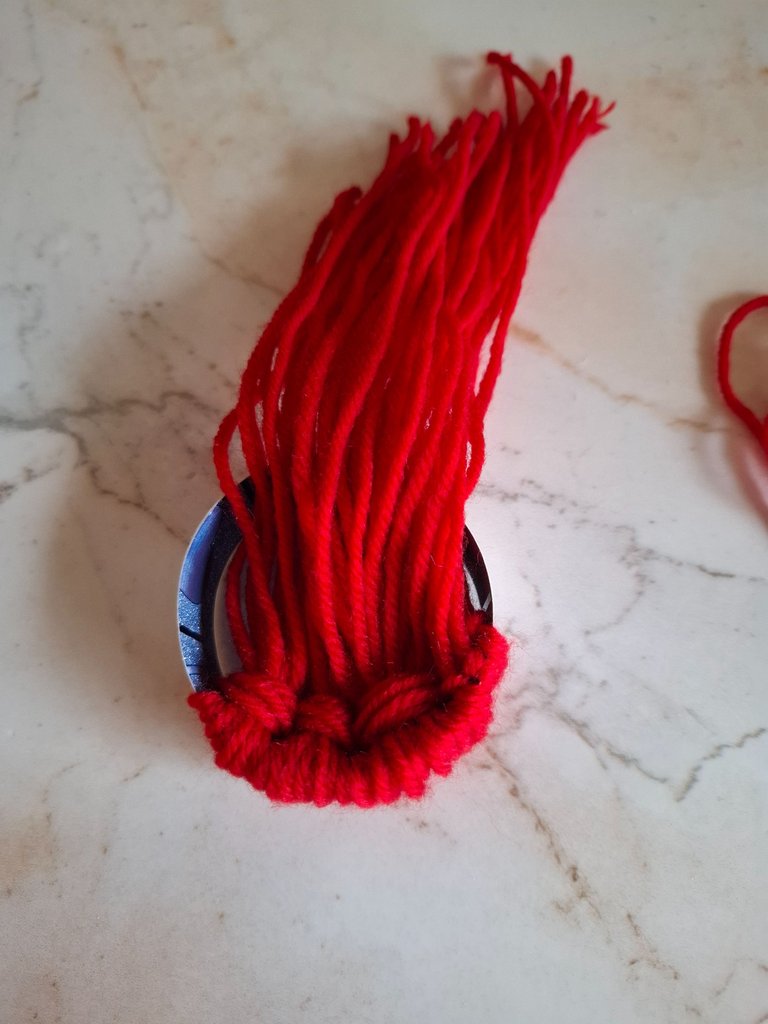
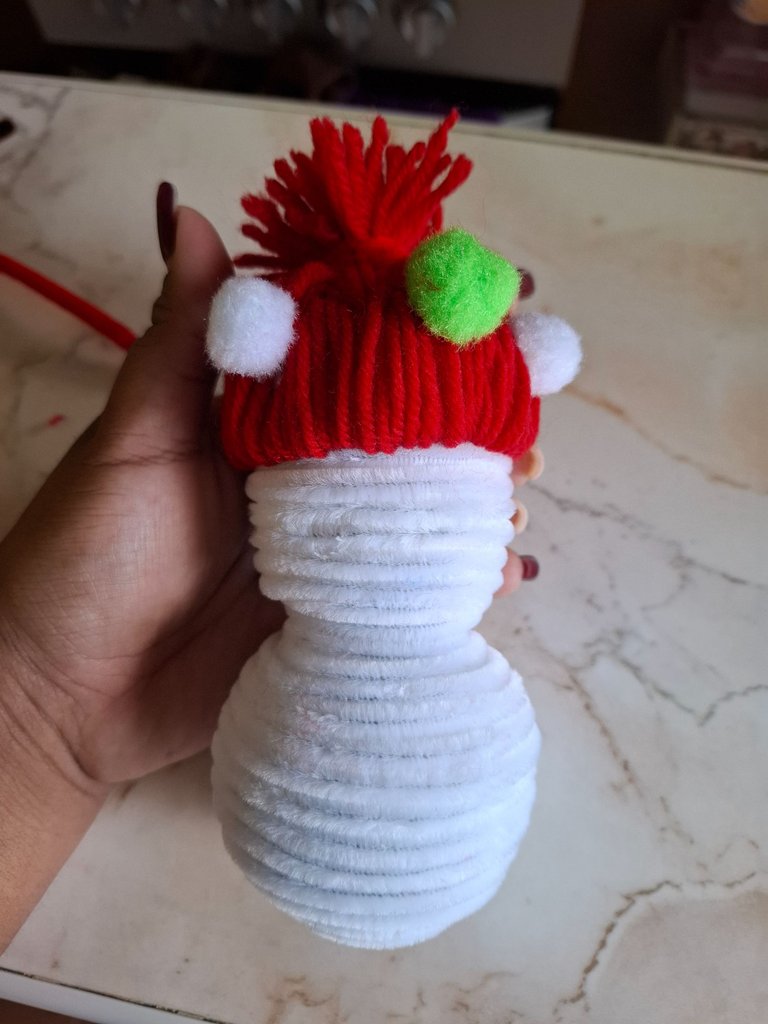
Luego voy a unir ambas esferas la más pequeña será la cabeza, el siguiente paso es realizar el gorrito de navidad, para esto corte un retazo de cartulina del tamaño de la circunferencia de la cabeza, voy a cortar 20 cm de estambre rojo voy a entrelazar cada parte que quede el nudo por dentro del cartón, este paso lo voy a realizar hasta cubrir todo.
Then I am going to join both spheres, the smallest will be the head, the next step is to make the Christmas hat, for this I cut a piece of cardboard the size of the circumference of the head, I am going to cut 20 cm of red yarn, I am going to intertwine each part that the knot remains inside the cardboard, I will do this step until everything is covered.
 |  |  |
|---|
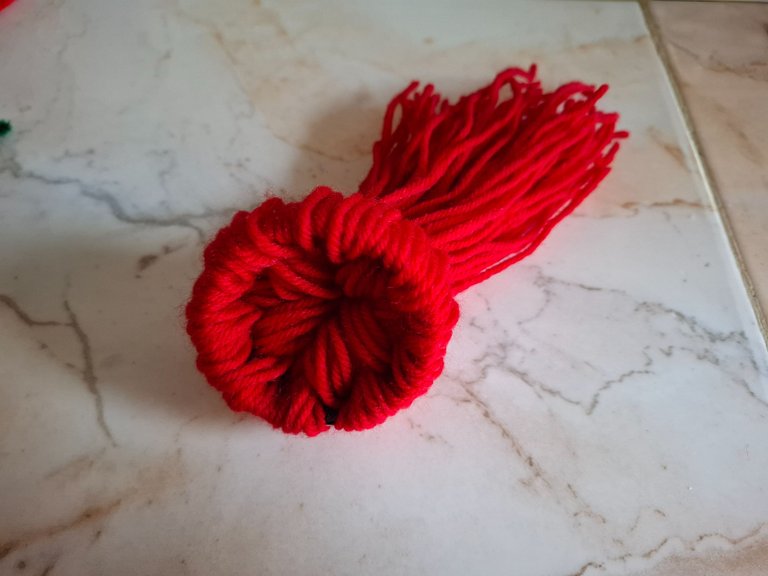
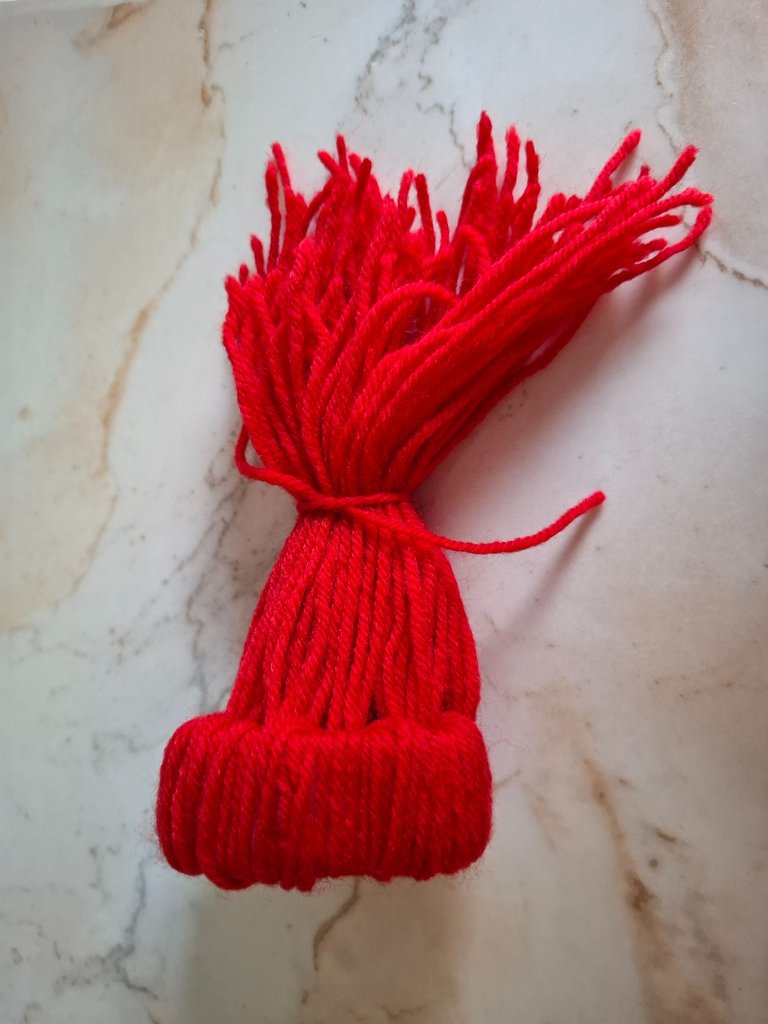
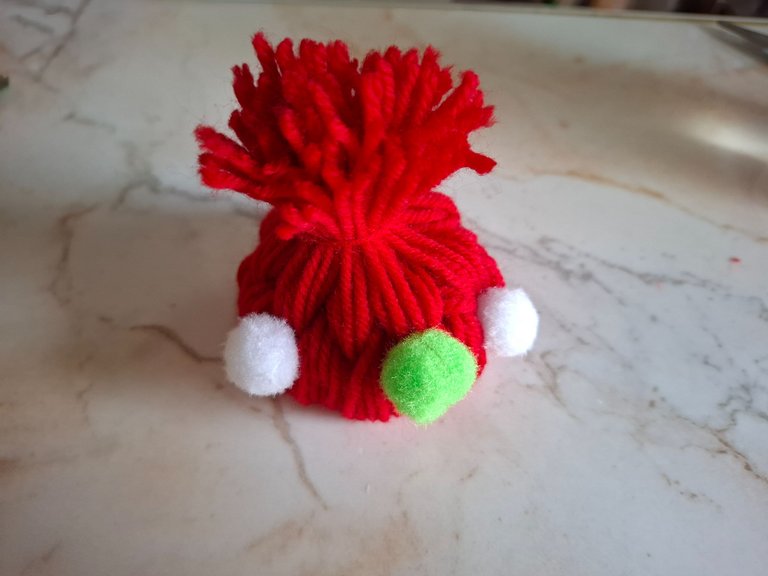
Luego voy a pasar a través del orificio el estambre sobrante hacia el otro lado, podemos colocar un poquito de relleno para dar firmeza al gorro, luego con el mismo estambre rojo realizamos un nudo en el centro dependiendo el tamaño que quieras el gorrito, cortamos el sobrante en la parte inferior con la tijera, también coloqué tres pompones en la parte frontal del gorro para decorar.
Then I am going to pass the excess yarn through the hole to the other side, we can place a little filling to give firmness to the hat, then with the same red yarn we make a knot in the center depending on the size you want the hat, we cut the left over at the bottom with the scissors, I also placed three pompoms on the front of the hat to decorate.
 |  |  |
|---|
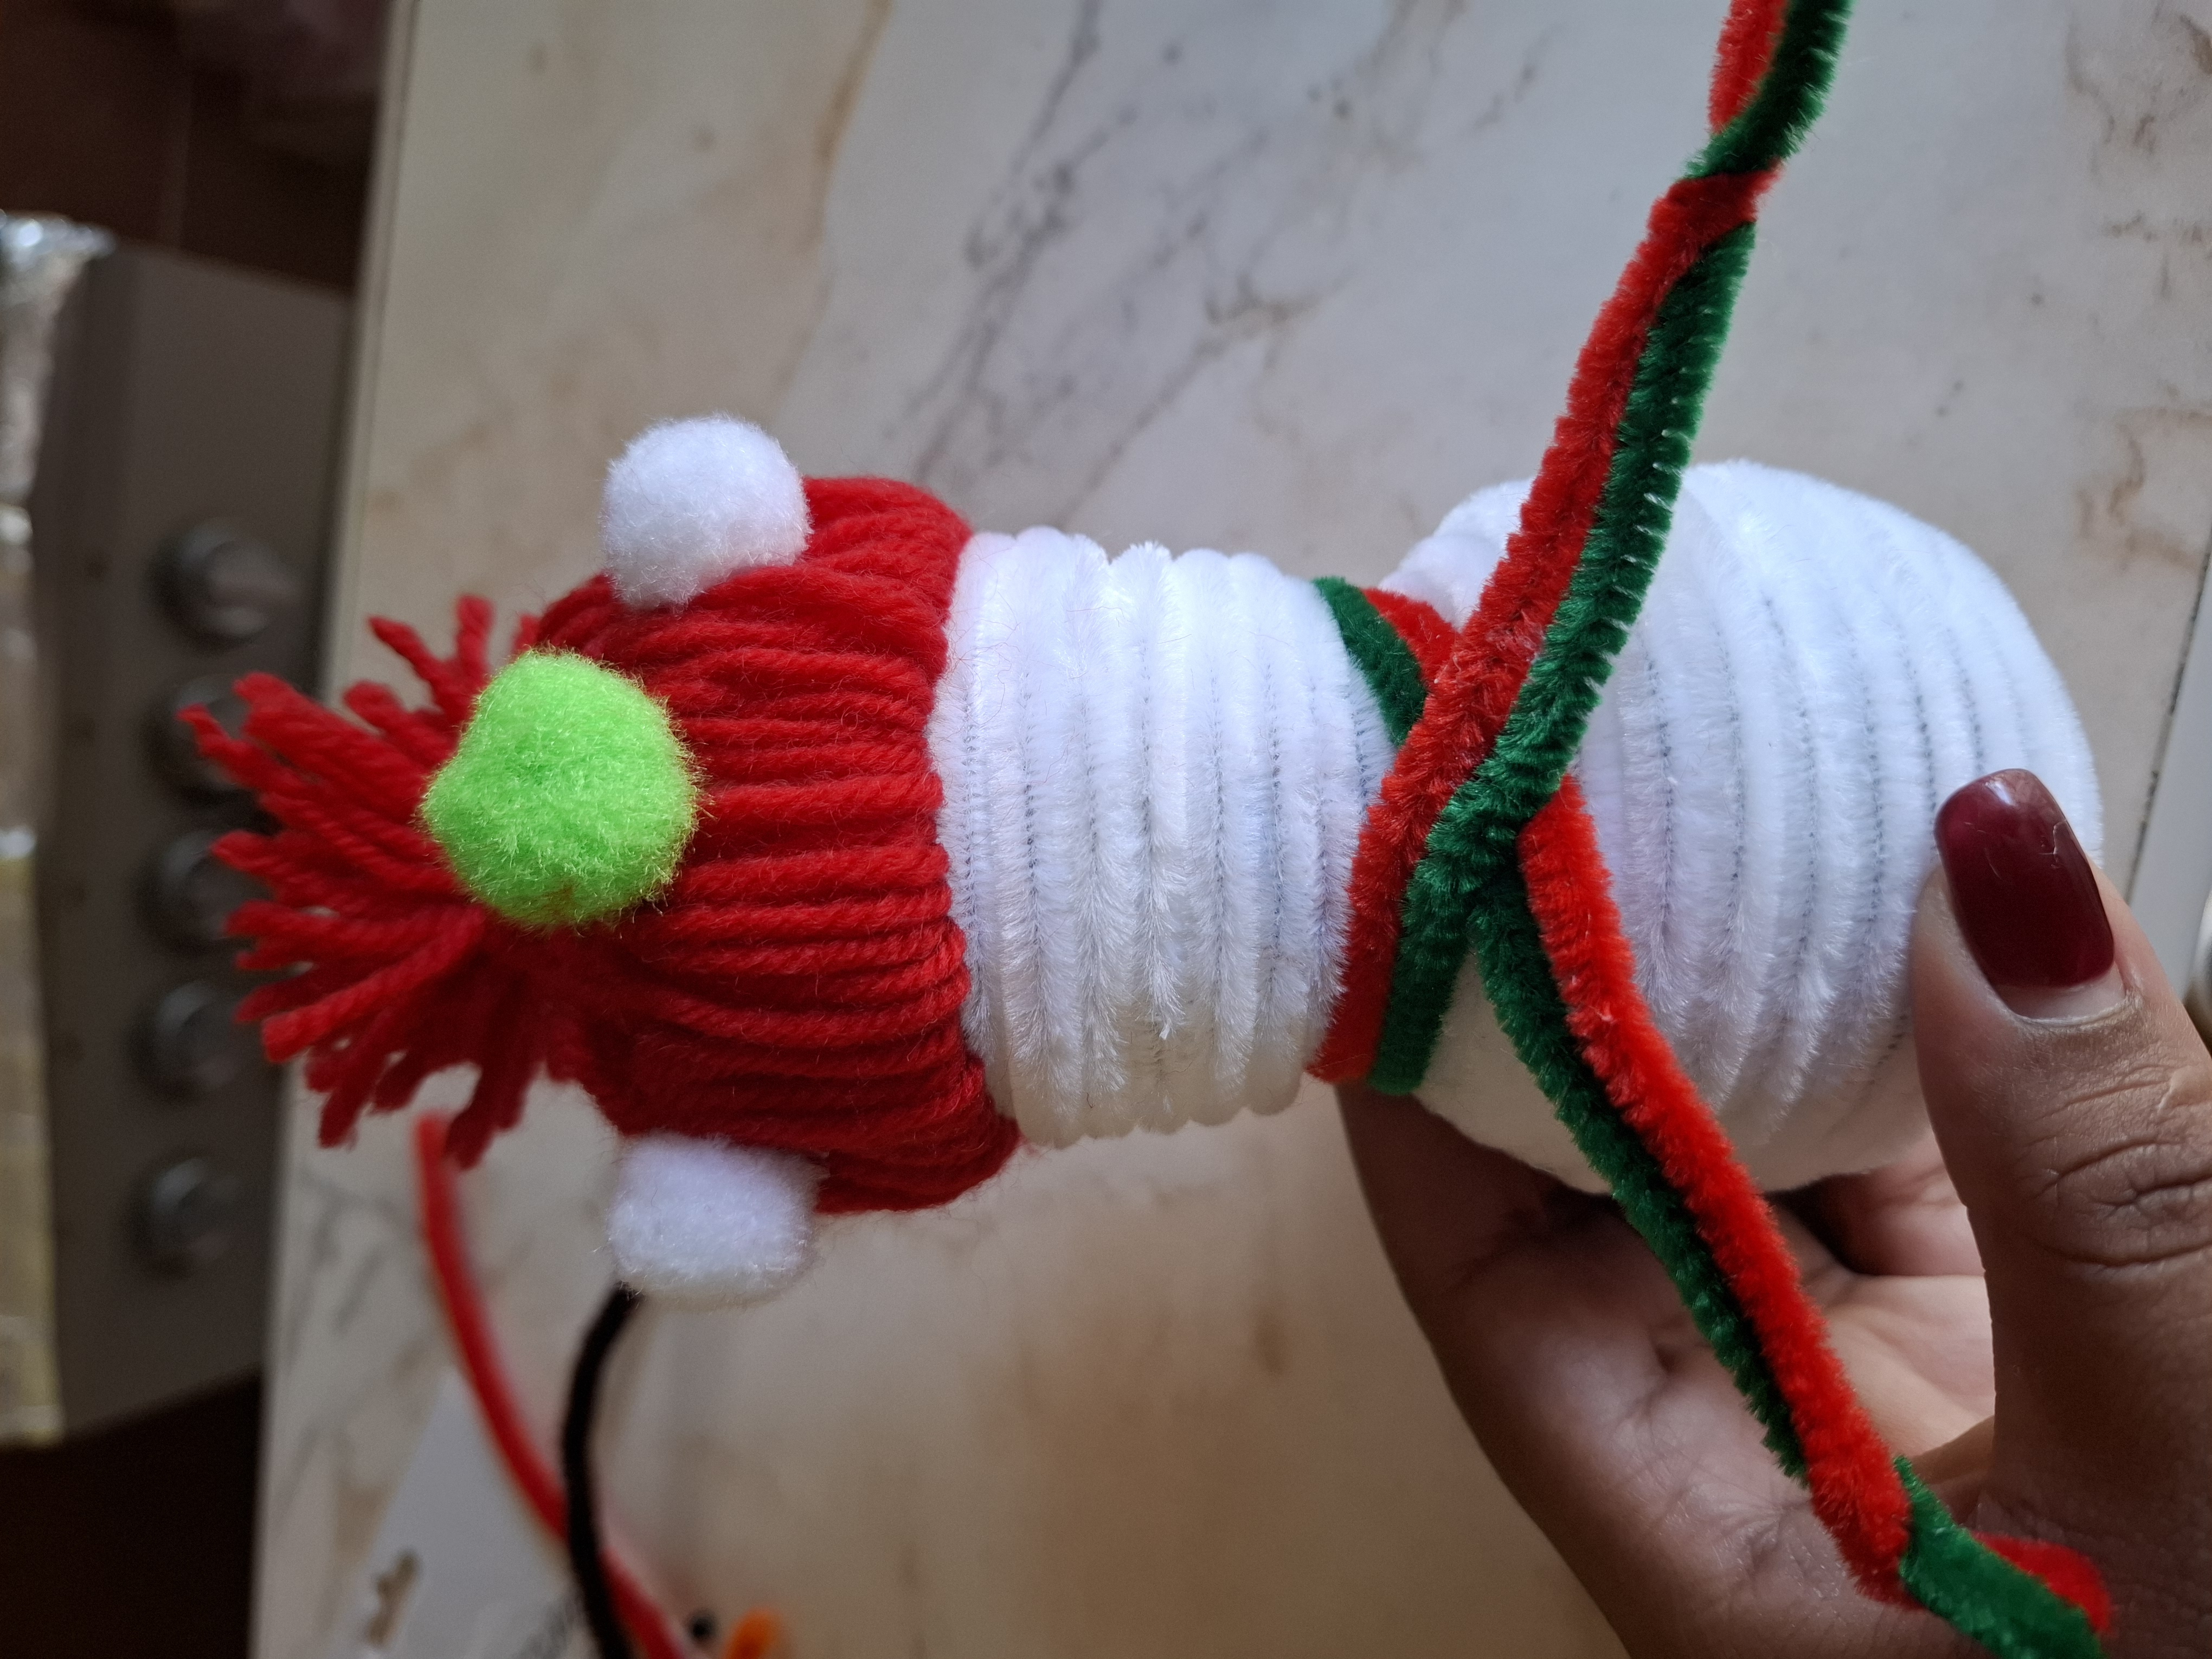
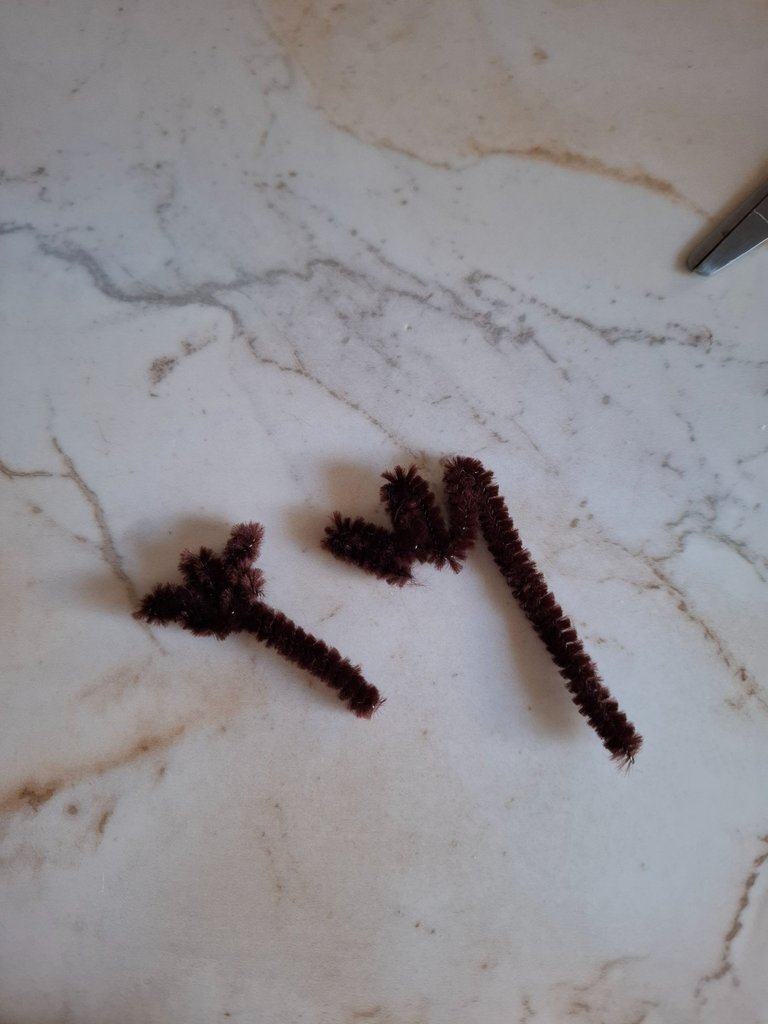
Con un limpiapipas verde y uno rojo voy a unir ambos para realizar la bufanda, cortamos y la pegamos, para los ojos utilicé dos perlas color negro y para la nariz utilicé un pequeño retazo de limpiapipas naranja, con limpiapipas marrón realicé las manos.
With a green pipe cleaner and a red one I am going to join both to make the scarf, we cut and glue it, for the eyes I used two black beads and for the nose I used a small piece of orange pipe cleaner, with brown pipe cleaner I made the hands.
 |  |  |
|---|

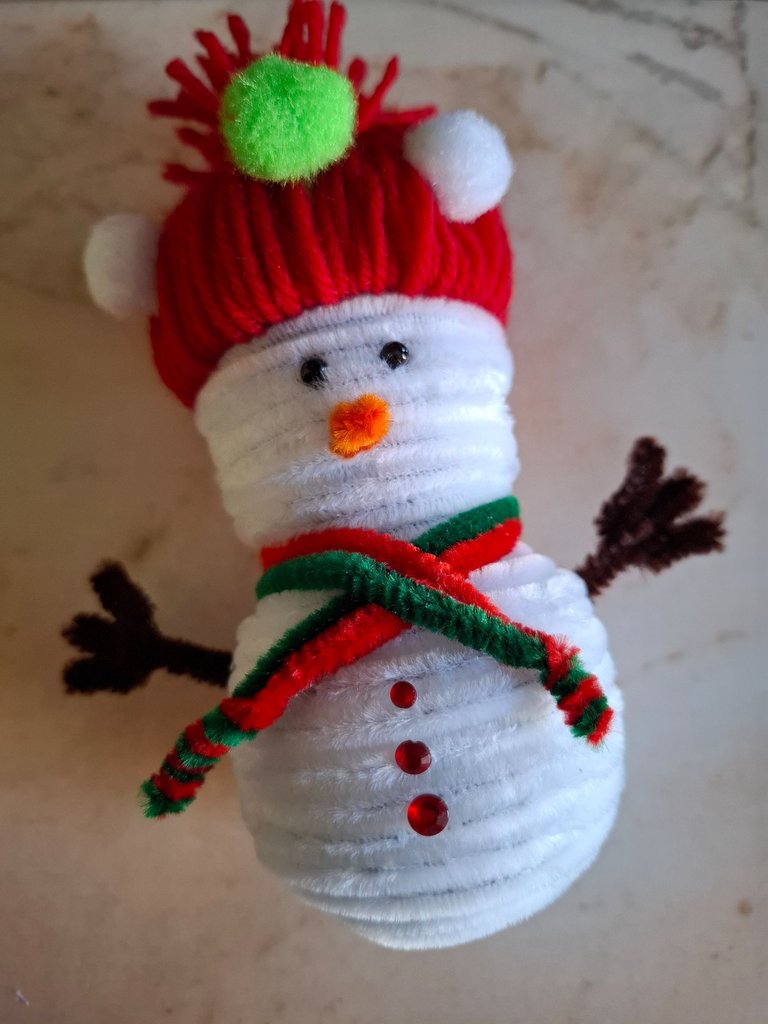
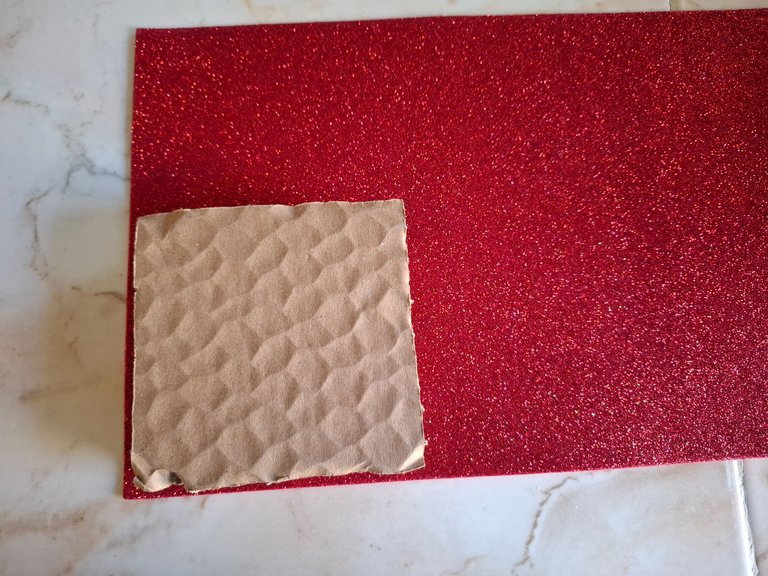
Por último coloqué las pegatinas rojas en el centro para decorar, para la base utilicé un cuadrito de cartón y lo envolví en el foami rojo escarchado, lo ubicamos en el centro y listo.
Finally, I placed the red stickers in the center to decorate, for the base I used a small cardboard square and wrapped it in the frosty red foam, we placed it in the center and that's it.
 |  |  |
|---|
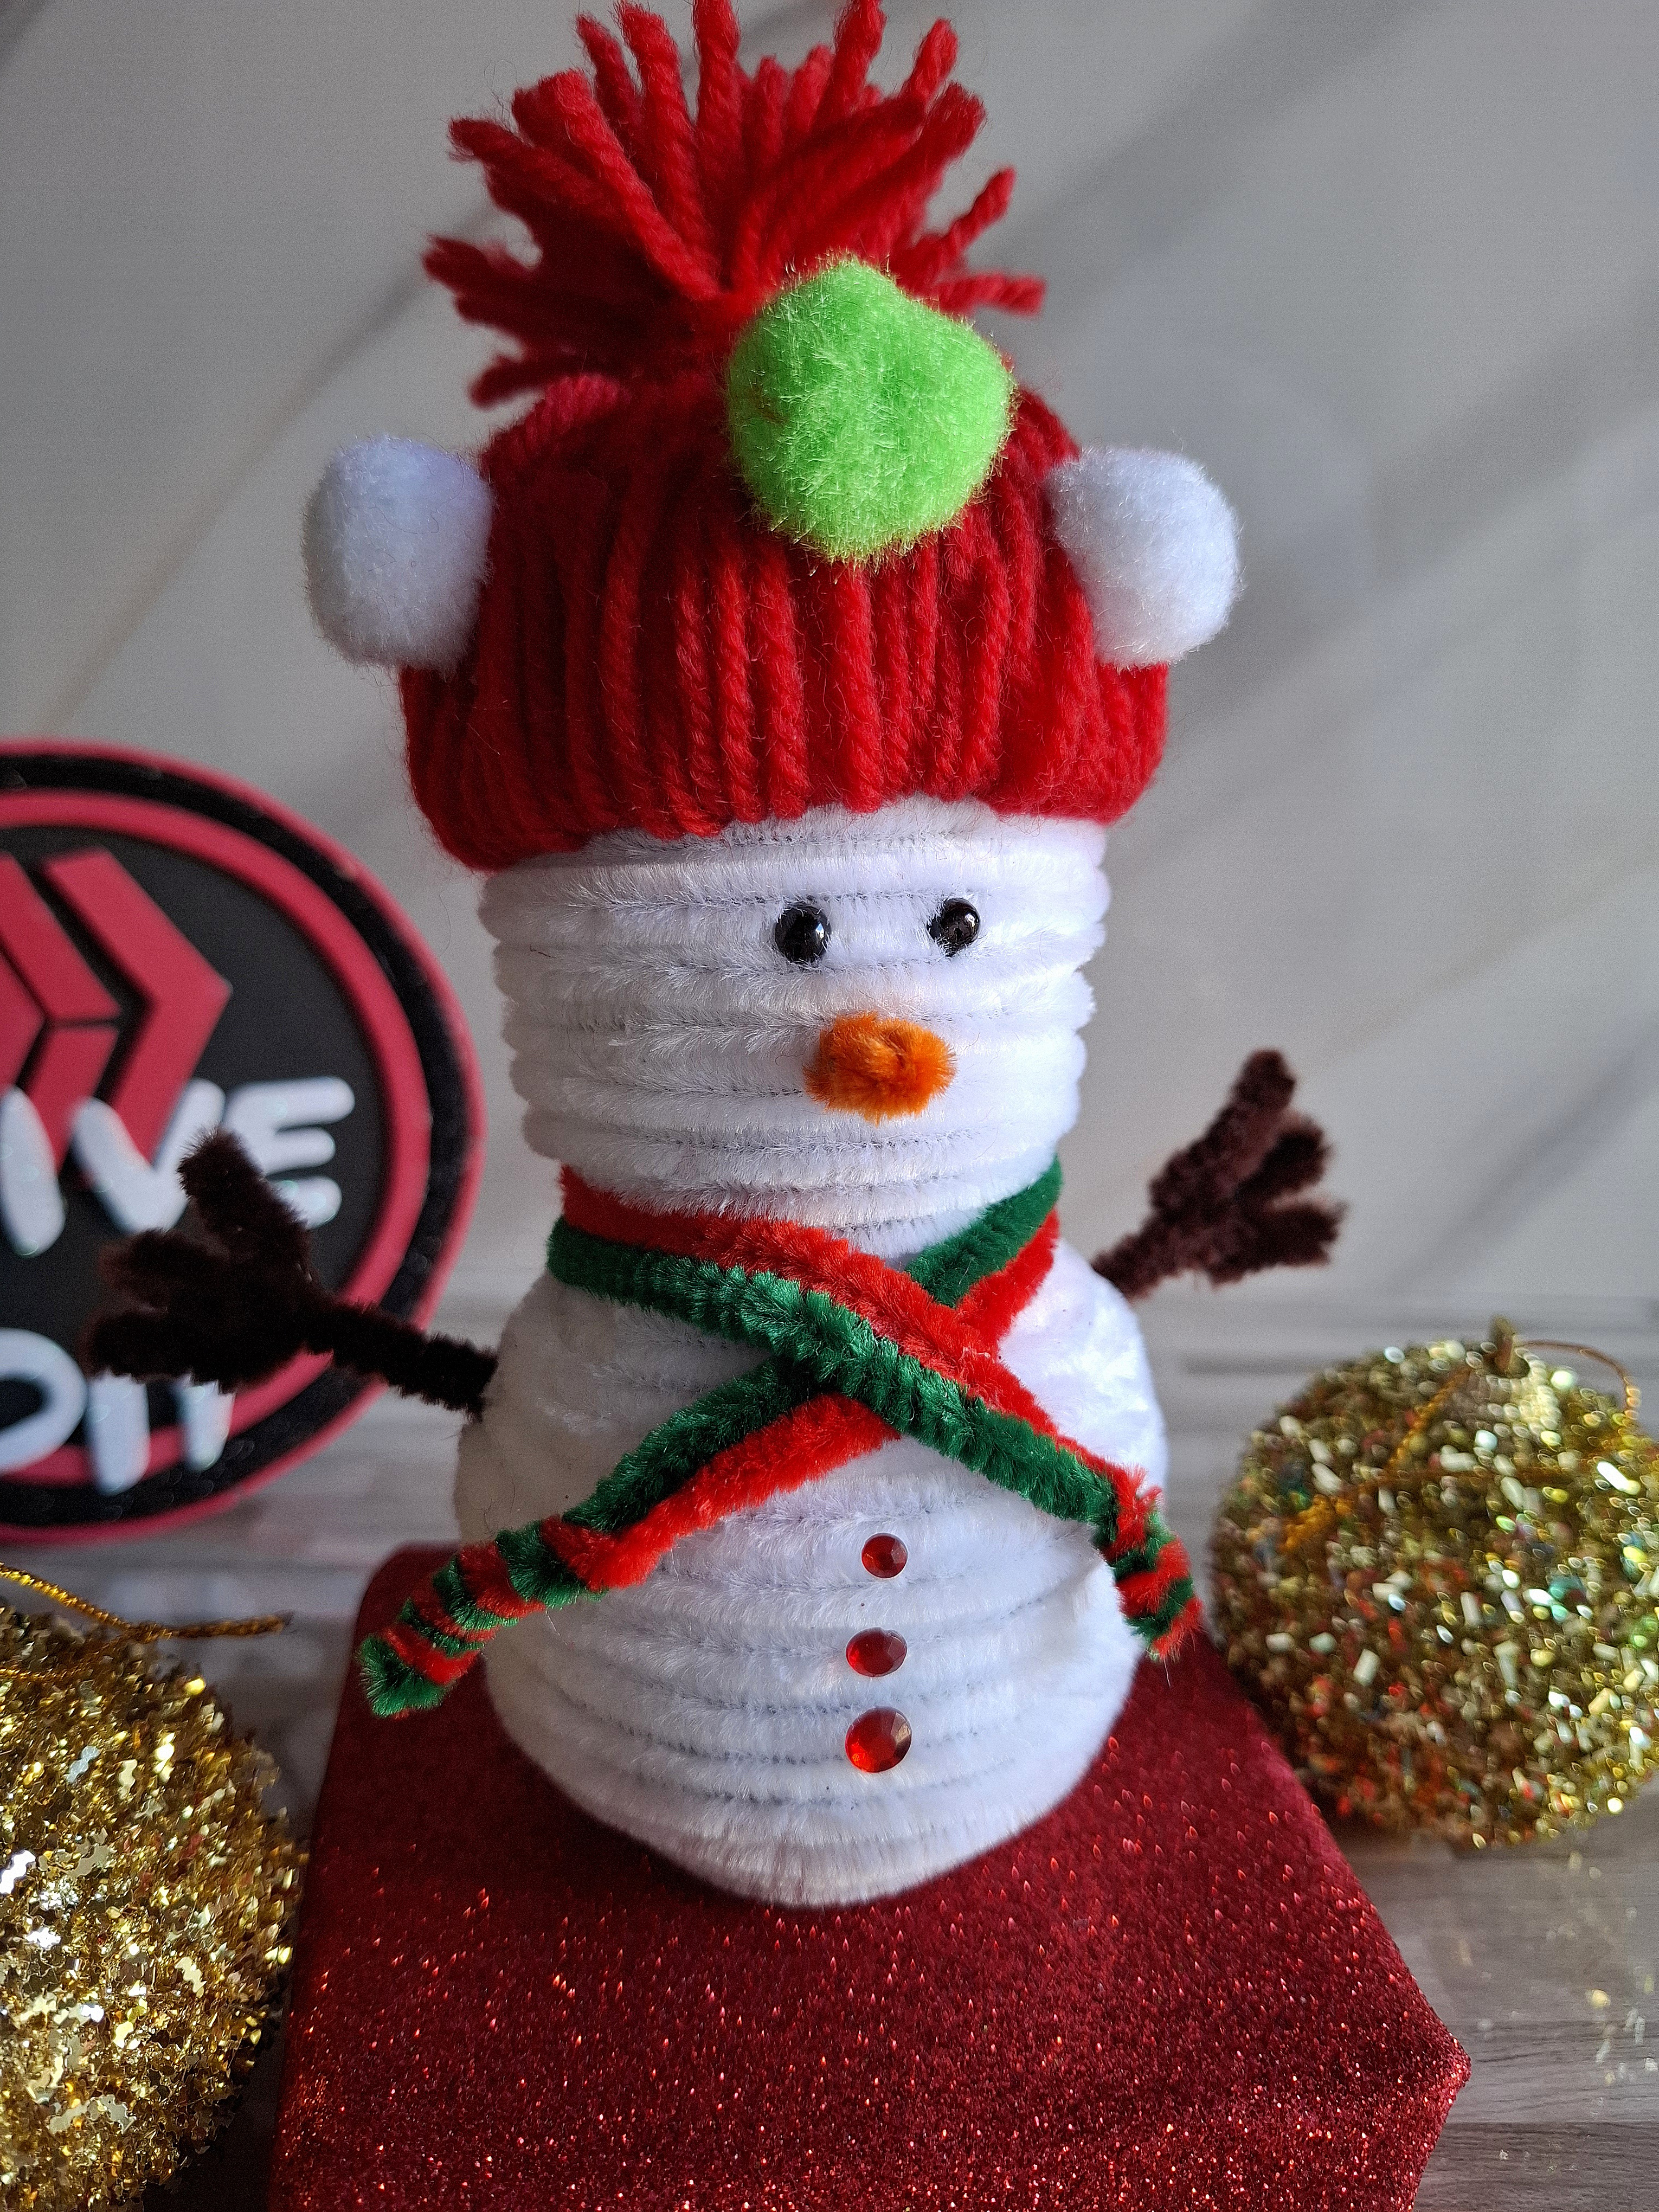
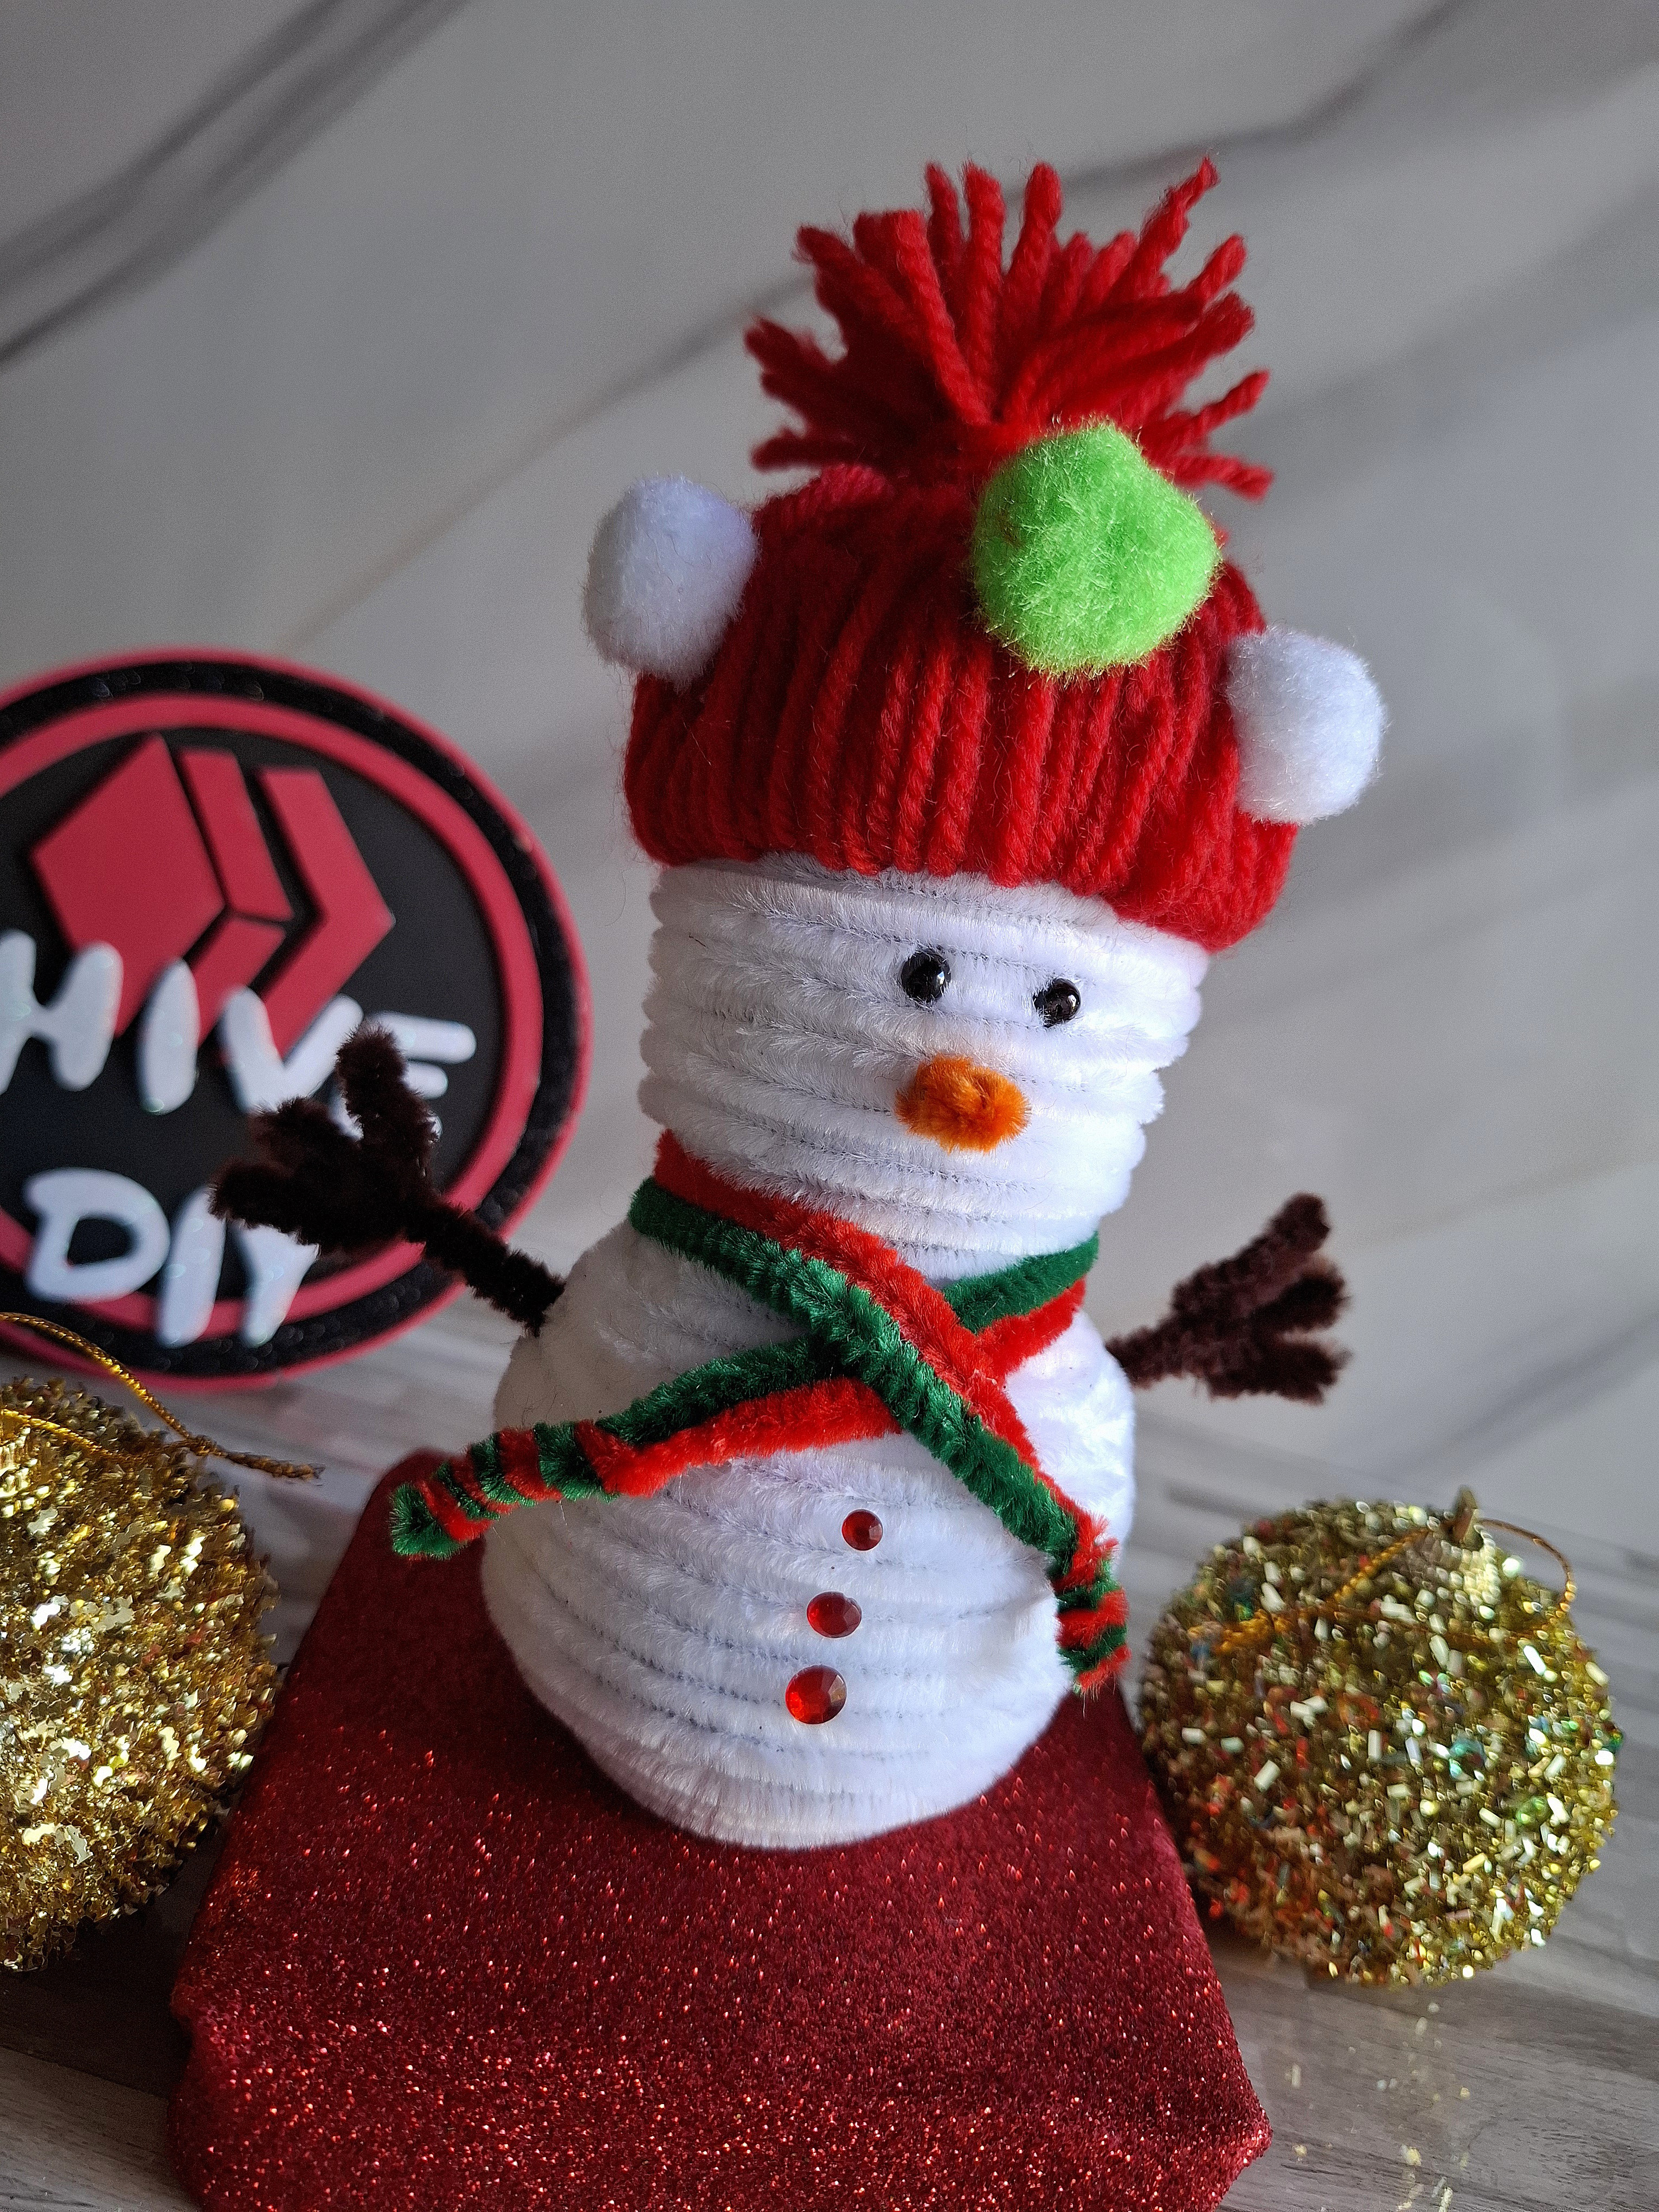
De esta forma terminé mi muñeco de nieve, felíz y encantada con el resultado, espero también les haya gustado, muchas gracias por visitar mi publicación nos vemos en una próxima oportunidad con más ideas creativas.
In this way I finished my snowman, happy and delighted with the result, I hope you liked it too, thank you very much for visiting my publication, see you next time with more creative ideas.



Contenido original. - original content.
Los separadores y banner fueron realizados en Canva. - The dividers and banner were made in Canva.
Fotografías tomadas con mi Samsung A55. - Photographs taken with my Samsung A55.
Traducción de: Google traductor - Translation of: Google translator.
Posted Using InLeo Alpha
Amiga me he enamorado de este muñeco de nieve tan tierno, le has puesto mucho cariño al hacerlo, y la idea de hacerlo con limpiapipas quedado lindísimo. Felicidades.
Muchísimas gracias, la verdad ya quiero colocarlo junto a toda la decoración de la casa 🥹 saludos 🤗
Estoy segura será ese detalle decorativo que va a llamar mucho la atención de los visitantes a tu casa.💗🤗
Hermoso trabajo con la temática de la temporada, las fotos del resultado final están bellísimas.
!discovery 45
Muchas gracias por el apoyo, un abrazo 🤗
This post was shared and voted inside the discord by the curators team of discovery-it
Join our Community and follow our Curation Trail
Discovery-it is also a Witness, vote for us here
Delegate to us for passive income. Check our 80% fee-back Program
Aww que ternura, te quedo muy cuchis 😍 que genial todos los detallitos que le pusiste, ya esta mas que listo para esta Navidad jeje
Siii ya casi lo estreno jajaja 😍 saludos y feliz tarde 😊
Ter ha quedado muy bonito amiga! Felicidades espero ver unproximo tutorial para tu nueva creacion navideña
Muchas gracias por el apoyo, espero te encuentres bien 🙌🏻
Congratulations, your post has been curated by @dsc-r2cornell. You can use the tag #R2cornell. Also, find us on Discord
Felicitaciones, su publicación ha sido votada por @ dsc-r2cornell. Puedes usar el tag #R2cornell. También, nos puedes encontrar en Discord