Exhibidores de accesorios elaborados con tela reciclada. 📿 / Accessory displays made with recycled fabric. 📿
Felíz miércoles comunidad Hive Diy, saludos y abrazos, nos encontramos a mitad de semana y espero que todos sus objetivos se estén cumpliendo como lo han planeado, hoy me encuentro en casa descansando ya que ayer fue un día largo de trabajo, aprovechando el tiempo libre realicé dos exhibidor de accesorios.
Happy Wednesday Hive Diy community, greetings and hugs, we meet in the middle of the week and I hope that all your objectives are being met as you have planned, today I am at home resting since yesterday was a long day of work, taking advantage of the free time I made two accessory displays.
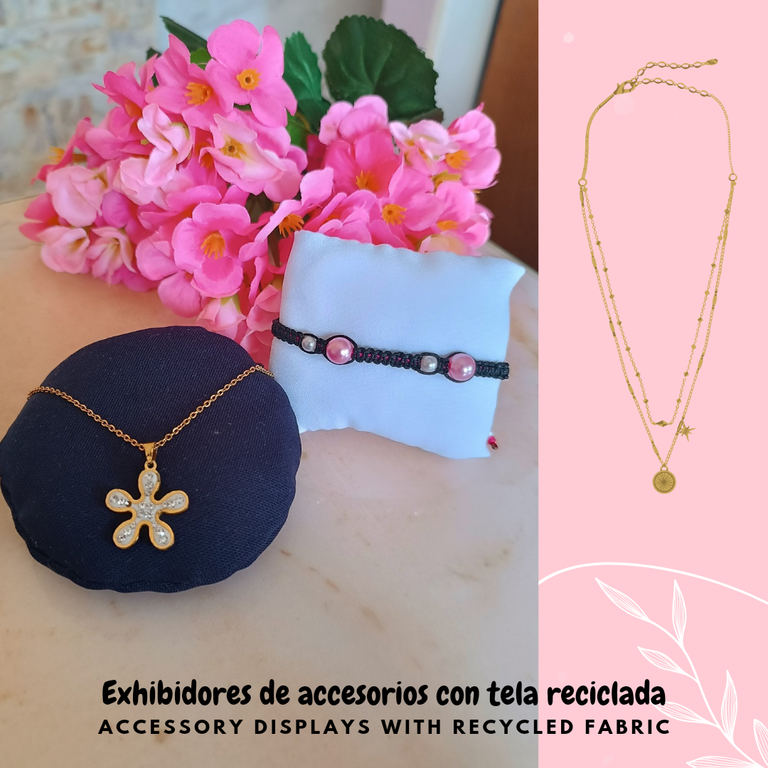
Estos exhibidores de accesorios se elaboraron con tela reciclada, en ellos podemos colocar pulseras, collares, realicé uno redondo y uno en forma rectangular, para mí son muy útiles ya que los podré utilizar al momento de realizar accesorios para próximas publicaciones, no necesitamos muchos materiales y lo mejor es realizarlo en casa. Puedes utilizar tela de diferentes colores yo utilicé blanco y azul oscuro.
These accessory displays were made with recycled fabric, in them we can place bracelets, necklaces, I made one round and one rectangular, for me they are very useful since I can use them when making accessories for future publications, we do not need many materials and it is best to do it at home. You can use fabric of different colors, I used white and dark blue.

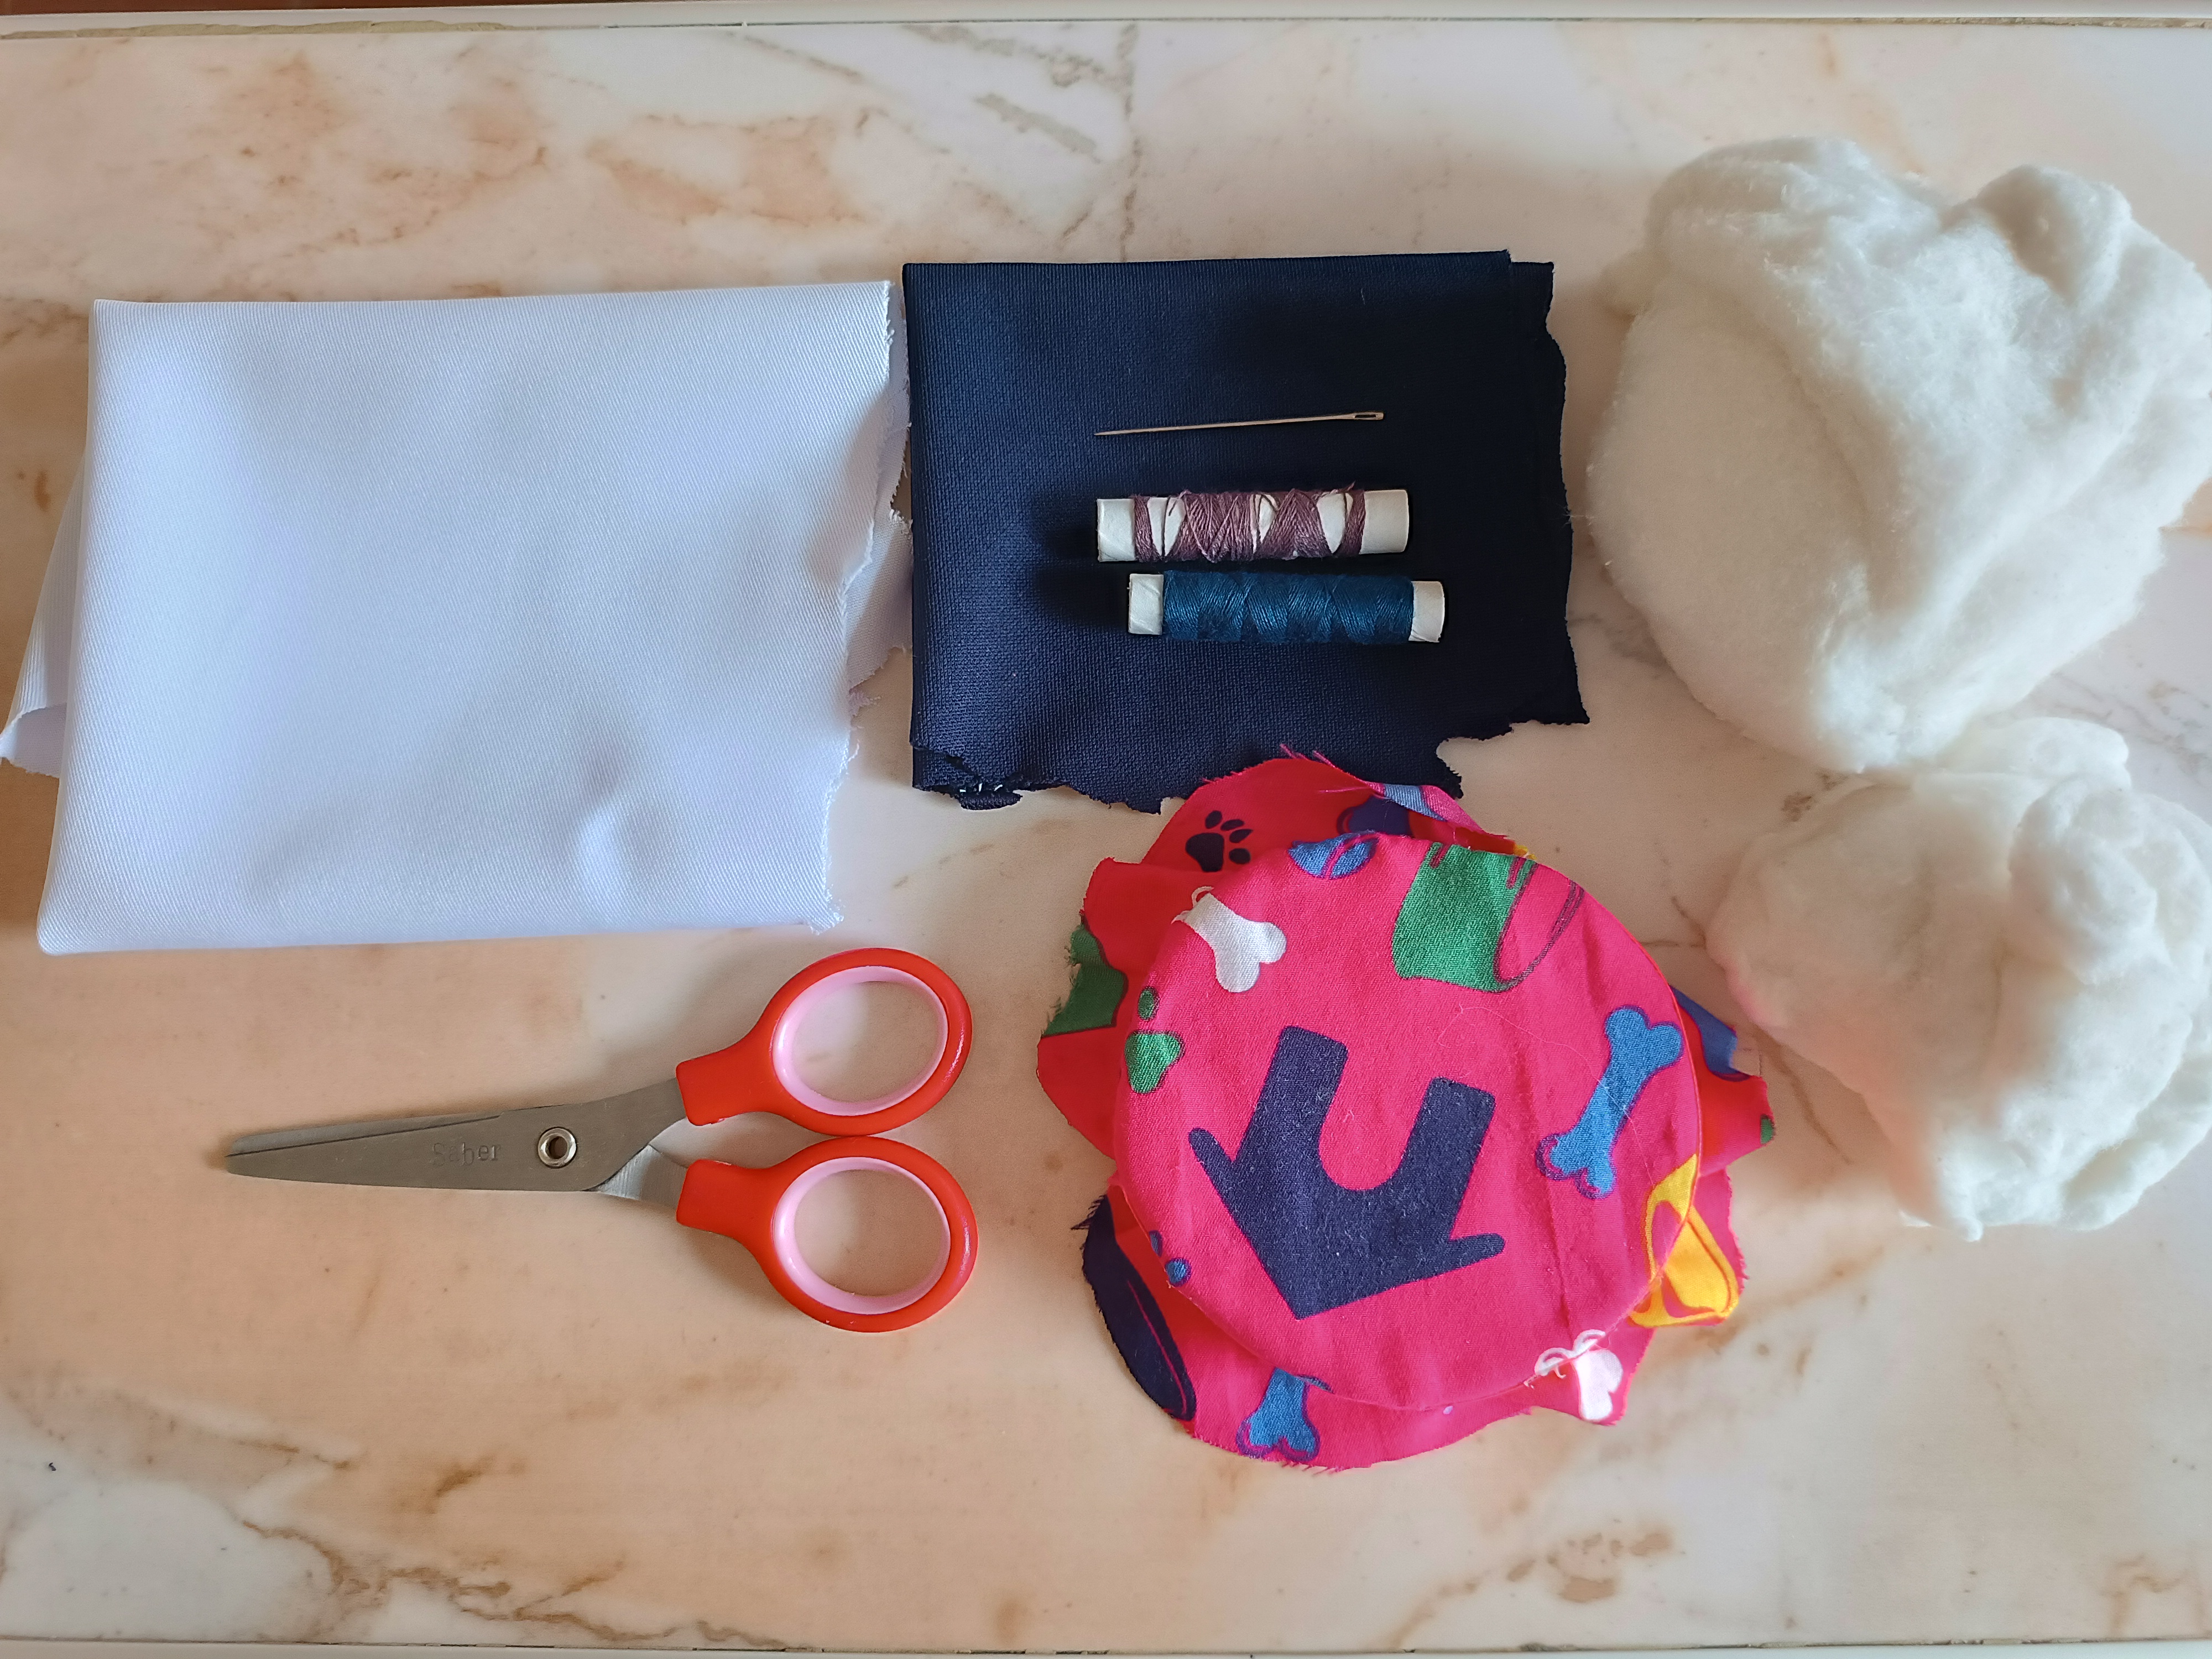
Materiales:
✅Retazo de tela blanca.
✅Retazo de tela azul.
✅Hilo.
✅Aguja.
✅Lápiz.
✅Algodón.
✅Cinta métrica.
Materials:
Piece of white fabric.
Piece of blue fabric.
Thread.
Needle.
Pencil.
Cotton.
Measuring tape.

Paso a paso / Step by Step
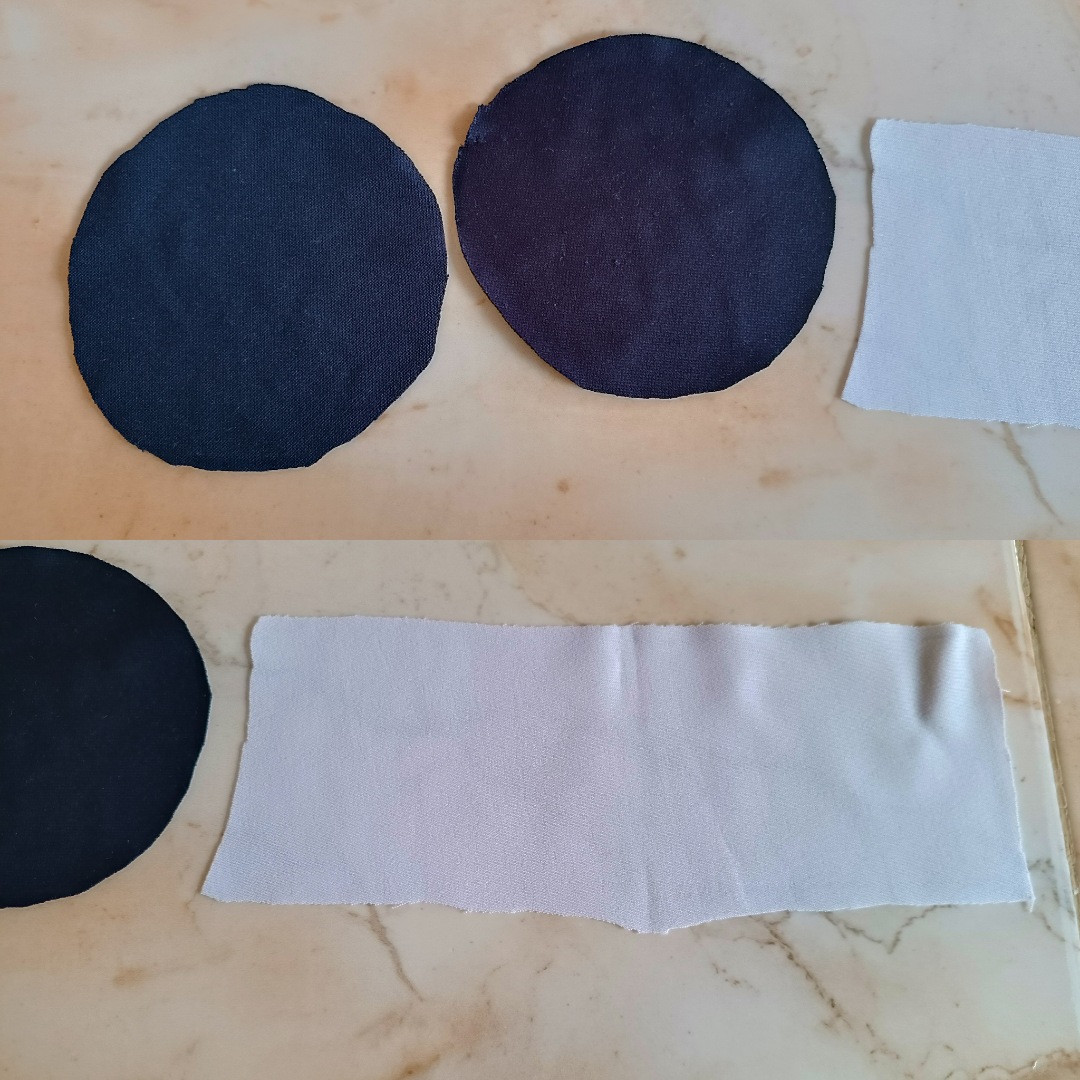
El primer paso es comenzar a marcar la tela, para la de color blanco realicé un rectángulo con una medida de 24 cm de largo y 10 cm de ancho, para la tela azul realicé dos círculos de 12 cm, antes de cortar la tela blanca la planche un poco.
The first step is to start marking the fabric, for the white fabric I made a rectangle measuring 24 cm long and 10 cm wide, for the blue fabric I made two 12 cm circles, before cutting the white fabric the iron a little.
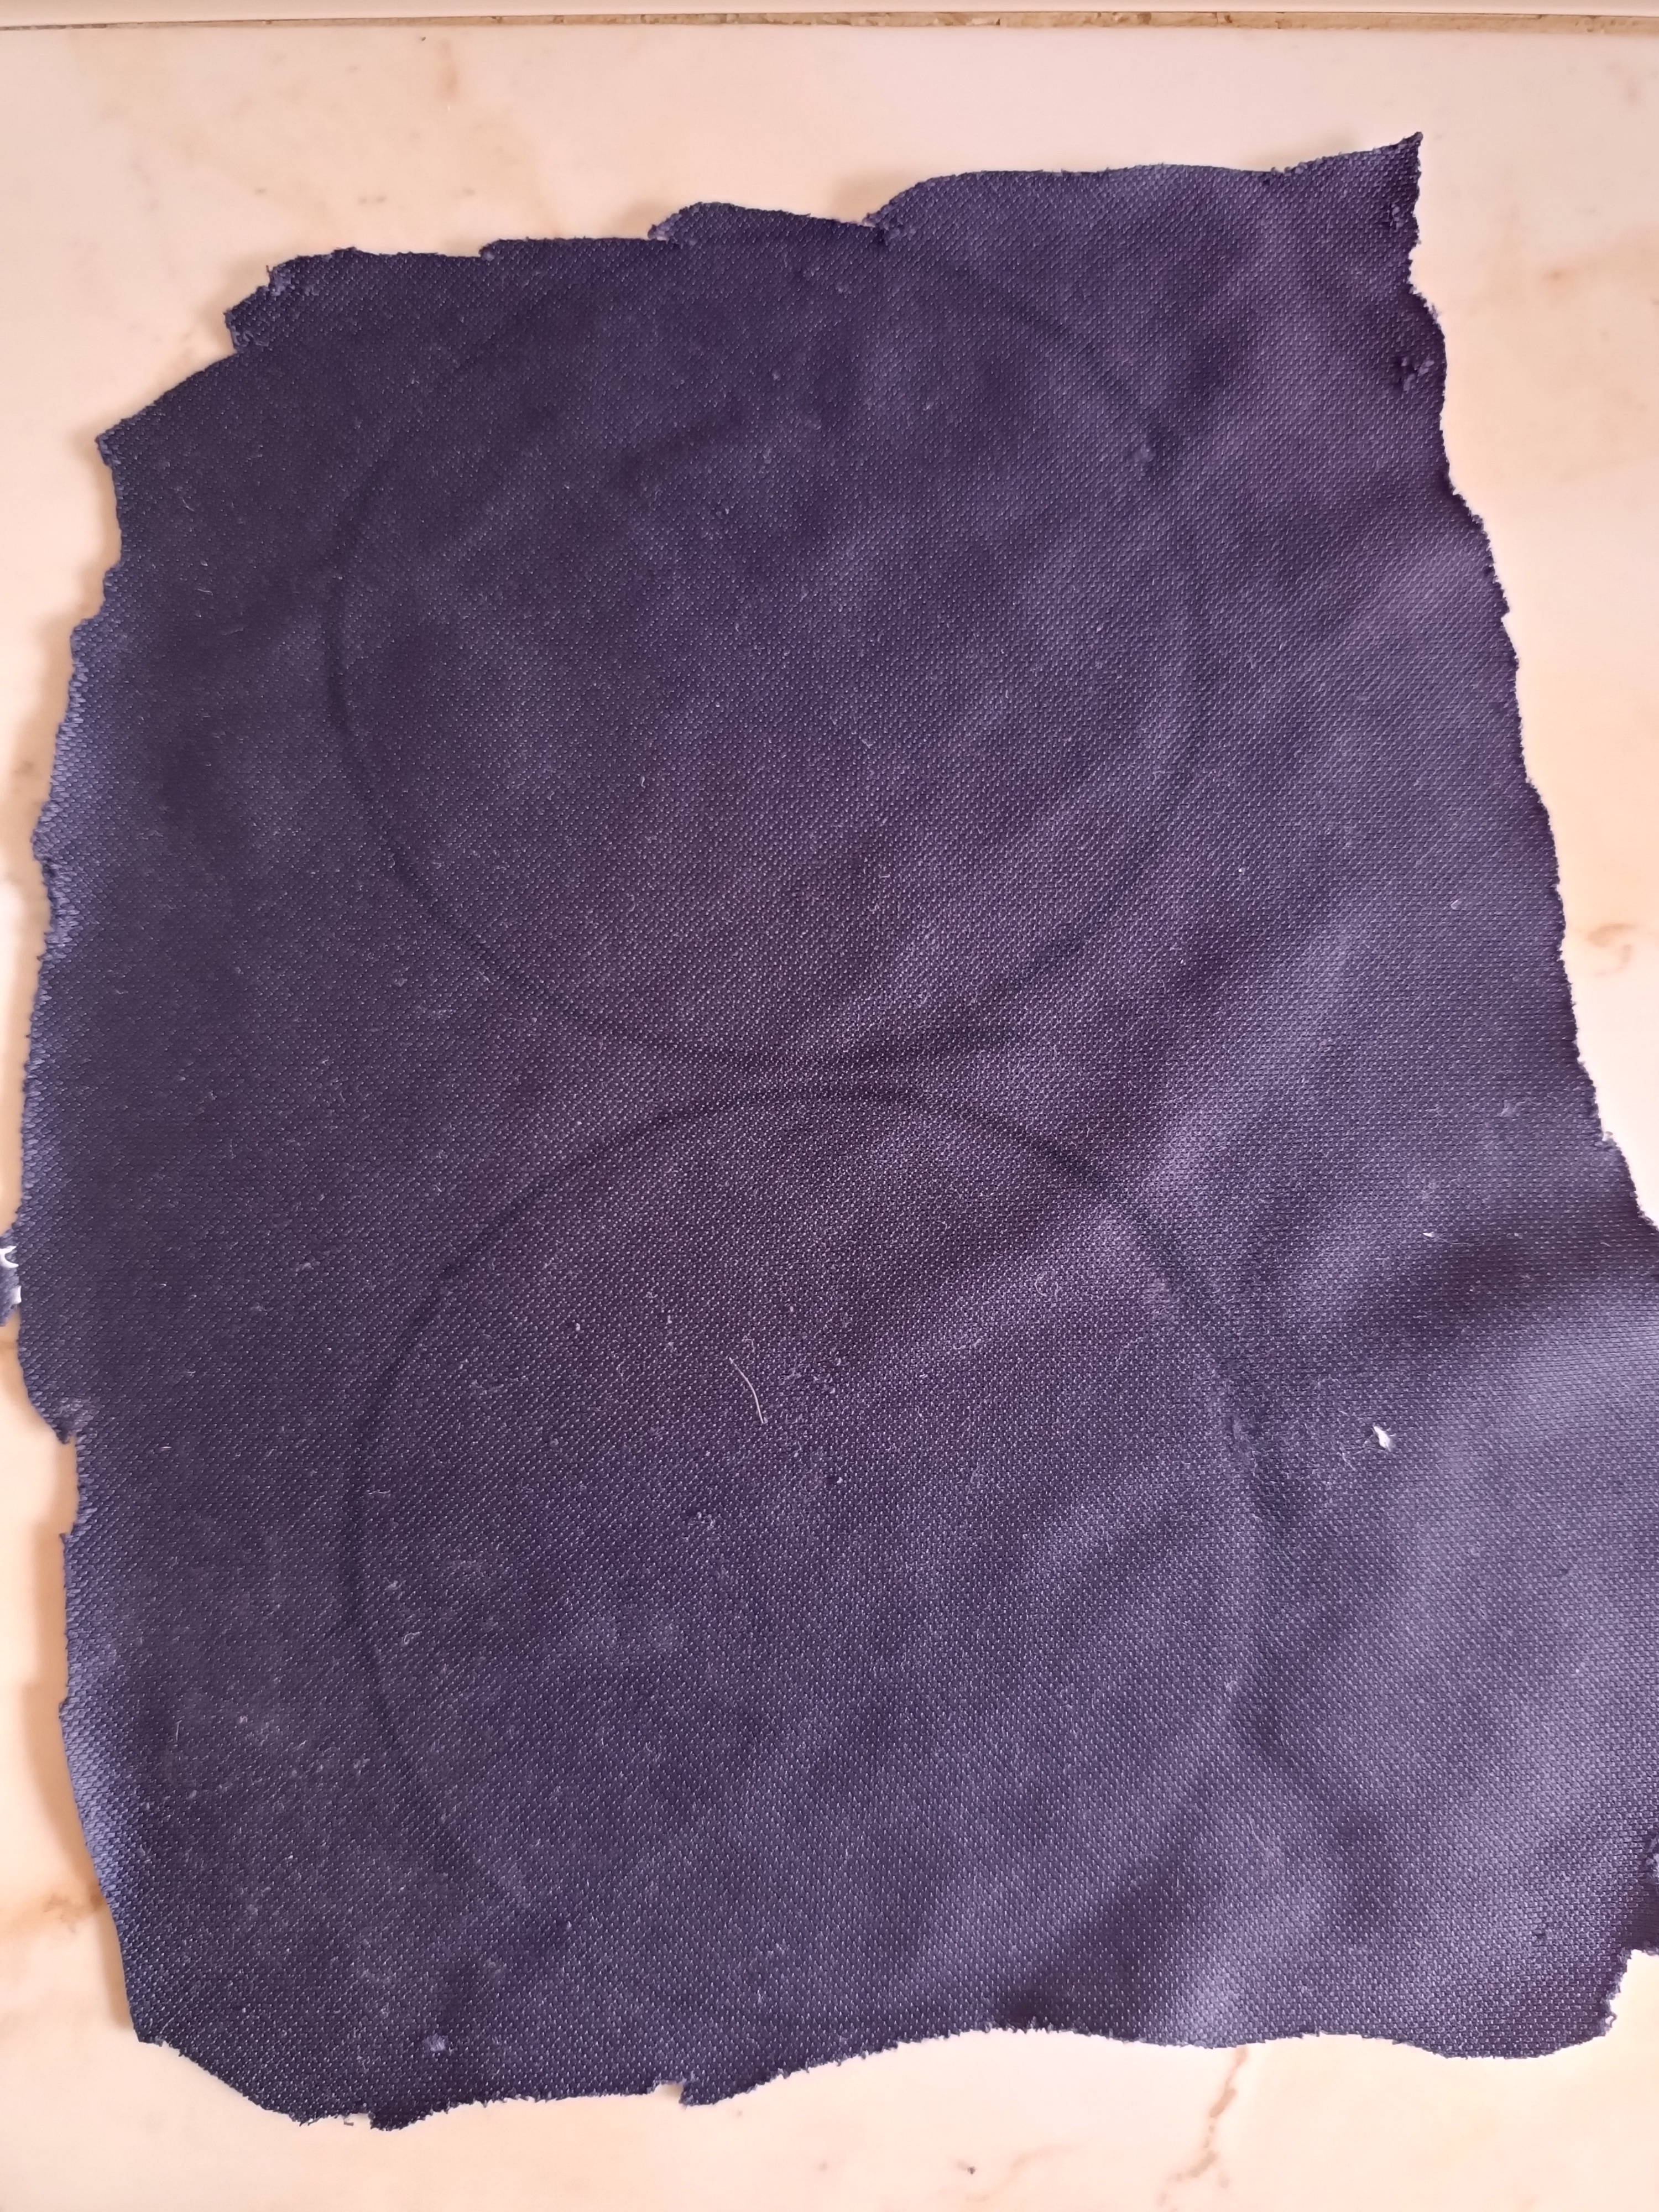

Ahora voy a cortar ambas telas, comencé a coser la tela azul con hilo azul, por todo el borde de la tela, pase varias costuras para que quede ajustado, al llegar a la parte superior voy a dejar un pequeño espacio sin coser, luego doy vuelta a la tela e introduci el algodón lo suficiente para que queda como una almohada.
Now I am going to cut both fabrics, I started to sew the blue fabric with blue thread, along the entire edge of the fabric, pass several seams so that it is tight, when I get to the top I am going to leave a small space without sewing, then I give Turn the fabric over and insert the cotton enough so that it looks like a pillow.

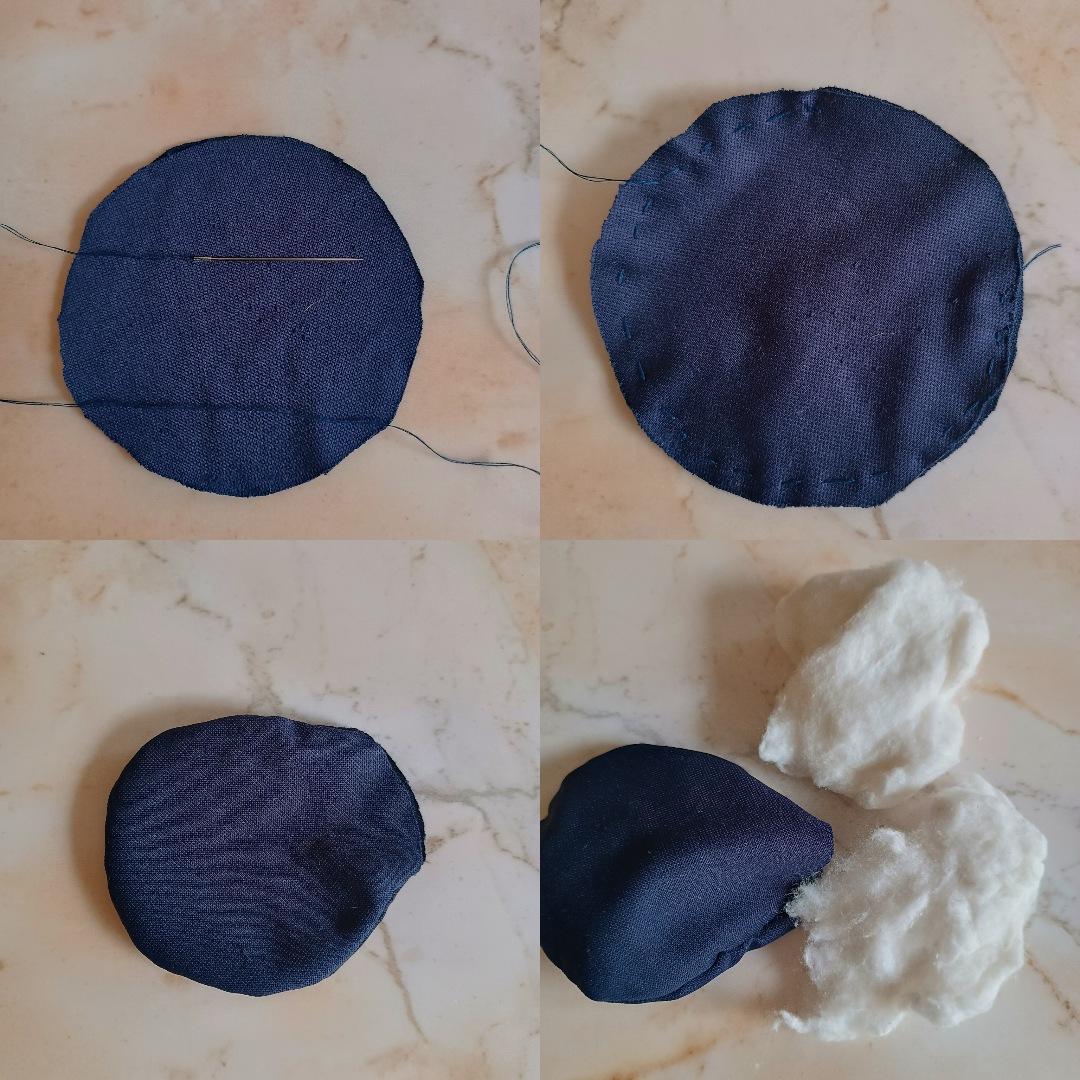
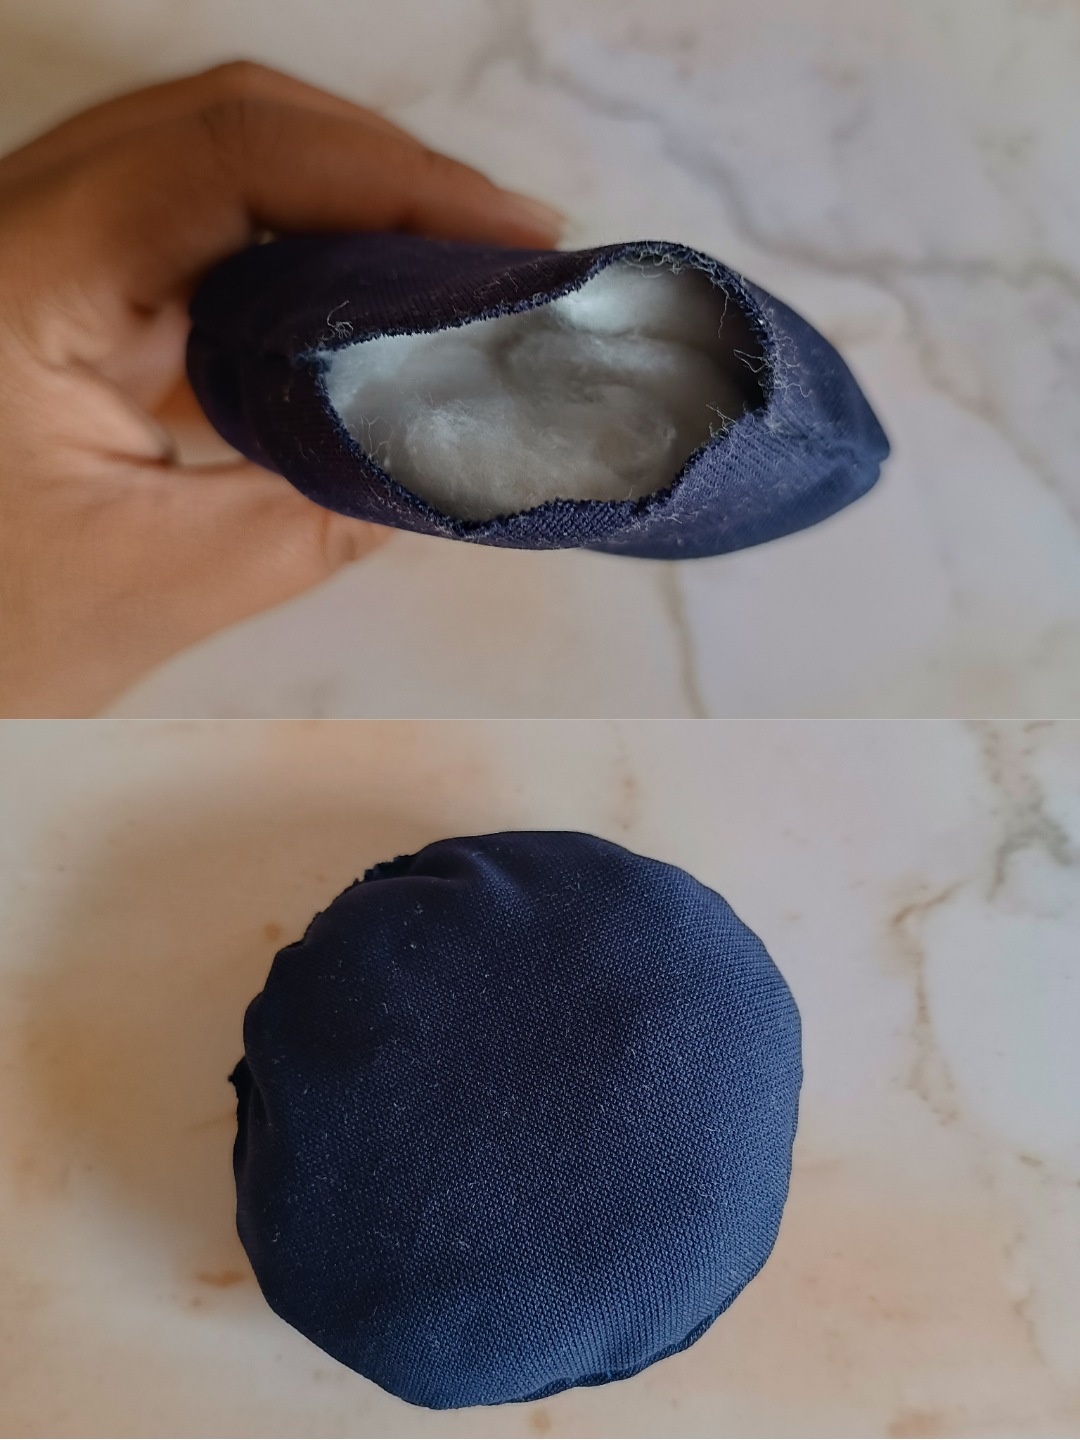
Luego voy a coser el borde con el mismo hilo azul, corté el sobrante de la tela y ya tenemos el primer exhibidor.
Then I'm going to sew the edge with the same blue thread, I cut off the excess fabric and we have the first display.
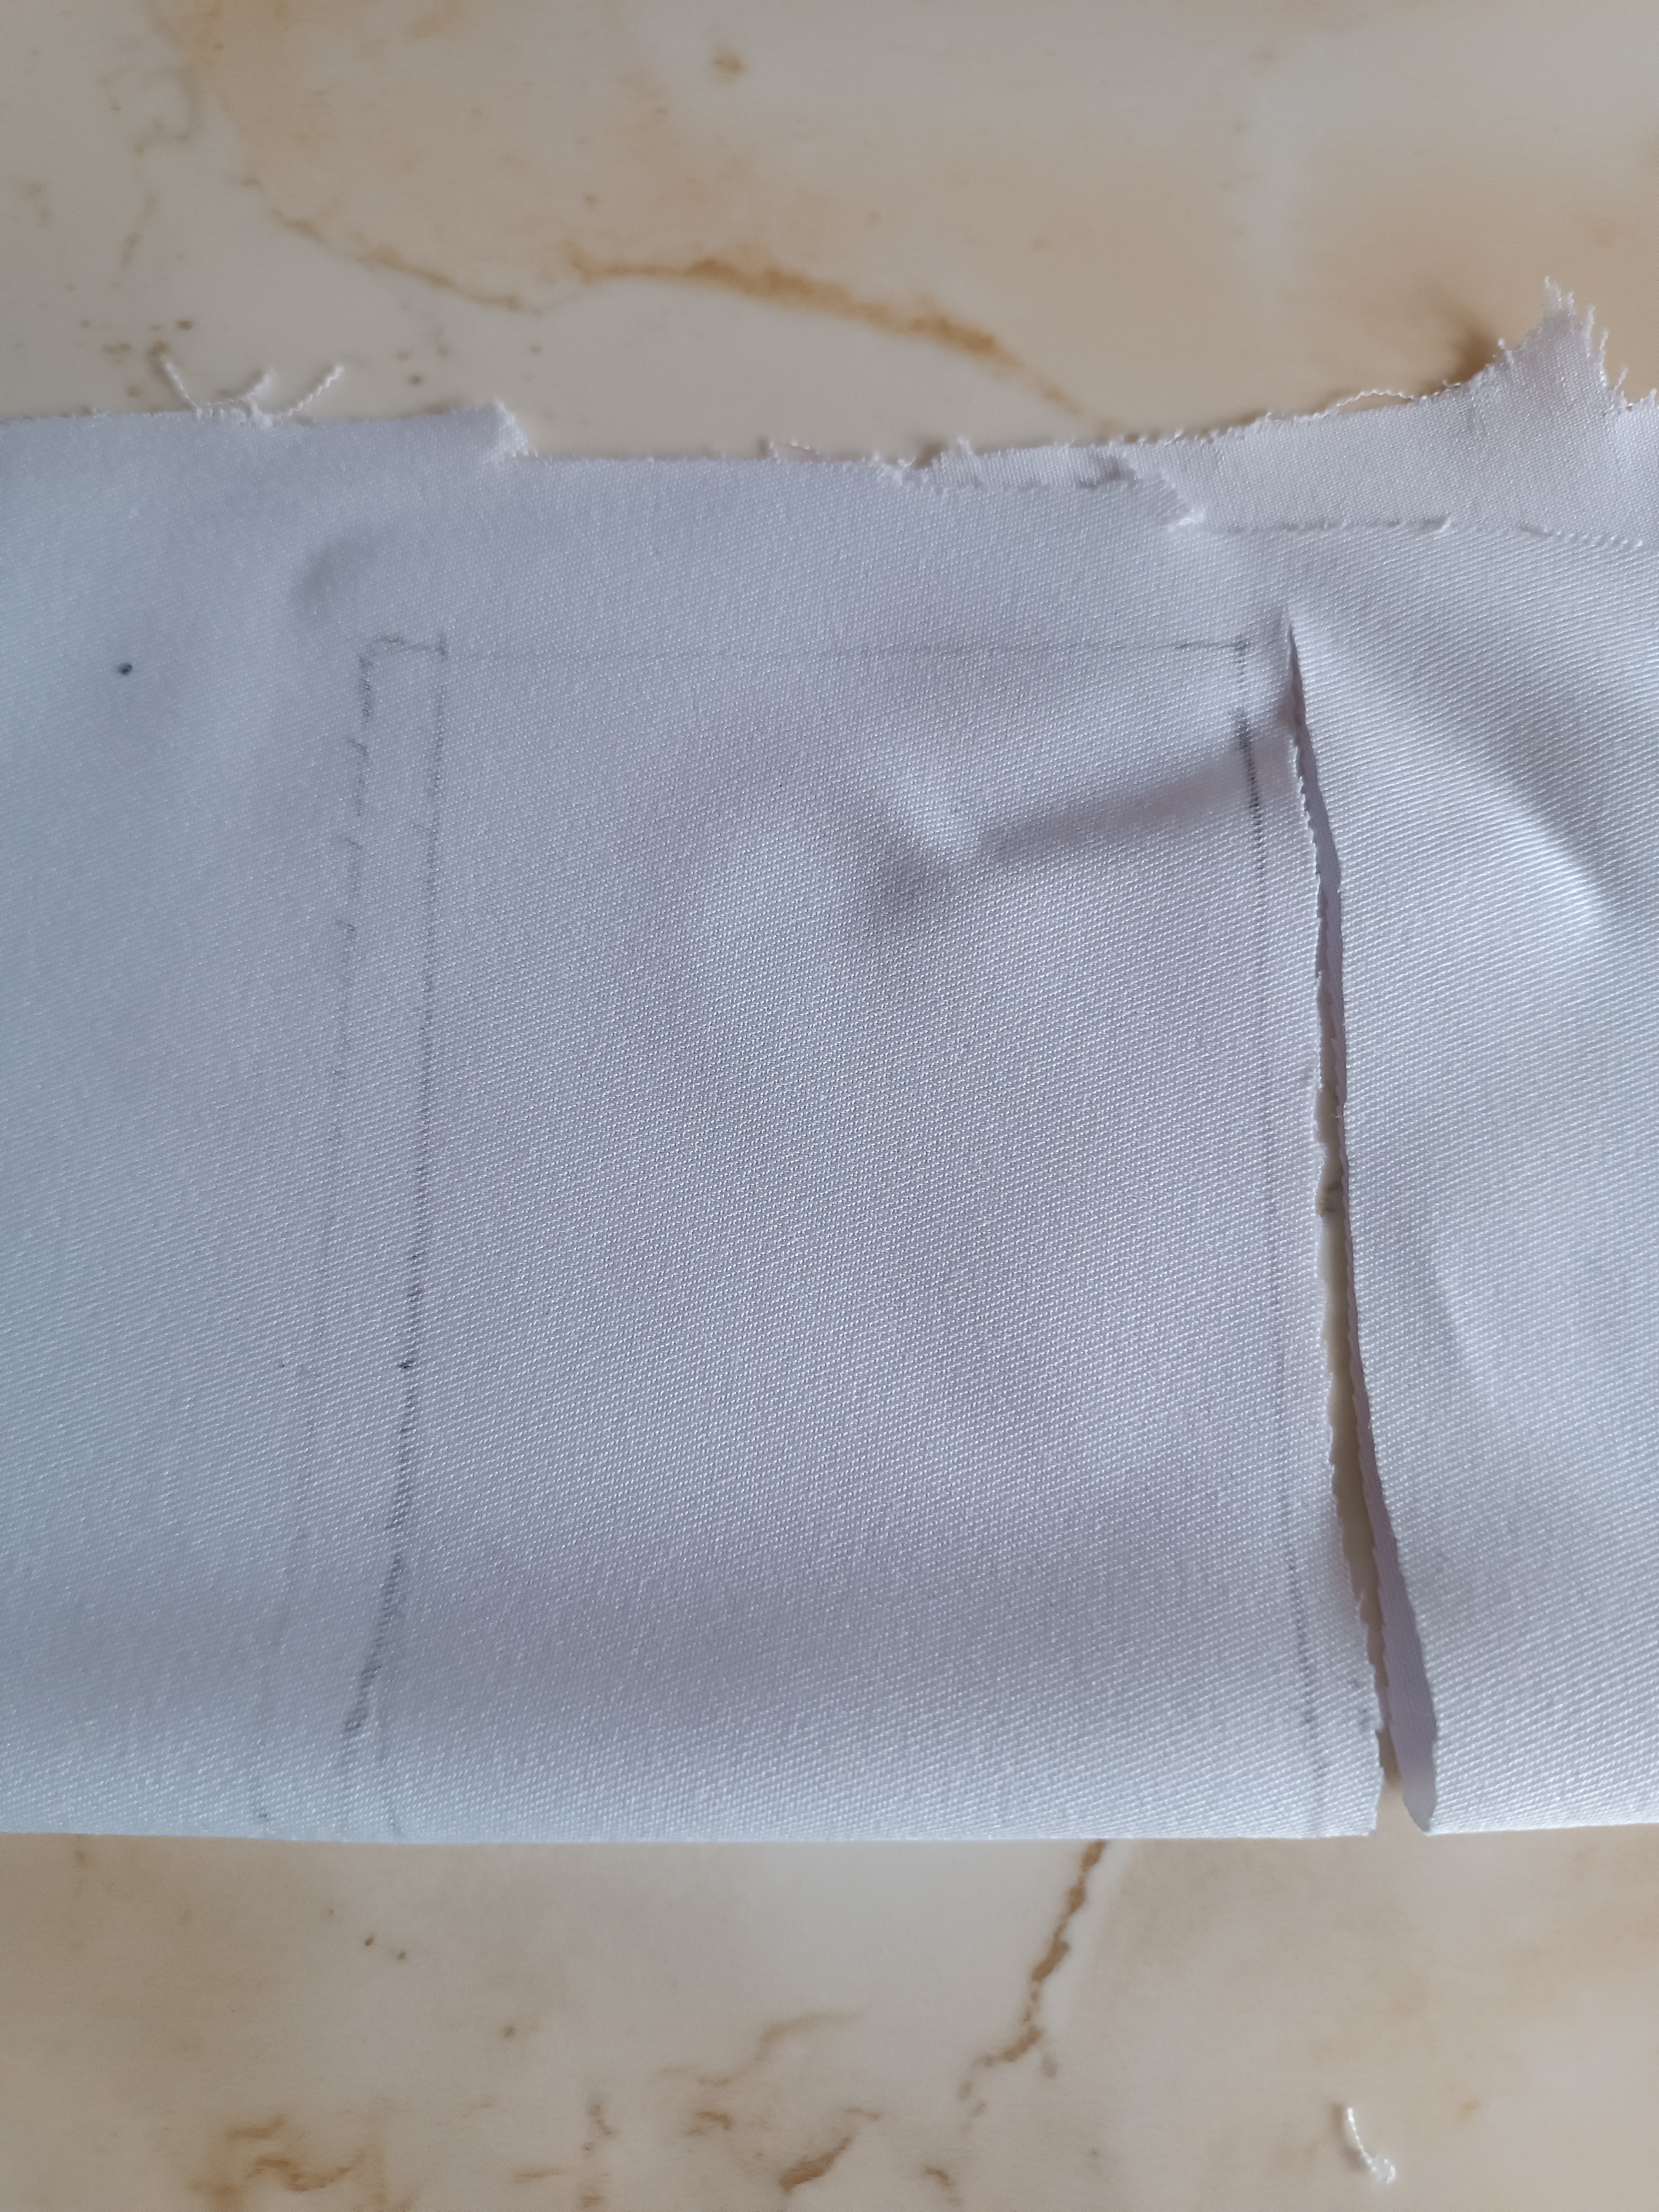
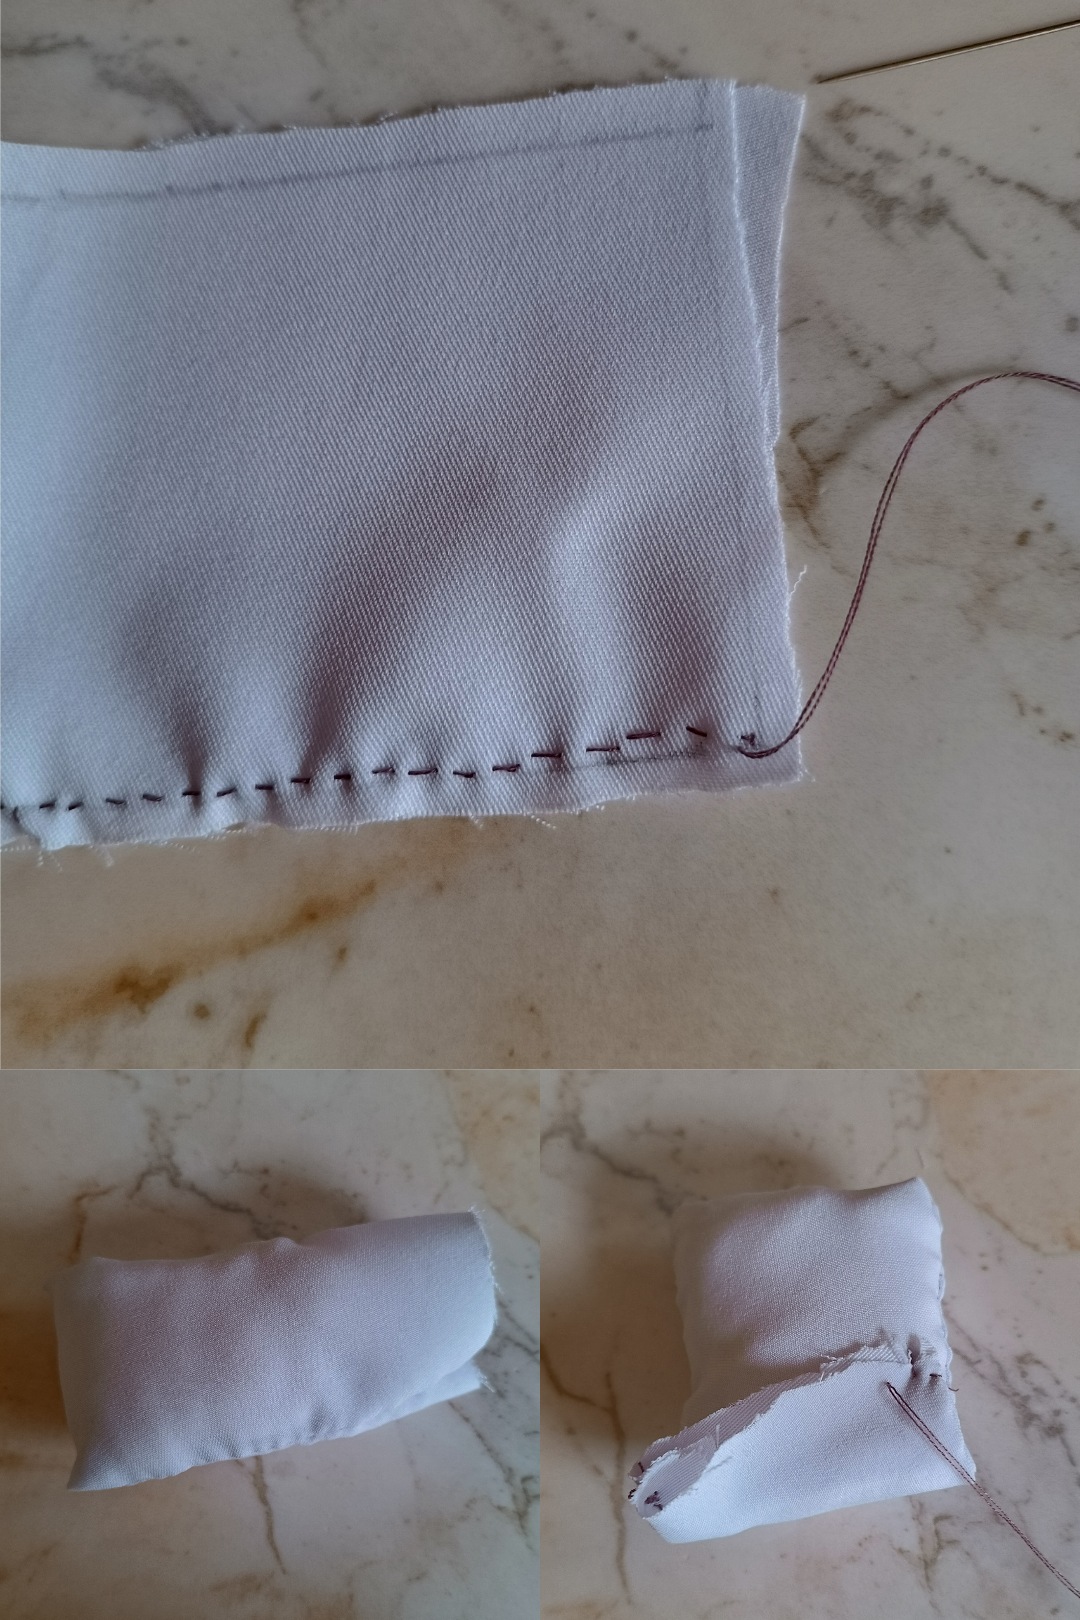
Ahora voy a coser la tela blanca, como no tenía hilo blanco utilicé de otro color, pase varias costuras hacia los laterales dejando una parte descubierta para poder introducir el algodón, luego de colocar el algodón el sobrante de tela lo uni en la parte trasera con hilo para que no se vea la costura de lado.
Now I'm going to sew the white fabric, since I didn't have white thread I used a different color, I passed several seams towards the sides leaving a part uncovered to be able to insert the cotton, after placing the cotton I joined the excess fabric at the back with thread so that the seam is not visible from the side.

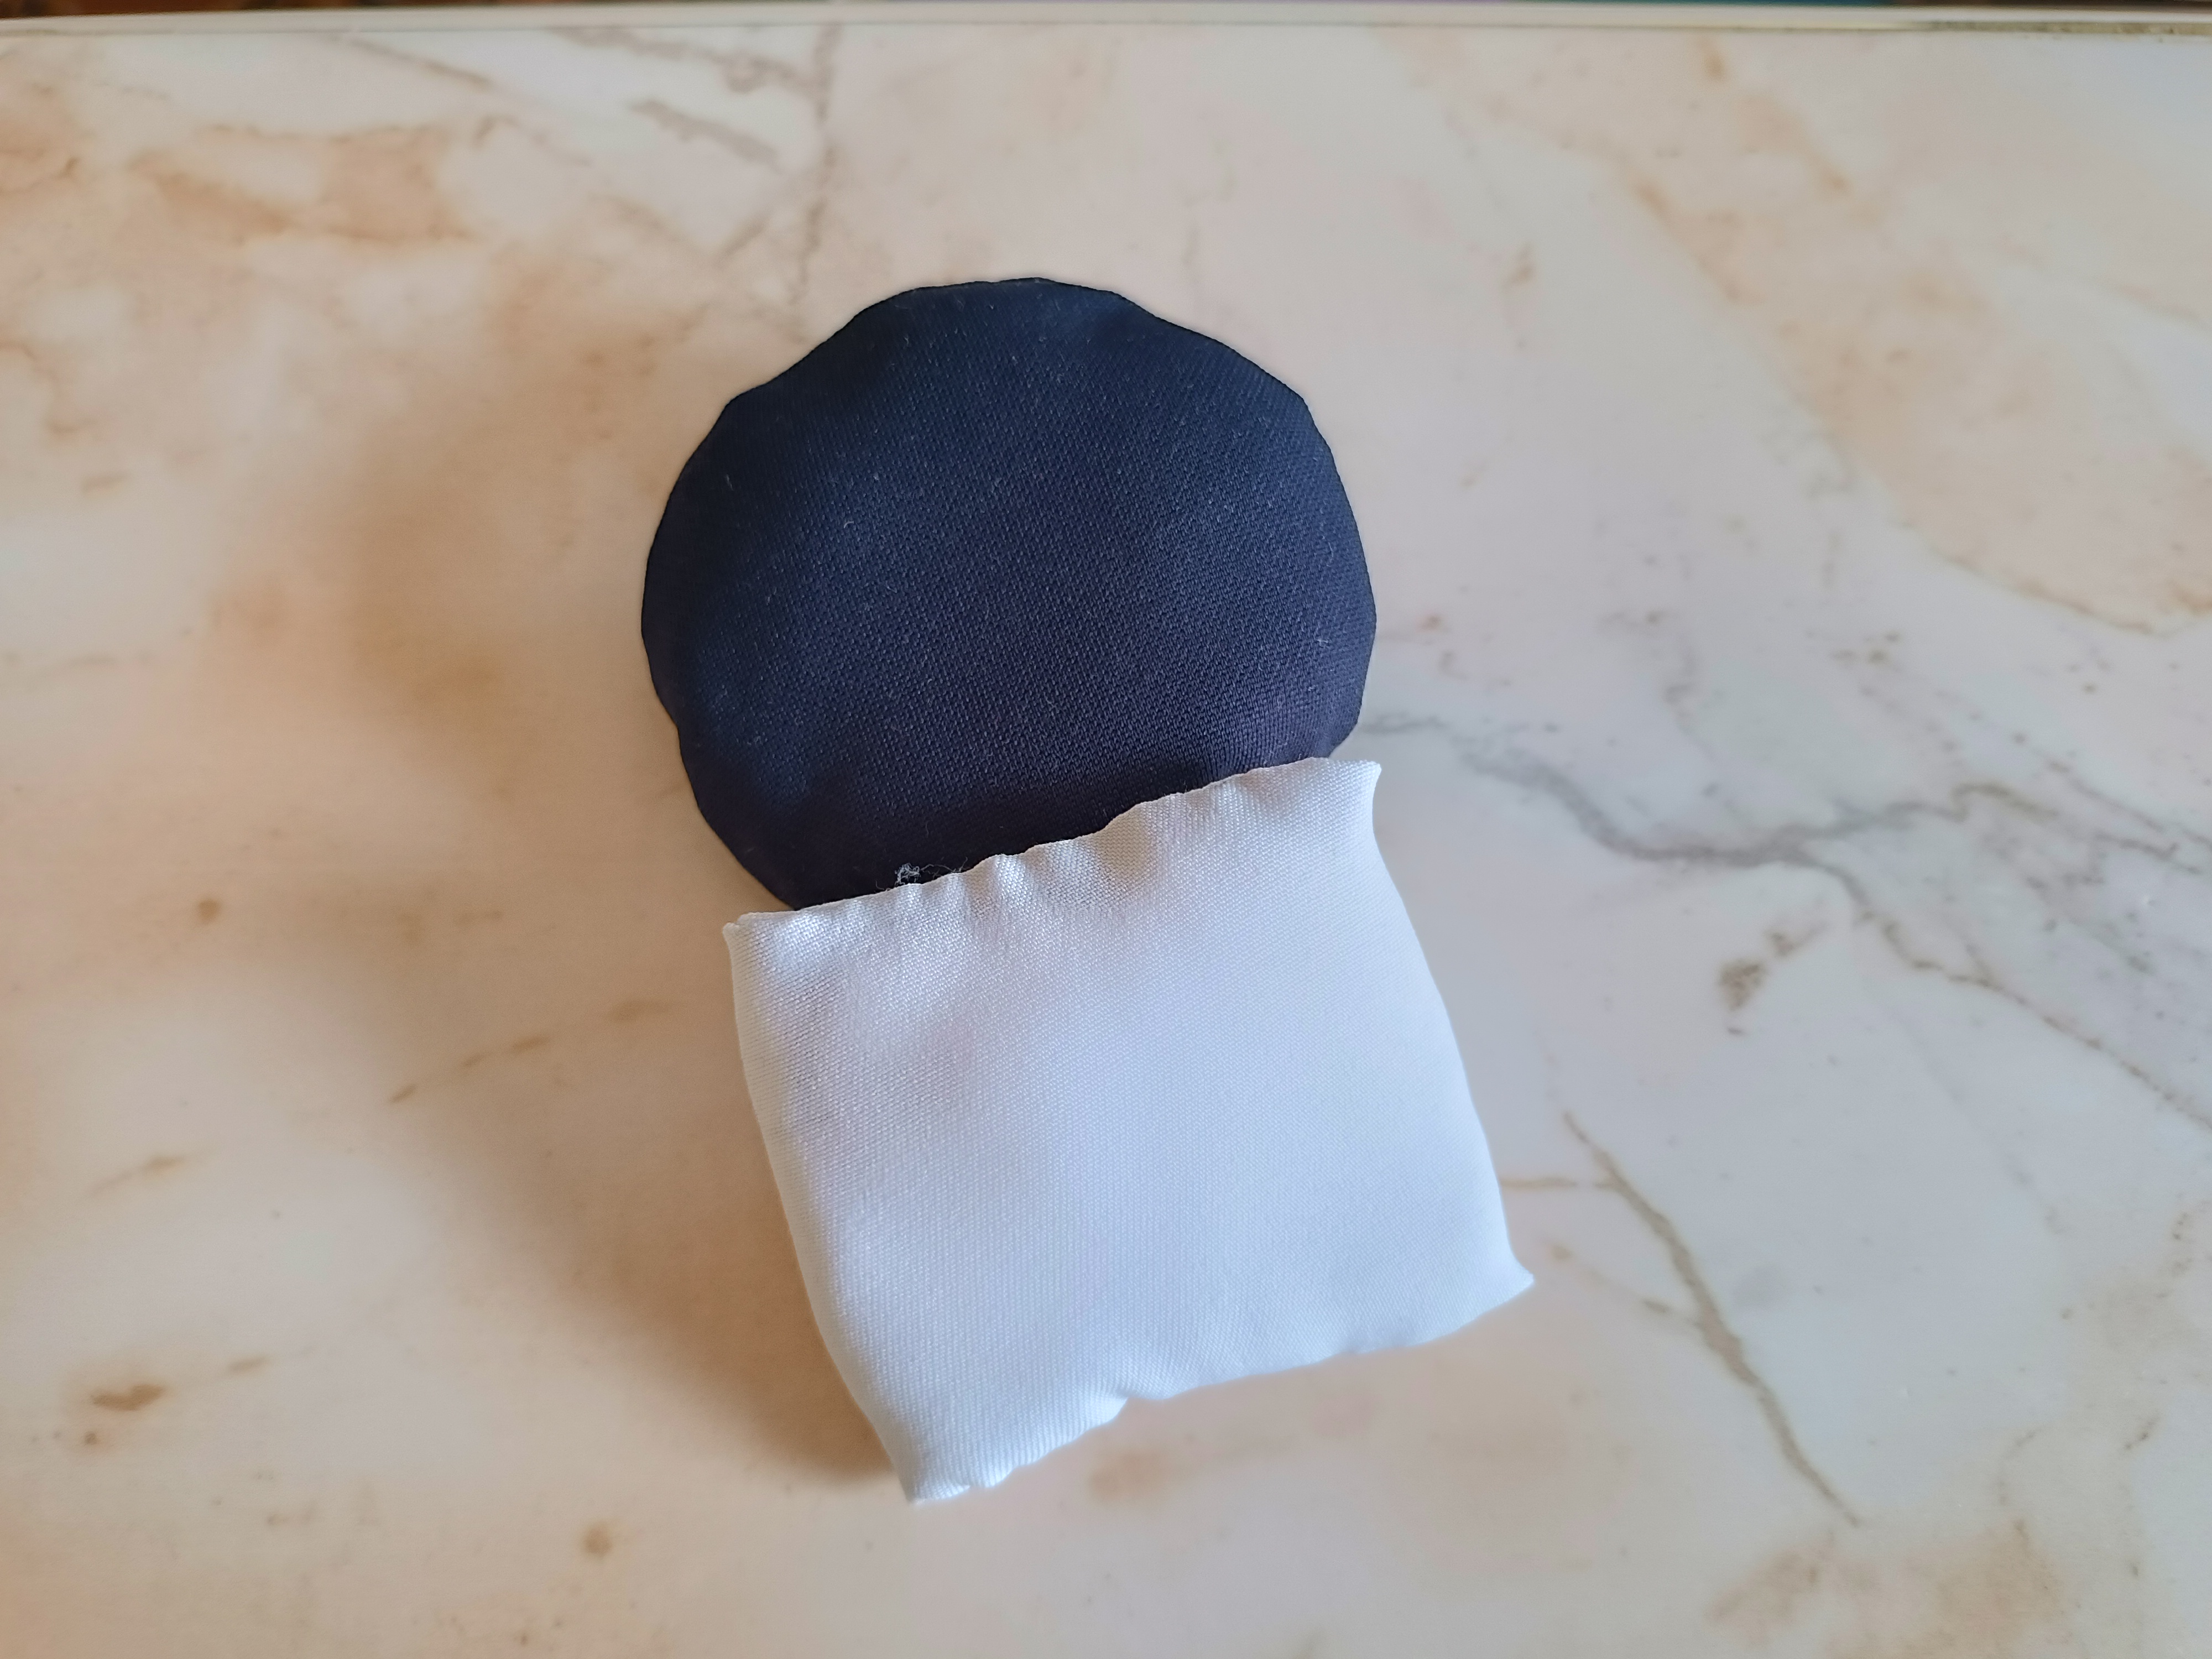
De esta forma terminé ambos exhibidores, súper fáciles de realizar y quedan lindos al lucir los accesorios, espero les haya gustado este tutorial. Muchas gracias por visitar mi publicación, nos vemos en una próxima oportunidad con más ideas creativas.
In this way I finished both displays, super easy to make and they look nice when showing off the accessories, I hope you liked this tutorial. Thank you very much for visiting my publication, see you next time with more creative ideas.


Contenido original. - original content.
Los separadores y banner fueron realizados en Canva. - The dividers and banner were made in Canva.
Las fotografias son tomadas con mi teléfono Redmi Note 11s y editadas en PicsArt - The photographs are taken with my Redmi Note 11s phone and edited in PicsArt.
Traducción de: Google traductor - Translation of: Google translator.
Posted Using InLeo Alpha
this looks really nice. Fine display tool
Thanks for the support 🤗
You've been curated by @plantpoweronhive! Delegations welcome!