Estuche para lentes en foami inspirado en MIU 🐈⬛ / Foam glasses case inspired by MIU 🐈⬛

Felíz lunes e inicio de semana comunidad Holozing, saludos amigos amantes de la creatividad hoy nuevamente me encuentro por acá para compartir una nueva manualidad inspirada en las criaturas de Holozing, ha sido un día movido ya que me correspondió trabajar hoy, pero más sin embargo es un buen momento para mostrarles mi trabajo.
Happy Monday and start of the week Holozing community, greetings friends who love creativity, today I am here again to share a new craft inspired by the creatures of Holozing, it has been a busy day since I had to work today, but even so it is a good time to show you my work.
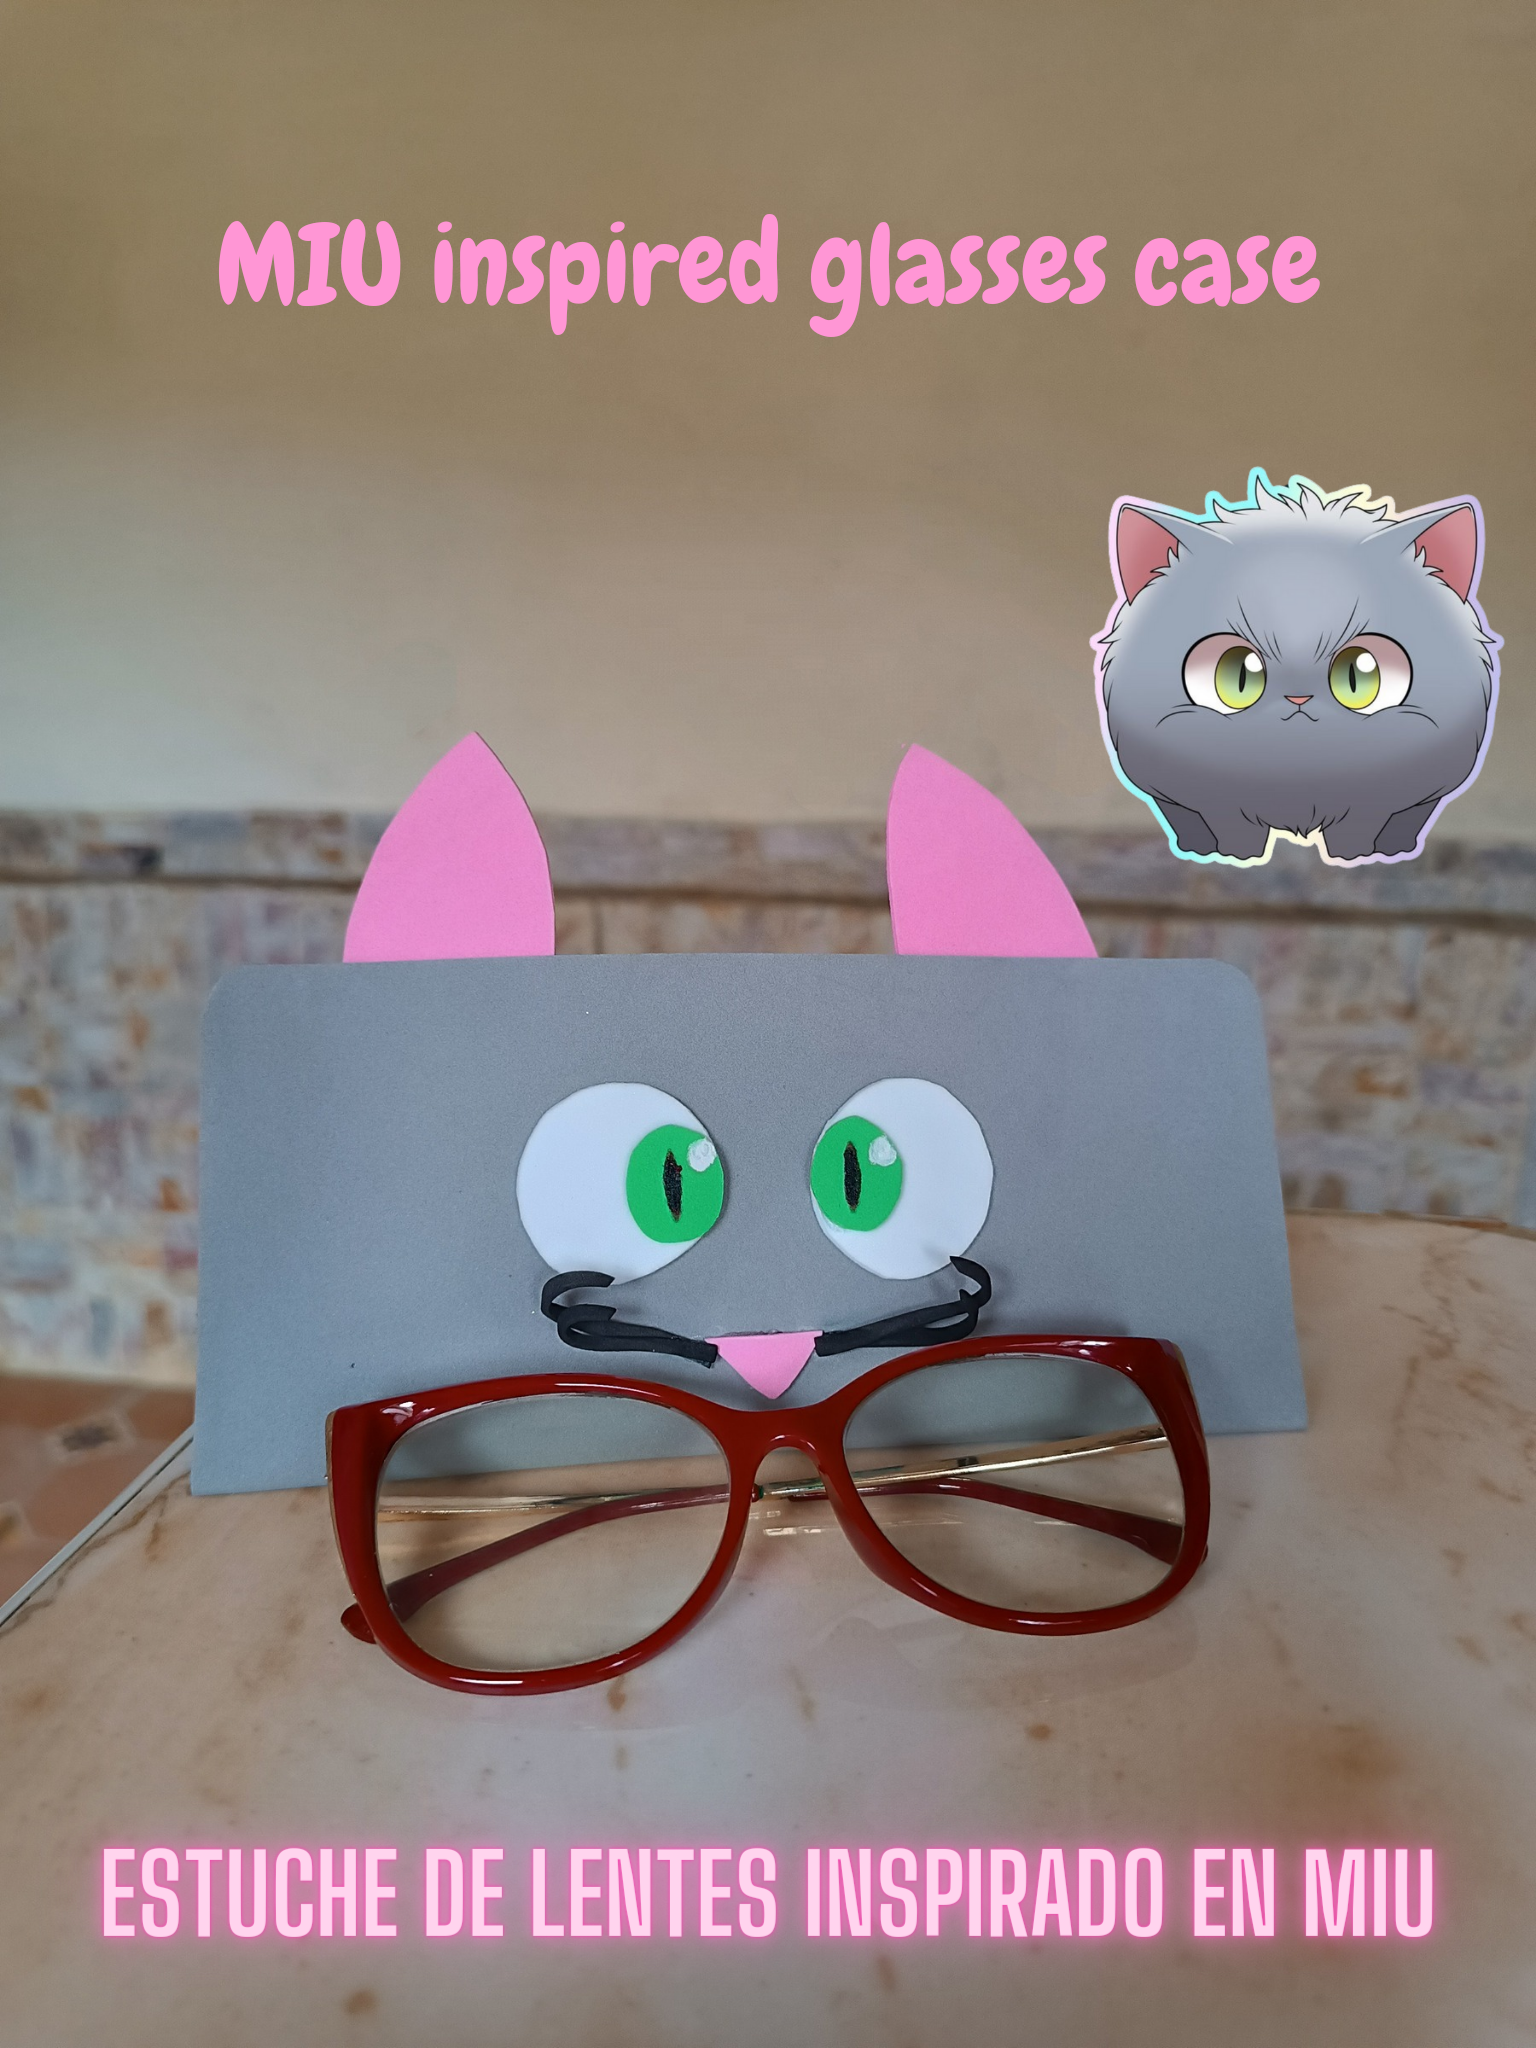
MIU es una de las criaturas más tiernas del juego, su apariencia me llama la atención y además sé que tendrá un gran poder dentro del juego, en esta ocasión me inspire en él para realizar un estuche para lentes en foami, donde resaltan sus facciones principales en especial sus ojos, es cómodo de llevar en nuestro bolso, a continuación les muestro el paso a paso y los materiales.
MIU is one of the cutest creatures in the game, his appearance catches my attention and I also know that he will have great power in the game, on this occasion I was inspired by him to make a foam glasses case, where his main features stand out. especially its eyes, it is comfortable to carry in our bag, below I show you the step by step and the materials.

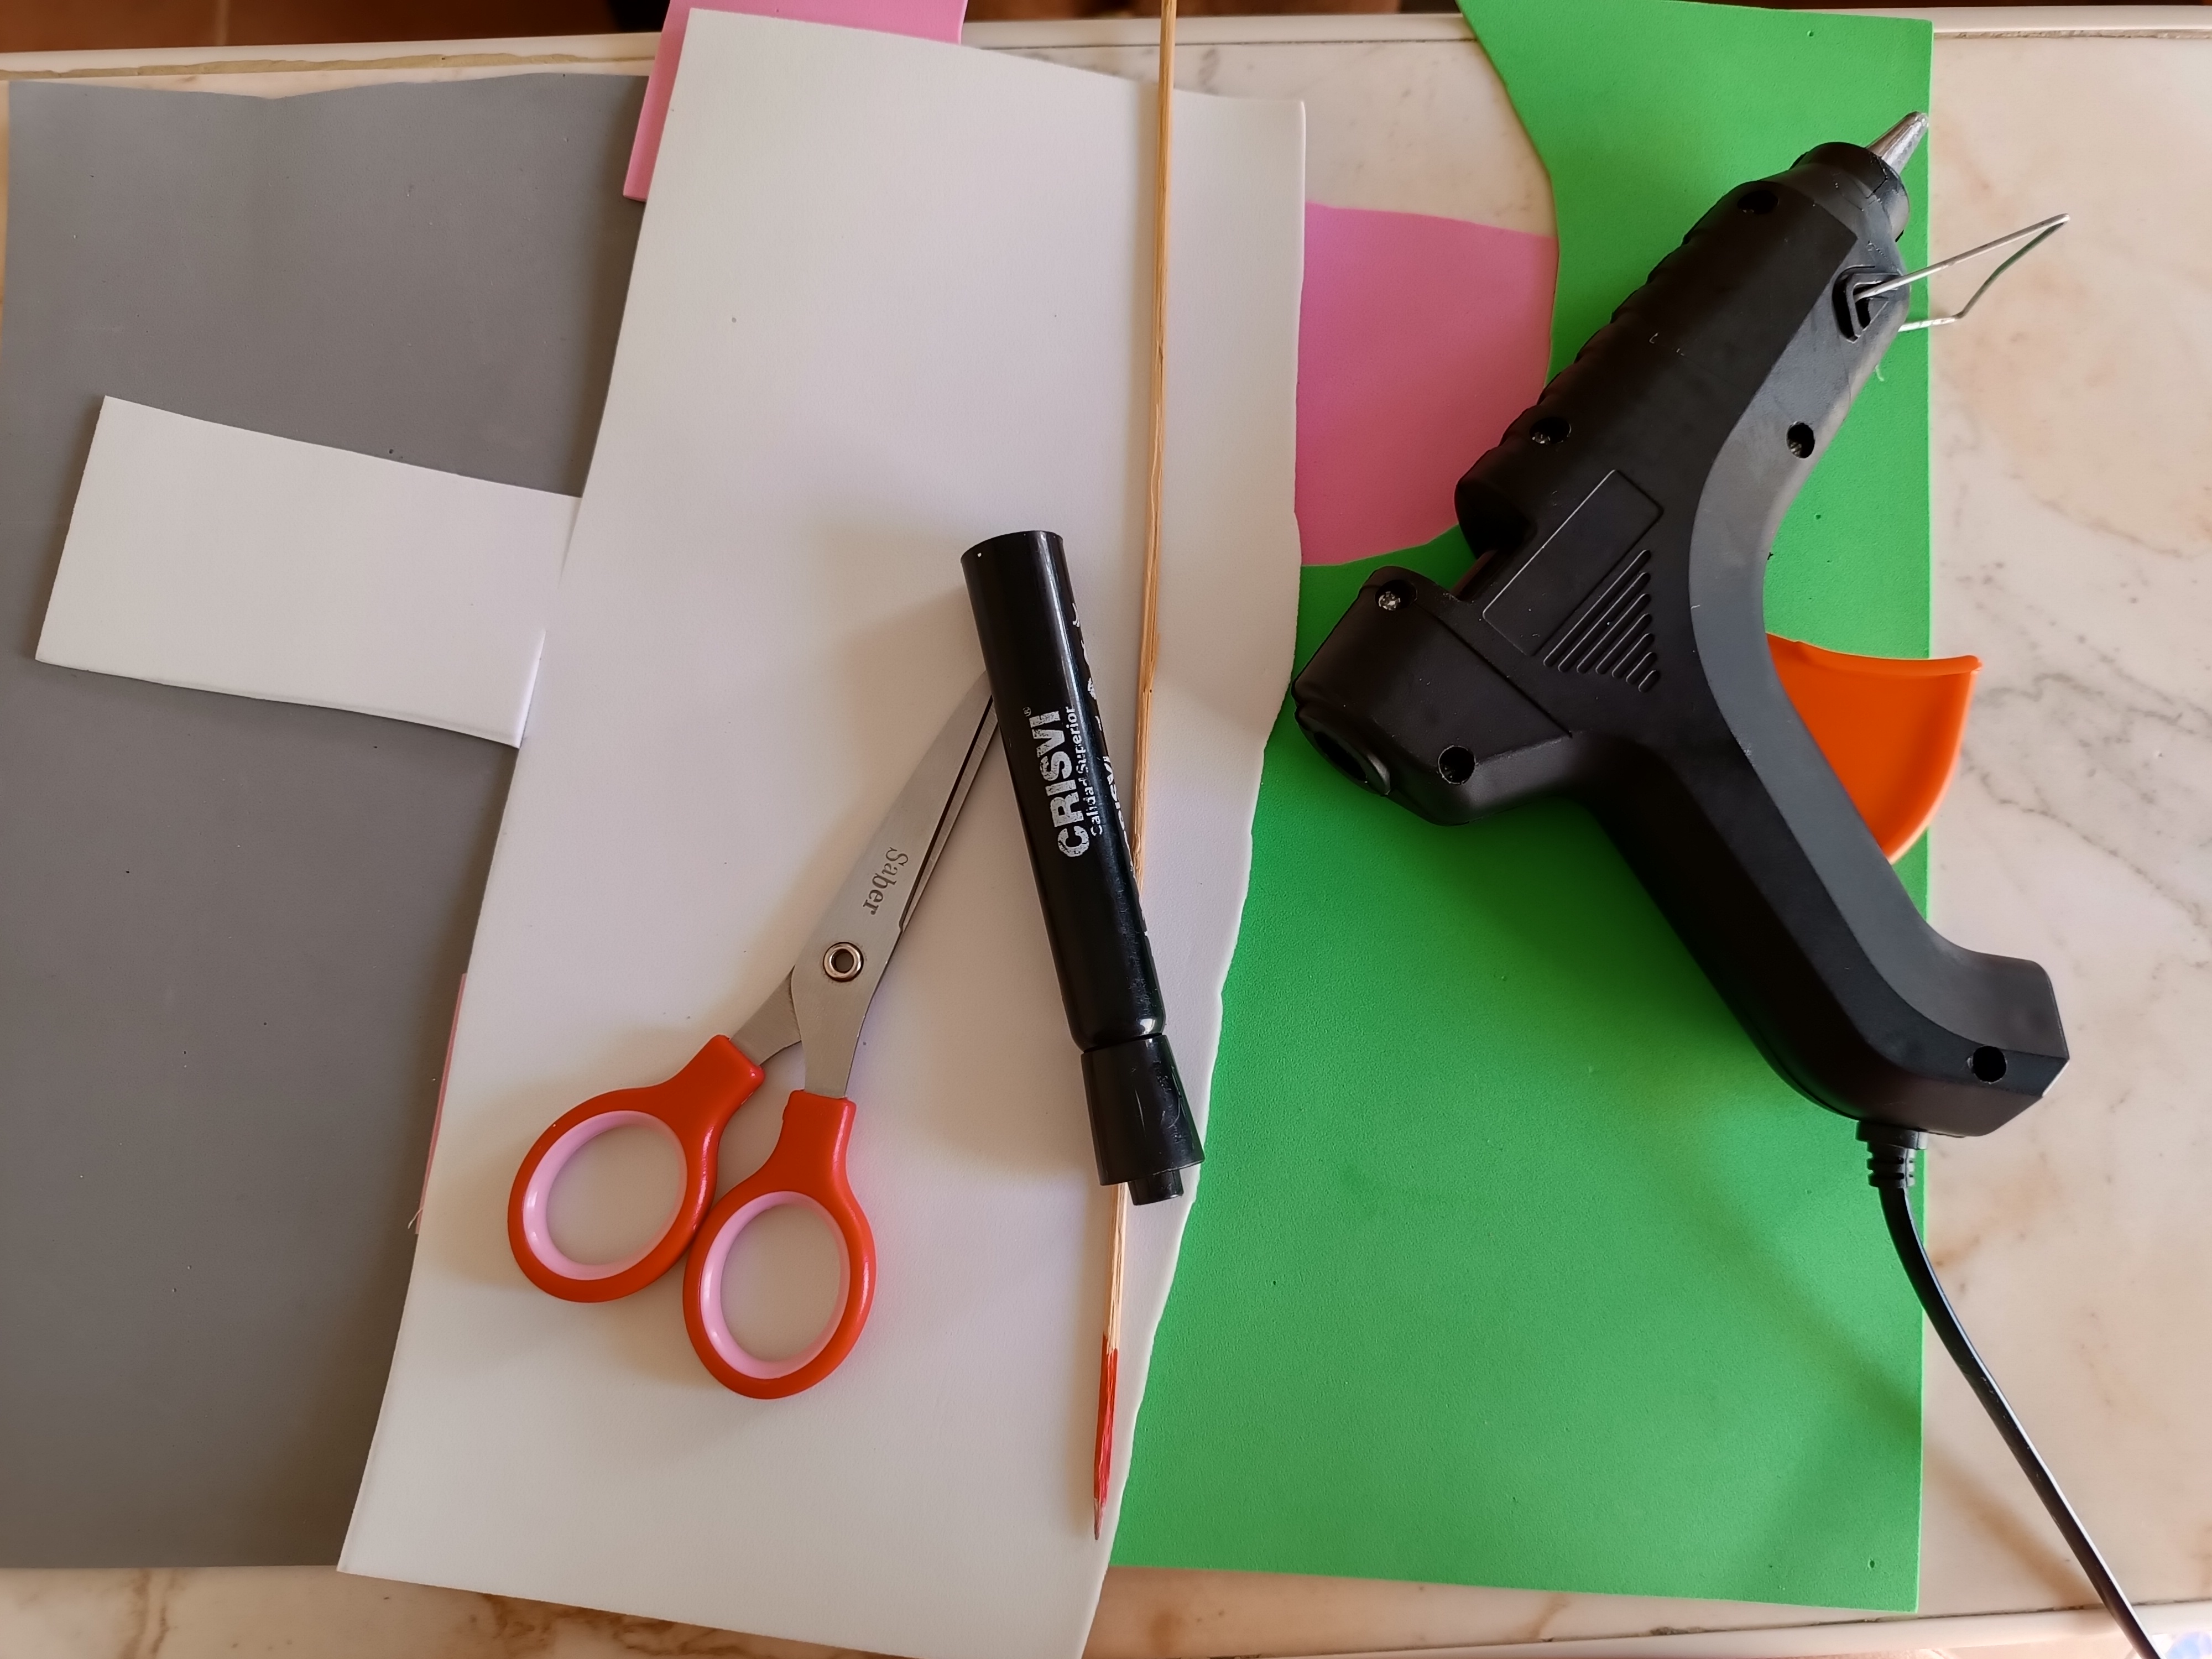
Materiales:
✅Foami gris.
✅Foami rosa.
✅Foami verde.
✅Foami blanco.
✅Foami negro.
✅Tijera.
✅Silicón.
✅Palillo.
✅Pintura blanca.
✅Marcador negro.
Materials:
Gray foam.
Pink foam.
Green foam.
White foam.
Black foam.
Scissors.
Silicone.
Toothpick.
White paint.
Black marker.

Paso a paso / Step by Step
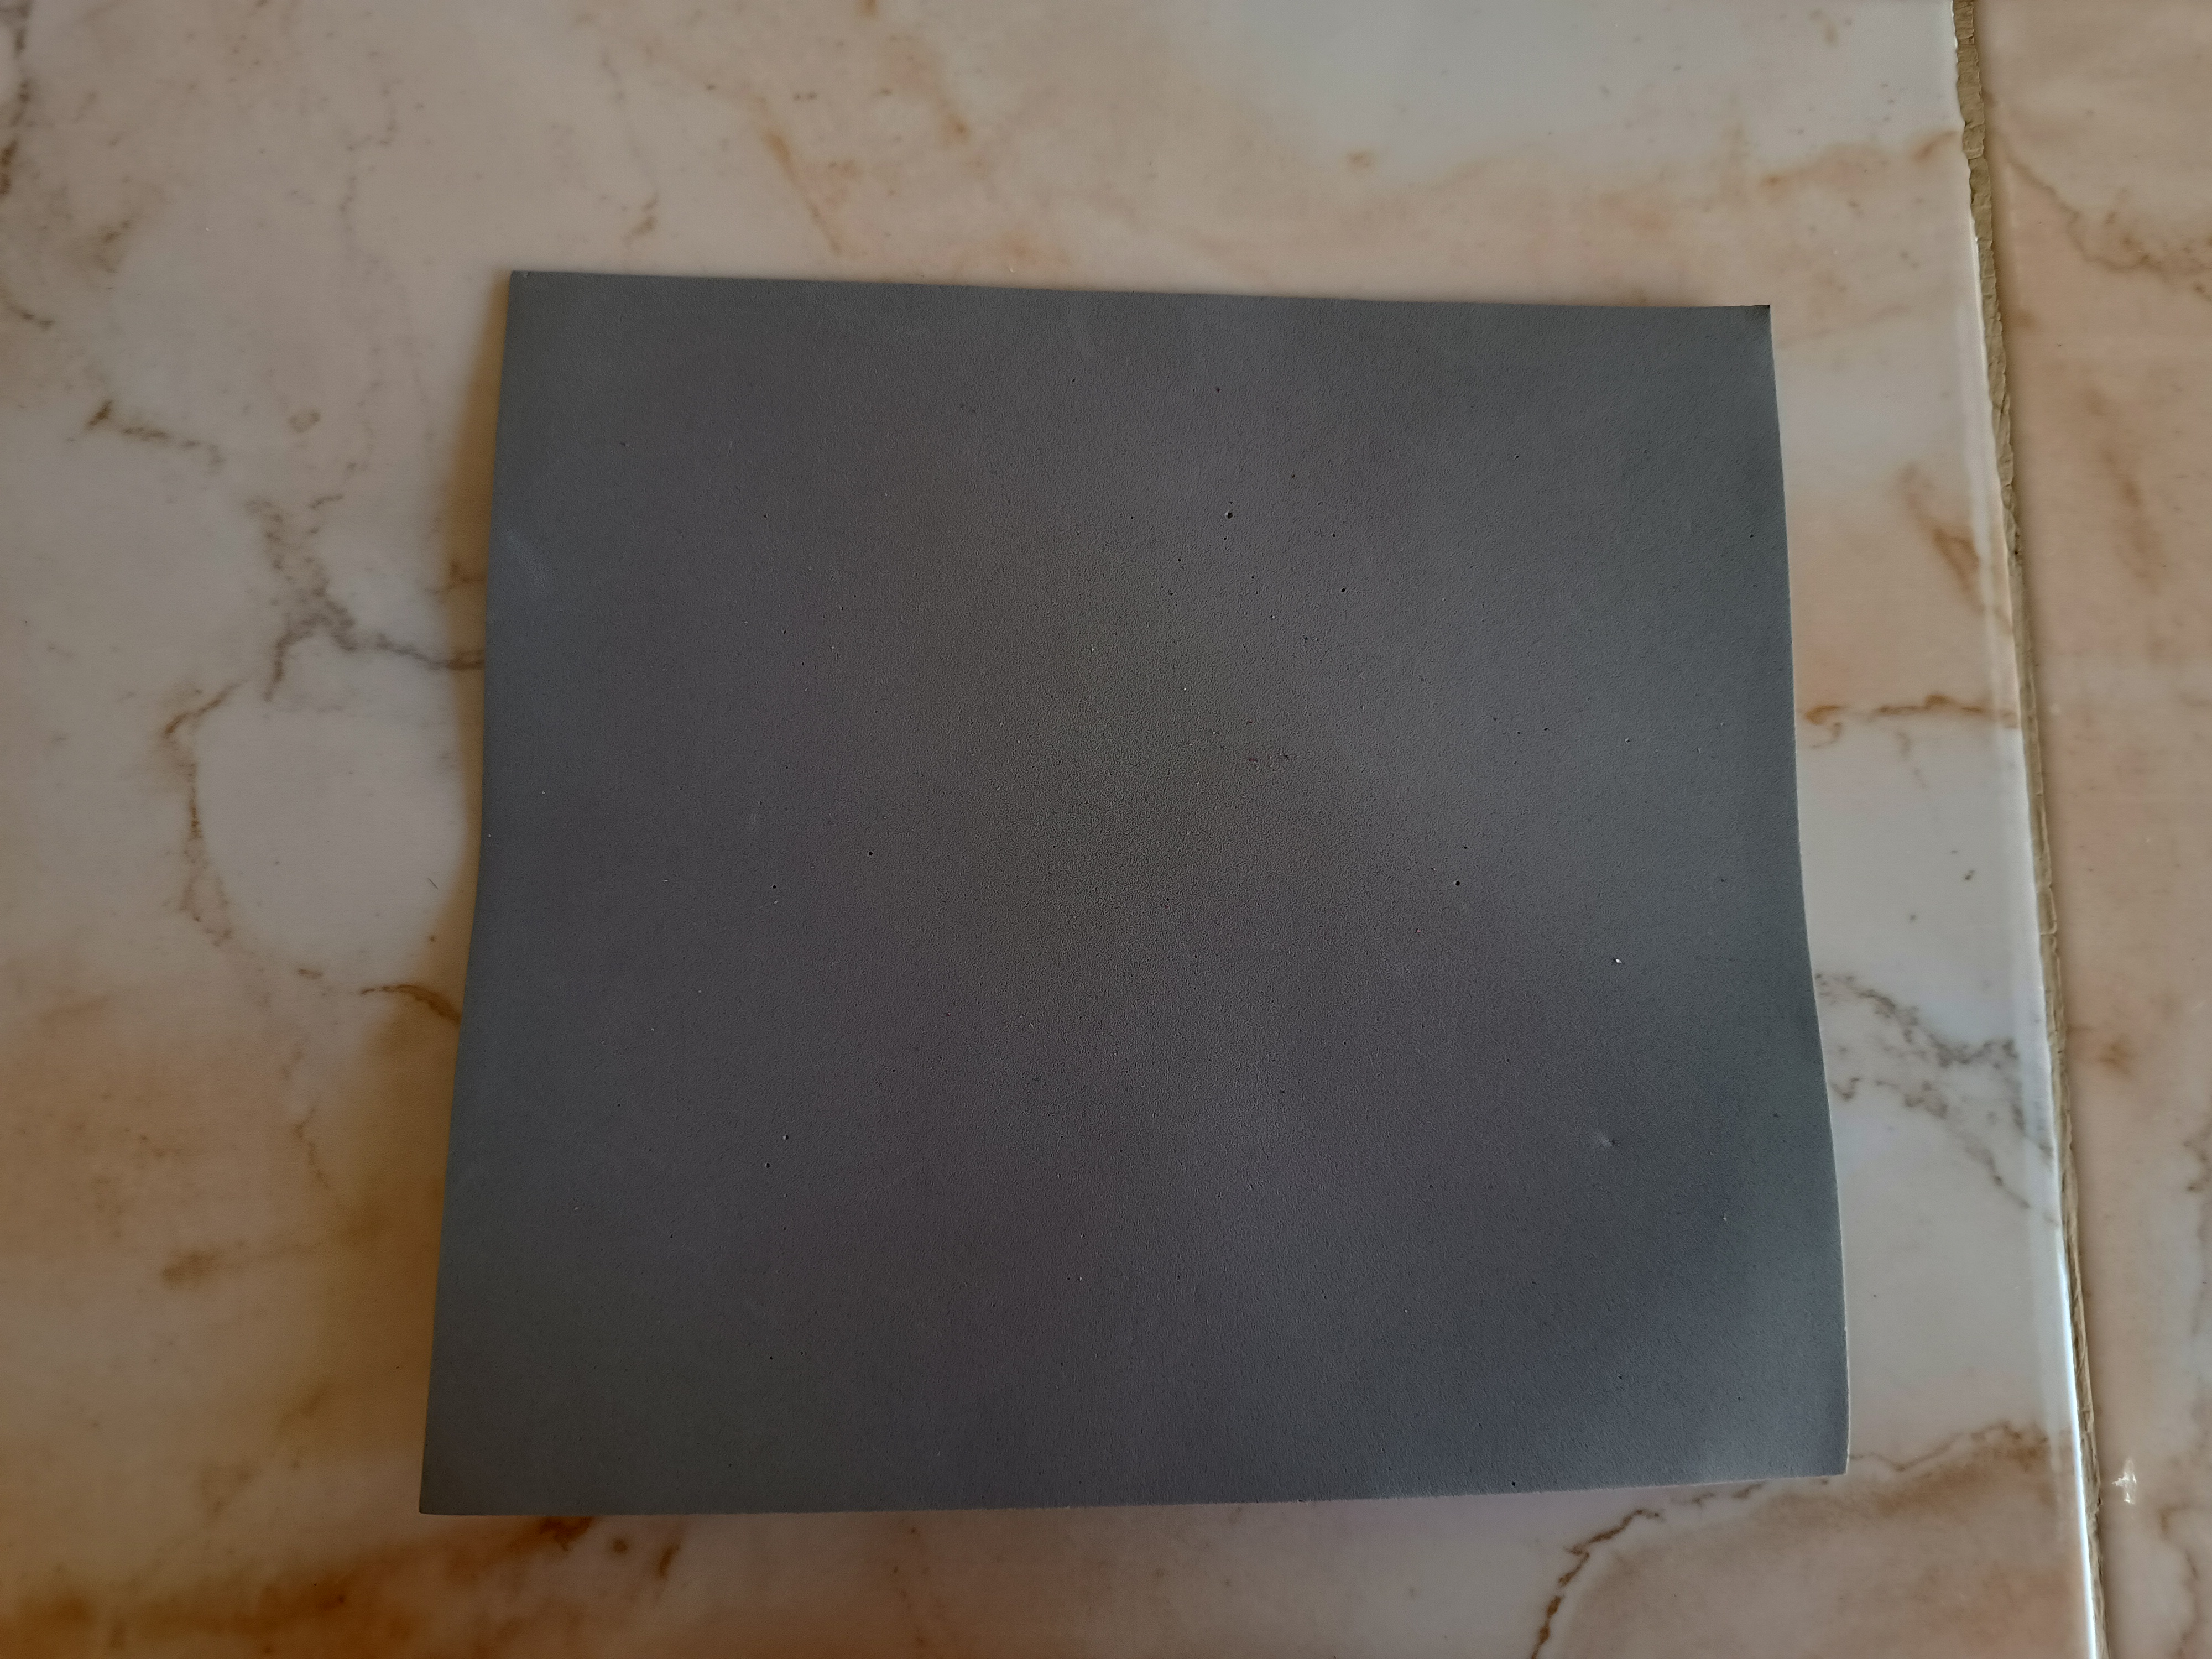
El primer paso se trata de cortar un cuadro de foami gris, es importante tomar la medida de los lentes, luego vamos a doblar en la mitad y pegamos con silicón las esquinas dejando libre la parte superior.
The first step is to cut a gray foam square, it is important to take the measurement of the lenses, then we are going to fold it in half and glue the corners with silicone, leaving the top part free.

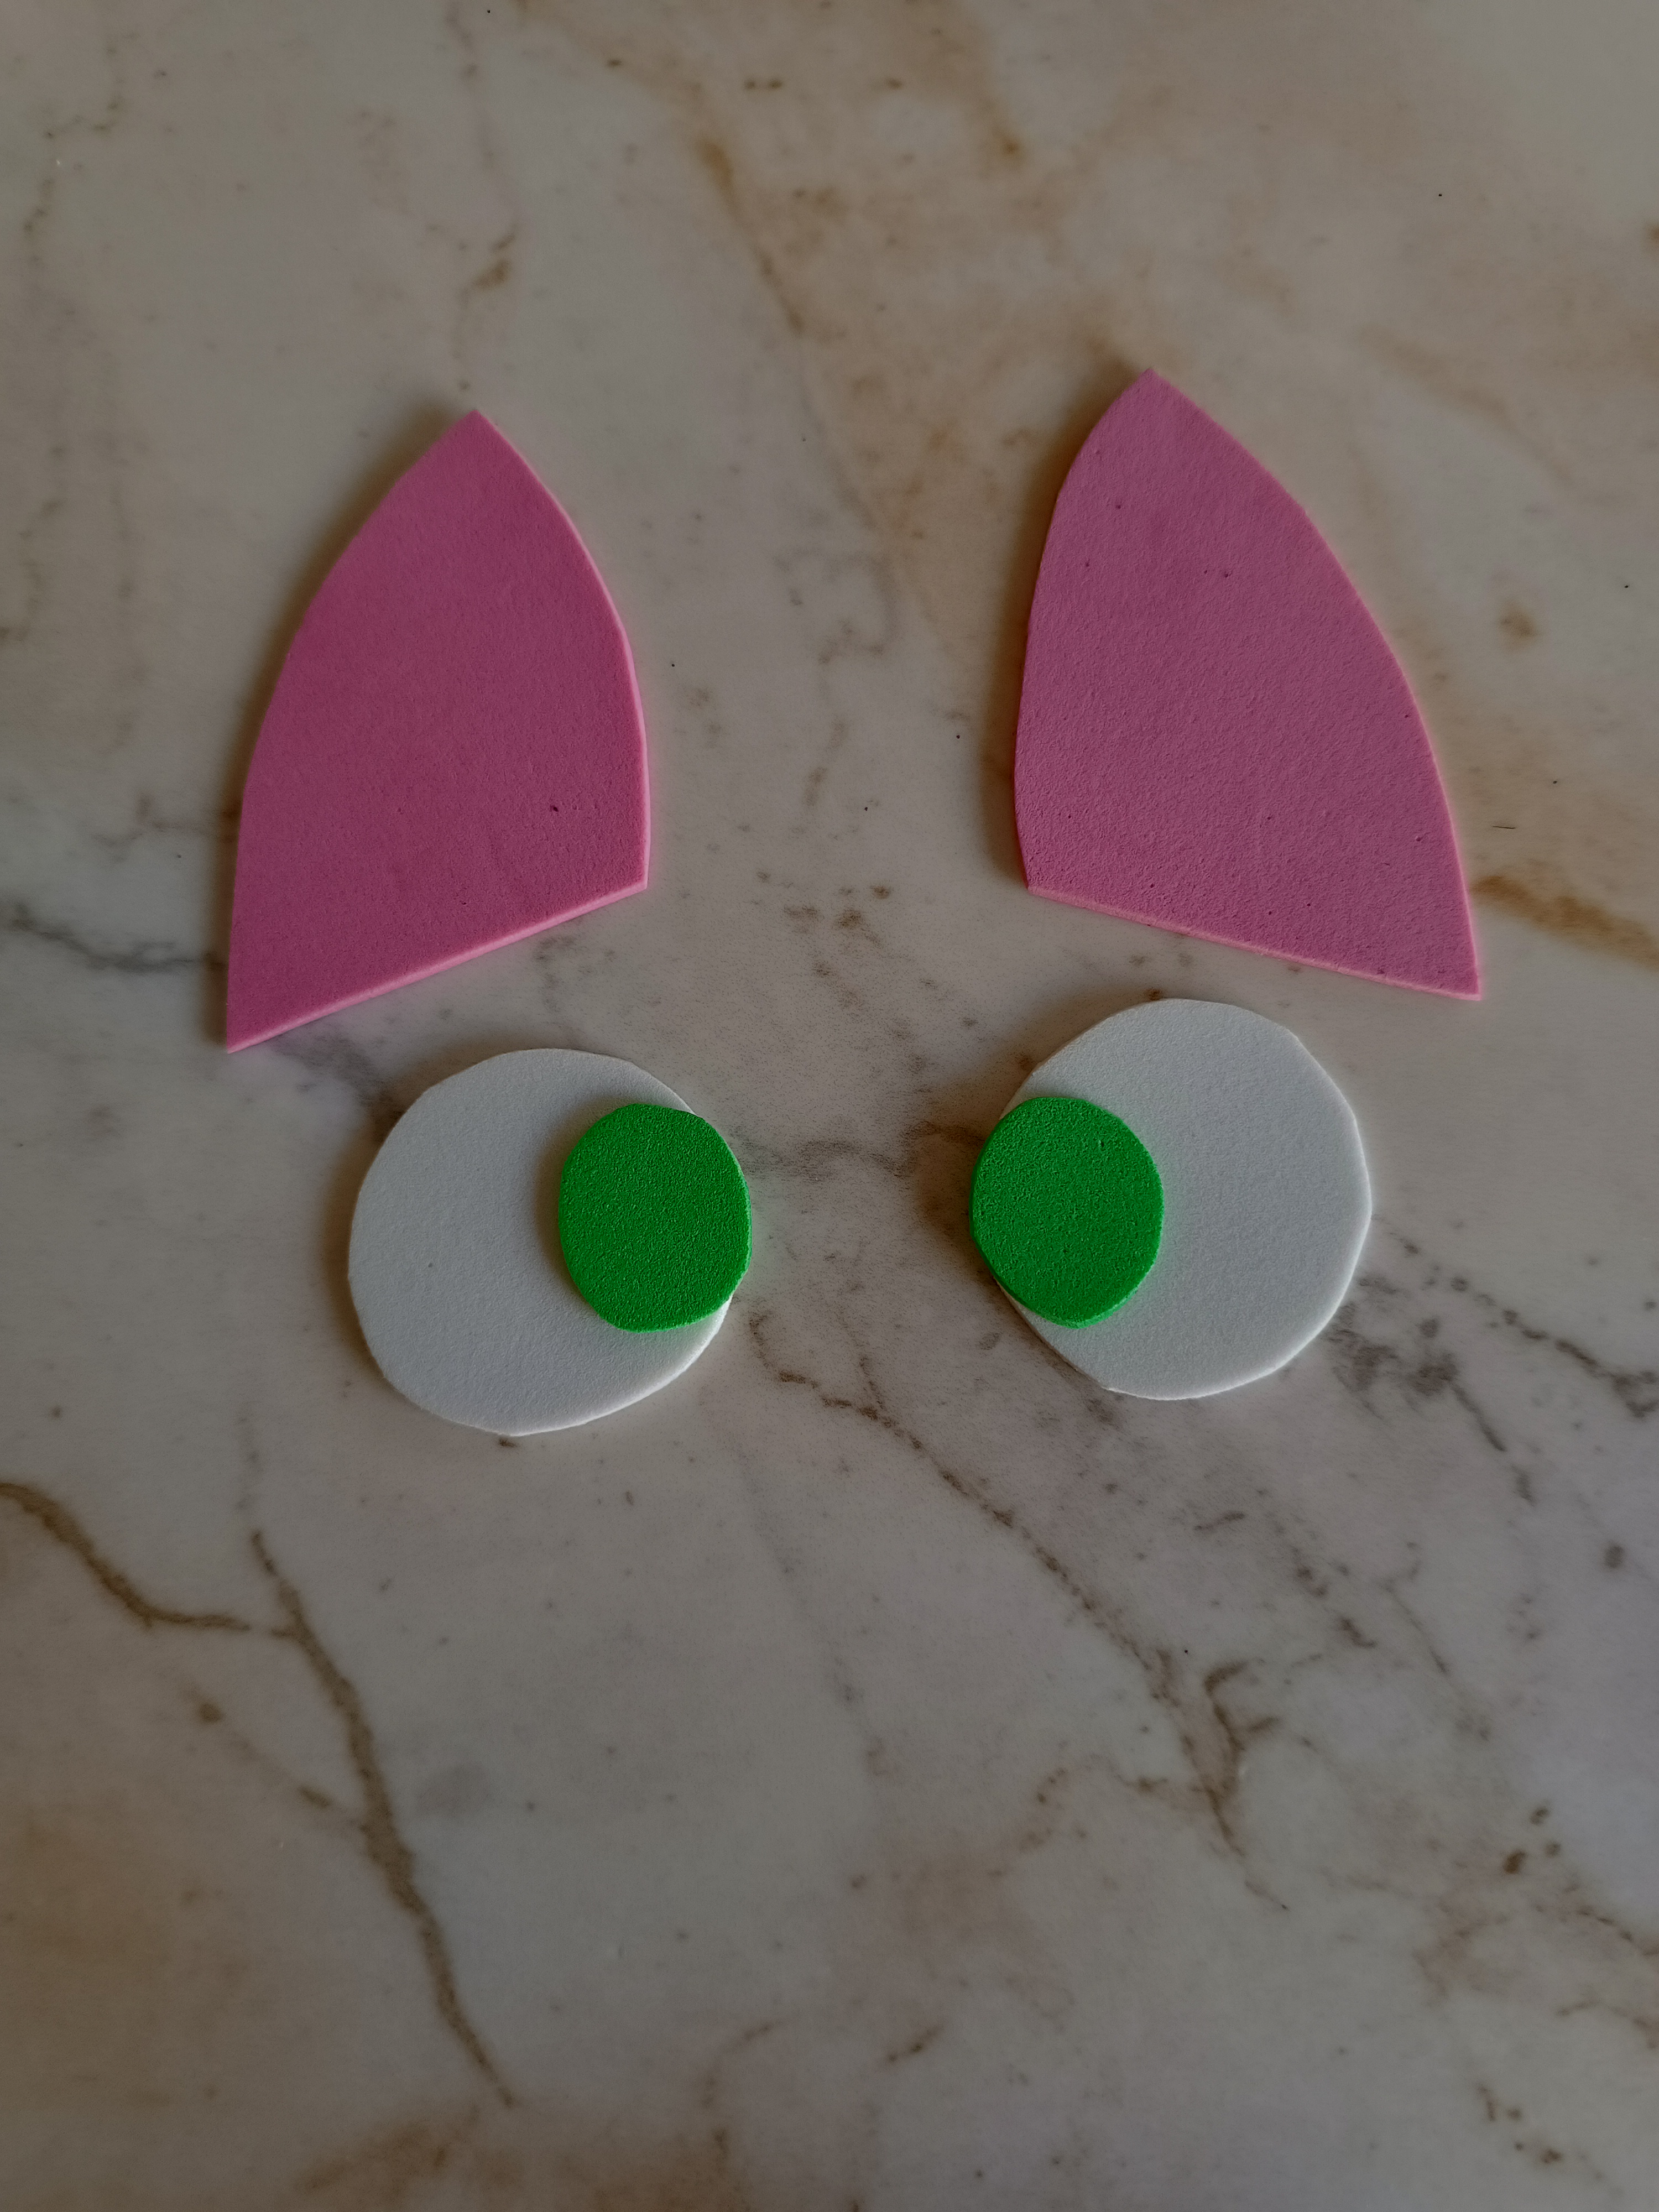
Voy a realizar dos círculos color blanco medianos, y dos círculos pequeños color verde, estos los voy a unir y realicé una línea negra sobre el foami verde además de un punto blanco en las esquinas de esta forma terminamos los ojos.
I am going to make two medium white circles, and two small green circles, I am going to join these and make a black line on the green foam as well as a white dot in the corners in this way we will finish the eyes.
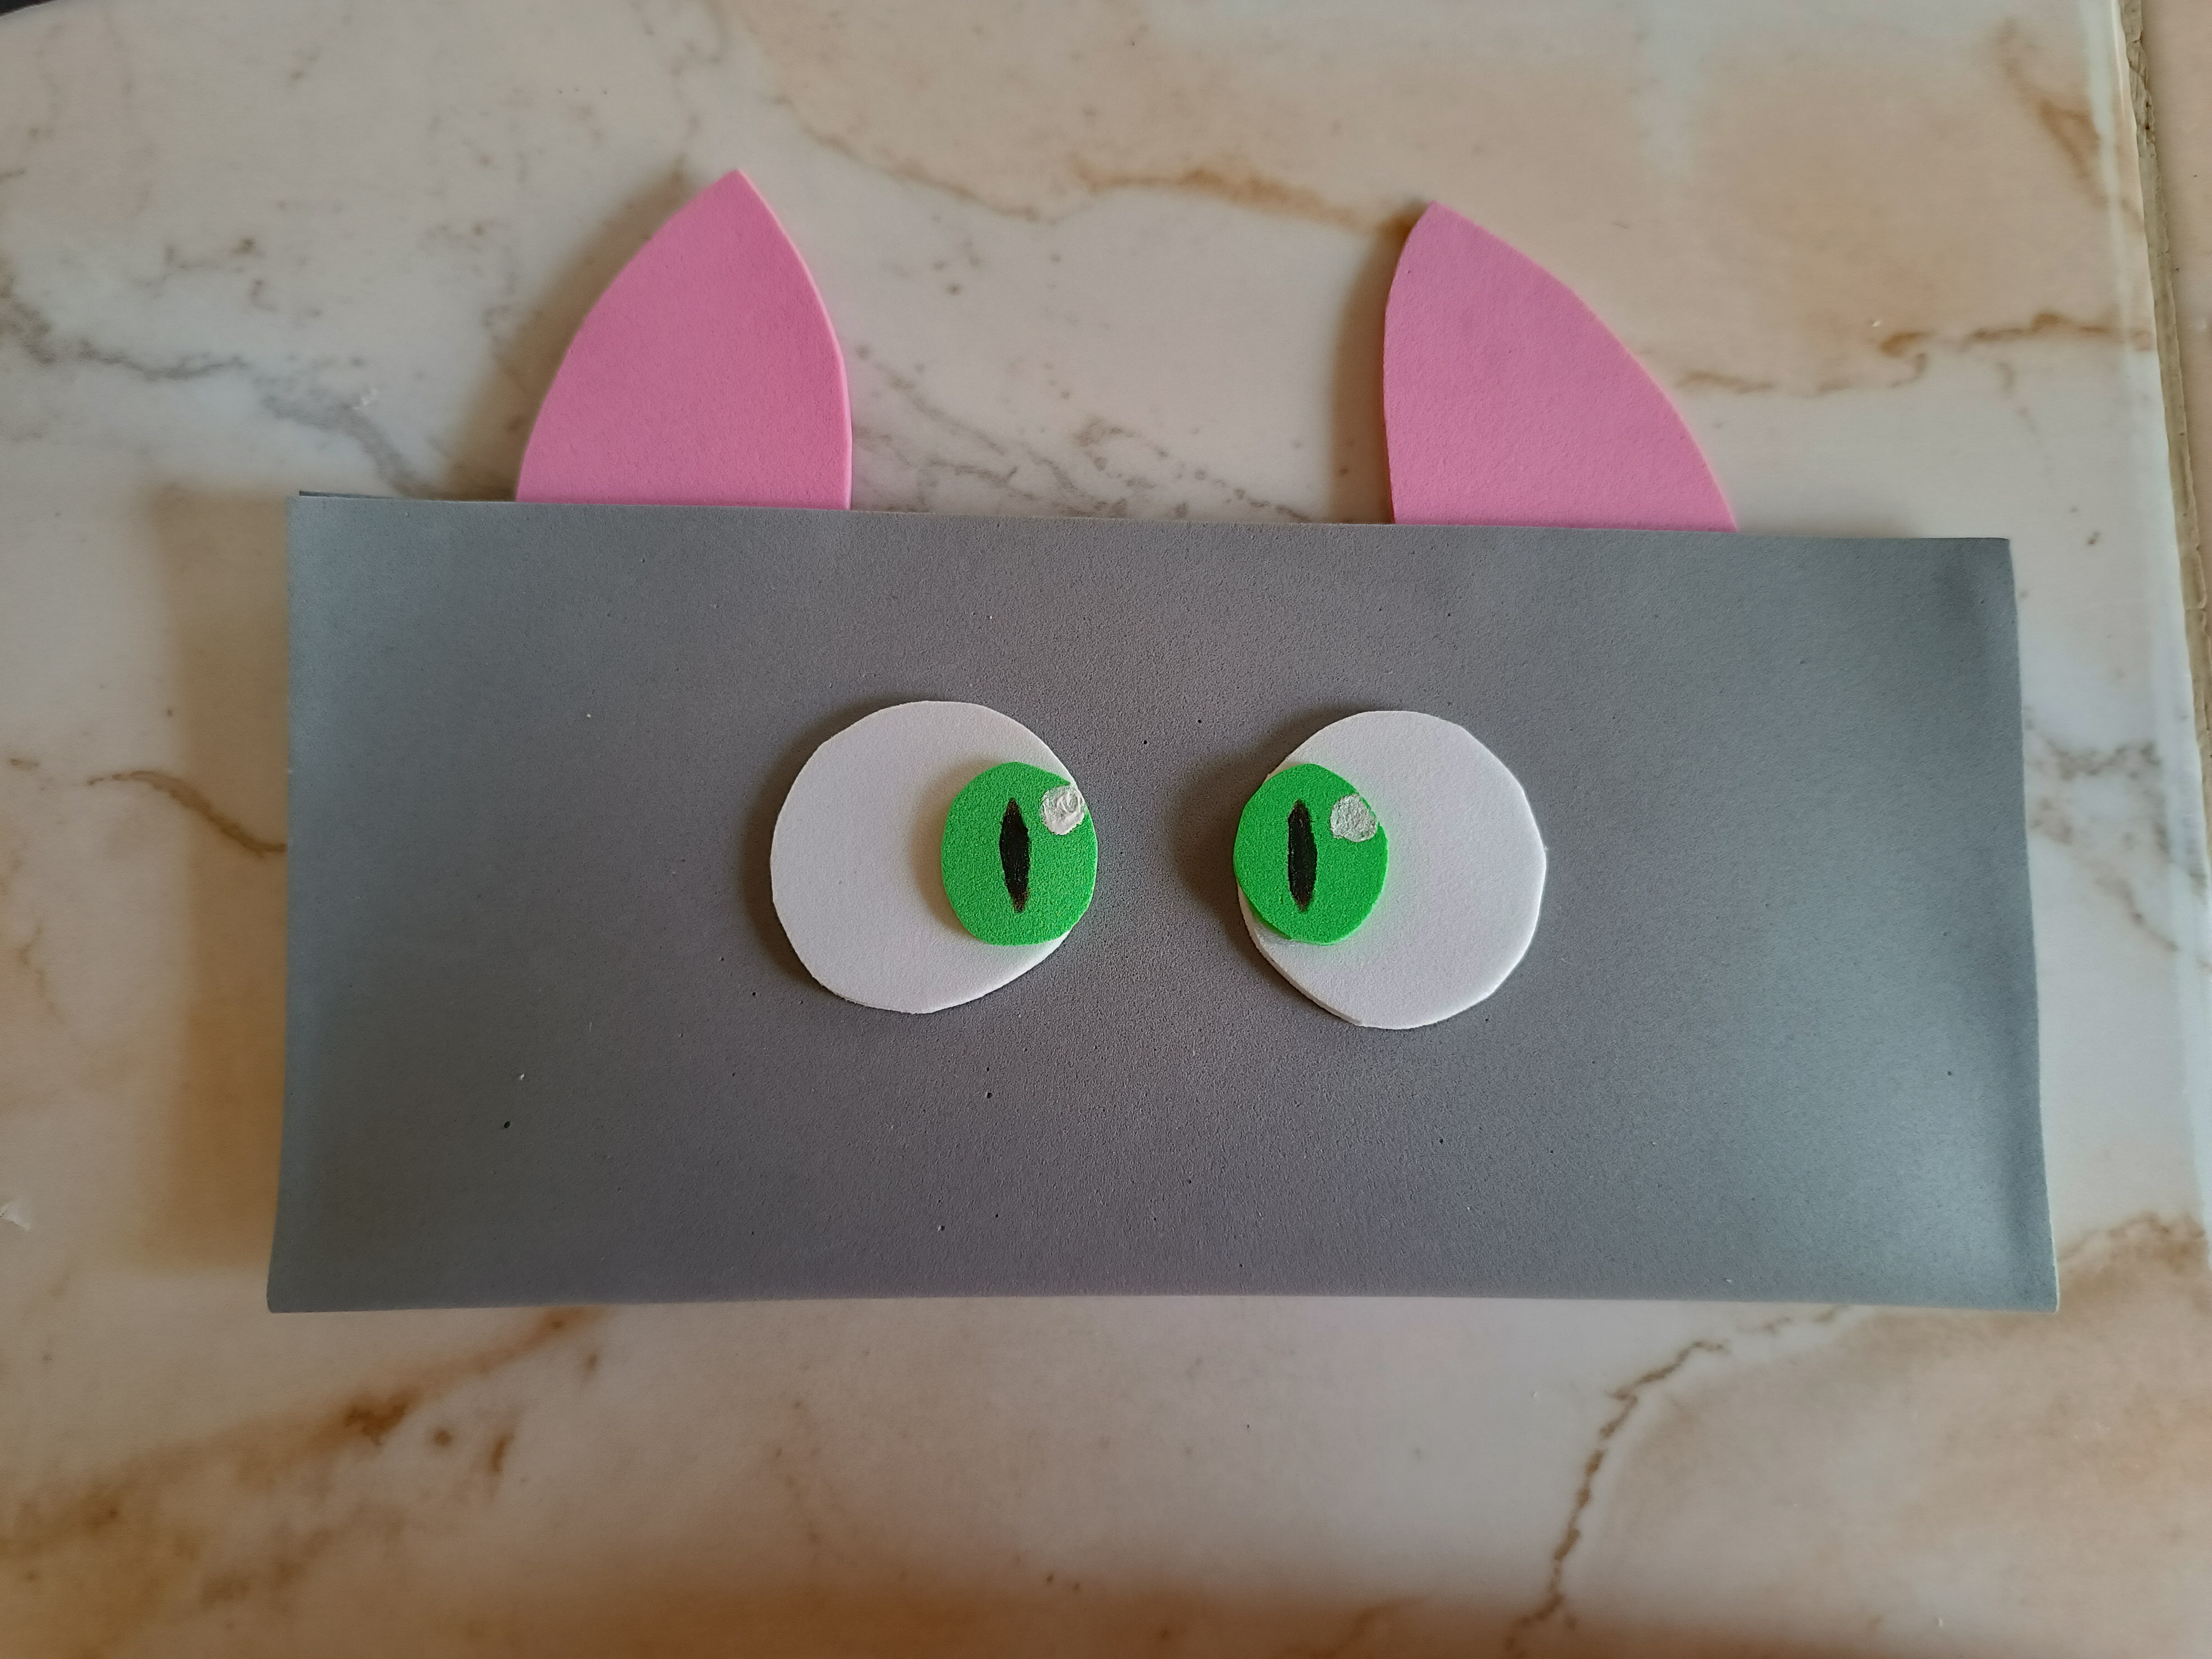
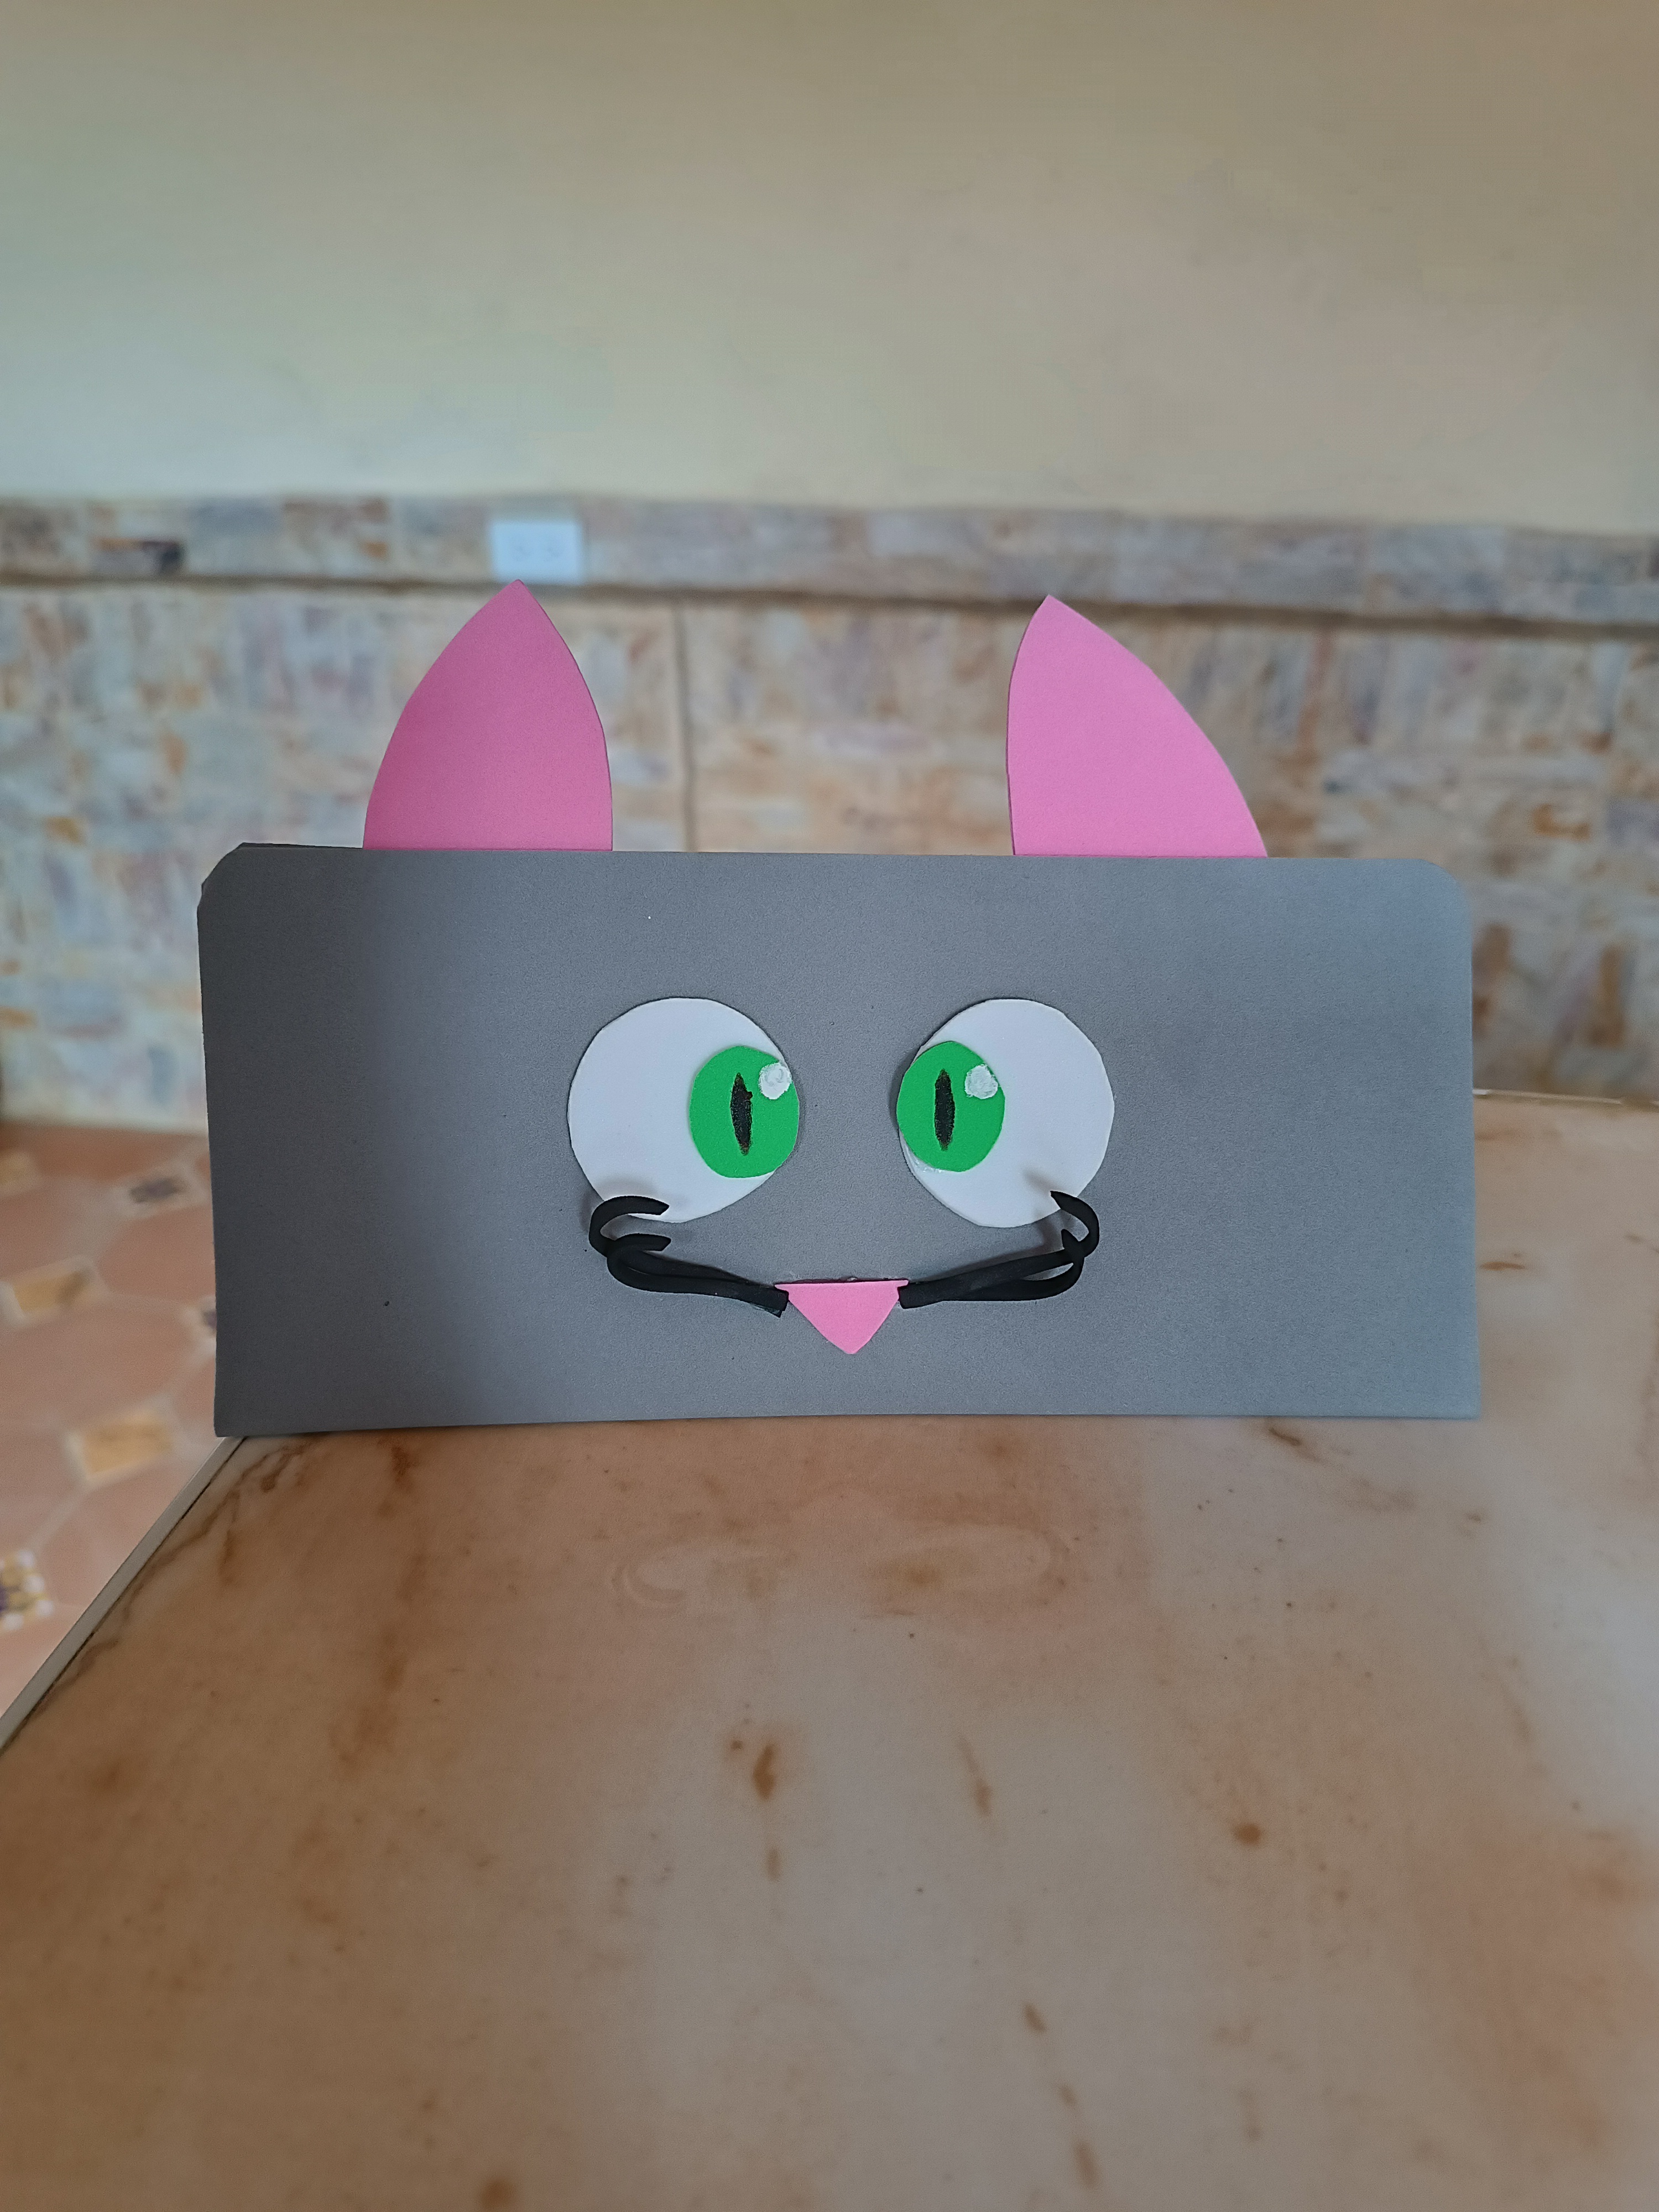
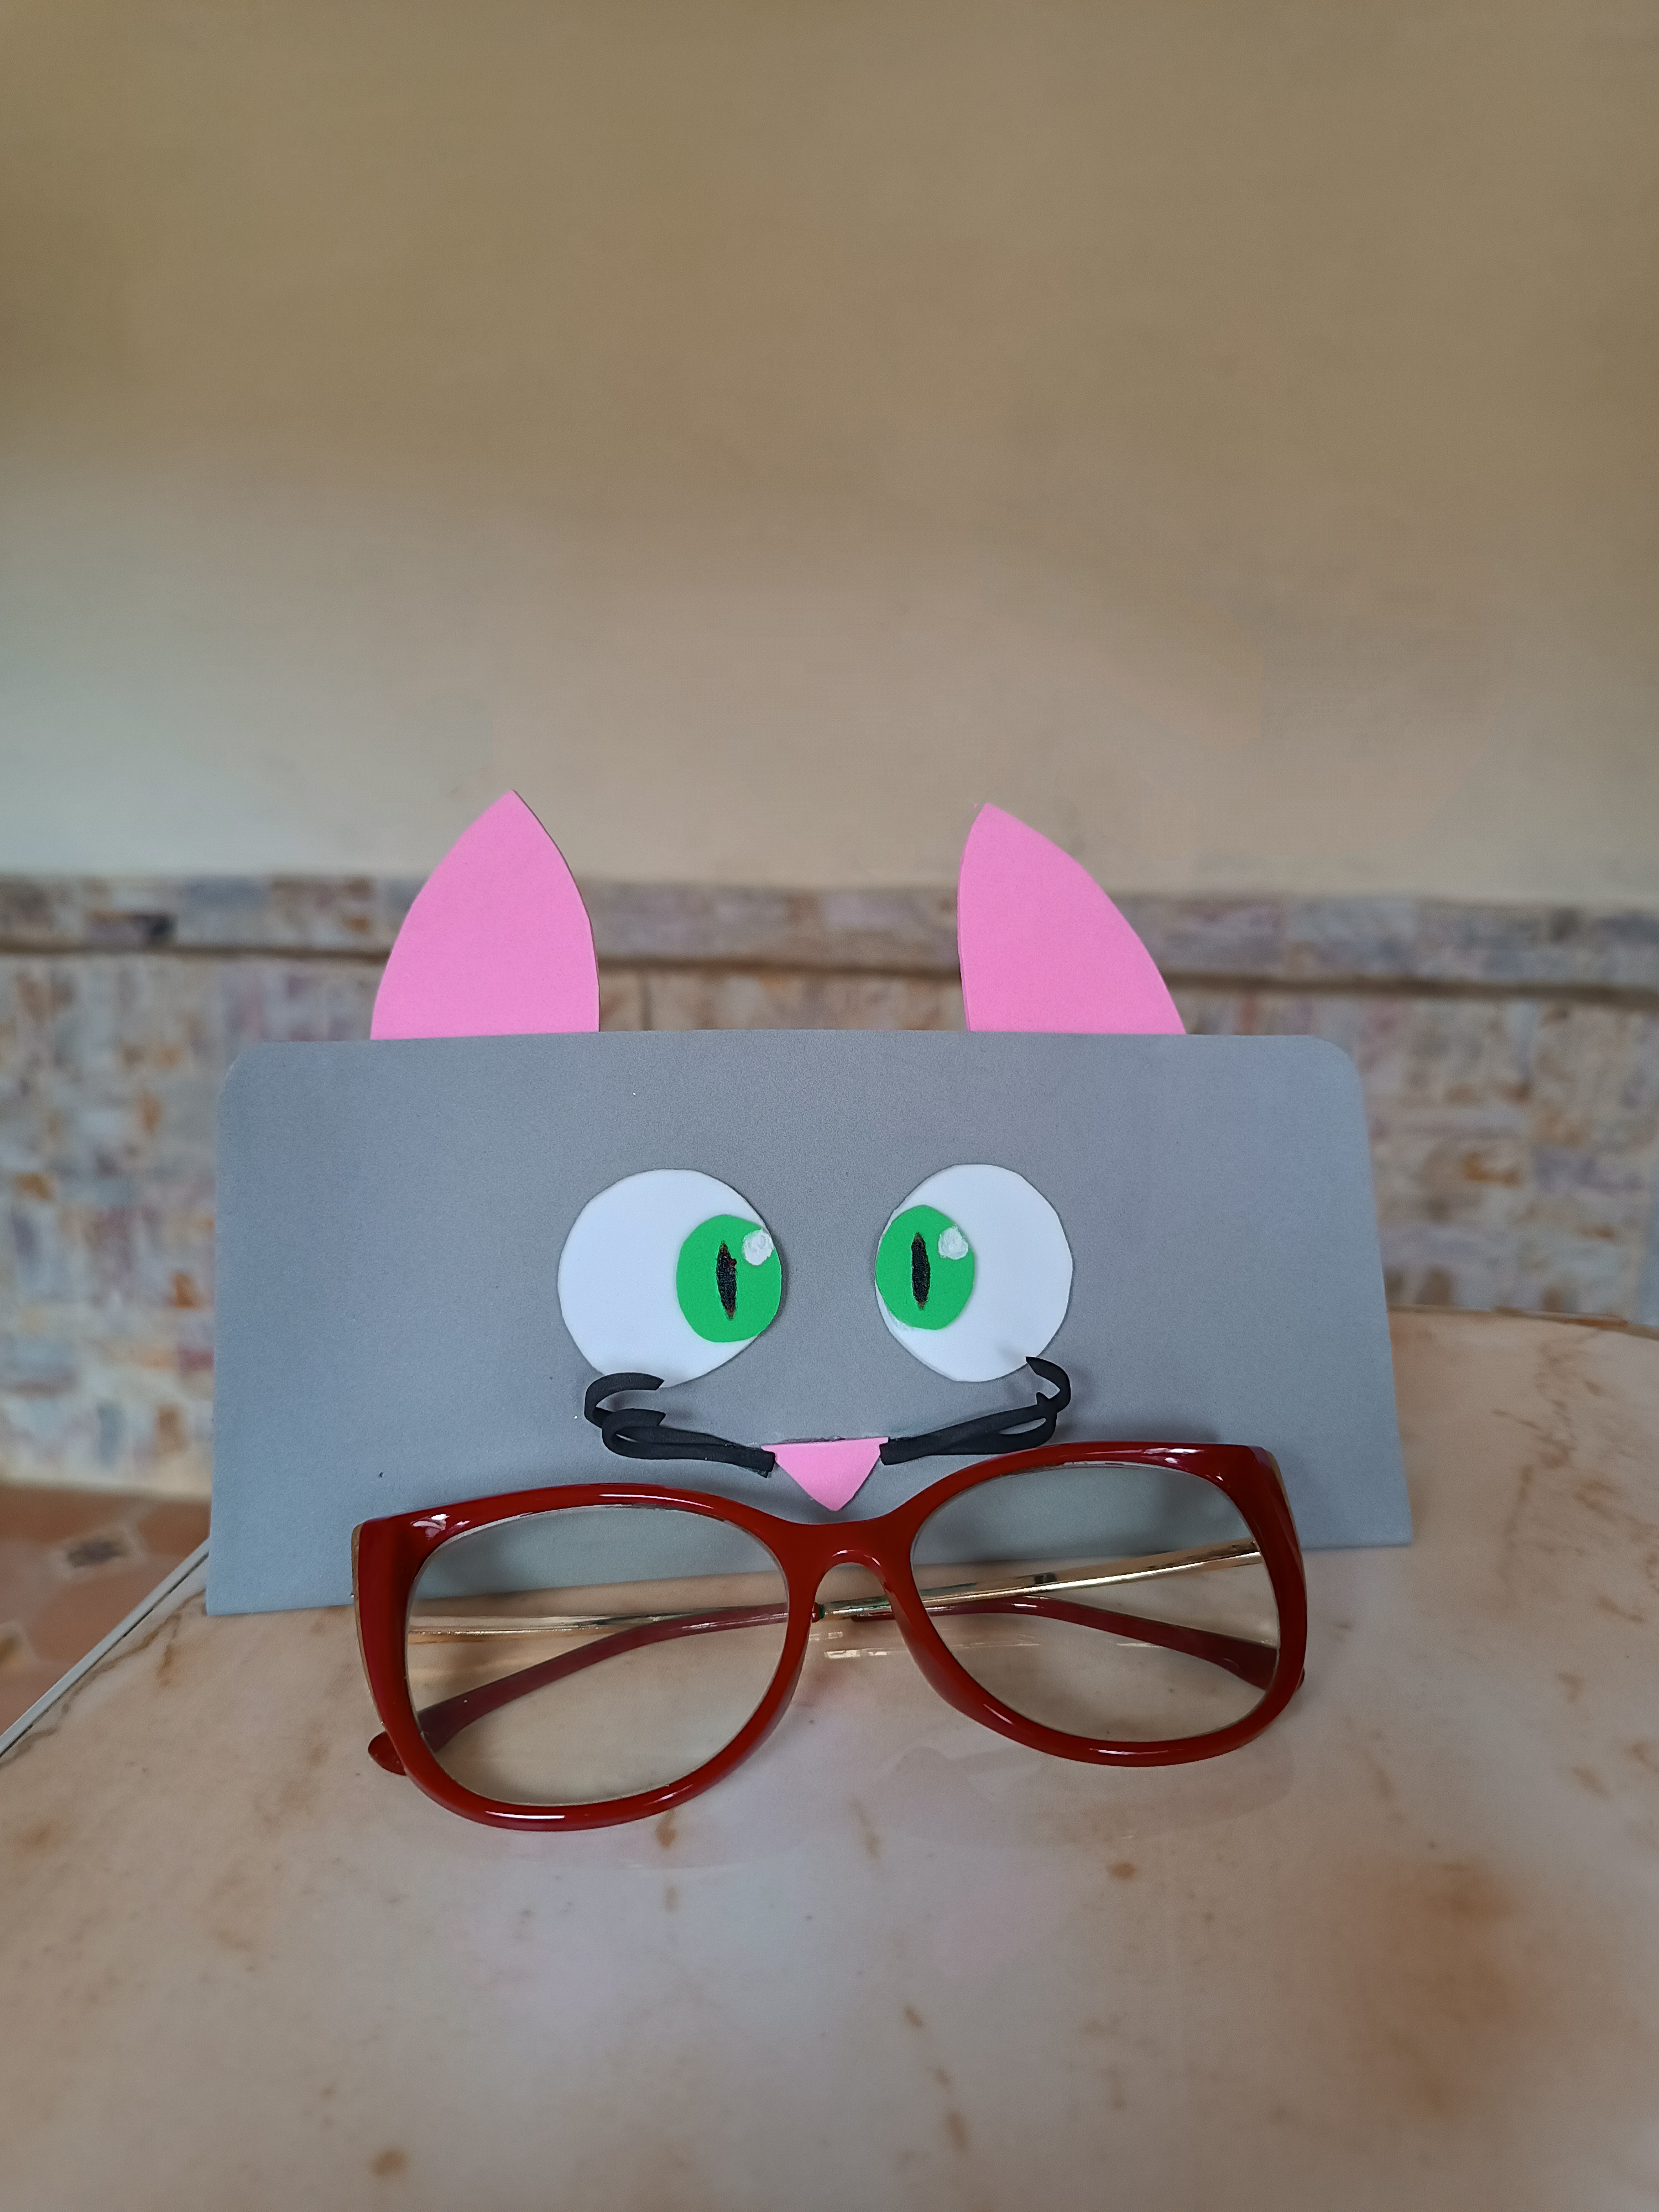
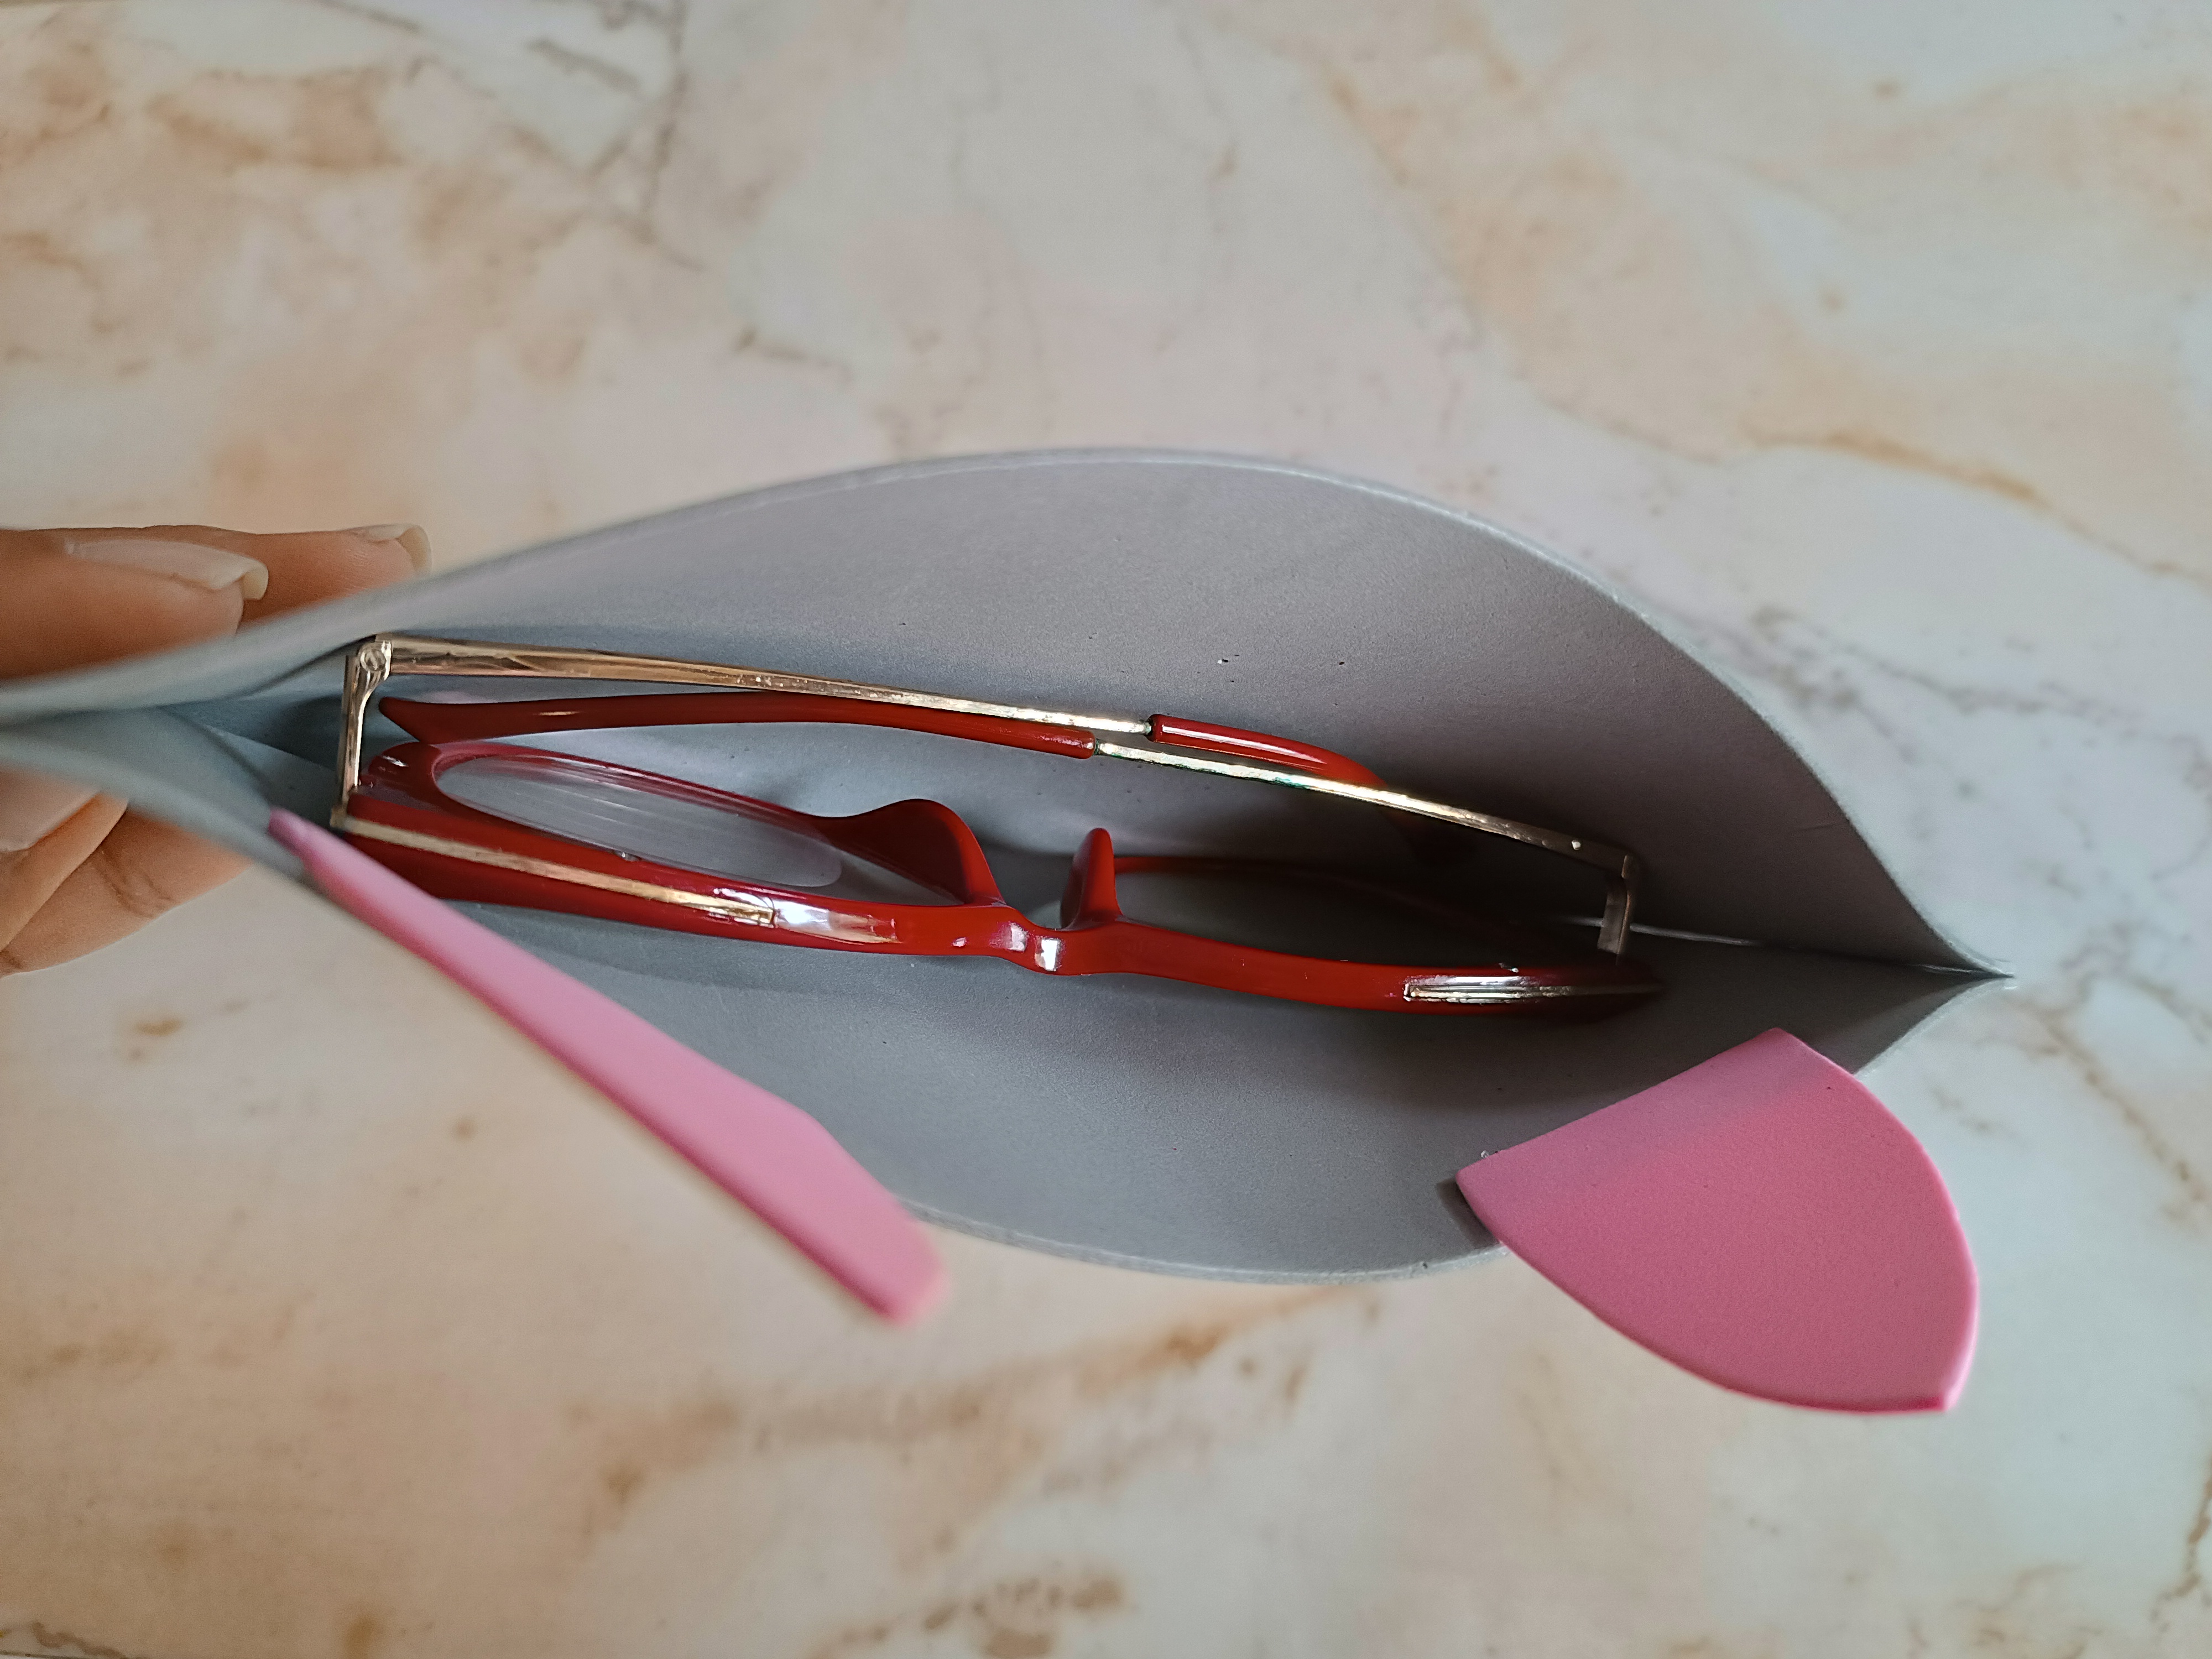
Con foami color rosa realicé sus orejas el cual ubiqué en la parte superior también realicé su nariz del mismo color en forma triangular, para sus bigotes corté dos tiras de foami negro las uní y con una plancha apliqué calor para dar forma, de esta forma hemos terminado este lindo estuche porta lentes de MIU, en las fotos les nuestro como se ven los lentes dentro del estuche, en su apariencia se aprecia un lindo gatito.
With pink foam I made his ears which I placed at the top I also made his nose of the same color in a triangular shape, for his mustaches I cut two strips of black foam I joined them and with an iron I applied heat to give shape, in this way we have finished this cute MIU glasses case, in the photos we show you how the glasses look inside the case, in its appearance you can see a cute kitten.

Muchas gracias por visitar mi publicación, nos vemos en una próxima oportunidad con más ideas creativas.
Thank you very much for visiting my publication, see you next time with more creative ideas.


Contenido original. - original content.
Los separadores y banner fueron realizados en Canva. - The dividers and banner were made in Canva.
Las fotografias son tomadas con mi teléfono Redmi Note 11s y editadas en PicsArt - The photographs are taken with my Redmi Note 11s phone and edited in PicsArt.
Traducción de: Google traductor - Translation of: Google translator.
