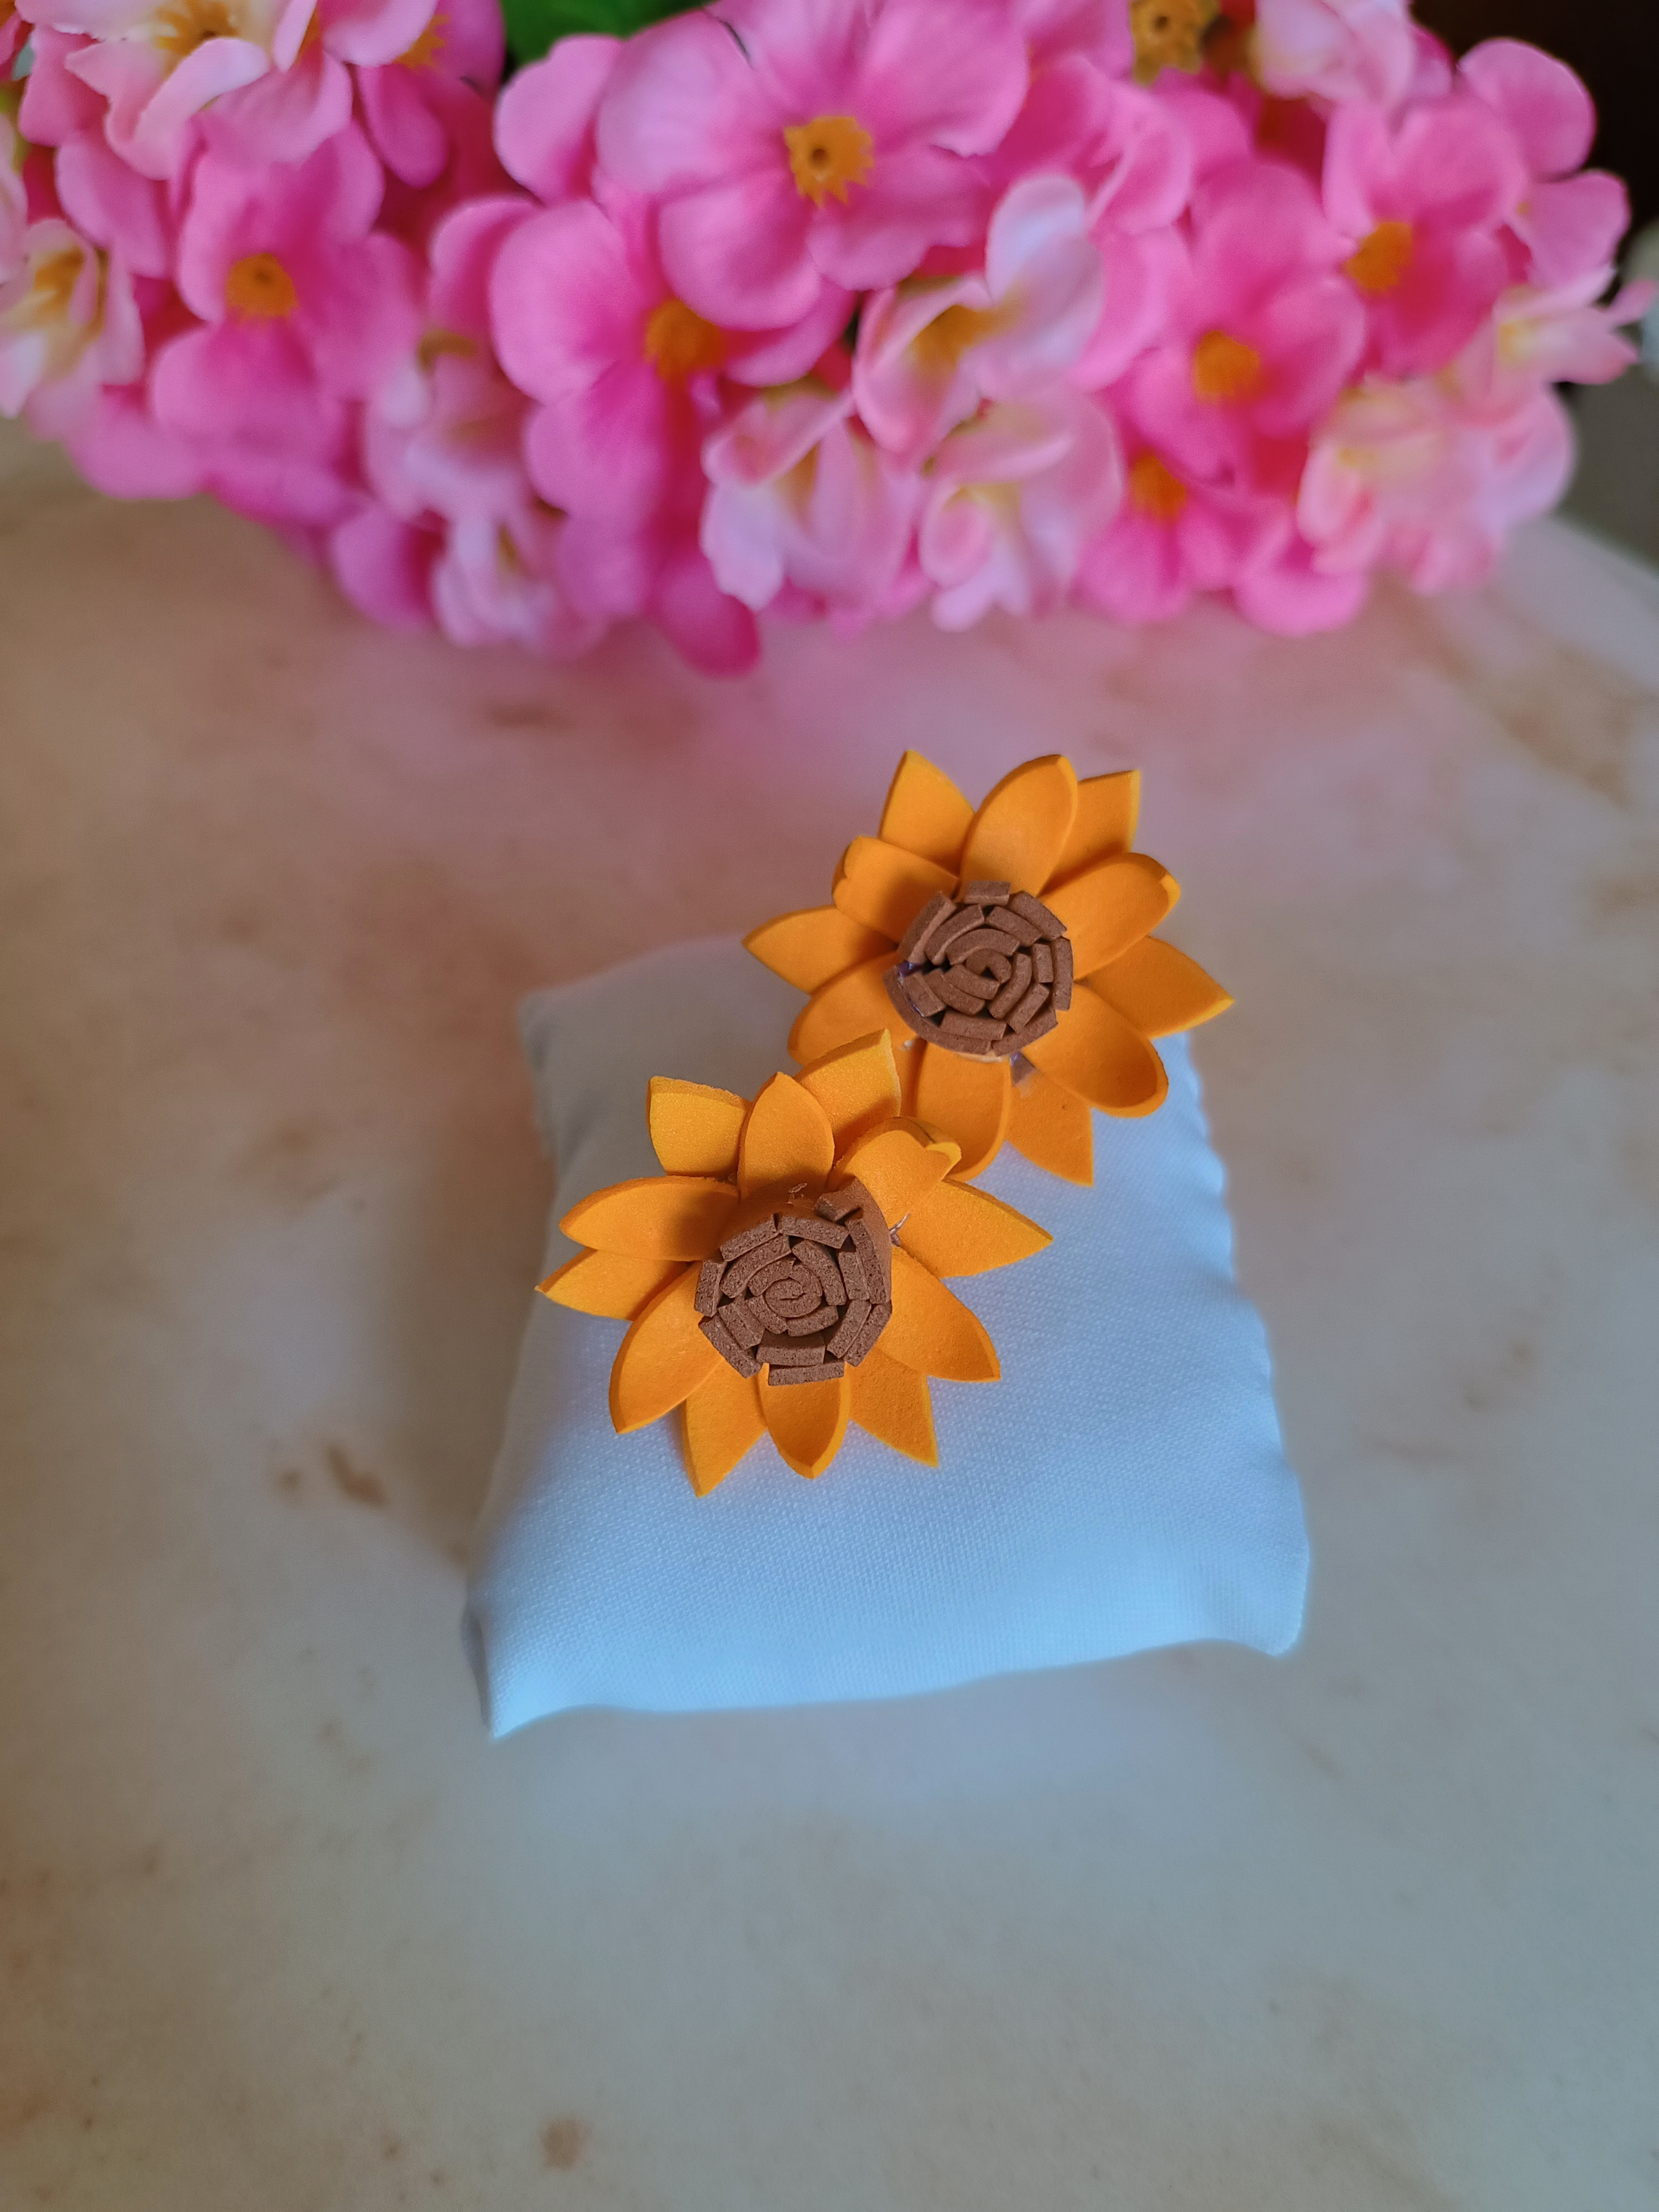
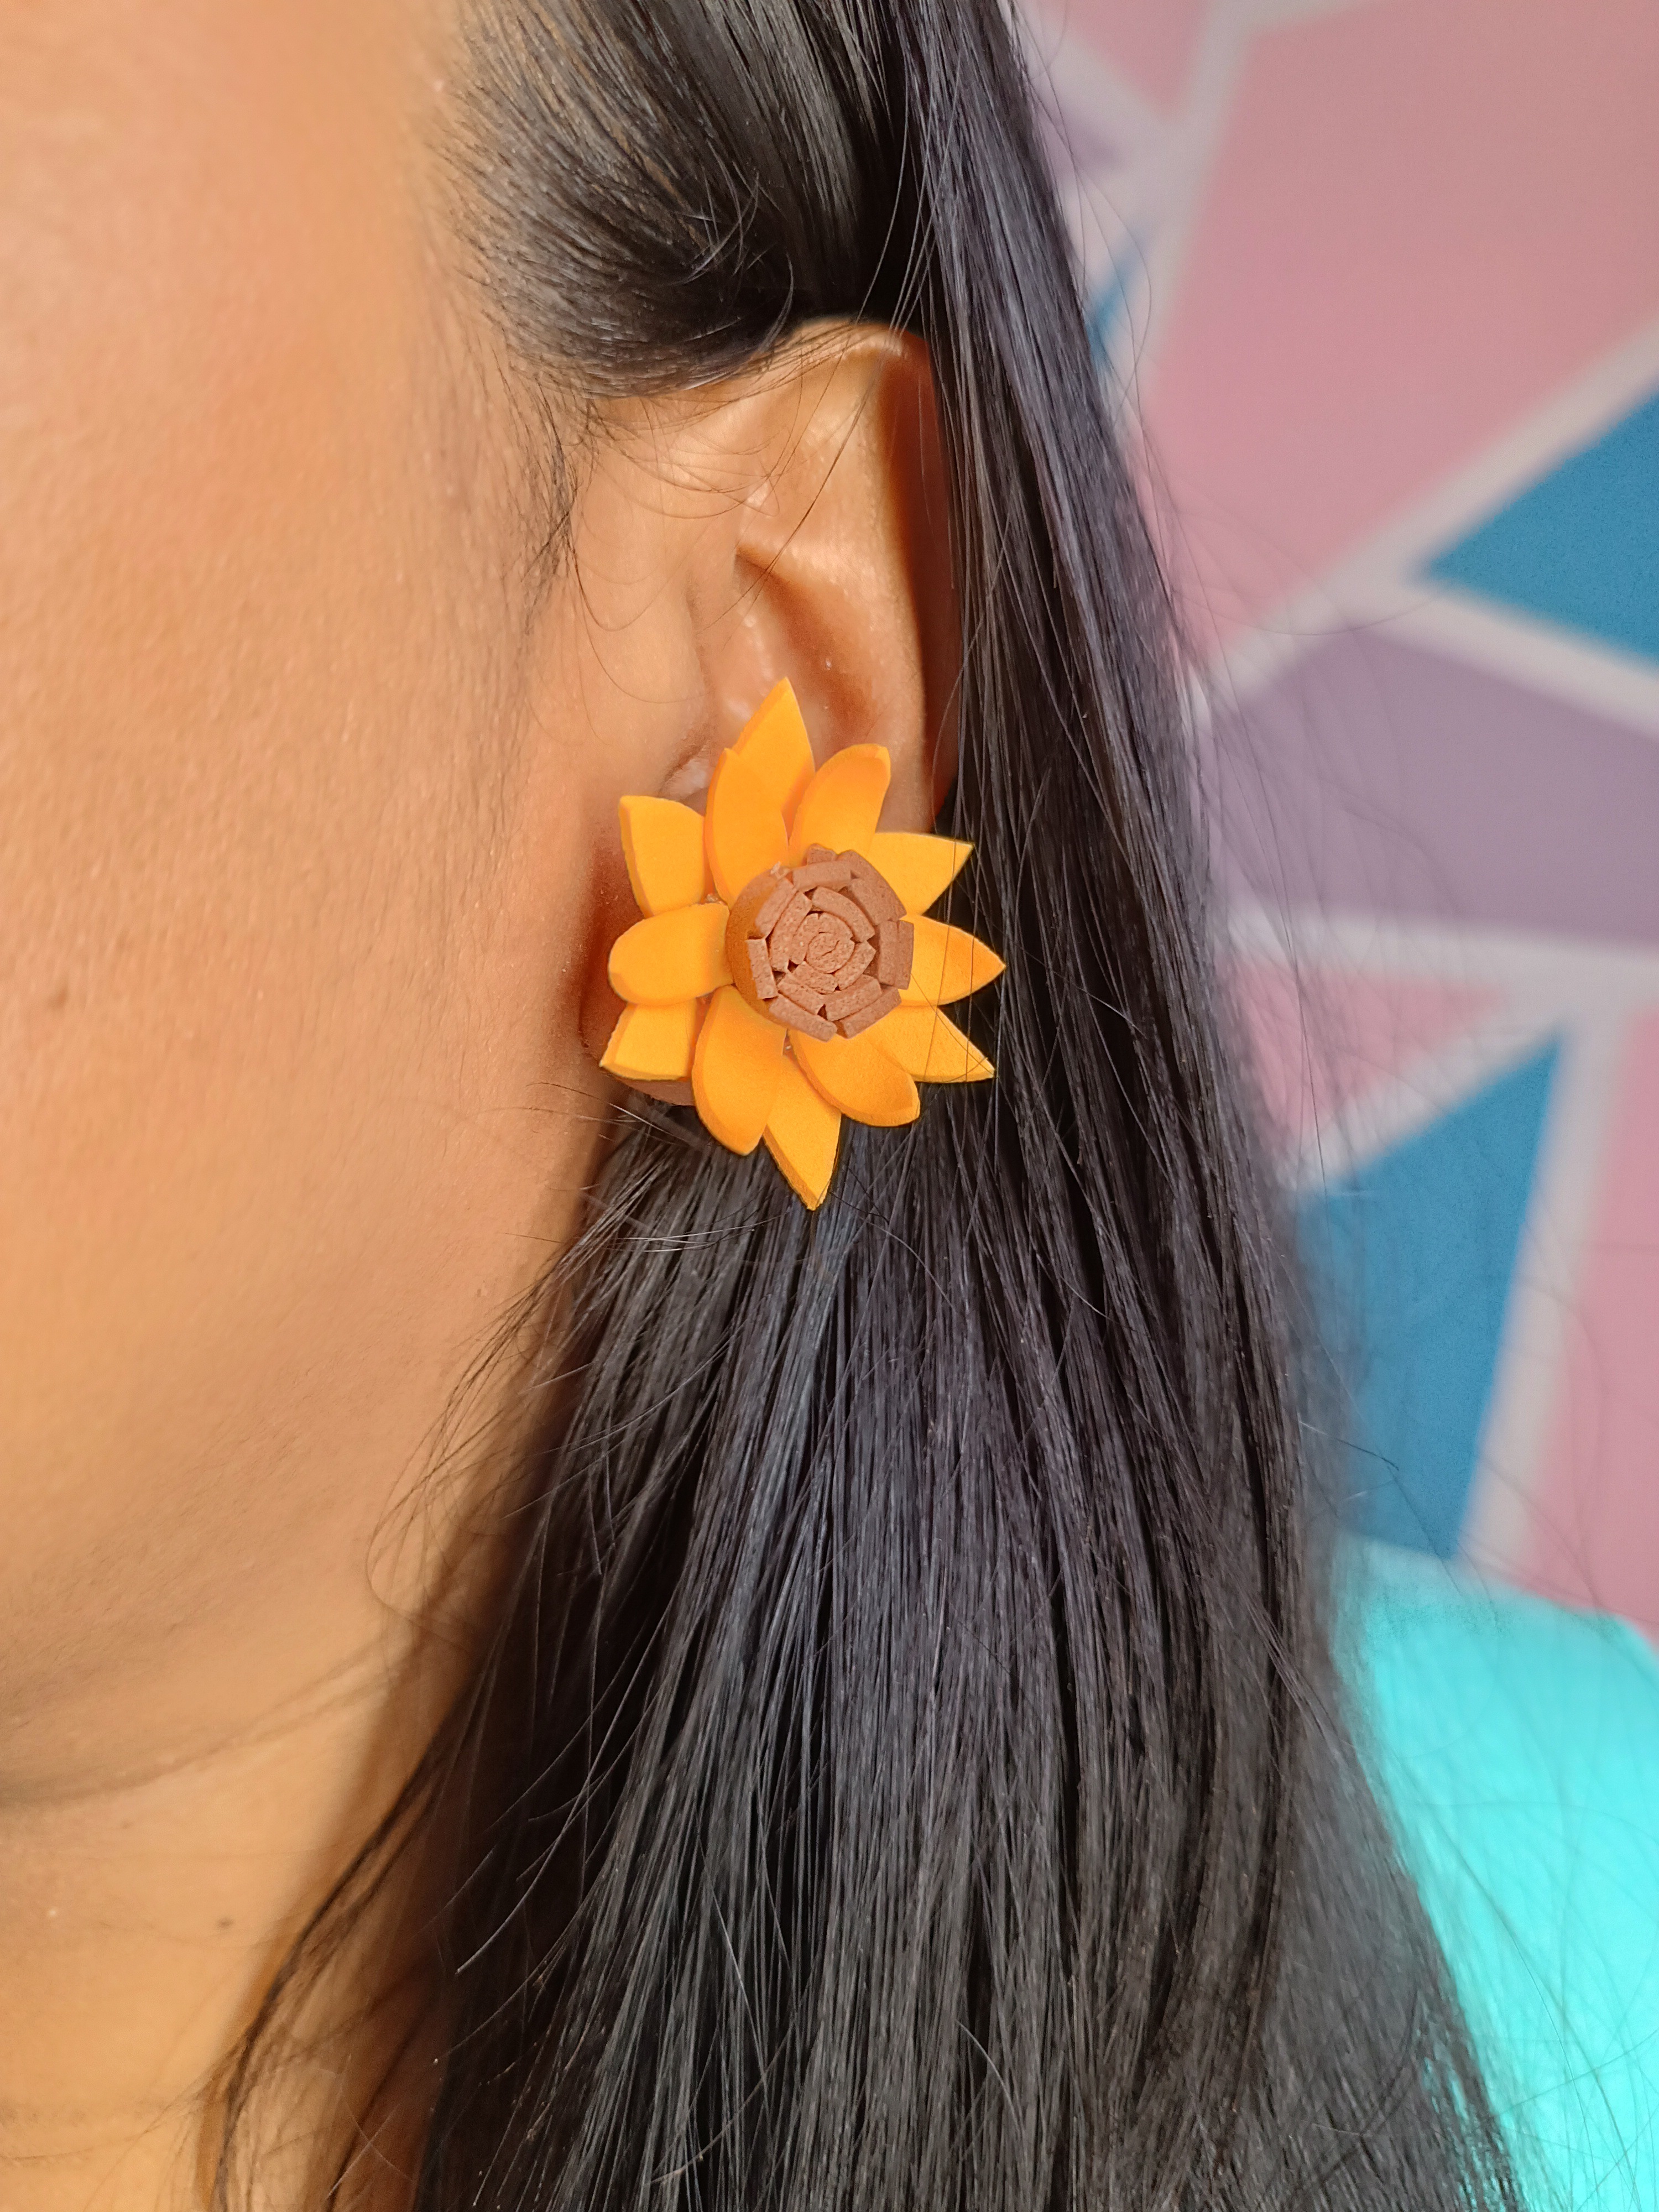
Elaborando unos lindos zarcillos de girasol en foami 🌻. / Making some pretty foam sunflower tendrils 🌻.

Felíz tarde comunidad Hive Diy, saludos a todos los miembros presentes, espero se encuentren bien y que estén disfrutando del domingo ya que comienza una nueva semana llena tanto de trabajo, ocupaciones, el día de hoy me encuentro descansando en casa por lo que aprovecho el tiempo para seguir creando manualidades divertidas como los zarcillos que hoy les traigo.
Happy afternoon Hive Diy community, greetings to all the members present, I hope you are well and that you are enjoying Sunday as a new week begins full of work, occupations, today I am resting at home so I take advantage of the time to continue creating fun crafts like the tendrils that I bring you today.
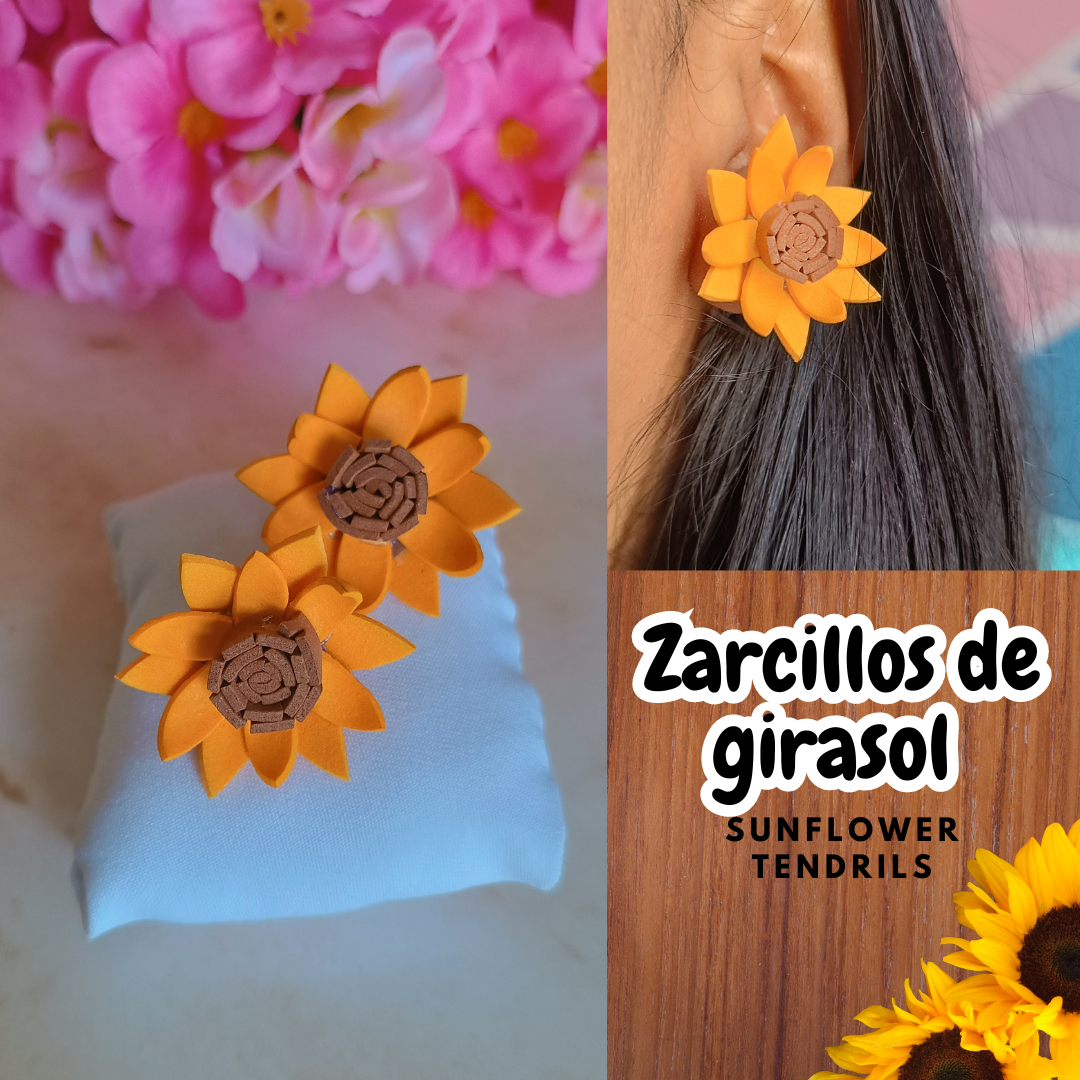
En ésta ocasión les comparto unos lindos zarcillos de girasol utilizando foami, estos zarcillos se ven hermosos y son muy fáciles de realizar, además utilizamos pocos materiales puedes utilizar retazos de foami, al unir los pétalos si debemos tener paciencia ya que son pequeños, con paciencia y dedicación nos quedará mucho mejor, espero les guste, a continuación les muestro los materiales y el paso a paso.
On this occasion I share with you some beautiful sunflower tendrils using foami, these tendrils look beautiful and are very easy to make, we also use few materials, you can use pieces of foami, when joining the petals we must be patient since they are small, with patience and dedication will look much better, I hope you like it, below I show you the materials and the step by step.

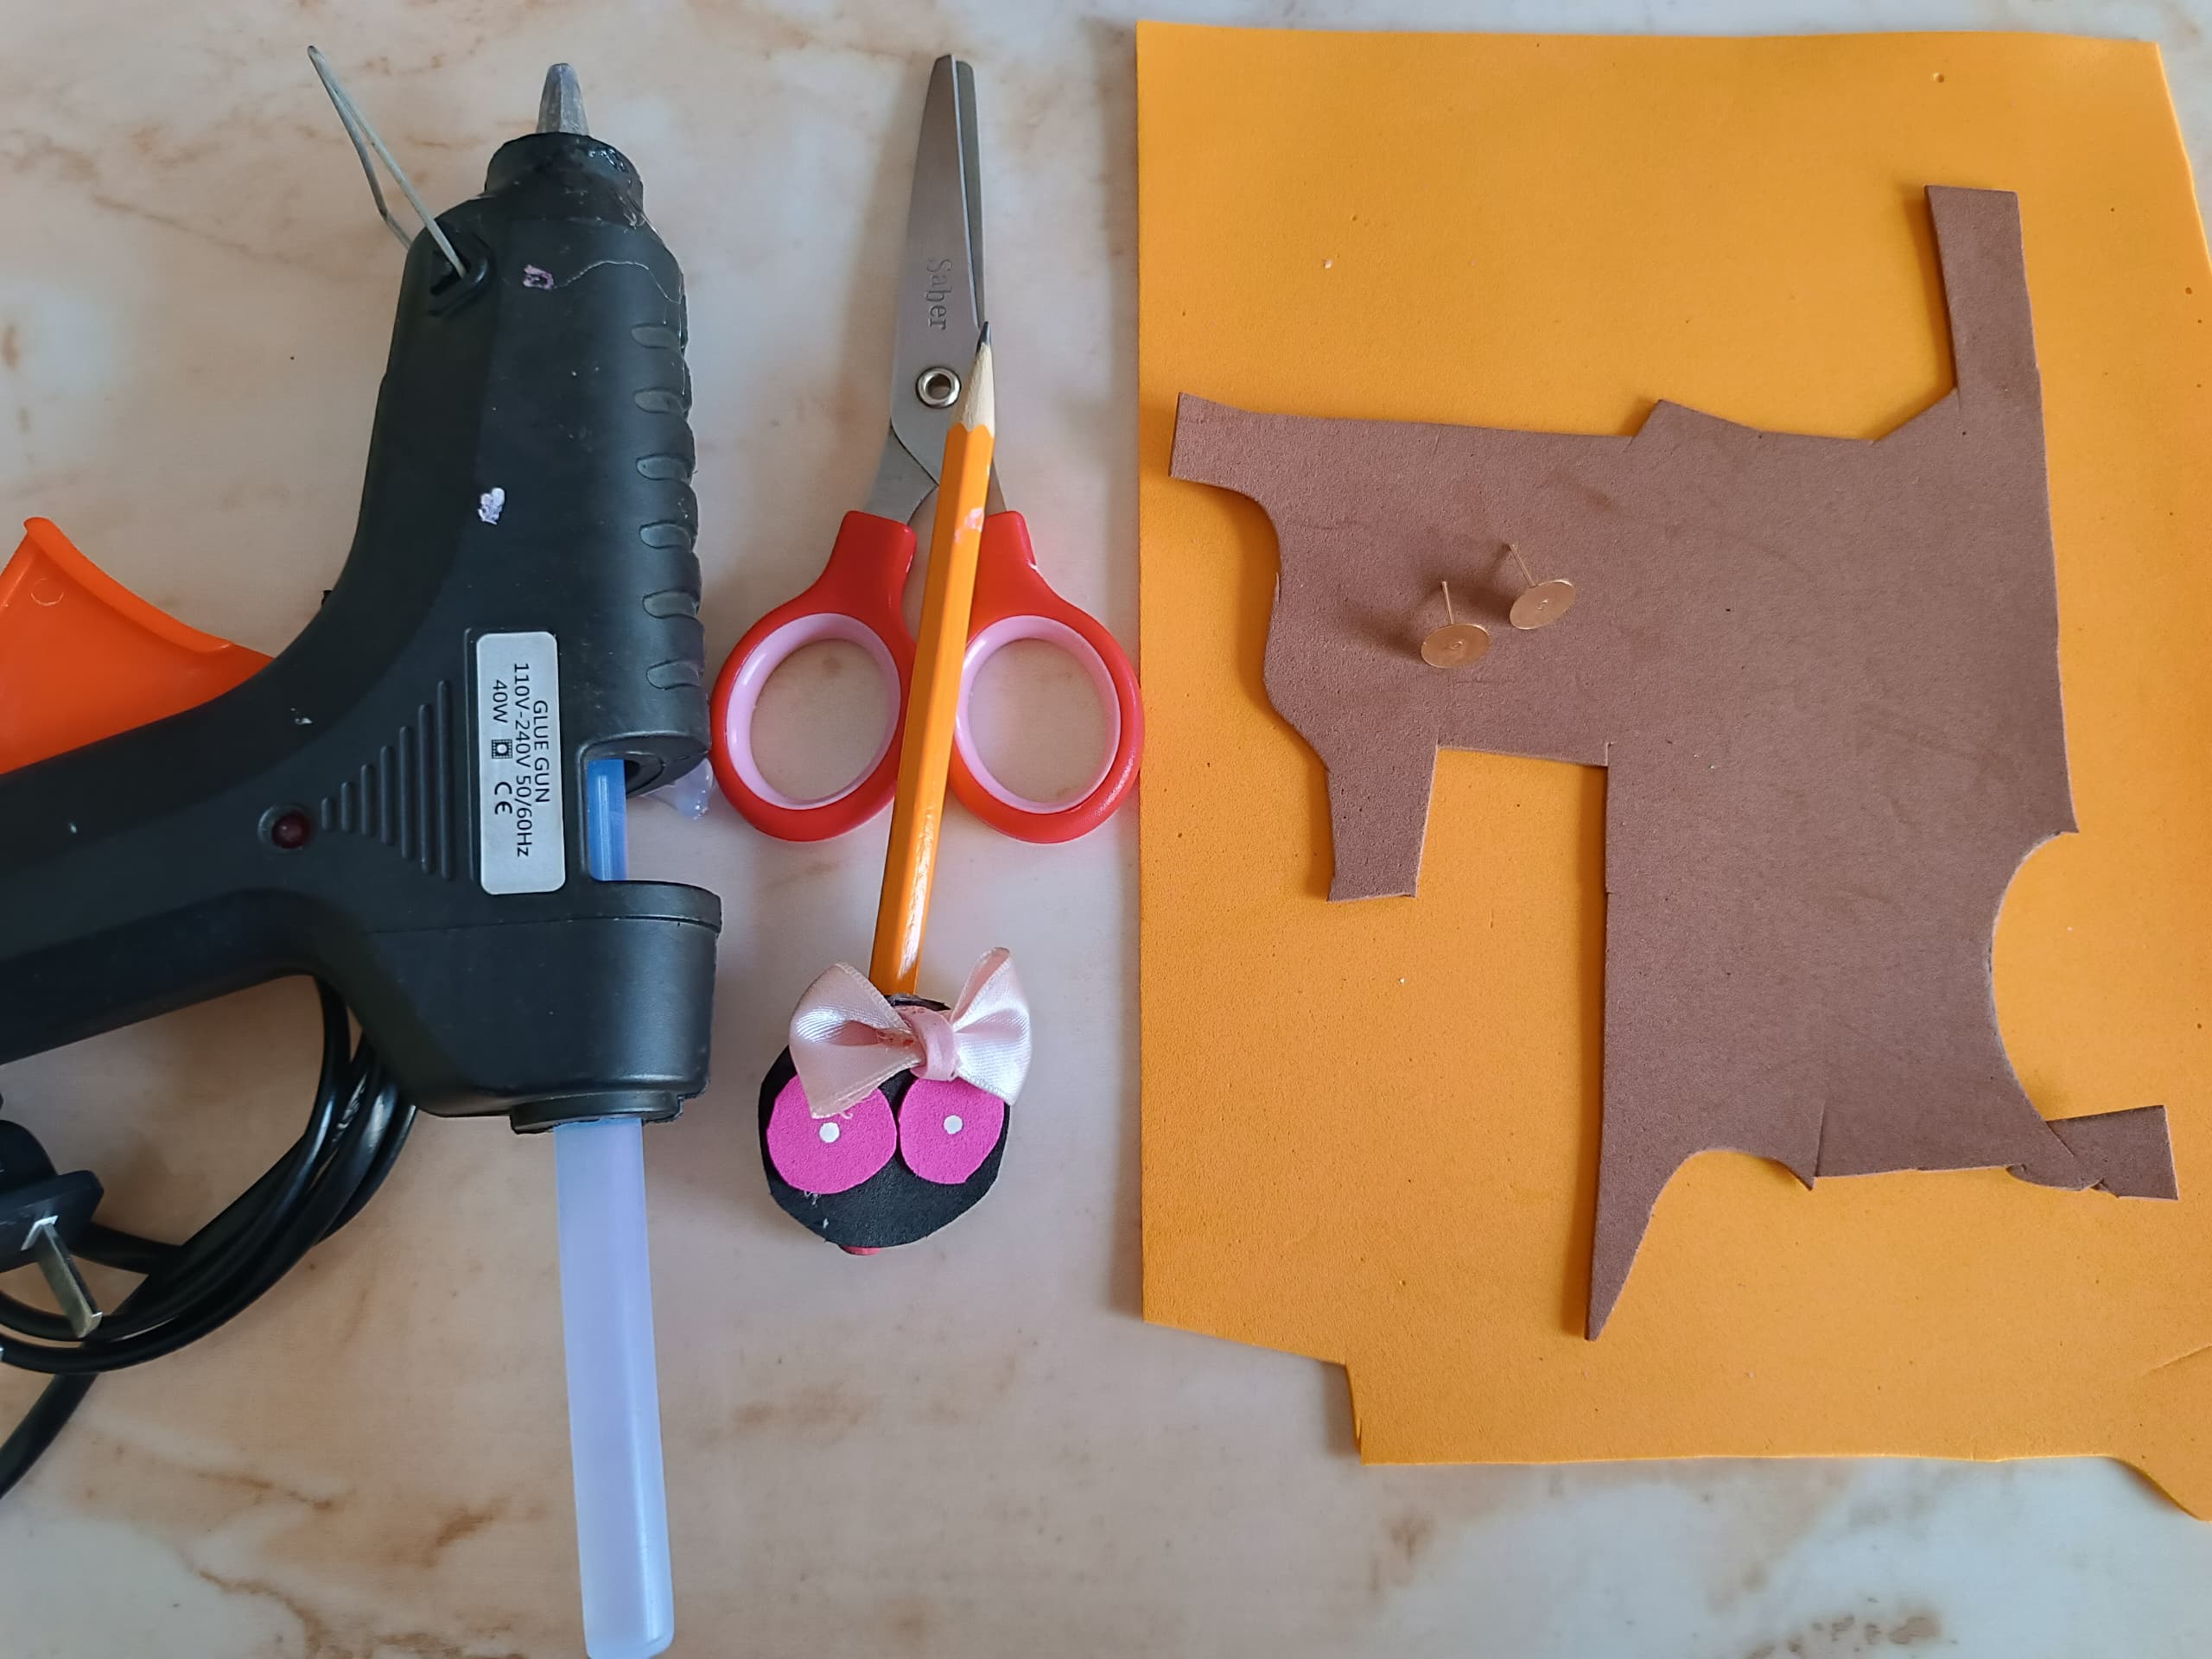
Materiales:
🌻Foami amarillo.
🌻Foami marrón.
🌻Tijera.
🌻Silicón.
🌻Lápiz.
🌻Base de zarcillos.
🌻Hoja en blanco.
Materials:
Yellow foam.
Brown foam.
Scissors.
Silicone.
Pencil.
Tendril base.
Blank sheet.

Paso a paso / Step by Step
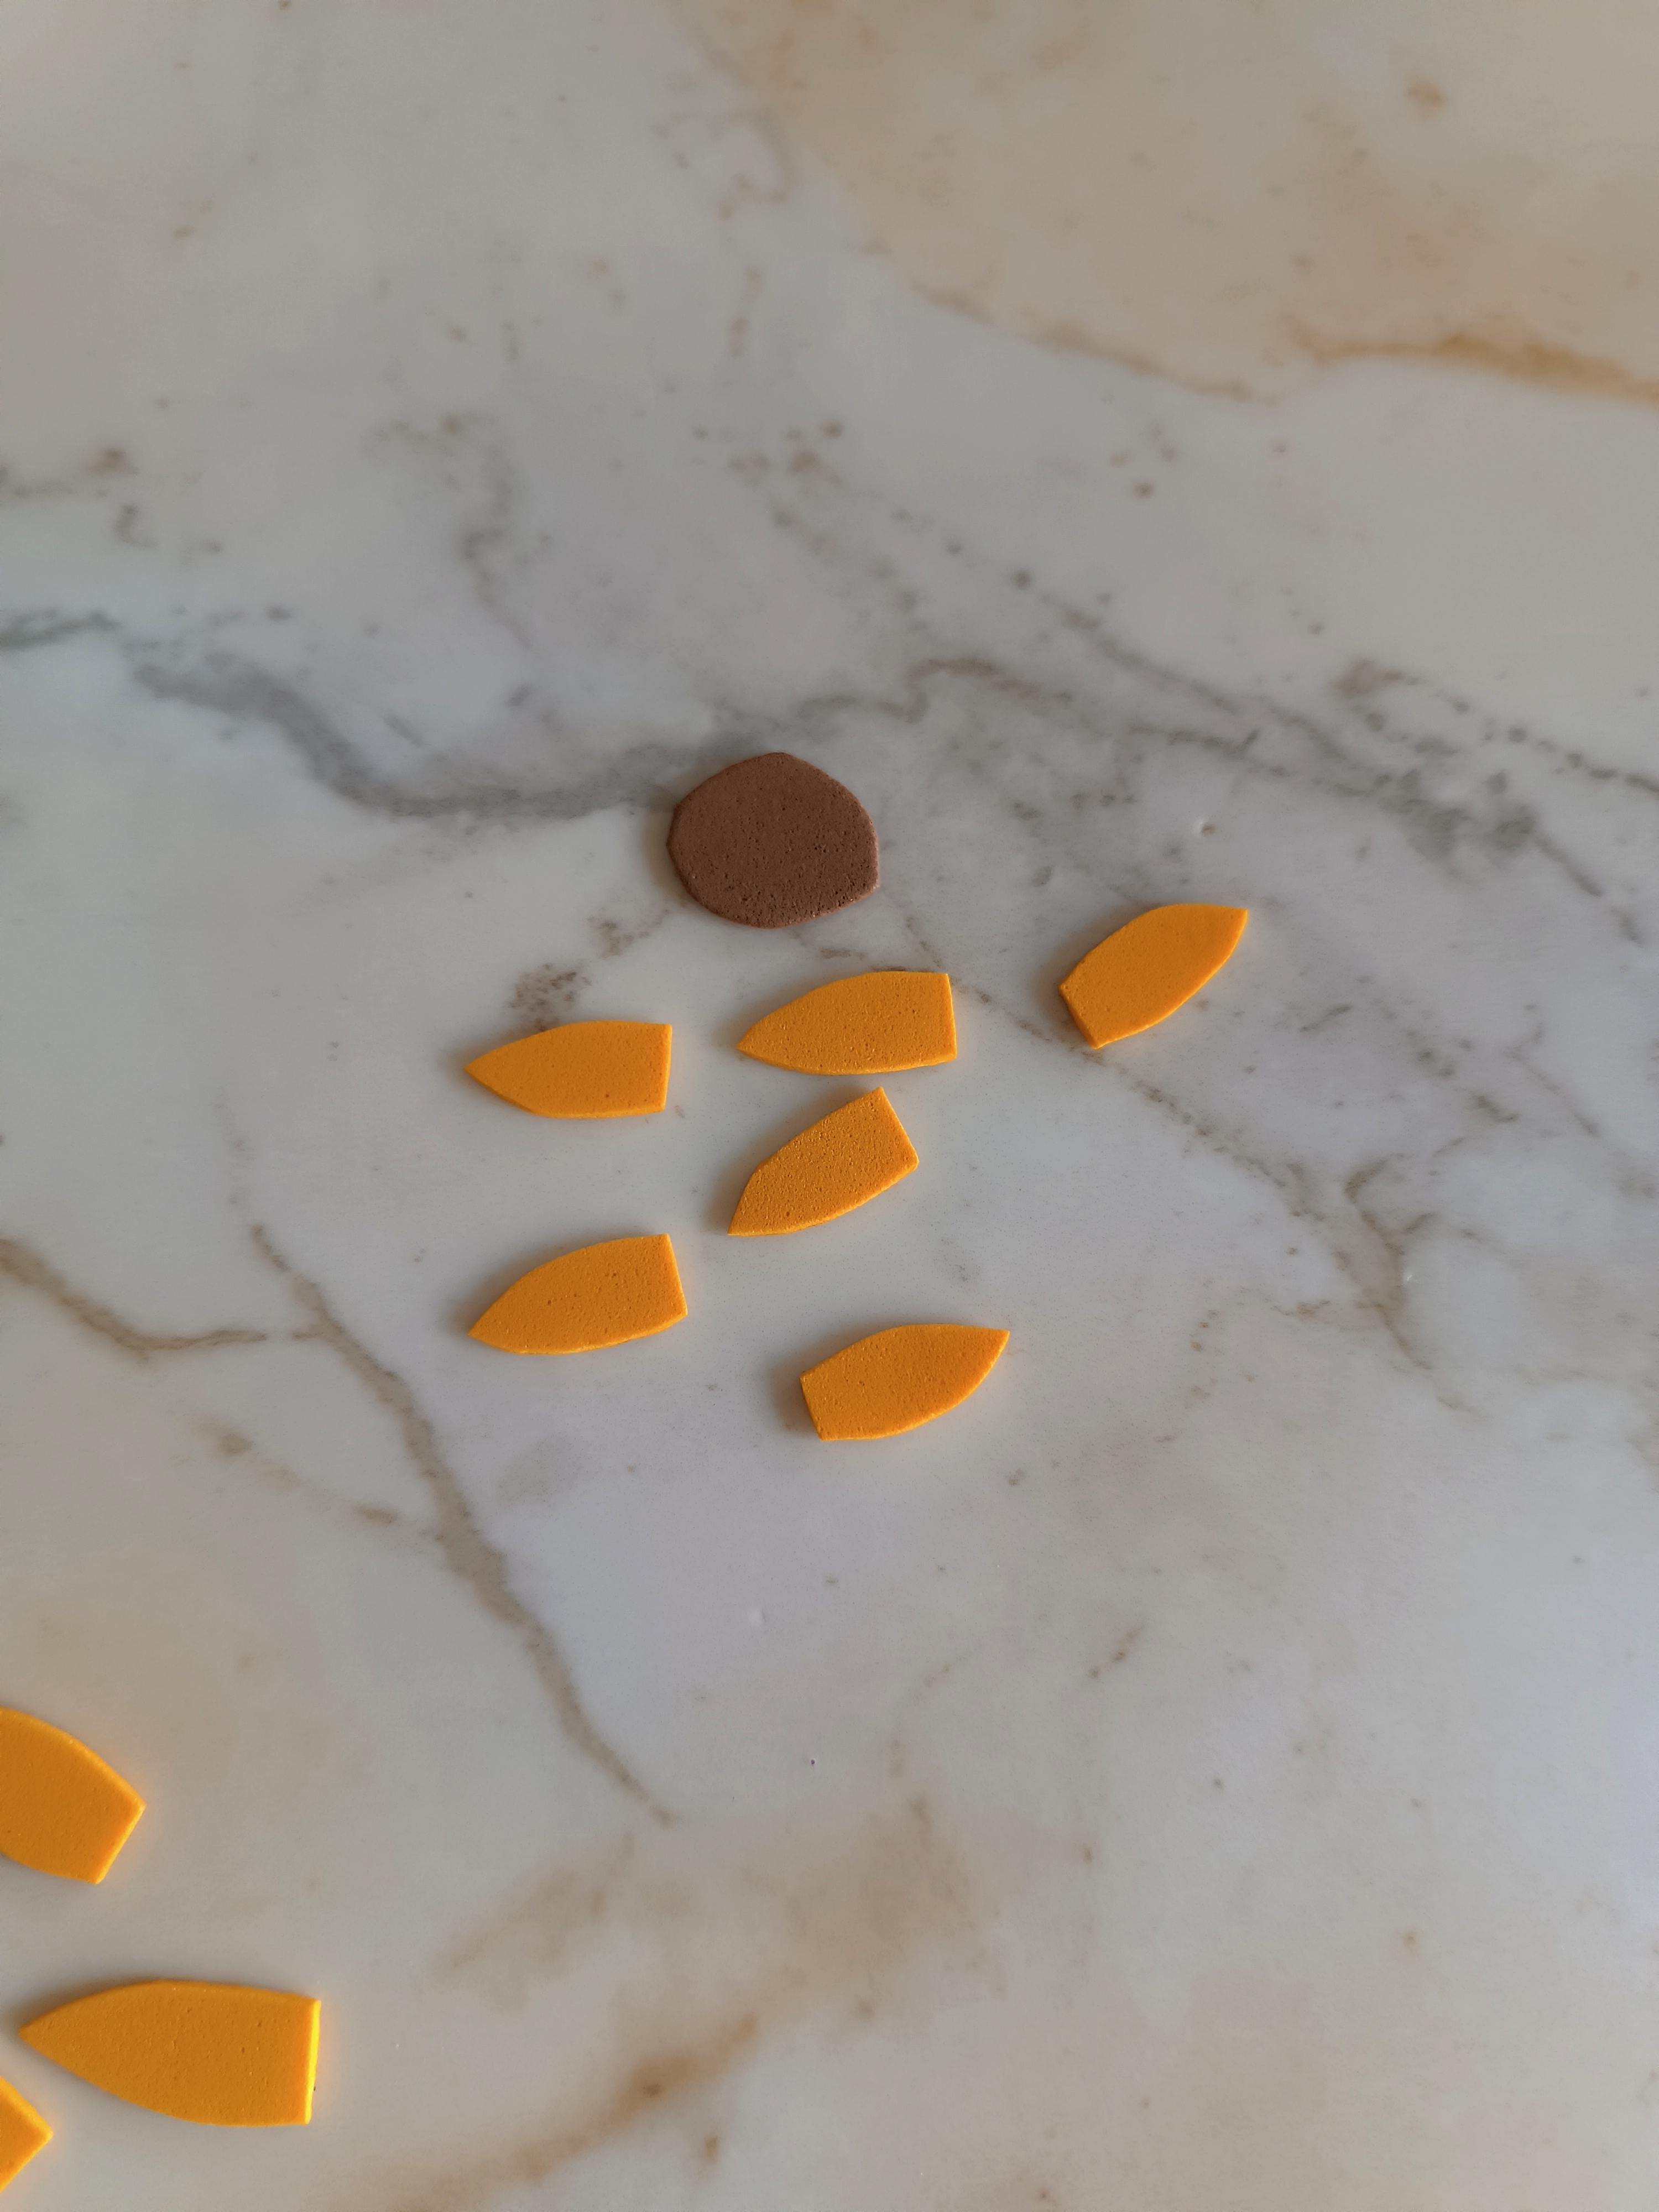
El primer paso se trata de dibujar el pétalo en una hoja blanca, dibujé uno pequeño y uno mediano, el siguiente paso es dibujar en el foami amarillo seis pétalos pequeños y seis pétalos medianos.
The first step is to draw the petal on a white sheet, I drew one small and one medium, the next step is to draw six small petals and six medium petals on the yellow foam.


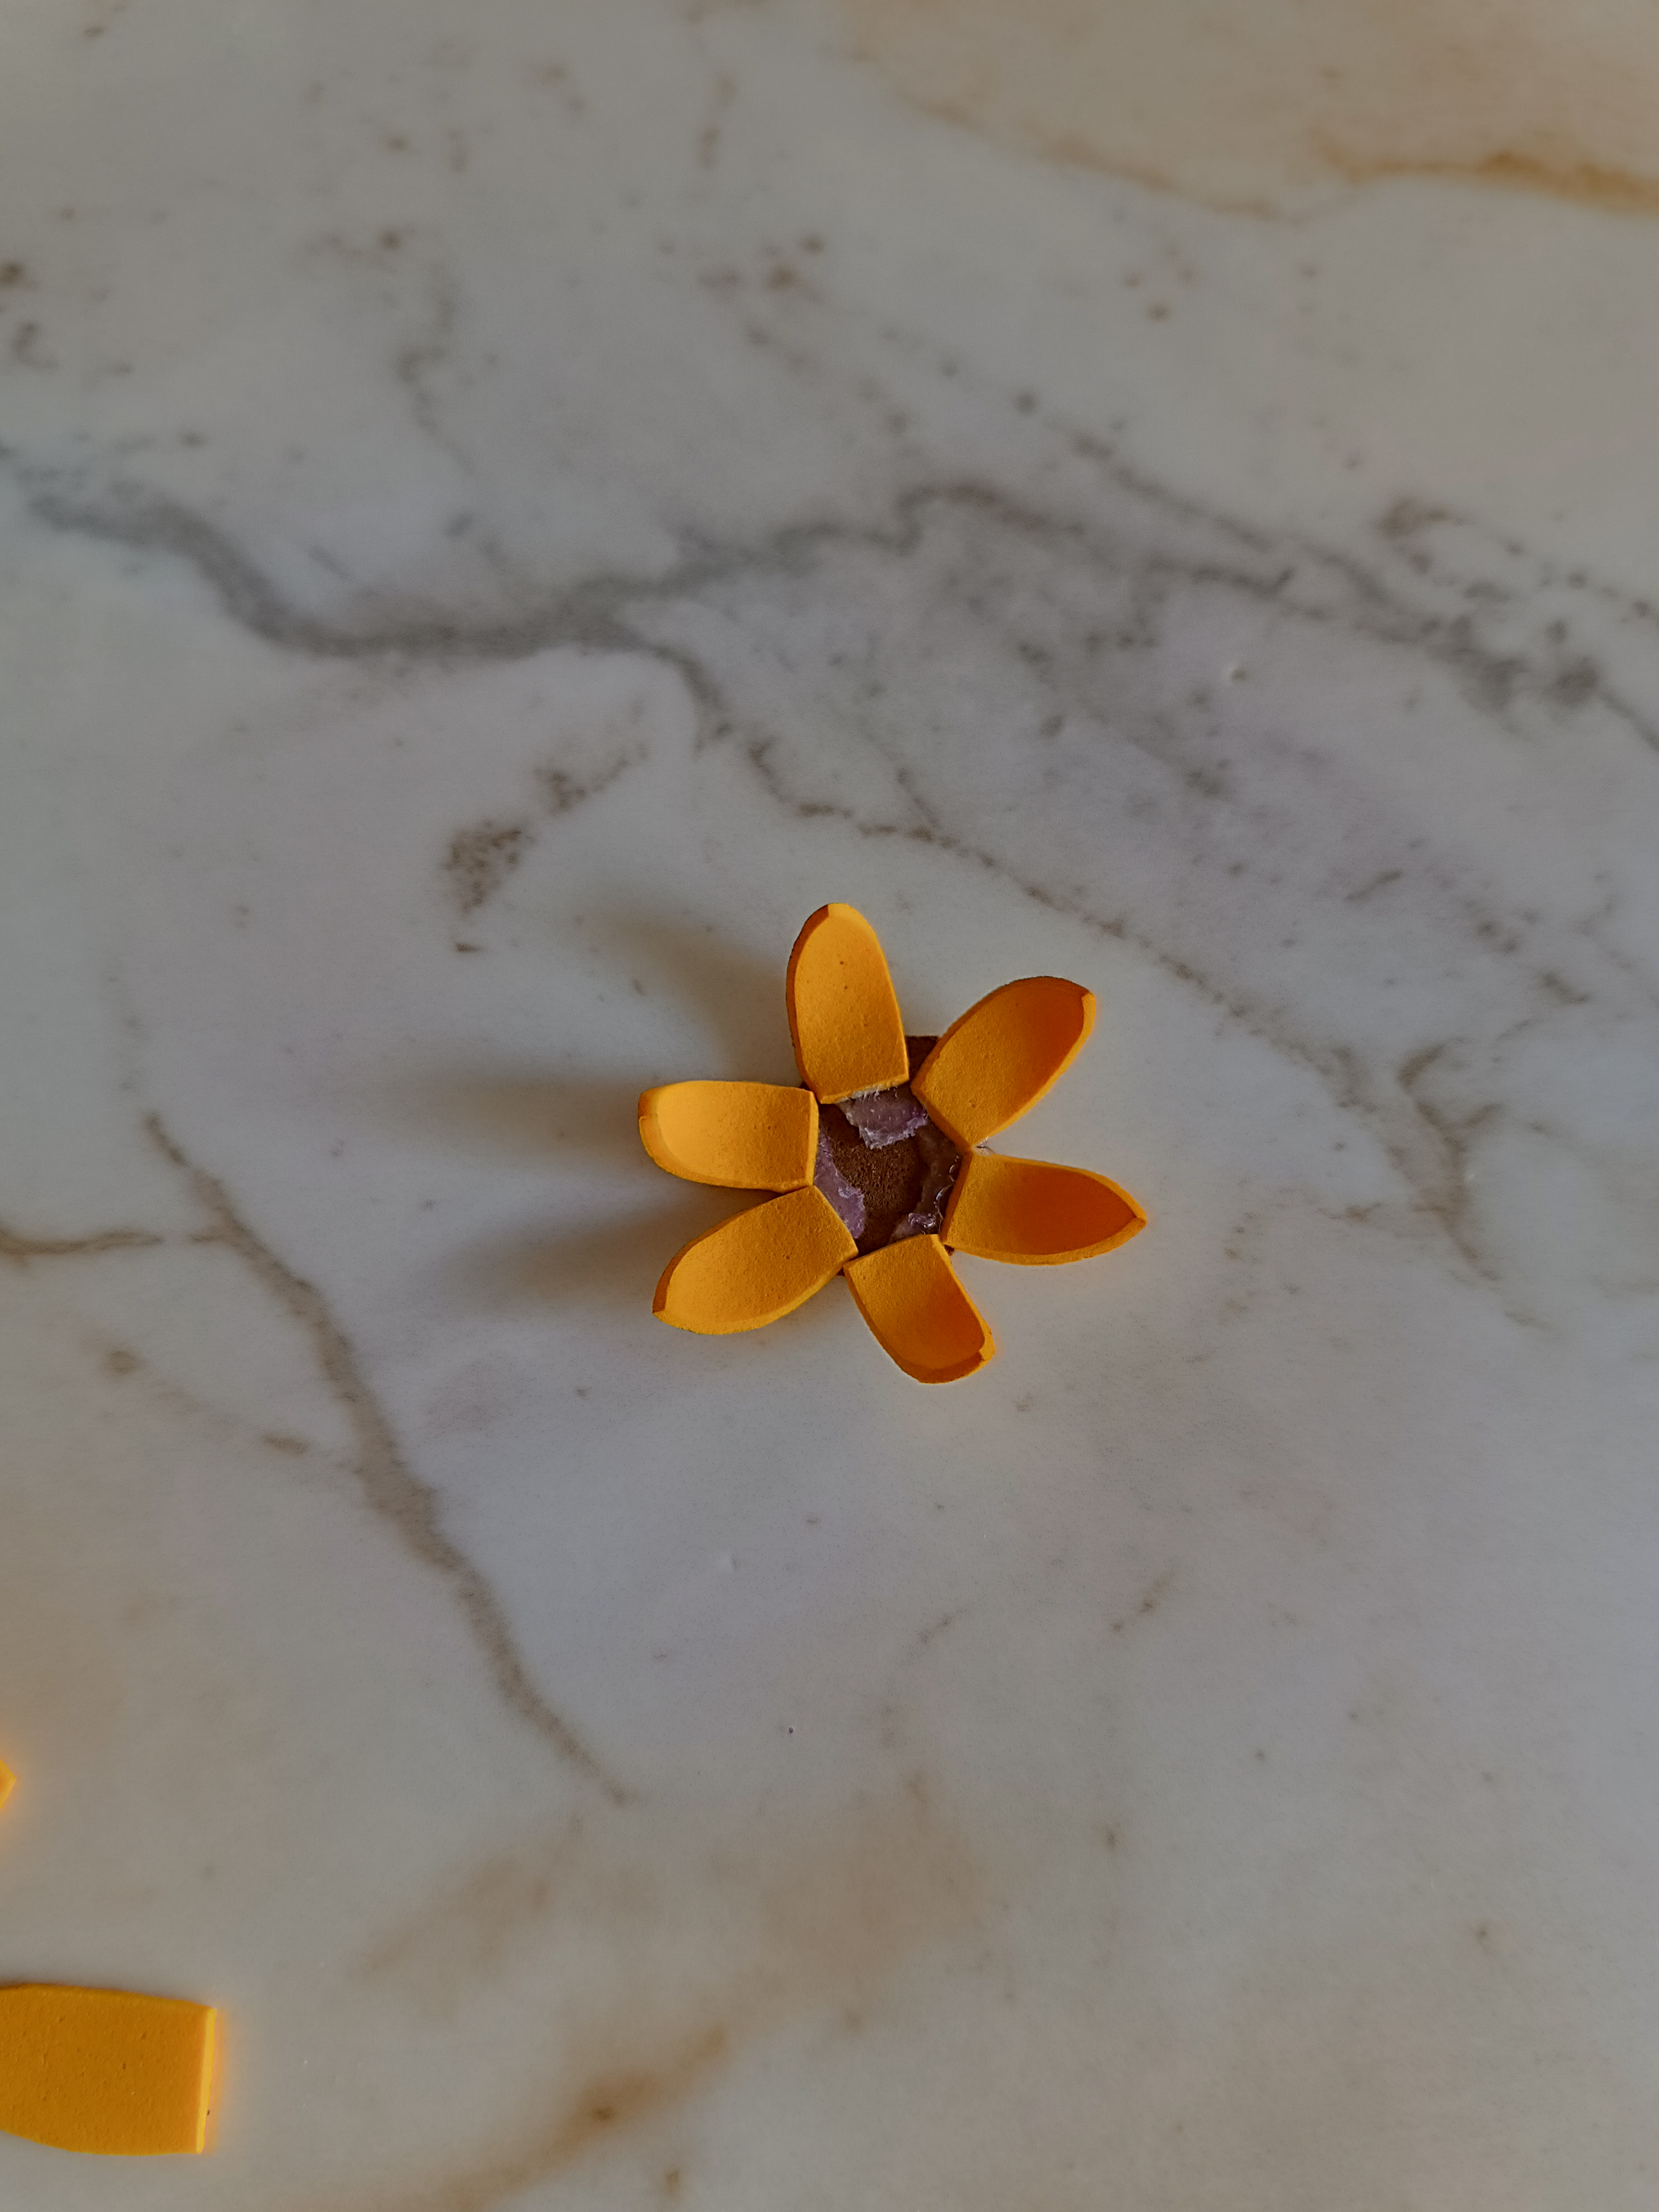
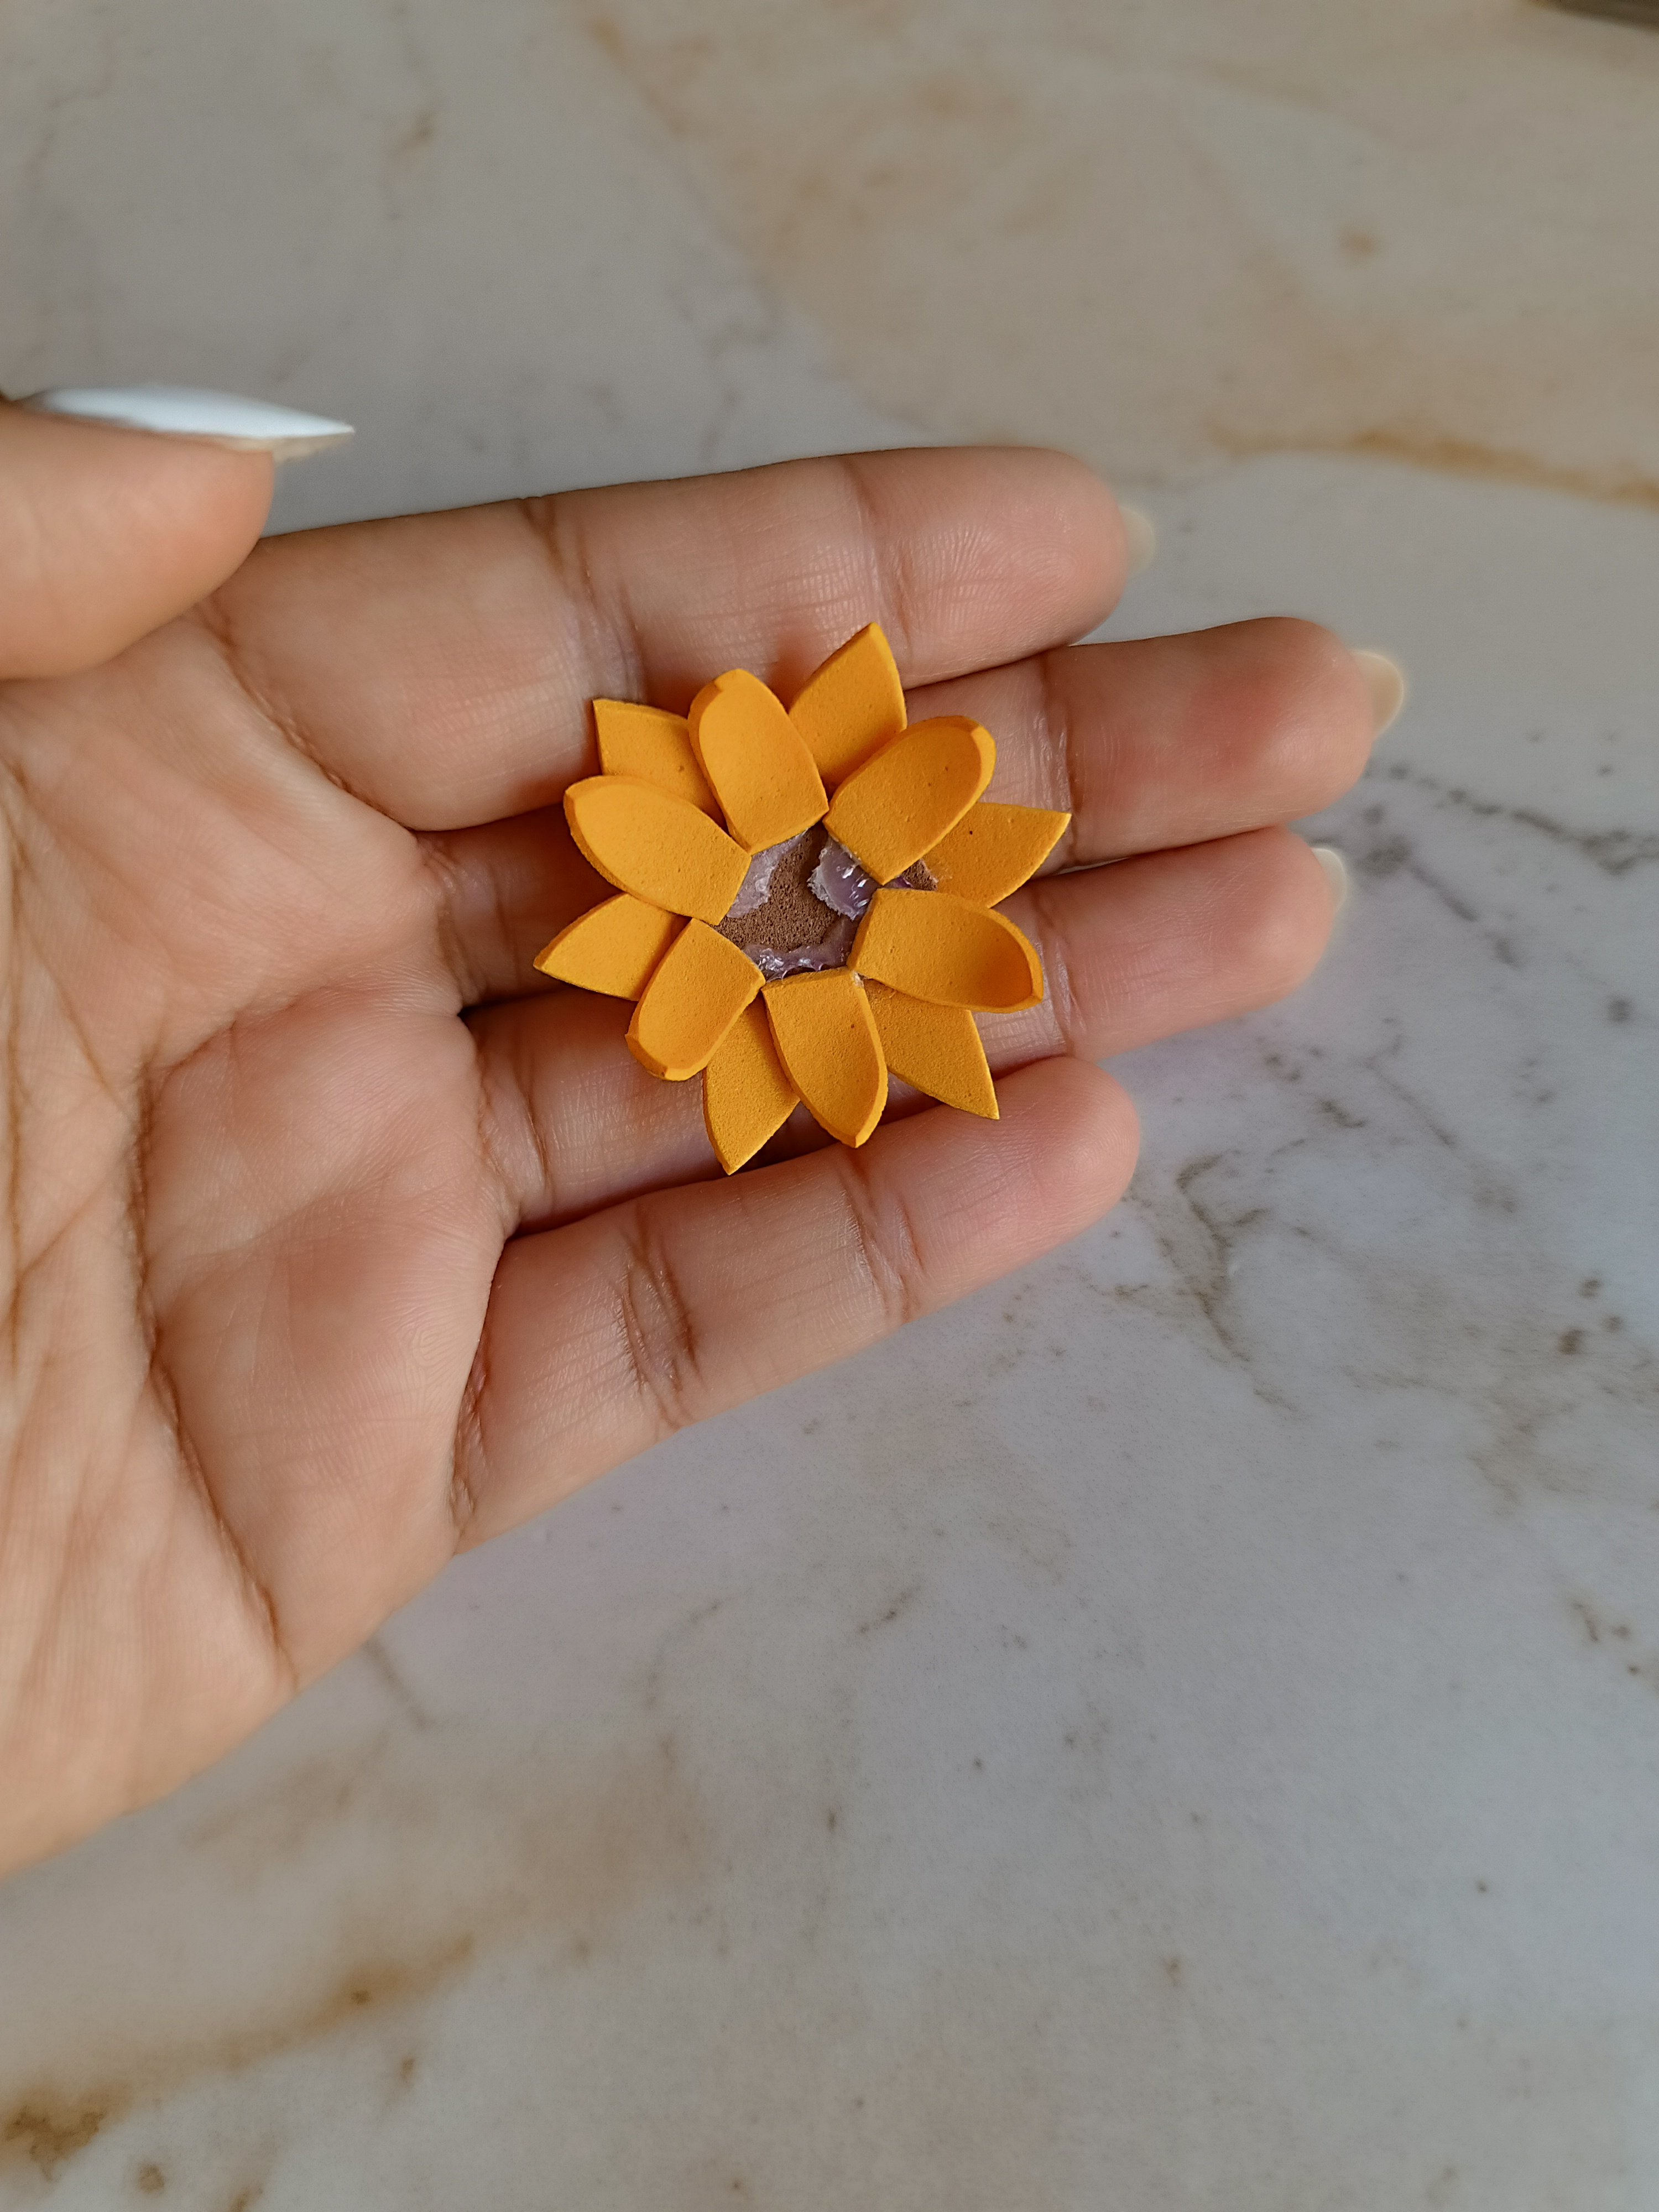
Luego voy a dibujar un pequeño círculo color marrón y voy a comenzar a pegar los pétalos pequeños sobre el foami, con una plancha de cabello voy aplicar calor para dar forma a los pétalos, luego voy a pegar los seis pétalos restantes en los espacios vacíos en la parte trasera.
Then I am going to draw a small brown circle and I am going to start gluing the small petals on the foam, with a hair straightener I am going to apply heat to shape the petals, then I am going to glue the remaining six petals in the empty spaces in the back part.

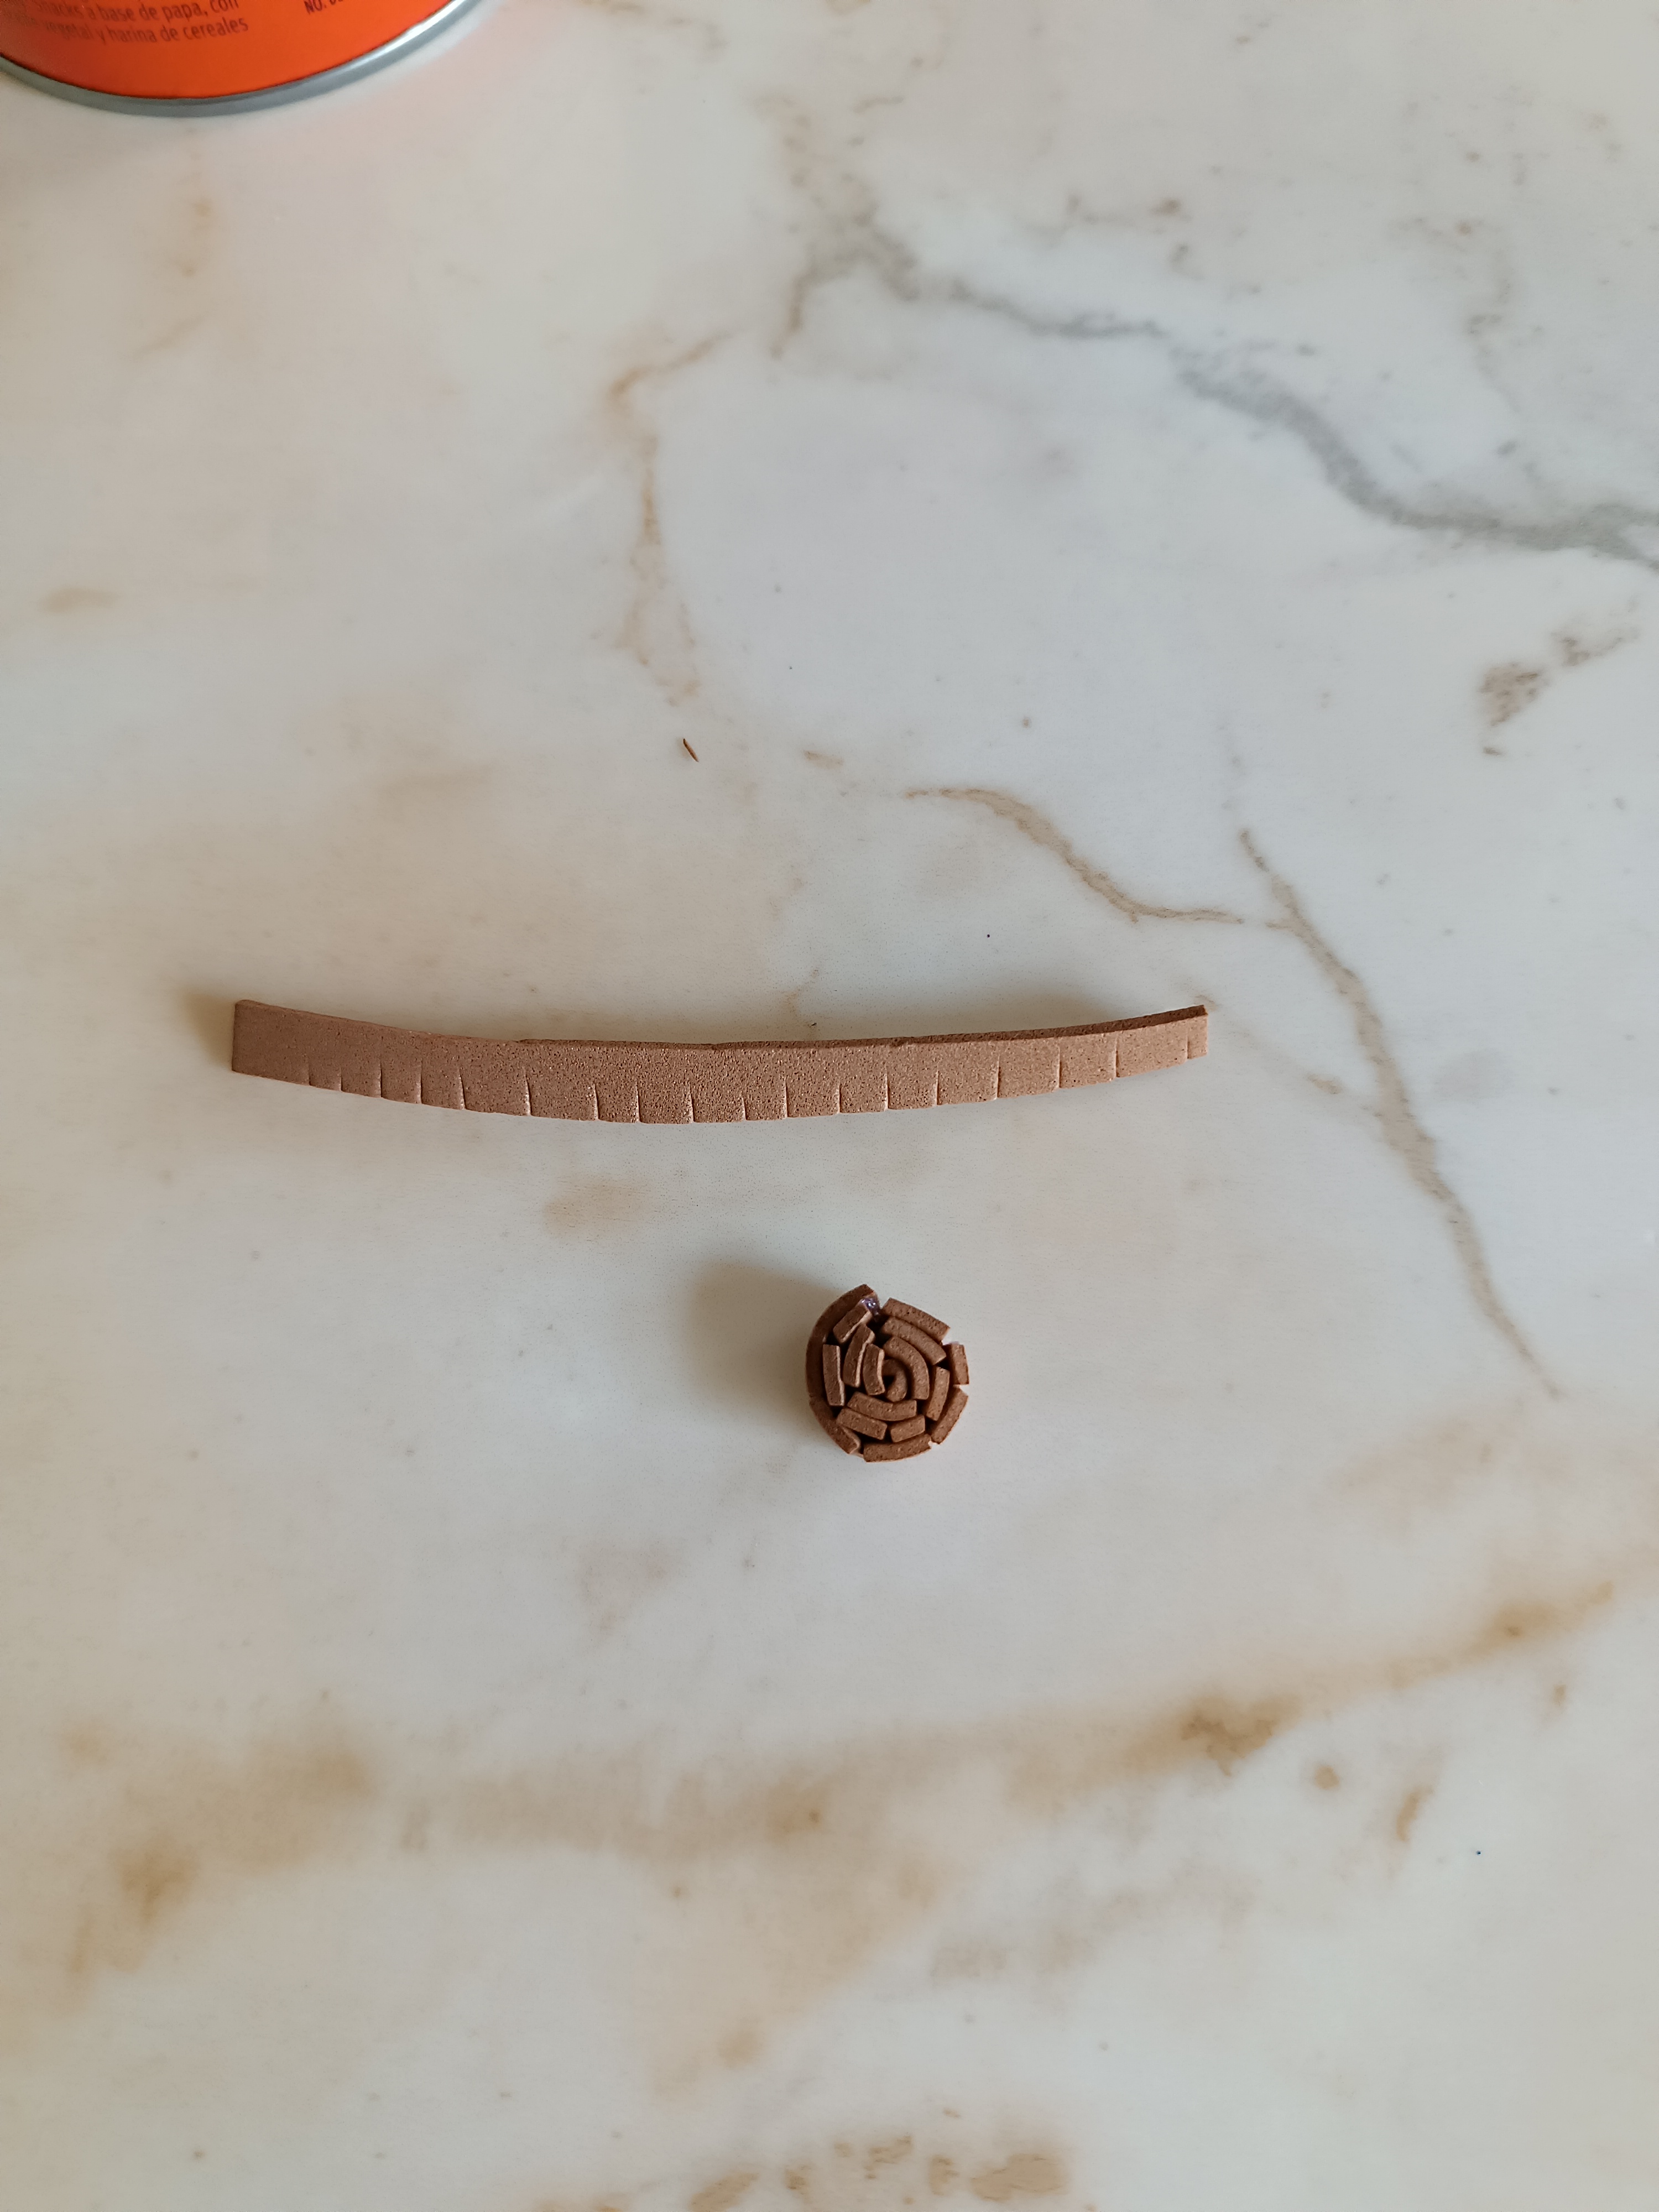
Ahora voy a cortar una franja pequeña y fina de foami marrón, voy a realizar pequeños cortes por toda la franja, y voy a enrollar y pegamos con silicón, ésta será la parte central de la flor.
Now I am going to cut a small, thin strip of brown foam, I am going to make small cuts throughout the strip, and I am going to roll it up and glue it with silicone, this will be the central part of the flower.

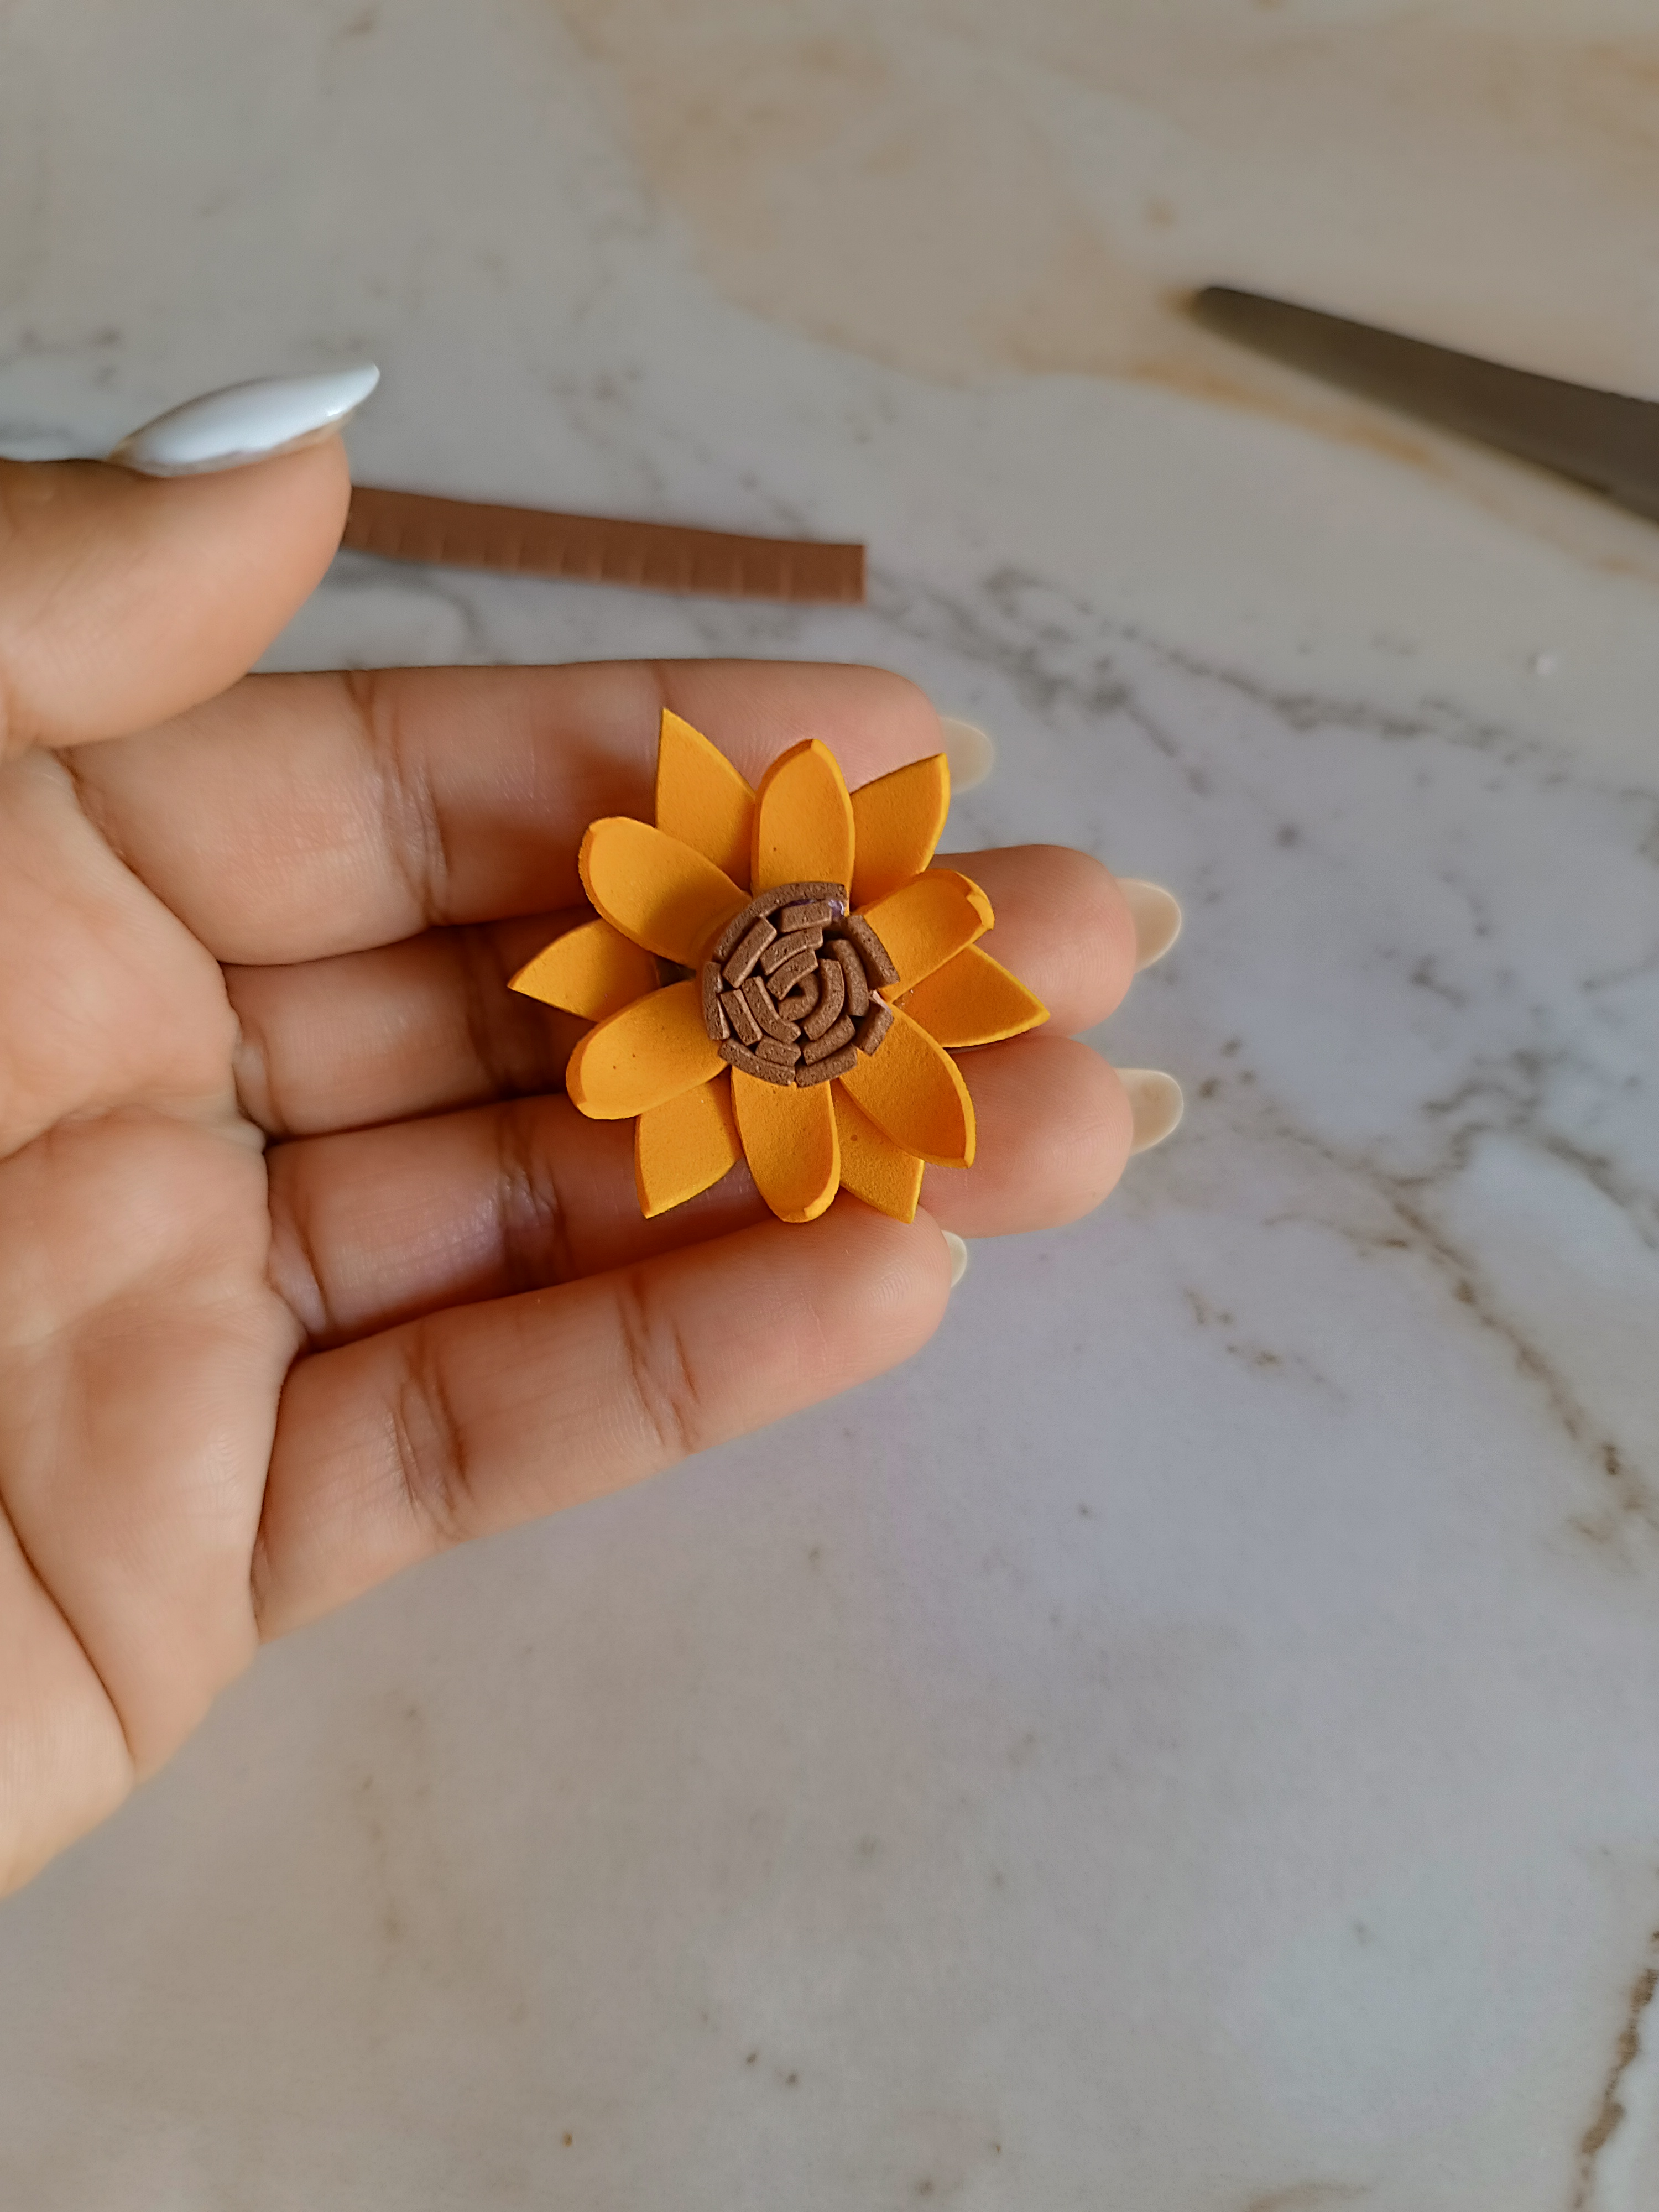
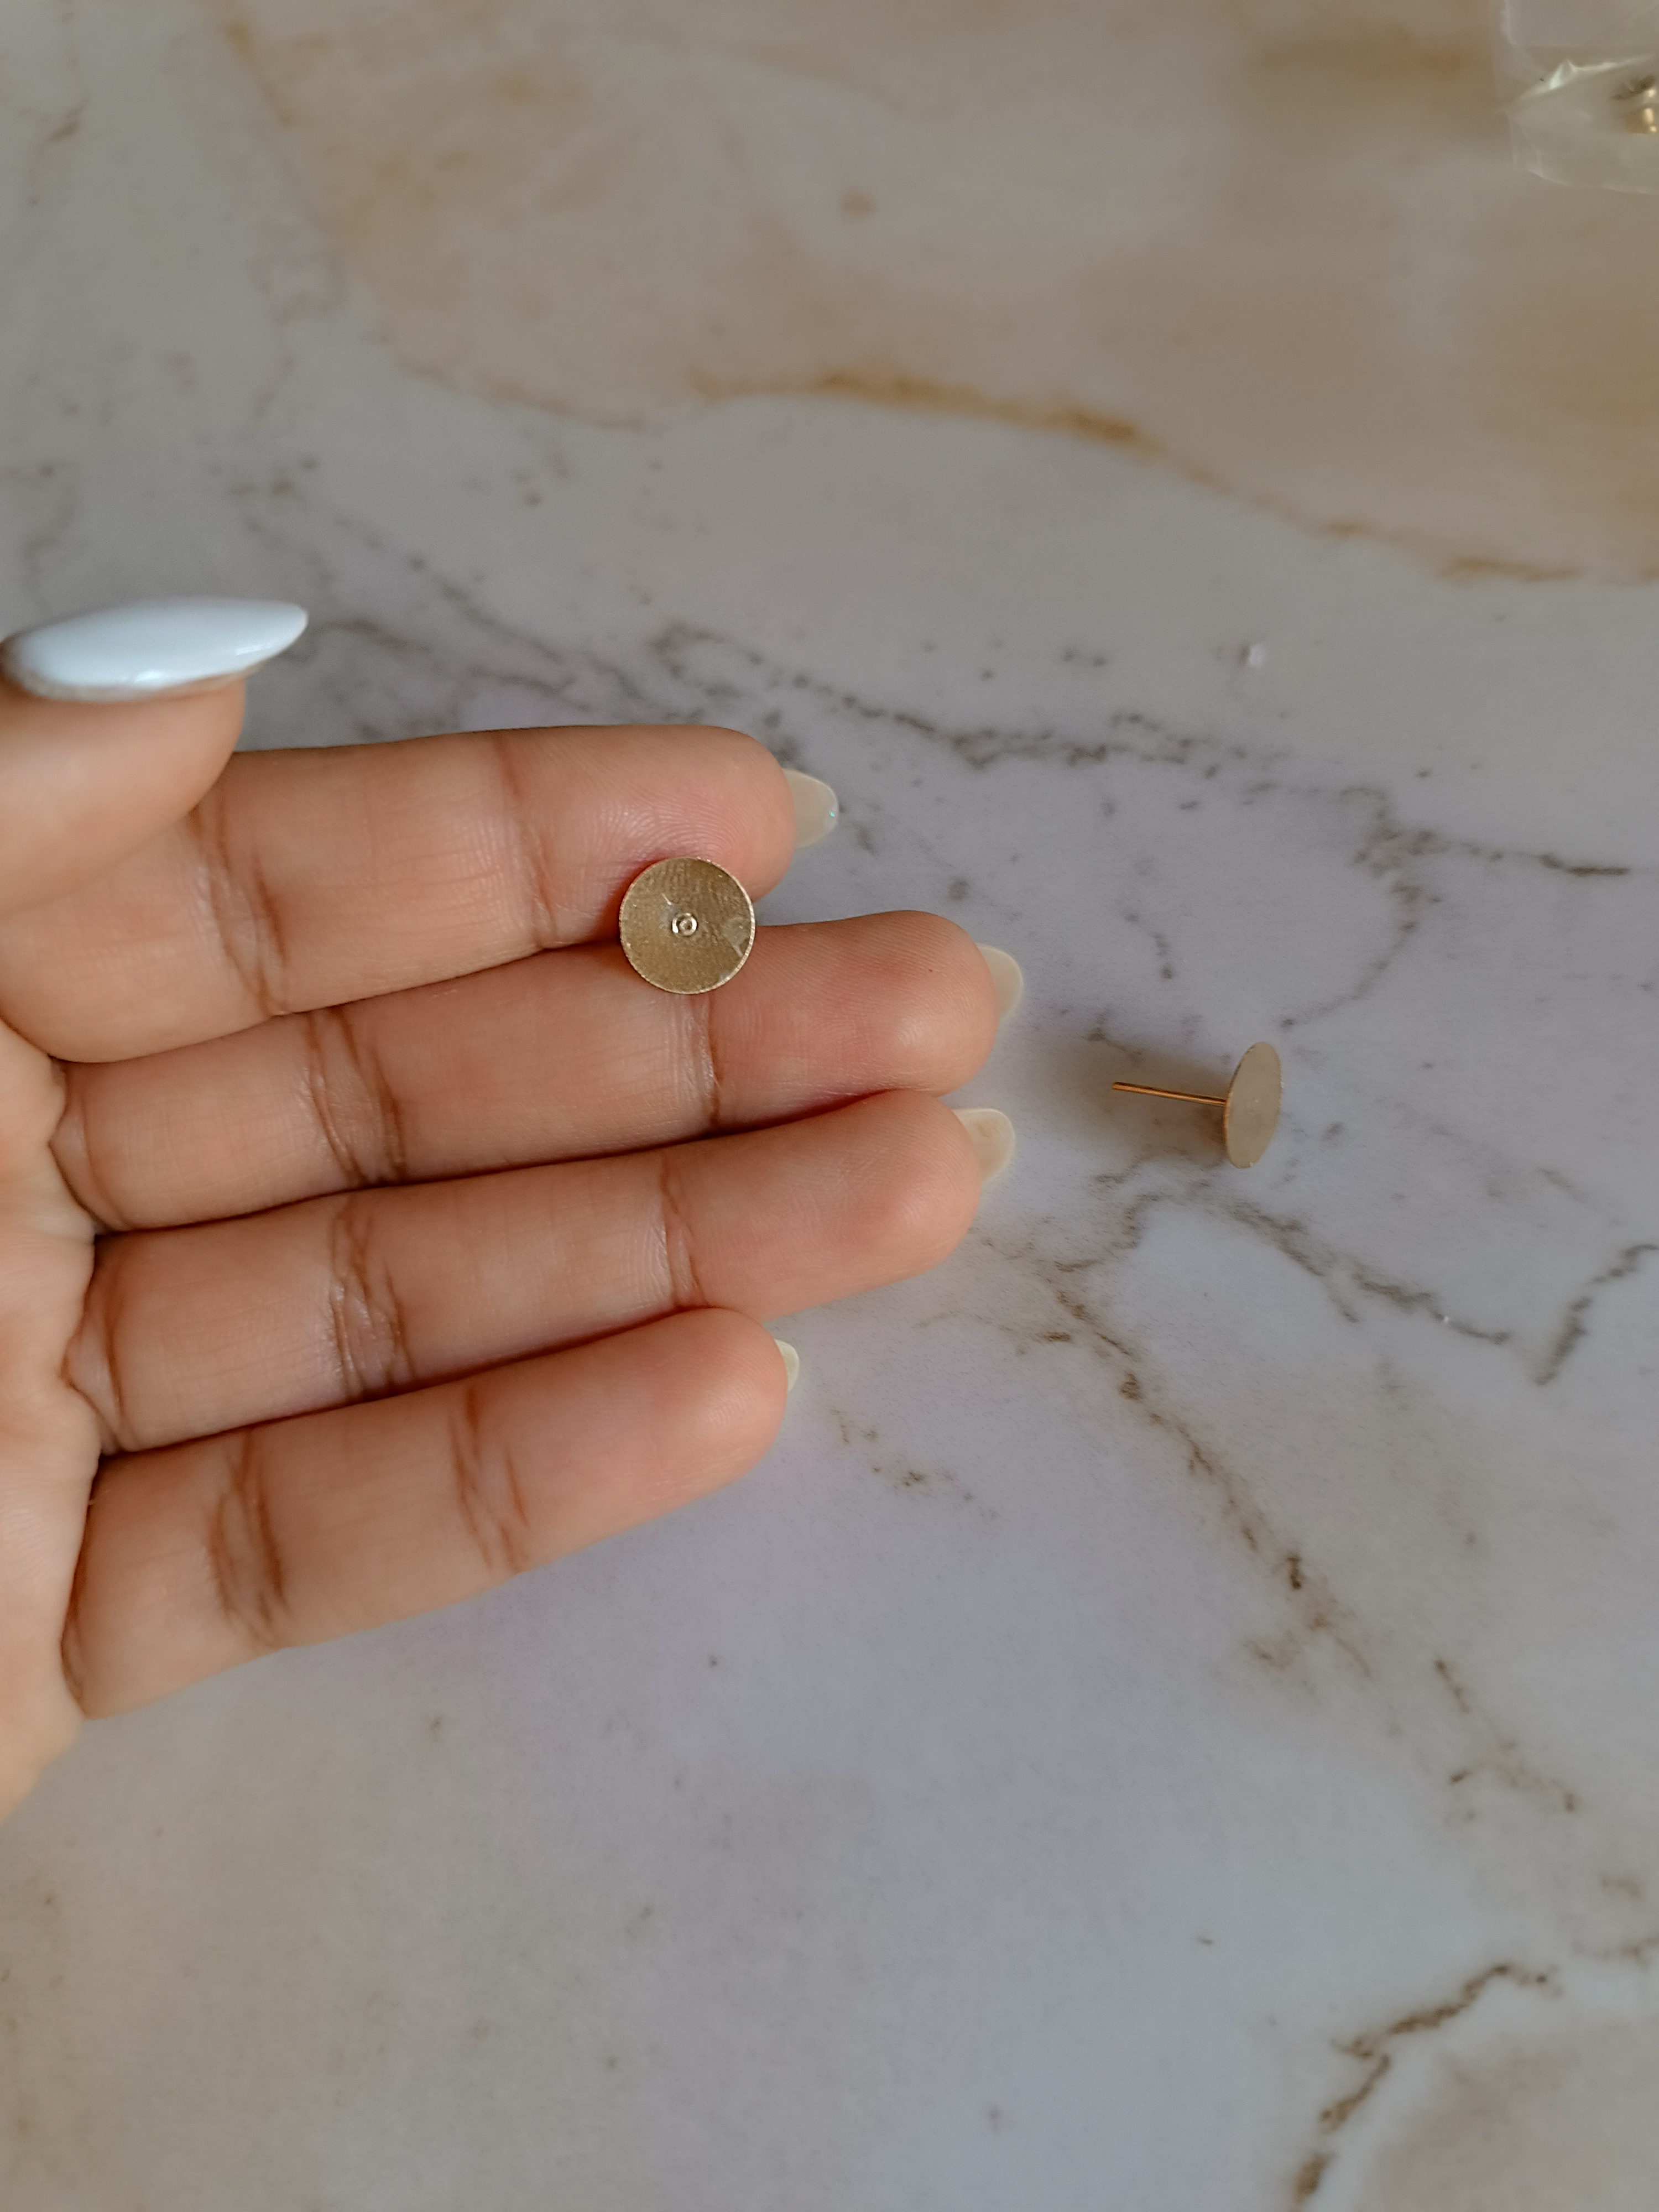
El último paso es unir el girasol a la base de zarcillos, de ésta forma fácil, rápida y sencilla terminé estos bellos zarcillos, que pueden ser útiles para diferentes actividades, por ejemplo como parte de un atuendo alusivo al tema, espero les haya gustado éste paso a paso.
The last step is to attach the sunflower to the tendril base. In this easy, quick and simple way I finished these beautiful tendrils, which can be useful for different activities, for example as part of an outfit alluding to the theme. I hope you liked this one. Step by Step.
Muchas gracias por visitar mi publicación, nos vemos en una próxima oportunidad con más ideas creativas.
Thank you very much for visiting my publication, see you next time with more creative ideas.


Contenido original. - original content.
Los separadores y banner fueron realizados en Canva. - The dividers and banner were made in Canva.
Las fotografias son tomadas con mi teléfono Redmi Note 11s y editadas en PicsArt - The photographs are taken with my Redmi Note 11s phone and edited in PicsArt.
Traducción de: Google traductor - Translation of: Google translator.

Congratulations, your post has been curated by @dsc-r2cornell. You can use the tag #R2cornell. Also, find us on Discord
Felicitaciones, su publicación ha sido votada por @ dsc-r2cornell. Puedes usar el tag #R2cornell. También, nos puedes encontrar en Discord
Muchas gracias 🫂
Thank you for your witness vote!
Have a !BEER on me!
To Opt-Out of my witness beer program just comment STOP below
View or trade
BEER.Hey @marile21, here is a little bit of
BEERfrom @isnochys for you. Enjoy it!Learn how to earn FREE BEER each day by staking your
BEER.Saludos ☺️ quedaron muy lindos los zarcillos de girasol
Muchas gracias, saludos ☺️🤗
Hola Marileis. Que hermosos que te quedaron estos "aritos", como decimos en Argentina. Que paciencia para poder unir todas esas pequeñas partes, pero el resultado final es genial. Te felicito ❤️.
Muchas gracias 🥹💗 si la paciencia es importante al unir las partes, gracias por el apoyo 🤗 saludos!
Muy lindo, luce coqueto y elegante como solo un girasol podria hacerlo jeje no uso zarcillos, pero me gusta ver la gran variedad que hay y se pueden crear 😍 quedan muy lindos puestos ❤️
Muchas gracias por el apoyo, un abrazo 🤗
Realmente bello
https://x.com/hivediy47901/status/1820543895412875364
Muchas gracias por el apoyo, saludos y un abrazo 🤗💗
Los girasoles siempre son bellos para mí, no soporto ver esta flor sin desear tener muchas en la sala de mi casa y en todo lo que pueda. Estoy por hacerme un accesorio para lucirlo, son radiantes. Te quedaron preciosos.
Muchas gracias, me alegra que le haya gustado, saludos 🤗💗
🤗