Dispensador de toallas sanitarias con material de reciclaje. ♀️ / Sanitary napkin dispenser with recycling material.

Muy feliz martes comunidad Hive Diy, saludos a todos los miembros creativos que conforman esta bella comunidad, espero se encuentren bien, que esta semana sea llena de cosas positivas y bendiciones, en esta oportunidad les quiero compartir una idea creativa de manualidades que les puede ser útil en algún momento.
Very happy Tuesday Hive Diy community, greetings to all the creative members that make up this beautiful community, I hope you are well, that this week is full of positive things and blessings, on this occasion I want to share with you a creative craft idea that can be useful to you. useful at some point.
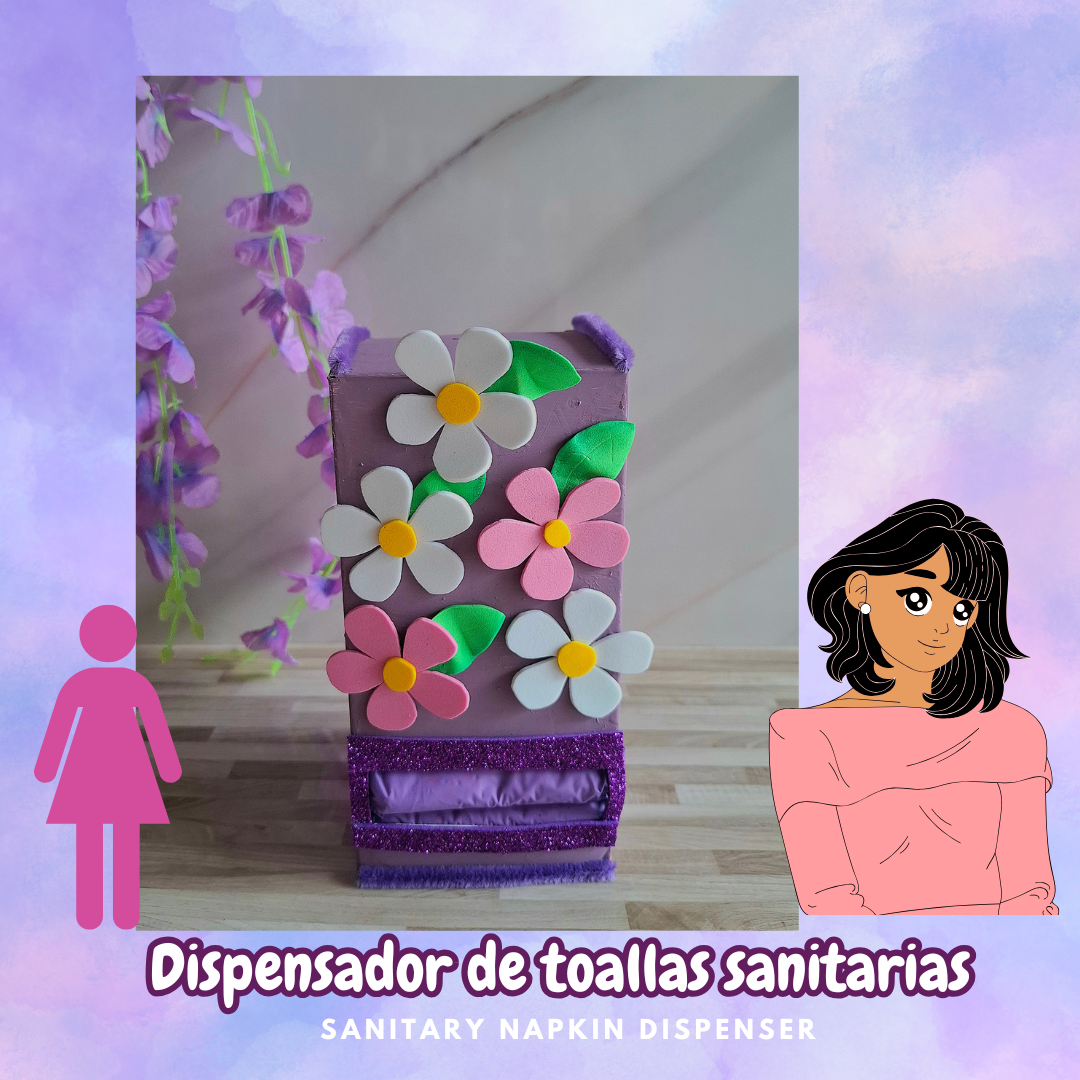
Realicé un organizador de toallas sanitarias con material de provecho, una idea para mantener nuestras toallas de forma discreta y divertida si no quieres que permanezcan en su empaque original, lo bueno es que puedes realizarlo con una caja que tengas en casa, la decoración la realicé mezclando dos colores de pintura y foami para las flores, espero les guste y sea de su agrado, a continuación les muestro materiales y paso a paso.
I made a sanitary napkin organizer with useful material, an idea to keep our towels in a discreet and fun way if you don't want them to remain in their original packaging, the good thing is that you can make it with a box you have at home, I made the decoration mixing two colors of paint and foam for the flowers, I hope you like it and it is to your liking, below I show you materials and step by step.

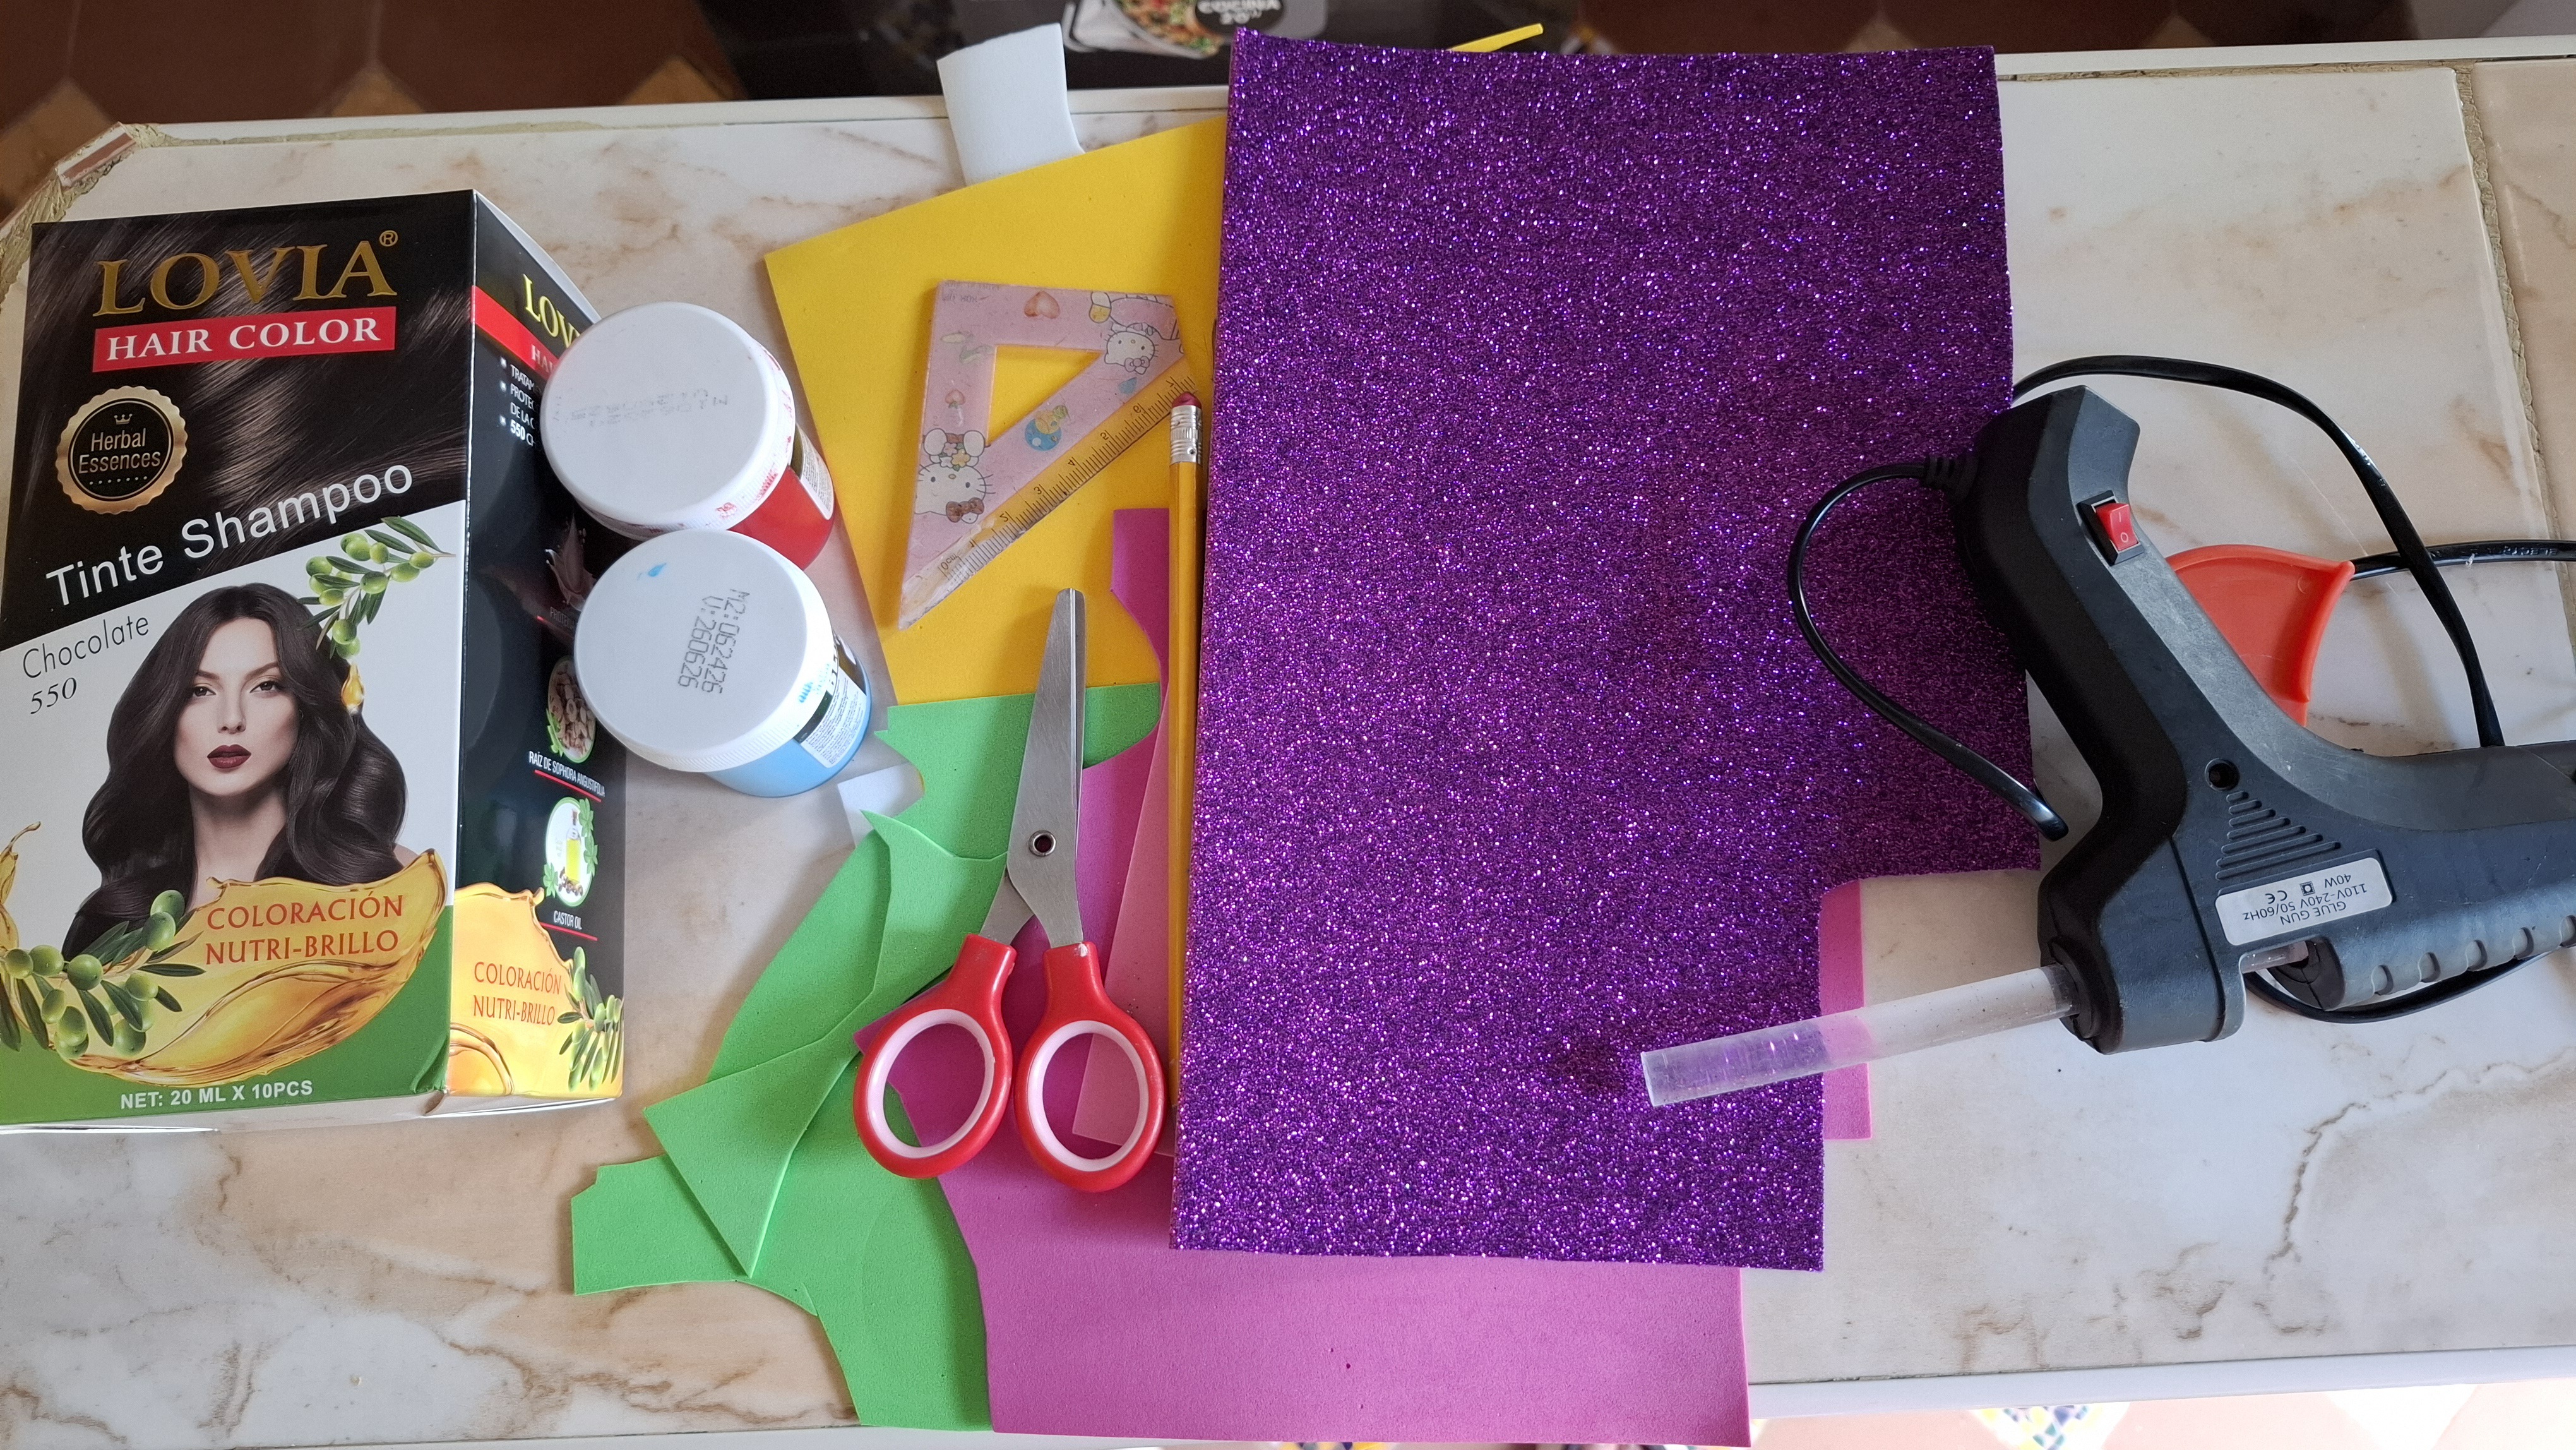
Materiales:
✅1 caja de cartón reciclaje.
✅Pintura roja, azúl y blanca.
✅Foami morado escarchado.
✅Foami blanco y rosa.
✅Foami amarillo y verde.
✅Tijera.
✅Silicón.
✅Pincel.
✅2 Limpiapipas morados.
✅Regla.
✅Lápiz.
1 recycling cardboard box.
Red, blue and white paint.
Frosty purple foam.
White and pink foami.
Yellow and green foami.
Scissors.
Silicone.
Brush.
2 purple pipe cleaners.
Ruler.
Pencil.

Paso a paso / Step by step
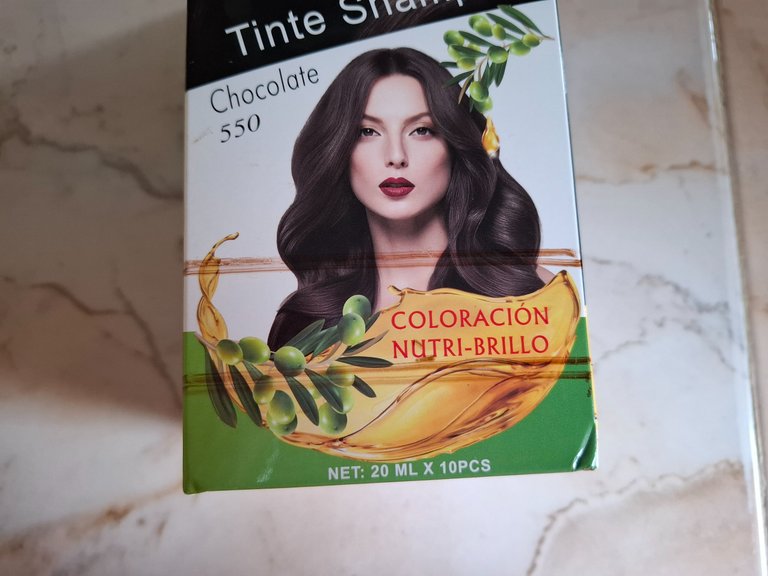
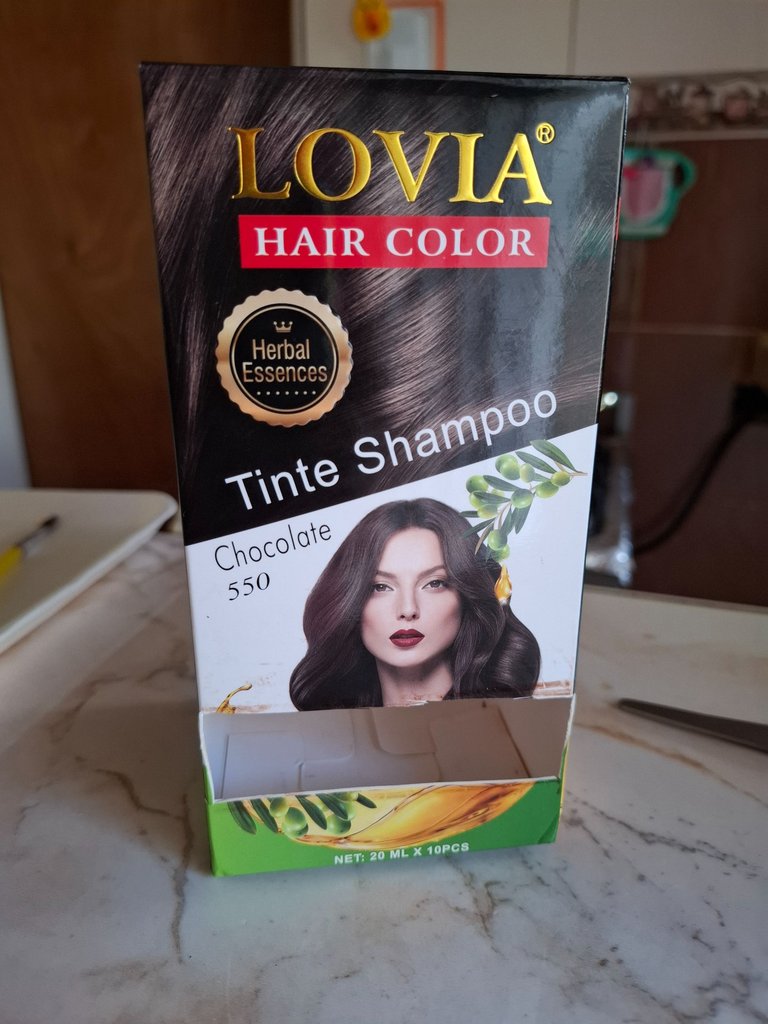
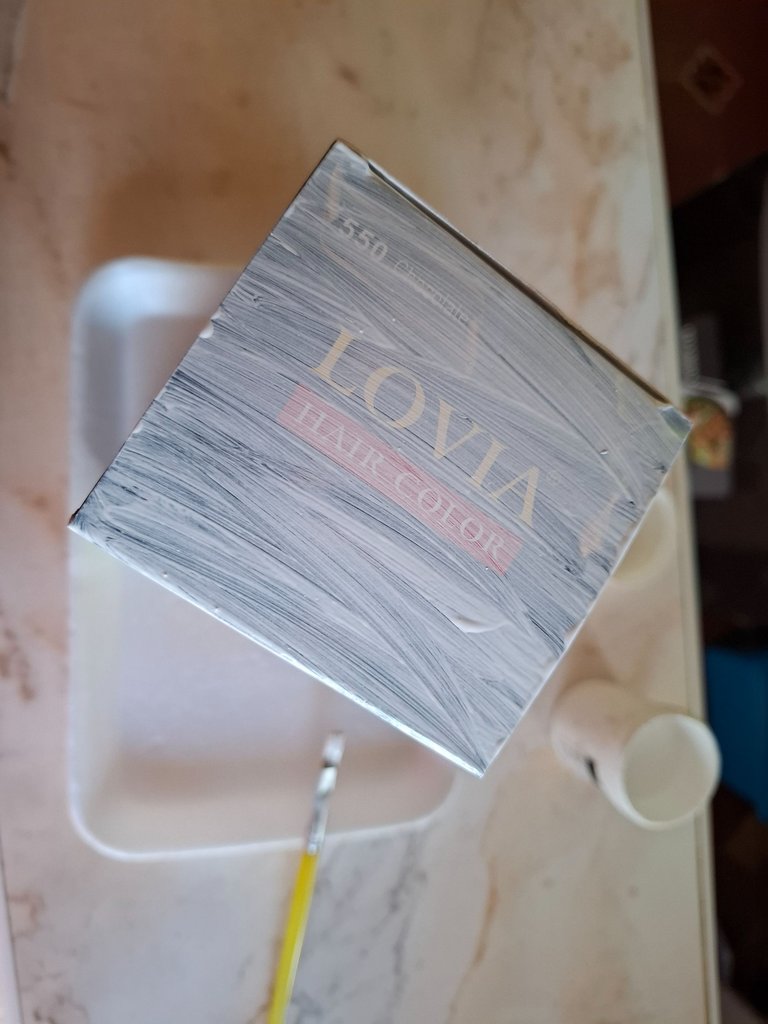
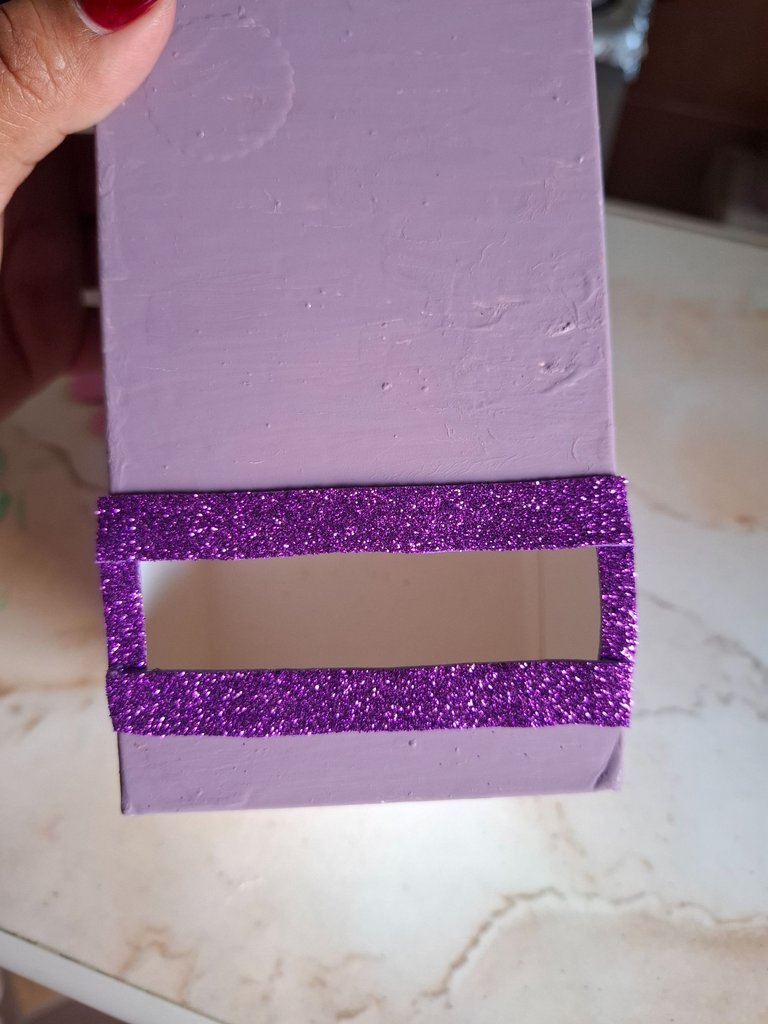
El primer paso se trata de marcar una abertura en la parte inferior de la caja con ayuda de una regla, cortamos con una ayuda de una hojilla y tijera hasta alcanzar la abertura deseada, a través de ella serán dispensadas las toallas.
The first step is to mark an opening at the bottom of the box with the help of a ruler, we cut with the help of a blade and scissors until we reach the desired opening, through which the towels will be dispensed.
 |  |  |
|---|
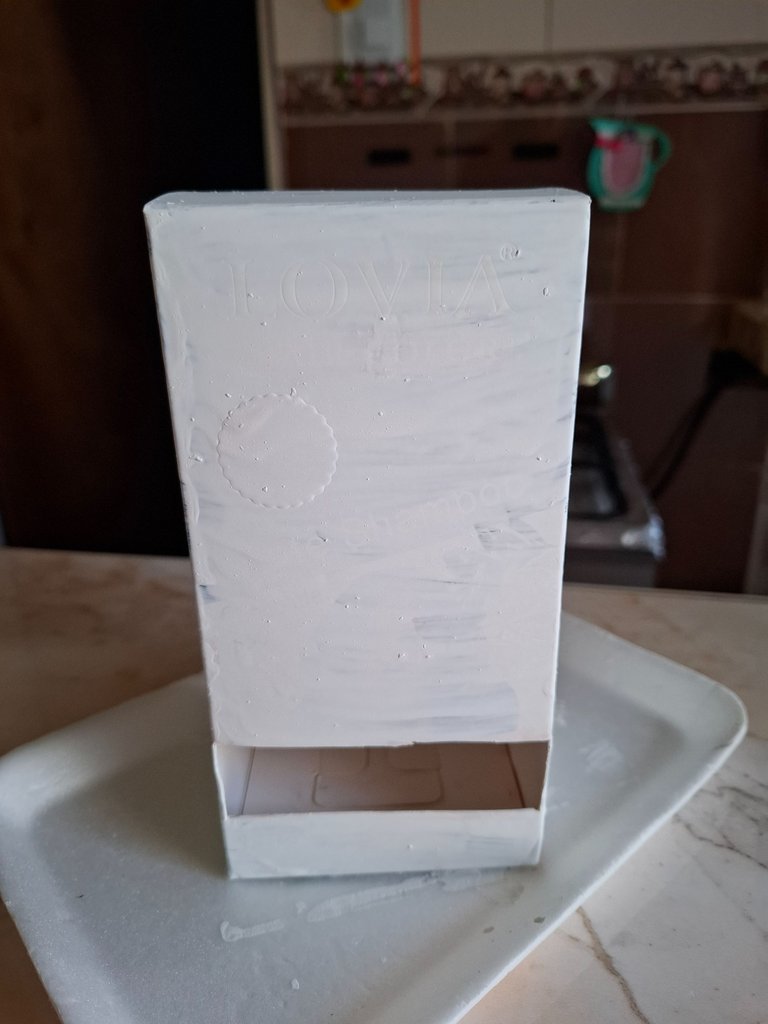
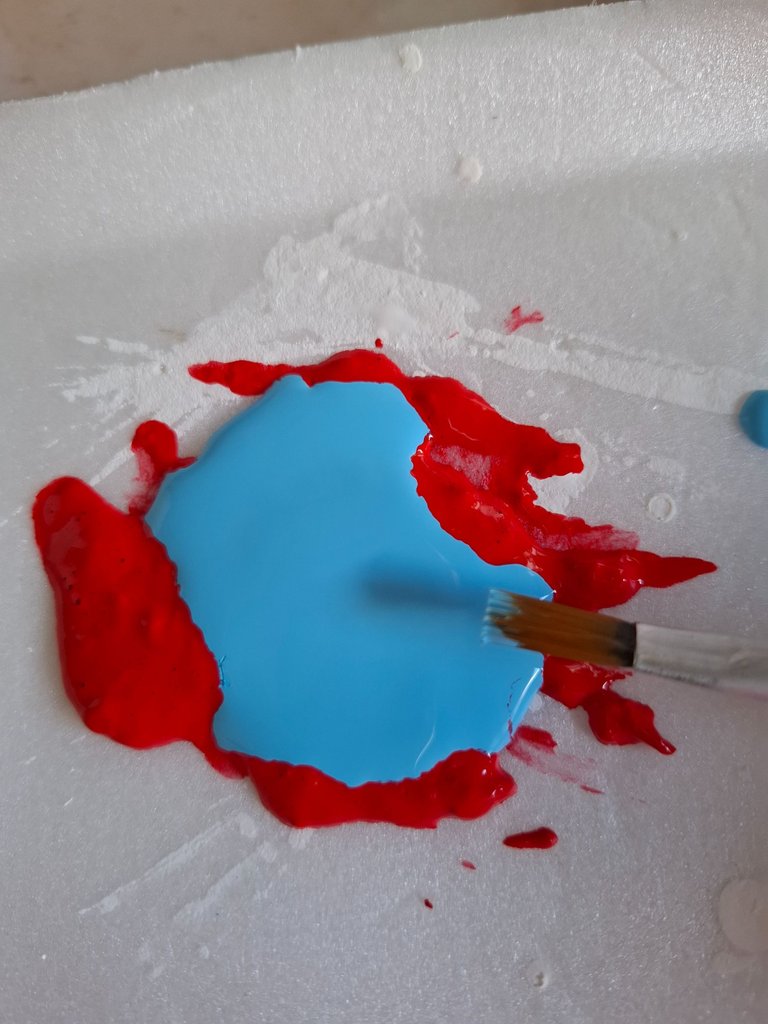
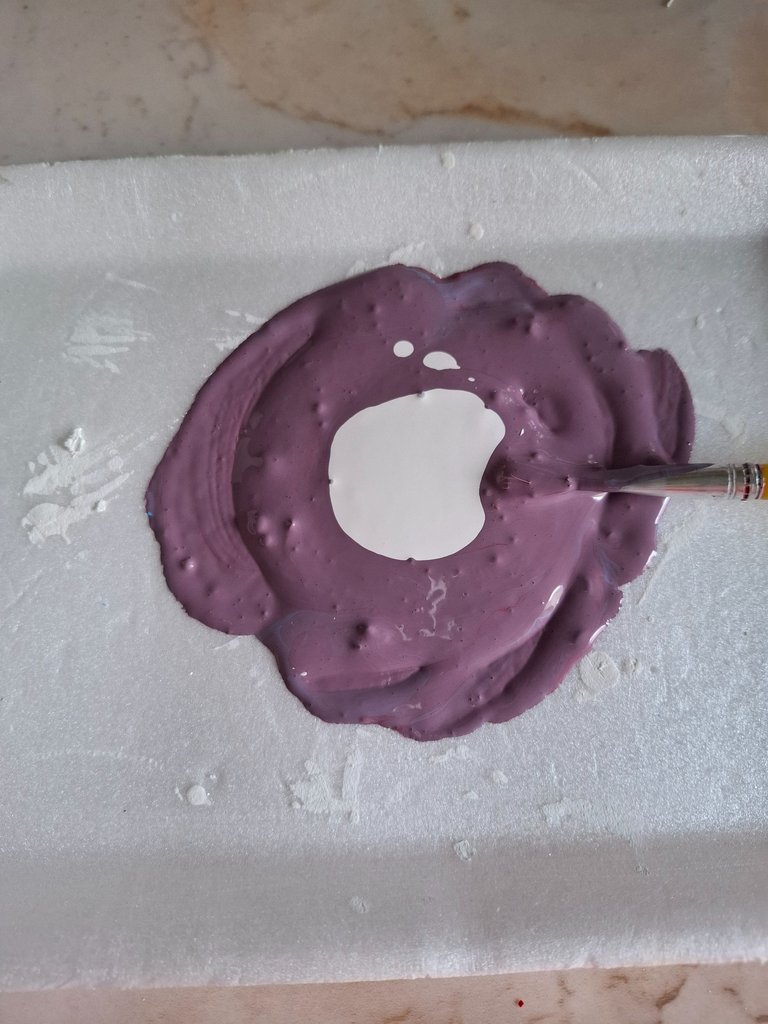
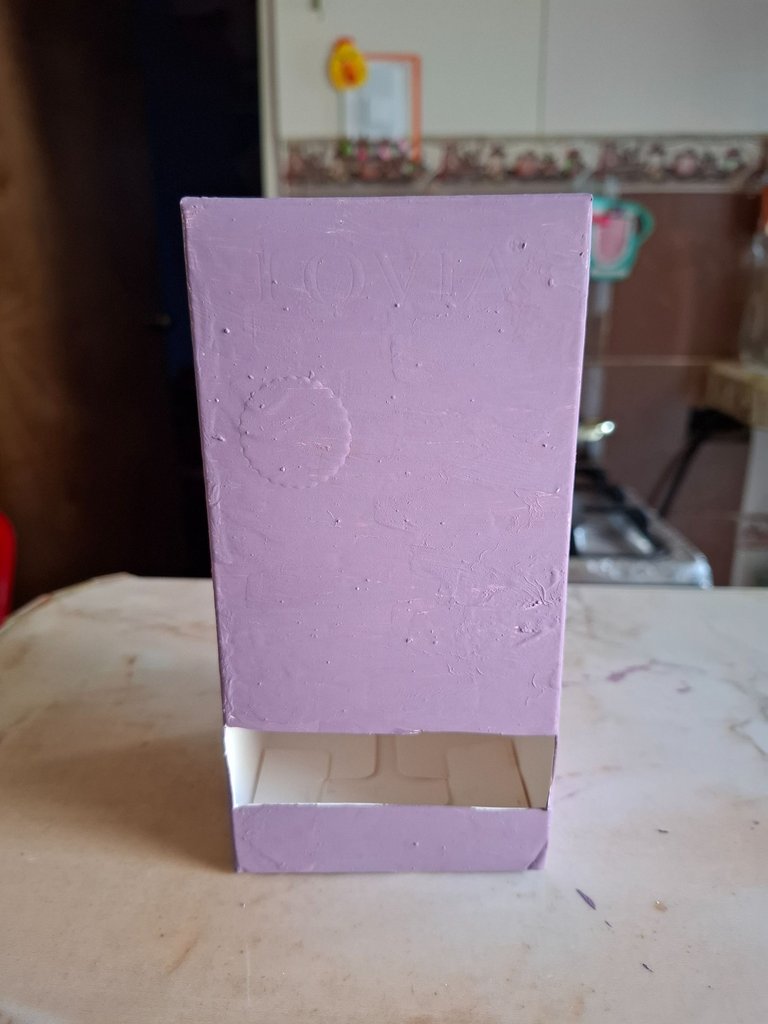
Quería pintar la caja color morado y como no tenía ese color en el momento mezcle el azul y rojo con un toque de blanco dando como resultado un morado claro, pero antes de aplicarla coloqué dos capas de pintura de blanca como fondo.
I wanted to paint the box purple and since I didn't have that color at the time I mixed the blue and red with a touch of white resulting in a light purple, but before applying it I placed two layers of white paint as a background.
 |  |  |
|---|
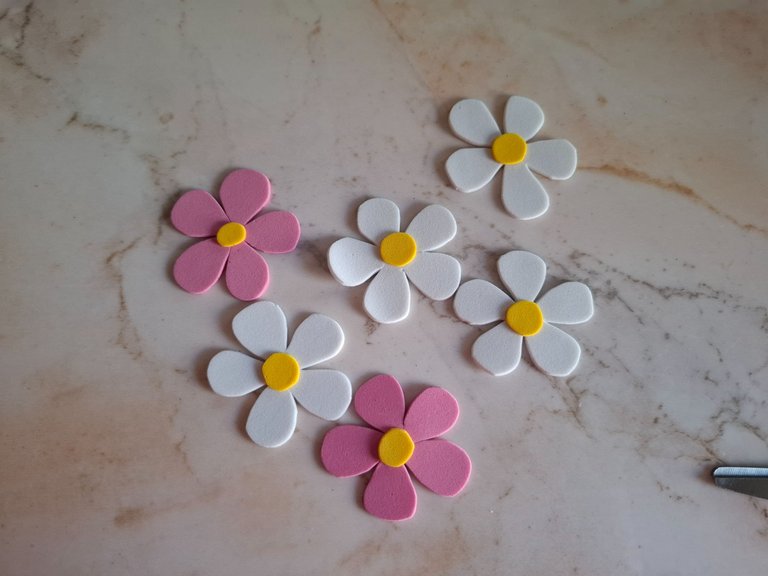
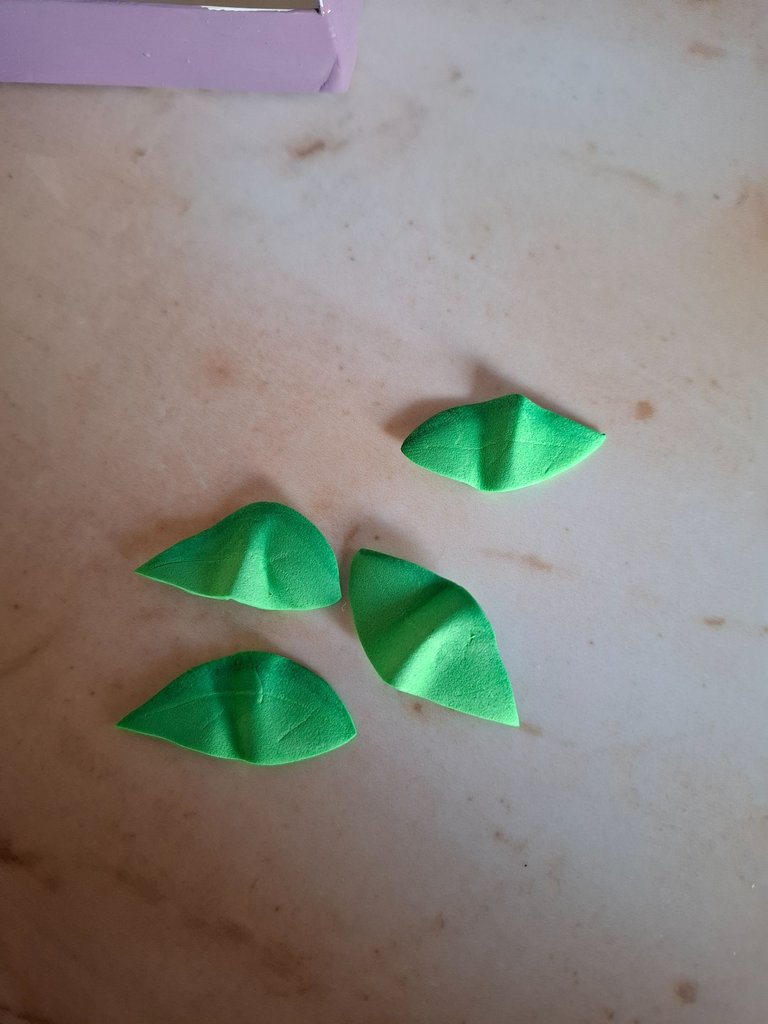
Luego mientras esperaba que secara procedí a realizar las flores, en color blanco, rosa y el centro con un círculo amarillo, también realicé las hojas en foami verde y utilicé la plancha para dar textura.
Then while I was waiting for it to dry I proceeded to make the flowers, in white, pink and the center with a yellow circle, I also made the leaves in green foam and used the iron to give texture.
 |  |  |
|---|
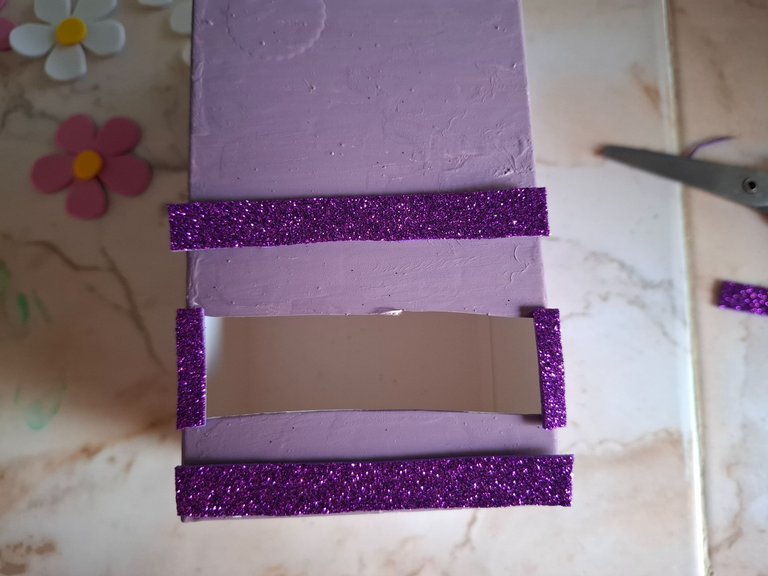
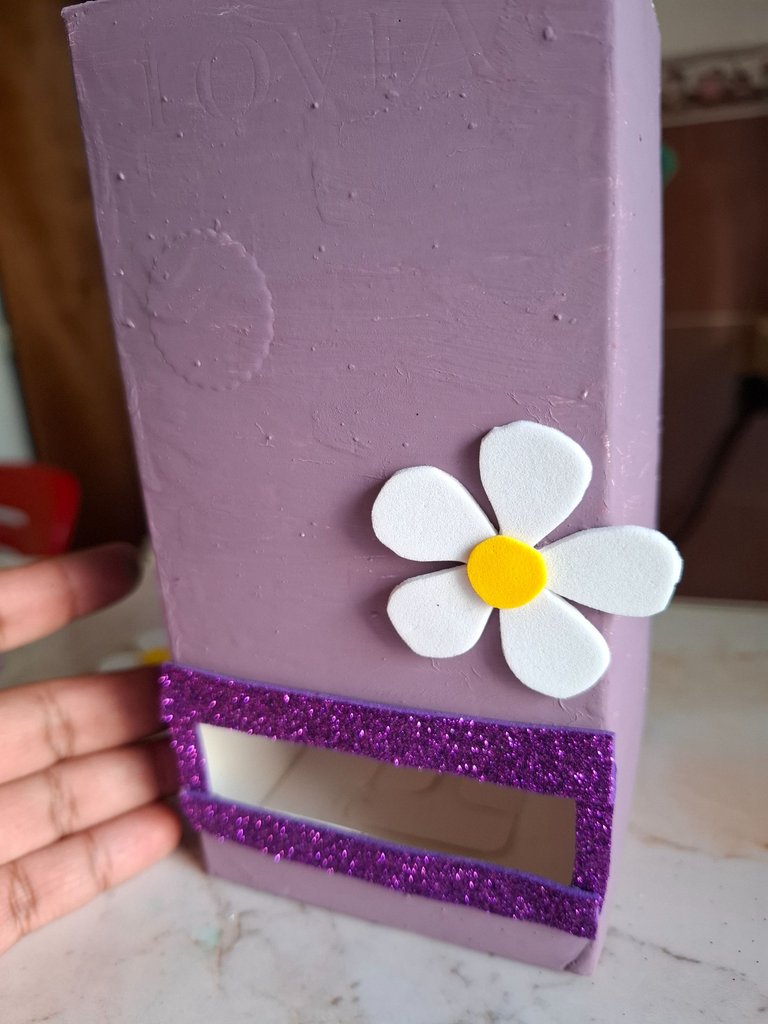
El siguiente paso luego de haber secado la pintura es cortar franjas de foami morado escarchado para cubrir los bordes de la abertura, luego pegamos las flores en la parte frontal y para terminar la decoración corte dos limpiapipas el cual ubiqué en la parte inferior y en la parte superior, en la parte trasera también ubiqué una flor.
The next step after having dried the paint is to cut stripes of frosty purple foam to cover the edges of the opening, then we glue the flowers on the front part and to finish the decoration I cut two pipe cleaners which I placed at the bottom and on the top, in the back I also placed a flower.
 |  |  |
|---|
De esta forma terminé el dispensador de toallas, gracias por visitar mi publicación, nos vemos en una próxima oportunidad con más ideas creativas.
This is how I finished the towel dispenser, thank you for visiting my post, see you next time with more creative ideas.
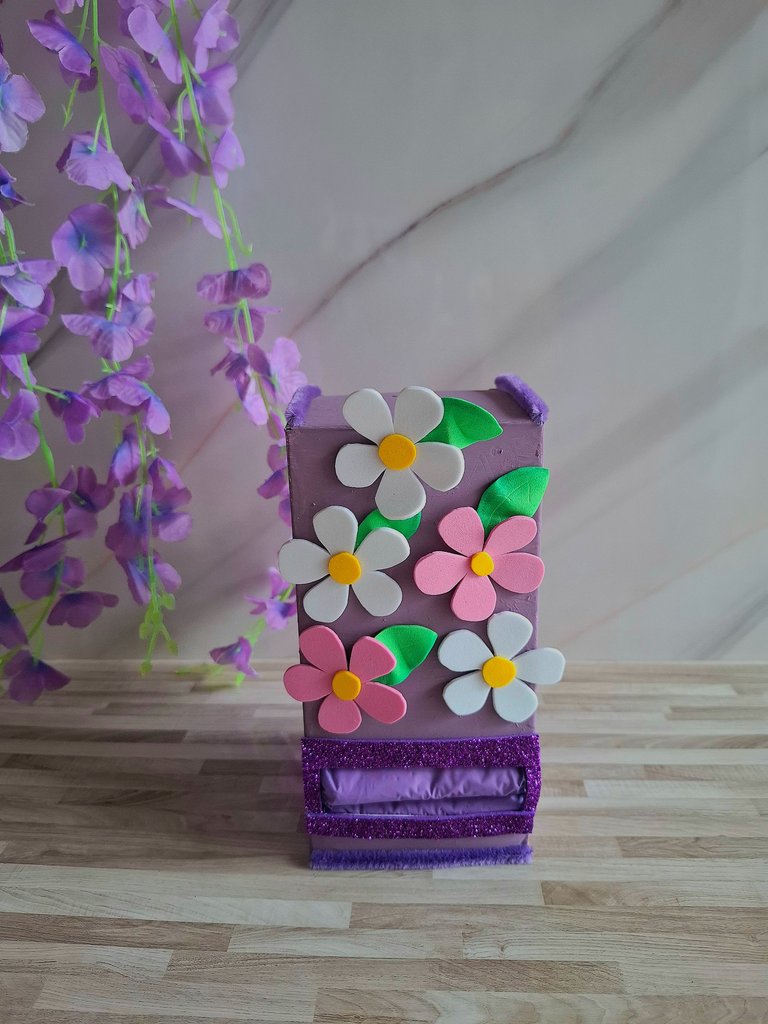


Contenido original. - original content.
Los separadores y banner fueron realizados en Canva. - The dividers and banner were made in Canva.
Las fotografias son tomadas con mi teléfono Redmi Note 11s y editadas en PicsArt - The photographs are taken with my Redmi Note 11s phone and edited in PicsArt.
Traducción de: Google traductor - Translation of: Google translator.

Me gustó mucho tu idea y también que la hagas aprovechan una cajita de tinte que tiene un tamaño ideal.
Así es, gracias por pasar 🤗
¿ᴺᵉᶜᵉˢᶦᵗᵃˢ ᴴᴮᴰ? ᵀᵉ ˡᵒ ᵖʳᵉˢᵗᵃᵐᵒˢ ᶜᵒⁿ @ruta.loans
Que brillante idea, muy practica y hasta se puede hacer que combinen los colores, muy buena idea amiga y divertida jeje 😍
Muchas gracias 🫂 saluditos
Está súper buena está idea 💡 te quedó muy bonita y además de eso súper funcional ❤️ gracias por compartir ❤️🤗
Muchas gracias bella, un abrazo 🤗