Tutorial: Coaster with crochet apple figure - Portavasos con figura de manzana en crochet. 🍎🧶
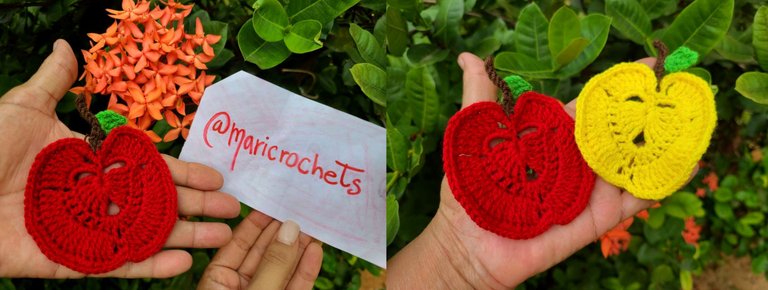
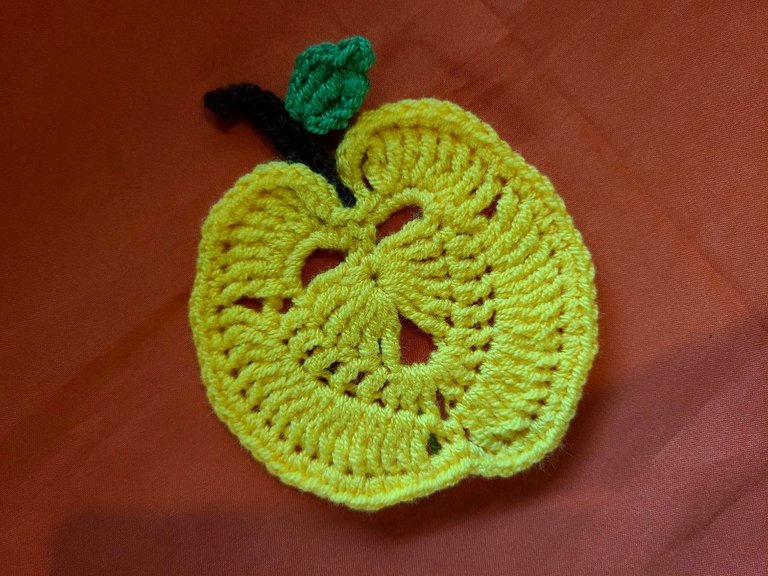
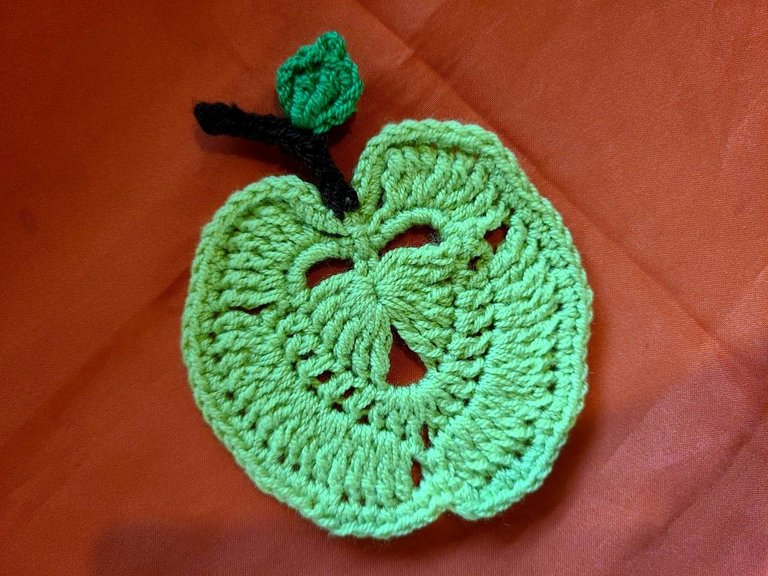
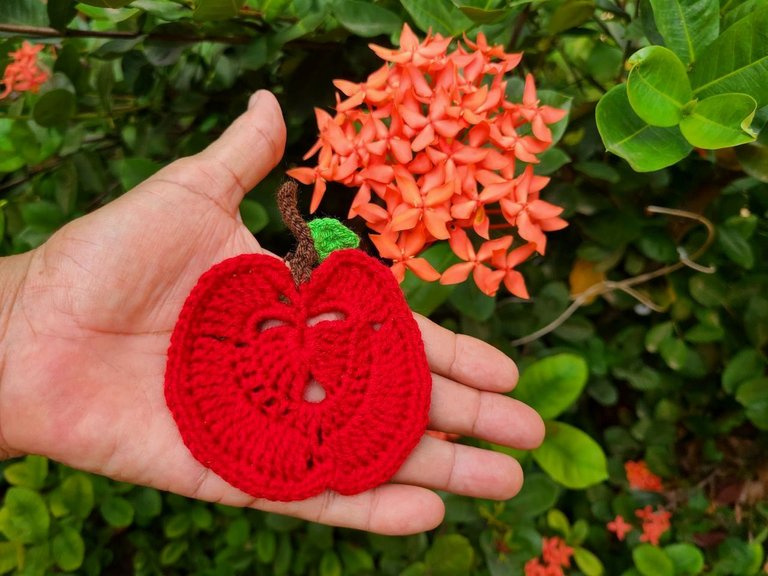
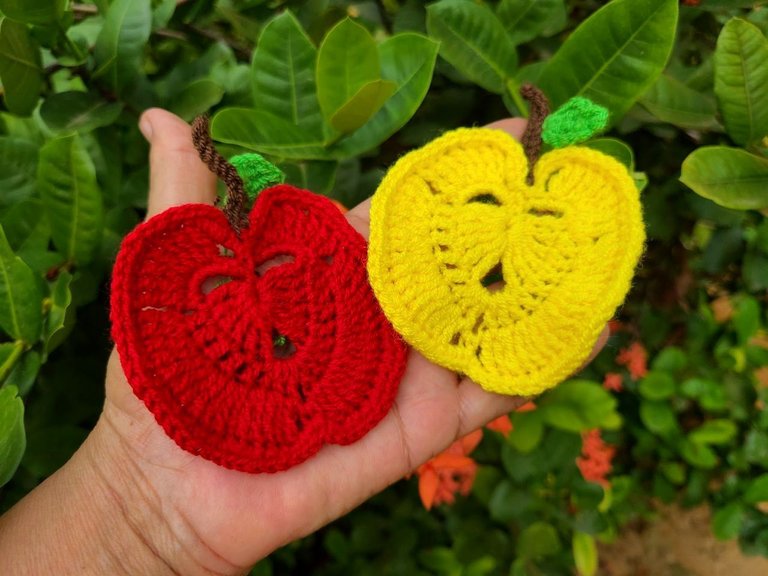
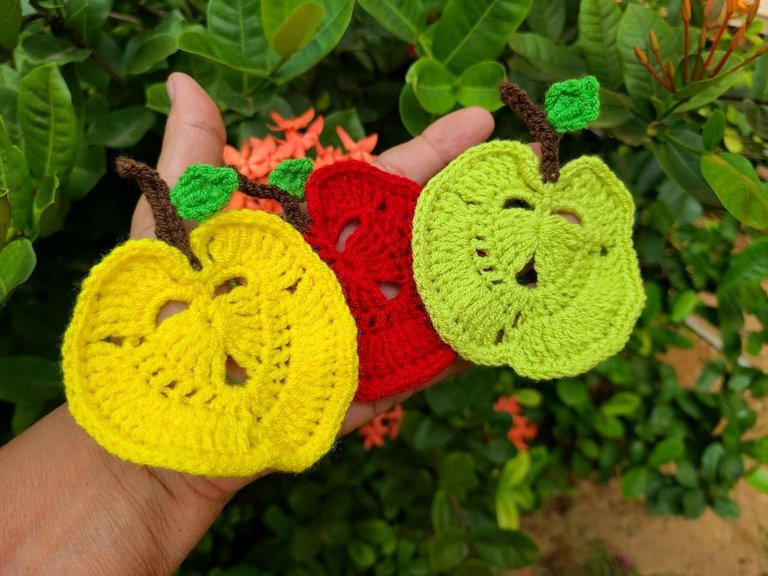
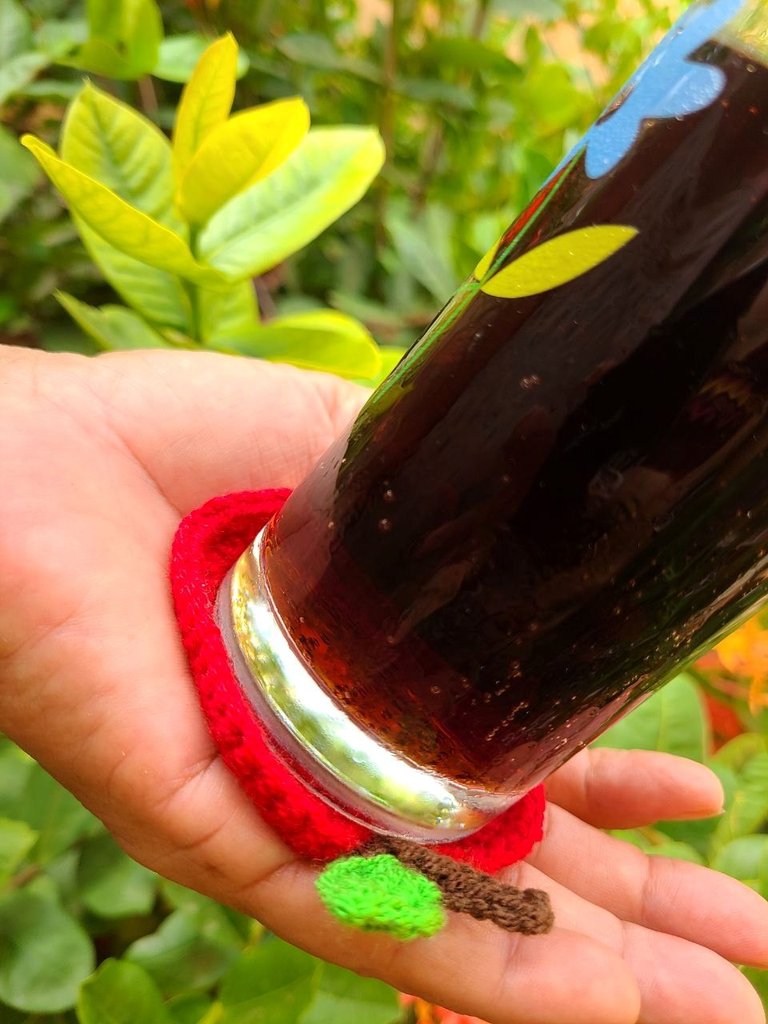
Hello, how are you, continuing with our tastes for crochet, this time I bring you a very simple project to do, it is some apple-shaped 🍎 cup holders, which is why they are made in the colors that identify this fruit, such as: "red, yellow and soft green.
Hola, cómo están, continuando con nuestros gustos por el crochet, en esta oportunidad les traigo un proyecto muy sencillo de realizar , se trata de unos portavasos con forma de manzana 🍎 por ello están elaboradas en los colores que identifican está fruta, como son: "rojo, amarillo y verde suave.
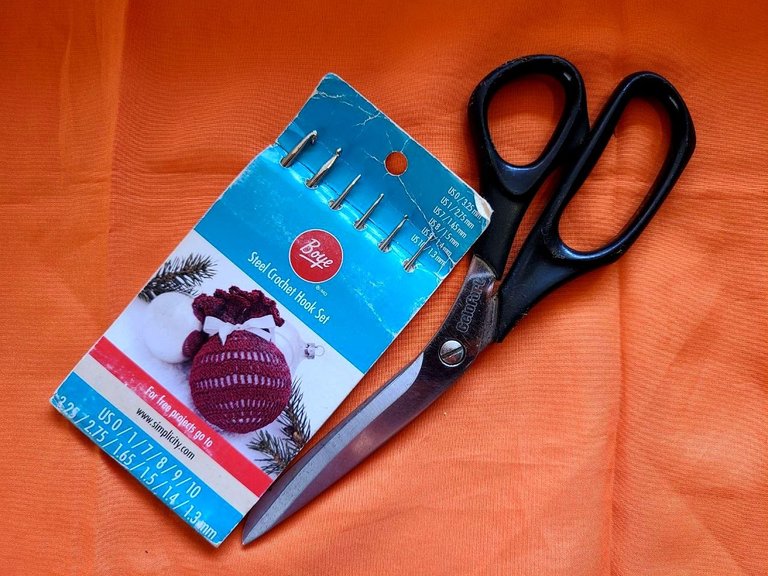
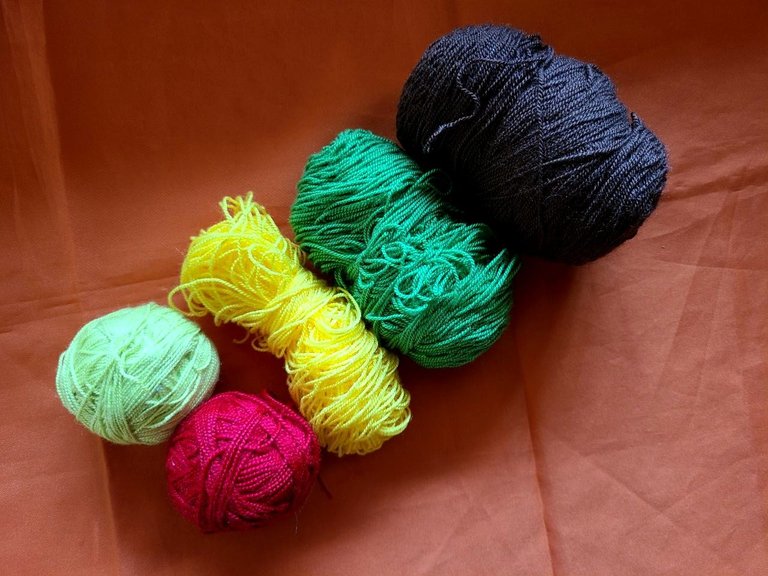
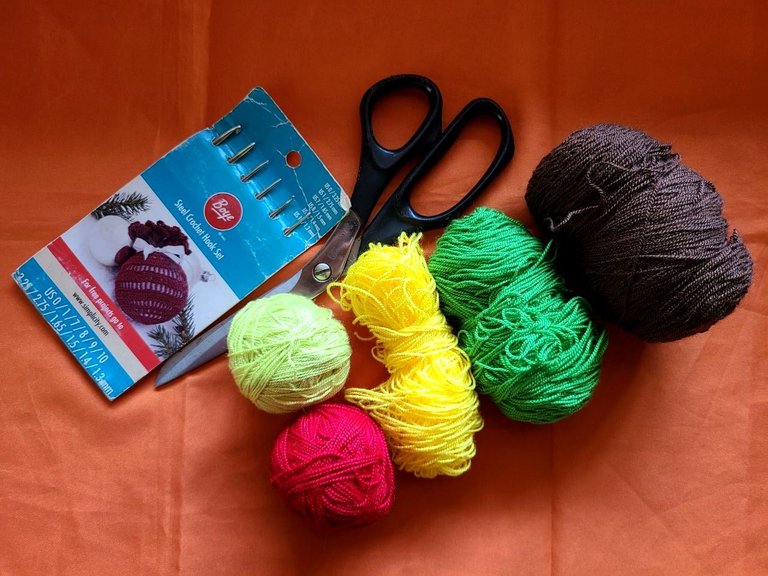
The materials to use:
✓Crochet threads: red, yellow, soft green, brown and leaf green.
✓Scissors.
✓Needle.
Materiales a utilizar:
✓Hilos crochet: rojo, amarillo, verde suave, marrón y verde hoja.
✓Tijeras.
✓Aguja.
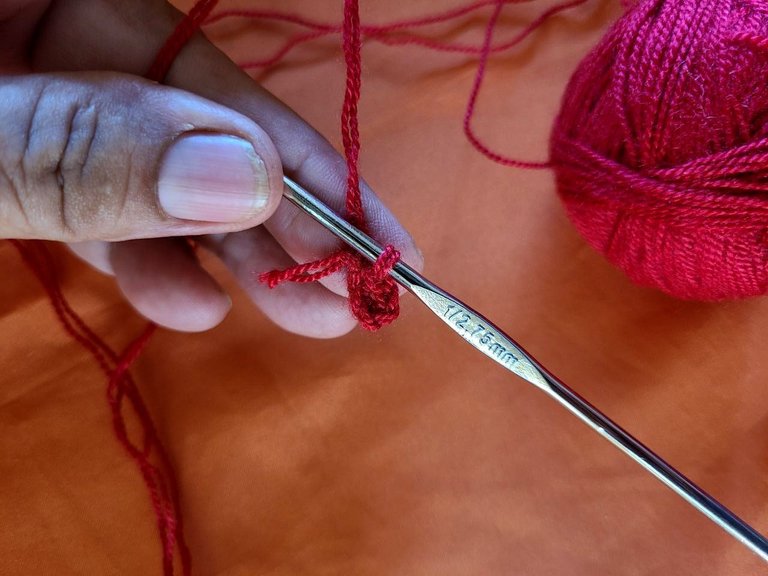
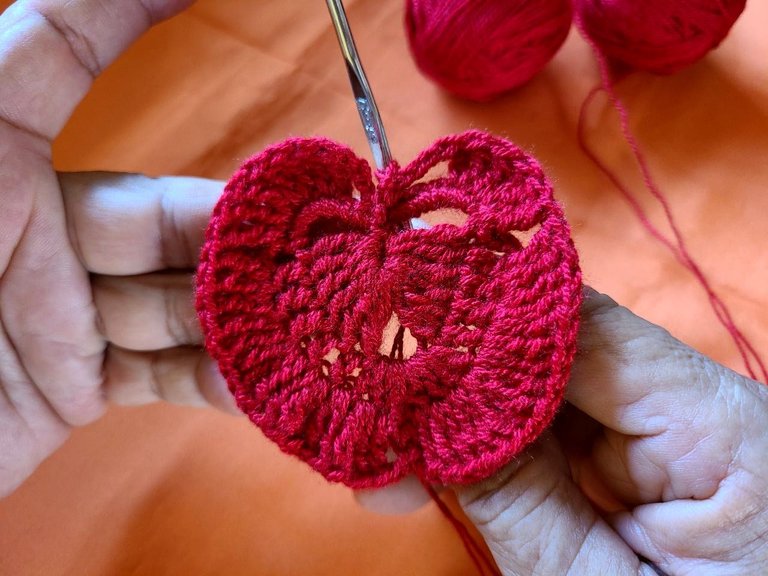
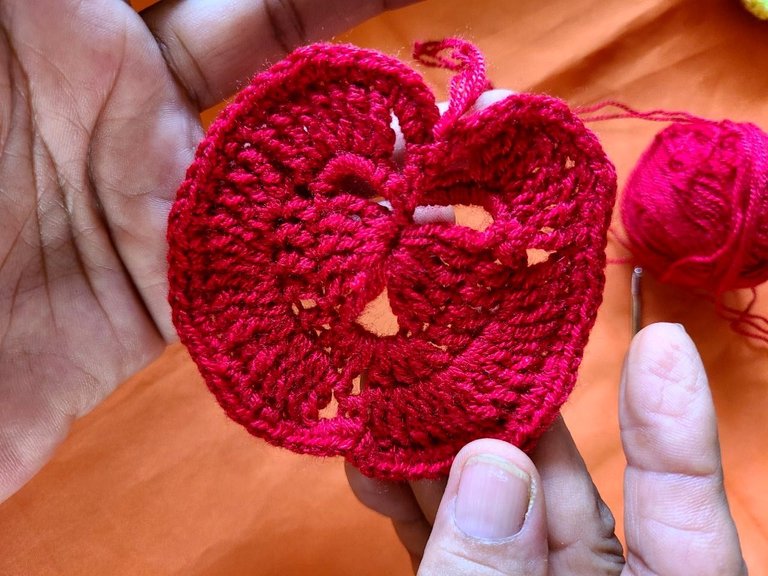
🧶 Step 1: Make 5 chains and close in a hoop with slipped stitch, go up with 6 chains, take two loops on the needle and make 1 double treble crochet, continue with double treble crochets until completing 6 double treble crochets, make Chain 3 and again make 6 double treble crochets inside the ring of 5 chains, make 6 chains and close with a slip stitch in the first chain of the initial 6 chains.
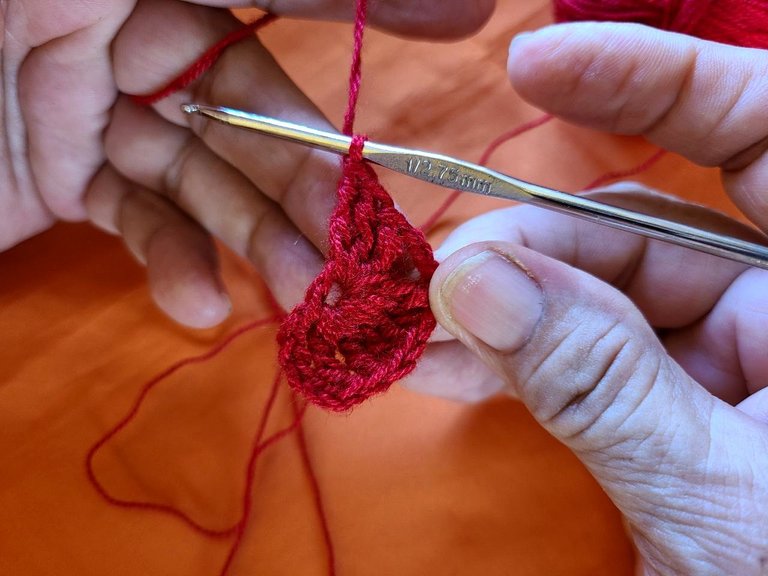
🧶 Step 2: With a slipped stitch, place yourself within the 6 chains, and make 5 single crochets, lift 3 chains and make 5 normal double crochets with the 3 chains, it would be the sixth point, within the next 3 chains , you make 3 double crochets, 3 chains and 3 more double crochets, we continue with 5 double crochets on each of the points that follow, we make 3 chains and we close it in the last remaining point of the six with a slipped stitch, finally we make the 5 single crochets and we close the row with slipped stitch.
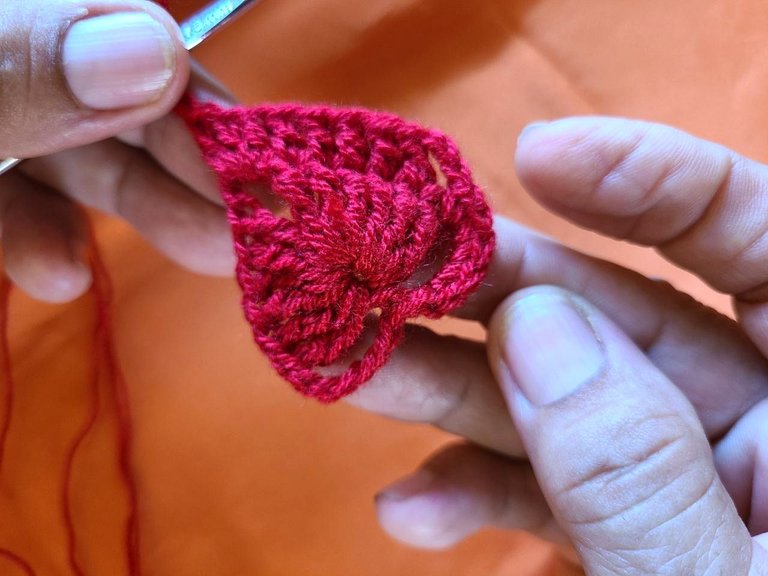
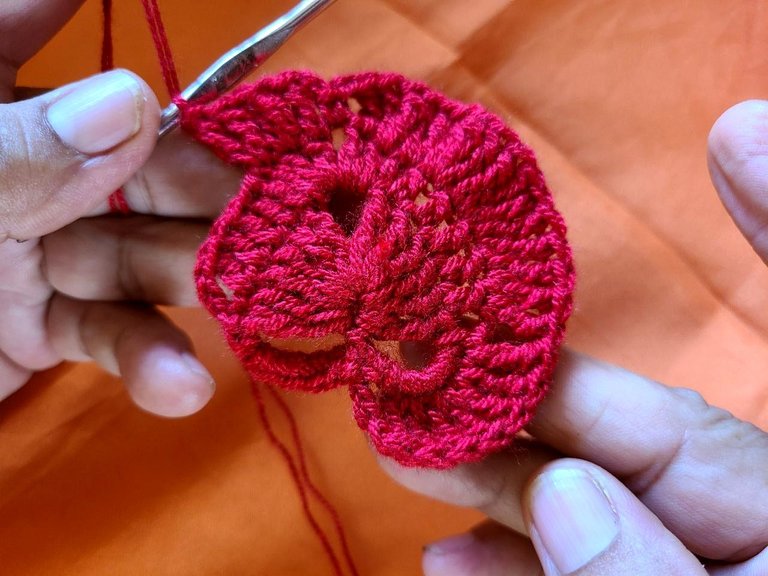
🧶 Step 3: We start with a chain of 4 stitches and count until the third single crochet, there we will make 2 double double crochets together in the same space, the same in the next two spaces, then 1 double double crochet, in the next group 1 double treble crochet, 2 groups of 2 double treble crochets together, 2 groups of 3 double treble crochets together, 2 groups of 2 double treble crochets together, and 1 double treble crochet, We lift 3 chains and in the space of the previous chain we make a single crochet and then 3 chains and we repeat the previous step, until we reach the end of the row. The last row is all single crochet; In the space of 4 chains we make 4 single crochets, and we make 3 normal single crochets and an increase in the fourth stitch, so on until we reach the chains where 3 single crochets are made in the chain and a single crochet over the previous single crochet. and we continue the same until the end of the line.
🧶 Paso 1: Hacer 5 cadenas y cerrar en aro con punto deslizado, subir con 6 cadenas , tomar dos lazadas en la aguja y elaborar 1 punto alto doble , continuar con puntos altos dobles hasta completar 6 puntos altos dobles, hacer 3 cadenas y nuevamente elaborar 6 puntos altos dobles dentro del aro de 5 cadenas, elaborar 6 cadenas y cerrar con punto deslizado en la primera cadena de las 6 cadenas iniciales.
🧶 Paso 2: Con un punto deslizado colocarte dentro de las 6 cadenas, y hacer 5 puntos bajos, levantar 3 cadenas y hacer 5 puntos altos normales con las 3 cadenas sería el sexto punto, dentro de las 3 cadenas siguientes,haces 3 puntos altos, 3 cadenas y 3 puntos altos más,seguimos con 5 puntos altos sobre cada uno de los puntos que siguen, hacemos 3 cadenas y la cerramos en el último punto restante de los seis con un punto deslizado , finalmente hacemos los 5 puntos bajos y cerramos la fila con punto deslizado.
🧶 Paso 3: Comenzamos con una cadena de 4 puntos y contamos hasta el tercer punto bajo, allí vamos hacer 2 puntos altos dobles juntos en el mismo espacio, igual en los siguientes dos espacios, luego 1 punto alto doble, en el siguiente grupo 1 punto alto doble, 2 grupos de 2 puntos altos dobles juntos, 2 grupos de 3 puntos altos dobles juntos , 2 grupos de 2 puntos altos dobles juntos, y 1 punto alto doble, Levantamos 3 cadenas y en el espacio de la cadena anterior hacemos un punto bajo y seguidamente 3 cadenas y repetimos el paso anterior, hasta llegar al final de la fila. La última fila es toda de punto bajo; en el espacio de 4 cadenas hacemos 4 puntos bajos, y hacemos 3 puntos bajos normales y un aumento en el cuarto punto , así sucesivamente hasta llegar a las cadenas donde se hacen 3 puntos bajos en la cadena y un punto bajo sobre el punto bajo anterior y seguimos igual hasta el final de la fila.
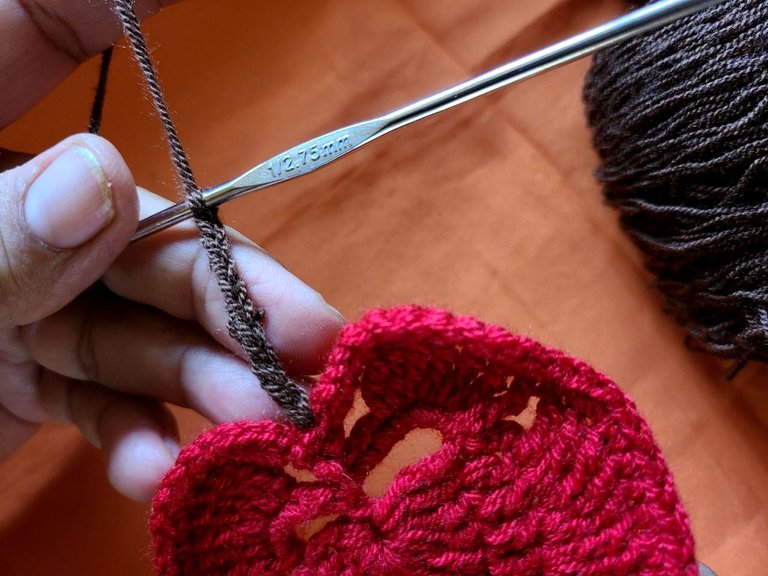
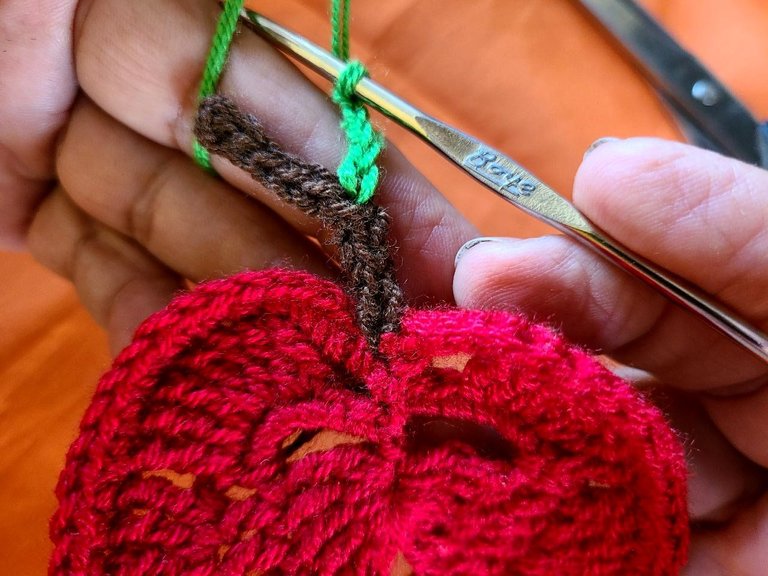
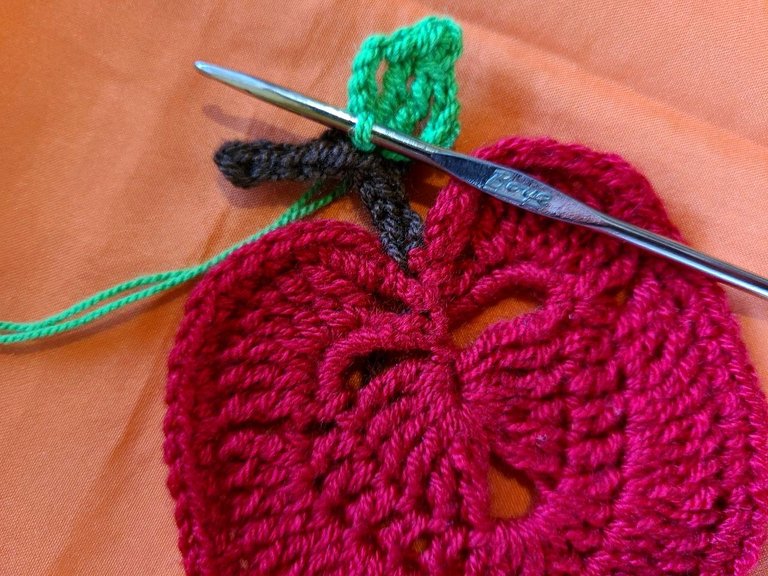
🧶 Step 4: For the stem we use the brown color, make about 10 chains and return in slip stitch.
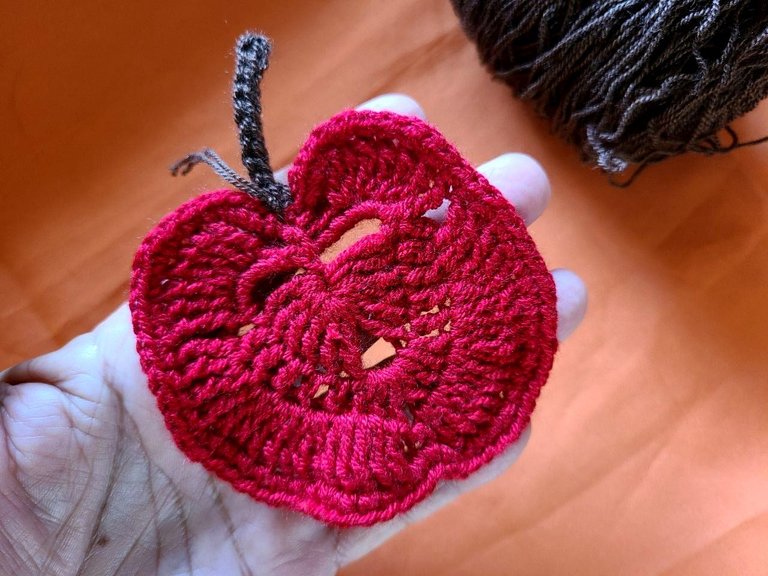
🧶 Step 5: For the leaf, we use the green leaf, we place ourselves in the fifth chain of the stem and make 5 chains, we take 2 yarn overs and make a double double crochet, we make two chains, and with a slip stitch we close over the double crochet, again we make another double crochet in the same place, and finally we finish with 4 closed chains with slipped stitch at the beginning of the double crochets. It should be noted that this project is made with double thread because of how thin it is.
🧶 Paso 4: Para el tallo usamos el color marrón, hacemos unas 10 cadenas y regresamos en punto deslizado.
🧶 Paso 5: Para la hoja, usamos el verde hoja nos ubicamos en la quinta cadena del tallo y hacemos 5 cadenas, tomamos 2 lazadas y hacemos un punto alto doble, hacemos dos cadenas, y con punto deslizado cerramos sobre el punto alto, nuevamente hacemos otro punto alto en el mismo lugar, y finalmente terminamos con 4 cadenas cerradas con punto deslizado en el comienzo de los puntos altos. Cabe resaltar que, este proyecto está elaborado con hilo doble por lo delgado que es.
I hope this publication is very useful, trusting in the pleasure and acceptance of all of you, once again I tell you that the photographs are in collaboration with my daughter Daniela who is currently supporting me in this process, thank you very much, greetings.
Espero que está publicación sea de gran utilidad, confiando en el agrado y aceptación de todos ustedes, una vez más les comento que las fografias, son en colaboración con mi hija Daniela la cual me está apoyando en este proceso actualmente, muchas gracias , saludos.
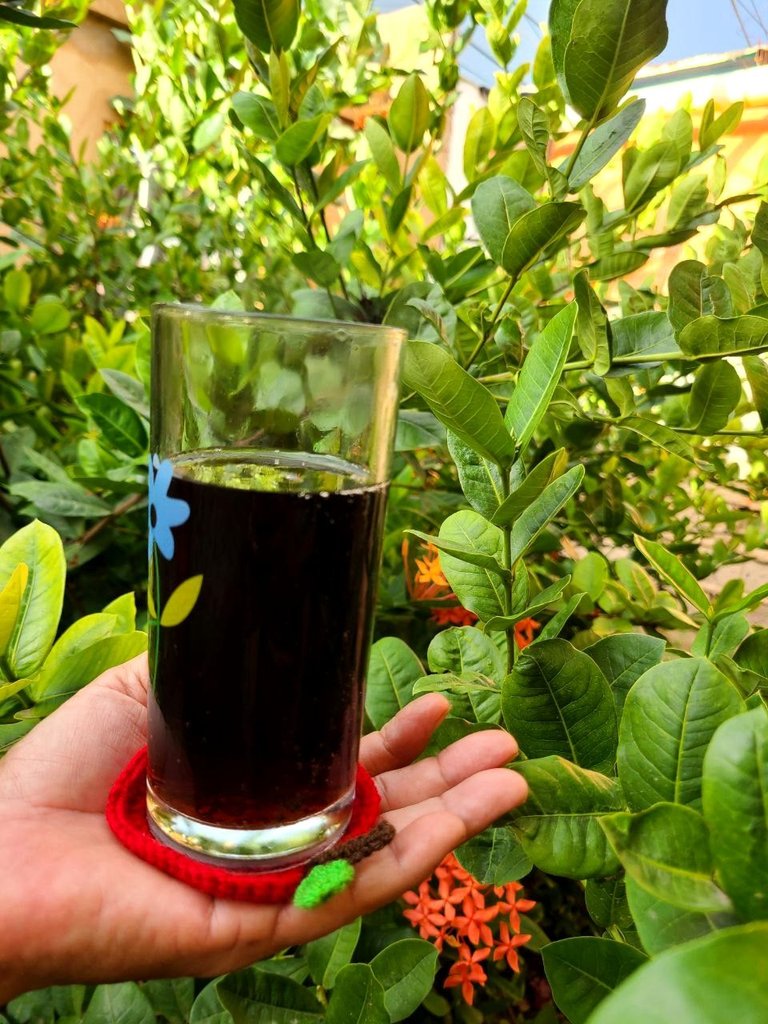
Amazing design 👏🏾
Thanks 🎀
Elaboración perfecta! Felicidades mami 🎈
Gracias, Daniela, 😘
Que lindas, me encantó el detalle del tallo y la hojita 🤏🧡
Gracias, si me pareció que ese detalle les da como más naturalidad. Saludos.
¡Felicitaciones!
Estás participando para optar a la mención especial que se efectuará el domingo 2 de junio del 2024 a las 8:00 pm (hora de Venezuela), gracias a la cual el autor del artículo seleccionado recibirá la cantidad de 1 HIVE transferida a su cuenta.
¡También has recibido 1 ENTROKEN! El token del PROYECTO ENTROPÍA impulsado por la plataforma Steem-Engine.
1. Invierte en el PROYECTO ENTROPÍA y recibe ganancias semanalmente. Entra aquí para más información.
2. Contáctanos en Discord: https://discord.gg/hkCjFeb
3. Suscríbete a nuestra COMUNIDAD y apoya al trail de @Entropia y así podrás ganar recompensas de curación de forma automática. Entra aquí para más información sobre nuestro trail.
4. Visita nuestro canal de Youtube.
Atentamente
El equipo de curación del PROYECTO ENTROPÍA
Gracias por darme su aceptación.🙏🏻