Fan Art | Elisya (Songtress Of Fate) 🏮
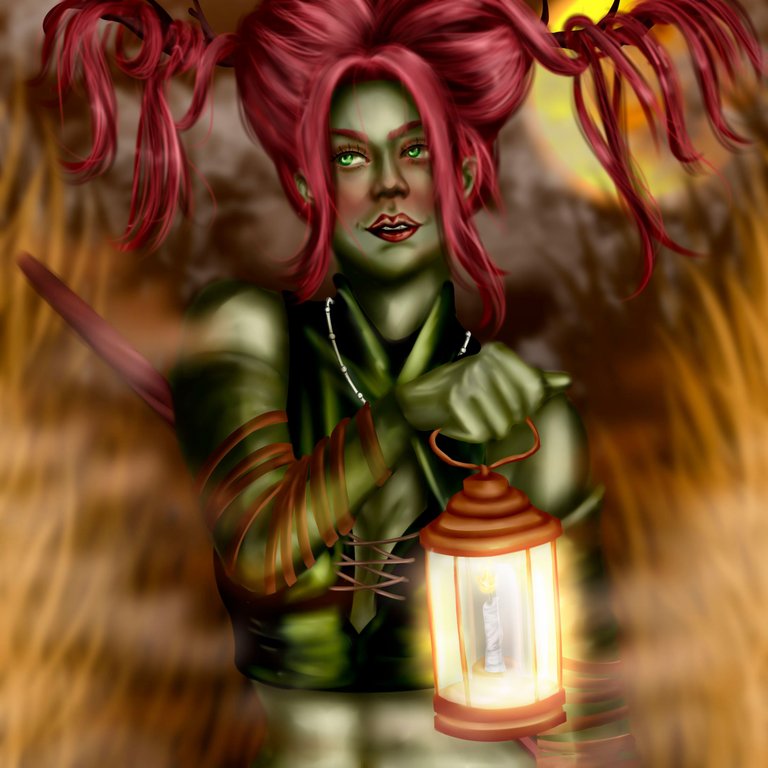
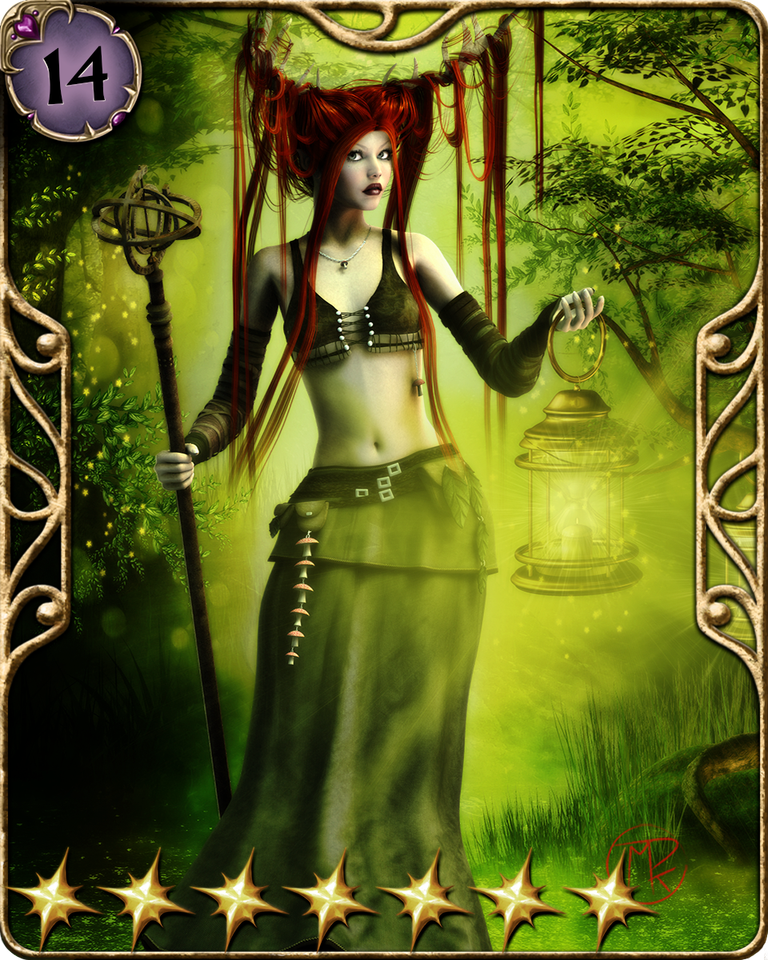
Happy Friday my dear readers, as many of you already know me, my name is Manuel and as always it is a pleasure for me to have you here a new opportunity for my blog, where I share each of the artistic works I do. This time I come to show you a small fan art or representation of one of the games of our community, I'm talking about the game of the community of rada which has a variety of characters, including this character of Elisya (Songtress Of Fate); I was encouraged to make it because I had the sketch ready for a couple of months ago I think, and in particular I am a big fan of the characters of the rada game and especially this character in particular that always called my attention, so I got down to work and this was the result, I hope you like it:
Feliz viernes mis queridísimos lectores y lectoras, como muchos ya me conocerán, mi nombre es Manuel y como siempre es un grato gusto para mi tenerlos por aquí una nueva oportunidad por mi blog, donde comparto cada una de las obras artísticas que hago. En esta oportunidad les vengo a mostrar un pequeño fan art o representación sobre uno de los juegos de nuestra comunidad, así es hablo del juego de la comunidad de rada el cual cuenta con una gran variedad de personajes, entre ellos este personaje de Elisya (Songtress Of Fate); obra me anime a realizarla ya que tenía el boceto listo desde hace par de meses atrás creo, y en lo particular soy muy fan de los personaje del juego de rada y sobre todo de este personaje en particular que siempre me llamo la atención, así que me puse manos a la obra y este fue el resultado, espero les guste:
REFERENCE
PROCESS / PROCESO
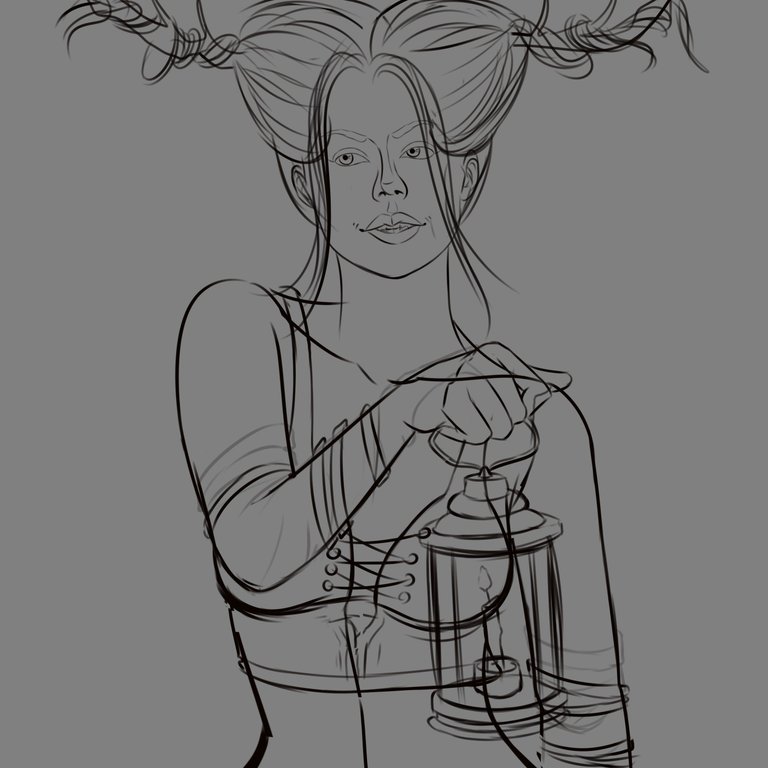
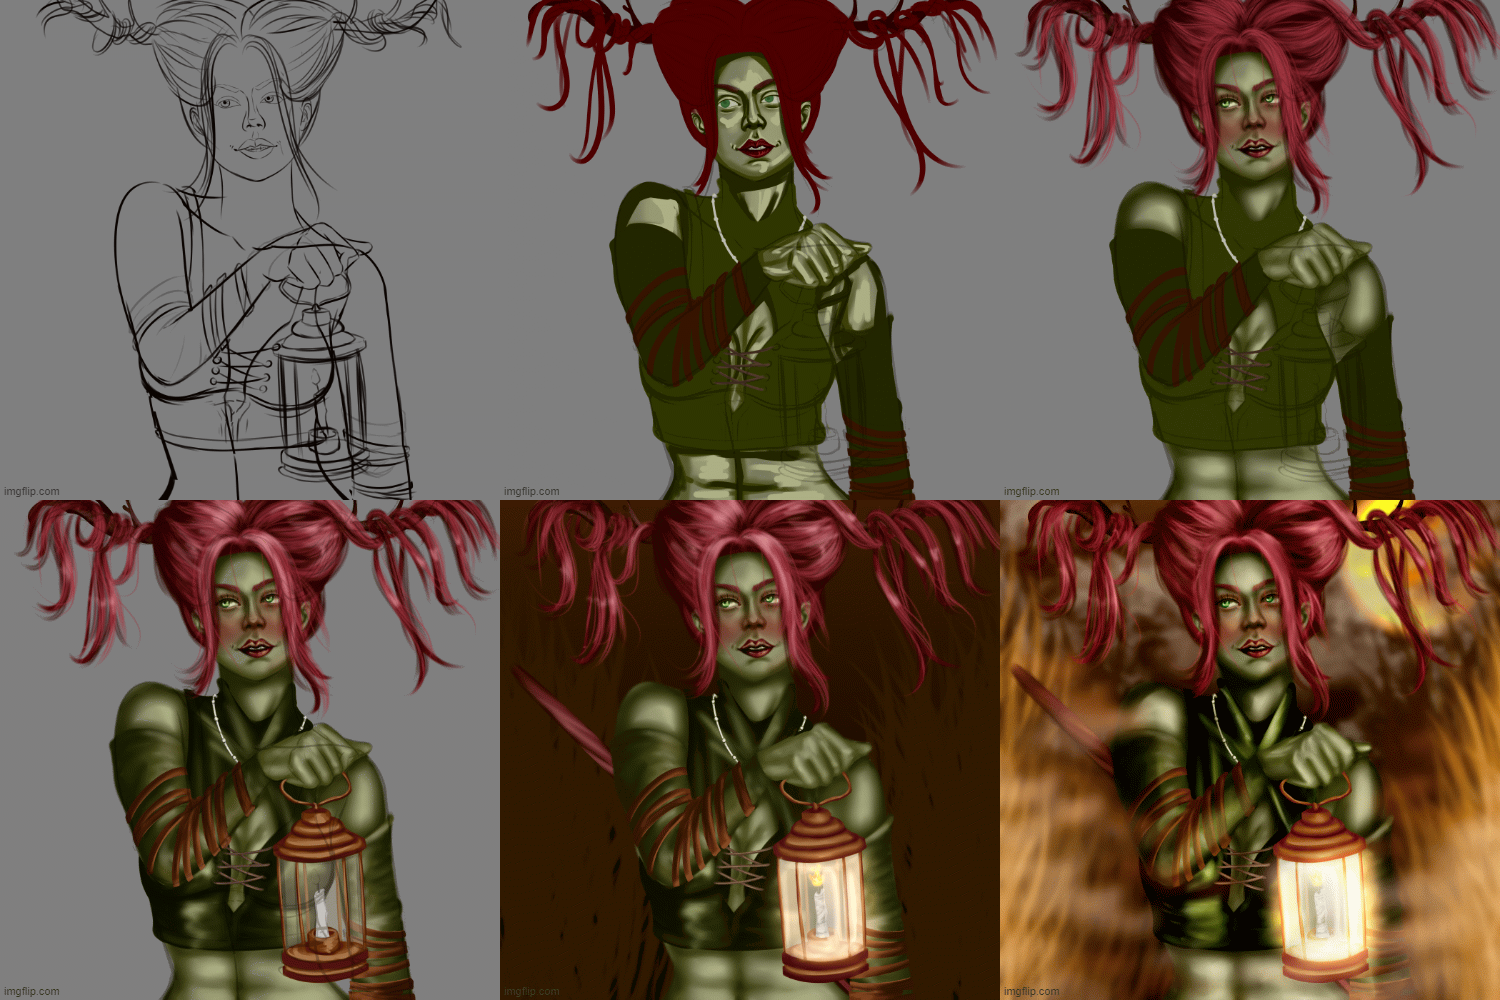
The sketching process was quite basic for me, I focused on creating the character in a more frontal perspective, as if she was walking right in front of my canvas, while holding in her right hand a very rudimentary style lamp which illuminates the dark road she is walking on. After finishing my sketch and line art the next step was the application of the colors that would give life to this girl, and usually I like to start painting my character starting with the skin as that gives me a better visual order, so I was painting a few soft greenish tones that would serve as a base for the skin and then in layers just above I was creating strokes that would represent the volume, shadows and of course the details of ambient light bouncing off the skin.
El proceso de bocetado fue bastante básico para mí, me enfoque en crear al personaje en una perspectiva mas frontal, como si estuviese caminando justo hacia el frente de mi lienzo, mientras sostiene en su mano derecha una lampara con estilo muy rudimentaria la cual ilumina en camino oscuro por el cual se encuentra transitando. Luego de finalizar mi boceto y line art el siguiente paso fue el de la aplicación de los colores que darían vida a este chica, y por lo general me gusta empezar el pintado de mis personaje partiendo por la piel ya que eso me da un mejor orden visual, entonces fui plasmando unos cuantos tonos verdosos suaves que servirían como base para la piel y luego en capas justo por arriba fui creando trazos que representaran el volumen, sombras y por supuesto los detalles de luz ambiental que rebotan en la piel.
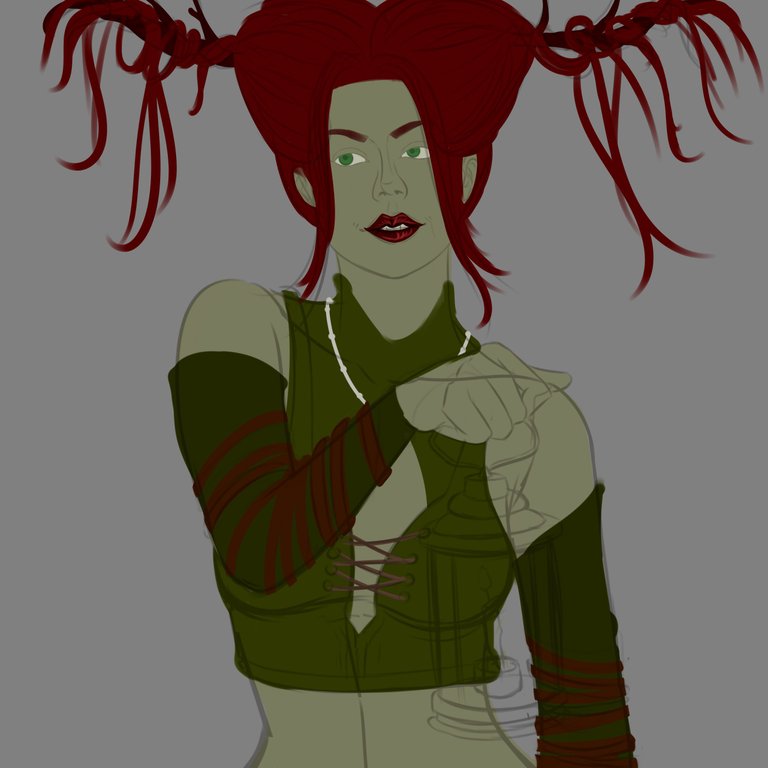
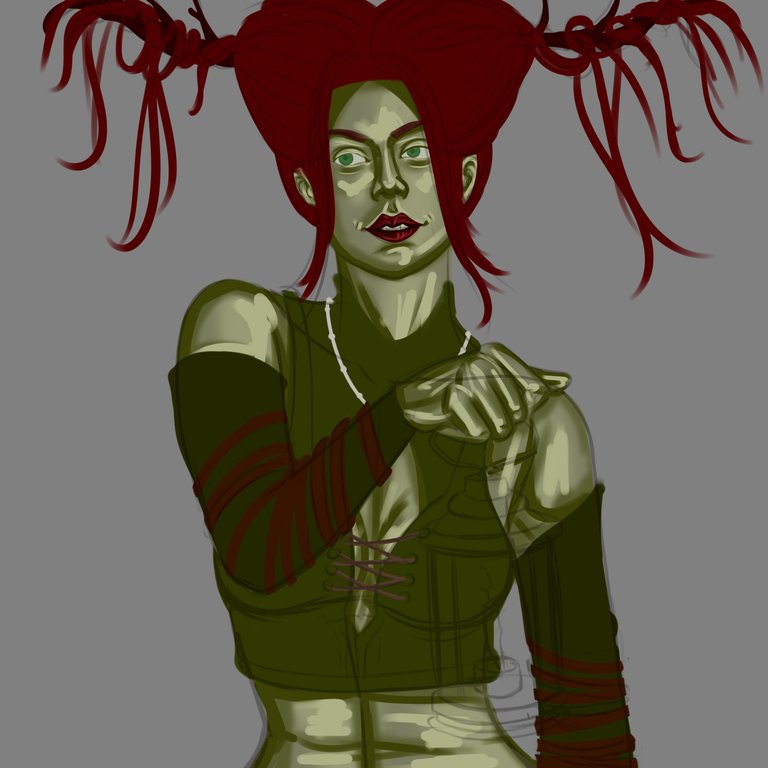
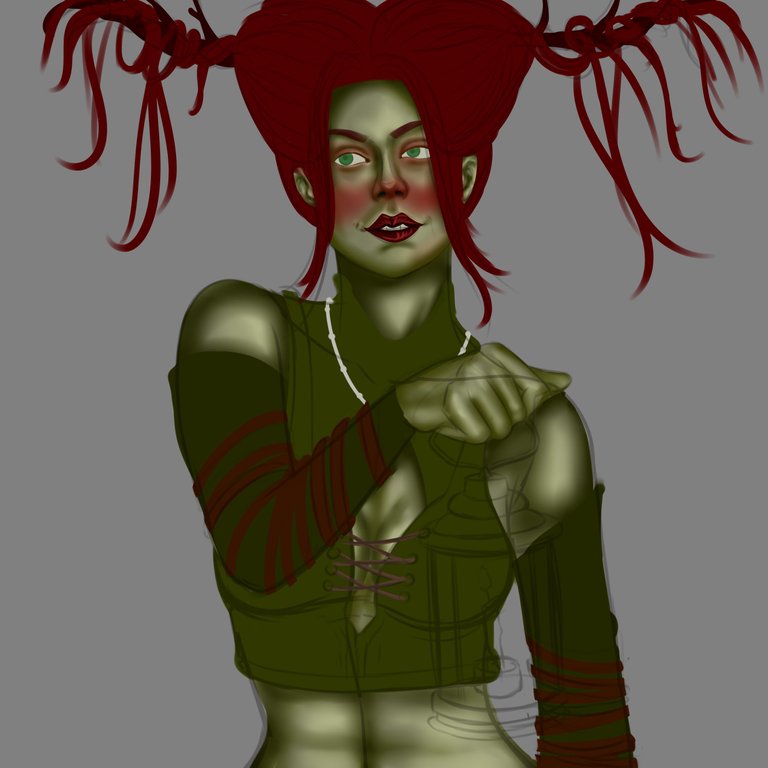
Once I finished blurring and blending the skin strokes the next thing I always do with women characters is to create a small blush effect on the nose and cheeks to represent a little warmth to the face, and after that with that same red tone I take a brush a little stiffer and I go shaping the lips trying of course to give enough voluptuousness to make them look very sensual; then in the case of the eyes I opted this time to use some green tones and brighter to contrast a little with the skin. For the hair I first created a kind of horns shaped like tree roots to the sides with crimson tones, and then with reds a little more intense and vivid I was forming the strands of hair in a circular shape so that they followed the horns on his head, but leaving some loose strands of hair down.
Una vez termine de difuminar y mezclar los trazos de la piel lo siguiente que siempre hago con los personaje de mujeres es crear un pequeño efecto de rubor en la nariz y mejillas para representar un poco de calidez al rostro, y después de eso con ese mismo tono rojo tomo un pincel un poco mas rígido y voy dándole forma a los labios tratando por supuesto de darle bastante voluptuosidad para que se vean muy sensuales; posteriormente en el caso de los ojos opte esta vez por usar unos tonos verdes más patosos y brillantes para contrastar un poco con la piel. Para el cabello primero cree una especie de cuernos con forma de raíces de árbol hacia los lados con tonos carmesí, y luego con rojos un poco más intensos y vivos fui formando los mechones de cabello de forma circular de modo que siguiesen los cuernos en su cabeza, pero dejando algunos mechones de pelo sueltos hacia abajo.
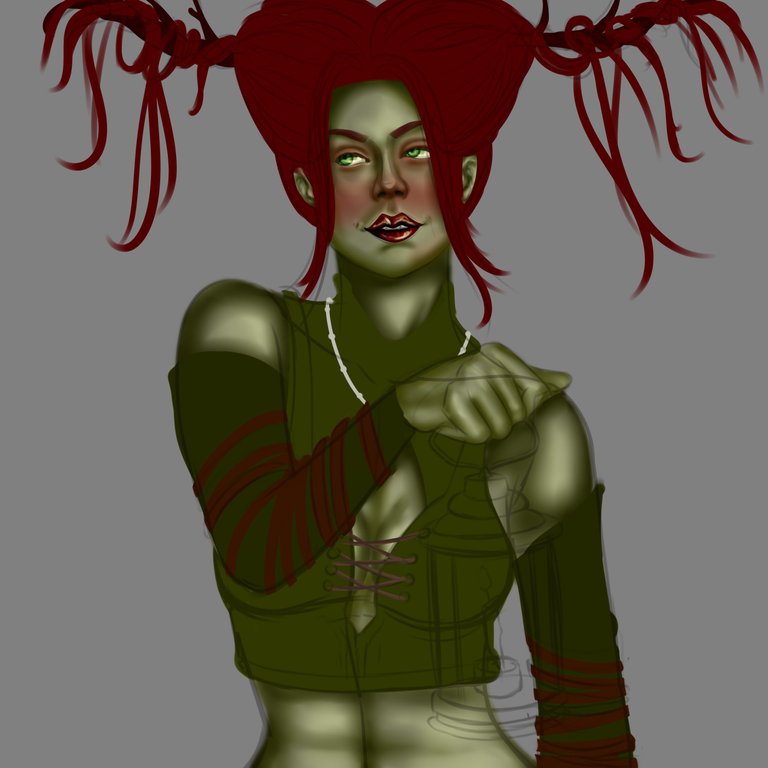
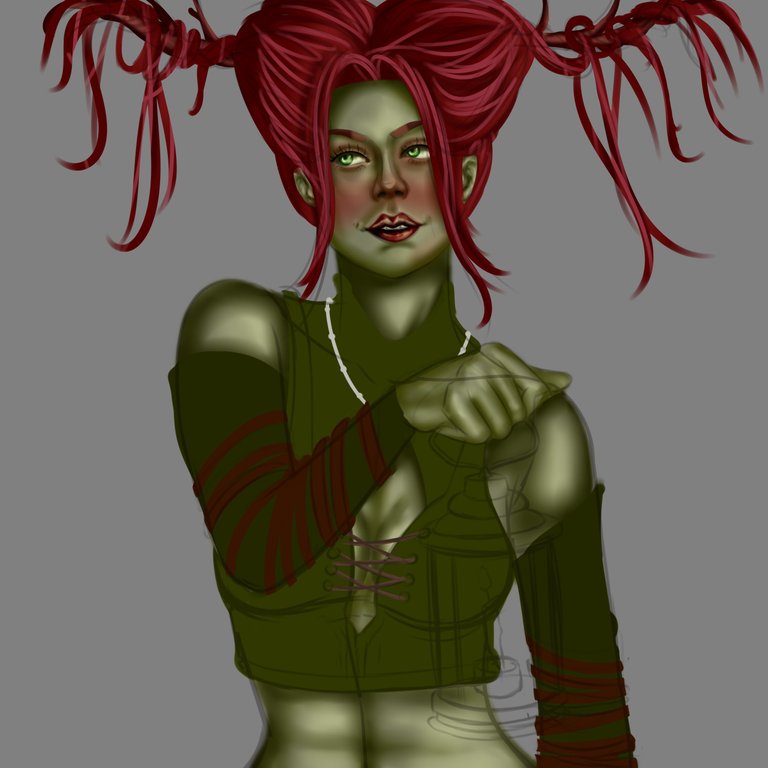
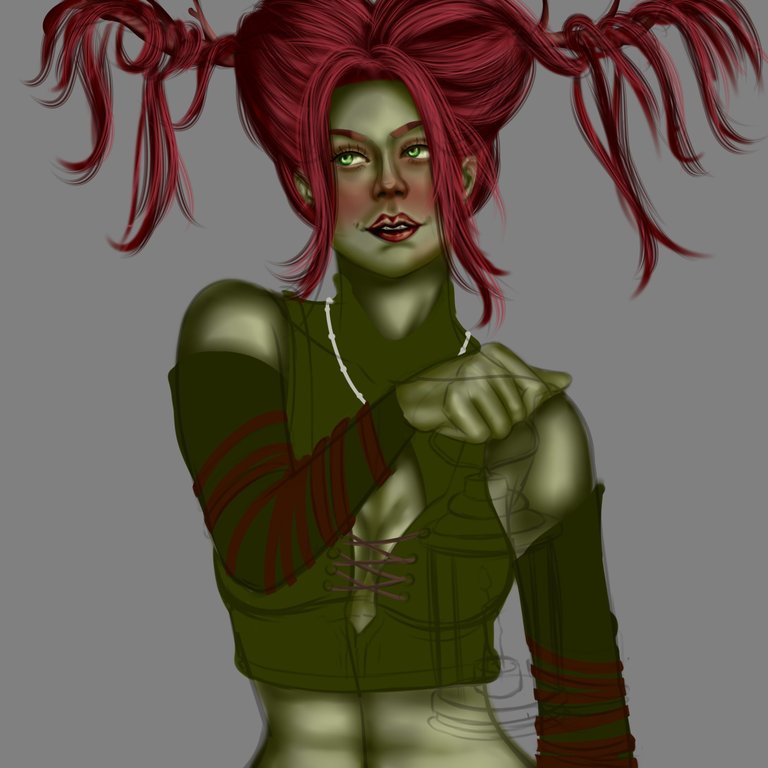
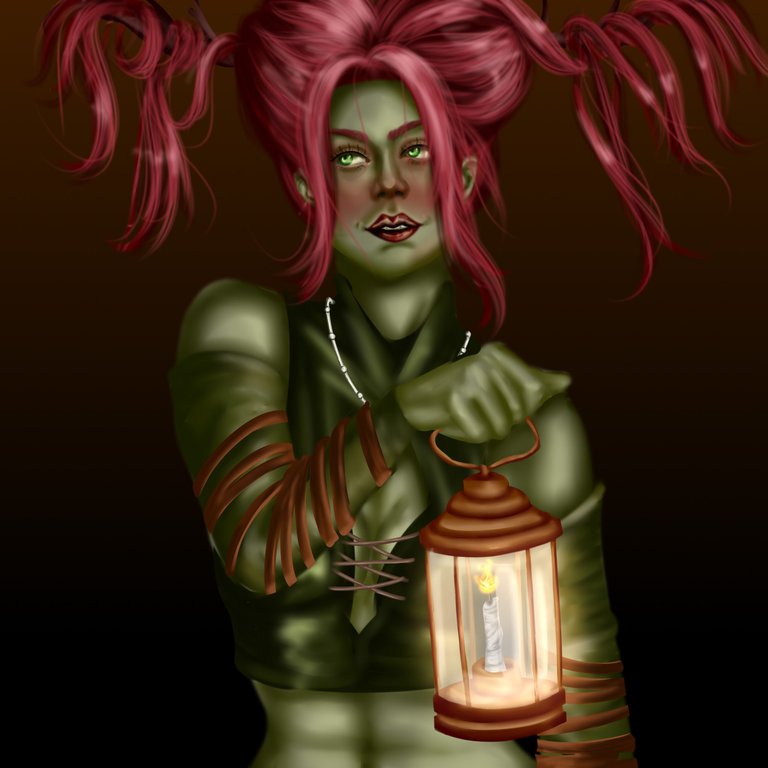
In step 3 I took care entirely to paint the clothes for this character, here I used some dark green tones a little more swampy to show the difference in skin tones, and tried to create a kind of thick fabric blouse that covered her neck, but in the area of the shoulders was uncovered; then for the area of the arms I created a kind of sleeves from below the shoulders with a much thinner fabric and half translucent, also with brown color I painted some leather straps wrapped around the arms of the girl.
En el paso 3 me ocupe enteramente de pintar la ropa para este personaje, aquí use unos tonos verdes un tanto mas pantanosos oscuros para que se notara la diferencia de los tonos de la piel, y trate de crear una especie de blusa de tela gruesa que cubriese su cuello, pero en la zona de los hombros quedase descubierta; posteriormente para la zona de los brazos cree unas especie de mangas desde más debajo de los hombros con una tela mucho mas fina y medio traslucida, además con color marrón pinte algunas correas de cuero enrolladas en los brazos de la chica.
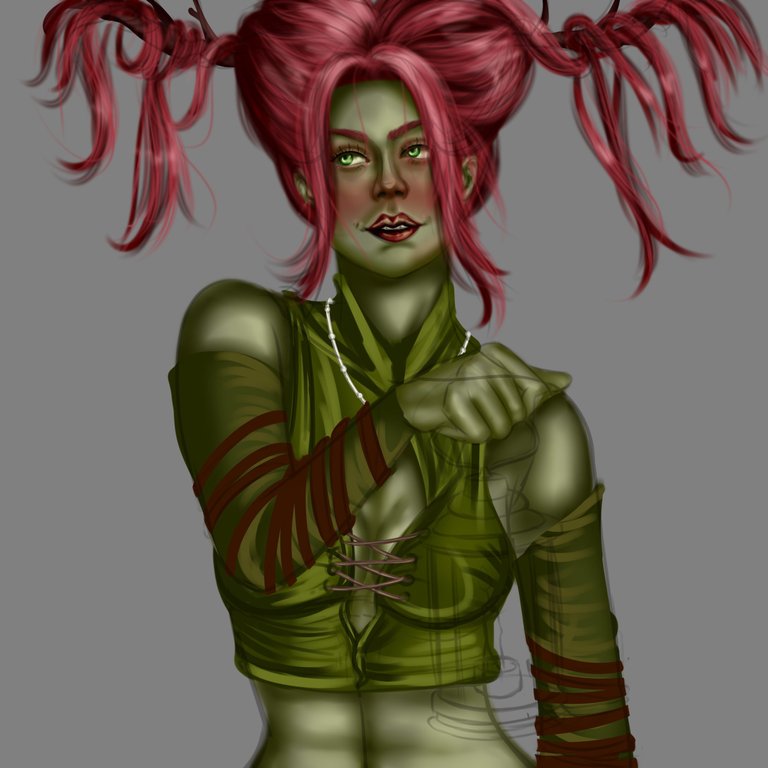
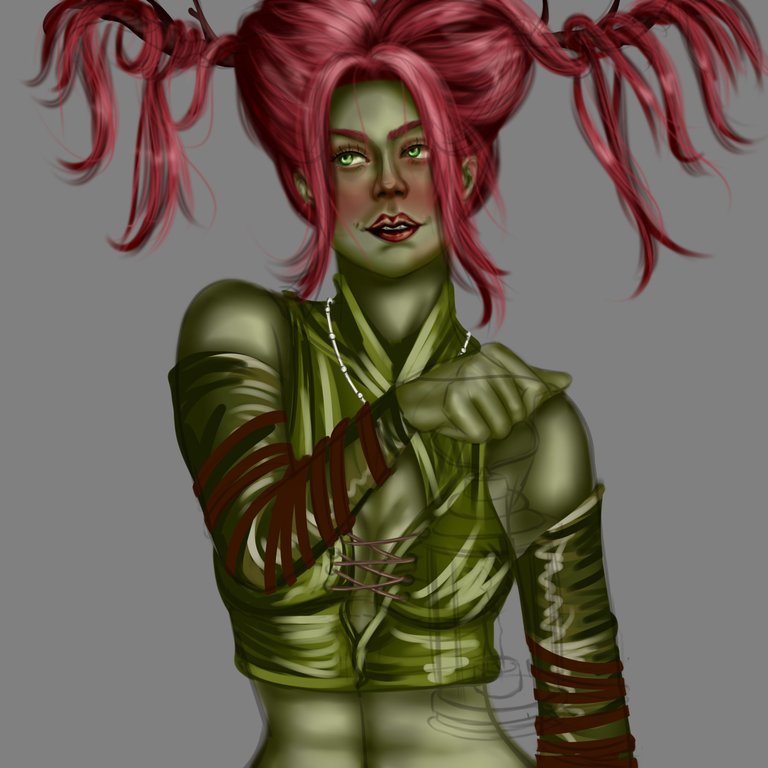
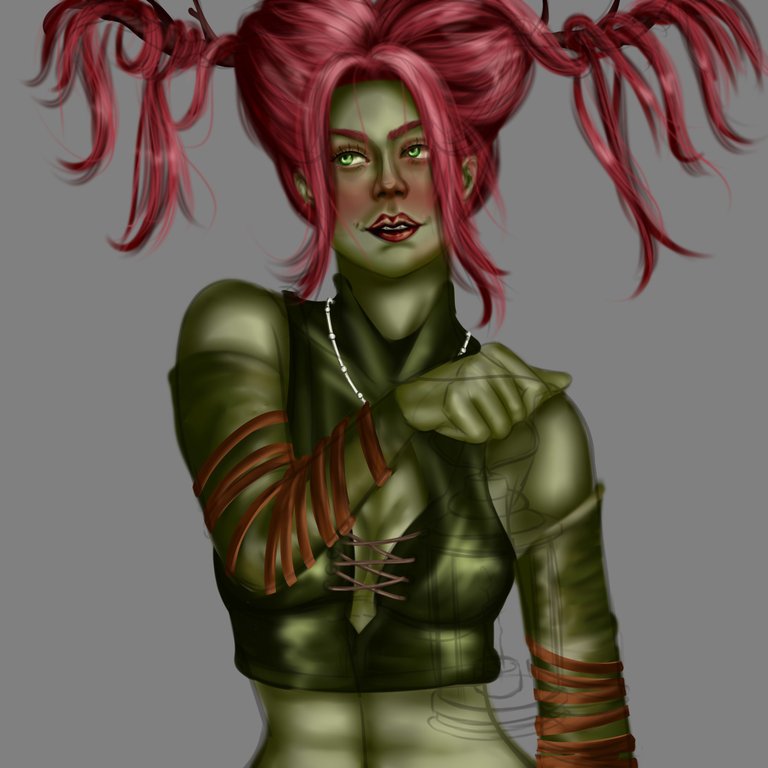
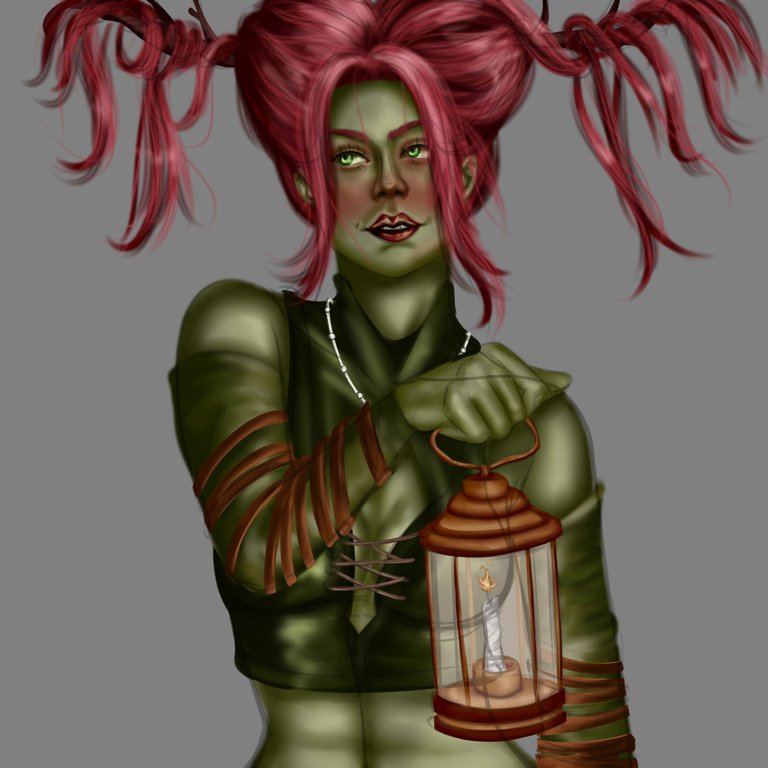
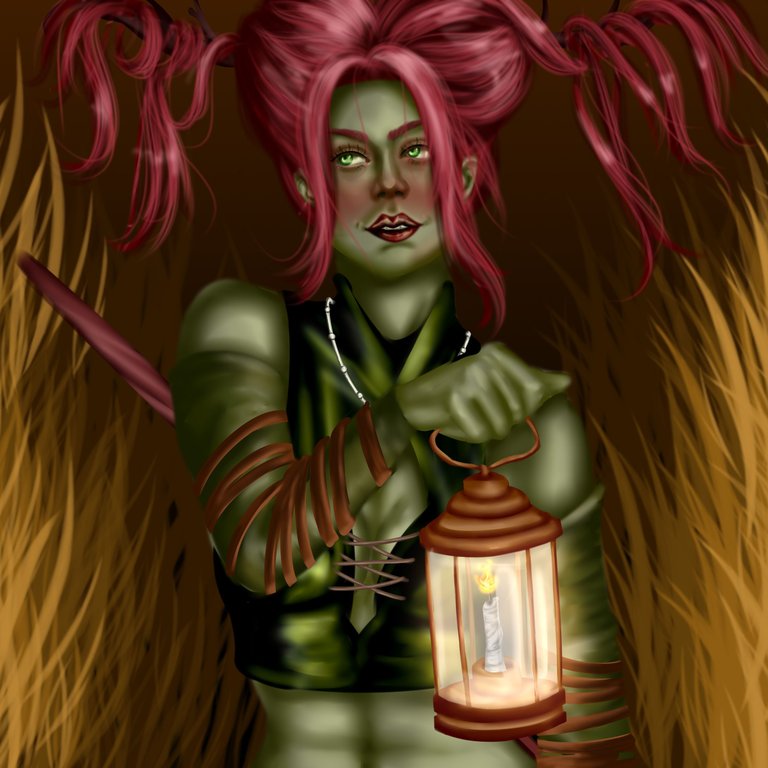
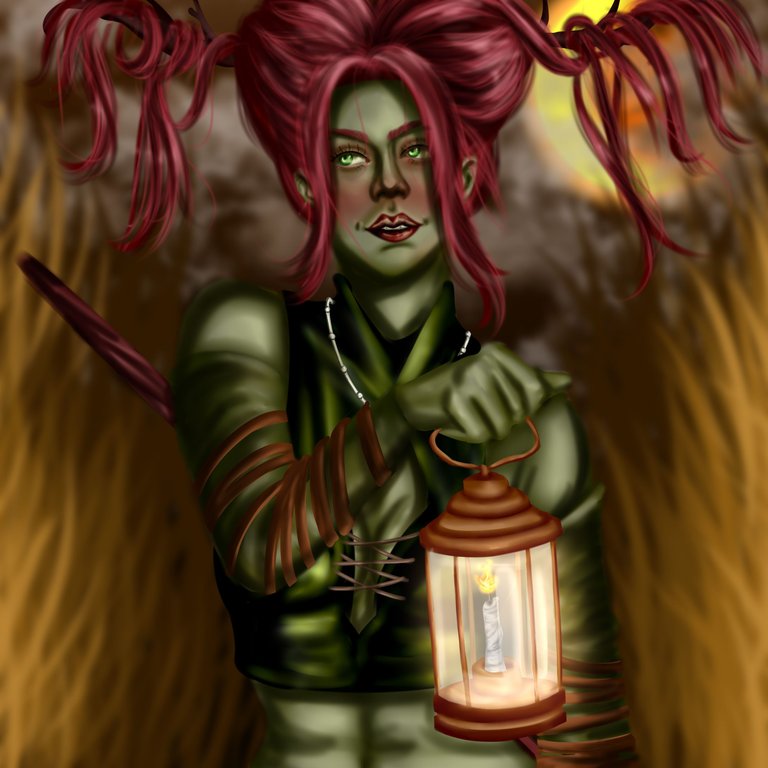
For the painting of the lantern try to create a very very old style lamp, for the base of the lamp use orange, yellow and a little white tones to simulate that the lamp has a copper structure or a similar metal, then for the sides create glass crystals with light brown and adjusting a little the opacity of the layer and applying the effect (Shine) to take that characteristic transparent appearance of the glass; in the case of the candle in the center of the lamp I used gray tones for the base and yellow, orange and red for the flame. Finally I arrived to what would be the scenery, here I chose to create an open night shot with some clouds just above my character, I also came up with the idea of painting a huge orange moon to give that gloomy touch to my scenery.
Para el pintado de la linterna trata de crear una lampara con estilo muy muy antiguo, para la base de la lampara use tonos naranjas, amarillos y un poco de blanco para simular que la lampara tiene una estructura de cobre o un metal similar, luego para los lados cree cristales de vidrio con marrón claro y ajustando un poco la opacidad de la capa y aplicando el efecto (Shine) para que tomase esa apariencia transparente característica del cristal; en el caso de la vela en el centro de la lampara use tonos grises para la base y amarillo, naranja y rojo para la flama. Finalmente llegue a lo que sería el escenario, aquí opte por crear un plano nocturno abierto con algunas nubes justo arriba de mi personaje, además se me ocurrió la idea de pintar una enorme luna naranja que le diese ese toque lúgubre a mi escenario.
MATERIALS / MATERIALES
- Sai Paint Tool Program
- Huion inspiroy h610 v2 tablet
- Programa Paint Tool Sai
- Tableta Huion inspiroy h610 v2
Well boys and girls, this has been all for today and for this week, thank you all very much for coming this far, for reading my post and I hope you liked the final result of my drawing a lot. Without much more to add, I say goodbye, I send you all a big hello, and I wish you all a happy evening and of course an excellent weekend, and we will see each other again in a next opportunity...until next time!🤠✍🏽.
Bueno chicos y chicas, esto ha sido todo por hoy y por esta semana, muchas gracias a todos por llegar hasta aquí, por leer mi post y espero que el resultado final de mi dibujo les haya gustado mucho. Sin mucho mas que agregar, me despido, les mando un gran saludo a todos, y les deseo que pasen una feliz noche y por supuesto un excelente fin de semana, y nos volveremos a ver en una siguiente oportunidad…hasta la próxima!🤠✍🏽.
Nice blur action and excellent work on the color and details!
Thank you my bro, it's nice to see you here commenting, and I'm glad you liked the final result...a hug ✌🏽