My first ever bracelet
Hello friends
How are you all
Today I'm going to make a bracelet and it's my first time to make it . It took alot of mine time and I was very tired of making it as it was my first try
Material you required is
- Plastic wire
- White beads
- Small golden beads
- Needle
- Sissor
- Jumpring
- Chain
- Hook
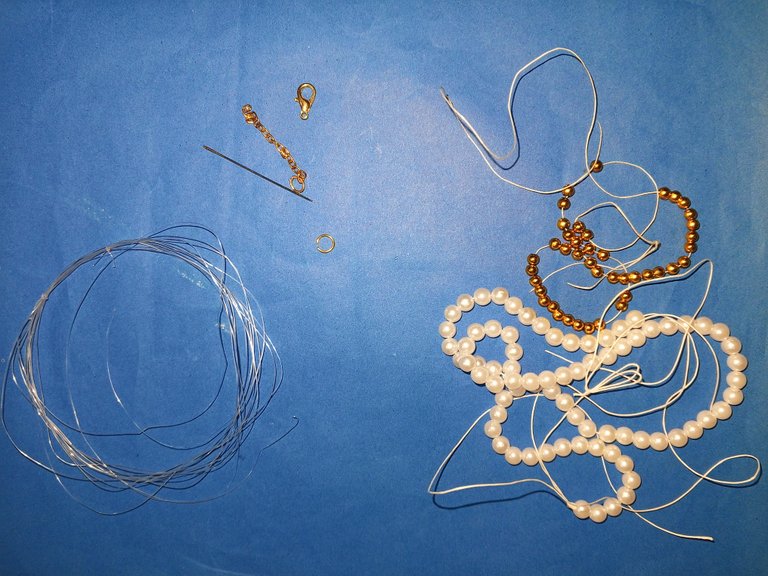
The idea of making it in my mind when i was exploring youtube as last time I made earrings from other wire with which didn't turn out well which you guys didn't like so I thought why this time we should make an easy bracelete. I should start by easier design so that with the passage of time my abilities and skills grow and ill be able to make difficult and beautiful deasigns. I liked it as it was easy, I thought why not make it and use old beads (which were from my old dress) . I gather all the stuff related to it from my home .
I worked very hard to make it.
PROCEDURE
Step 1: Prepare the Thread
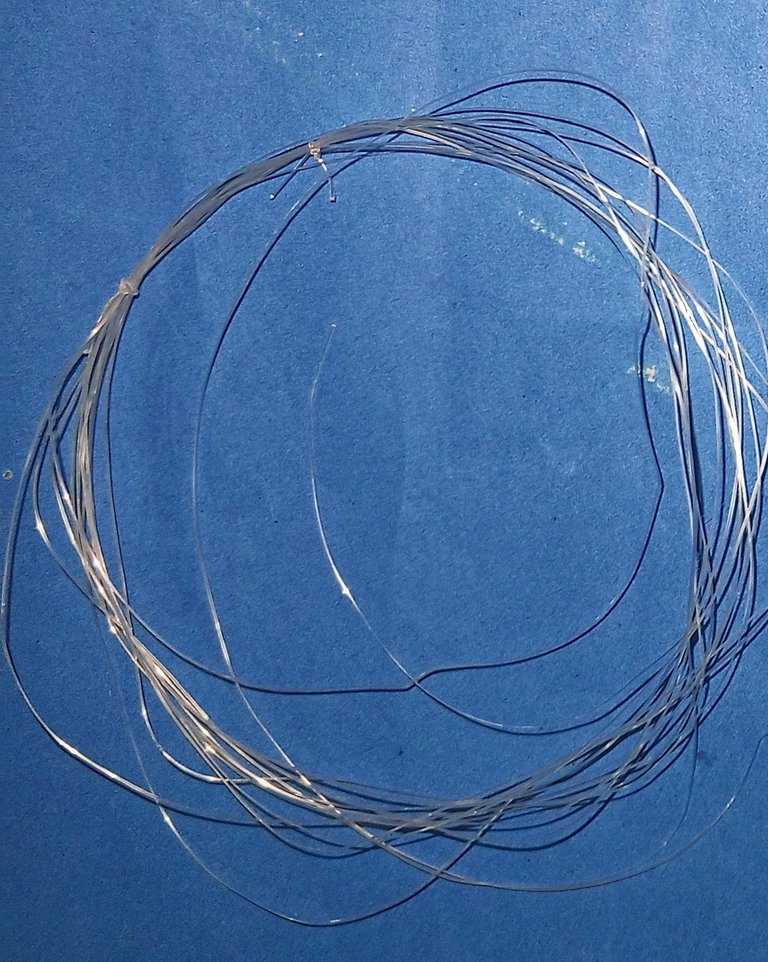
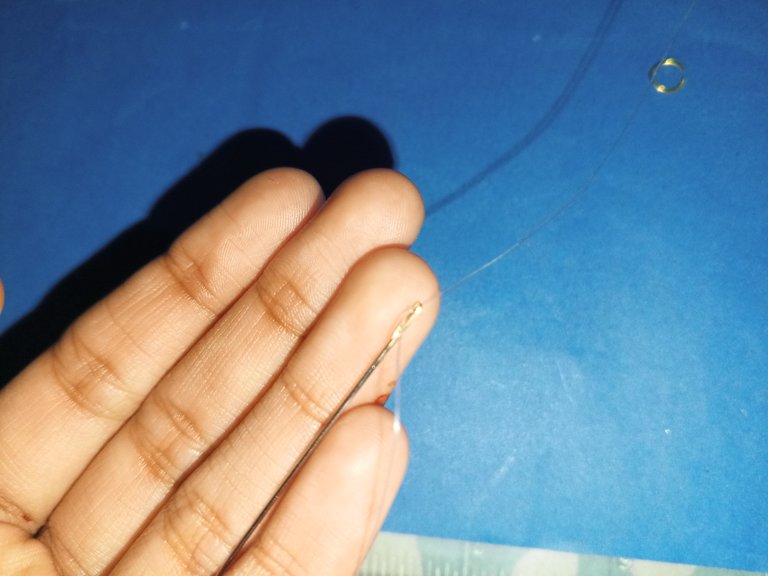
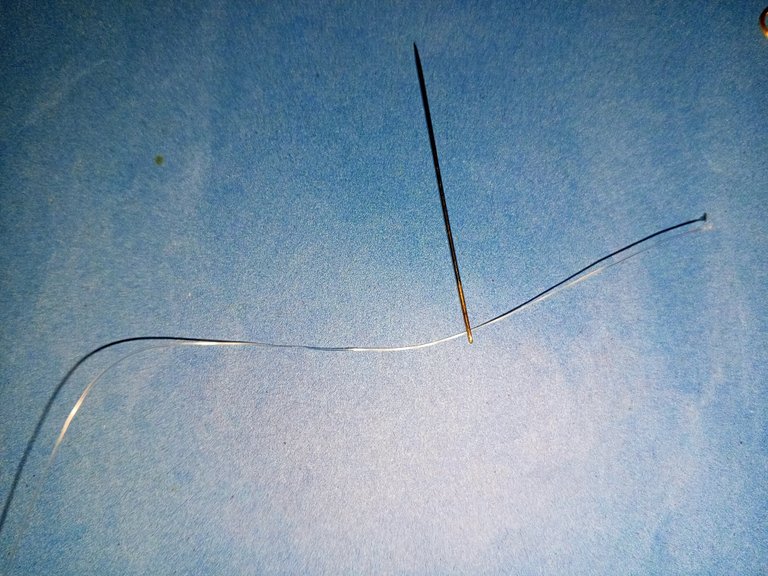
- First, I put a thread in a needle and tied the one end of thread with needle. I made sure the thread was long enough to make the bracelet. I took almost 140cm long wire
Step 2: Add Beads
- After that, I put beads in needle 2 white and 2 golden one by one and then I took the beads to the very end of the wire
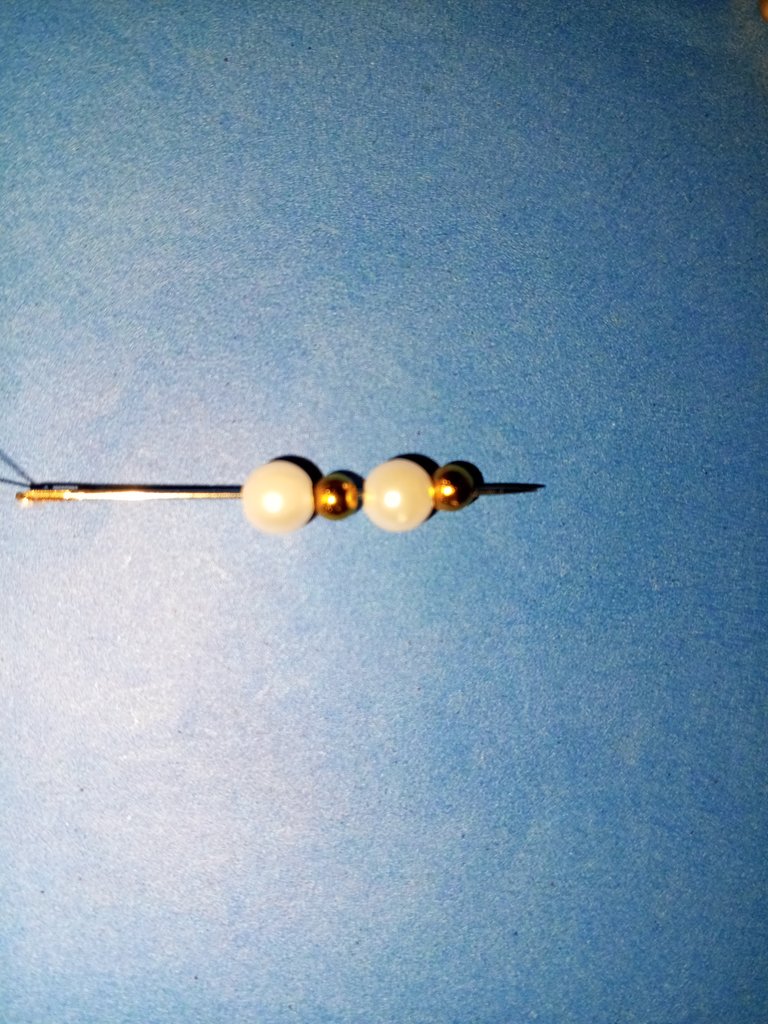
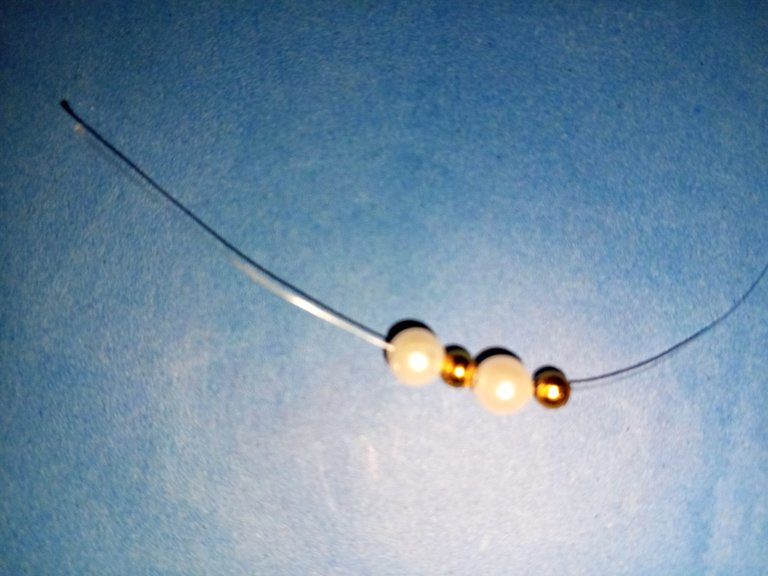
Step 3: Fold the Thread
- Then, I folded the thread and the beads became round. This was a bit tricky, but I managed to get it right and tied then around
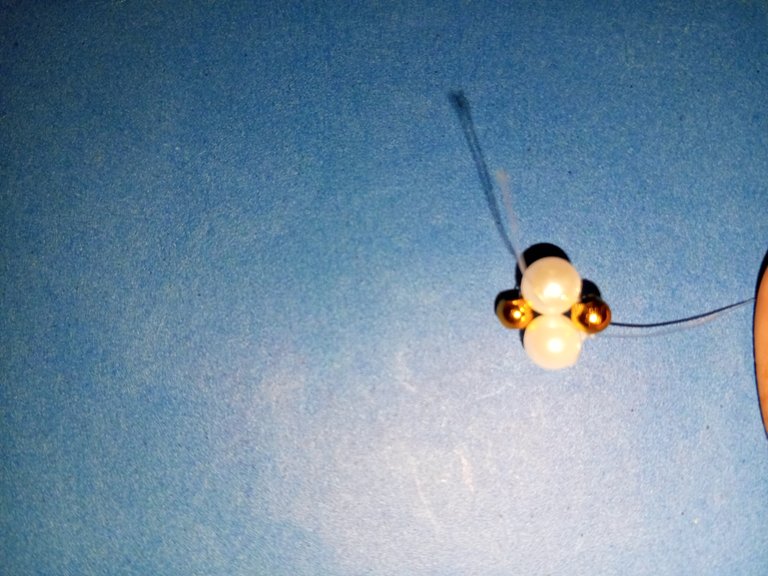
Step 4: Pass the Needle
- The needle went through all the beads. I had to be careful not to miss any beads so that beads will be safe at their possition and not gonna move.
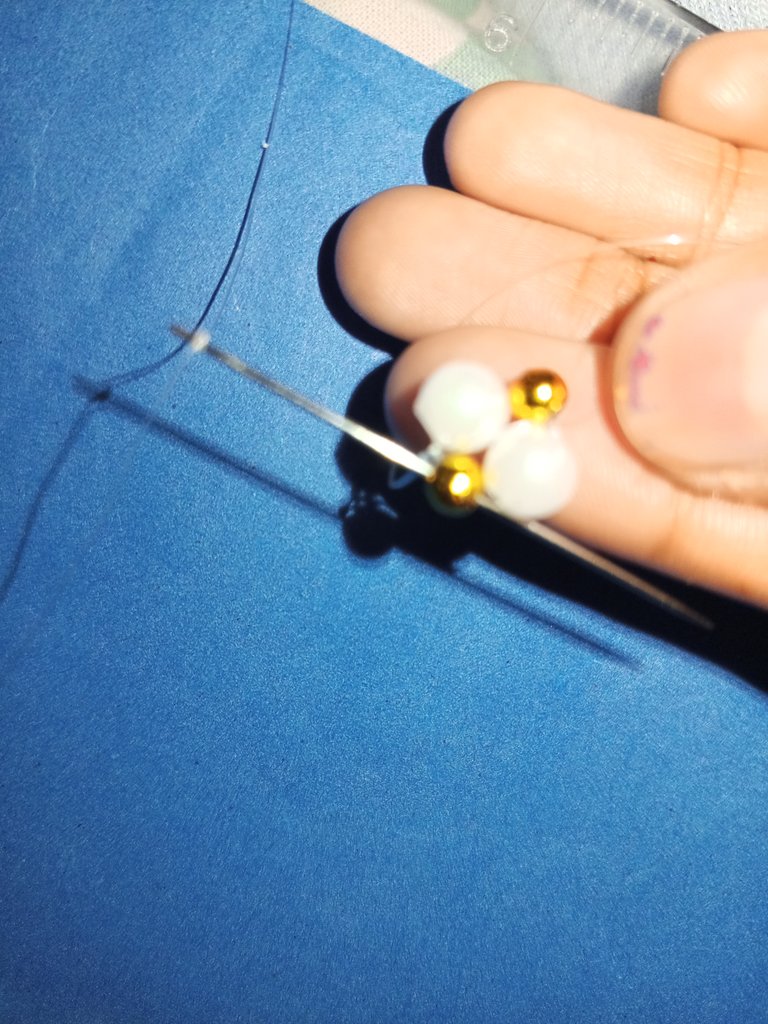
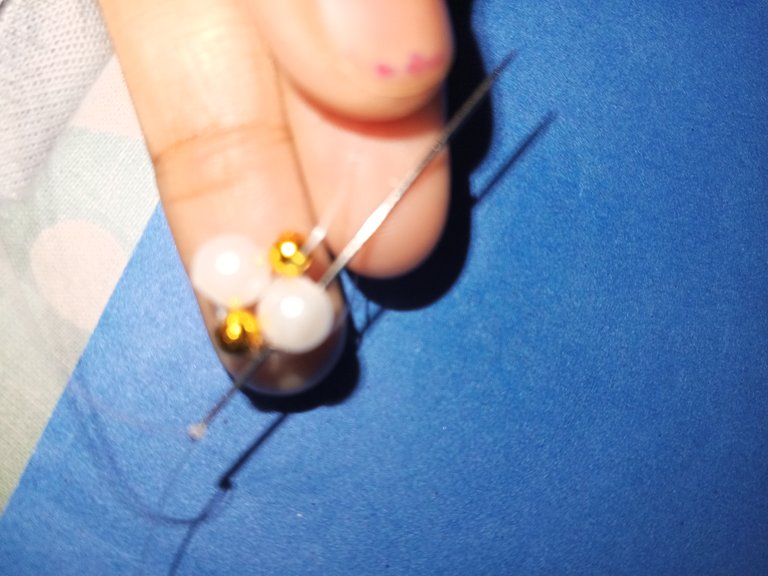
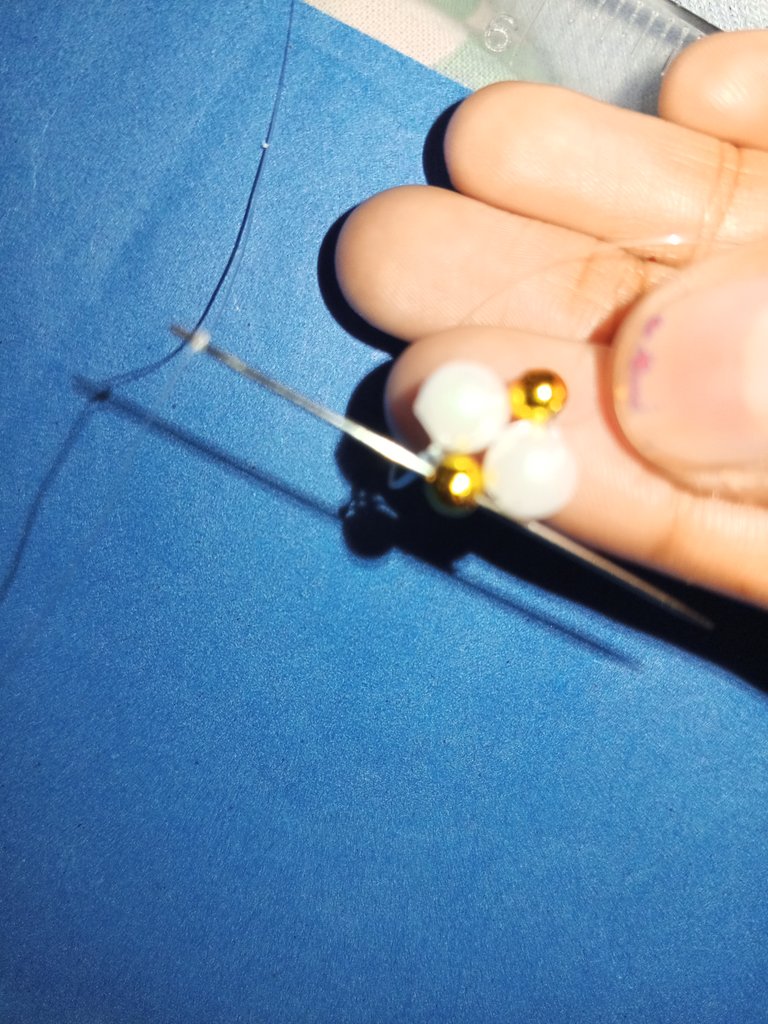
Step 5: Add Spacer Beads
- Next, I took three beads - two white and one golden beads and passed the needle through golden pearls which we tied around in first step. so that it could be fixed. These beads helped to space out the other beads and make the bracelet look nicer.
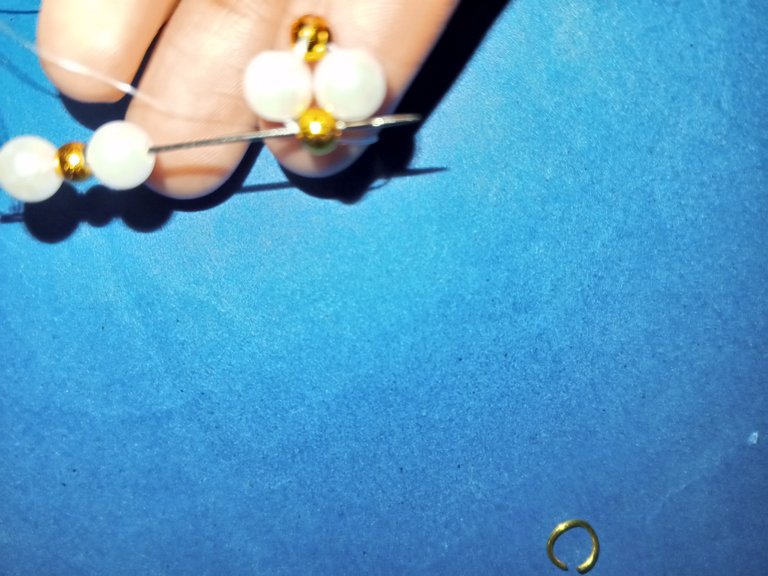
Step 6: repeating Step 4
- Then i repeat step 4 as i passed the thread from all 3 beads that i add
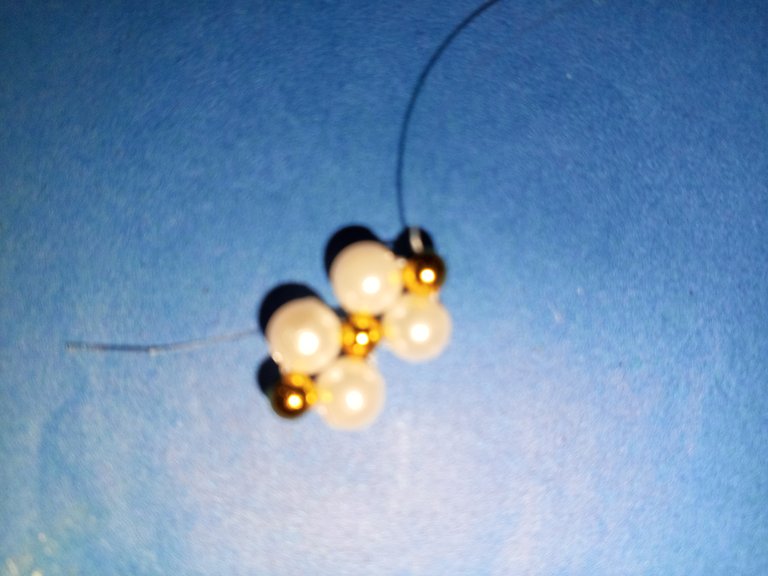
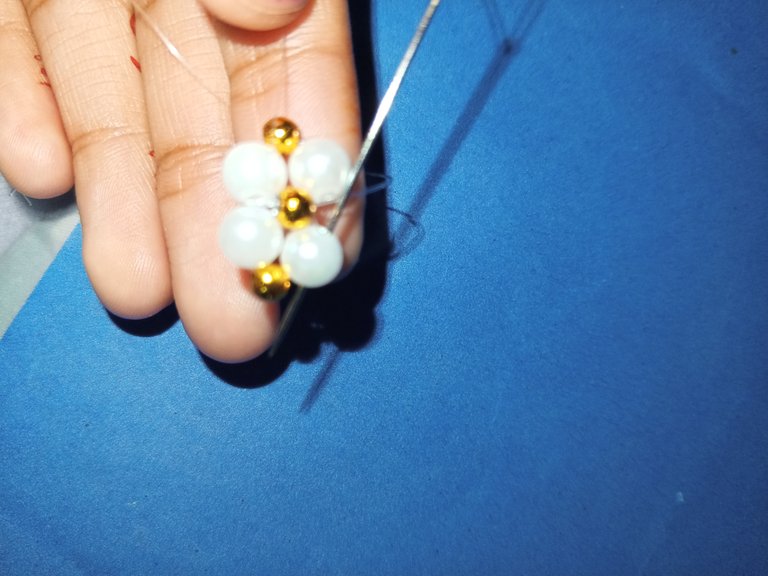
Step 7: Repeat the Pattern
- I repeated step 5 and 6 five to six times. This was the most time-consuming part of making the bracelet, but it was worth it in the end.
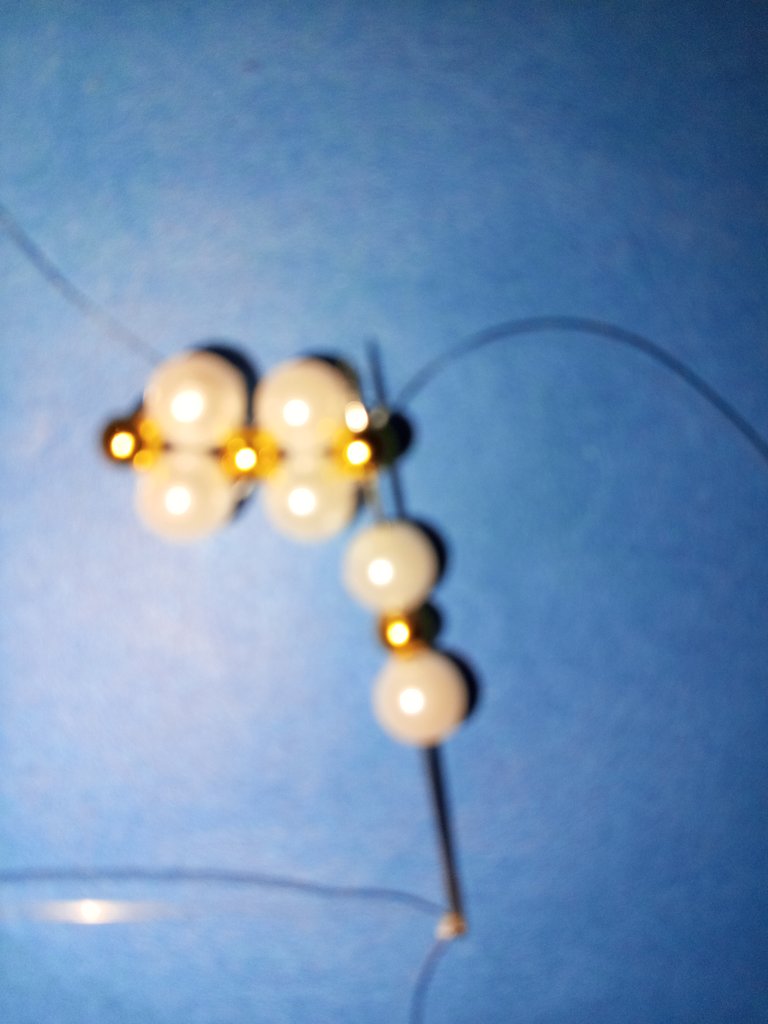
Step 8 : Finish the Bracelet
- Finally, I kept the bracelet as wide as my wrist, added the jumpring on both end of bracelete
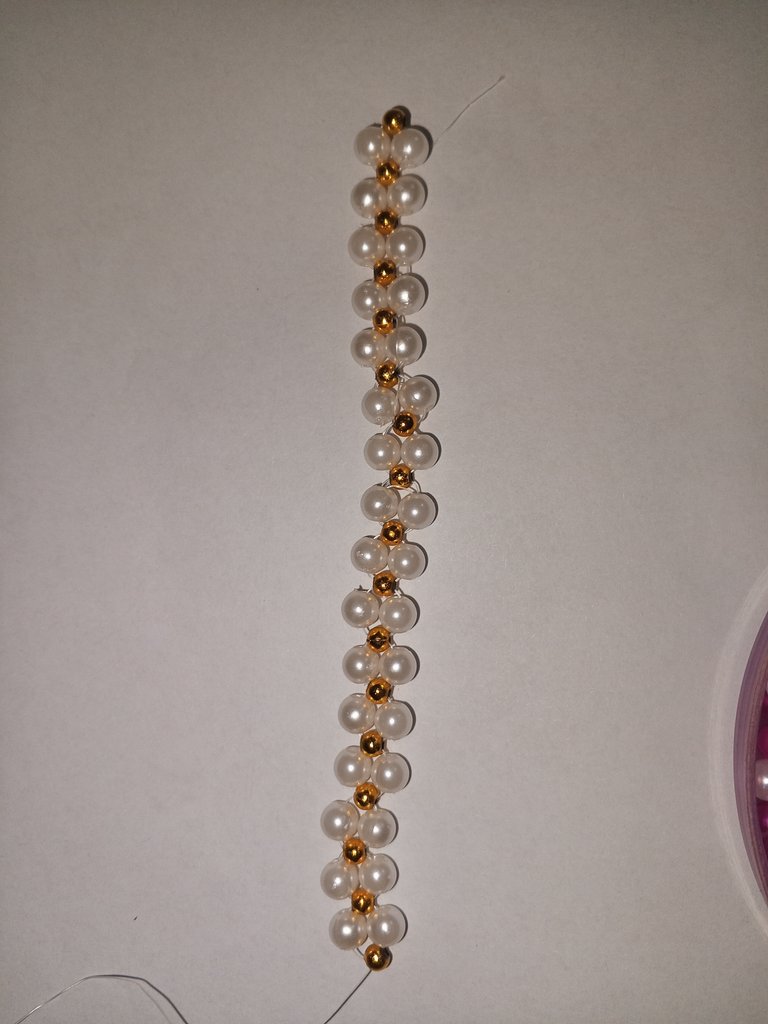
Step 9: adding of hook and chain
- Then I add hook on one side, and chain on the other side in jumpring
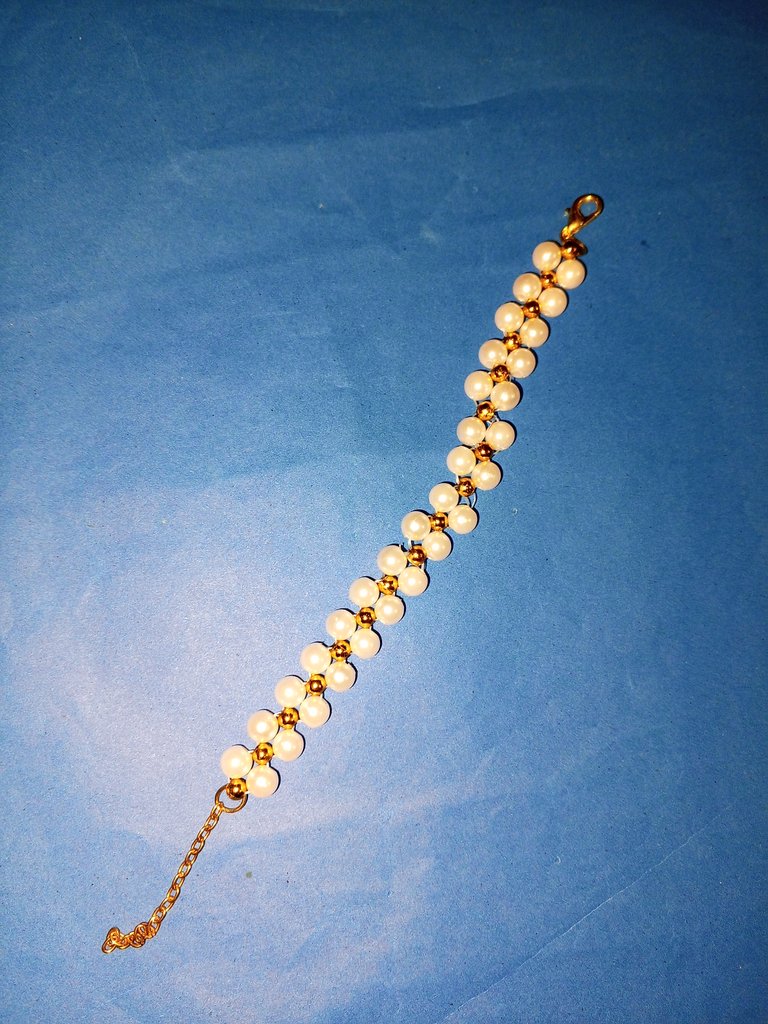
My bracelet is ready!
- I was really happy with how it turned out.
This is how it look:
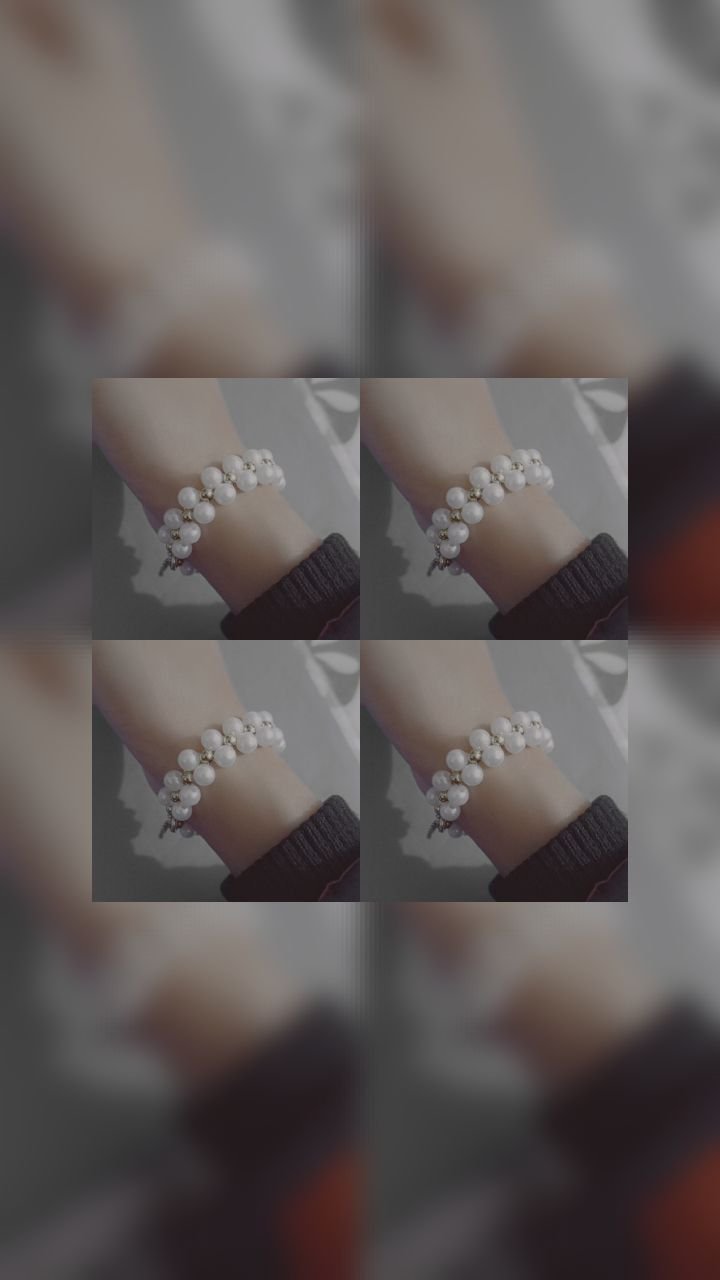
Hope you all like my bracelet
Bye bye 👋
❤️
Congratulations @maheenashna! You have completed the following achievement on the Hive blockchain And have been rewarded with New badge(s)
Your next target is to reach 20 posts.
You can view your badges on your board and compare yourself to others in the Ranking
If you no longer want to receive notifications, reply to this comment with the word
STOPFor a beginner, you did an awesome job. Though it was time-consuming you still persevered and it came out lovely, well done.
Thankyou
This bracelet is cute yet simple.
Thankyou 💗