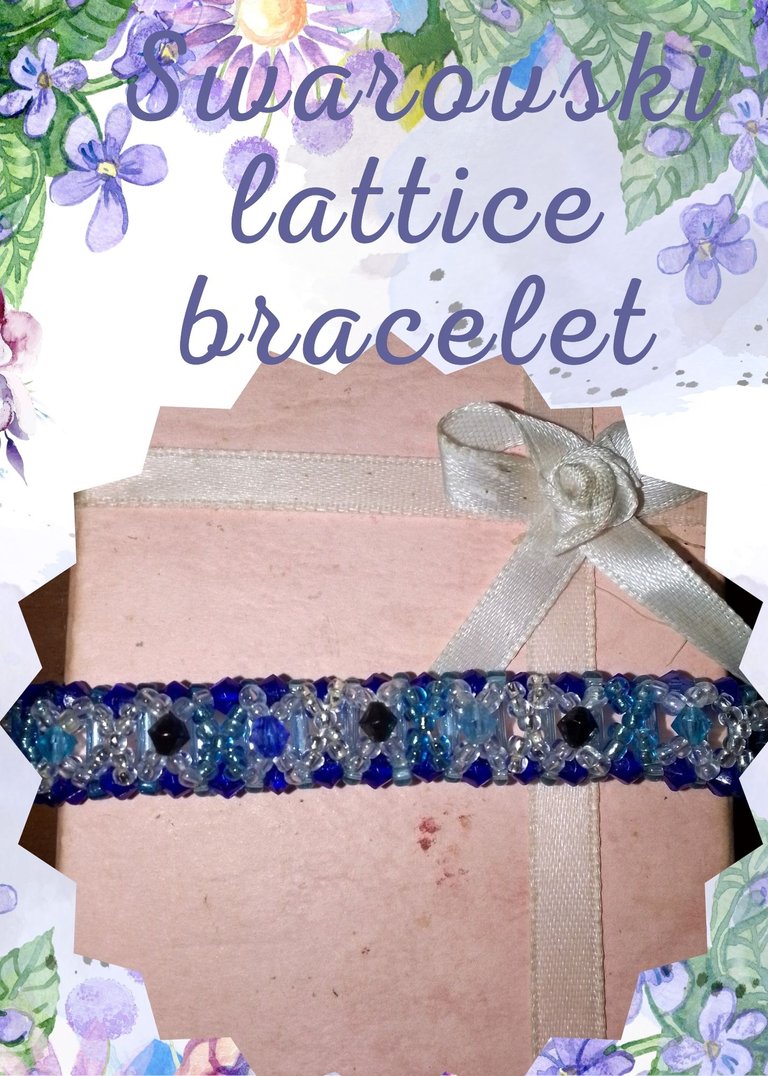
Swarovski bracelet
Buenas tardes amigos de DiyHub en esta oportunidad tengo un tutorial que mostrarles sobre una pulsera enrrejada que hice, espero les guste. Requiere solo un poco de paciencia.
Good afternoon DiyHub friends, this time I have a tutorial to show you about a lattice bracelet I made, I hope you like it. It requires just a little patience.
|
|
|
Materiales | Materials
- Canutillos
- Mostacillas.
- Perlas.
- 3 1/2 metros de hilo nylon de 0.25mm
-Canutillos.
- Beads.
- Pearls.
- 3 1/2 meters of 0.25mm nylon thread.
|
|
|
Procedimiento | Procedure
Paso 1 | Step 1
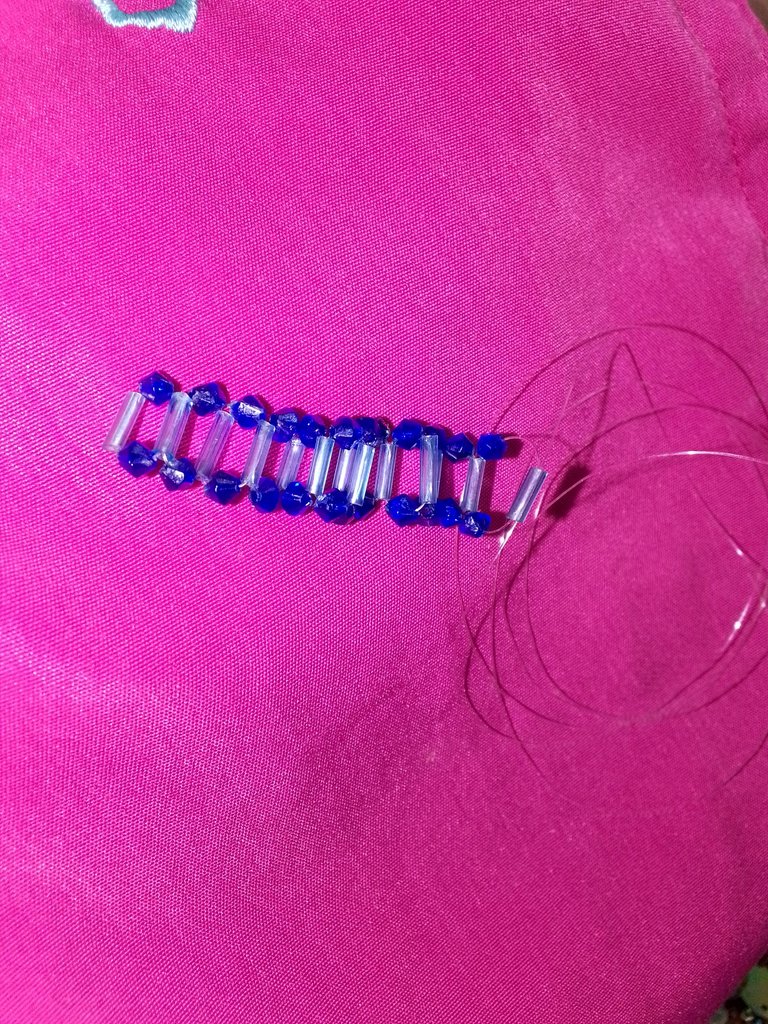
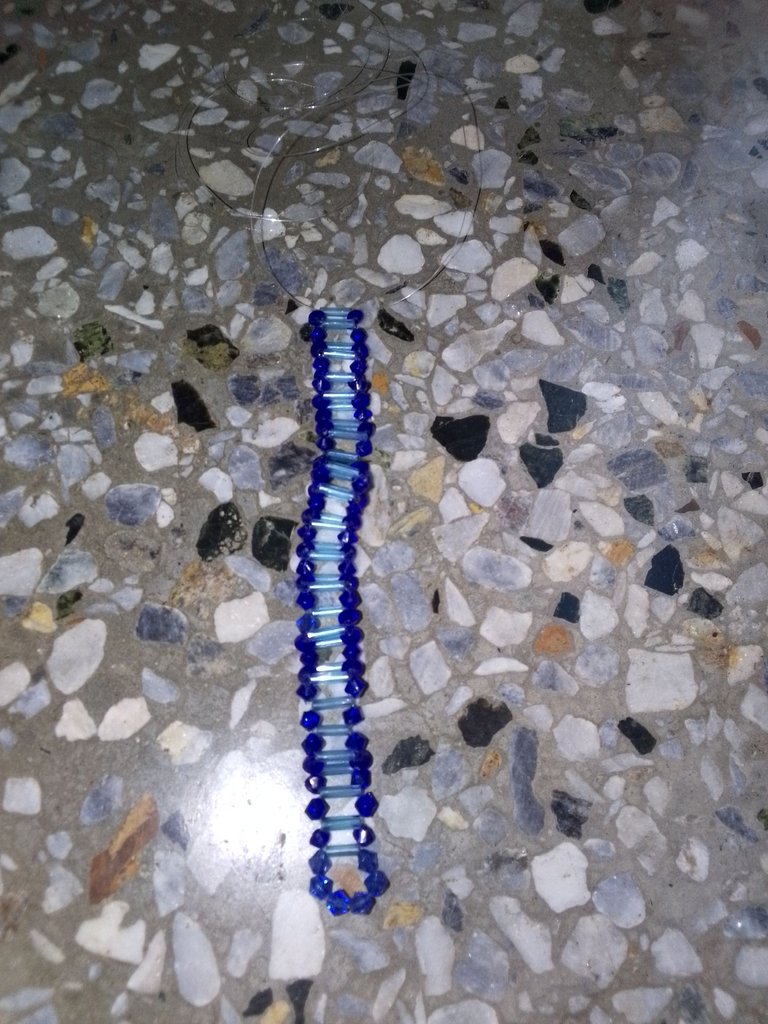
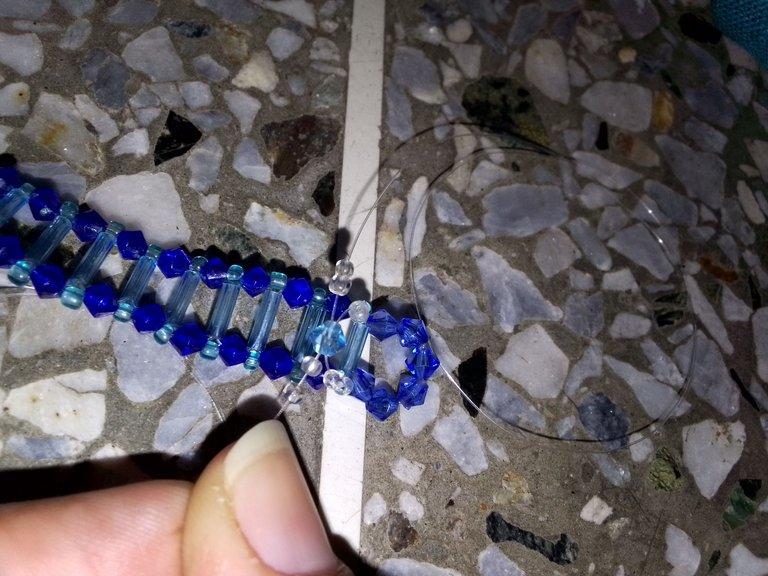
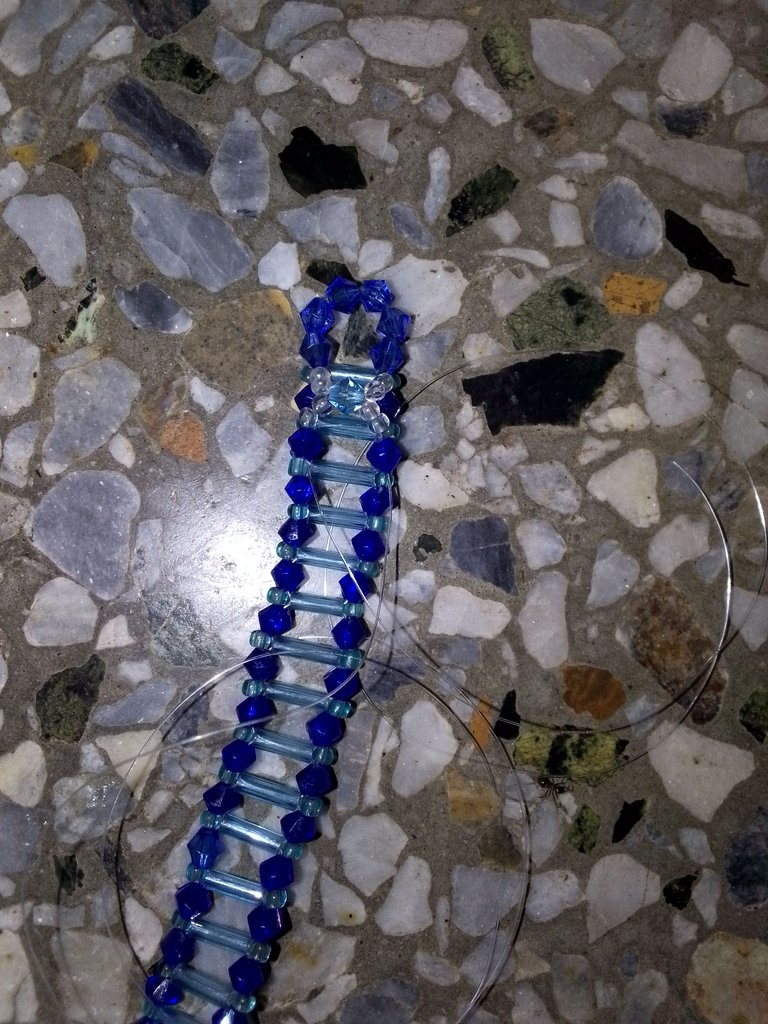
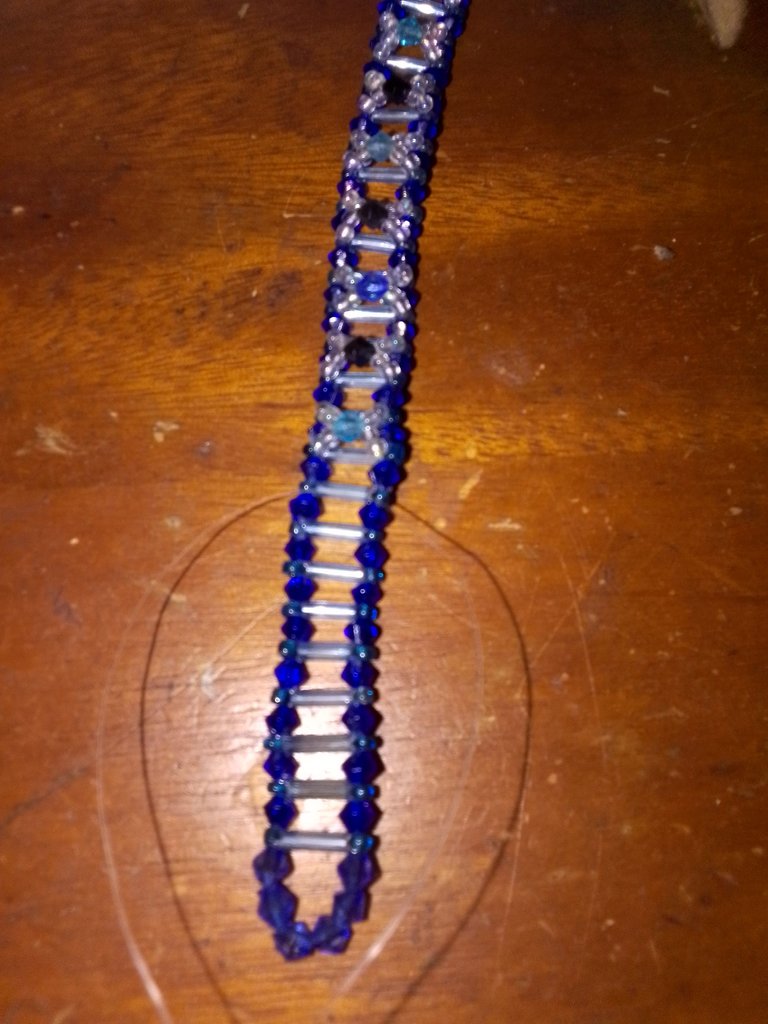
Empezamos con los sarowski clocamos 5 y cruzamos por el ultimo y seguimos por los canutillos , cruzamos os hilos por ada uno y colocamos un swarovski por cada lado y colvemo por los canutillos, seguimos hasa terminar y hacer el otro aro con los swarovski, luego colocamos una mostacilla azul de cada lado y escondemos los hilos.
We start with the sarowski we place 5 and we cross the last one and we continue with the beads, we cross the threads for each one and we place a swarovski for each side and we cross the beads, we continue until we finish and we make the other ring with the swarovski, then we place a blue bead on each side and we hide the threads.
|
|
|
Paso 2 | Step 2
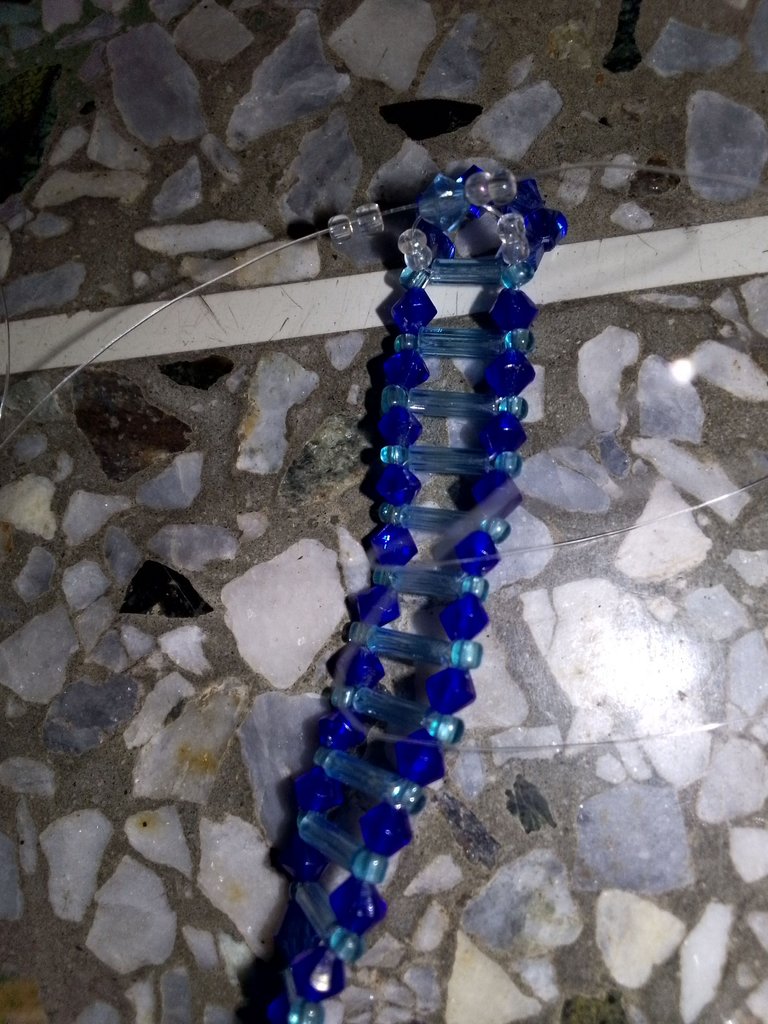
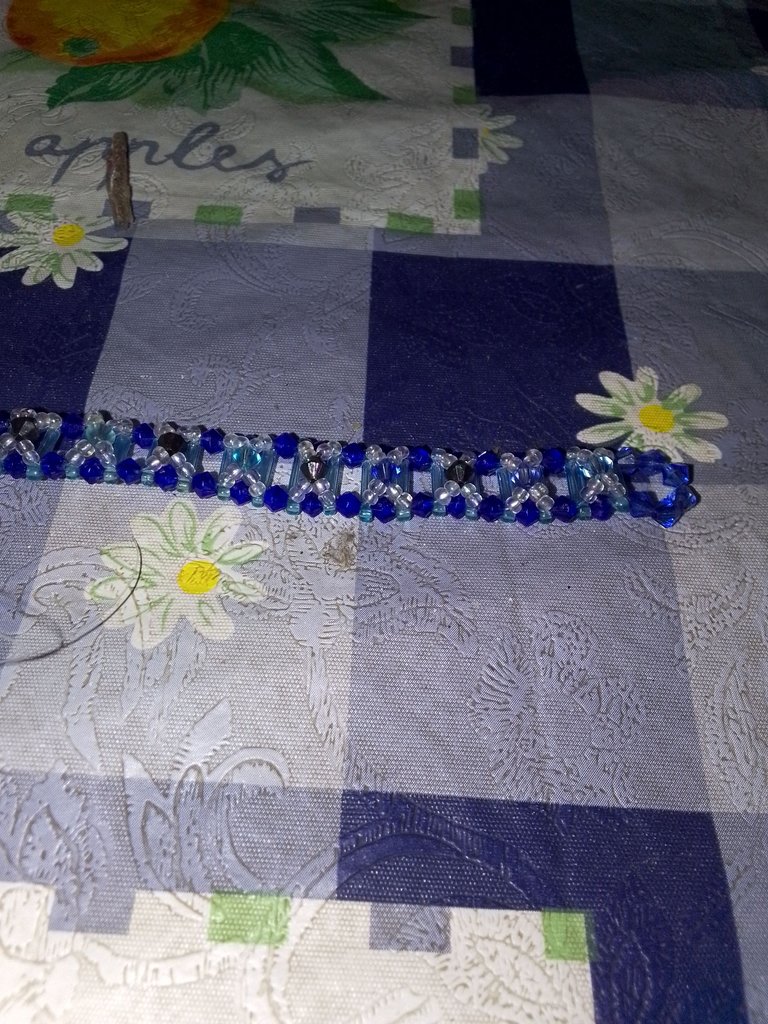
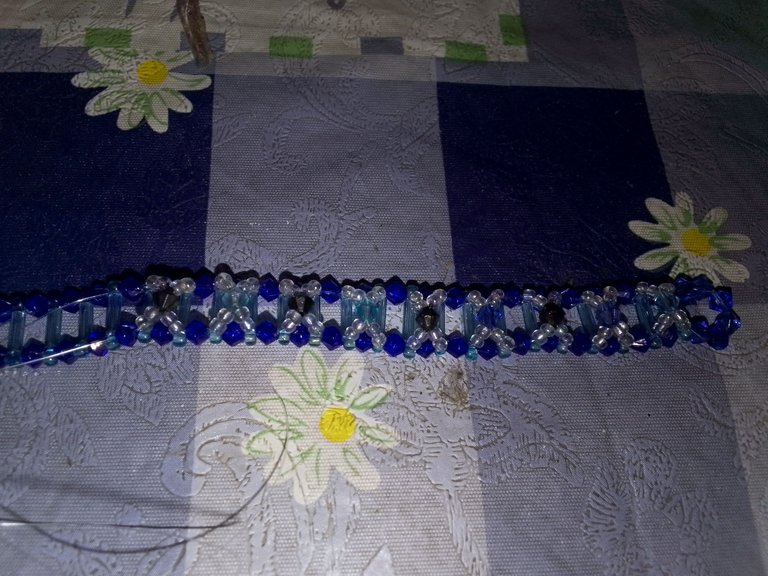
Colocamos dos mostacillas plateadas de un lado y luego colocamos un swarovski y cruzamos ambos hilos, luedo colocamos dos mostacillas mas ( o una ) y pasamos los hilos por un swarovski y una mostacilla los volvemos a sacar y repetimos el proceso como se ve en la imagen.
We place two silver beads on one side and then we place a swarovski and cross both threads, then we place two more beads (or one) and pass the threads through a swarovski and a bead, we take them out again and repeat the process as shown in the image.
|
|
|
|
|
|
|
|
|
Paso 3 | Step 3
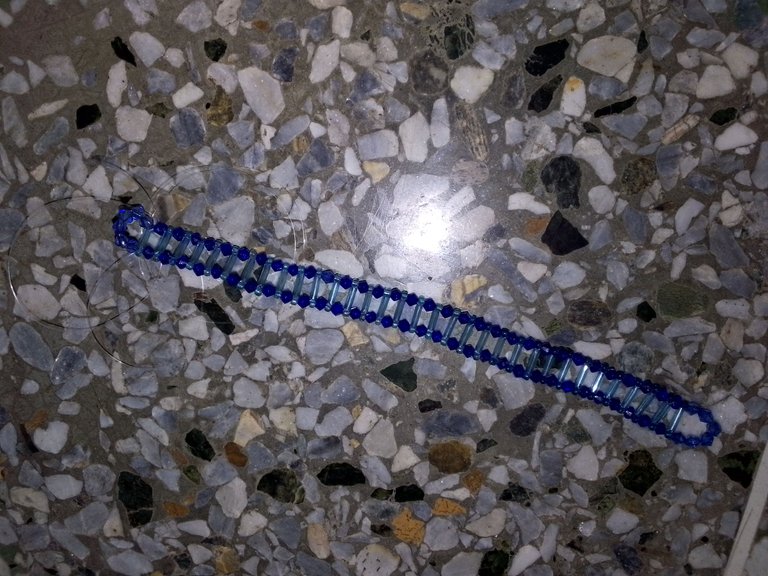
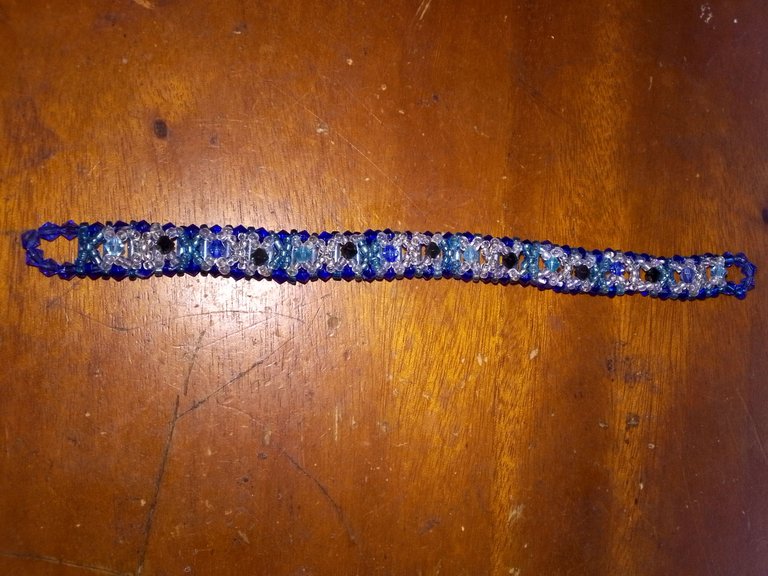
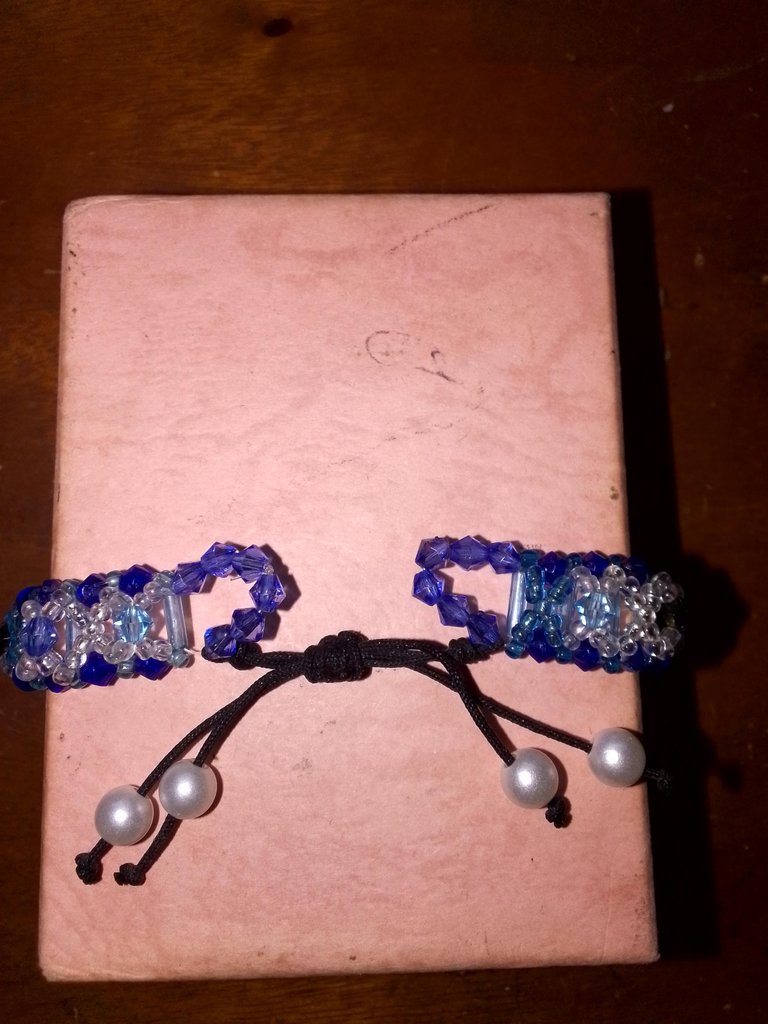
Cuando llegamos al final de la pulsera, volvemos a cruzar hilos con mostacillas pero esta vez sin colocar swarovskis.
When we reach the end of the bracelet, we cross again the strands with beads but this time without using swarovskis.
|
|
|
Resultado | Result
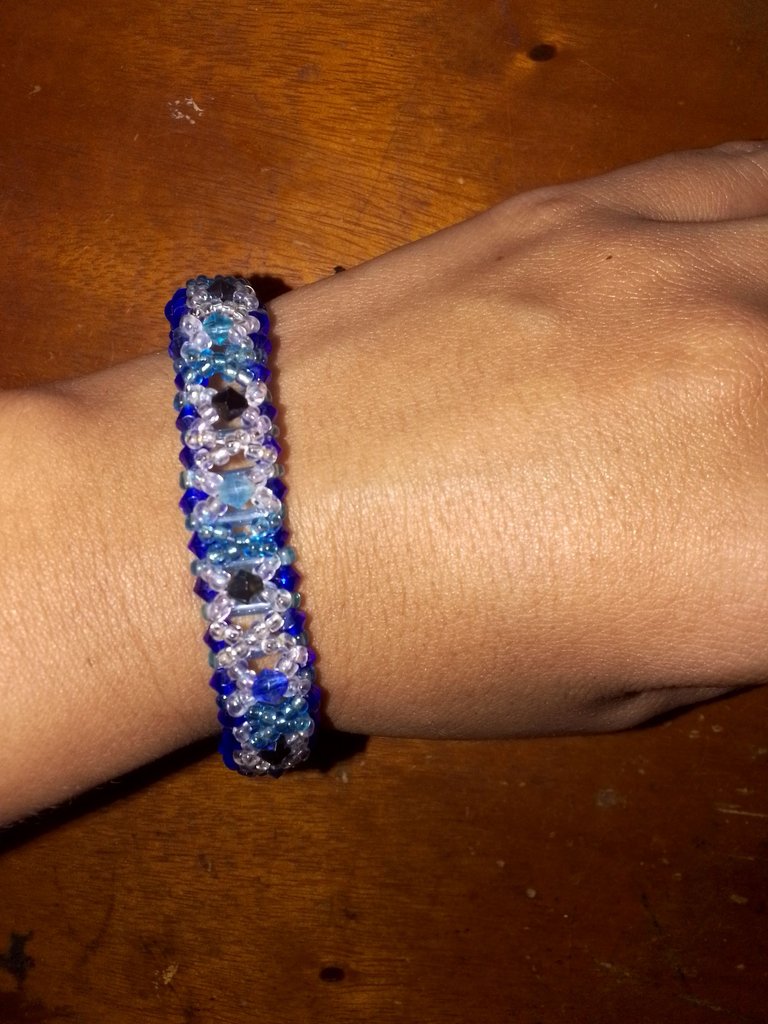
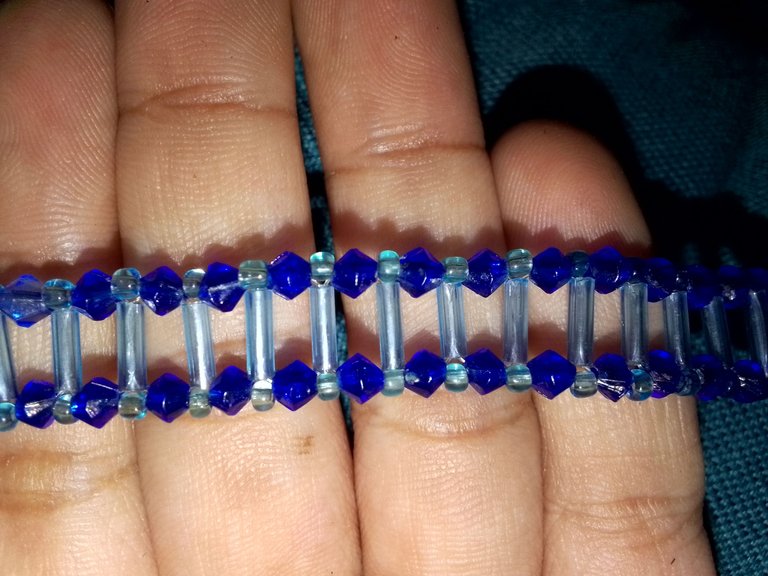
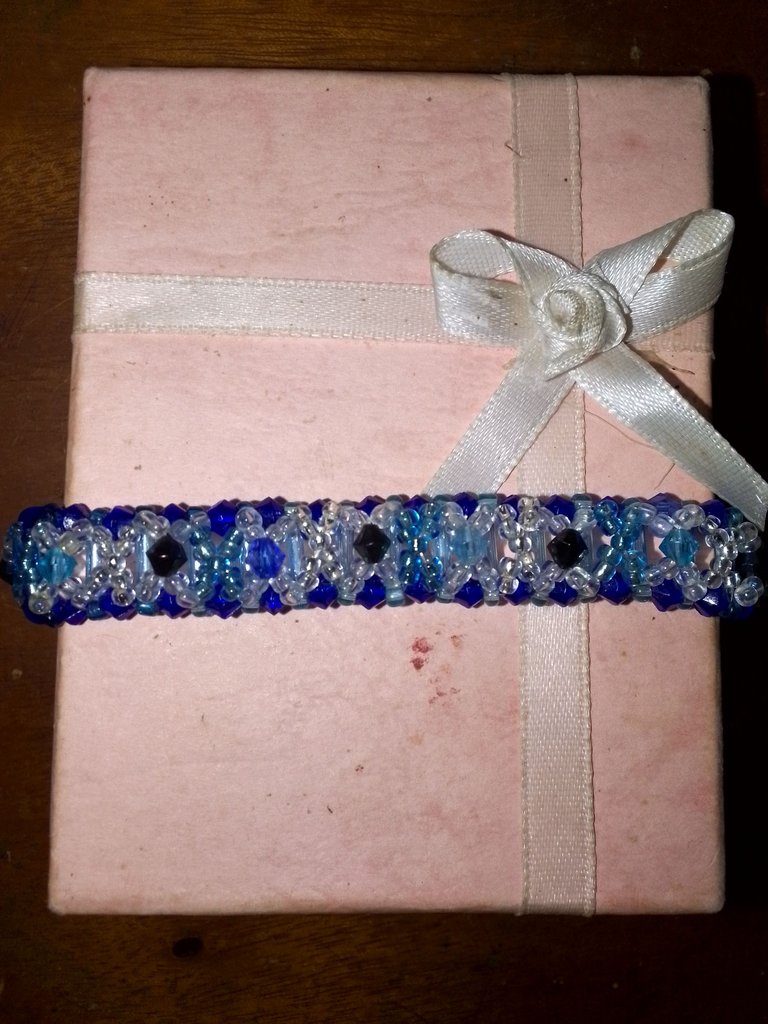
Y asi es como se ve, a mi me gustó mucho espero haya sido de su agrado, saludos!
And this is how it looks like, I really liked it, I hope you liked it, greetings!
Y bueno chicos eso es todo por hoy, espero leer sus comentarios !
And well guys that's all for today, I look forward to reading your comments !
Gracias por visitar mi blog
Thanks for visiting my blog
No te detengas, no dejes de creer en ti y de buscar ideas y opciones para salir adelante.
Don't stop, don't stop believing in yourself and looking for ideas and options to get ahead.
Créditos | Credits
Utilicé https://www.deepl.com/es/translator para la traducción
I used https://www.deepl.com/es/translator to traduction.
Las imagenes son propias
The images are my own.
Los flyers fueron creados con herramientas gratuitas de canva
The flyers were created with free tools from canva
The beading bracelet is beautiful andi love the color
!diy
!discovery 30
This post was shared and voted inside the discord by the curators team of discovery-it
Join our Community and follow our Curation Trail
Discovery-it is also a Witness, vote for us here
Delegate to us for passive income. Check our 80% fee-back Program
The beads to the bracelet is really beautiful. Nice work
Thank you!
You can query your personal balance by
!DIYSTATSquedo genial y los colores están hermosos!
it looks great and the colors are beautiful!