[Esp | Eng ] Flor de bandera | Flag flower
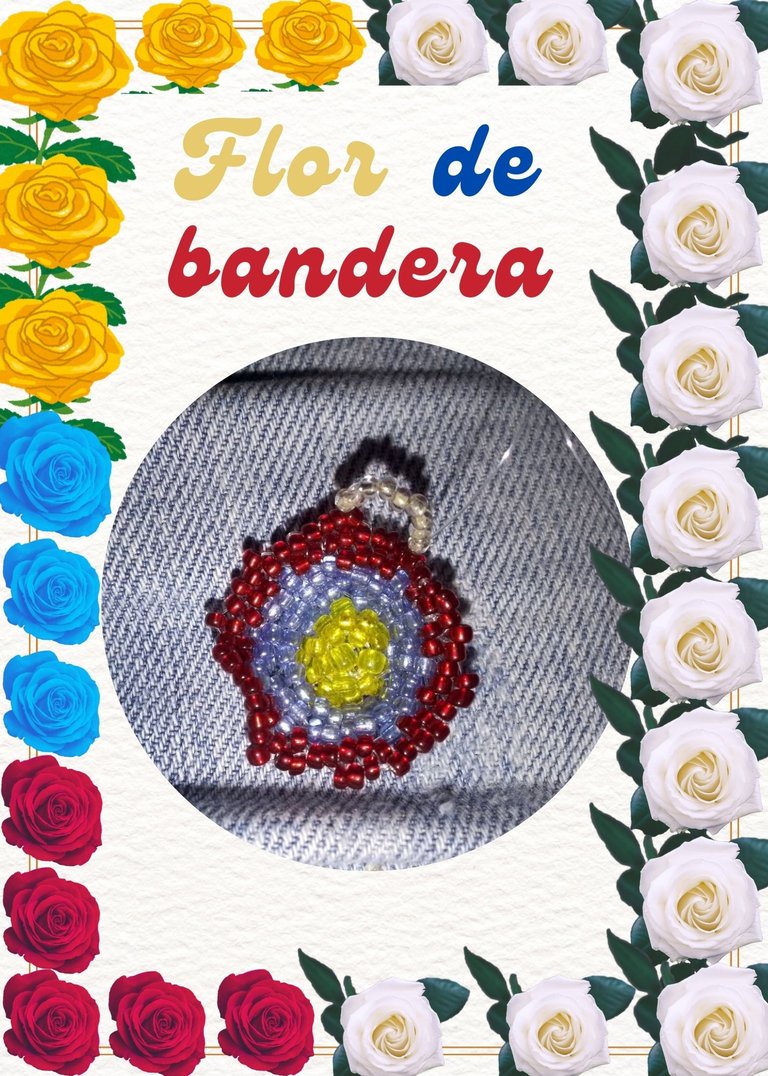
Hola amigos de jewelry, nuevamente participando en el concurso de los paises, en esta oportunidad hice ununa flor tricolor para el concurso de jewelry Concurso Country Jewelry Contest. Aunque el concurso ya termino igual , quise hacerlo, habia pensado primero en hacer un sombrero, intente hacerlo pero no me salio.
Al principio la forma de sombrero me estaba saliendo, luego
se me fue deformando y parecia una especie de galanxia redonda toda extraña , luego al final logré llevar el patrón y hacer que me quedara con forma de flor que por lo menos eso lo logré. Espero les guste como queda, estoy abierta a sus comentarios y opiniones, tengo mucho interes por aprender nuevas cosas.
At the beginning the hat shape was coming out, then it was deforming and it looked like a kind of round
it was deforming and it looked like a kind of strange round galanxia, then at the end I managed to take the pattern and make it look like a flower, at least that's what I achieved. I hope you like how it looks. I hope you like how it looks, I am open to your comments and opinions, I am very interested in learning new things.
Hello jewelry friends, again participating in the countries contest, this time I made a tricolor flower for the jewelry contest Concurso Country Jewelry Contest. Although the contest is over, I wanted to do it, I had thought first to make a hat, I tried to do it but it didn't work out.
Materiales | Materials
- Mostacillas rojas, azules, amarillas, blancas
- Nylon
- Yesquero
- Tijeras
- Red, blue, yellow, yellow, white beads
- Nylon
- Tinder
- Scissors
Procedimiento | Procedure
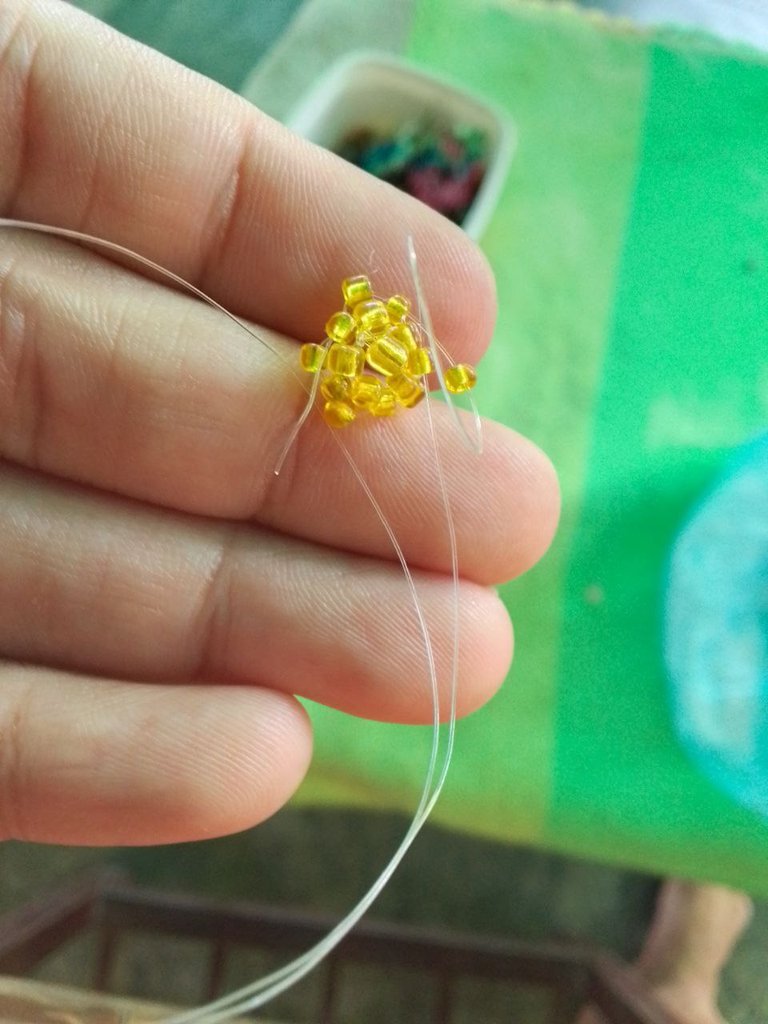
Paso 1 | Step 1
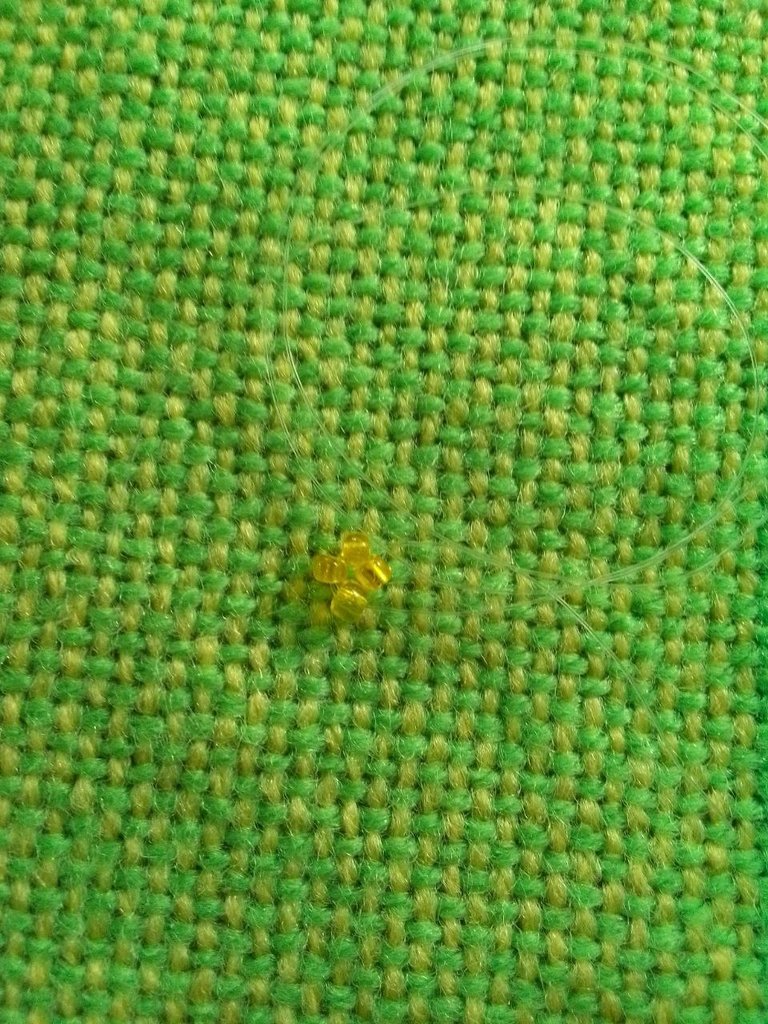
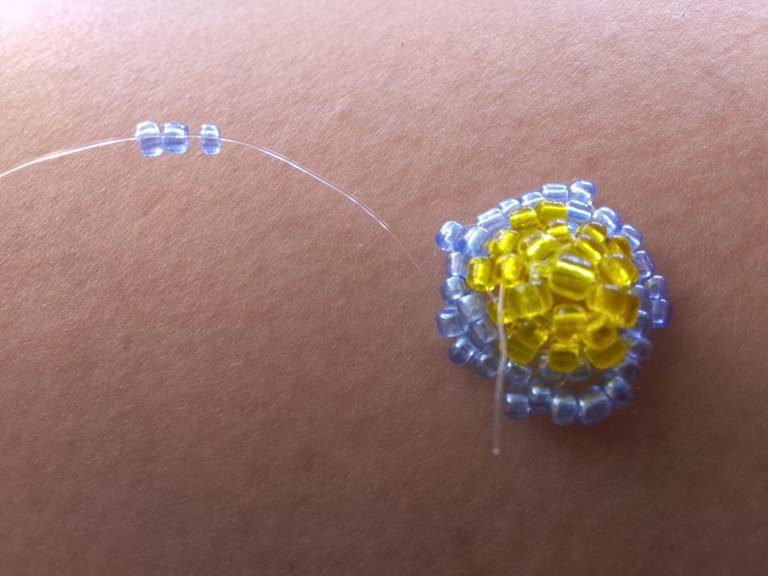
Empezamos primero con cuatro mostacillas y cruzamos los hilos por la ultima mostacilla, Luego de qui nos vasmos saltando una omstacilla o dos dependiendo del tamaño de cada mostacilla porque estas no vienen calibradas, entonces algunas son mas grandes que otras y se descuadra el patron que vamos haciendo, entonces la idea es ir cuadrando el patron para que se vea bonito.
We start first with four beads and cross the threads through the last bead. After that we skip one or two beads depending on the size of each bead because they are not calibrated, so some are bigger than others and the pattern we are making gets messed up, so the idea is to square the pattern so that it looks nice.
|
|
|
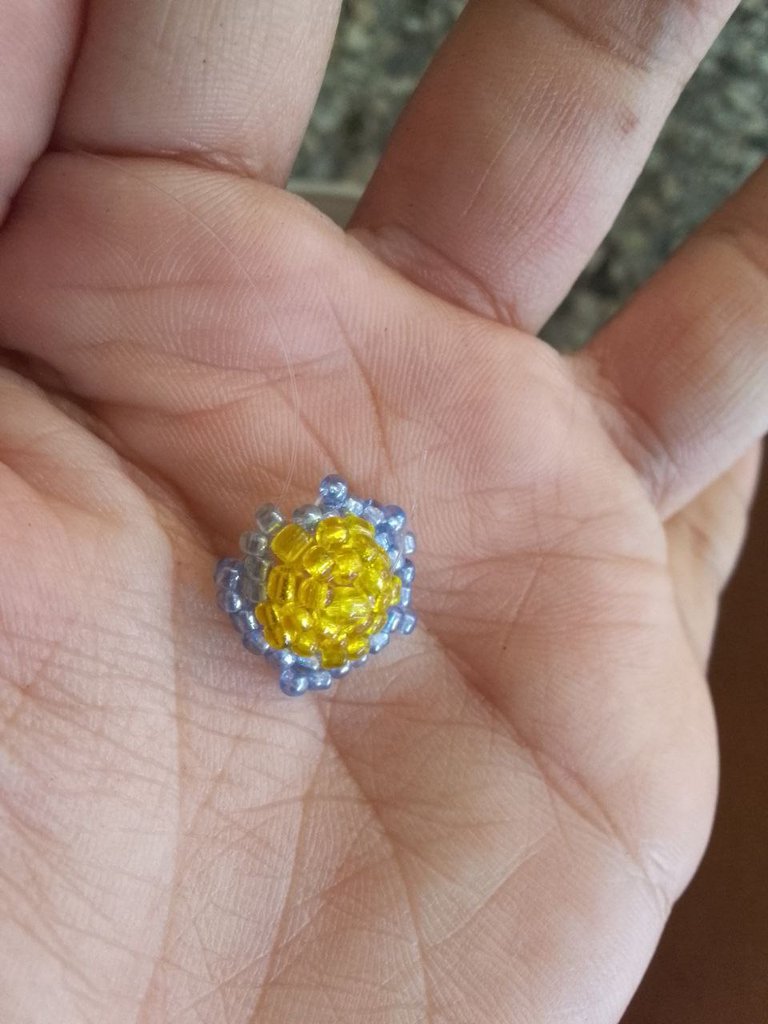
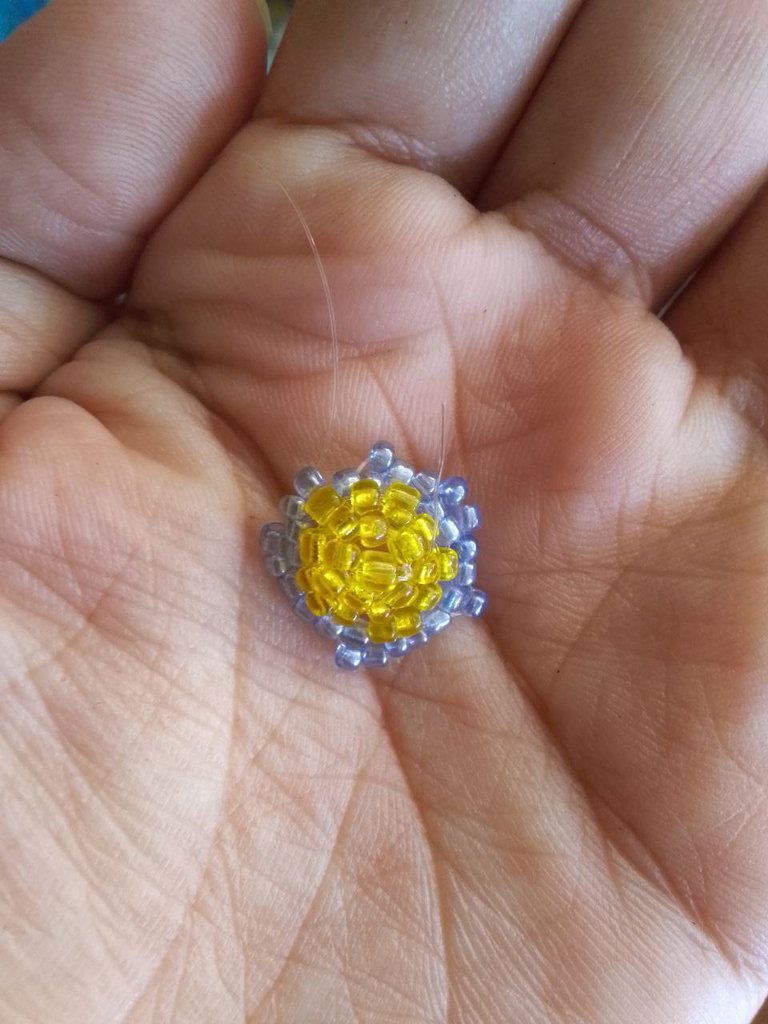
Paso 2 | Step 2
Luego que terminamos la franja amarilla, seguimos con la franza azul de la misma manera ya aqui podemos ver la forma, en la franja amarilla se forma algo como redondo que viene siendo el centro de la flor y luego lo que sigue es la parte externa: los petalos.
After we finish the yellow stripe, we continue with the blue stripe in the same way and here we can see the shape, in the yellow stripe is formed something like round which is the center of the flower and then what follows is the outer part: the petals.**
|
|
|
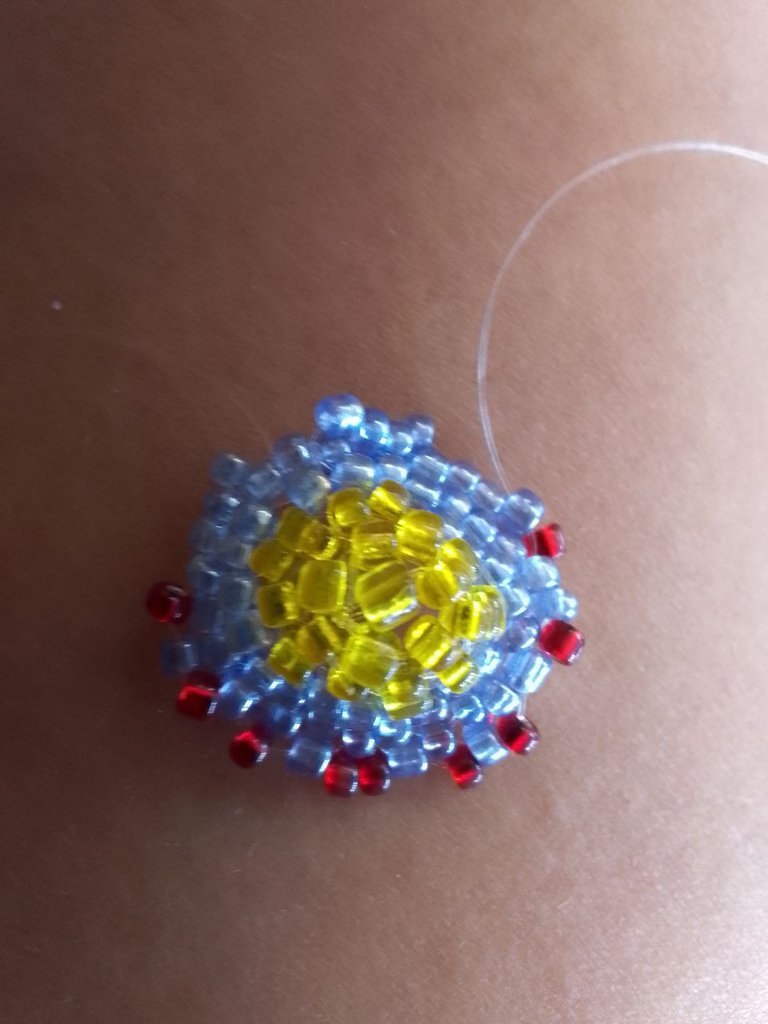
Paso 3 | Step 3
Luego aca vamos agregando la franja roja, poco a poco , mostacilla a mostacilla, colocandolas siempre en los espacios que van quedando faltantes, algunas veces esos espacios faltantes son varios asi que voy colocando varias mostacillas rojas, pueden ser dos o tres, eso depende que lo que se va generando el patrón.
Then here we add the red stripe, little by little, beads by beads, always placing them in the spaces that are missing, sometimes those missing spaces are several so I'm placing several red beads, may be two or three, it depends on what is generating the pattern.
|
|
|
Paso 4 | Step 4
Finalmente, agregamos mostacillas con el arito para pasar la cadena, y hundimos la parte amarilla de la flor.
Finally, we add the beads with the hoop to pass the chain, and we sink the yellow part of the flower.
|
|
|
Resultado | Result
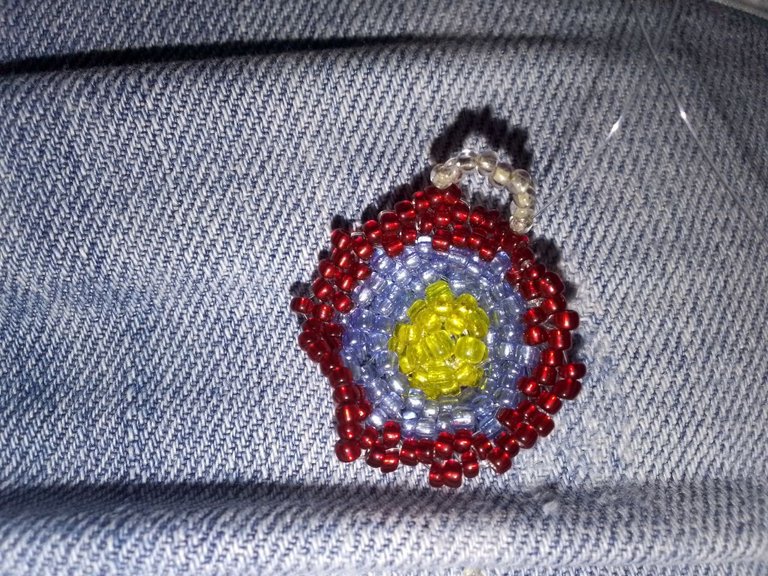
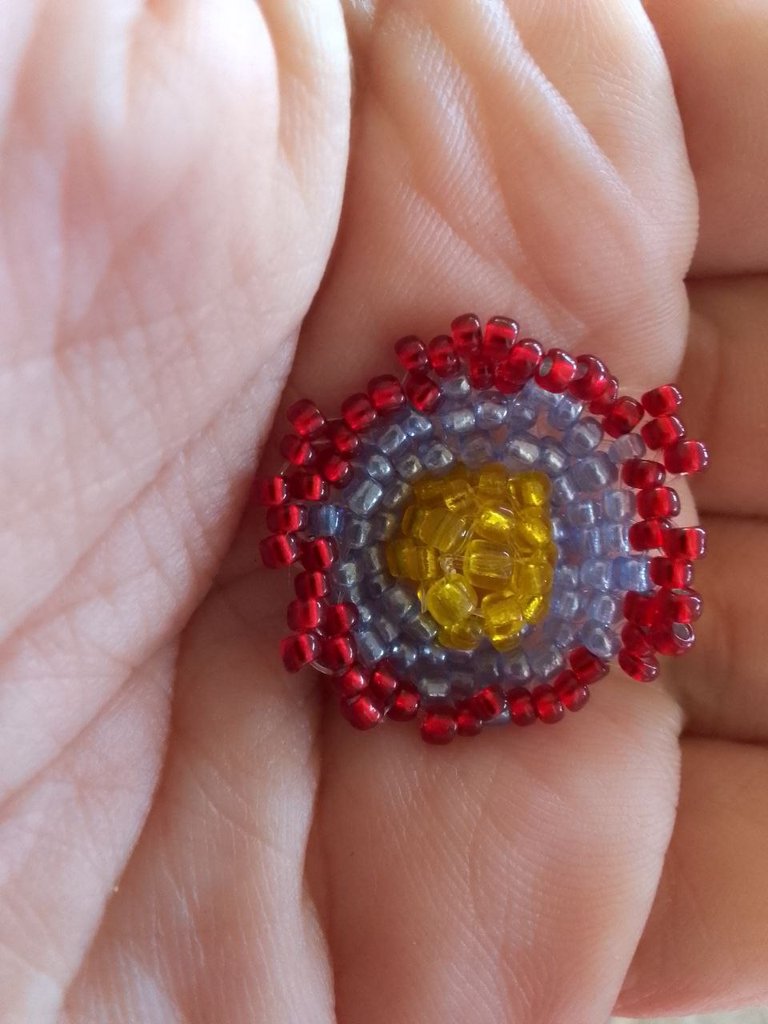
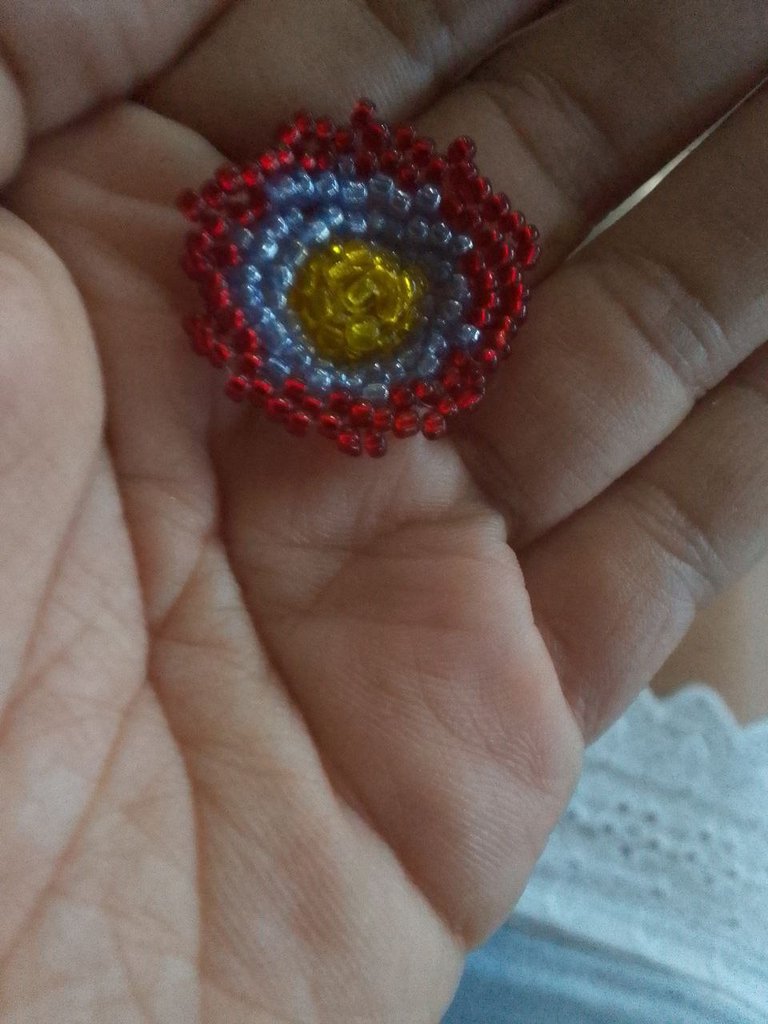
Bueno me pareció muy bonito este dije por la misma forma de flor que tiene, los colores son muy brillantes y resaltan todos, me puse un poco pensativa de porque no me salio el sombrero, pero bueno buscare otras ideas para proximos post con temas de gorritas, de bolsitos , arbolitos y otros detalles que pueden ser muy interesantes.
Aproximadamente en cada franja me lleve tres vueltas, la parte mas dificil fue hacer el final que no me quede descuadrado.
Well I thought this pendant was very pretty because of its flower shape, the colors are very bright and stand out, I got a little thoughtful because I did not get the hat, but well I will look for other ideas for future posts with themes of beanies, bags, trees and other details that can be very interesting.
It took me approximately three laps in each strip, the hardest part was to make the end so that I didn't get out of square.
Y ahora cuentame que te ha parecido, te atreves a participar, si te ha gustado mi post, hazmelo saber en los comentarios, agradeceria mucho tu apoyo, nos leemos en proximos post!
Esto es todo amigos espero que les haya gustado, ¡os leo en los comentarios!
And now tell me what you thought, do you dare to participate, if you liked my post, let me know in the comments, I would appreciate your support, see you in next post!
That's all folks I hope you liked it, I'll read you in the comments!
Gracias por visitar mi blog.
Thanks for visiting my blog.
No te detengas, no dejes de creer en ti y de buscar ideas y opciones para salir adelante.
Don't stop, don't stop believing in yourself and looking for ideas and options to get ahead.
Creditos | Credits
Use https://www.deepl.com/es/translator para la traduccion.
I used https://www.deepl.com/es/translator to traduction.
Las imagenes son propias.
The images are my own.
Los folletos se crearon con herramientas gratuitas de canva
The flyers were created with free tools from canva
I have enjoyed the contest seeing most countries we have in Hive. Your contribution to the contest may give the position as love how put together the weaving.
Thank you
The pendant is beautiful as well, the colors combination are very cool, I really enjoyed your page, greetings
Thank you for your comment
You represent it well,nice one
Thank you
It looks pretty cool. It is good to see a step-by-step guide on how you made it. Great job! Keep it up!
Thank You for your comment and your suport