Recycling plastic for cute christmas flower ESP-ENG

Welcome to my blog
Bienvenidos a mi Blog
Greetings friends from DiyHub, today I am here to share with you a beautiful recycled plastic craft. Christmas is here and this project has to do with this date, since it is a Christmas flower made with soda jars; What motivated me to do it was that for a school project of my son they asked him to do it to use it as a decoration for the living room. I have always liked to recycle and transform into a new object. We can use this type of flower to decorate even gardens with Christmas flowers; Thinking about it, I had time without dedicating myself to crafting. Well here I show you how to make this beautiful recycled flower.
Saludos amigos de DiyHub, hoy vengo a compartir con ustedes una linda manualidad reciclada de plástico. Ya llego la navidad y este proyecto tiene que ver con esta fecha, ya que es una flor de navidad realizada con potes de refresco; lo que me motivo a su realización fue que para un proyecto escolar de mi hijo le pidieron que la realizara para utilizarla como adorno para el salón. Siempre me ha gustado reciclar y transformar en un objeto nuevo. Este tipo de flor la podemos utilizar para decorar hasta los jardines con flores de navidad; pensándolo bien tenía tiempo sin dedicarme a realizar manualidad. Bueno aquí les muestro como realice esta linda flor reciclada.
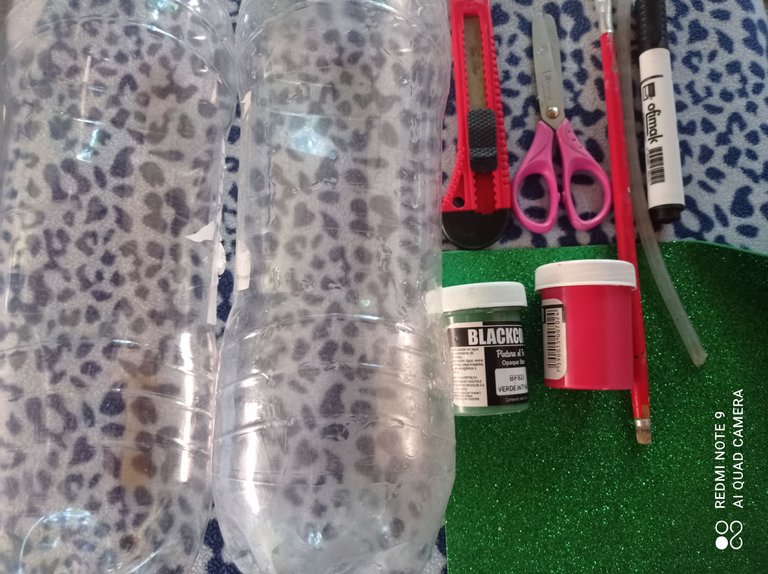
Materials
2 large soda cans
Scissors
Frosted green foami
silicone stick
Green and red cold paint
Brush
Exact
black marker
Materiales
2 Potes de refresco grande
Tijera
Foami verde escarchado
Silicón en barra
Pintura al frio verde y roja
Pincel
Exacto
Marcador negro
Step by Step
Paso a paso
Step 1
Paso 1
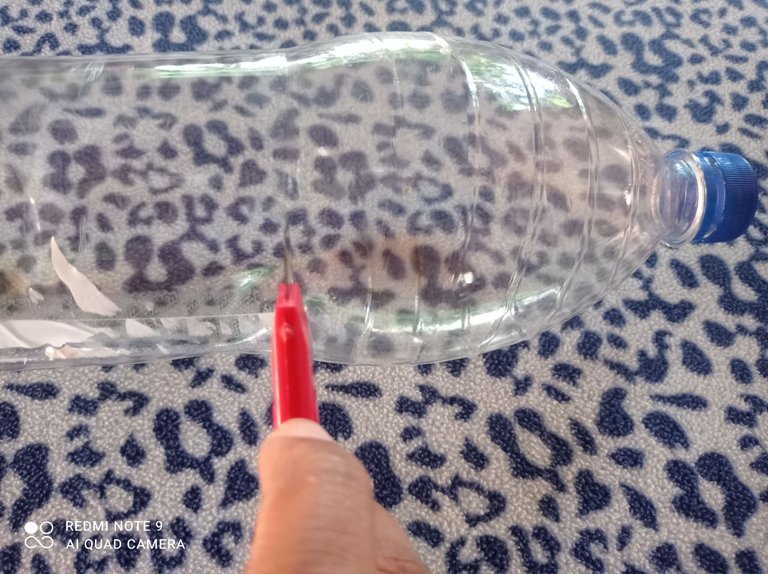
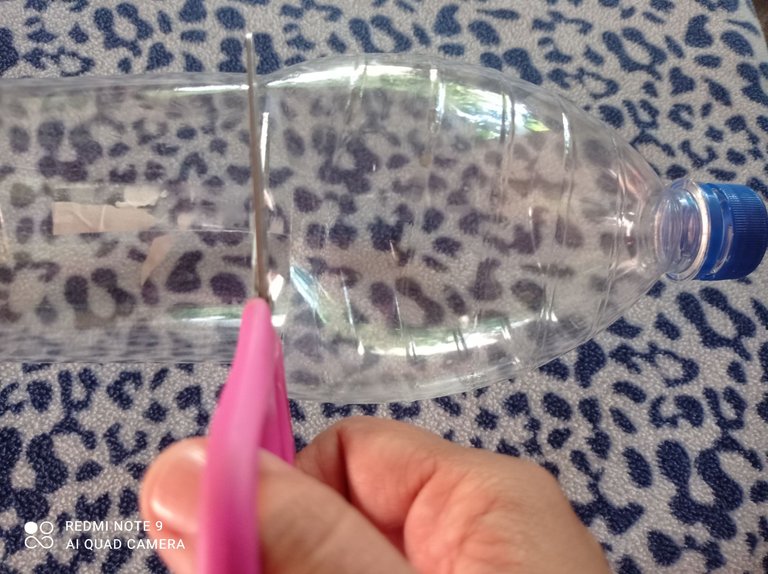
To start, take the exacto and the bottle and proceed to make a slot and then cut the pot at the top of the bottle with scissors, we will do this procedure with both plastic pots
Para iniciar tome el exacto y la botella y procedo a realizar una ranura para luego recortar con la tijera el pote por la parte del pico de la botella, este procedimiento lo haremos con ambos potes de plástico
Step 2
Paso 2
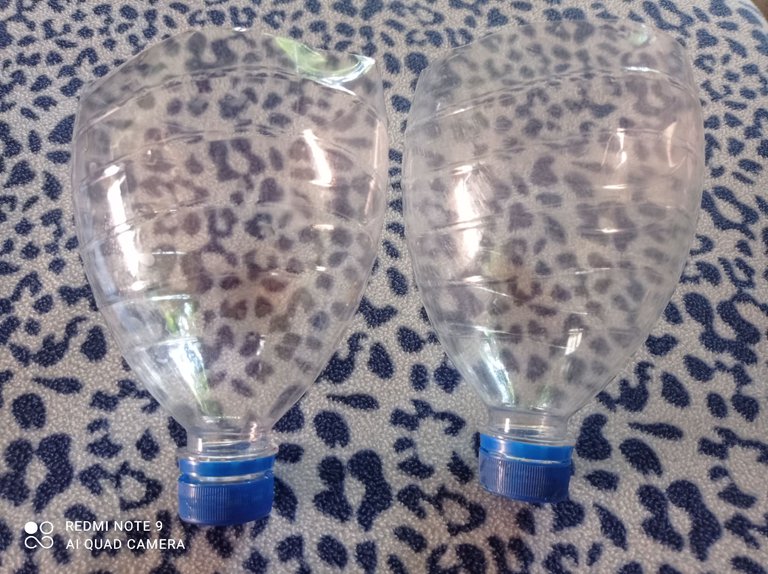
Here the two pots cut out on the top are ready
Ya aquí listo los dos potes recortados en la parte de arriba
Step 3
Paso 3
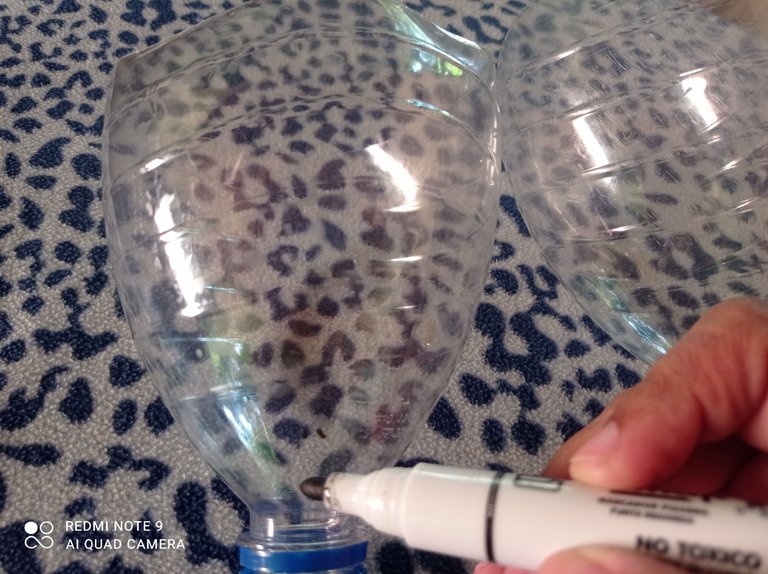
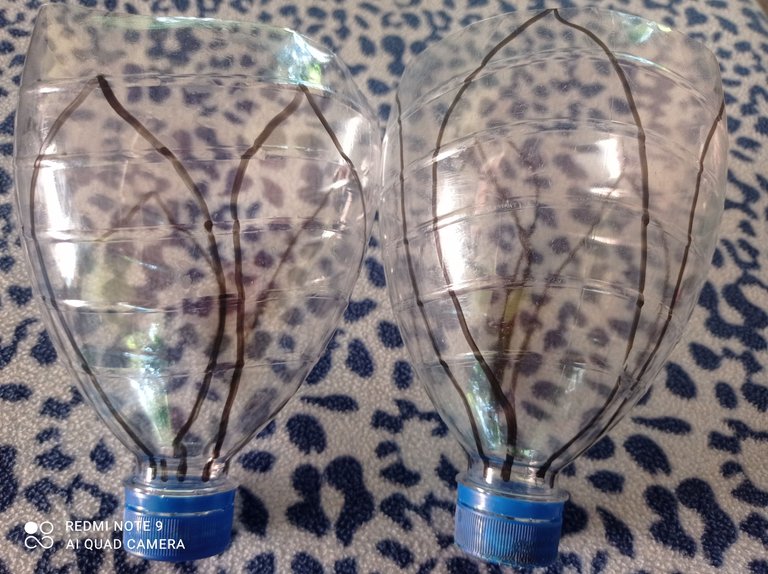
I now take the black marker that will help me to mark the petals of the Christmas flower, in this flower we make 5 petals in each of the pots, we must take into account that in one pot the petals will be large and in the other they will be larger little ones
Tomo ahora el marcador negro que me servirá para marcar los pétalos de la flor de navidad, en esta flor realizamos 5 pétalos en cada uno de los potes, debemos tener en cuenta que en un pote los pétalos serán grandes y en el otro que sean mas pequeños
Step 4
Paso 4
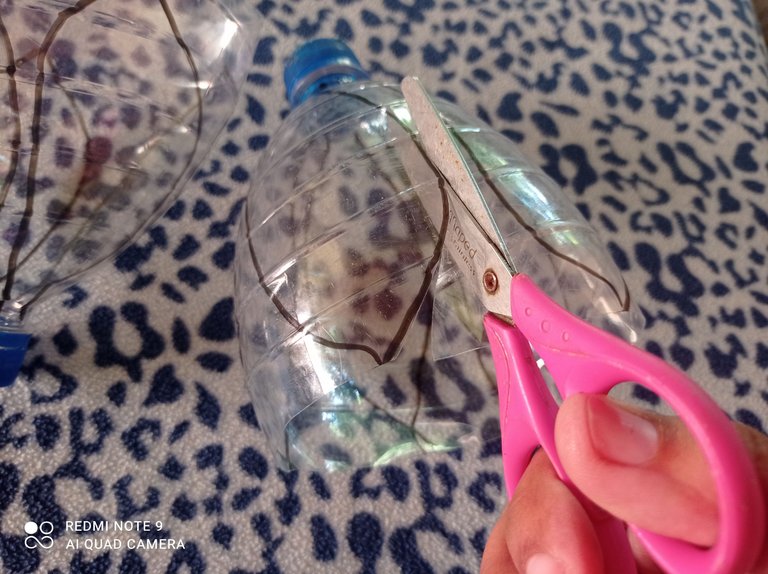
After drawing in each of the pots we proceed to cut out each of the petals. With a piece of paper or cloth we clean the edges to remove the black color of the marker.
Después de trazar en cada uno de los potes procedemos a recortar cada uno de los pétalos. Con un papel o pañito limpiamos los bordes para quitarle el color negro del marcador.
Step 5
Paso 5
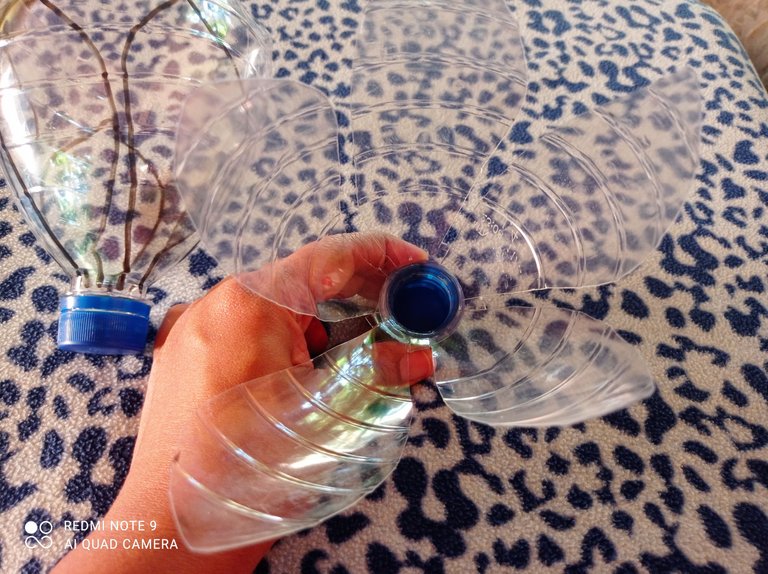
Here we can see the shape of a Christmas flower
Aquí ya podemos ir viendo la forma de flor de navidad
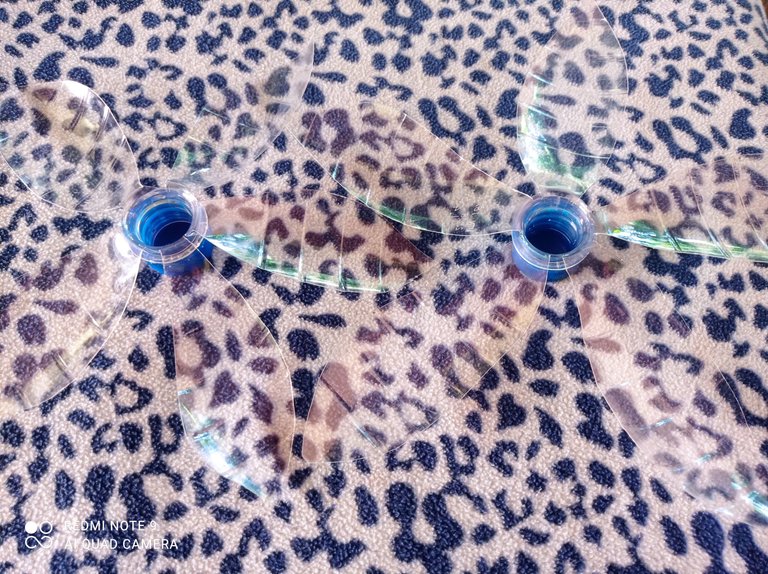
Step 6
Paso 6
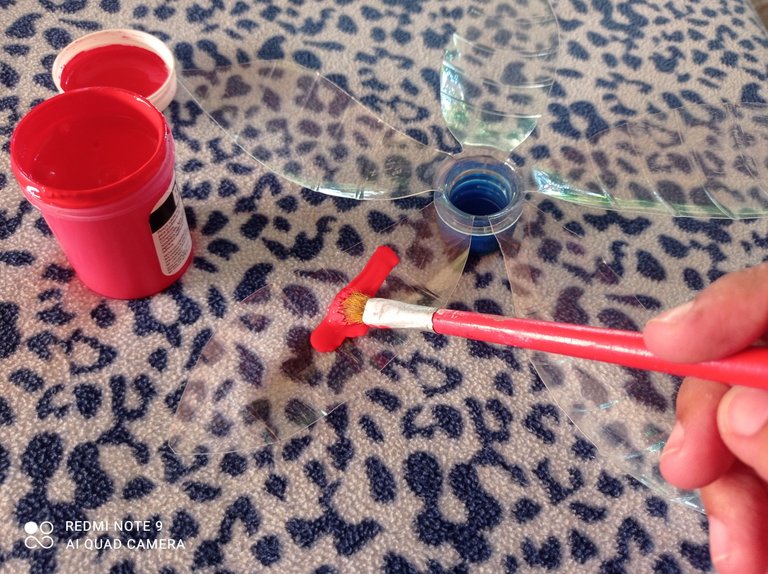
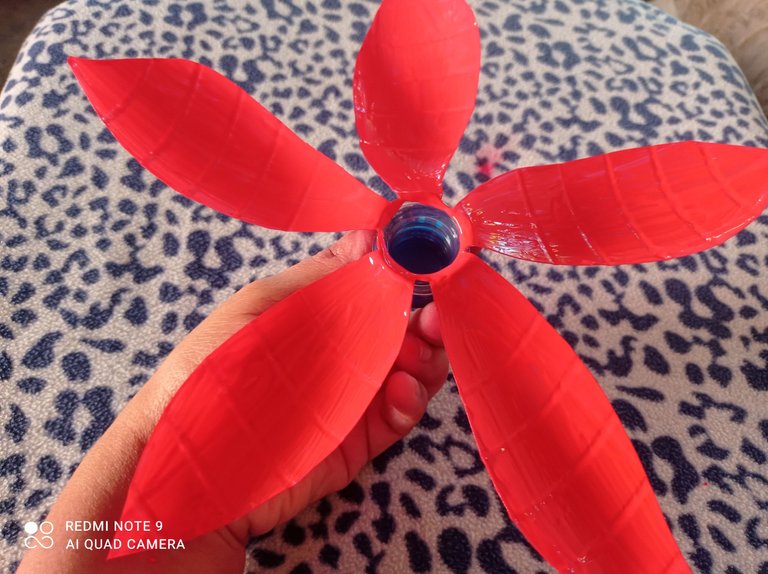
The next step is to take the red paint and the brush and paint each petal of the flower, we must let it dry and then paint again so that the flower looks better.
El siguiente paso es tomar la pintura roja y el pincel y pintar cada pétalo de la flor, debemos dejar secar y luego volver a pintar para que se vea con mejor acabado la flor
Step 7
Paso 7
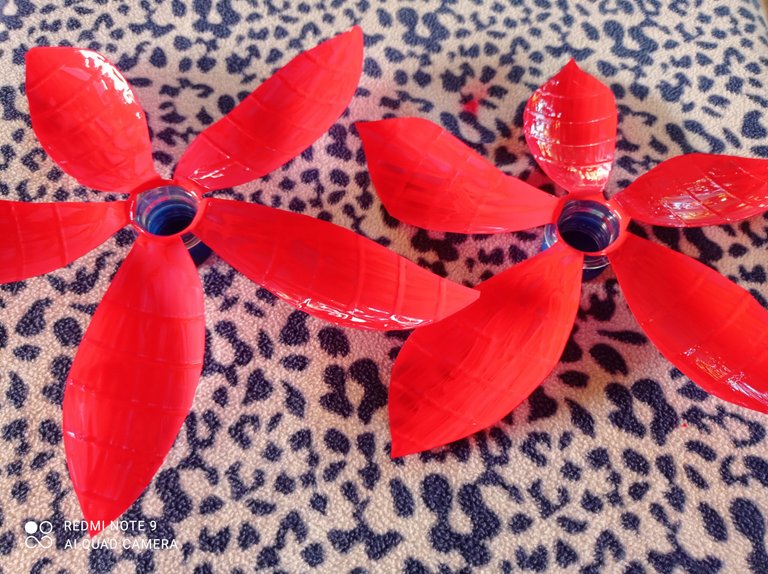
List the two painted flowers
Lista las dos flores pintadas
Step 8
Paso 8
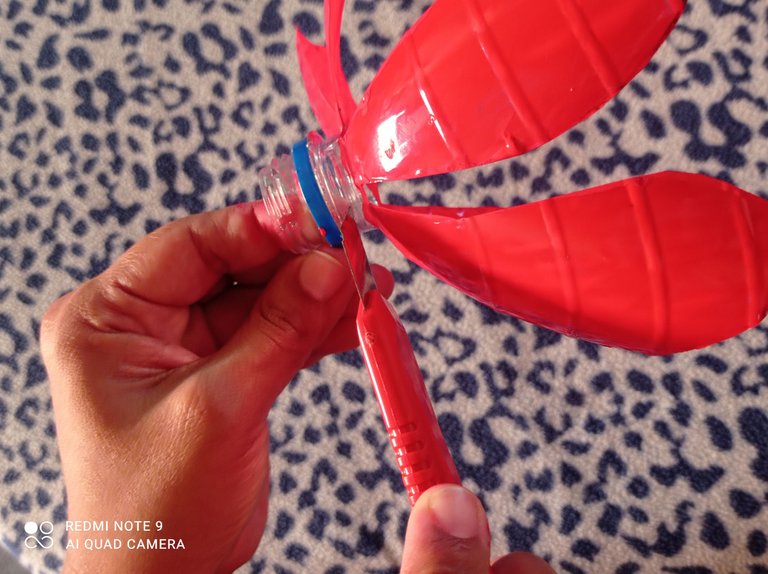
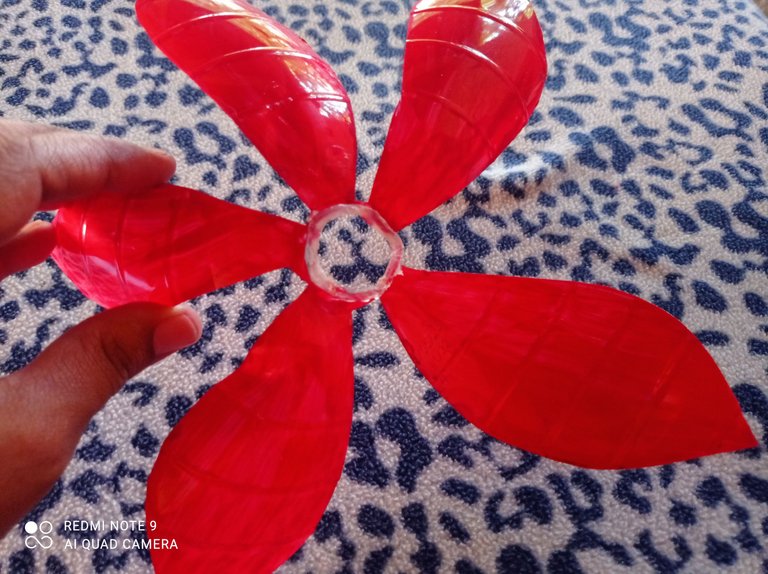
Now we take the flower with small petals and cut the tip of the soda pot, for this use the exact one; but I tell you that this part of the plastic is a bit hard; so I recommend heating the exacto a little with fire and cutting it this way and the process will be easier.
Ahora tomamos la flor de pétalos pequeños y cortamos la punta del pote de refresco, para ello utilice el exacto; pero les digo que esta parte el plástico es un poco duro; por lo que recomiendo calentar un poco el exacto con fuego y cortar de esta manera y así será más fácil el proceso.
Step 9
Paso 9
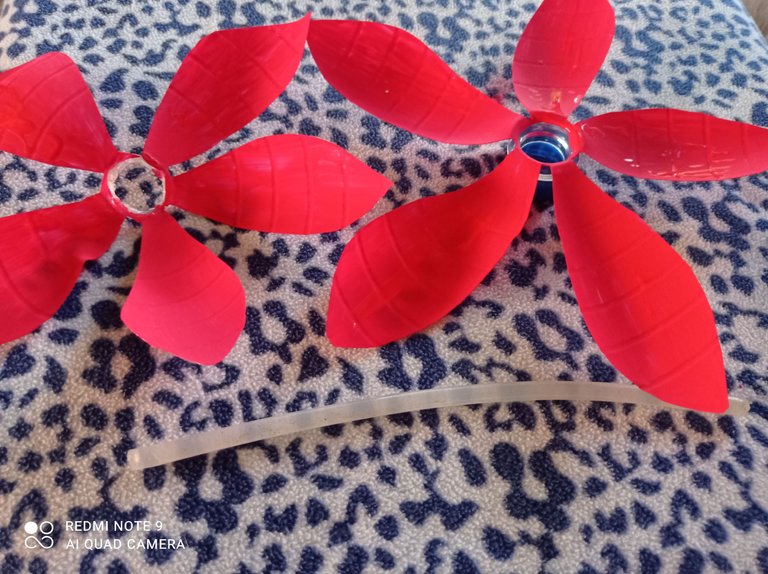
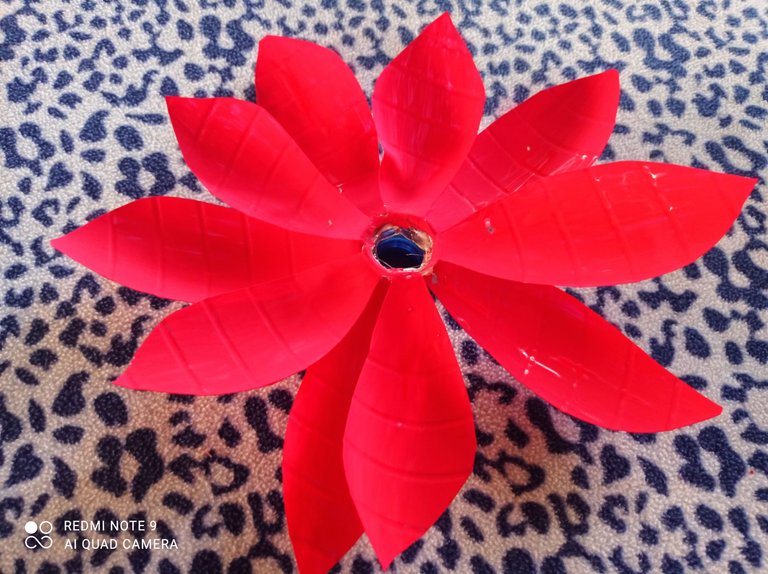
Now with a bit of hot silicone place the big flower on top of the hole and stick the smaller petals there. Now here we are seeing how the Christmas flower is turning out with the two pots of soda
Ahora con un poco de silicón caliente coloque encima de la flor grande en el orificio y allí pegue los pétalos más pequeños. Ya aquí vamos viendo cómo va quedando la flor de navidad con los dos potes de refresco
Step 10
Paso 10
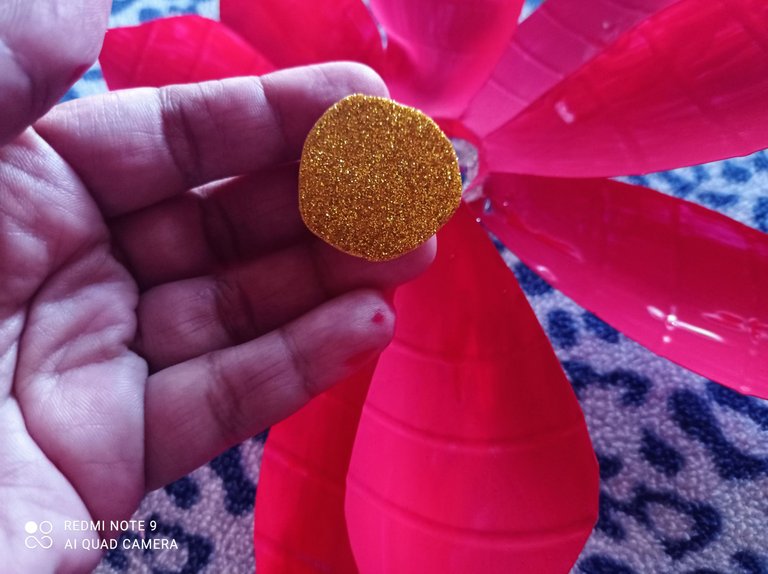
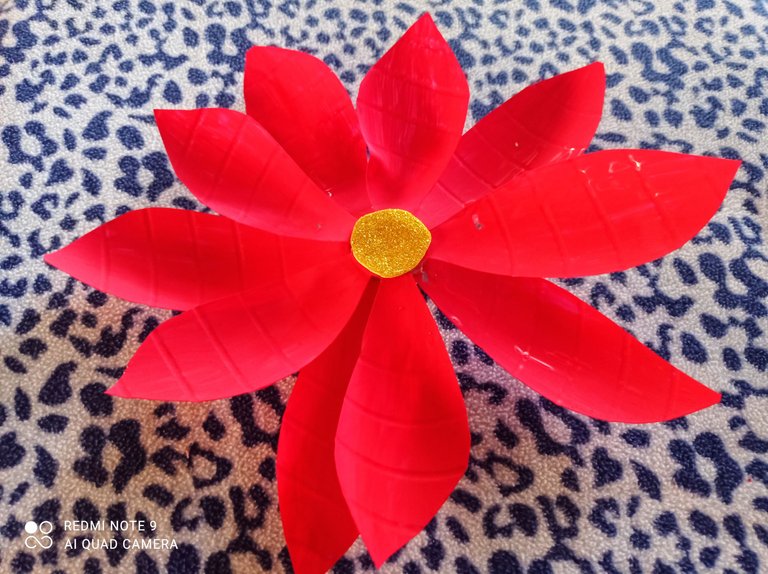
Since there was a hole in the middle, place a circle of yellow frosted foam and stick with a little hot silicone. Paint the green cold paint on the back of the lid
Como en el medio quedo un orificio , coloque un circulo de foami escarchado amarillo y pegue con un poco de silicón caliente. En la parte de atrás de la tapa se pinta con la pintura al frio verde
Step 12
Paso 12
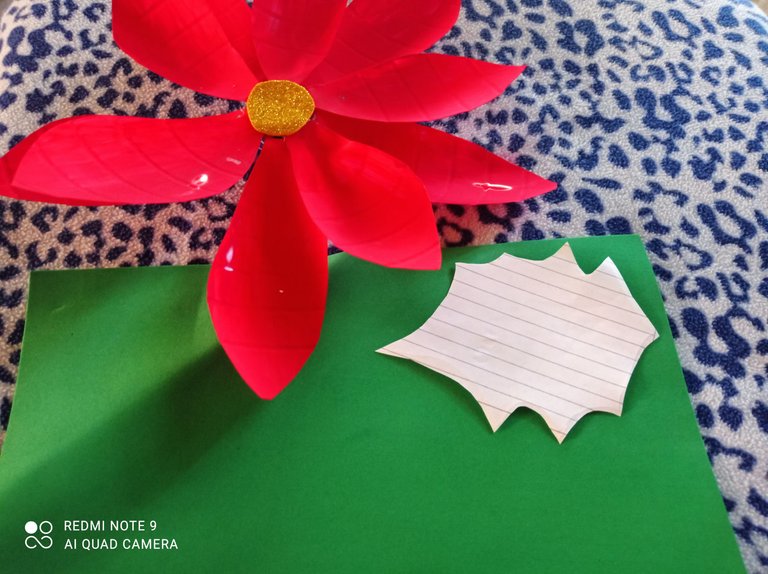
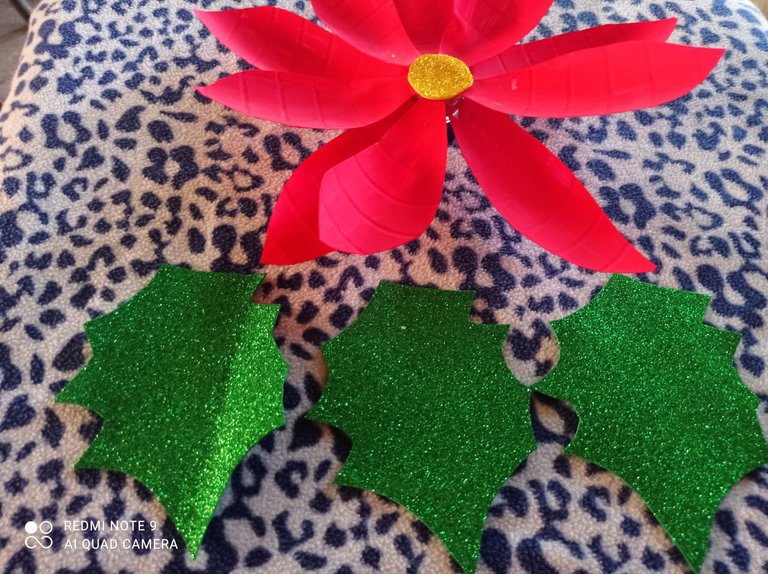
Now since the leaves were missing, I made a leaf pattern on paper to make it easier for me, trace on top of the foami and cut three leaves.
Ahora como faltaban las hojas , realice un patrón de hoja en papel para que se me hiciera más fácil, trace encima del foami y corte tres hojas.
Step 13
Paso 13
Paste the three leaves, managing to obtain the Christmas flower with plastic pots
Pegue las tres hojas, logrando obtener la flor de navidad con potes plásticos
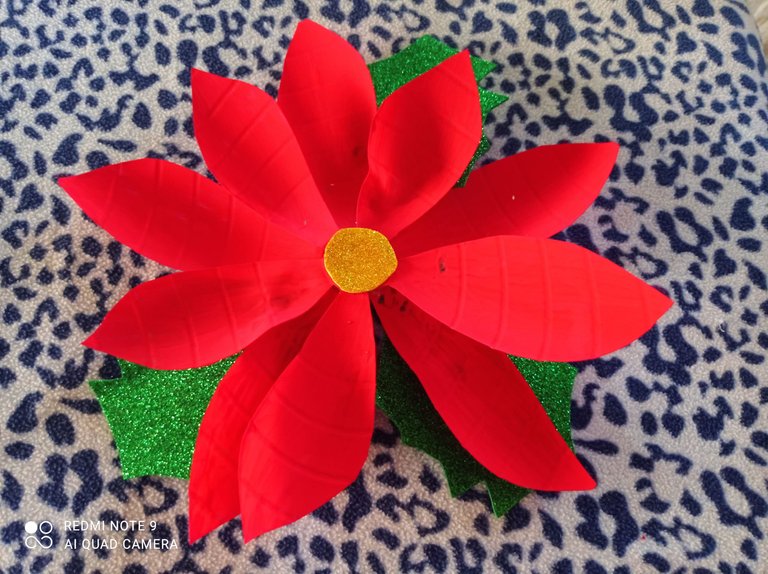
I liked the final result, and as I told you, it is an idea to decorate for Christmas.
Me gusto el resultado final, y como les dije es una idea para adornar en navidad.

Merry Christmas to all
Feliz Navidad para Todos
I say goodbye and see you in a next opportunity
Photographs are my property
Cover edited in Canva with use of free image
Thanks for reading me
Me despido y nos vemos en una próxima oportunidad
Fotografías son de mi propiedad
Portada editada en Canva con uso de imagen gratuita
Gracias por Leerme

Preciosa esta flor.
Mi mamá las coloca en su jardín y todos tienen que ver con ellas. Me encantó ver el paso a paso. Reciclar es la mejor opción en estos casos, las botellas resultan ser muy útiles.
Muchos saludos para ti.
Hola @creacioneslelys, si vale son muy utiles estos potes de refresco, sirven para muchas opciones y poner a volar la creatividad. En definitiva lo mejor de todo es reciclar. Que bueno te gusto este tutorial. Gracias por la Visita. Saludos
Saludos.
https://twitter.com/491703210/status/1602250131939753986
https://twitter.com/144659833/status/1602269436404277249
The rewards earned on this comment will go directly to the people( @cetb2008, @lisbethseijas ) sharing the post on Twitter as long as they are registered with @poshtoken. Sign up at https://hiveposh.com.
Quedo hermosa amiga, y no parece plástico 👏👏
Que bueno te gusto amiga; si amiga no parecen de plastico, quedan bien linads y son faciles de realizar. Saludos
Thank you for sharing this post in the DIYHUB Community!
Your content got selected by our fellow curator rezoanulvibes & you just received a little thank you upvote from us for your great work! Your post will be featured in one of our recurring compilations which are aiming to offer you a stage to widen your audience within the DIY scene of Hive. Stay creative & HIVE ON!
Please vote for our hive witness <3
Thanks for supporting my publication, @rezoanulvibes and @diyhub, grateful
Muy lindas, sobre todo para el colegio de mi hija, donde pidieron adornos navideños, Gracias por compartir!!!
Hola @caracasprin , en muchas instalaciones siempre piden adornos donde se tenga que utilizar el reciclaje, está es muy buena opción, ya que los mismos niños lo pueden realizar
Hermosas flores navideñas y muy fácil y económicas al realizar, gracias por compartir el paso a paso mi amiga @lisbethseijas.
Si amiga son bien práctica de realizar. Gracias a ti por pasar a mi blog. Saludos
Nice flower out of plastic bottles.
I liked the idea.
@tipu curate 2
Upvoted 👌 (Mana: 0/55) Liquid rewards.
Grateful for the support
that was good to your liking, thanks for the support @ashikstd
It's my pleasure. Keep up the good work.