[ESP-ENG] Elaborando mi primer Collar con Bisutería por @linita // Making my first Necklace with Jewelry by @linita
¡BIENVENIDOS A MI BLOG!
Amigas y amigos amantes de la aguja, mi proyecto de hoy está dirigido a todas aquellas personas que les encanta la bisutería y quieren emprender o realzar alguna prenda para sí misma(o). Al igual que muchas personas, mi conocimiento en el ramo es nulo, y con la revisión de algunos tutoriales y guías de bisutería, y aprovechando u regalo muy especial que recibí de la tía de mi esposo, decidí realizar mis primeras prendas de bisutería.
Mi tía suegra me envió de obsequio una bolsa con una gran cantidad de piedras de bisutería,para que comenzara a realizar algunas. En el estudio de cómo empezar, me di cuenta que no sólo es necesario las piedras, también necesitaría herramientas y otros materiales que no venían incluidos en la bolsa, como hilos, agujas, pinzas, trancaderos, tapa nudos, argollas, entre otras cosas.
Una vez que logré comprar algunas de las cosas que me faltaban, comencé la elaboración de un collar muy sencillo pero que se están usando mucho en mi ciudad. No soy aficionada a las prendas y aunque tengo un pequeño joyero con algunas que utilizo para ocasiones especiales, quise hacerme una para el uso cotidiano y que no causara ninguna molestia en mi cuello, ya que con la patología que presento, cualquier objeto de peso, me ocasiona inflamación y dolor.
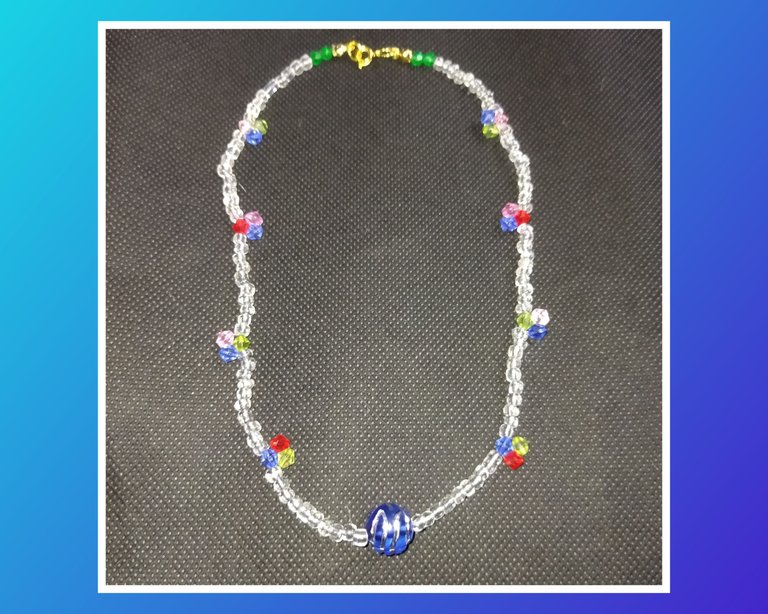
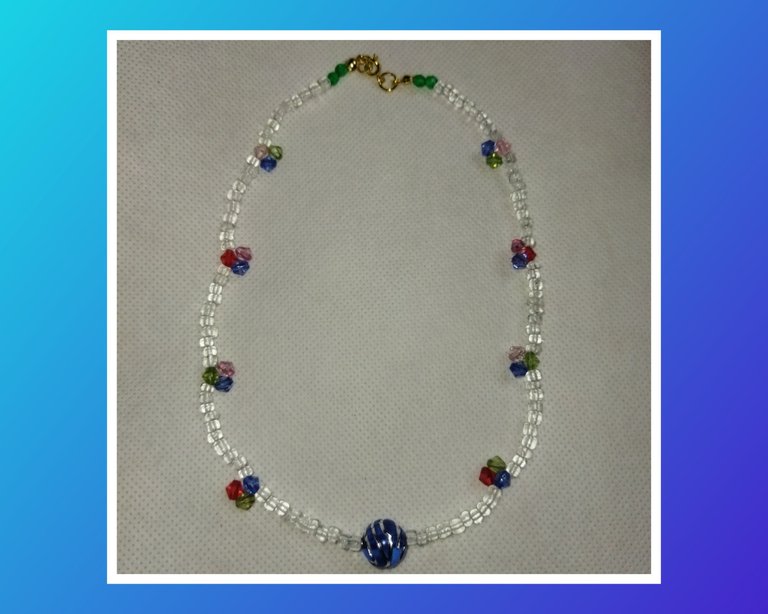
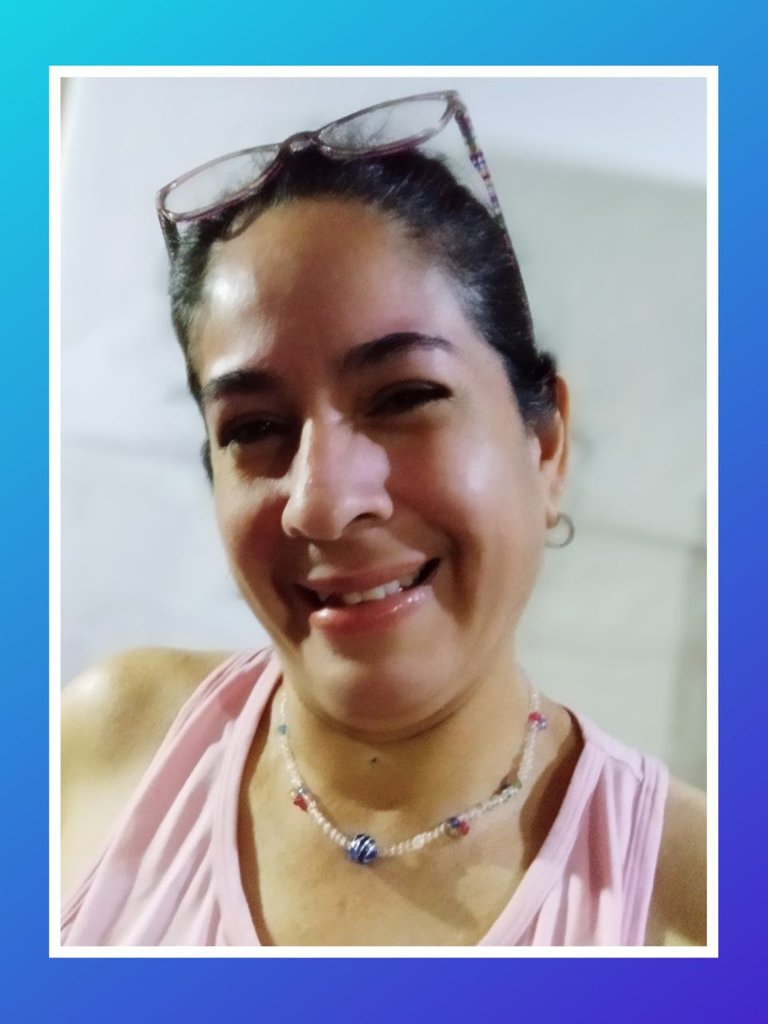
Este collar fue realizado con piedras de bisutería plásticas, muy livianas y puedo realizar mis labores cotidianas sin ninguna molestia, a la vez que me siento guapa.
Si estas en igual de condiciones a la mía, te invito a que junt@s aprendamos paso a paso a elaborar estas prendas.
NOTA: Aún no manejo la terminología apropiada para explicar detalladamente el paso a paso. Trataré de realizarlo lo mejor posible. Si en algo me equivoco, agradezco a los más sabedores su aporte para que así aprendamos todos.
Sin más, comencemos.
WELCOME TO MY BLOG!
Friends and friends who love needlework, my project today is aimed at all those people who love jewelry and want to undertake or enhance a garment for themselves. Like many people, I have zero knowledge in the field, and after reviewing some tutorials and jewelry guides, and taking advantage of a very special gift I received from my husband's aunt, I decided to make my first jewelry items.
My aunt mother-in-law sent me a bag with a large number of jewelry stones, so that she could start making some. In the study of how to start, I realized that not only the stones are necessary, I would also need tools and other materials that were not included in the bag, such as threads, needles, tweezers, locks, knot covers, rings, among other things.
Once I managed to buy some of the things that I needed, I started making a very simple necklace that is being used a lot in my city. I am not a fan of clothes and although I have a small jewelry box with some that I use for special occasions, I wanted to make myself one for everyday use and that would not cause any discomfort in my neck, since with the pathology that I present, any object of weight, It causes inflammation and pain.
This necklace was made with plastic jewelery stones, very light and I can carry out my daily tasks without any discomfort, while I feel pretty.
If you are in the same conditions as mine, I invite you together to learn step by step how to make these garments.
NOTE: I still don't know the appropriate terminology to explain in detail the step by step. I'll try to do the best I can. If I'm wrong about something, I thank the most knowledgeable for their contribution so that we can all learn.
Without further ado, let's begin.
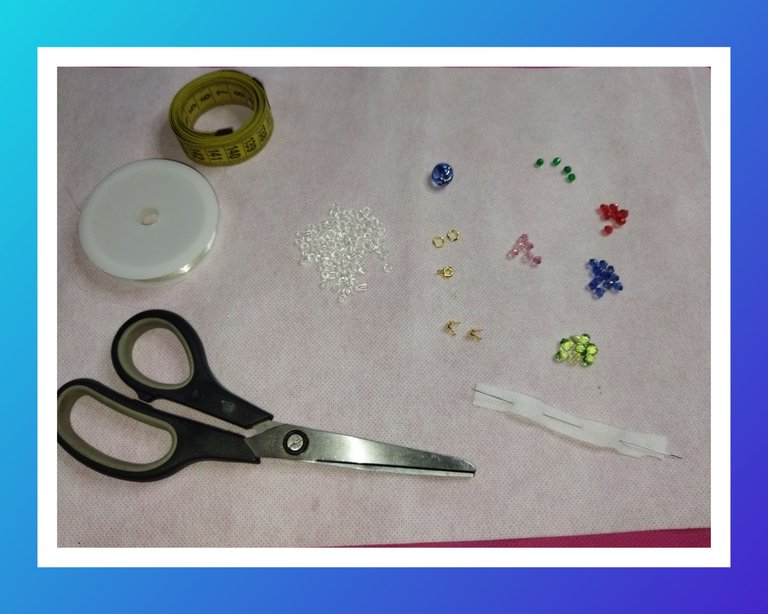
MATERIALES
- Hilo Nylon
- Aguja para mostacillas
- Piedras de colores variados de bisutería
- Mostacillas transparentes.
- 2 Tapa nudos
- 1 Trancadero
- 2 argollas pequeñas
- Cinta métrica, tijera y pinza.
MATERIALS
- Nylon thread
- Beading needle
- Assorted colored jewelery stones
- Transparent beads.
- 2 knot cover
- 1 lock
- 2 small rings
- Tape measure, scissors and clamp.
PROCEDIMIENTO
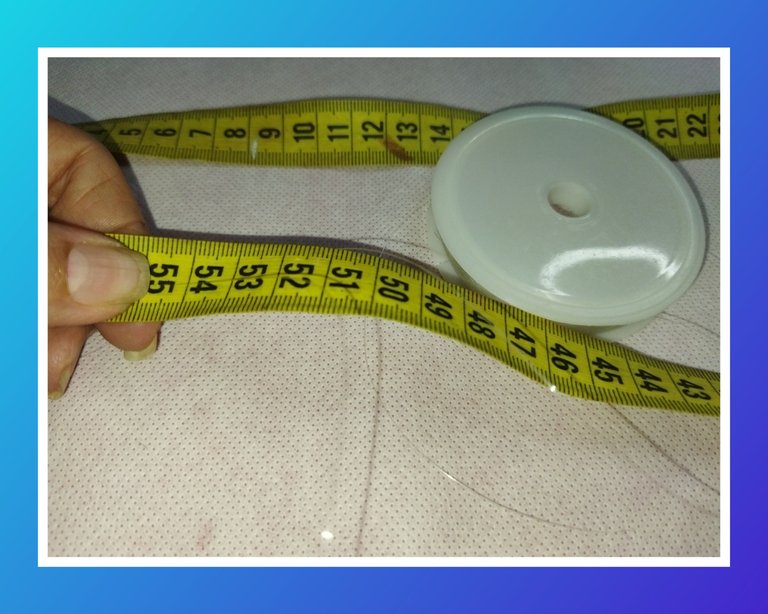
- Tomamos el hilo nylon y medimos en 55 cm a 65 cm aproximadamente. Si queremos trabajar con más soltura, podemos tomar un poco más e hilo. Yo recomiendo 70 cm.
PROCESS
- We take the nylon thread and measure approximately 55 cm to 65 cm. If we want to work more freely, we can take a little more thread. I recommend 70 cm.
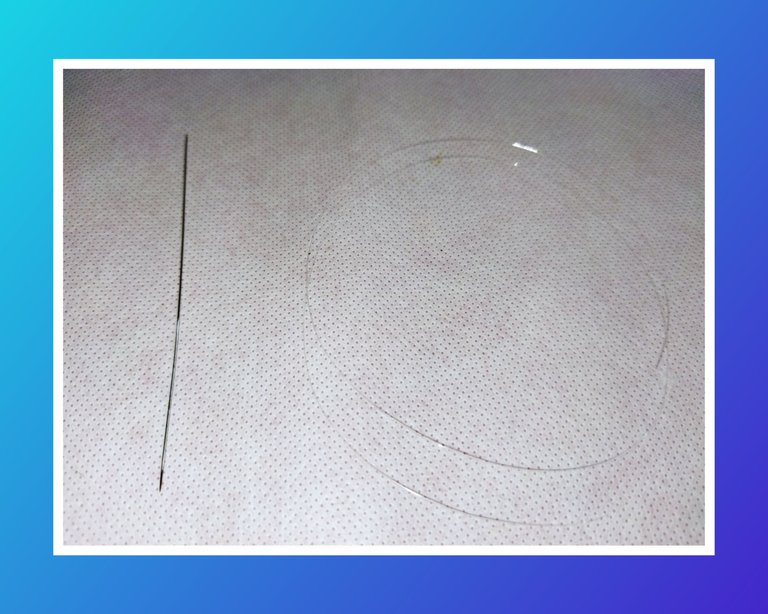
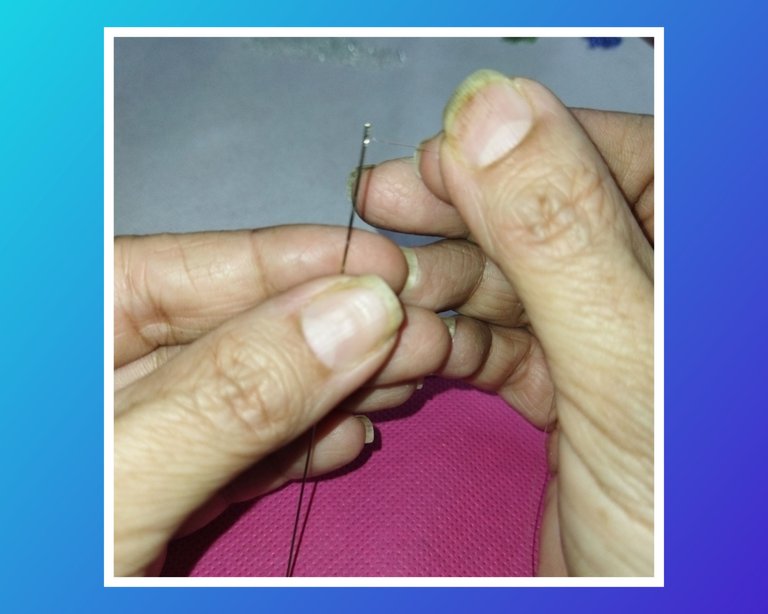
Ensaltamos la aguja de mostacilla. Esta aguja se diferencia de la de costura por ser extremadamente delgada, aunque la verdad es que es un poco difícil esta actividad, ya que el agujero es muy pequeño. En este caso debemos usar un ensaltador u en su defecto aplanar un poco el hilo nylon para que pase con facilidad.
We add the mostacilla needle. This needle differs from the sewing needle because it is extremely thin, although the truth is that this activity is a bit difficult, since the hole is very small. In this case we must use a filler or, failing that, flatten the nylon thread a little so that it passes easily.
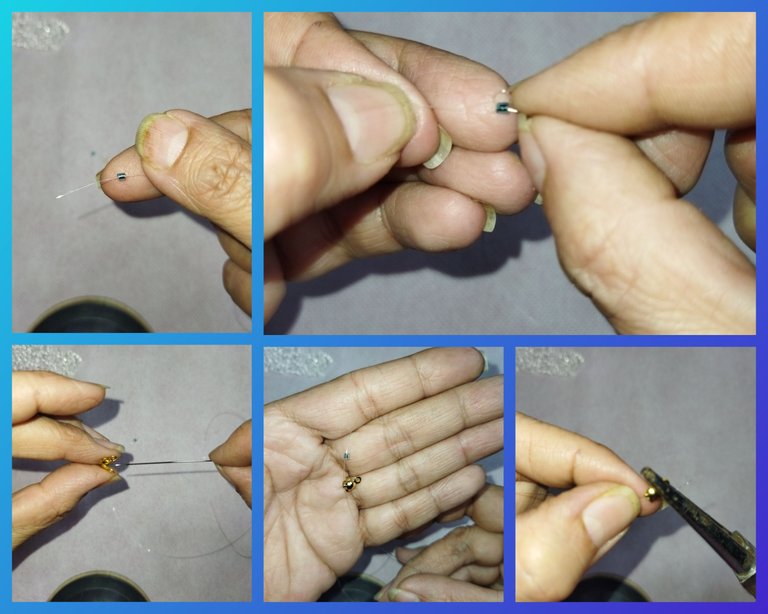
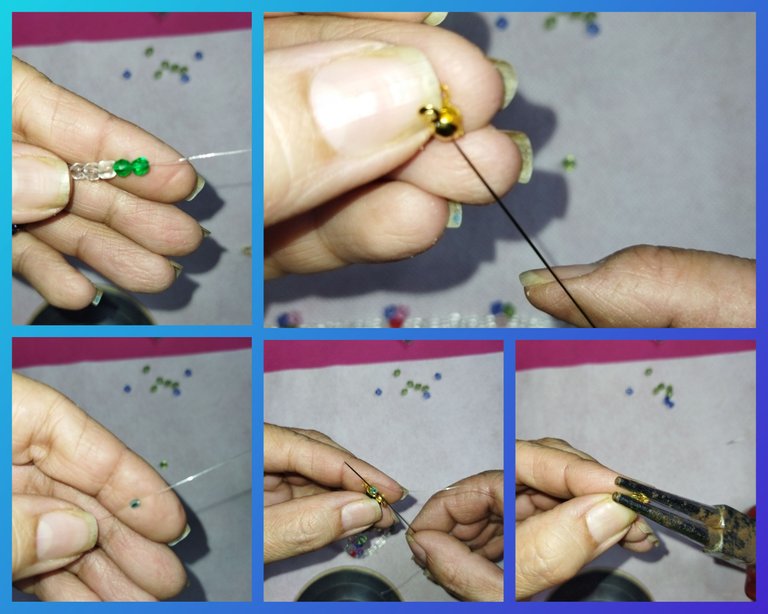
- Ahora comencemos a realizar el collar. Tomamos una mostacilla o un canutillo pequeño y pasamos el hilo nylon dos veces por el agujero.
- Luego introducimos el tapa nudo y ajustamos con la pinza hasta sellar. De esta manera nos aseguramos que el nudo no se deshará y soltará las piedras del collar.
- Now let's start making the necklace. We take a bead or a small bead and pass the nylon thread twice through the hole.
- Then we introduce the knot cover and adjust with the clamp until sealing. In this way we ensure that the knot will not undo and release the stones of the necklace.
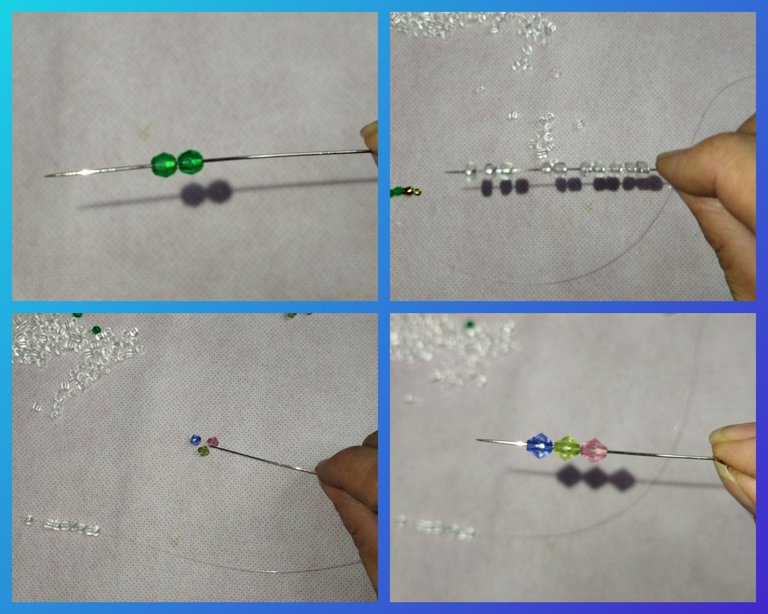
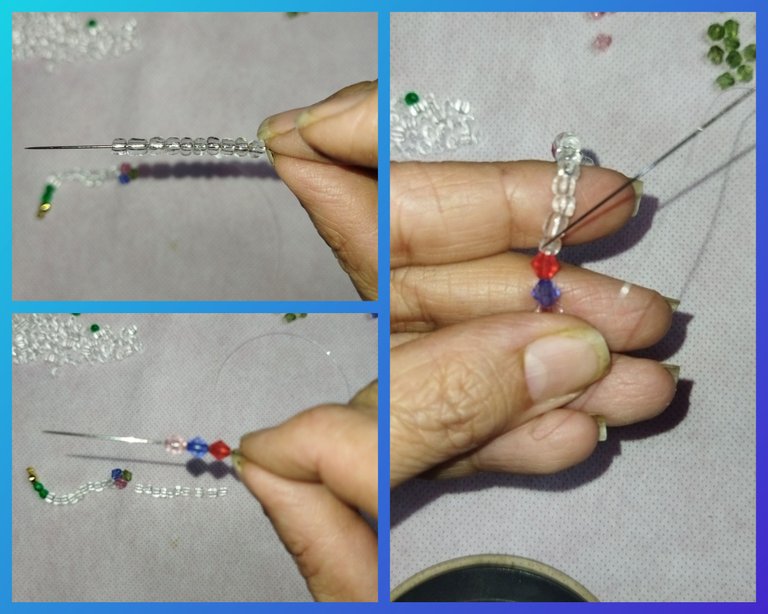
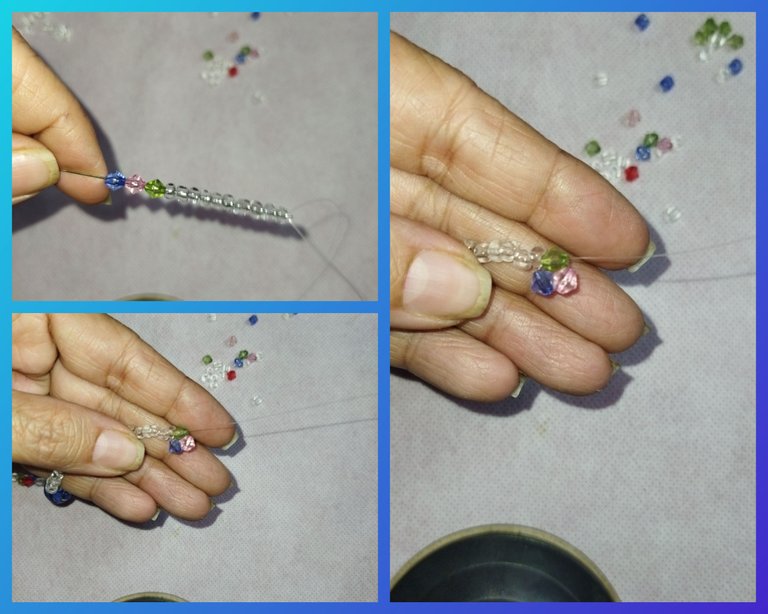
- Tomamos dos piedras de bisutería de color verde para iniciar el collar, seguidamente introducimos 10 mostacillas transparentes.
- Para resaltar el collar, realizaremos un adorno colorido con tres piedras de colores variados. Introducimos las tres piedras, una rosada, una verde y otra de color azul y luego pasaremos la aguja por la primera piedra de color rosado únicamente, dándole una forma muy linda al collar.
- We take two green jewelery stones to start the necklace, then we introduce 10 transparent beads.
- To highlight the necklace, we will make a colorful ornament with three stones of varied colors. We introduce the three stones, one pink, one green and one blue and then we will pass the needle through the first pink stone only, giving the necklace a very nice shape.
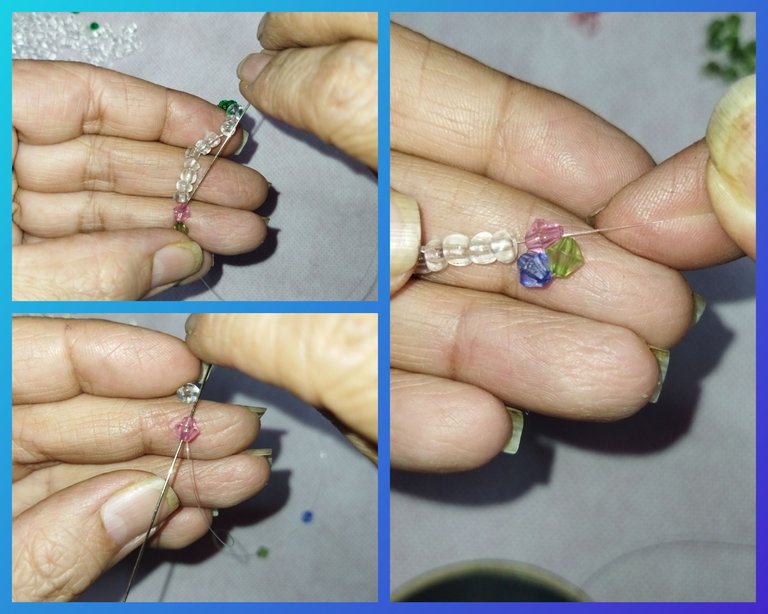
- El segundo y el tercer paso consisten en realizar lo mismo al paso anterior, con la diferencia que cambiaremos el color de las tres piedras que vienen una vez que hemos introducido las 10 mostacillas transparentes.
- The second and third steps consist of doing the same as the previous step, with the difference that we will change the color of the three stones that come once we have introduced the 10 transparent beads.
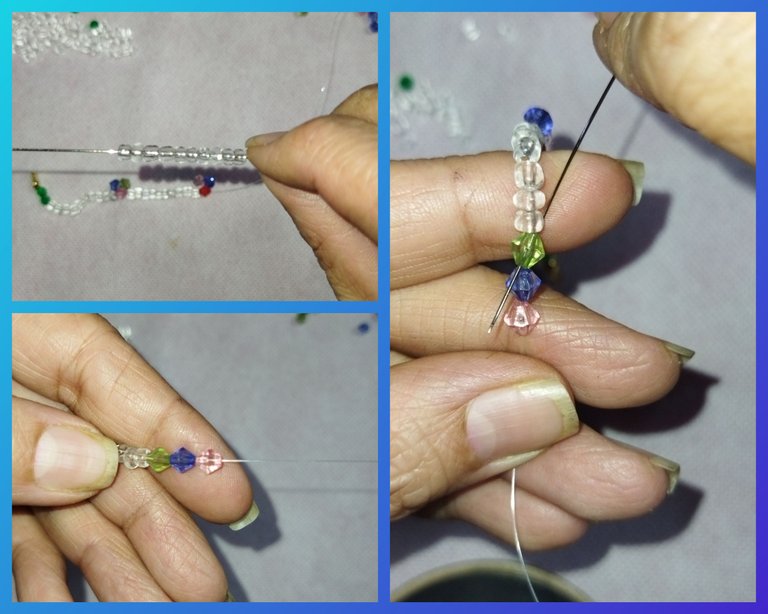
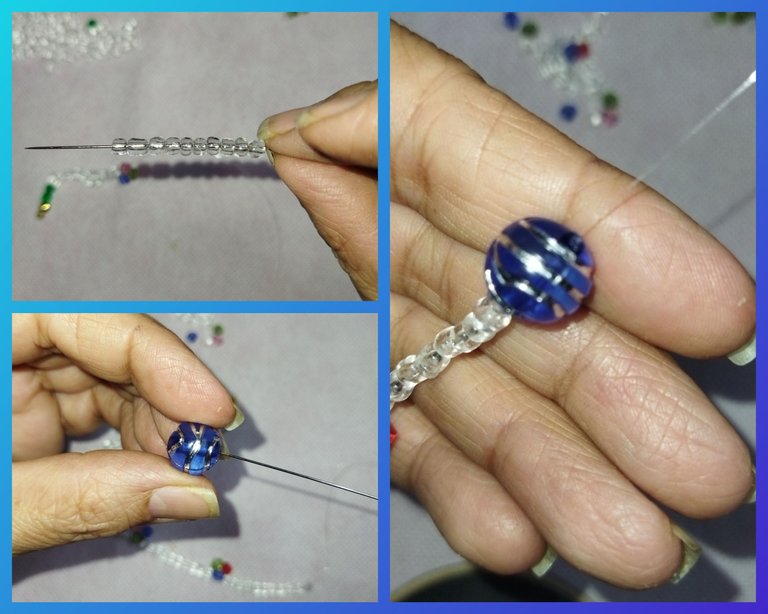
Hasta este momento ya debemos tener elaborado la mitad del collar, a la altura del nacimiento del cuello. Ahora colocaremos una piedra mucho más grande que resaltará nuestro collar.
Until this moment we must have already made half of the necklace, at the height of the birth of the neck. Now we will place a much larger stone that will highlight our necklace.
Una vez más, luego de colocar nuestra bola azul central del collar, realizaremos a continuación el paso 1, 2 y 3 del collar, introduciendo 10 mostacillas transparentes, luego tres piedras de bisutería de colores variados que luego enlazaremos por la primera piedra para darle forma.
Once again, after placing our central blue ball of the necklace, we will then carry out steps 1, 2 and 3 of the necklace, inserting 10 transparent beads, then three jewelery stones of varied colors that we will then link through the first stone to shape it.
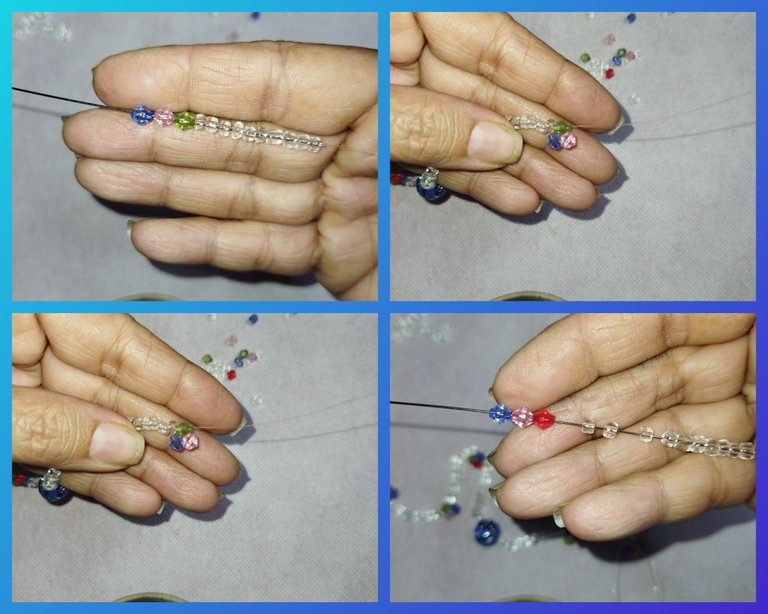
Finalizamos con 10 mostacillas transparentes, y de igual manera como comenzamos con dos piedras verdes de bisutería.
Colocamos el tapa nudos y enlazamos un canutillo pequeño doblemente con el nylon y sellamos con la pinza.
We finish with 10 transparent beads, and in the same way as we started with two green jewelry stones.
We place the knot cover and bind a small tube twice with the nylon and seal with the clamp.
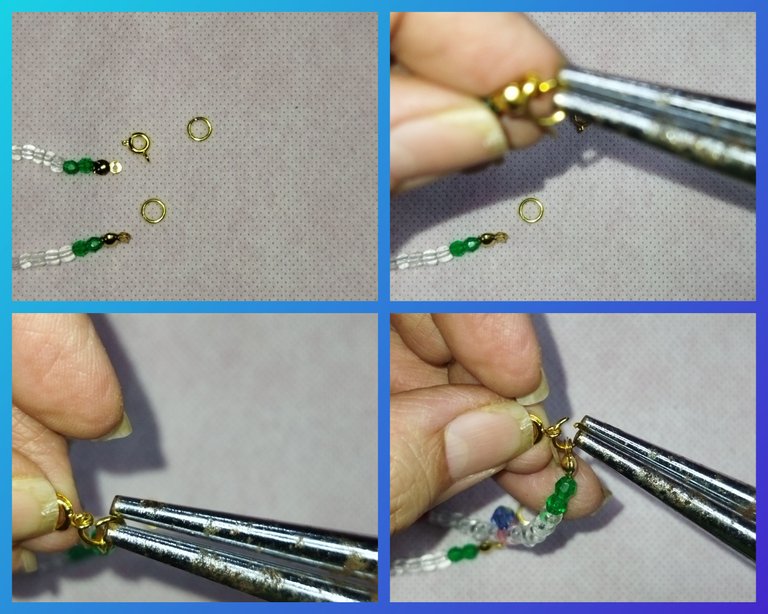
Abrimos con mucho cuidado un poco las argollas y metemos en cada extremo de los tapa nudos del collar y en uno de los extremo colocaremos el trancadero o seguro.
We open the rings very carefully a little and we put in each end of the knot cover of the necklace and in one of the ends we will place the lock or insurance.
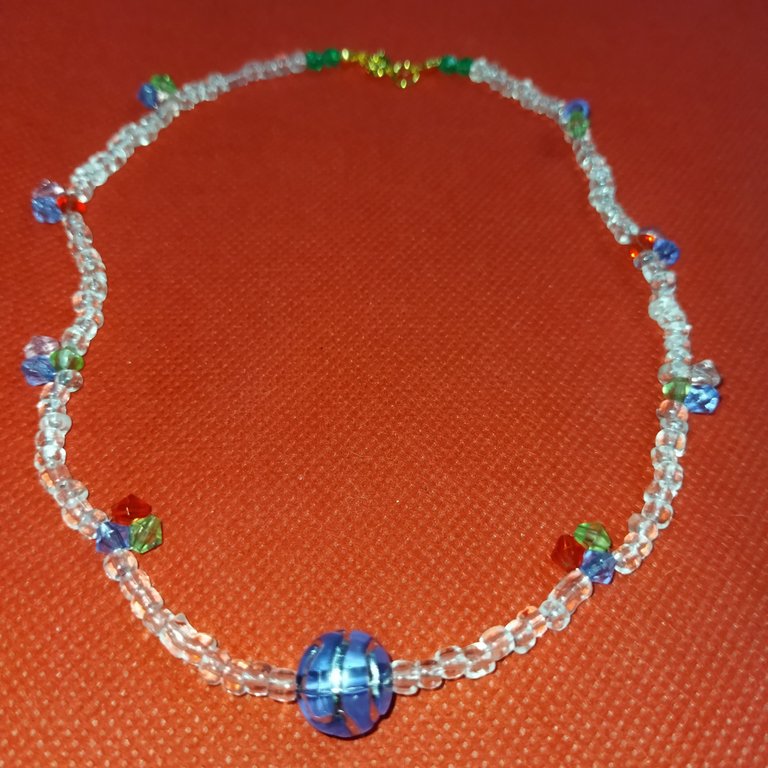
Muy agradecida con mi tía por este obsequio que me mandó porque he podido aprender algo nuevo. Yo estoy muy contenta con el resultado, a pesar de ser mi primer collar y que los acabados no son perfectos, disfruté mucho de la experiencia. Espero seguir aprendiendo y compartiendo con ustedes. Pronto vendré con nuevos accesorios. Esta es una pieza muy, muy sencilla de realizar. Espero les guste. Nos vemos en la próxima.
Very grateful to my aunt for this gift she sent me because I have been able to learn something new. I am very happy with the result, despite being my first necklace and the finishes are not perfect, I really enjoyed the experience. I hope to continue learning and sharing with you. Soon I will come with new accessories. This is a very, very simple piece to make. I hope you like it. See you next time.
Todas las fotos son de mi autoría, tomadas con mi teléfono POCO M3
Para la portada utilicé Canva y para la edición de fotos utilicé Polish
Utilicé https://translate.google.com para la traducción
Para la portada utilicé Canva y para la edición de fotos utilicé Polish
Utilicé https://translate.google.com para la traducción

Hola @linita, me alegra mucho que estés tan entusiasmada con esta nueva actividad, el collar te ha quedado muy lindo, gracias por comaprtir.
Congratulations, your post has been upvoted by @dsc-r2cornell, which is the curating account for @R2cornell's Discord Community.
Enhorabuena, su "post" ha sido "up-voted" por @dsc-r2cornell, que es la "cuenta curating" de la Comunidad de la Discordia de @R2cornell.
Beautiful thanks for sharing @linita