[ESP-ENG] DIVERTIDOS IMANTADOS DE FRUTAS PARA DECORAR LA NEVERA HECHOS EN FOAMI
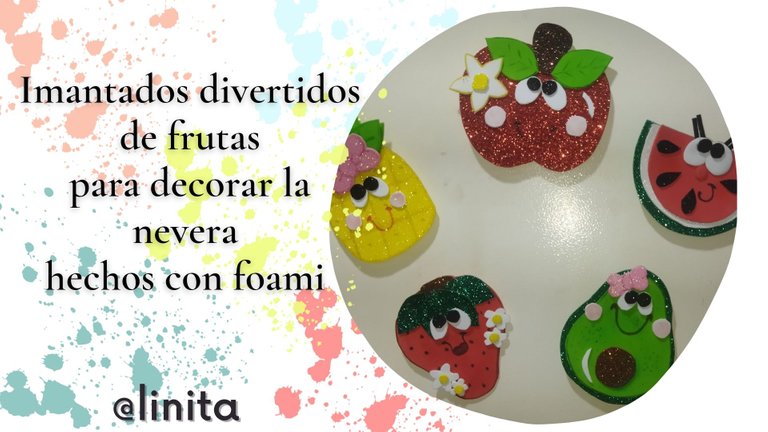
BIENVENIDOS A MI BLOG
¡Holaaaa, holaaaaa! Saludos gente creativa de Hive Diy. Siempre me han gustado los imantados. Recuerdo que cuando era niña mi madrina tenía su nevera co muchos imantadas de porcelana y a mi me encantaba verlos, más no podía tocarlos porque se podían romper. Cuando me toco ser ama de casa y tener a mis hijas siempre pensaba en hacerlos pero con la finalidad de que ellas pudieran jugar con ellos mientras estábamos en la cocina. Así que desde siempre he tenido muchos en mi nevera y voy renovando según la época. Hace un tiempo elaboré unos cuantos co material reciclado, pero la humedad y el polvo los fue deteriorando y los fui eliminando. Así que llegó el momento de cambiarlos. Esta vez quise hacerlos en foami y con diversas formas de frutas. me hubiera gustado hacer unos cuantos más pero no contaba con suficientes imanes, así que sólo logre hacer cinco. Quieres saber como los hice? Pues, quédate y continua leyendo este paso a paso. Si tienes niños puedes invitarlos a ayudar. Es entretenido y muy importante para que desarrollen sus habilidades motrices. Sin más, comencemos.
WELCOME TO MY BLOG
Hellooooo, hellooooo! Greetings creative folks at Hive Diy. I have always liked magnets. I remember that when I was a child my godmother had her fridge with many porcelain magnets and I loved to see them, but she couldn't touch them because they could break. When I have to be a housewife and have my daughters I always thought about making them but with the purpose that they could play with them while we were in the kitchen. So I've always had many in my fridge and I'm renewing according to the season. Some time ago I made a few with recycled material, but the humidity and dust deteriorated them and I eliminated them. So it's time to change them. This time I wanted to make them in foami and with different shapes of fruits. I would have liked to make a few more but I didn't have enough magnets so I only managed to make five. Do you want to know how I made them? Well, stay and continue reading this step by step. If you have children you can invite them to help. It is entertaining and very important for them to develop their motor skills. Without further ado, let's get started.
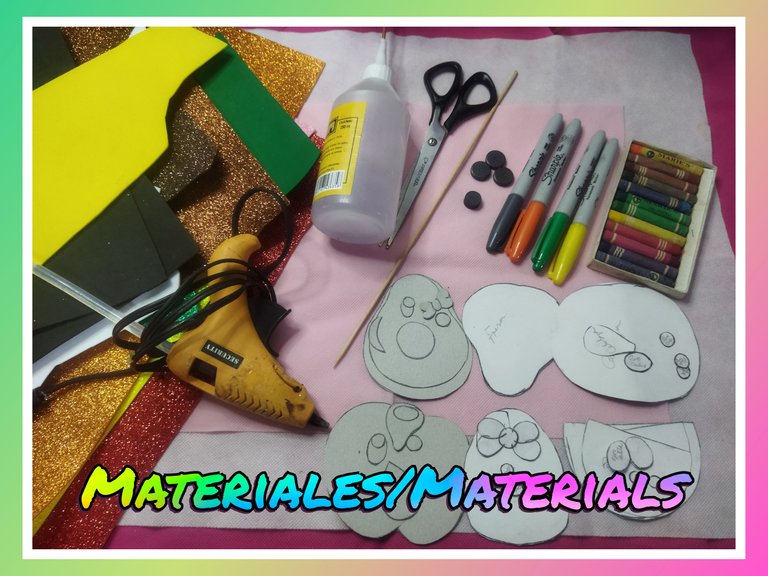
MATERIALES
- Foami normal y escarchado de diversos colores
- Marcadores colores variados
- Tiza pastel, colores variados
- Lapiceros escarchados
- Imanes
- Tijera
- Pistola de silicón
- Palillo de altura
- Patrones de frutas
MATERIALS
- Normal and frosted foam of different colors
- Markers assorted colors
- Pastel chalk, assorted colors
- Frosty pens
- Magnets
- Scissors
- Silicone gun
- Stick height
- Fruit patterns
PASO A PASO // STEP BY STEP
PATILLA COQUETA
Comenzaremos realizando la más coqueta de la frutas, la patilla. Seleccionamos los retazos de foami de los colores necesarios: rojo, verde escarchado, blanco, negro escarchado)
Con el palillo de altura marcamos con los patrones cada pieza en los retazos de foami en el color que corresponda.
FLIRTY SIDEWASH
We will begin by making the most flirtatious of fruits, the sideburn. We select the pieces of foami of the necessary colors: red, frosty green, white, frosty black)
With the height stick we mark with the patterns each piece in the foami pieces in the corresponding color.
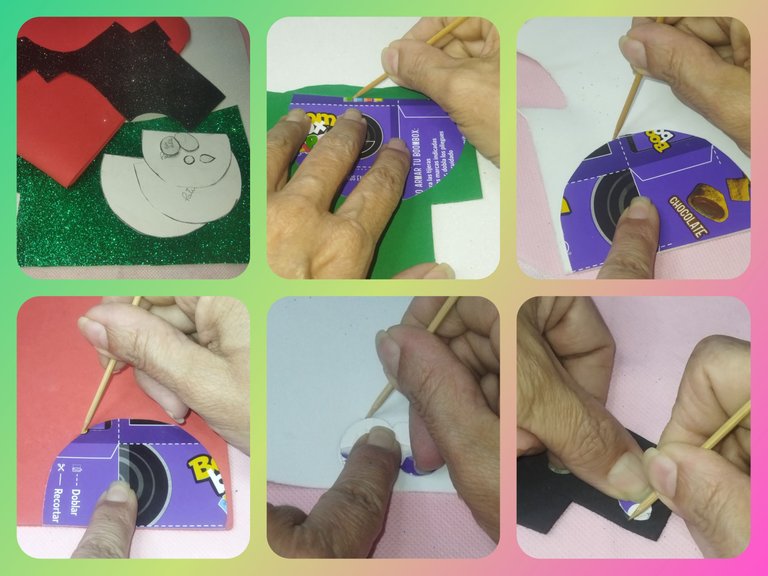
- Recortamos cada uno de las piezas.
- We cut out each of the pieces.
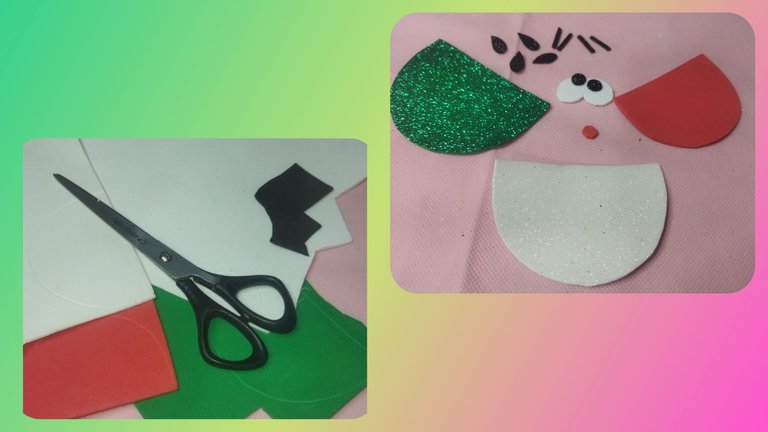
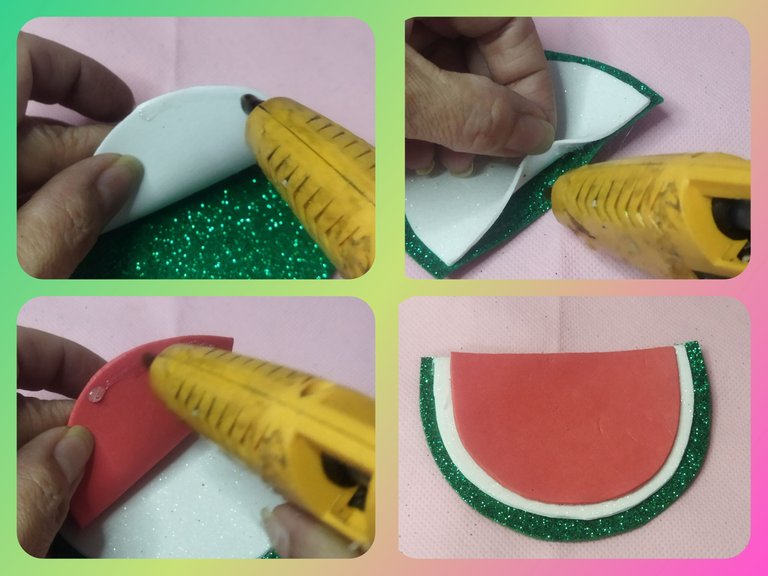
Una vez cortadas todas las piezas comenzamos a armar la patilla, uniendo las piezas co la pistola de silicón.
comenzaremos con las 3 partes que forman la fruta. Sobre la base verde escarchada, pegamos la blanca y luego la roja.
Once all the pieces have been cut, we begin to assemble the temple, joining the pieces with the silicone gun.
We will start with the 3 parts that make up the fruit. On the frosty green base, we glue the white one and then the red one.
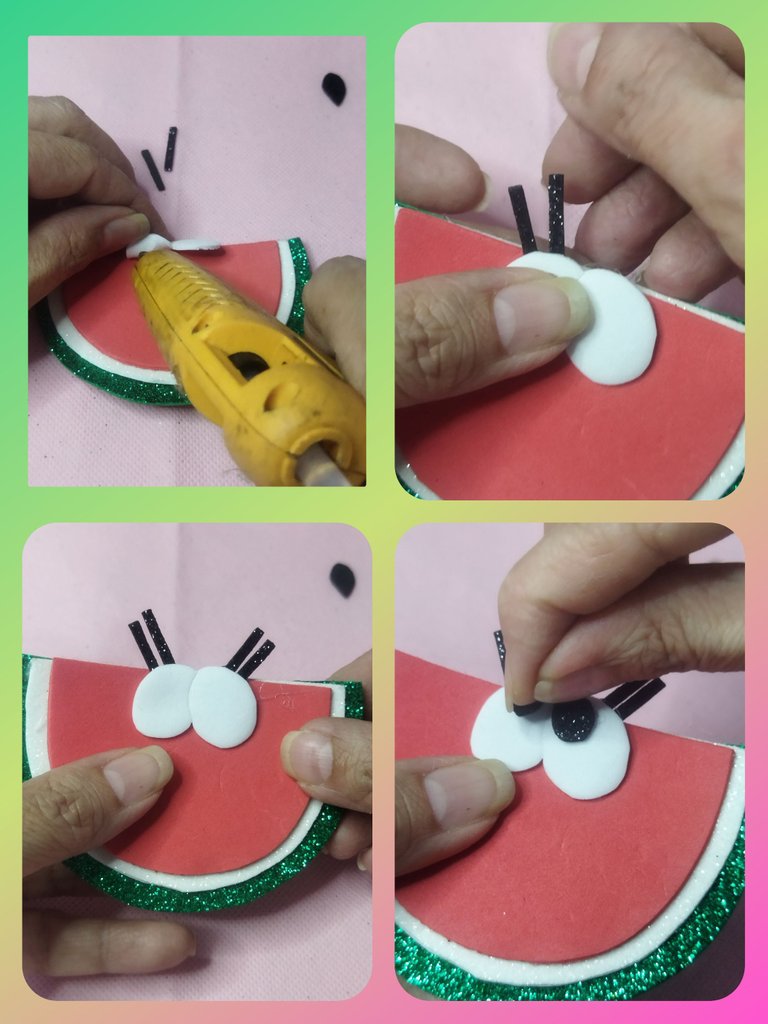
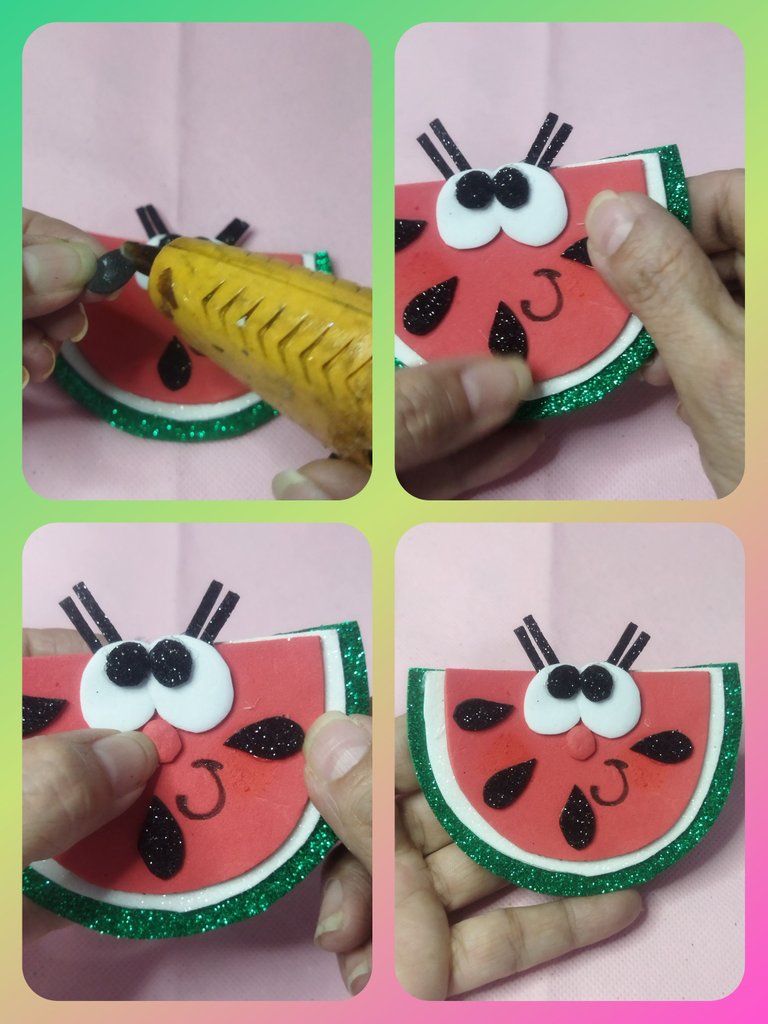
A continuación pegamos los ojos y las pestañas.
Next we glue the eyes and eyelashes.
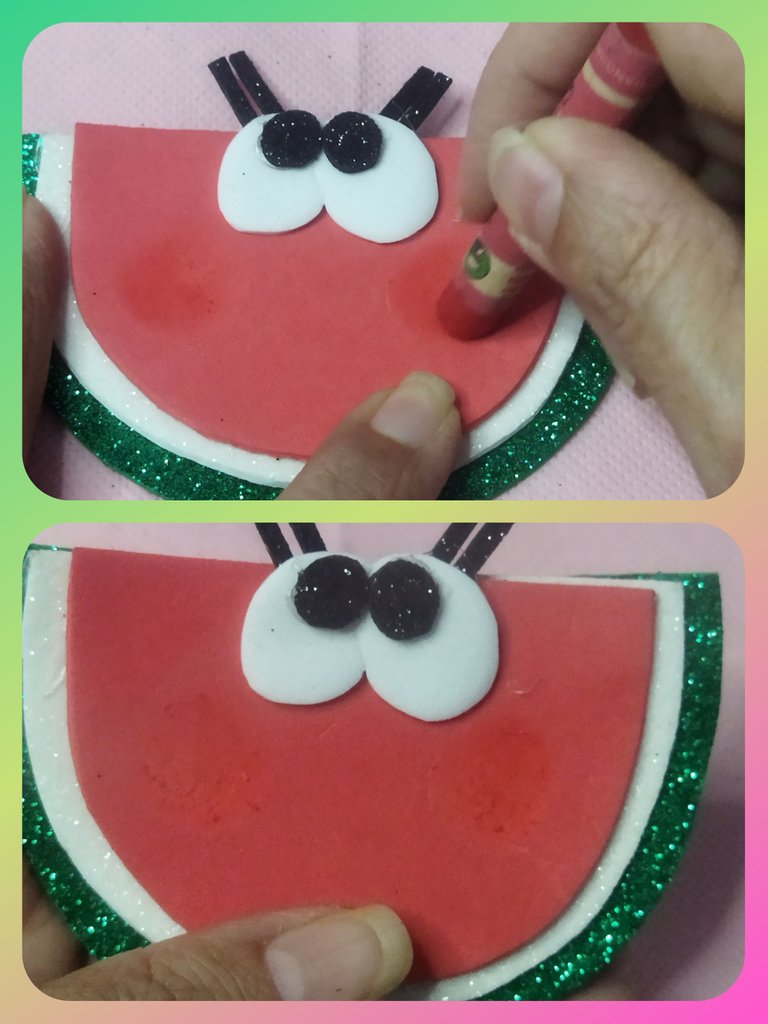
Con la tiza pastel color rojo vamos a realizar el rubor de la patilla.
With the red pastel chalk we are going to make the blush of the sideburn.
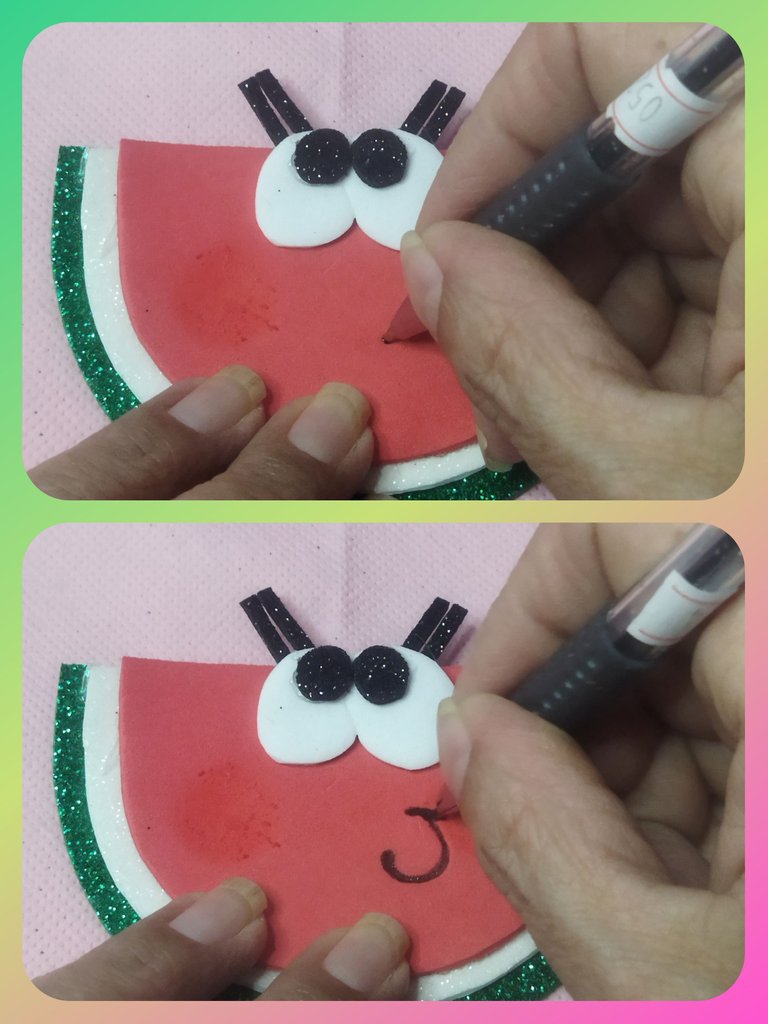
Tomamos el lapicero escarchado negro y realizamos la boca en forma de "J".
We take the black frosted pencil and make the mouth in the shape of a "J".
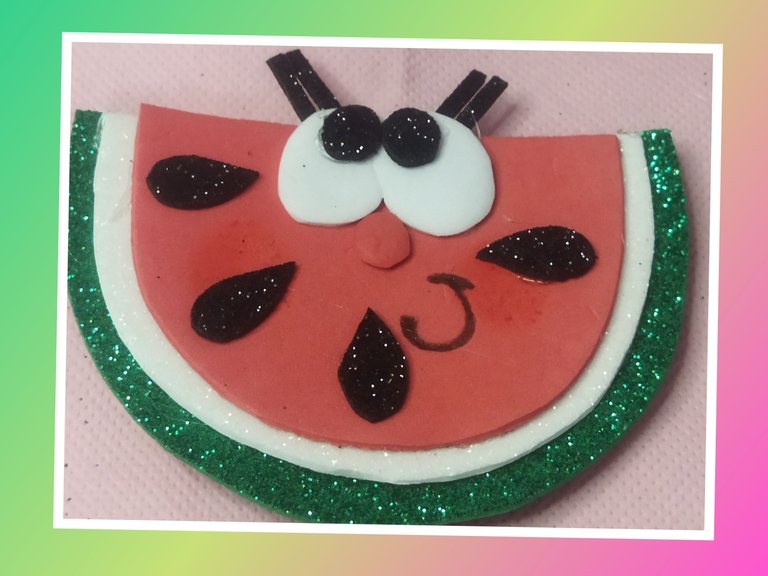
Y para darle el toque final a la fruta, colocamos las semillas y la nariz.
And to give the final touch to the fruit, we place the seeds and the nose.
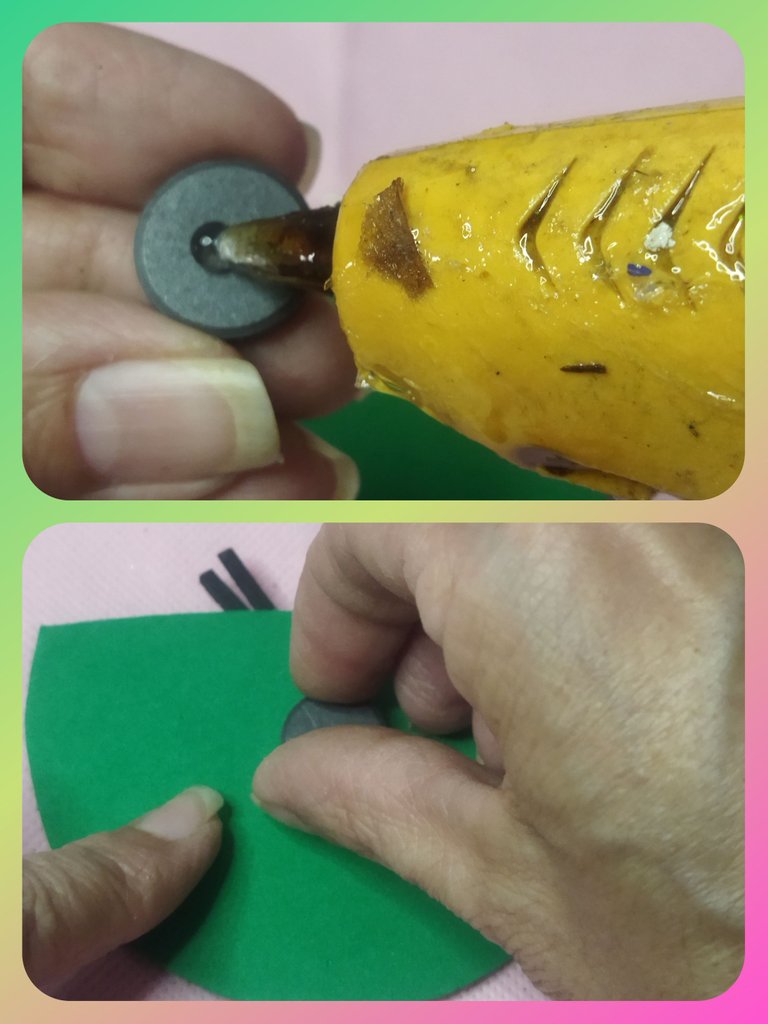
Para finalizar, en la parte trasera colocamos el imán con un punto de silicón.
To finish, in the back we place the magnet with a silicone point.
LA MANZANA ROJA
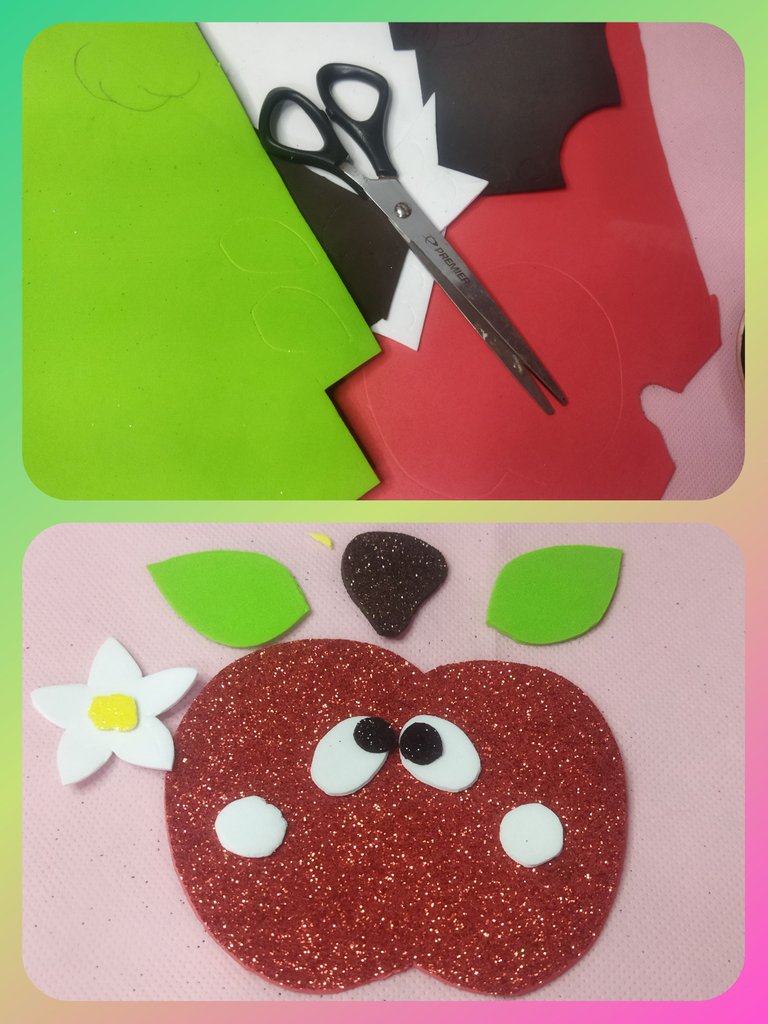
Para realizar la manzana roja, seleccionamos los retazos de foami que utilizaremos y co el patrón marcamos todas las piezas en él. Lo hacemos por la parte opuesta del foami para que las marcas no sean visible en caso de que quede alguna.
THE RED APPLE
To make the red apple, we select the pieces of foam that we will use and with the pattern we mark all the pieces on it. We do it on the opposite side of the foam so that the marks are not visible in case there are any.
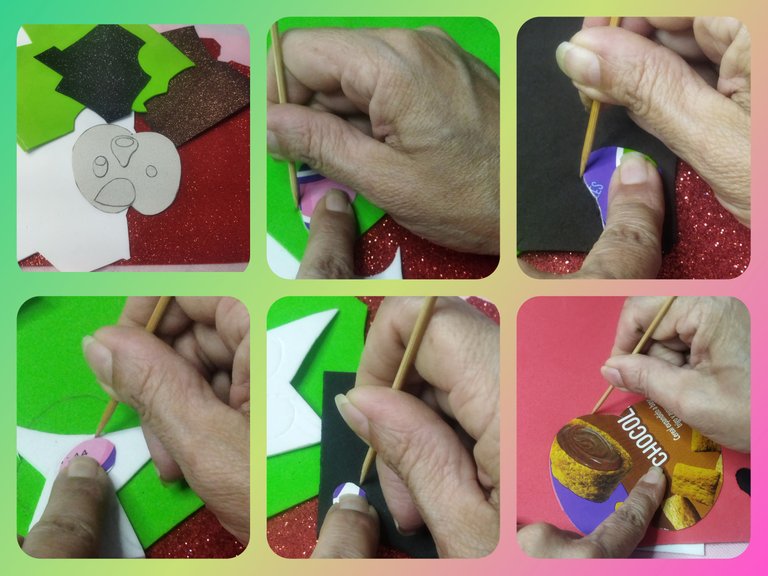
Recortamos todas las piezas y procedemos a armar nuestra manzana.
We cut out all the pieces and proceed to assemble our apple.
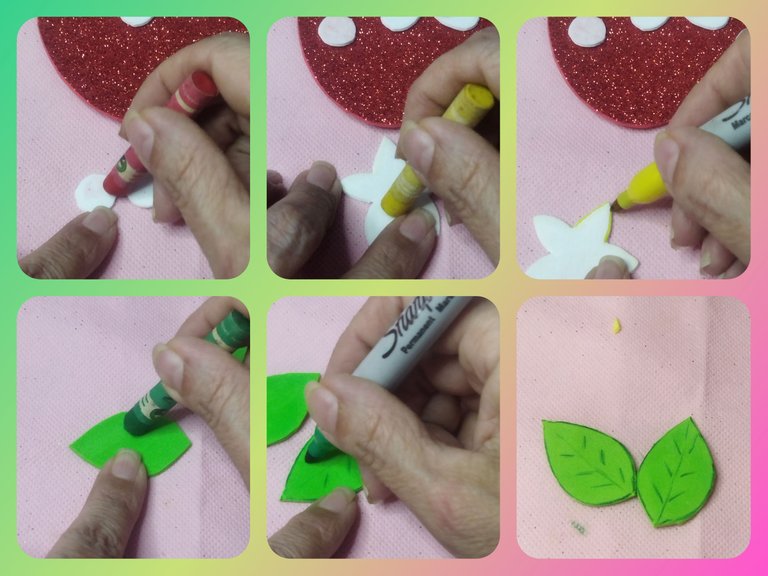
Comenzamos realizado un difuminado y sombreado en las piezas utilizando la tiza pastel para el difuminado y con los marcadores, realizamos el sombreado y el diseño de las hojas.
We begin by blending and shading the pieces using pastel chalk for blending and with the markers, we do the shading and design of the leaves.
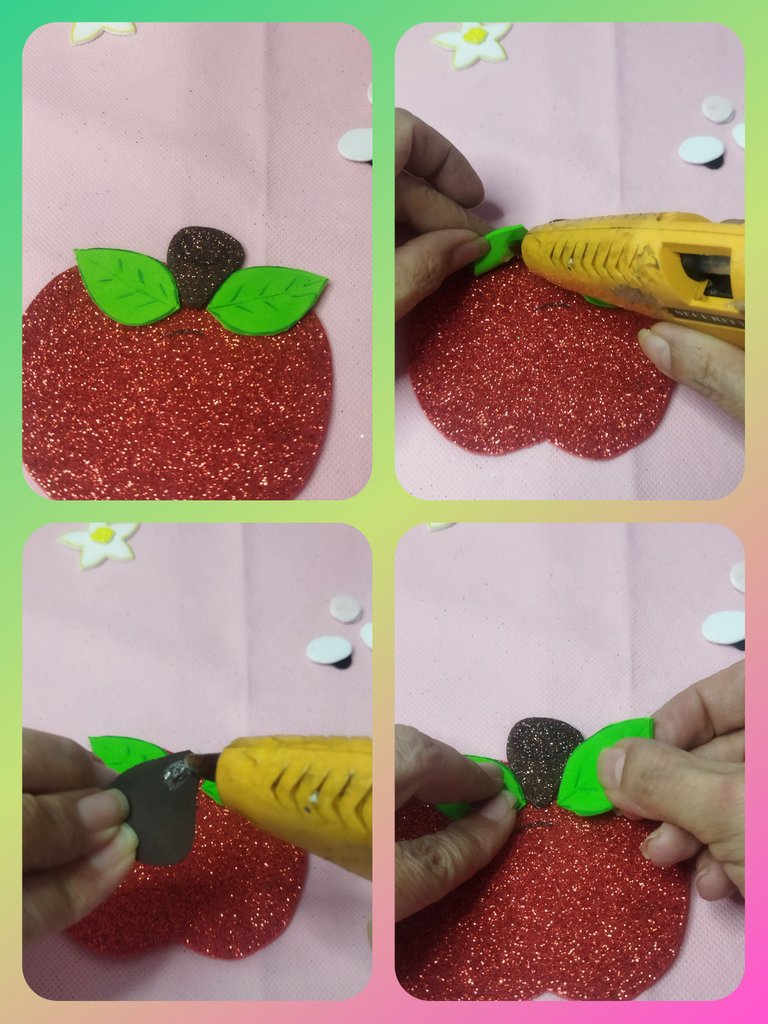
A continuación pegamos las piezas sobre la forma de la manzana. Comenzamos con las hojas y rama.
Next we glue the pieces on the shape of the apple. We start with the leaves and branch.
Formamos los ojitos y pegamos en la parte central y superior del la mazana, justo debajo de las hojas, colocándolos de forma perpendicular.
We form the eyes and glue them in the central and upper part of the apple, just below the leaves, placing them perpendicularly.
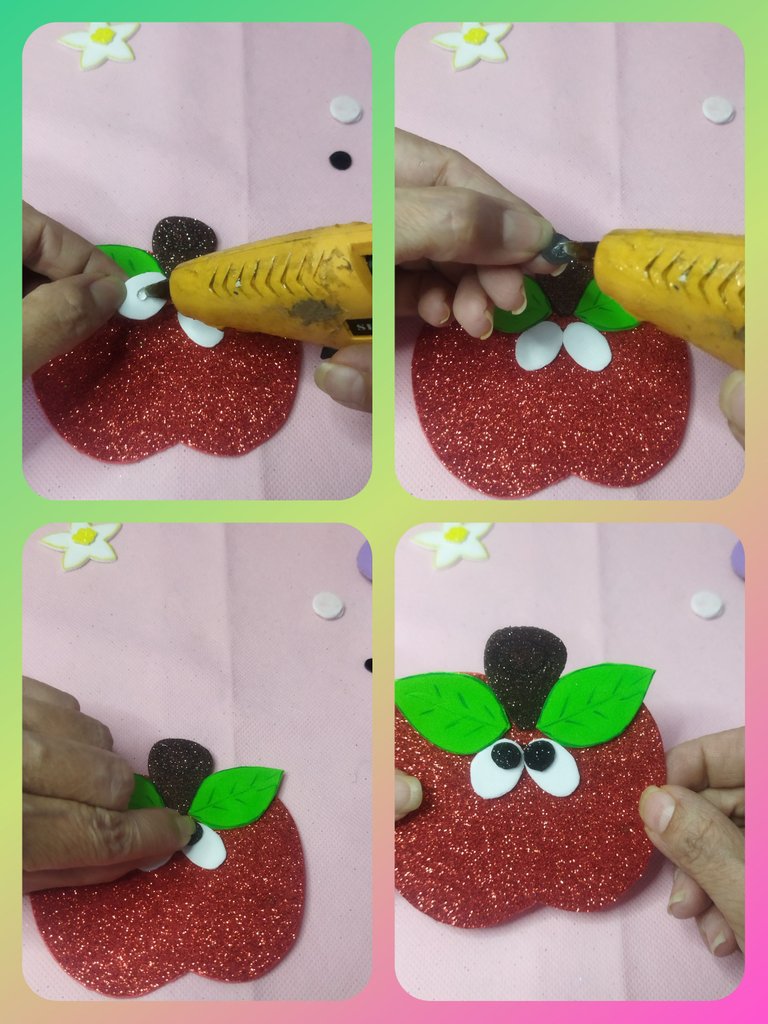
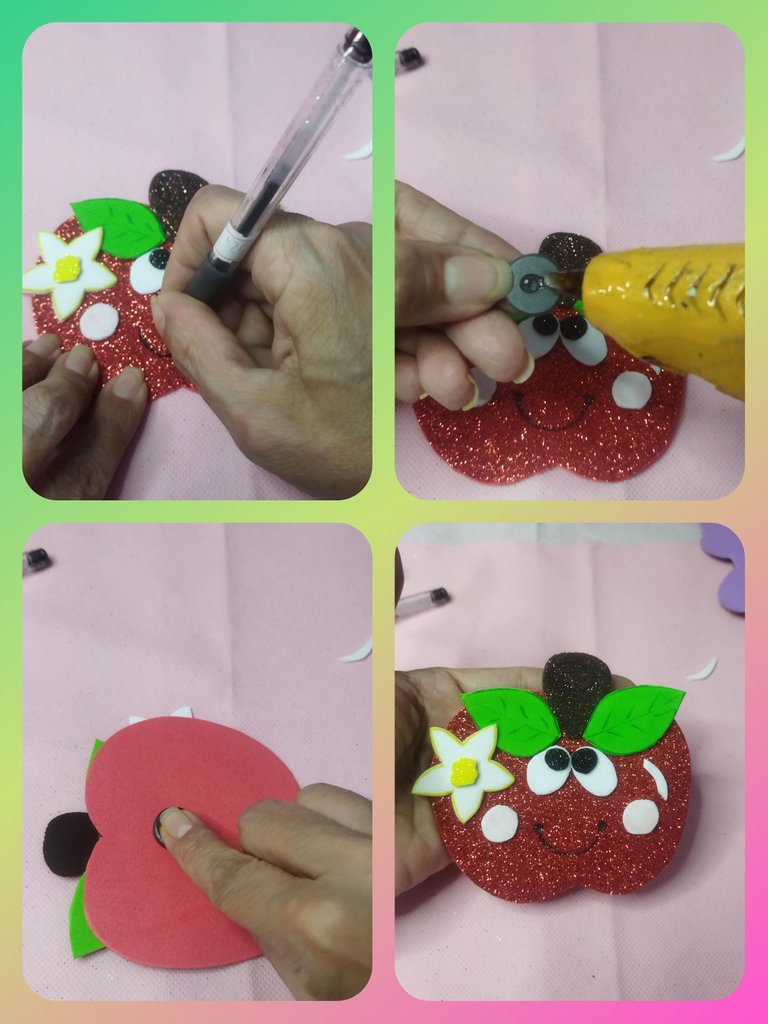
Pegamos los detalles para darle vida como son las flores y los mofletes.
We paste the details to give it life such as the flowers and the cheeks.
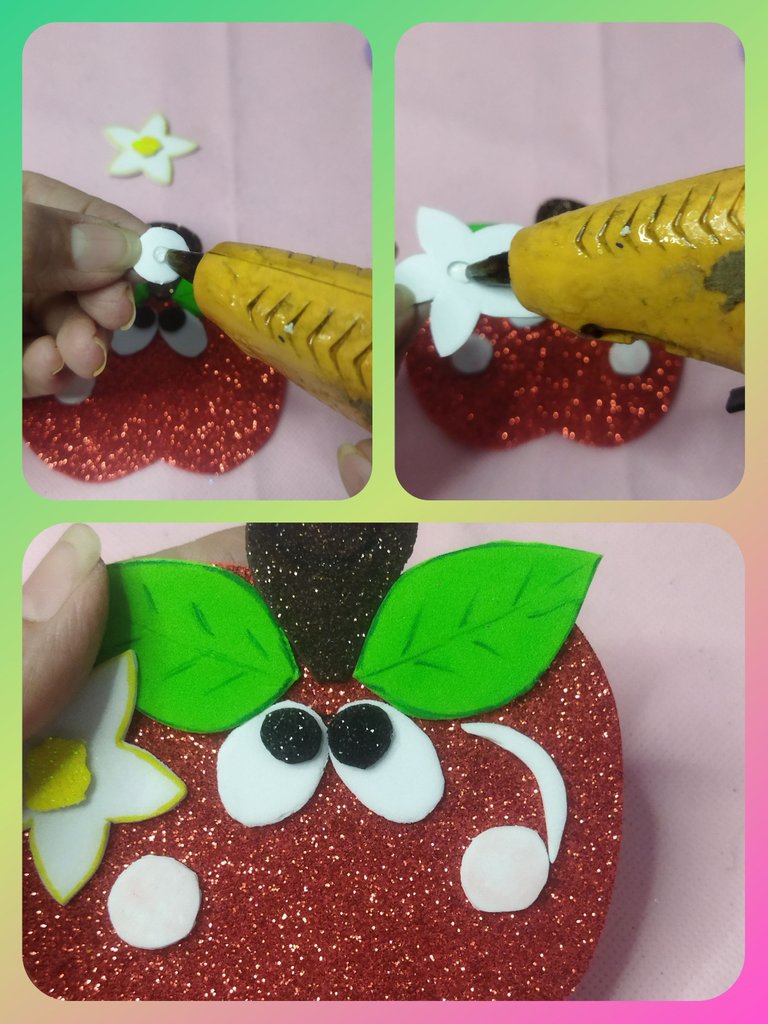
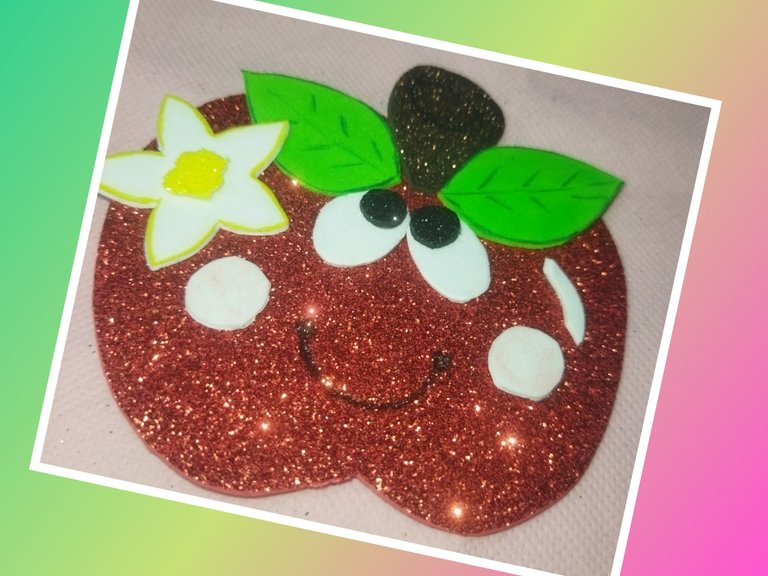
Por último, con el lapicero negro escarchado realizamos la boca y por la parte trasera colocamos el imán.
Finally, with the frosty black pen we make the mouth and place the magnet on the back.
"LA NENA AGUACATE**
Para realizar el aguacate, seleccionamos los retazos de foami adecuados y marcamos en ellos las figuras utilizando el patrón.
To make the avocado, we select the appropriate foami pieces and mark the figures on them using the pattern.
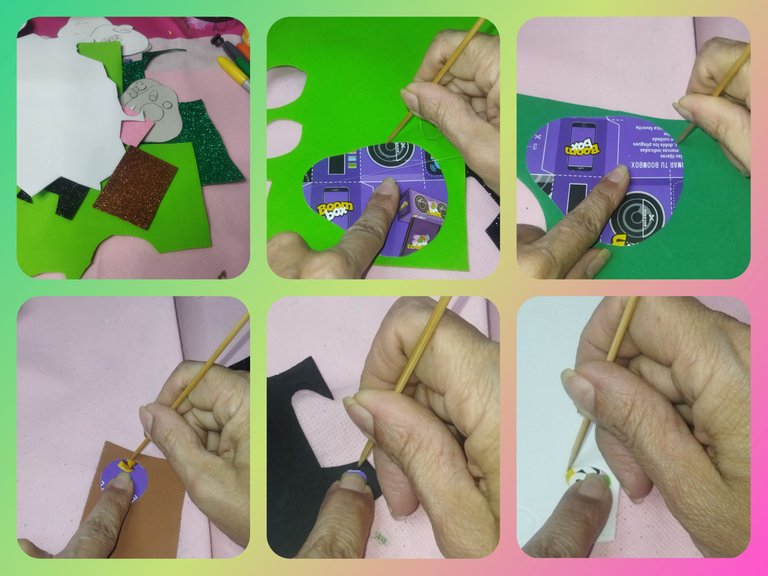
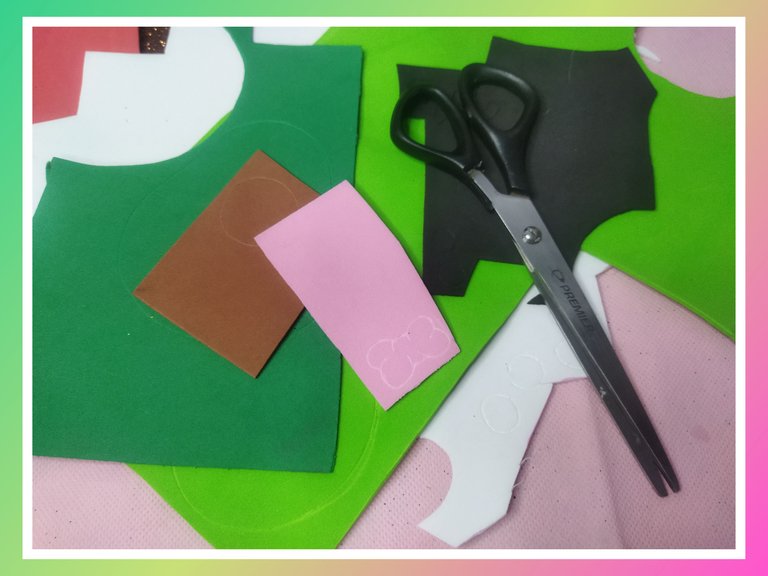
Recortamos cada una de las piezas.
We cut out each of the pieces.
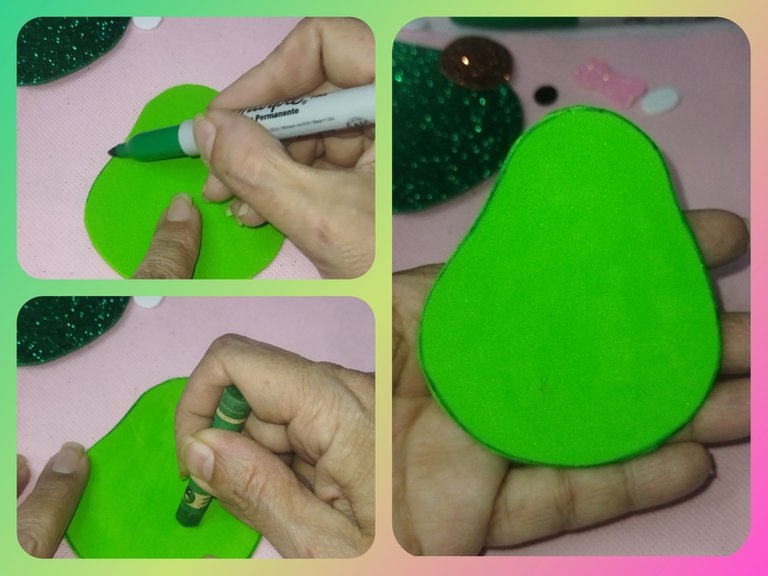
En la pieza verde manzana difuminamos con la tiza pastel verde y con el marcador para foami, realizamos el sombreado.
In the apple green piece we blend with the green pastel chalk and with the foami marker, we do the shading.
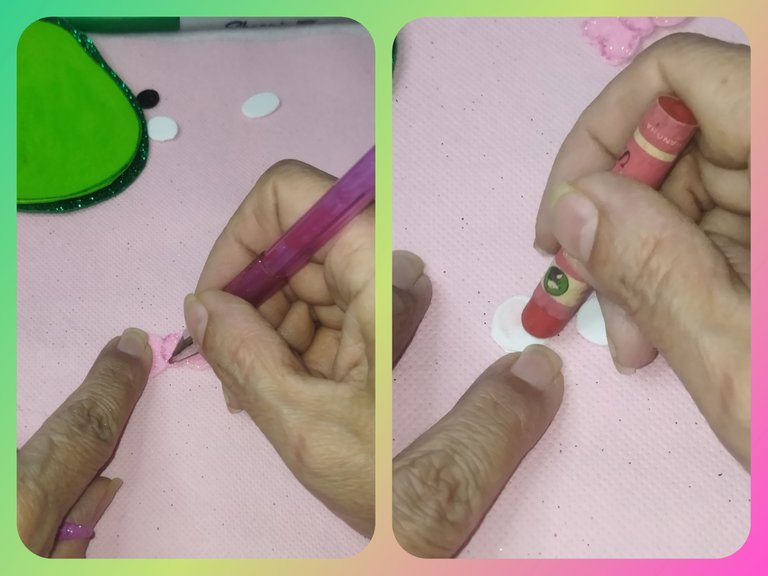
Luego con el lapicero rosado escarchado, resaltamos el lazo y con la tiza pastel difuminamos los mofletes.
Then with the frosty pink pencil, we highlight the bow and with the pastel chalk we blur the cheeks.
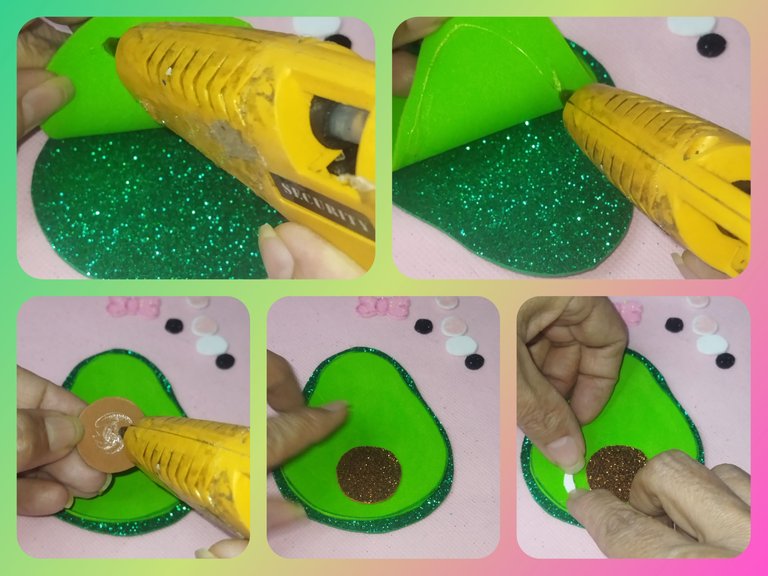
Con la pistola de silicón, pegamos las pieza comenzando con la verde manzana sobre la verde escarchada.
Luego colocamos lo que sería la semilla ubicándola en la parte inferior central de la fruta.
With the silicone gun, we glue the pieces starting with the apple green on the frosty green.
Then we place what would be the seed, placing it in the lower central part of the fruit.
Colocamos el resto de las piezas. Los ojos, en la parte superior central de forma perpendicular. Los mofletes, en la parte central a cada extremo de la fruta y el lazo, en un costado en la esquina superior del lado izquierdo.
We put the rest of the pieces. The eyes, in the upper central part perpendicular. The cheeks, in the central part at each end of the fruit and the bow, on one side in the upper left corner.
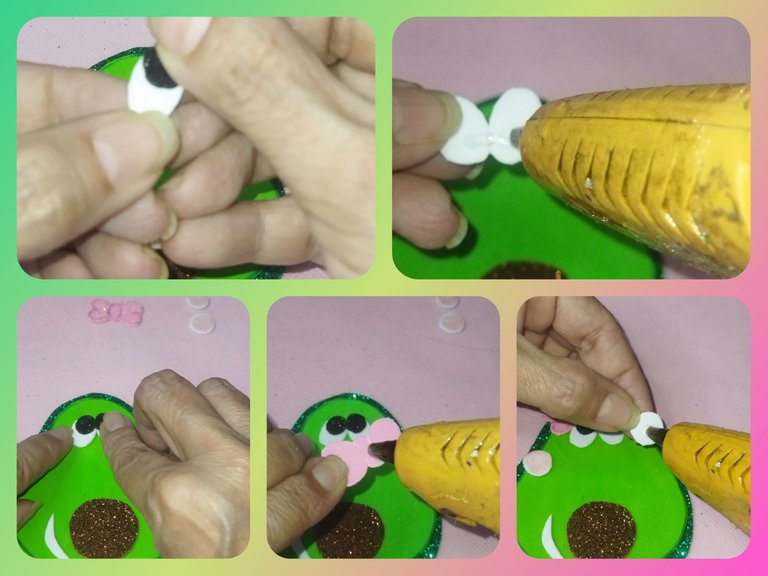
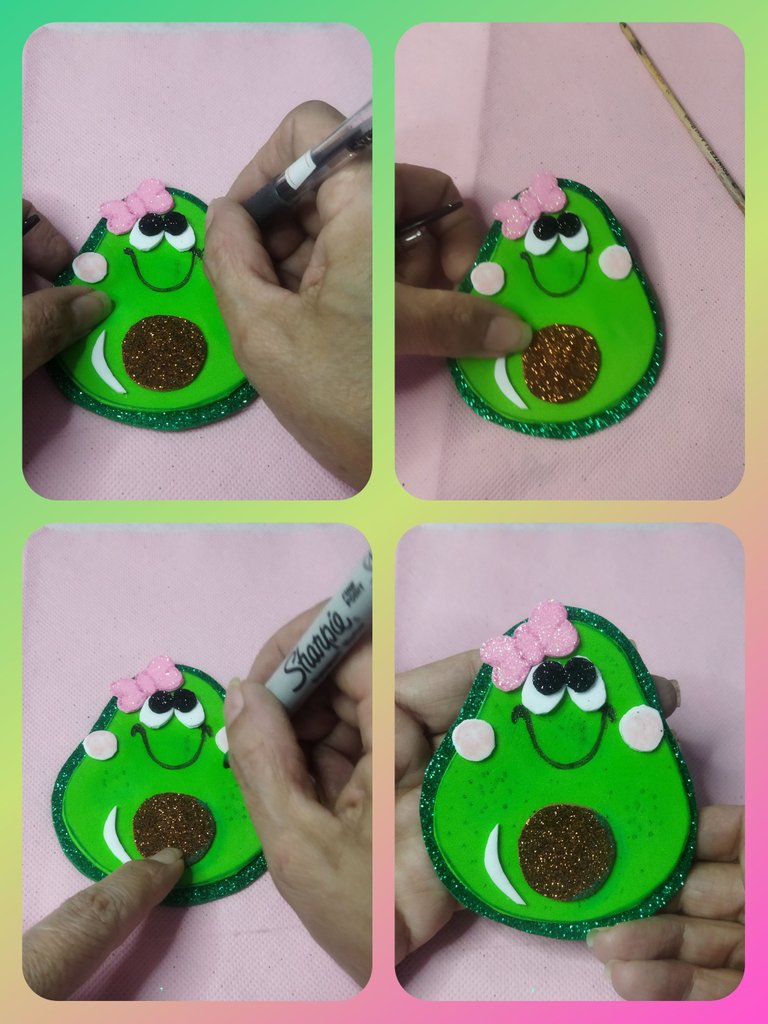
Luego con el lapicero negro escarchado formamos la boca y con el marcador verde realizamos puntos dispersos formando pecas.
Then with the frosty black pen we form the mouth and with the green marker we make scattered dots forming freckles.
LA FRESA
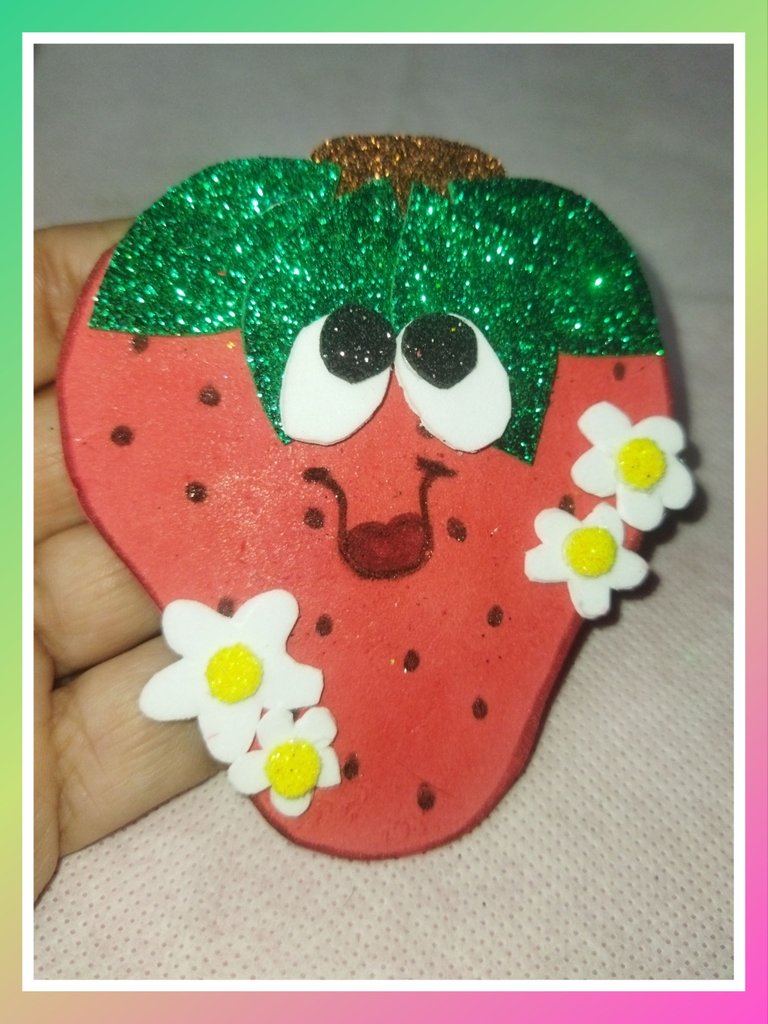
Esta pieza me hizo recordar mucho al personaje de la máscara, creo que tiene más aspecto de freso que de fresa, jajajajajaja, pero si podemos hacer un aguacate bien femenino, también podemos hacer una fresa bien masculino.
Comenzamos seleccionando los retazos de foami de los colores necesarios y con el patrón marcamos todas las piezas.
THE STRAWBERRY
This piece reminded me a lot of the character in the mask, I think it looks more like a strawberry than a strawberry, hahahahaha, but if we can make a very feminine avocado, we can also make a very masculine strawberry.
We begin by selecting the pieces of foami in the necessary colors and with the pattern we mark all the pieces.
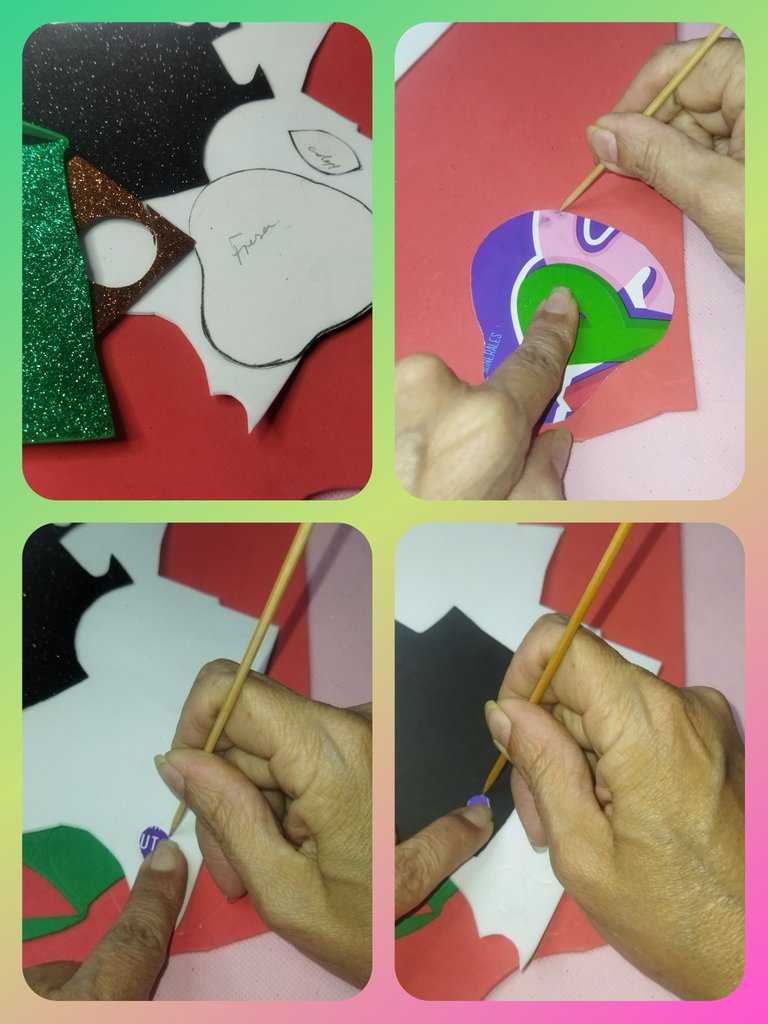
Recortamos cada pieza y comenzamos a armar la fruta.
We cut out each piece and began to assemble the fruit.
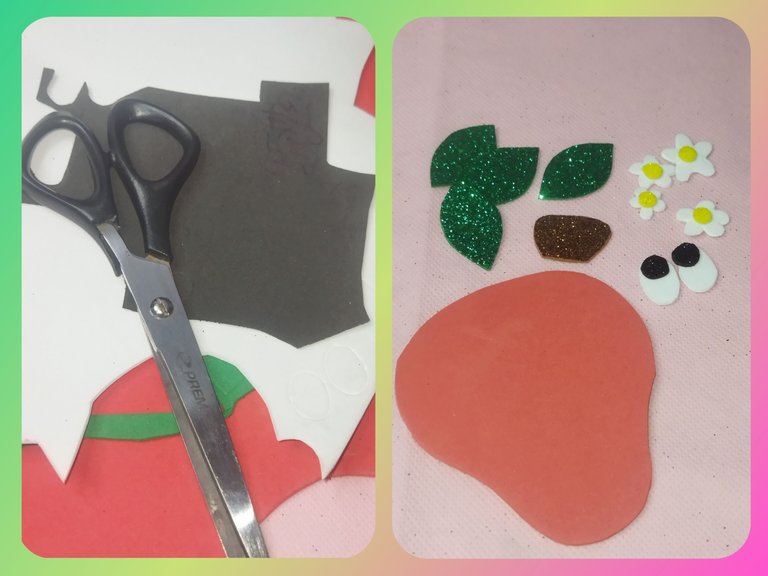
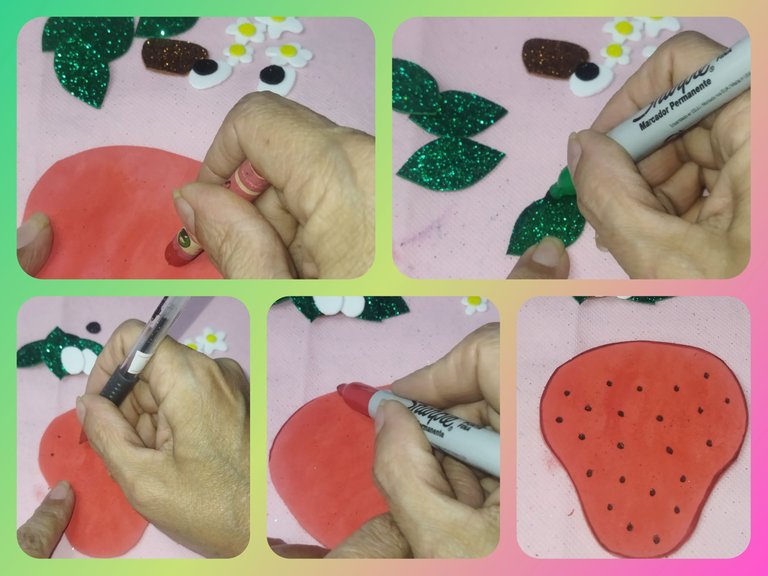
Difuminamos la fresa con la tiza pastel roja y con el marcador rojo y verde sombreamos la fresa y las hojas. Luego con el lapicero escarchado negro realizamos puntos dispersos en la fresa.
We blend the strawberry with the red pastel chalk and with the red and green marker we shade the strawberry and the leaves. Then with the black frosted pencil we make scattered points on the strawberry.
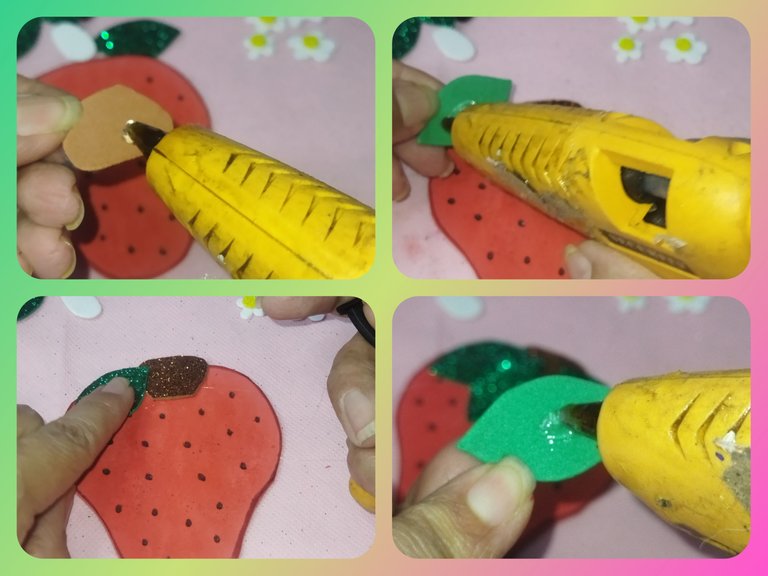
Armamos la fresa pegando todas las piezas con la pistola de silicón. Comenzando con las hojas y la rama.
We assemble the strawberry by gluing all the pieces with the silicone gun. Starting with the leaves and the branch.
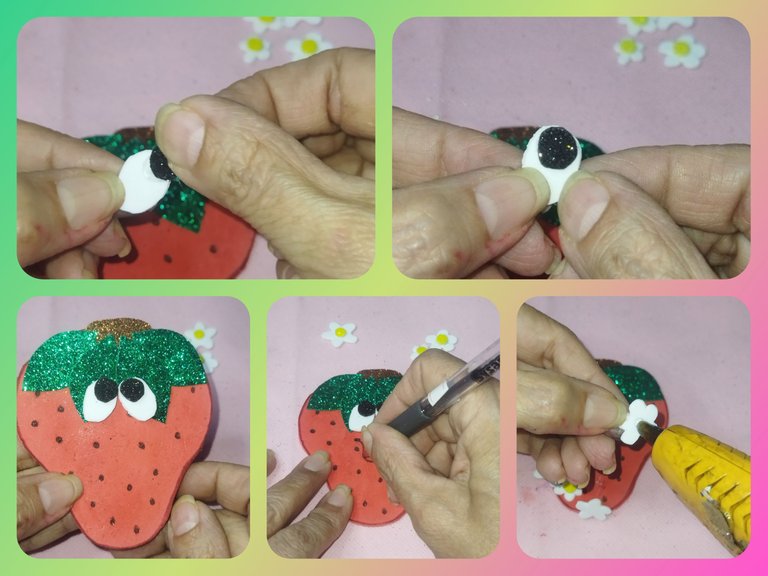
Continuamos con los ojitos y las flores y por último dibujamos la boca con el lapicero negro escarchado.
We continue with the eyes and the flowers and finally we draw the mouth with the frosty black pen.
LA PIÑA
Y para culminar esta feria de frutas divertidas, no podía faltar la piña.
Seleccionamos los retazos de foami y marcamos las piezas utilizando nuestro patrón.
THE PINEAPPLE
And to culminate this fair of fun fruits, the pineapple could not be missing.
We select the pieces of foami and mark the pieces using our pattern.
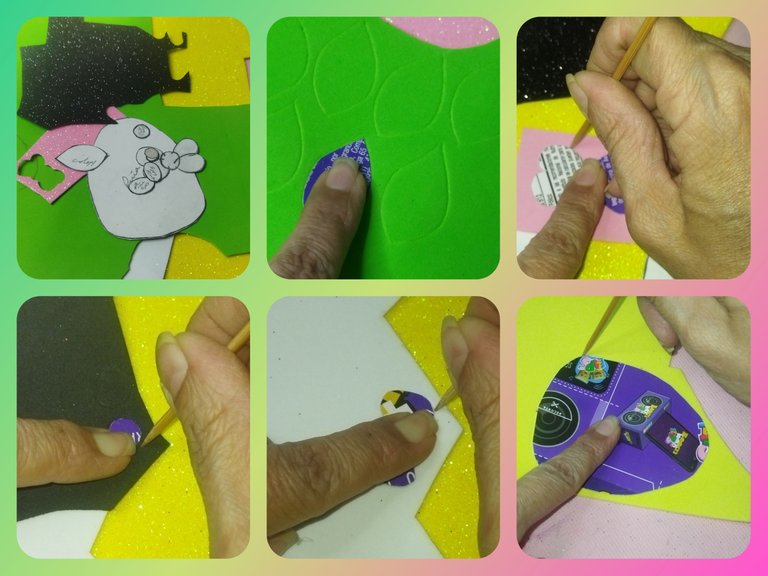
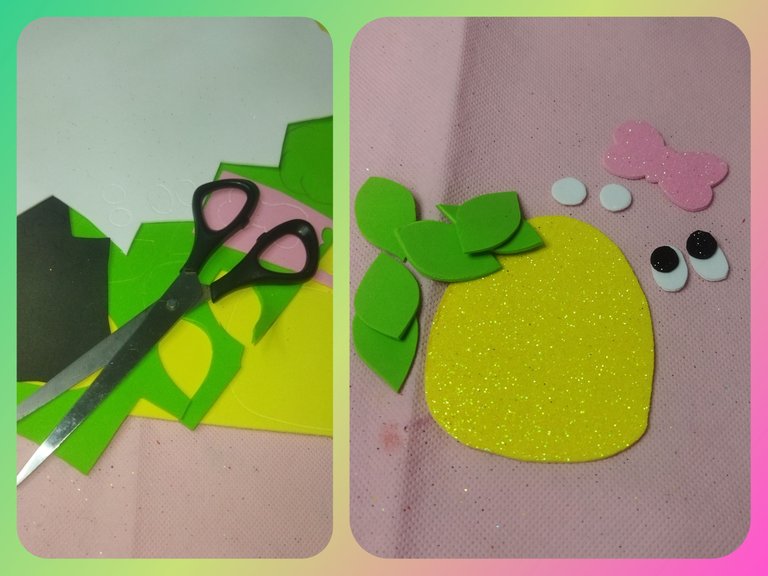
Recortamos cada una de las piezas.
We cut out each of the pieces.
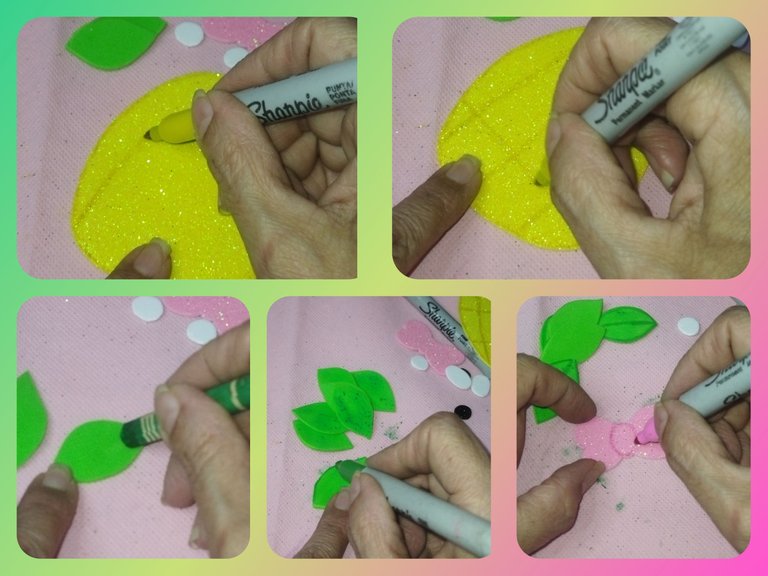
En la pieza principal de la piña, con el marcador amarillo realizamos las lineas divisoras para darle forma y con el marcador ver sombreamos todas las hojas. Luego con la tiza pastel verde difuminamos las hojas.
In the main piece of the pineapple, with the yellow marker we make the dividing lines to give it shape and with the green marker we shade all the leaves. Then with the green pastel chalk we blur the leaves.
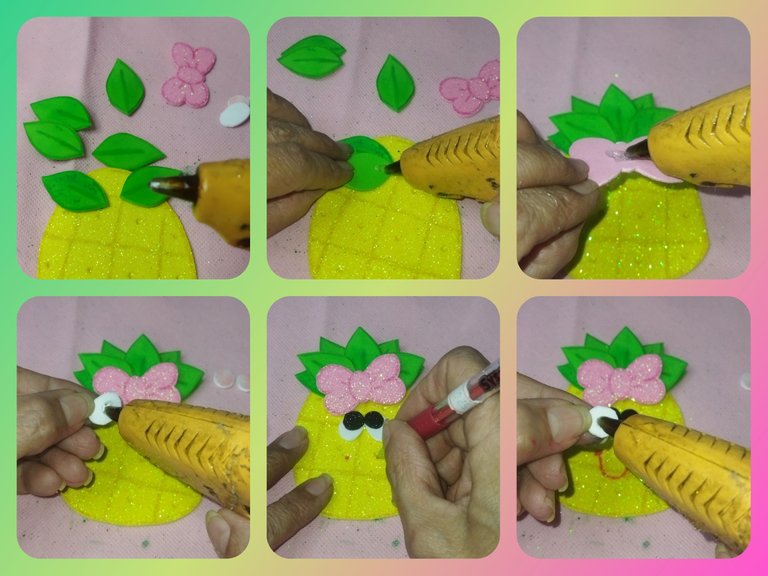
Unimos todas las piezas con la pistola de silicón. comenzando colocando las hojas en la parte superior central de la piña. Luego el lazo y por último, pegamos los ojitos y los mofletes.
Con el lapicero escarchado rojo, dibujamos la boca.
We join all the pieces with the silicone gun. starting by placing the leaves in the top center of the pineapple. Then the bow and finally, we glue the eyes and cheeks.
With the red frosty pencil, we draw the mouth.
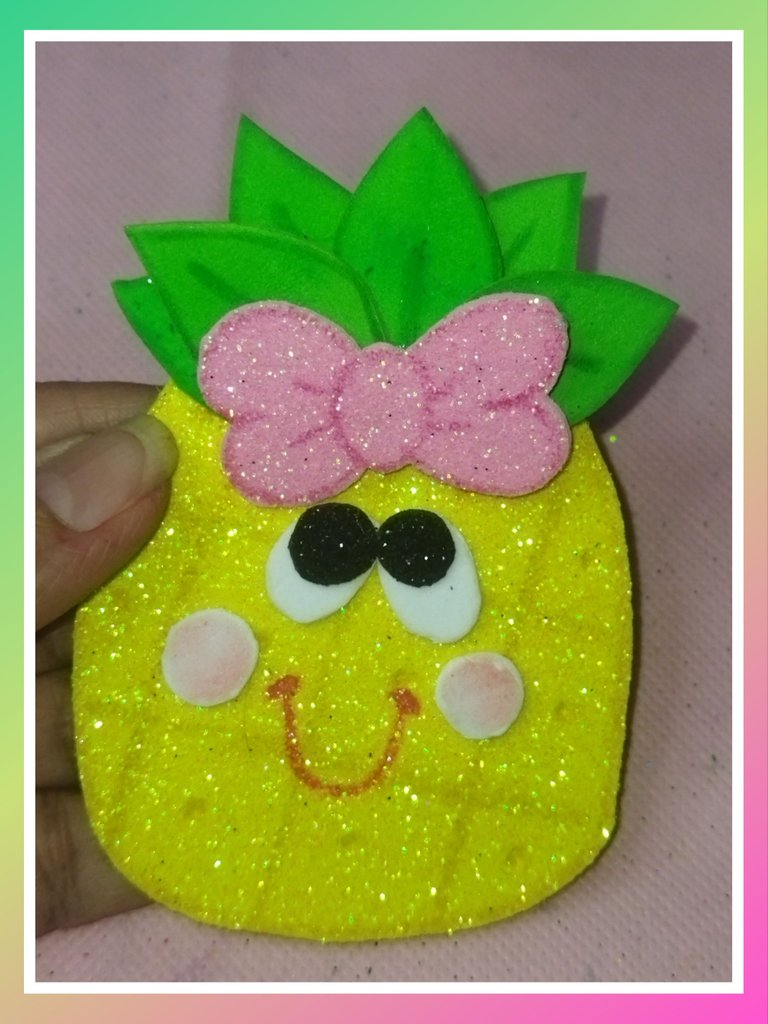
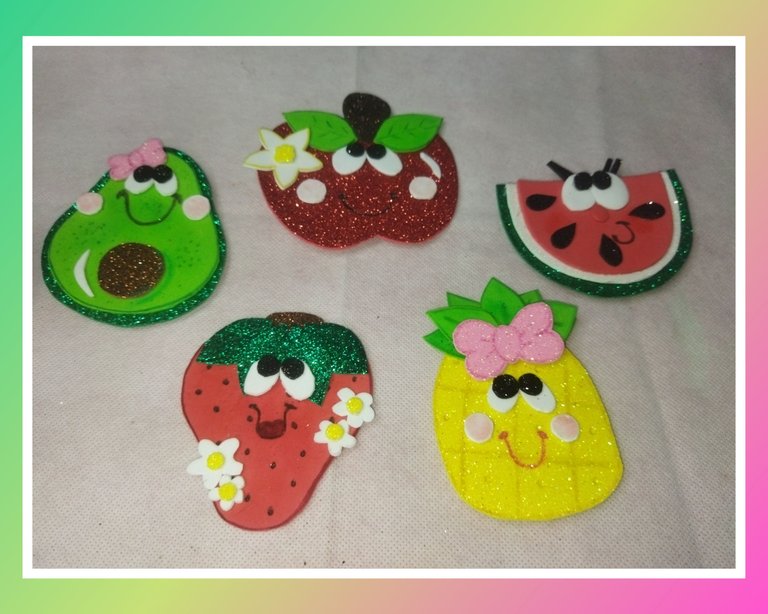
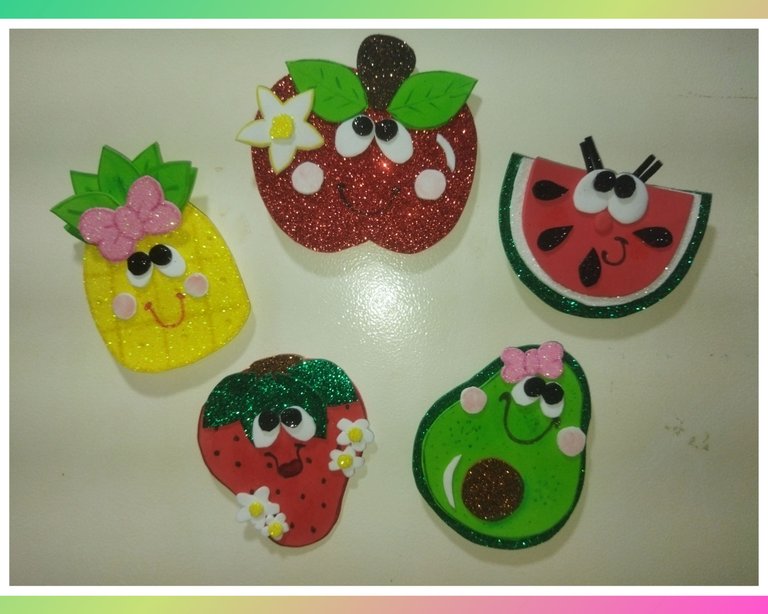
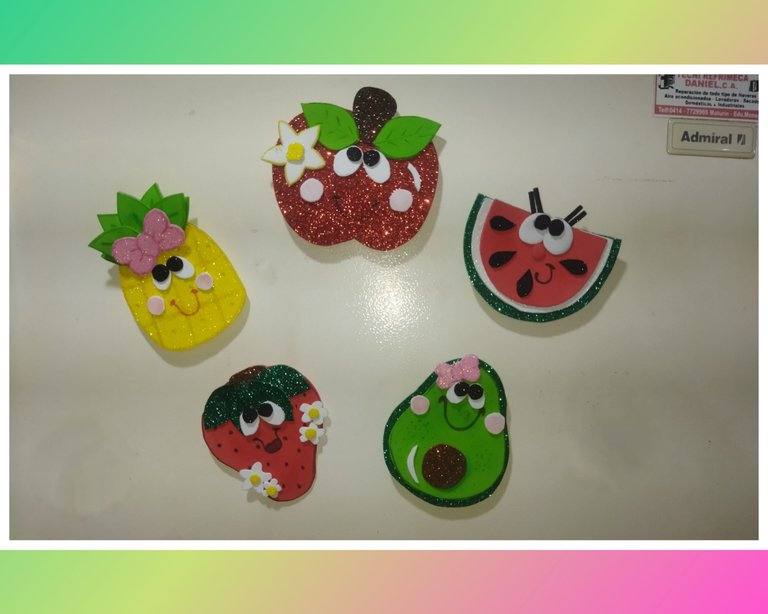
Y así terminamos con nuestra feria de frutas para la nevera en forma de imantados. Estas son actividades muy recreativas que podemos realizarlas en compañía de nuestros niños. Como ya les comenté anteriormente, son actividades que ayudan al desarrollo motriz y fortalece la memoria en ellos, además que se divierten y aprenden a diferenciar las frutas. Y una vez realizadas y pegadas a nuestro refrigerador, sirven para su distracción. Espero que les guste. Nos vemos en la próxima.
And so we end with our fruit fair for the fridge in the form of magnets. These are very recreational activities that we can do in the company of our children. As I mentioned before, they are activities that help motor development and strengthen their memory, as well as having fun and learning to differentiate between fruits. And once made and attached to our refrigerator, they serve as a distraction. Hope you like. See you next time.
Están súper bellos @linita, que bueno hayas compartido, gracias. Suerte amiga.
Holaaaa, me alegro que te hayan gustado. Gracias por tu amable comentario.
Están muy lindos todos los imantados, mis favoritos el aguacate 🥑 y la manzana 🍎 ¡Hiciste un lindo trabajo!
A mí me encanta la piña 🤭, todos son lindos la verdad 😂😂
Que lindos te quedaron y que buen trabajo! Admiro este tipo de manualidades porque se que no son faciles de lograr y llevan su buen tiempo.
Saludos estimada! ❤️
A como el aguacate hembra + un aguacate hombre? :v
Ya solo me faltaria tener nevera y dinero para pagartelo, pero las intensiones estan JAJAJA
jajajajaja no inventes, ya la nevera la tienes, asi que no seas pichirre.
Me encanta lo coqueta que quedaron cada una de tus frutas imantadas y los detalles de cada una, tu paso a paso para la elaboración, gracias por compartir
Me alegro mucho que te haya gustado, gracias por visitar mi blog y comentar. Saludos.
Estan super cuchi @linita
Gracias por compartir🤗
Las frutas en la nevera es algo que no puede faltar amiga,me encantaron la creatividad,se ven muy amigables jeje,saludos
Yay! 🤗
Your content has been boosted with Ecency Points, by @hive-130560.
Use Ecency daily to boost your growth on platform!
Support Ecency
Vote for new Proposal
Delegate HP and earn more
Contáctenos para saber más del proyecto a nuestro servidor de Discord.
Si deseas delegar HP al proyecto: Delegue 5 HP - Delegue 10 HP - Delegue 20 HP - Delegue 30 HP - Delegue 50 HP - Delegue 100 HP.
Hola!! 😊 me parecen un trabajo super creativo!! Además me encanta que sean cosas con la que puedan jugar los niños y aprender. Gracias por compartir esta bonita idea🌷 saludos!!
Hermosos, provoca tener para ir al super a comprar frutas para merendar.
Mis favoritos fueron la pina y el aguacate jajajajajajaja