Mini Cake en Buttercream [ESP-ENG]
Hola gente hermosa de Hive.Blog feliz de compartir con esta gran comunidad de #FoodiesBeeHive dónde podemos expresar nuestro amor por la cocina. En esta oportunidad compartiendo una elaboración de un mini Cake decorado con crema de mantequilla o Buttercream, realizando paso a paso su ejecución, esperando que les guste 😊😊
Hello beautiful people of Hive.Blog happy to share with this great community of #FoodiesBeeHive where we can express our love for cooking. In this opportunity sharing an elaboration of a mini Cake decorated with buttercream or Buttercream, performing step by step its execution, hoping you like it 😊😊.
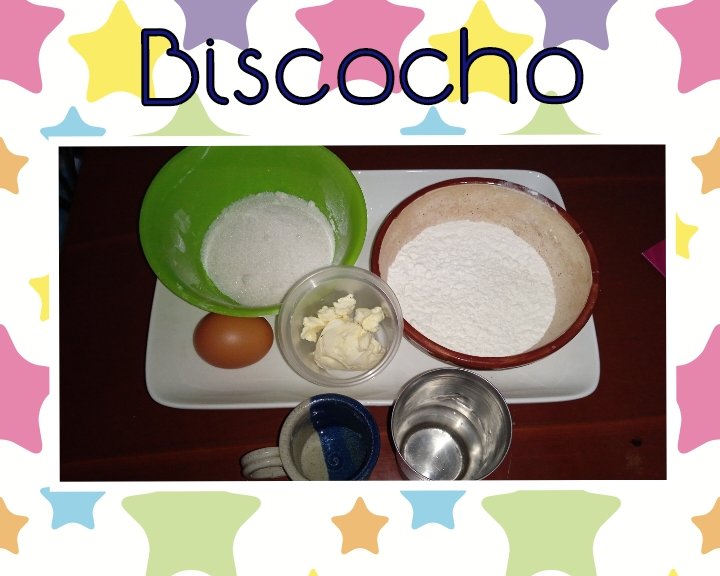
Aquí les dejo los ingredientes del Bizcocho y de la buttercream, cómo es una torta muy pequeña les dejo detallado las cantidades:
Biscocho
100 gr Harina de trigo leudante (tamizar)
40 gr Margarina sin sal
100 gr Azúcar
1 Huevo
75 ml Agua
3 ml de esencia de nata
Here are the ingredients of the cake and buttercream, as it is a very small cake I leave detailed quantities:
Biscuit 100 gr Leavening wheat flour (sift)
40 gr Unsalted margarine
100 gr Sugar
1 egg
75 ml Water
3 ml cream essence
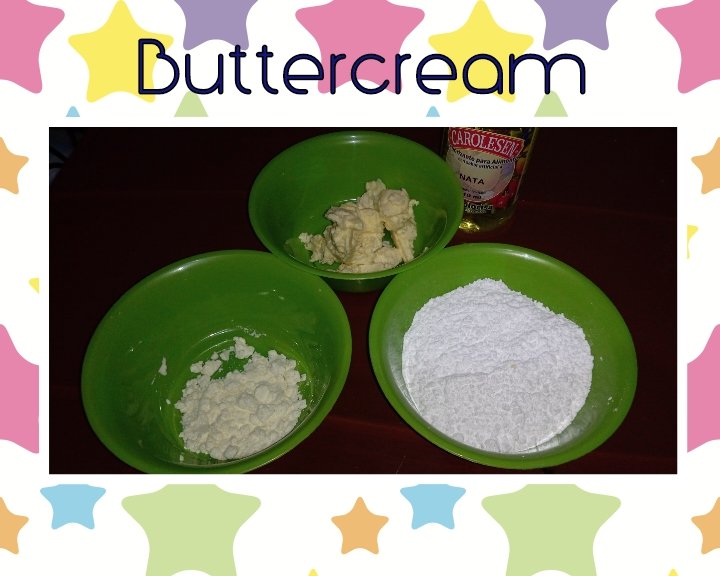
Crema de Mantequilla
84 gr Margarina sin sal
140 gr Azúcar pulverizada (tamizar)
13 gr Leche en polvo (tamizar)
1/2 cucharada de agua
1/4 cucharada de Esencia de nata
Buttercream 84 gr Unsalted margarine
140 gr Powdered sugar (sift)
13 gr Milk powder (sift)
1/2 tablespoon water
1/4 tablespoon cream essence
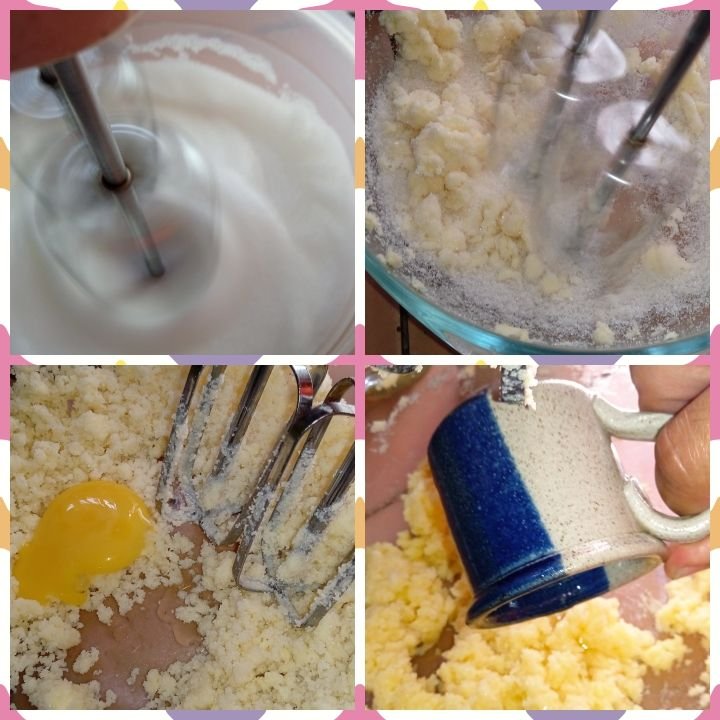
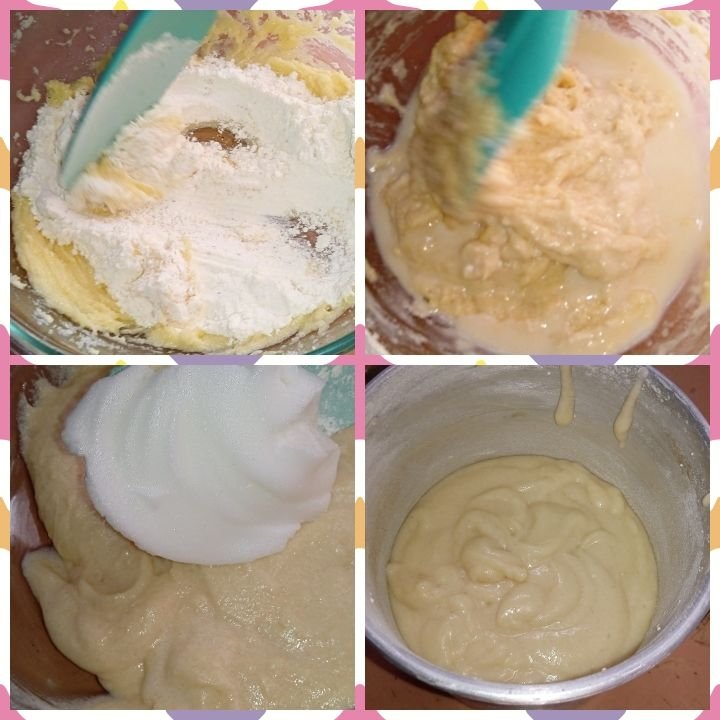
Lo primero que hago es separar el huevo y tomar la clara para batirla a punto de nieve con una cucharada de azúcar, guardo junto a la amarilla para agregarla luego. Comienzo batiendo la margarina y el azúcar con la batidora, cuando estén bien integrados le añado la amarilla, sigo batiendo hasta que estén mezclado y coloco la esencia de nata. Seguimos con la harina y el agua, está se coloca alternando ambas con una espátulas de manera envolvente, al terminar de incorporarlos, agregamos las claras a punto de nieve, que habíamos preparado, está en cuatro porciones de manera muy lenta, hasta que este integrada a la mezcla. Tomamos un molde de 10cm de diámetro y engrasamos para luego agregar la mezcla y llevar al horno precalentado por 1 hora aproximadamente.
The first thing I do is to separate the egg and take the egg white and beat it until stiff with a spoonful of sugar, I keep it together with the yellow to add it later. I start beating the margarine and the sugar with the mixer, when they are well integrated I add the yellow, I continue beating until they are mixed and I add the cream essence. We continue with the flour and the water, this is placed alternating both with a spatula in an enveloping way, when we finish incorporating them, we add the egg whites to snow point, that we had prepared, it is in four portions in a very slow way, until it is integrated to the mixture. We take a 10cm diameter mold and grease it and then add the mixture and take it to the preheated oven for approximately 1 hour.
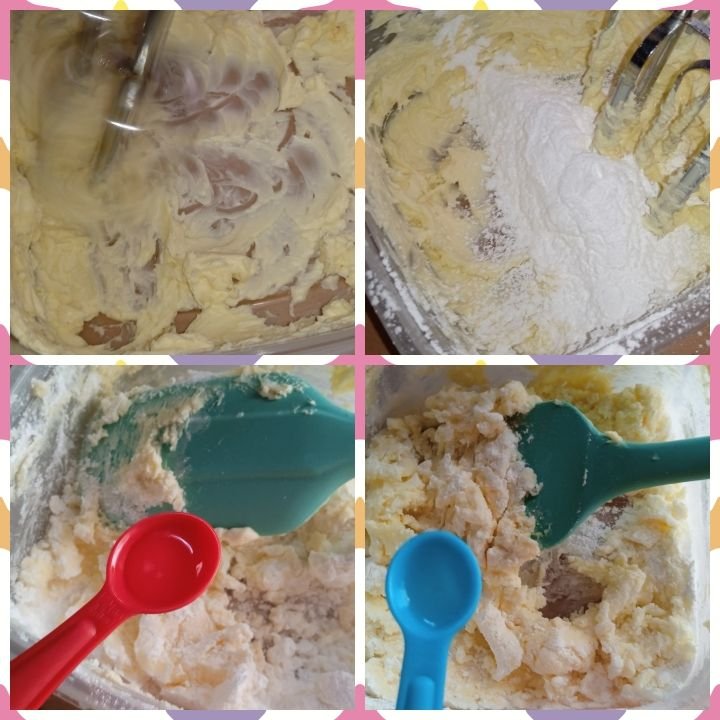
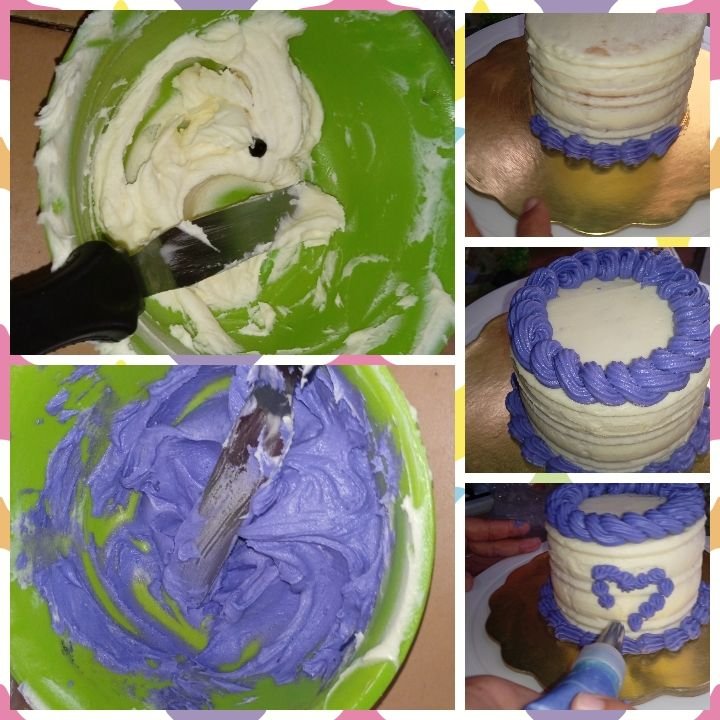
Luego que la torta está lista, es el momento de realizar el crema de Mantequilla, les confieso está mezcla la he intentado realizar muchas veces y la verdad me quedaba horrible 😞, hasta llegue un día a decir no la hago más nunca jajajaja, sin embargo hace poco realice un taller donde me dieron una receta con las cantidades adecuadas de cada ingrediente y hoy me atreví a realizarla y segura que me quedaría genial. Comencé mezclando con la batidora la margarina y el azúcar pulverizada previamente tamizada, para que no tenga grumos, de igual manera la leche, y luego comenzamos a batir con paleta agregando el agua y la esencia, para finalizar batimos un poco más con la batidora y estará lista cuando se observé que esté muy moldeable para decorar con la manga pastelera.
After the cake is ready, it's time to make the buttercream, I confess I have tried to make this mixture many times and the truth is that it was horrible 😞, I even said one day I never do it again hahahaha, however recently I did a workshop where they gave me a recipe with the right amounts of each ingredient and today I dared to make it and I'm sure it would be great. I started mixing with the mixer the margarine and the pulverized sugar previously sifted, so it does not have lumps, likewise the milk, and then we began to beat with a paddle adding the water and essence, to finish we beat a little more with the mixer and it will be ready when it is observed that it is very moldable to decorate with the pastry bag.
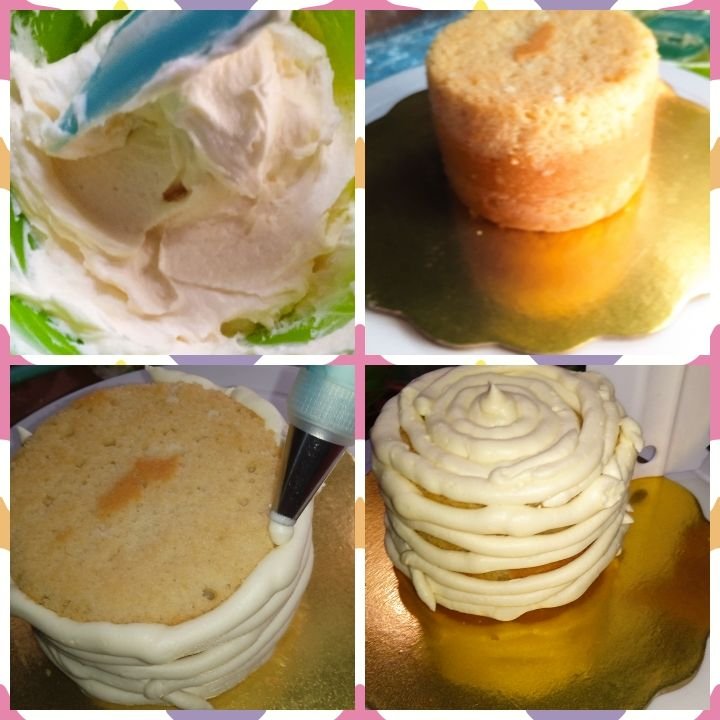
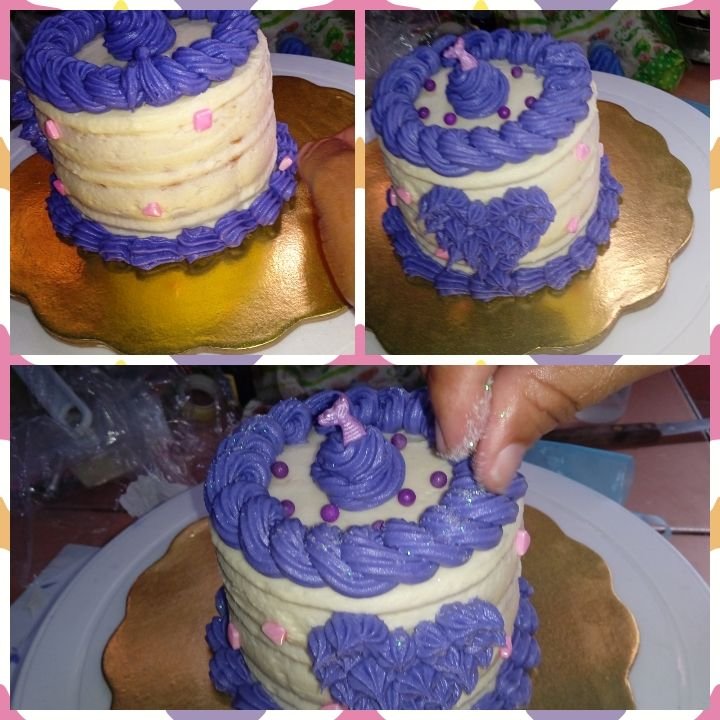
Súper contenta de la consistencia que obtuve, la verdad fue un logro 🙏, pues es un reto superado. Ya con mi mezcla y bizcocho listo, comienzo con la decoración coloco mezcla en una manga con una boquilla lisa y comienzo a colocarla en el biscocho de abajo hacia arriba. Con una espátula alisamos en la parte de arriba y de los lados.ñ, hasta que este lisa. Ya solo queda decorar, pintando con colorante en gel morado y cambiando la boquilla rizada hacemos en la parte de abajo un especie de conchas y en la parte de arriba resorte. Lo que le agregamos adicional fue unos adornos de caramelos morado y blanco, además de una escarcha comestible.
Super happy with the consistency I got, it was really an achievement 🙏, because it is a challenge overcome. Now with my mixture and cake ready, I start with the decoration I put the mixture in a piping bag with a smooth nozzle and begin to place it on the cake from the bottom up. With a spatula I smooth the top and sides of the cake until it is smooth. Now it only remains to decorate, painting with purple gel coloring and changing the curly nozzle, we make a kind of shells on the bottom and a spring on the top. What we added in addition was some purple and white candy decorations, as well as edible frosting.
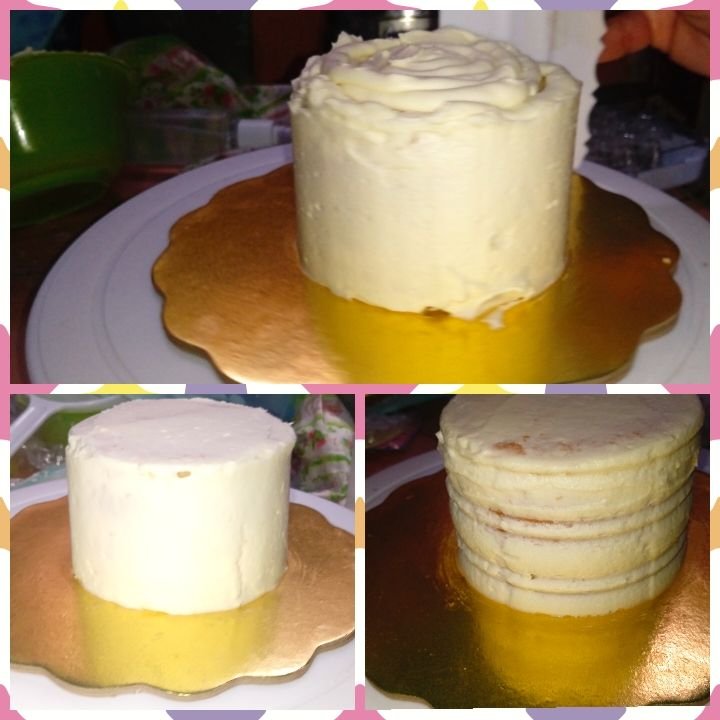
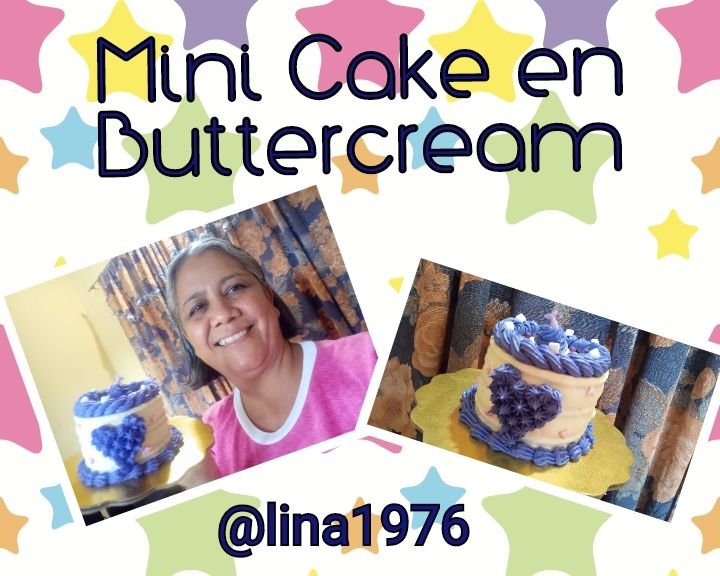
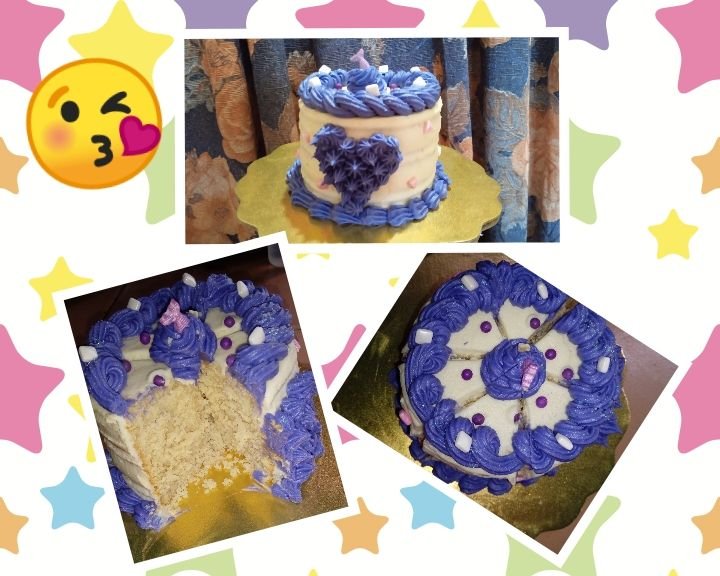
Así de hermosa quedó este mini Cake, esponjoso y delicioso, saliendo 8 porciones. Gracias por leer mi publicación, esperando vernos pronto.
This is how beautiful this mini Cake turned out, fluffy and delicious, 8 servings. Thanks for reading my post, hope to see you soon.
Todas las fotos son propias editadas en Photo Collage Maker. La traducción es de DeepL Traductor.
All photos are my own edited in Photo Collage Maker. The translation is from DeepL Translator.
Nunca he hecho una torta así, usaré tu receta. Gracias por compartirla,amiga.
Súper sencilla,intenta hacerla, gracias por leer 🙂
Felicitaciones amiga, por aprender los tips en el taller, te quedó hermosa . Gracias por compartir ❤️
Gracias a ti por leer ☺️
It looks delicious! I wonder if you baked it or you just put it on refrigerator. I want to try your recipe in some time if the formation of cake can be refrigerated lol
Of course, it was baked in the oven for one hour, and then decorated
Congratulations @lina1976! You have completed the following achievement on the Hive blockchain And have been rewarded with New badge(s)
Your next target is to reach 500 comments.
You can view your badges on your board and compare yourself to others in the Ranking
If you no longer want to receive notifications, reply to this comment with the word
STOPTo support your work, I also upvoted your post!
Check out our last posts:
Support the HiveBuzz project. Vote for our proposal!
https://twitter.com/128867448/status/1645450257273069571
The rewards earned on this comment will go directly to the people( @dlizara ) sharing the post on Twitter as long as they are registered with @poshtoken. Sign up at https://hiveposh.com.
Que linda decoración 😊 que bueno que en el taller te dieron la receta como era, te quedó muy linda.