Flowers Made of Plastic Charols
Hello Hive Diy community! It's me lheeshan06 signing in today. It is my first time to be here and I am excited to share my very first blog here today. Nice to meet you all!
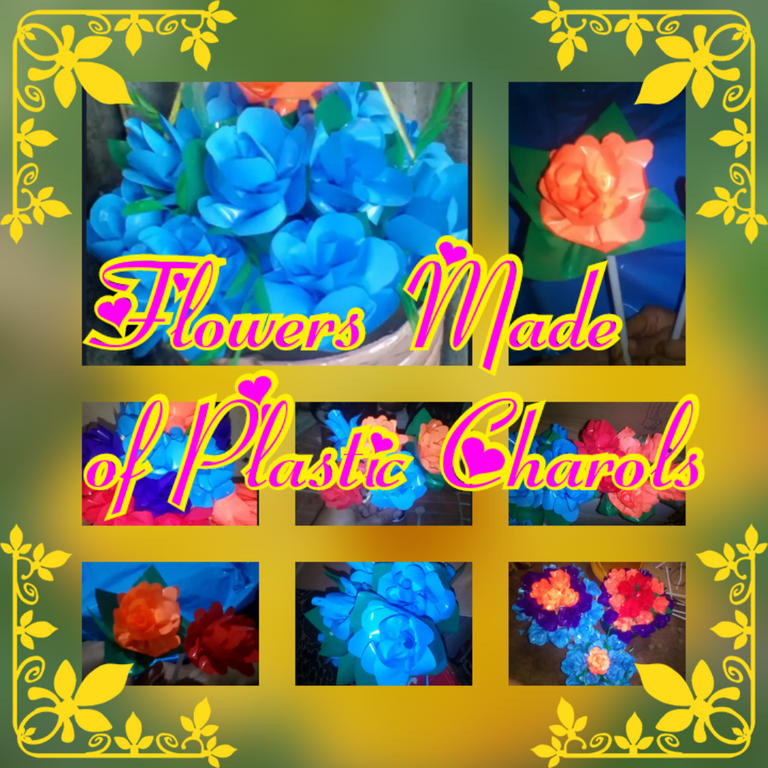


Way back November 2021, our school principal had announced that we parents should submit a project at school. She said that we need to make flowers using Plastic Charols. Every grade level has its own color of flowers to be submitted but that time since there are many parents who brought the plastic charols, I wasn't able to buy the needed colors. Thank God the teacher of my kids are considerate enough that they told us whatever colors that we bought and used for the flower project it would be okay. So I listed the different things that we needed to be bought and handed it to my partner because he will be the one to buy all those.


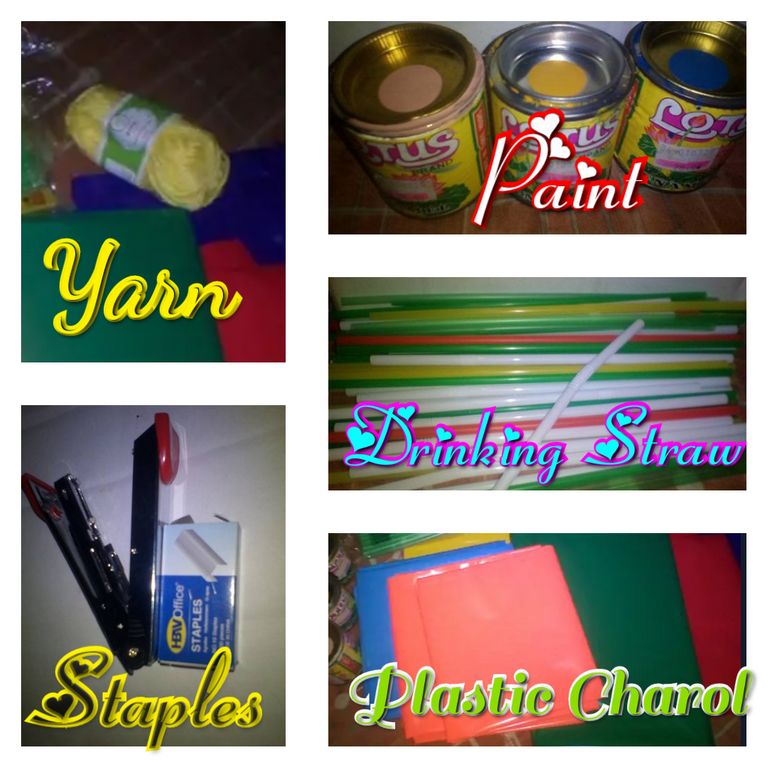
| Things Needed | Its Uses |
|---|---|
| Charol | For the Flower |
| Drinking Straw | Used as stems of flowers |
| Yarn 🧶 | Tie the end of the rolled part of the flower |
| Staples | Used to staple the first petal of the Flower |
| Paint | To paint for the plastic bottle to be used |
| Plastic bottles | Used as a vase |
Plastic Charols
The colors that are available in the store were Blue, Violet, Red, Orange, Green. Hubby was supposed to buy the colors yellow, pink but because they aren't available so he just replace them with orange and red.
For Adam as a kindergarten, they will use the color blue and pink but pink isn't available so I just used the color blue as the flower.
For the twins, they are on grade 2 level, they will use violet and yellow but yellow isn't available so I will use the violet one and decided to put another color which are the red and orange.
For my eldest which is on grade 4 level, they will use green and pink but pink isn't available so I am thinking of an alternative color for this since green is what I will be using for the leaves. I message their teacher and she agreed to use another so I picked between red and orange.
Drinking Straw
The one I listed and gave to hubby was only drinking straw. I didn't emphasizes what kind of drinking straw were those so hubby bought different kinds of those and I'm glad that he did. There were the white colors of the straw and it was what I like the most because it can be bend. I was thinking to used it for the stems of the flowers since it can be bend while those other colors or kinds of straws were used to add another designs to the flowers.
Yarn
Hubby only bought one roll of yarn which is color yellow. I used it to tie the rolled part of the flowers.
Staples
I already had staples at home but it wasn't enough since I always used it on the modules of kids so I added another box of staples. It is needed in the flower making especially in stapling the first petal of the flower so the rolled flower won't be loosen.
Paint and Plastic bottles
Hubby bought three cans of Lotus paint and those were used to paint the plastic bottles that I cut. Those plastic bottles were used as a vase where the flowers will be put and arranged.


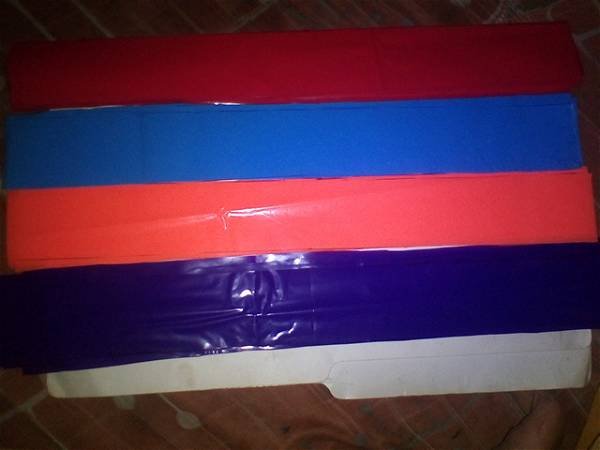
Cutting the Plastic Charol by 5 cm x 20 cm as the desired measurement. I need to make 23 pieces each from those colors available excluding the green one because it's for the leaves.
My eldest helped me in cutting these charols. While I am busy measuring those other plastic charols, he is the one who will cut the part where I put lines.
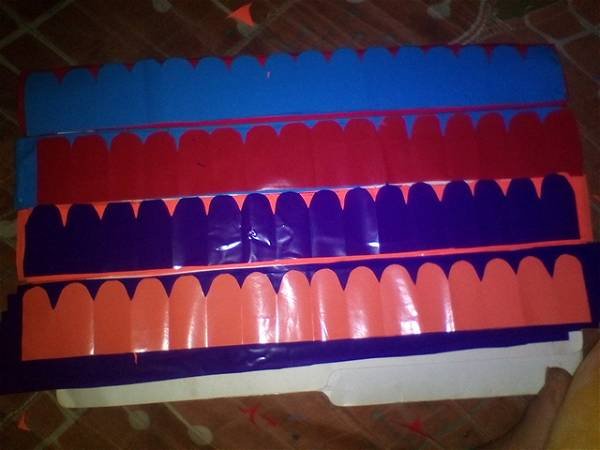
Putting Designs on the other side of the cut plastic charols
This is the second step. Make a design on the other side of the colored plastics. That is to emphasize the petals of the flower. There are those with smaller petals but I was having a hard time rolling those so the majority were cut with bigger size of petals so I could easily wrap It.
Xandra helped me in folding those cut charols into smaller size so I can immediately cut for the designs of the flower.
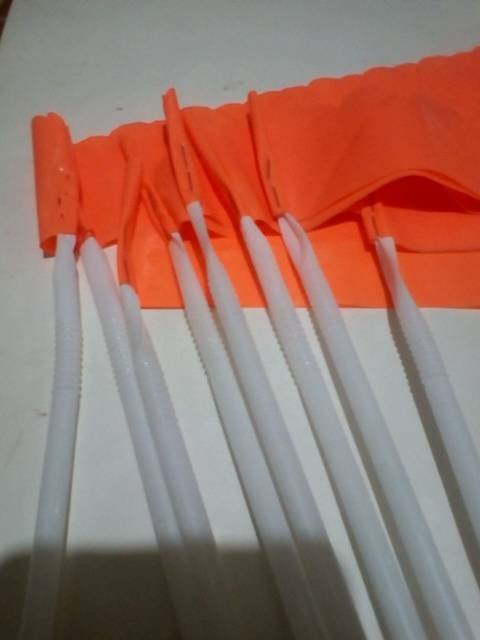
Flattening the tip of the white straw and stapling the first petal of the flowers
My kids helped in flattening the tip of the straw so it would be easy for me to staple it. Having them make this flower project making be more easier and faster to get those get done before the deadline.
And last step would be rolling of the flowers. At first I was having a hard time rolling because I already forget making like this but later on, I was getting used to in rolling the plastic charols.
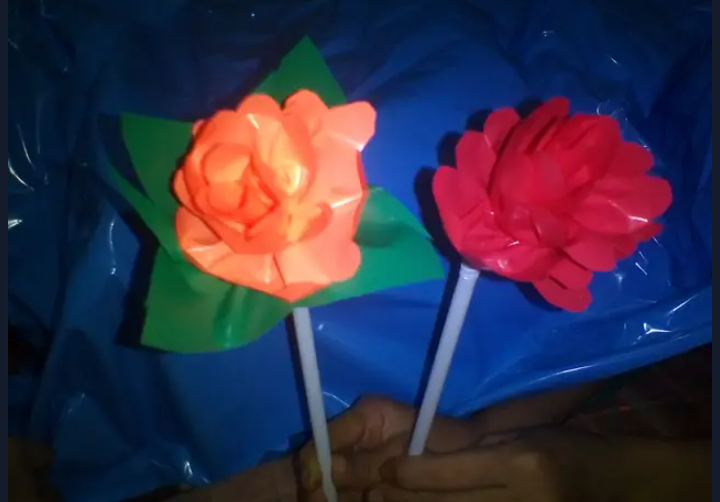
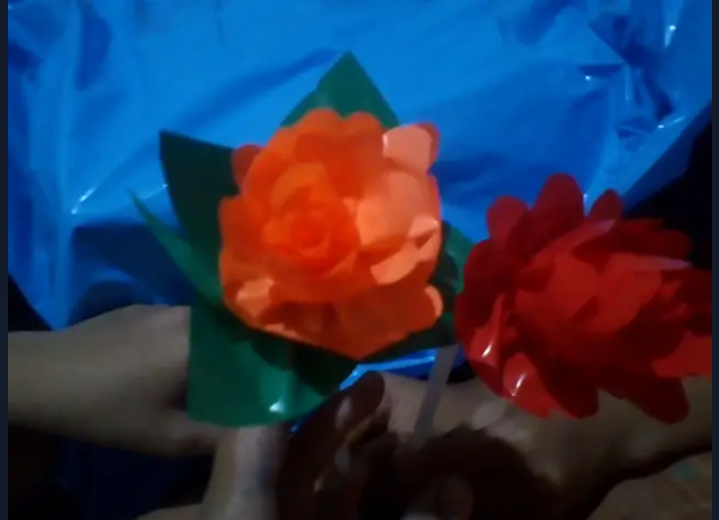
These two were made on the first night. Since I was still having a had time making the flower so I was only able to make two. Not bad after how many years of not making like these. I tried putting leaves on the orange flower to see if it was okay and glad I successfully made it. My hubby told me that it was nice so I was inspired to make more on the next day.
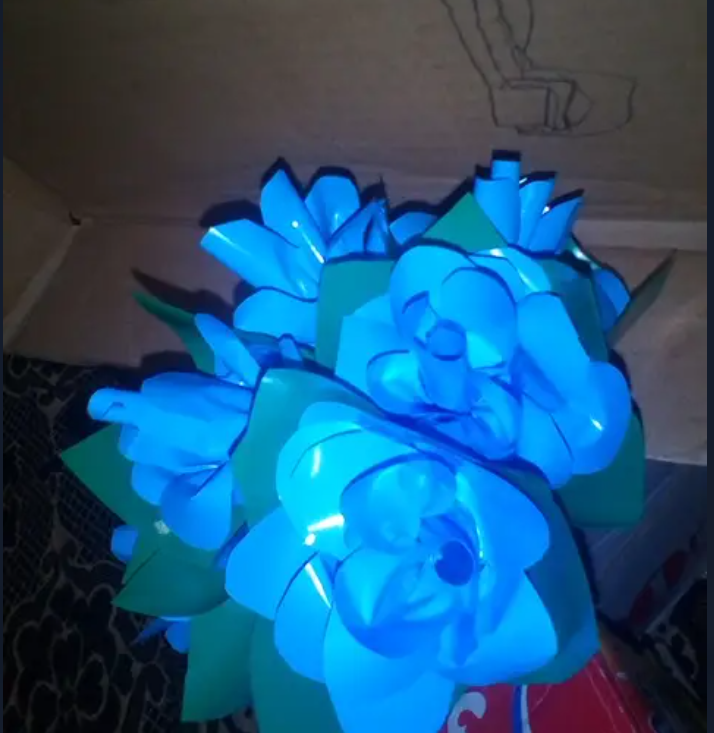
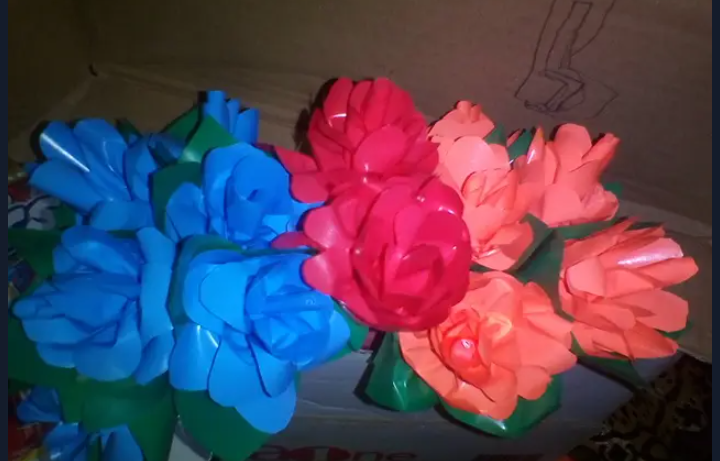
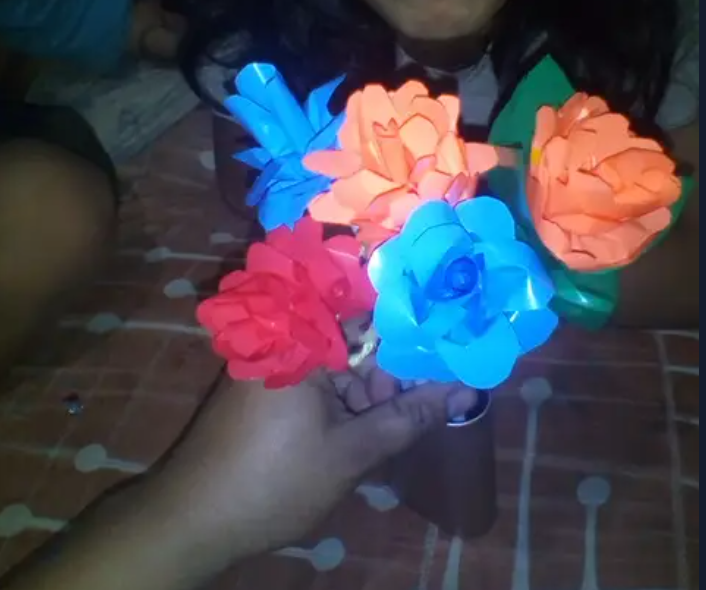
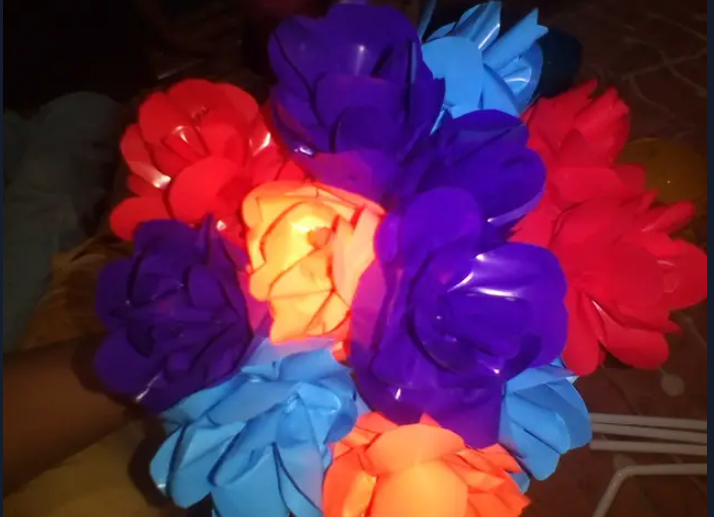
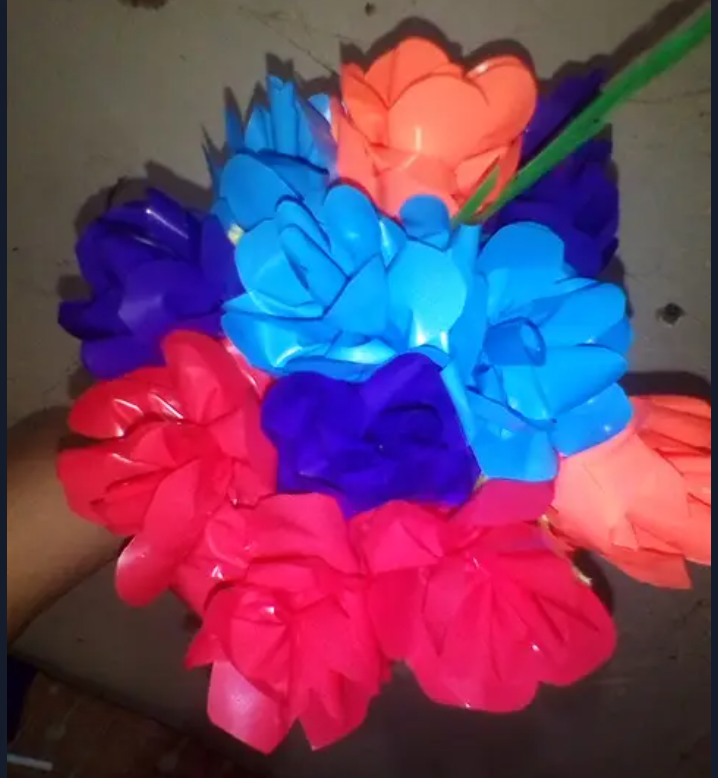
These were the flowers I was able to create on the first week of this project making. It's not so many since we also had modules to attend to. Honestly, I was having a hard time budgeting my time during that time. Helping the kids with their modules, this flower project making and household chores made me exhausted everyday that I ended up sleeping early at night most of the time during the second week.
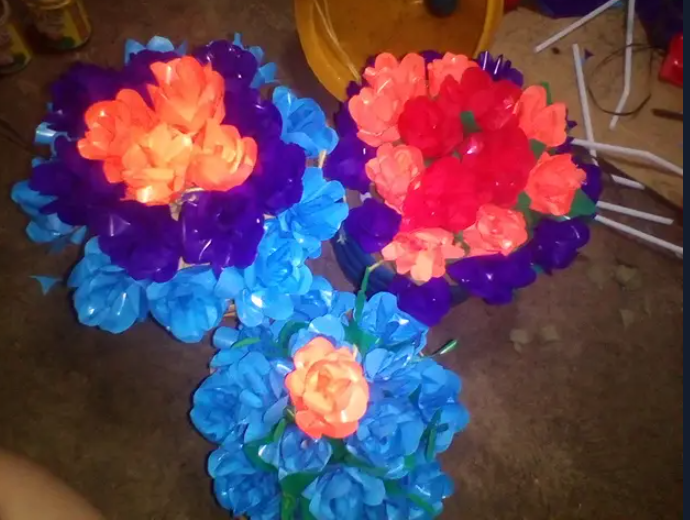
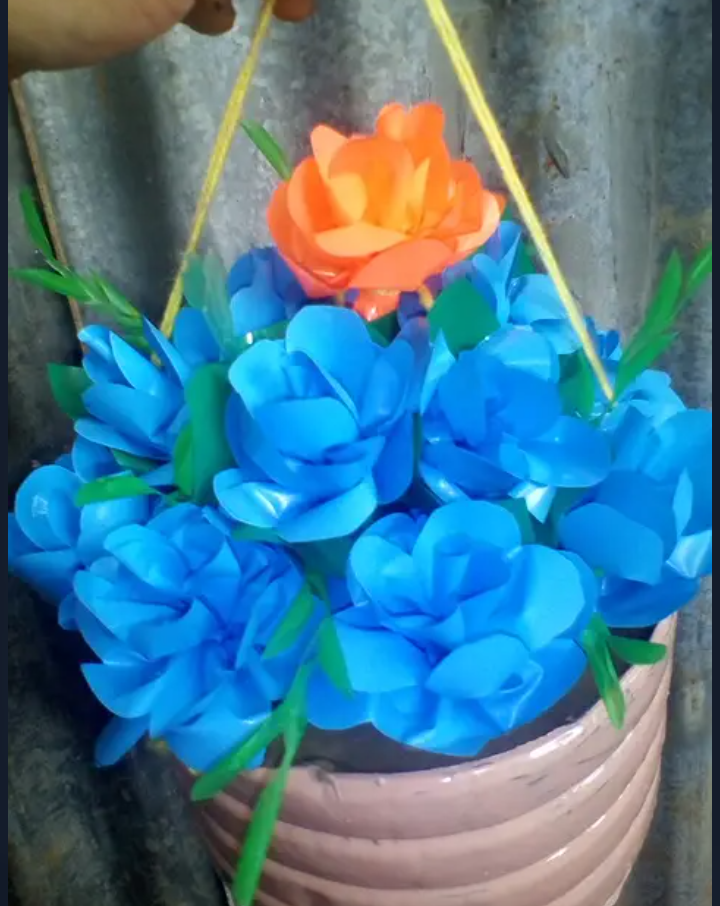
These were the final output of the project. Truthfully speaking, I wasn't good in designing these flowers in a vase so I just did what I think is good to look at. The project of my eldest son who was in grade four were put in their teacher's table and I'm happy to see it there. While for the twins and for my youngest son's project, those were put outside the classroom where those projects were displayed.
I hope I didn't bore you with this blog today. Thanks for your time!


You can also find me here: || noise.cash || read.cash || Blurt||
Ang ganda, very creative po ang pagkakagawa. Perfect siya pang-display, parang totoong flowers po. 💐😍
Thanks Amy. Gusto ko nga sana gumawa ng ganyan para pang display dito sa bahay kaso busy pa. Maganda yan kasi di nalalanta ano?
Yay! 🤗
Your content has been boosted with Ecency Points, by @lheeshan06.
Use Ecency daily to boost your growth on platform!
Support Ecency
Vote for new Proposal
Delegate HP and earn more
Congratulations @lheeshan06! You have completed the following achievement on the Hive blockchain and have been rewarded with new badge(s):
Your next target is to reach 1250 upvotes.
You can view your badges on your board and compare yourself to others in the Ranking
If you no longer want to receive notifications, reply to this comment with the word
STOPSupport the HiveBuzz project. Vote for our proposal!
Galing naman sis
Maraming Salamat sis
These are so pretty, sis!
Thank you sis :-)
You're welcome, sis!