Aprendí a hacer las scrunchies [Spa/Eng]

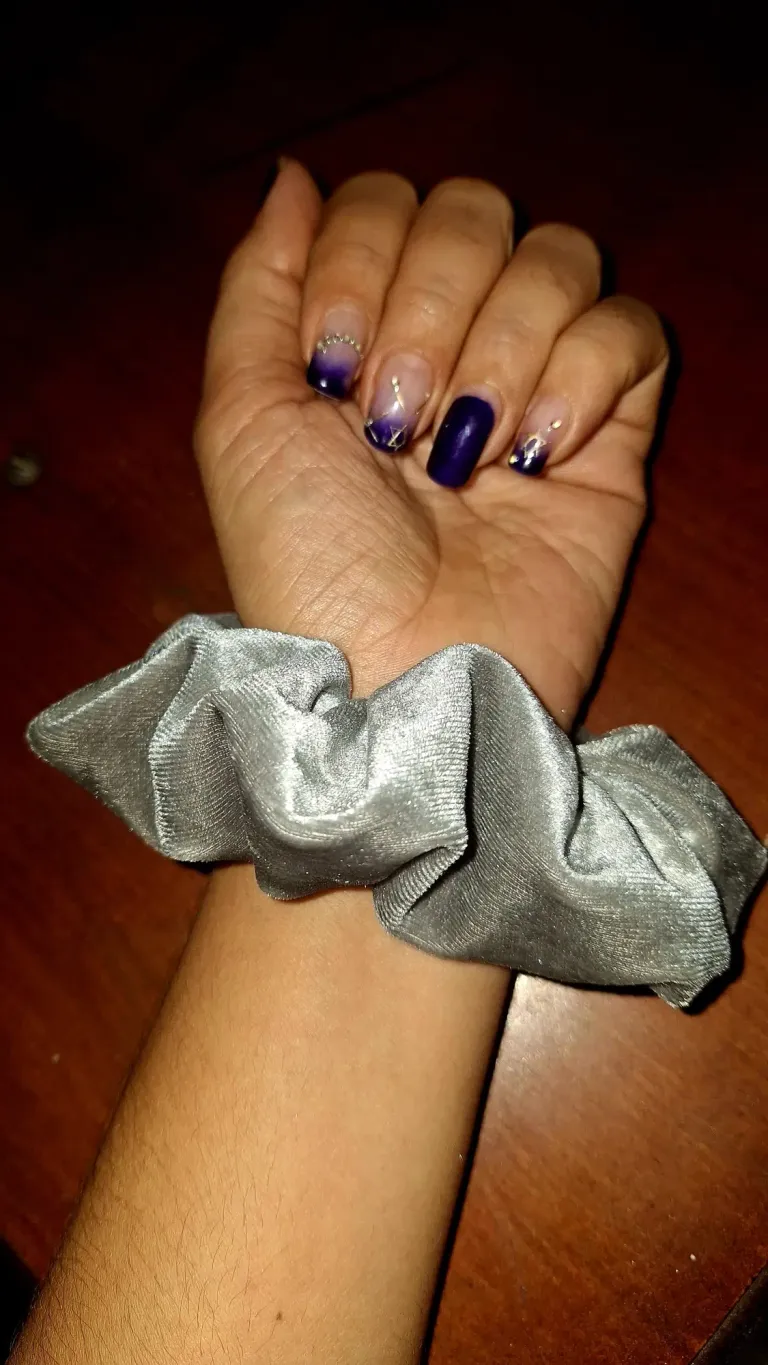
Hola, mi gente linda de @needleworkmonday, un gusto saludarles, deseando que todos se encuentren bien de salud y bien creativos. Hoy quiero compartirles cómo estuve haciendo un accesorio para el cabello, que también se puede usar como pulsera. Se le conoce con varios nombres según la región o país, algunas de ellas son moñeras, colas, coleteros y últimamente scrunchies.
A simple vista se ve sencillo de hacer y, en efecto, lo es, pero si no conoces la técnica no te queda con un buen acabado y lo sé, porque hace unos meses hice una y al momento de cerrarla me confundí toda y no me quedó bien.
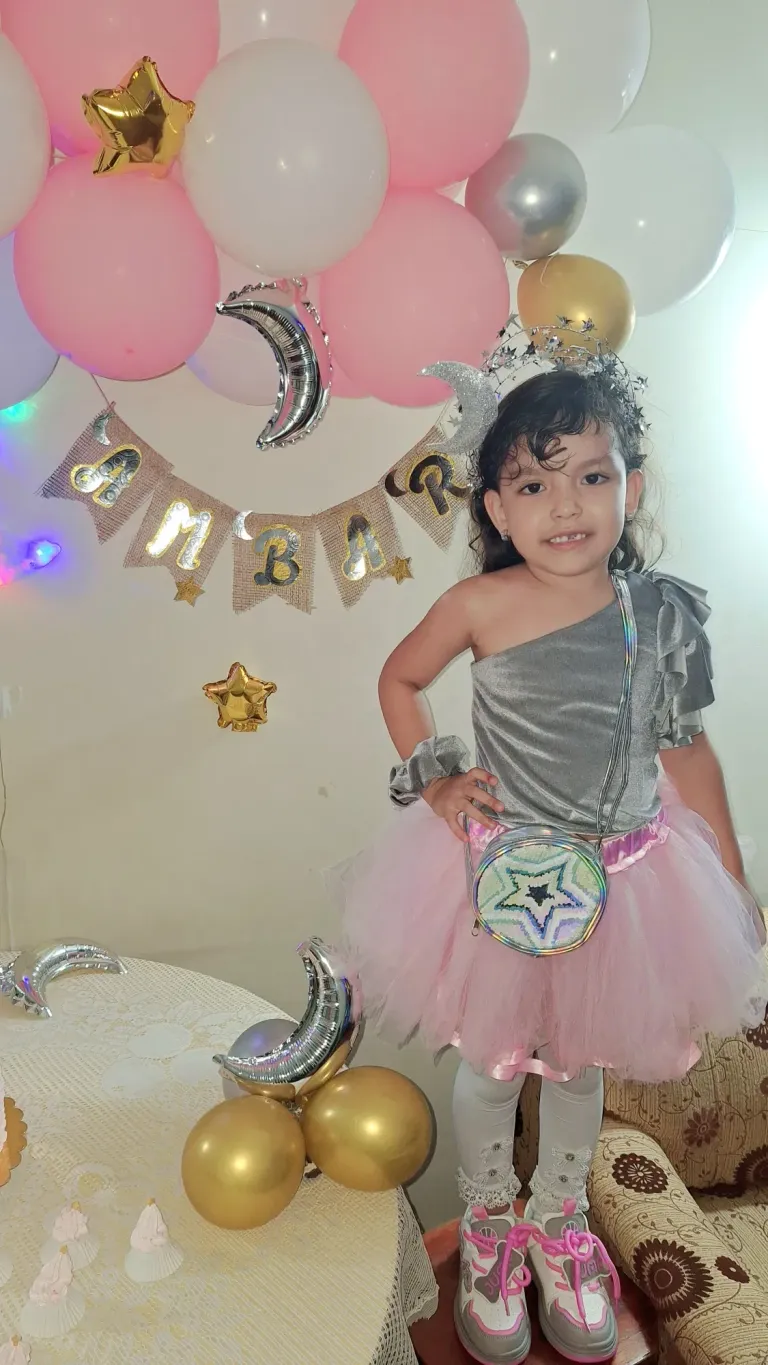
Estuve viendo diferentes tutoriales en línea, cada uno con sus tips particulares. Tomándolos en cuenta, le hice una a mi princesa Ámbar para completar el outfit de su cumpleaños.
Hace un tiempo atrás, les mostré cómo hice su tutú, que en el aquel momento era para una exposición en el colegio, se lo guarde para esta ocasión.
También le hice la blusa, que luego les muestro cómo fue que la realicé, quedó muy bonita y otro día les estaré mostrando.
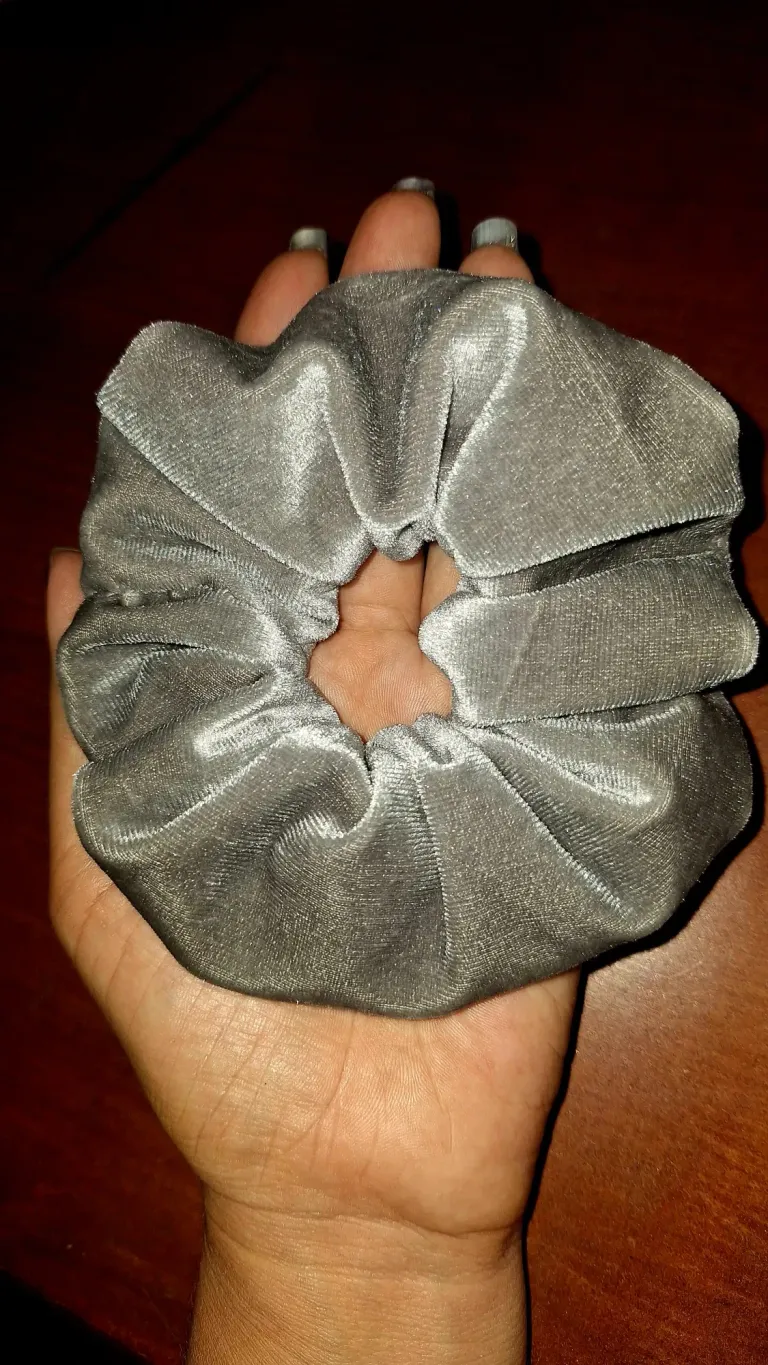
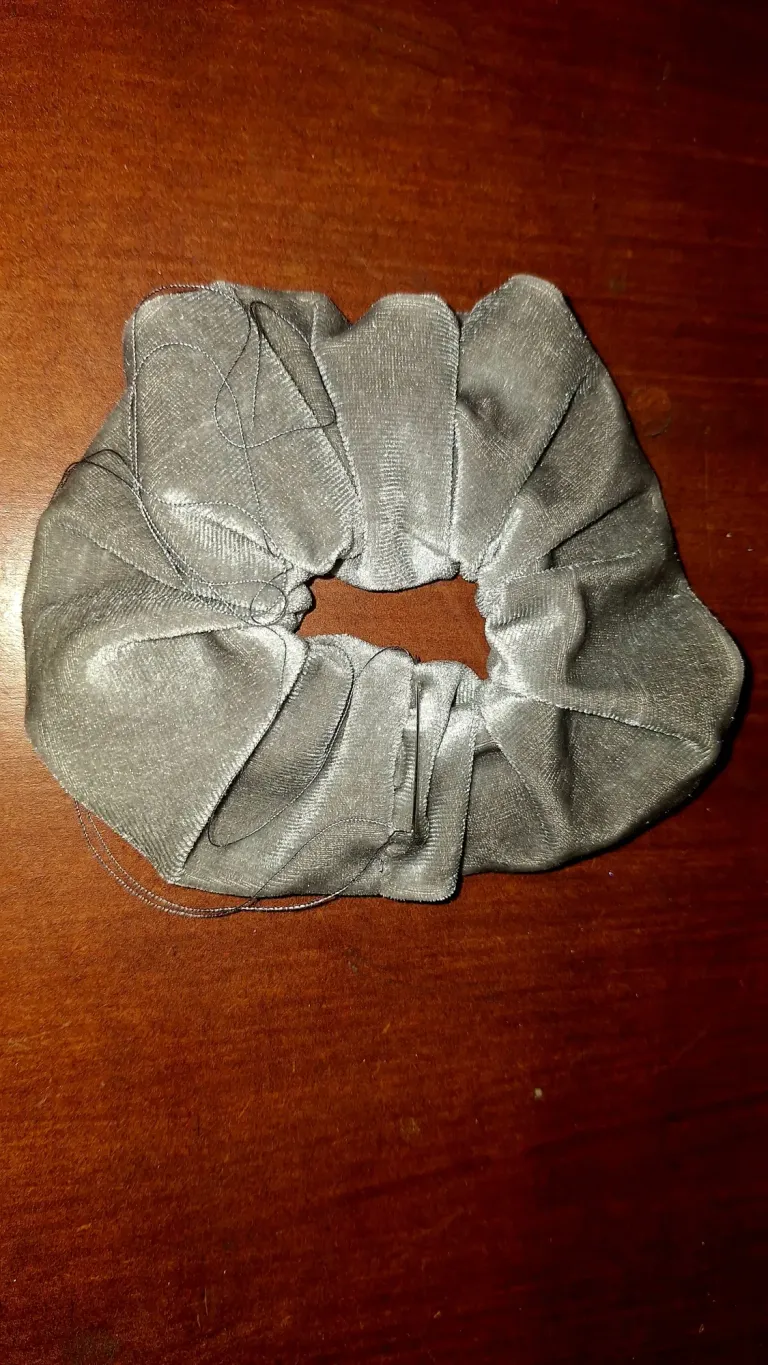
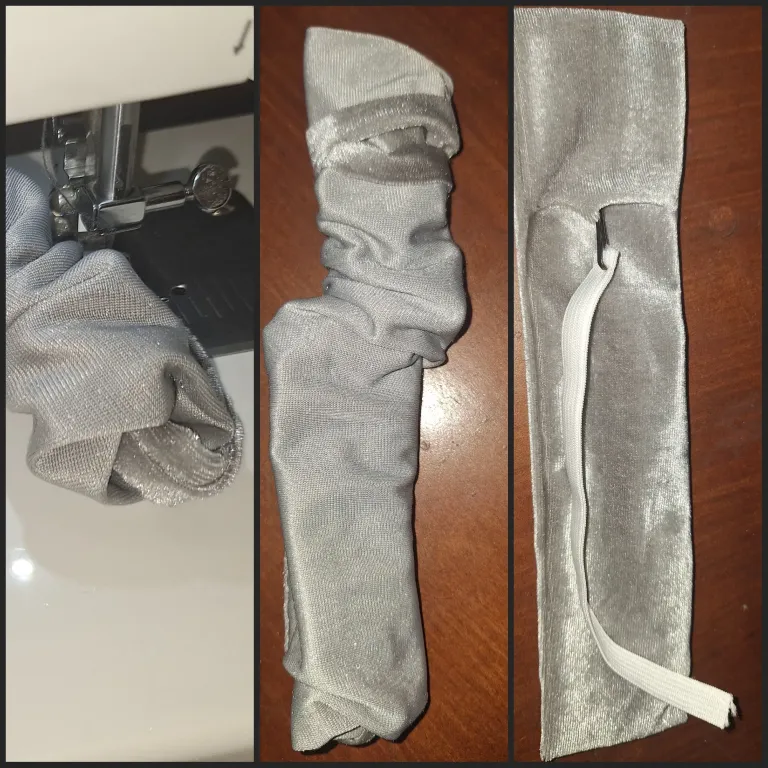
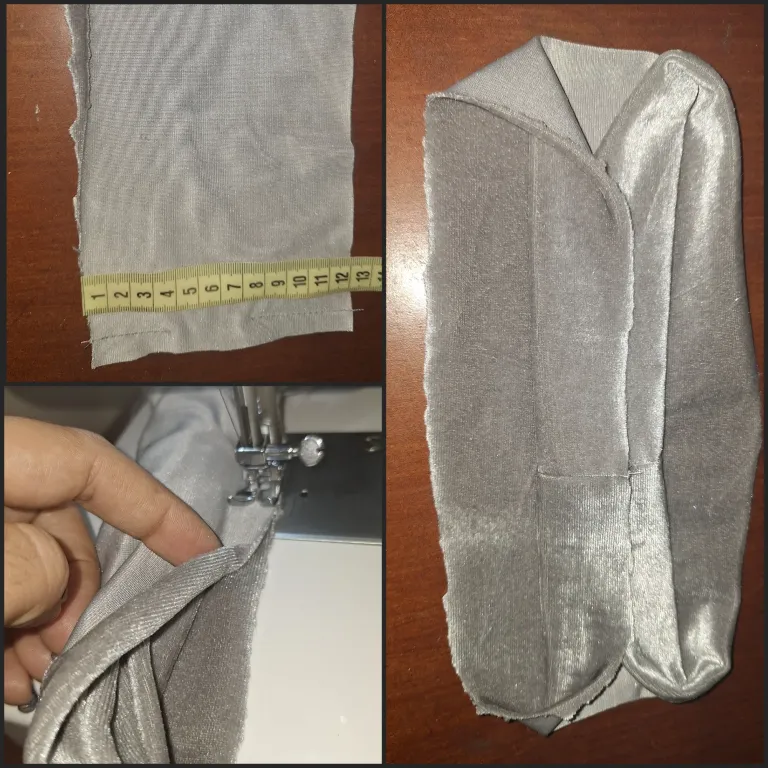
Por ahora les dejo a través de estas fotografías cómo hice paso a paso estas scrunchies con una tela aterciopelada, con elasticidad.
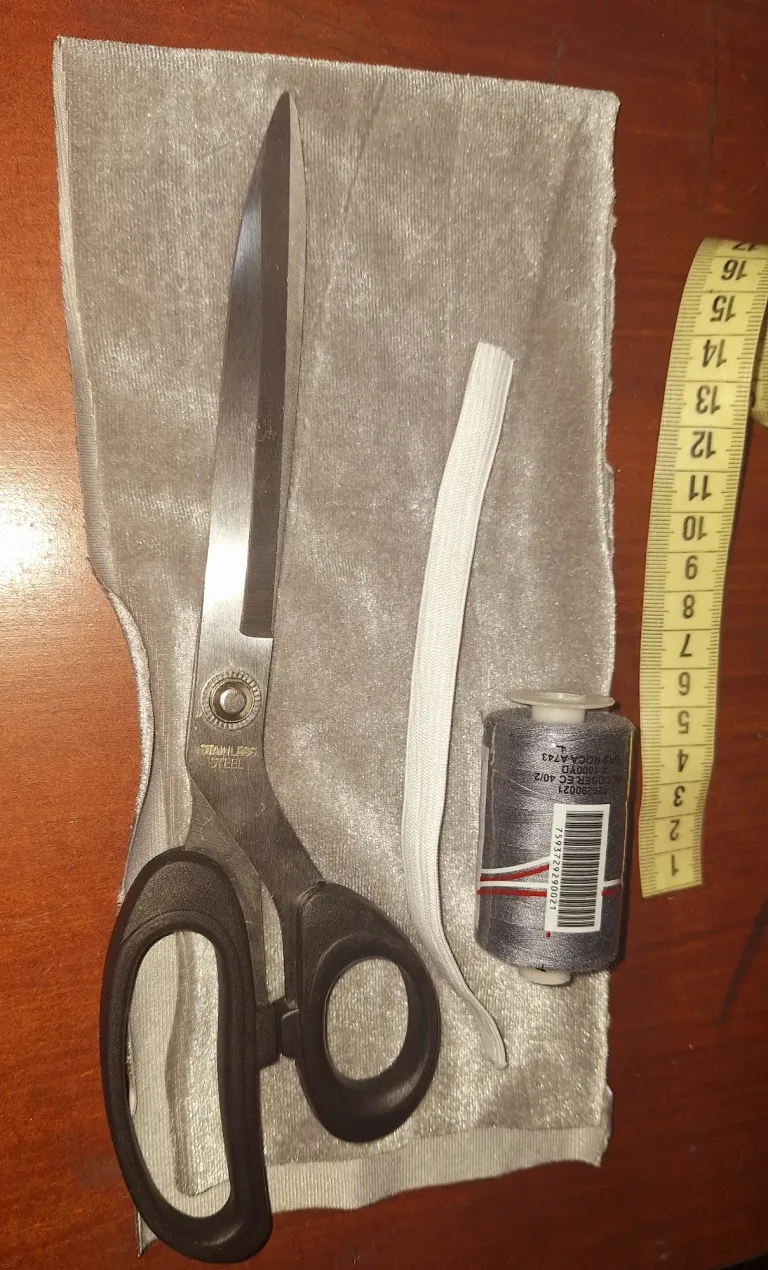
Corte la tela con medidas de 52 cm de largo y 12 de ancho, con 18 cm de elástico. Uní los extremos con costura y luego doble la tela como se muestra en las imágenes envolviendo la tela para seguir cosiendo e ir estirando la tela hasta coser toda la circunferencia, quedando una pequeña abertura, por donde volteamos las costuras e introducimos el elástico con la ayuda de un gancho para el cabello.
Luego a mano cosí esa abertura. Esta tela es muy suave y al coser con el punto escondido, me dio un poco de batalla, pero al final se logró y quedó muy bonita y lo importante que le quedó justa en la mano a mi princesa Ámbar en su cumpleaños.
Si la quieren hacer, los invito a revisar los distintos diy que hay en Internet y que se pongan manos a la obra.
Bueno, amigos, esto ha sido todo por hoy, nos vemos pronto con más de mis creaciones. Gracias por la visita.


I learned how to make scrunchies
Hello, my beautiful people of @needleworkmonday, nice to greet you, wishing you all well in health and well creative. Today I want to share with you how I was making a hair accessory, which can also be used as a bracelet. It is known by various names depending on the region or country, some of them are buns, tails, scrunchies and lately scrunchies.
At first glance it looks simple to make and, indeed, it is, but if you do not know the technique it does not have a good finish and I know, because a few months ago I made one and when I closed it I got it all mixed up and it did not look good.
I was watching different tutorials online, each one with its own particular tips. Taking them into account, I made one for my princess Amber to complete her birthday outfit.
Some time ago, I showed you how I made her tutu, which at the time was for an exhibition at school, I saved it for this occasion.
I also made her blouse, which I will show you later how I made it, it was very pretty and I will show you another day.
For now I leave you through these pictures how I made step by step these scrunchies with a velvety fabric, with elasticity.
I cut the fabric measuring 52 cm long and 12 cm wide, with 18 cm of elastic. I sewed the ends together and then folded the fabric as shown in the pictures wrapping the fabric to continue sewing and stretching the fabric until sewing the entire circumference, leaving a small opening, where we turn the seams and introduce the elastic with the help of a hair clip.
Then I sewed the opening by hand. This fabric is very soft and sewing with the hidden stitch, gave me a little battle, but in the end it was very nice and the important thing is that it was just right in the hand of my princess Amber on her birthday.
If you want to make it, I invite you to check out the different diy's on the Internet and get to work.
Well, friends, that's all for today, see you soon with more of my creations. Thanks for visiting.

Mi blog es familiar, de mi día a día, en donde puedo subir fotos de niños u otras personas de mi entorno, NO autorizo a usar mis fotografías sin mi autorización.
My blog is a family blog, of my daily life, where I can upload photos of children or other people around me, I do NOT authorize you to use my photos without my authorization.
Dispositivo | Device | Samsung Galaxy A54
Fotos editadas en: |Photos edited in | CC Express for Picsart / Canva
Separadores hechos en | Separators made in | CC Express for Samsung
Traducción con | Translation with| DeepL
For the best experience view this post on Liketu
Te quedó genial amiga 🥰🥰
Si a ella le gustó mucho. Tengo que hacerle una a Arianna y una para mí.
I've also made scrunches, but never in this color, I like the final result very much, you did well.
Este color aunque es gris se ve muy vistoso, también por el tipo de tela. Que bueno que le gusto y también las sepa hacer. Saludos 🤗
This color, even though it is gray, looks very colorful, also because of the type of fabric. Good that you like it and also know how to make them. Best regards 🤗
Excelente para aprovechar lo retazos de tela
Si es una excelente opción y así no desperdiciar nada.
Así es amiga, cero desperdicio de tela.