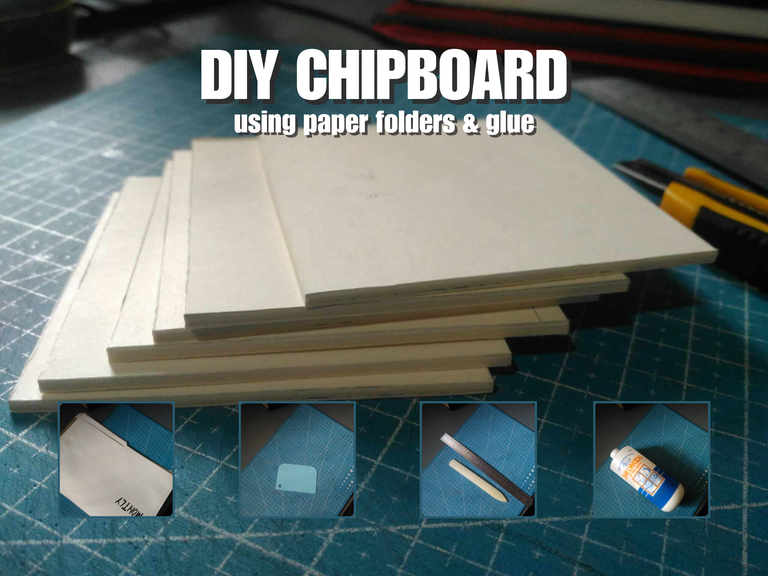
Making Chipboard Using Just Things I Have at Home
Hi there! How are you? I've been wanting to create a blog that works through the entire process of creating a handmade sketchbook. I've attempted, but it seems difficult for me to complete because there are a lot of pieces that need to be included to demonstrate it in more detail.
Like this blog I'm writing right now, I want to share what I learned from creating a handmade sketchbook out of recyclable materials. The first thing I'm going to do is make a DIY chipboard, which will save me a ton of money instead of purchasing it online and will also contribute to environmental sustainability.
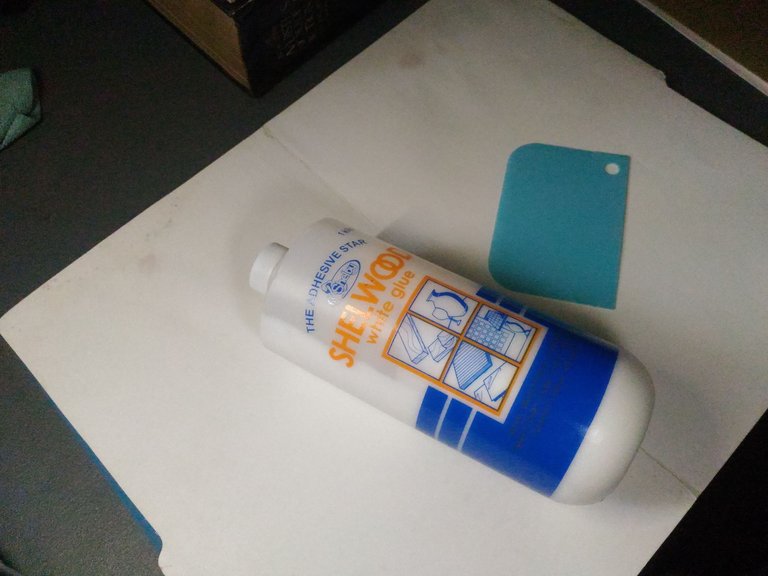
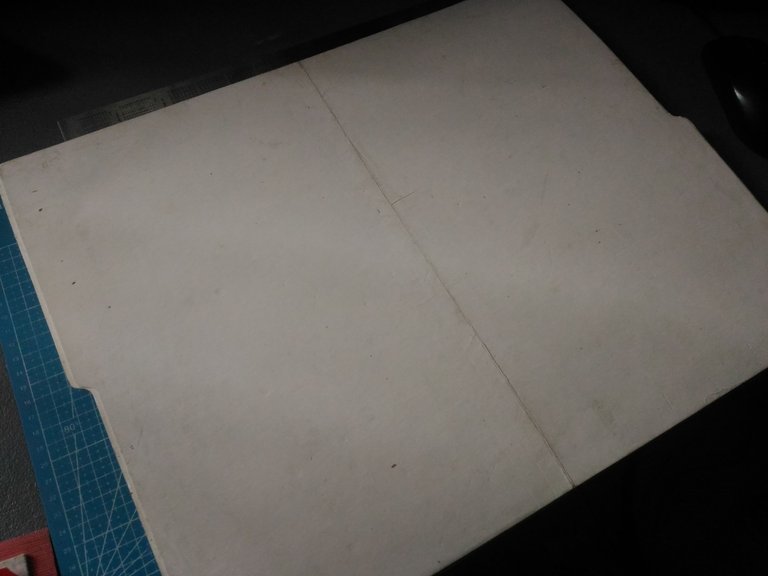
The original materials to make chipboard are wood particles and epoxy resin which I don't have in my materials, so what a crafter has in their material are paper folders and glue, so today I am going to make that happen.
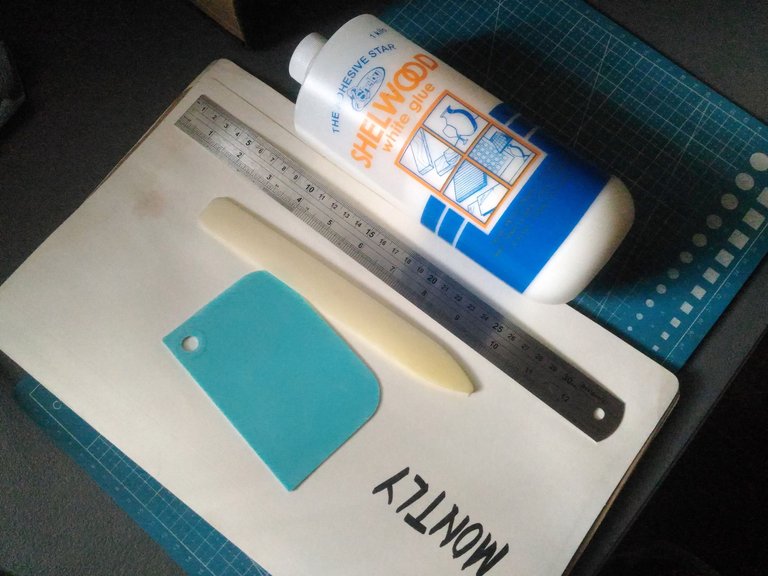
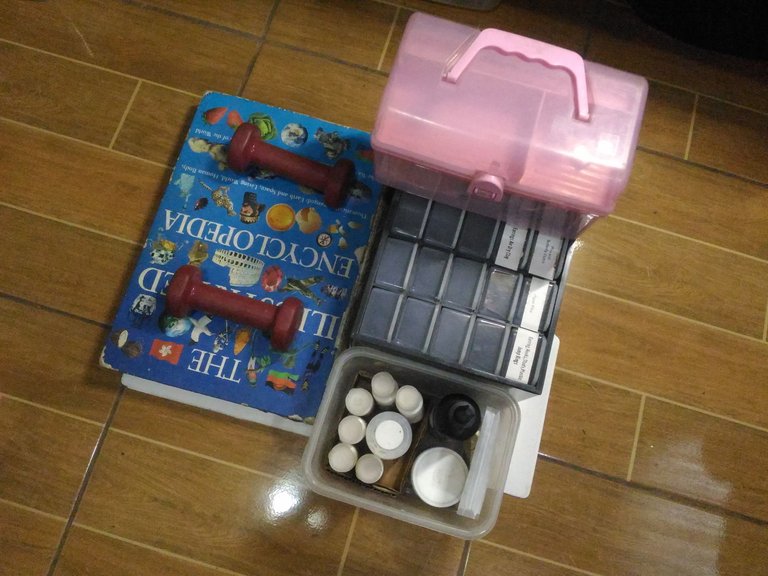
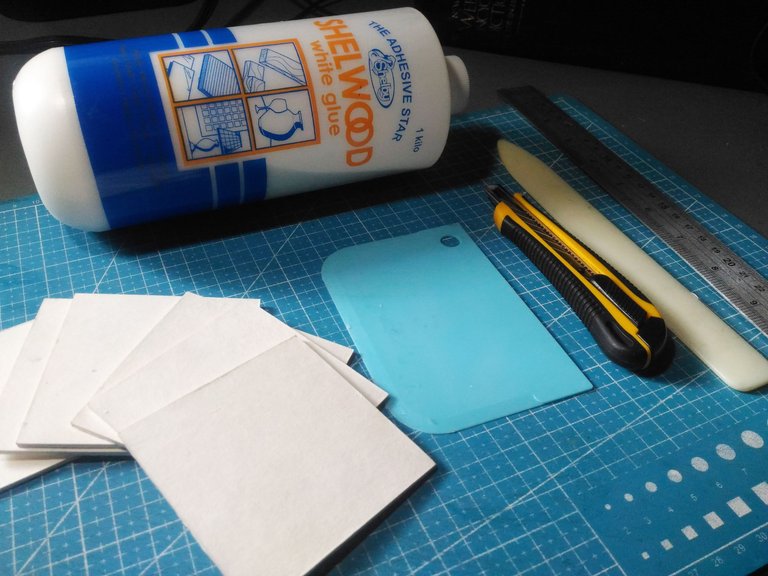
Materials I used:
- Paper Folders
- Glue
- Cutting Mat
- Plastic Scraper
- Ruler
- Cutter
- Heavy Books or Things
- Bone Folder

The Process:
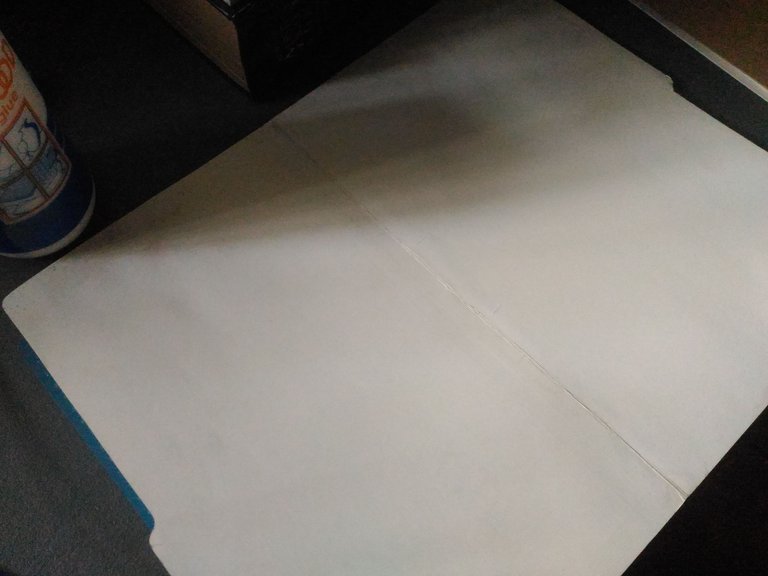
On a cutting mat, I placed the first layer of a paper folder so that there would be no mess during the process.
I have prepared the next materials I'll need, which are glue and a plastic scraper. Using the scraper speeds up and speeds up the process.
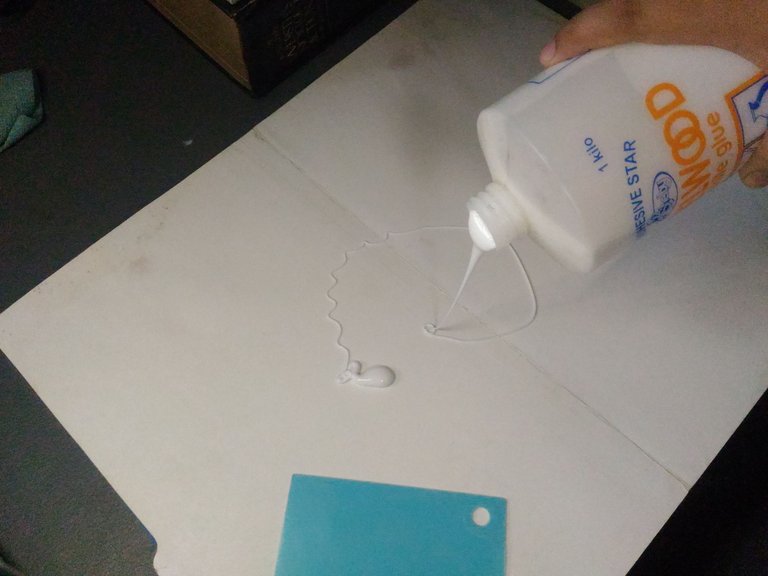
I pour enough amount of glue onto the paper folder I just measure it with my eyes LOL.
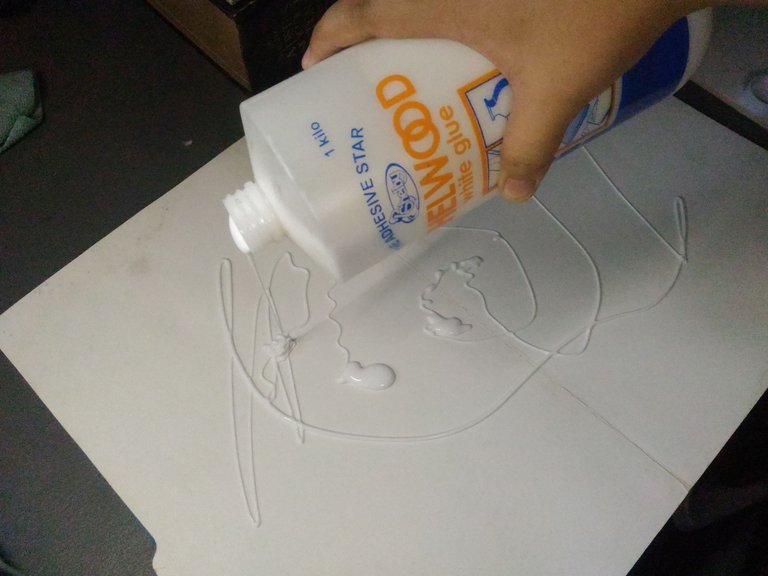
If it is too much I will use the extra on the next layer, no glue is wasted.
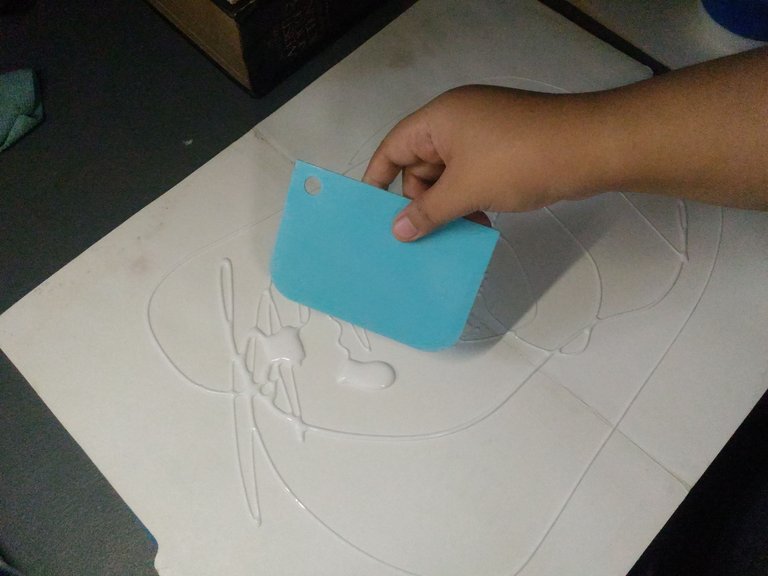
I use the plastic scraper to even out the glue. I make sure to work fast because the glue dries faster in hot weather.
After applying the glue evenly without any part unglue this is what it looks like.
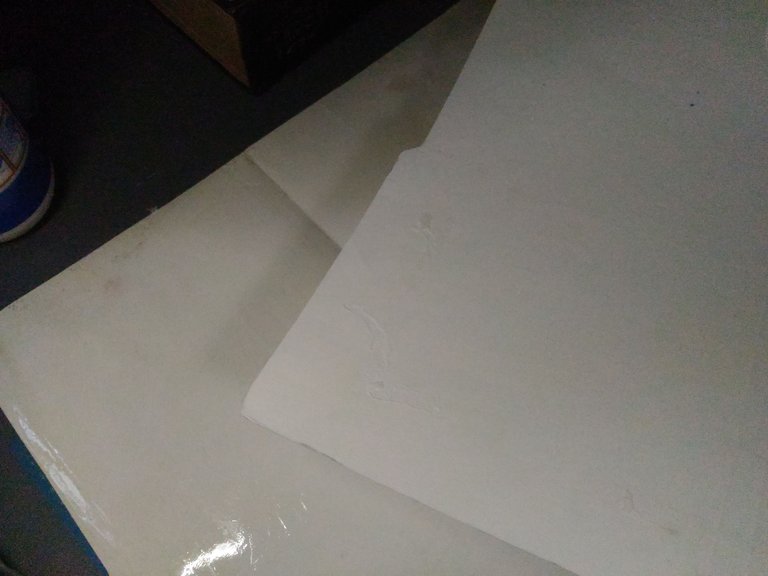
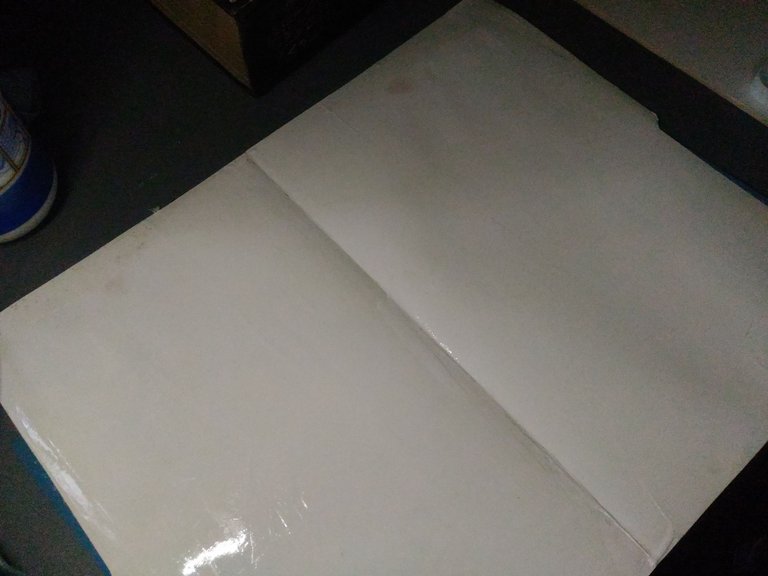
I then grab another paper folder to layer it on the first folder.
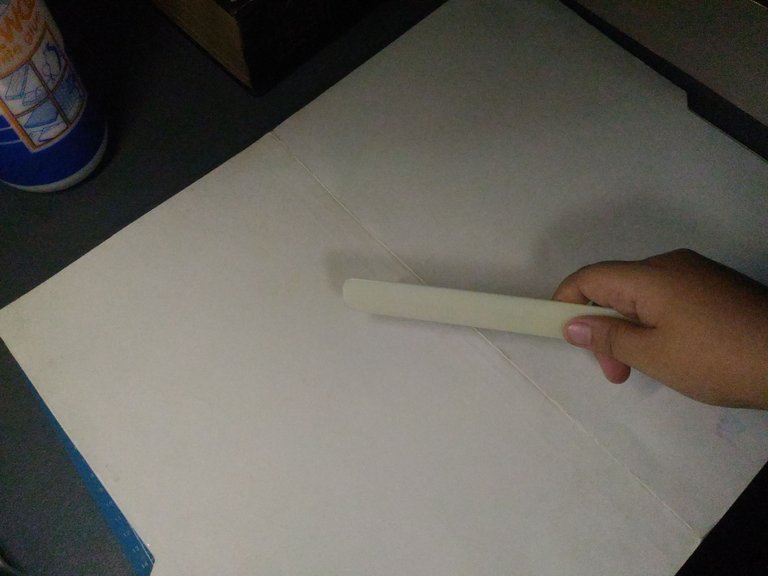
After applying the second layer of the paper folder, I used the bone folder to flatten any bubbles on the surface of the paper.
I repeated that process six times It is up to you if you want thinner go for fewer layers but I wanted it thick so six layers for me.
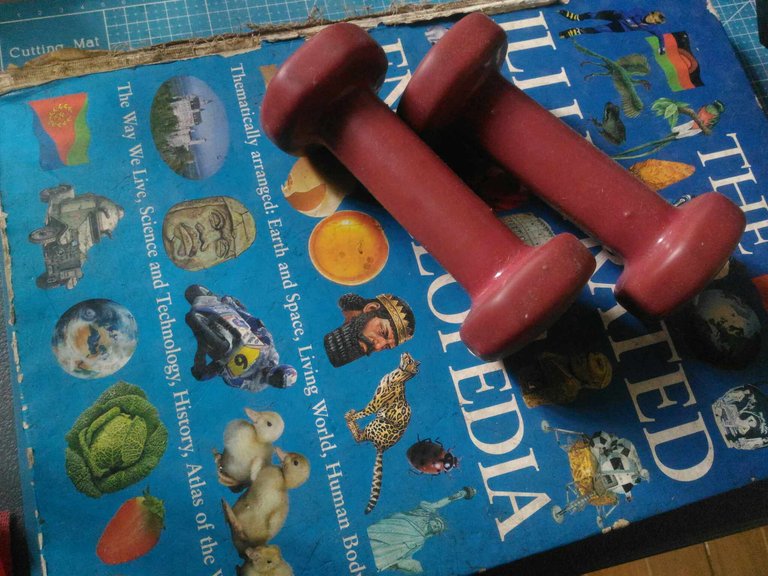
After all the layering I place the folder on the floor and make sure the floor is clean.
I place heavy things on the top of the paper folder, I make sure to cover as much as the surface of the paper to make sure it is flat when it dries. I let it dry for days.
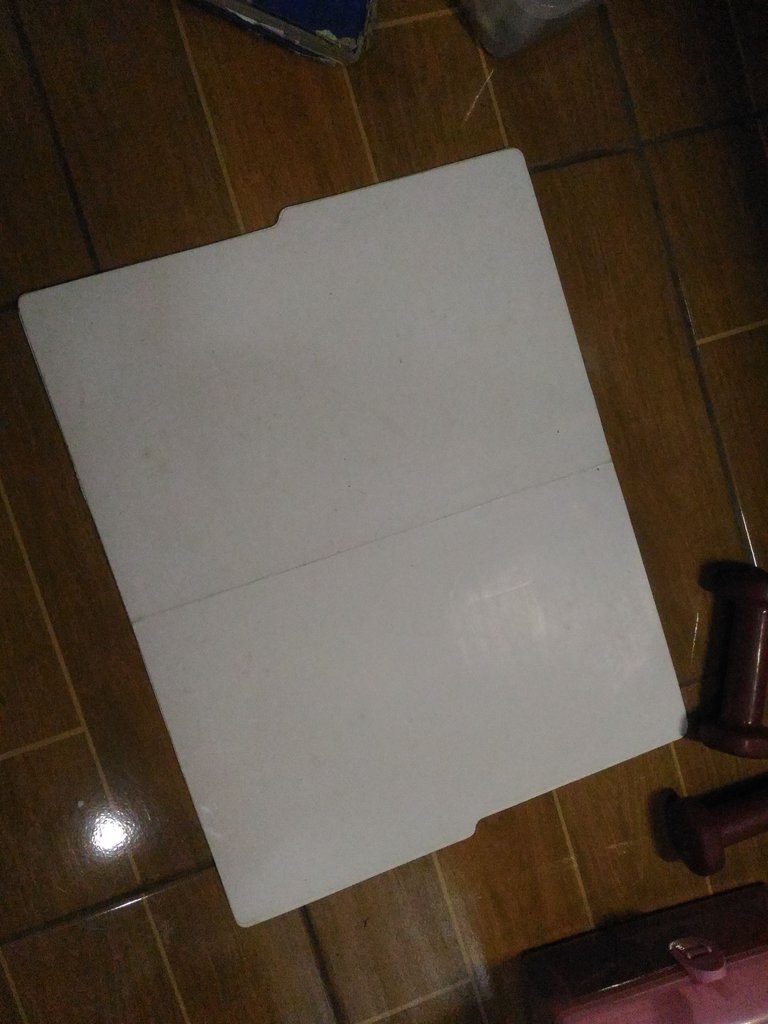
After drying it for days this is what it looks like flat and sturdy. I have my DIY chipboard.
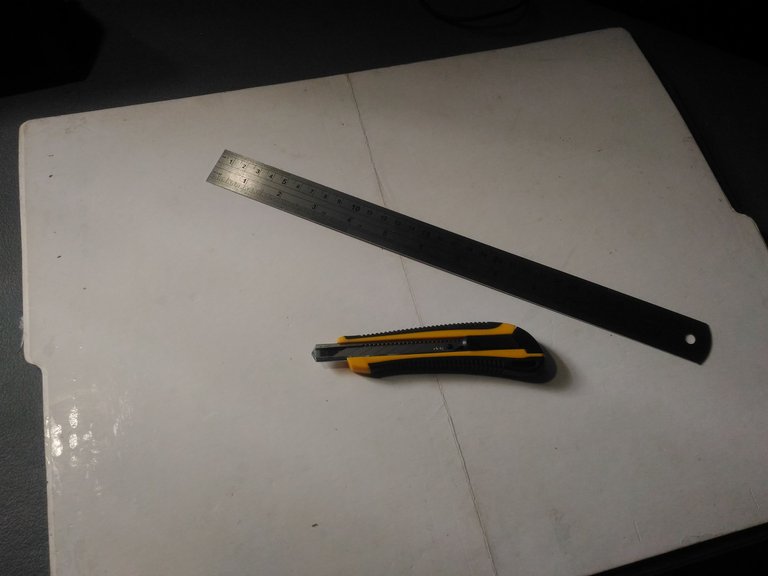
It is time to cut the chipboard. I use a metal ruler and cutter with a new blade. Make sure to use a metal ruler if you use a plastic ruler it will just ruin the poor ruler.
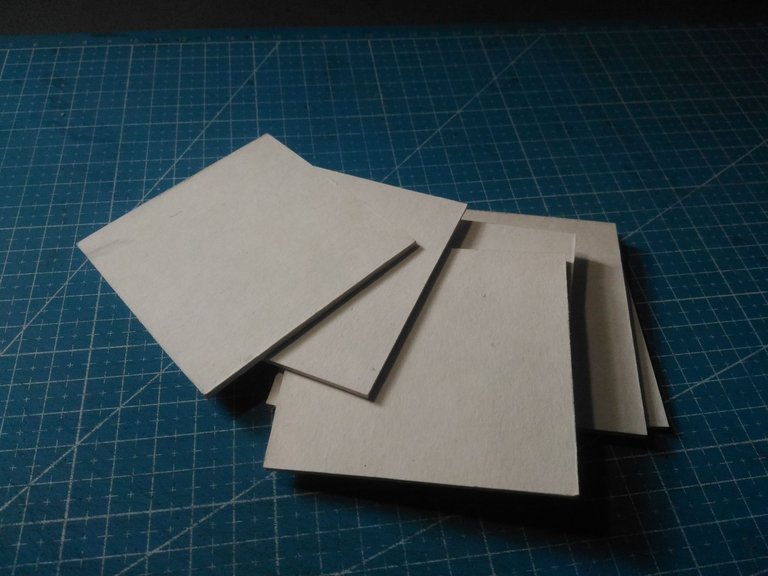
I cut it in the size I wanted.
Making my chipboard with paper folders is not just a fun way to do it but I repurpose stock material. Whether you're creating handmade sketchbooks etc. this DIY is a lot help for me.
If you like to recycle and DIY you should try it yourself. :D
Thank you for visiting. See you on my next blog. :D

Congratulations @leannwithdoublen! You have completed the following achievement on the Hive blockchain And have been rewarded with New badge(s)
Your next target is to reach 80 posts.
You can view your badges on your board and compare yourself to others in the Ranking
If you no longer want to receive notifications, reply to this comment with the word
STOPCheck out our last posts:
Aww, this is a nice way to use recyclable materials. Your chipboard looks great and we love that you presented this as a fun and useful project for crafters.
Thank you so much diyhub :D
Interesante trabajo, no sabía que se podían hacer este tipo de manualidades, y de verdad es que son muy útiles.
Escrito por lionsaturbix / Written by lionsaturbix
¡¡¡Buen trabajo!!! Gracias por publicar tu excelente contenido en Hive Diy.
Thank you so much :D