How I Make Pancakes Keychain Using Polymer Clay
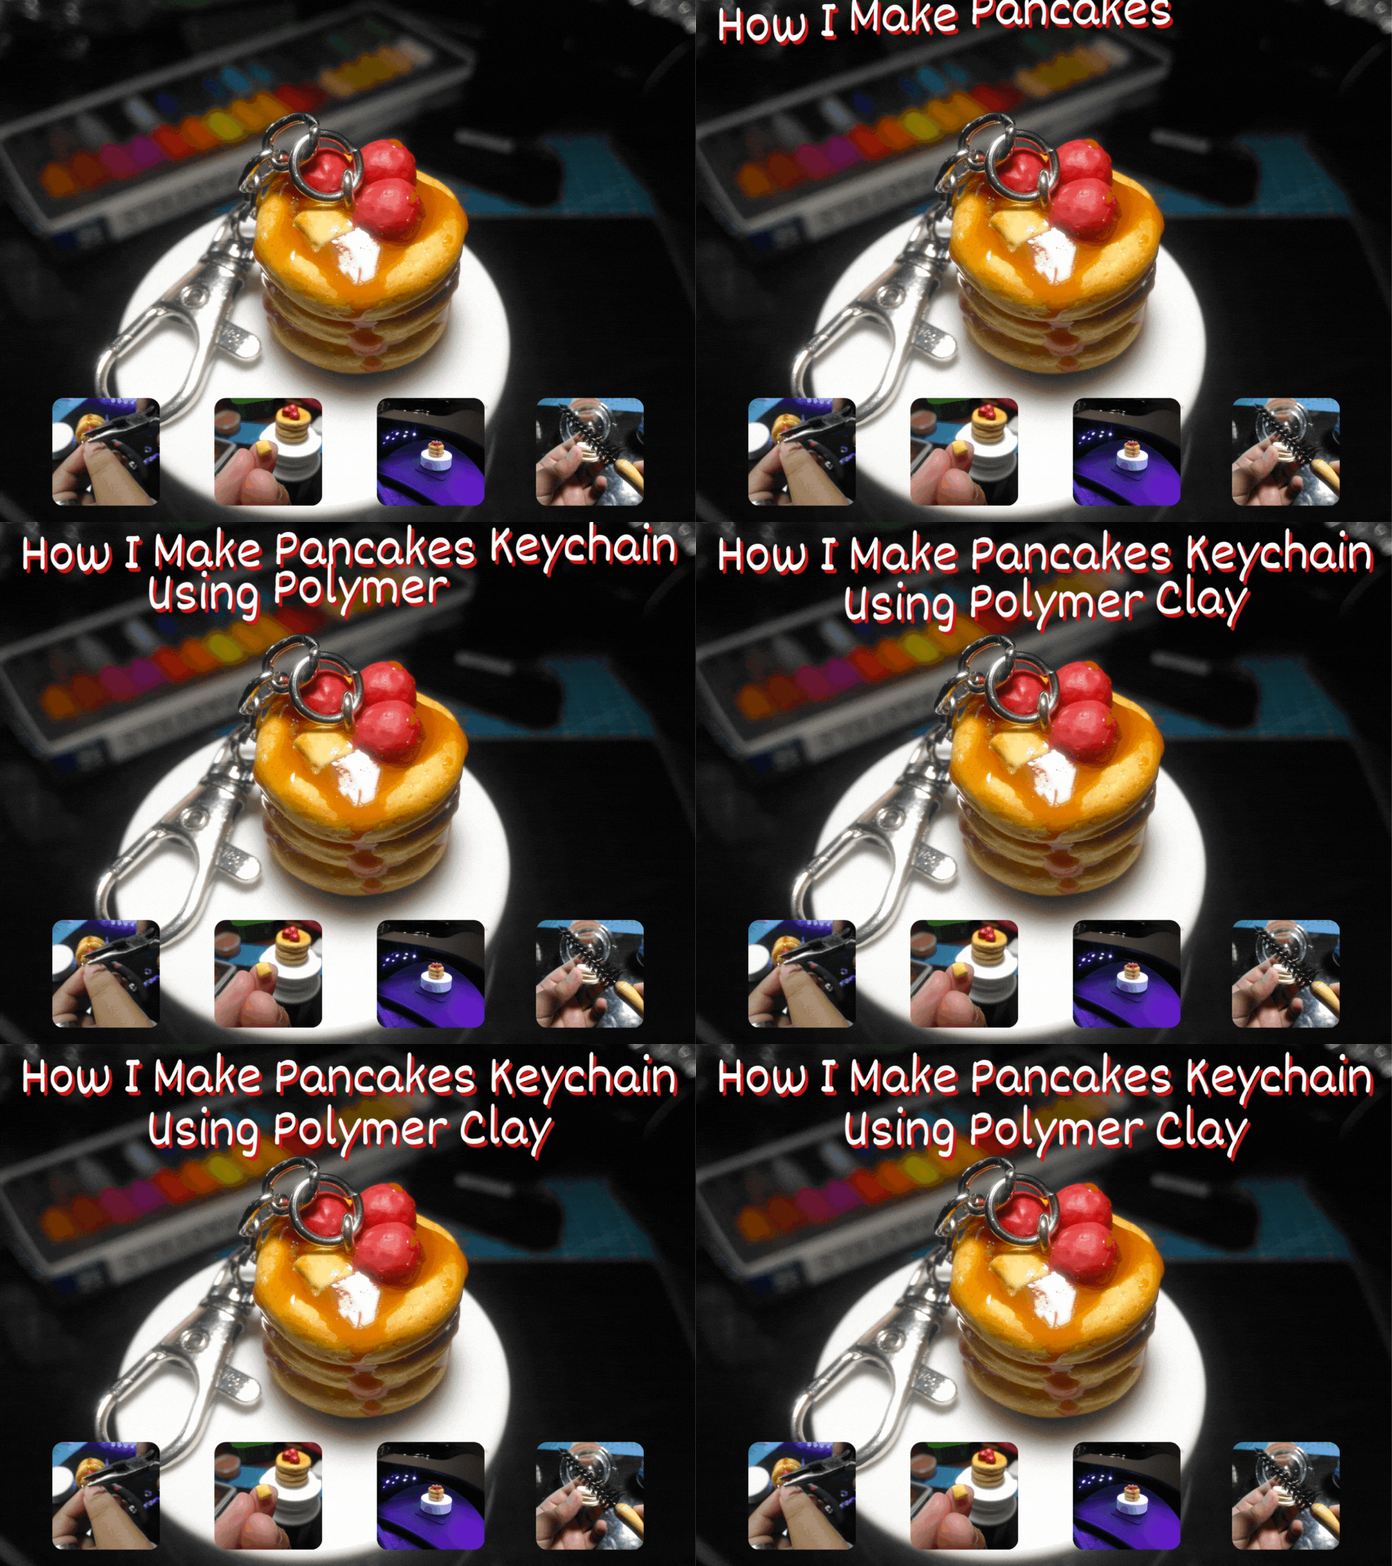
Hello! How are you? Lately, I have been craving pancakes but have no energy to do it I don't know why and I am on a break from eating dairy my skin knows I ate too much lately LOL. Instead of cooking some, I'll just make it using polymer clay I keep seeing it everywhere which hunting me hehe.
I've been not doing crafts lately maybe I am experiencing craft block which I don't know if that's a thing but since I made this maybe I back in the game again. Maybe the cleaning my workspace works. I have a lot of lists I am excited to do wish me luck! I hope you enjoy this blog.
Materials I Used:
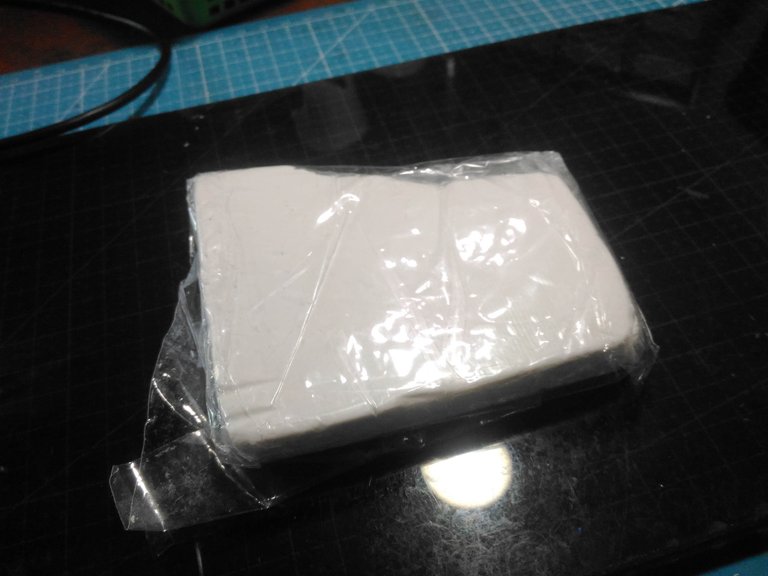
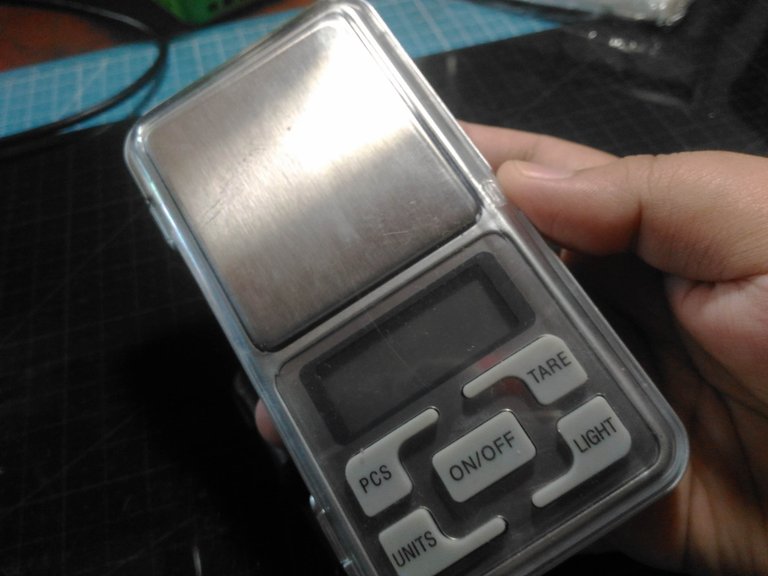
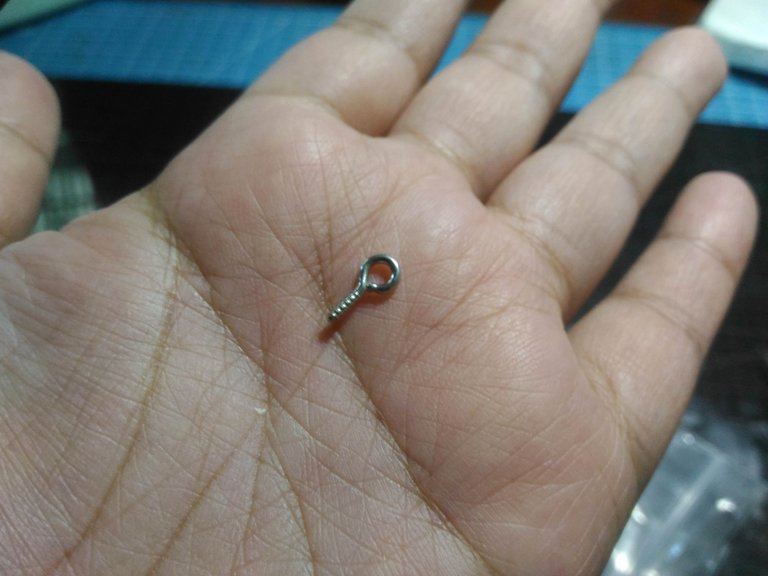
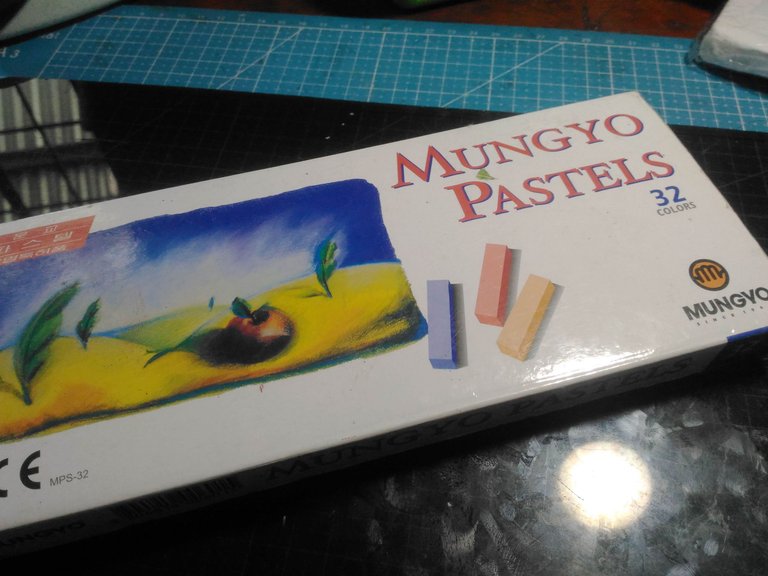
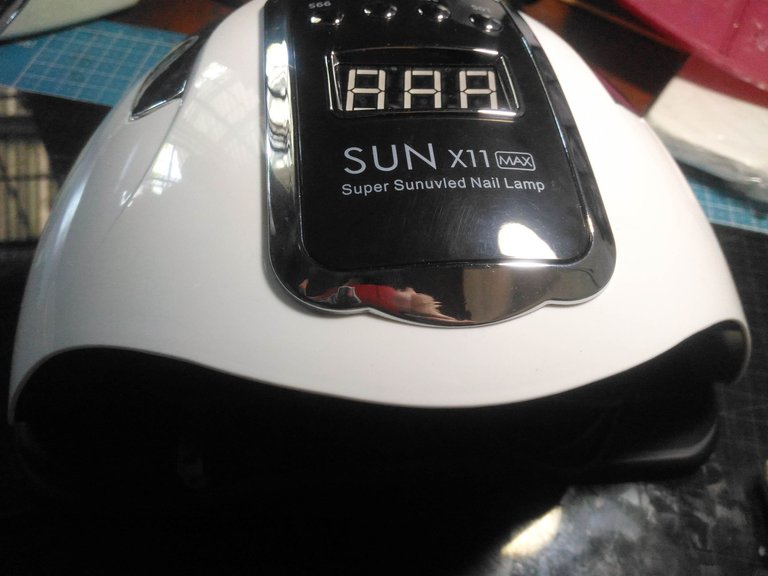
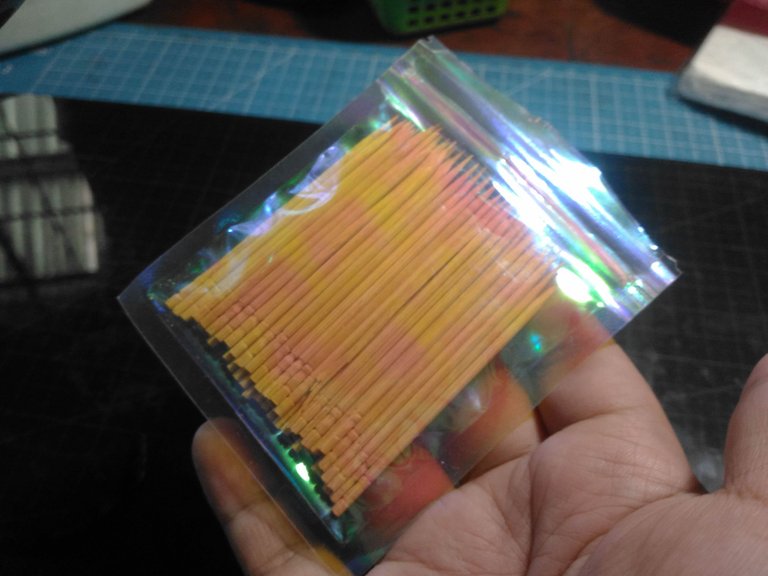
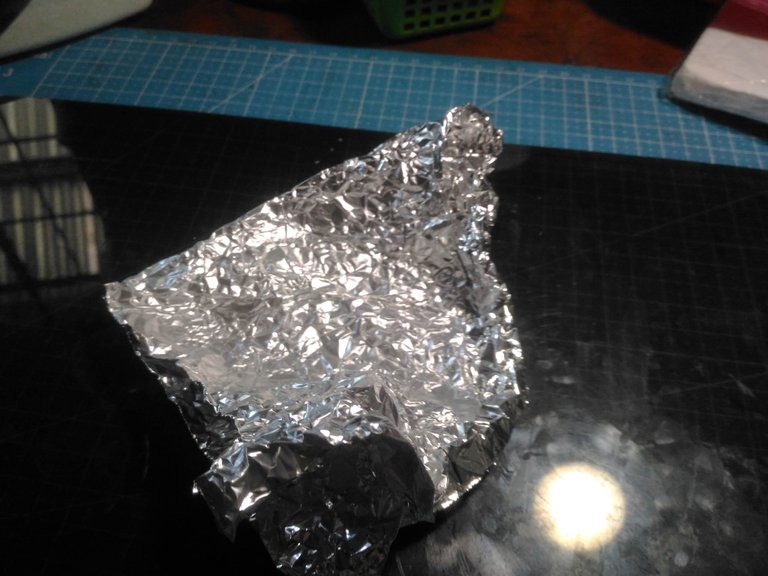
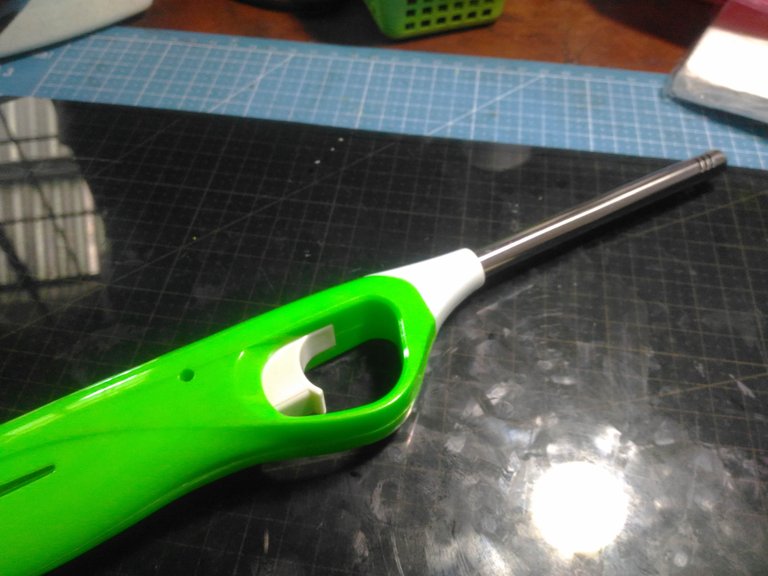
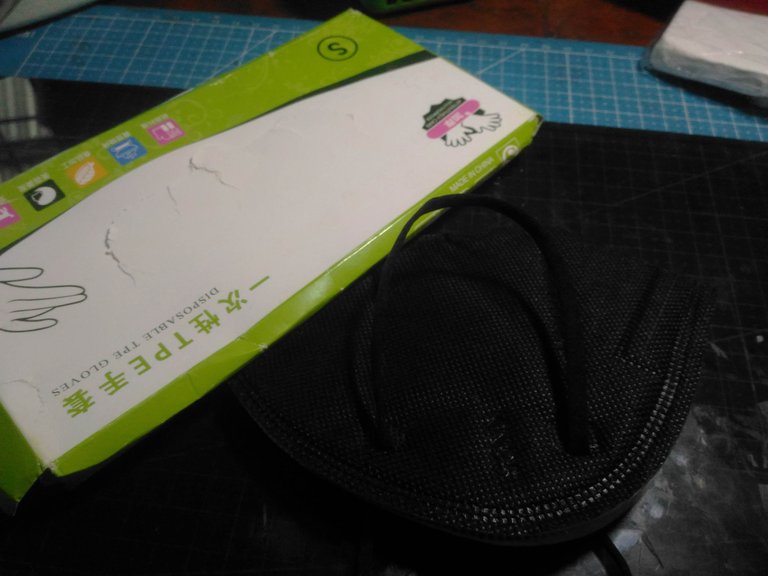
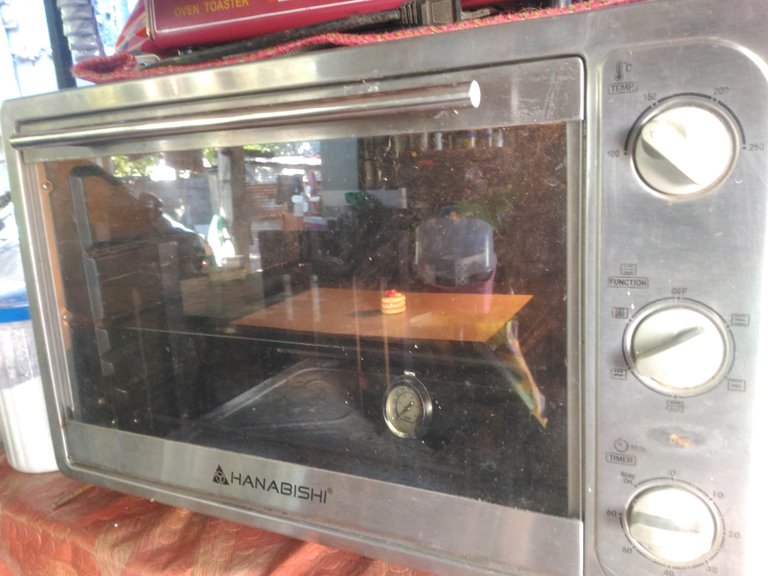
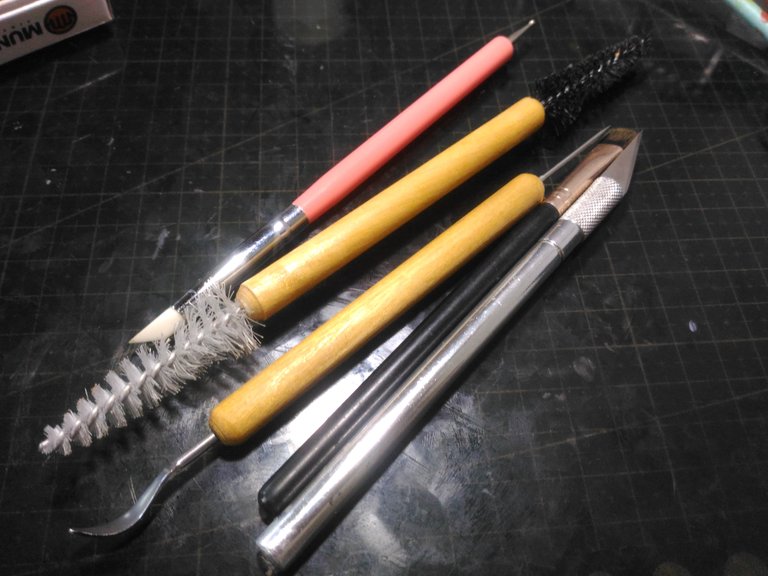
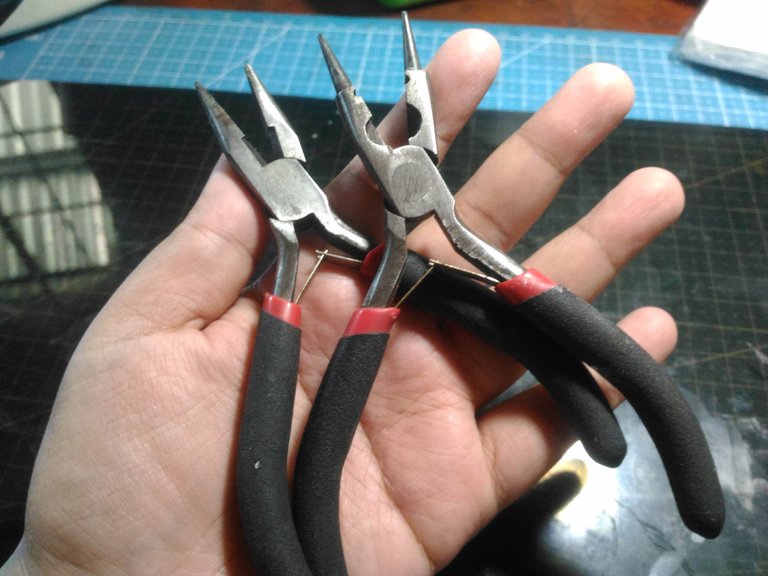
- Polumer Clay
- Eye Pins
- Jumprings
- Soft Pastels
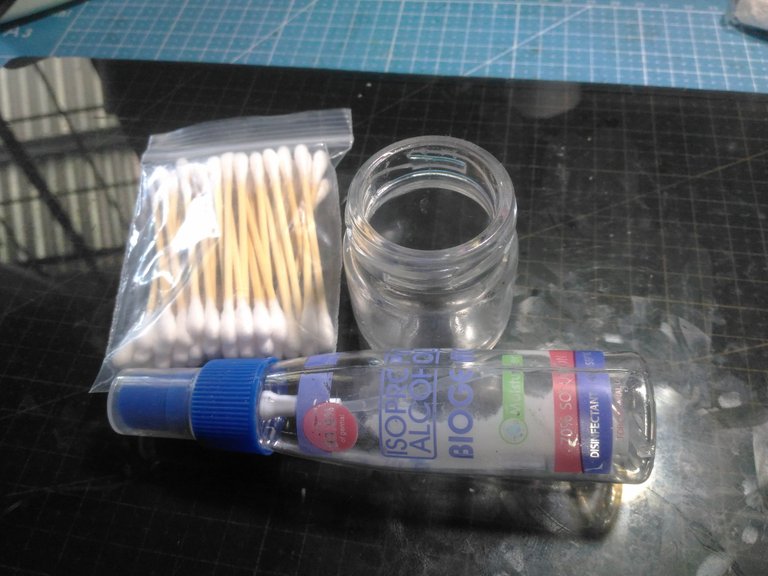
- Alcohol
- Glass Sheet
- Pliers
- Aluminum Foil
- Brush
- Silicone Mat
- Portable Weighing Scale
- Clay tools
- Glass Container
- Oven
- Lighter
- Plastic Glove
- Mask
- Toothpick
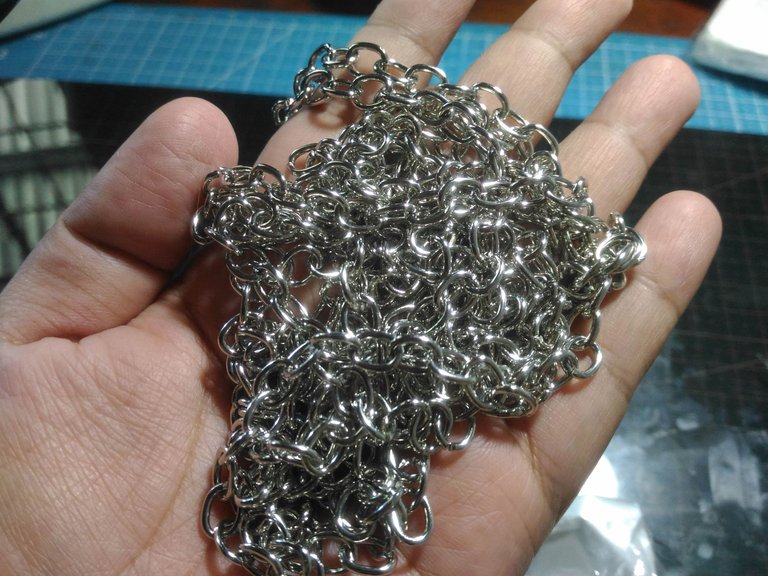
- Chains
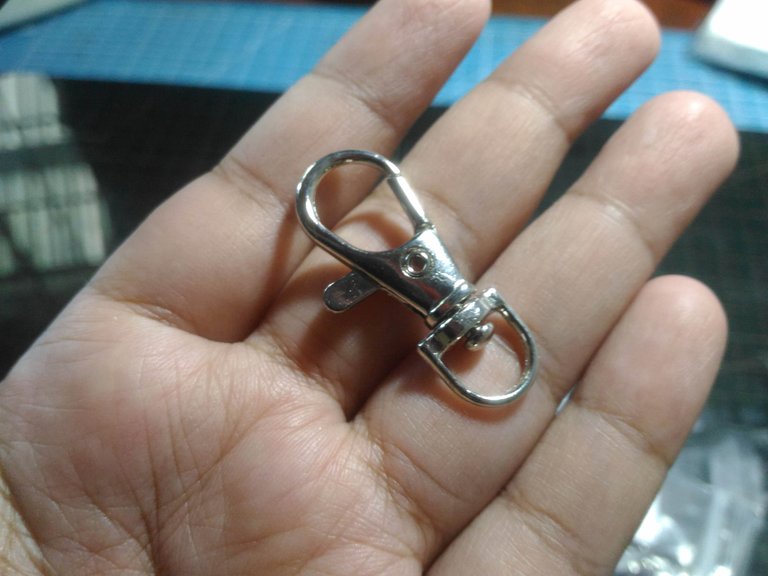
- Lobster Clasp
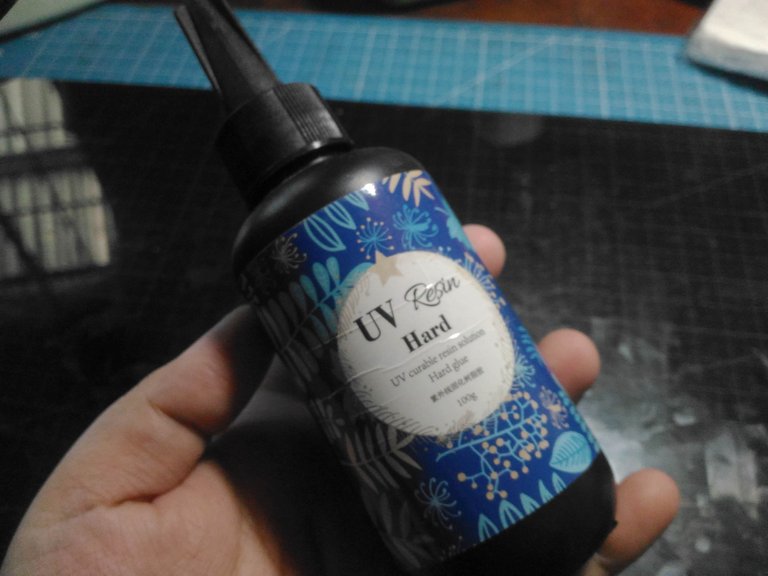
- UV Resin
- UV Lamp
- Super Glue
- Cotton Buds
Clay Time:
Conditioning and Sculpting the Clay:
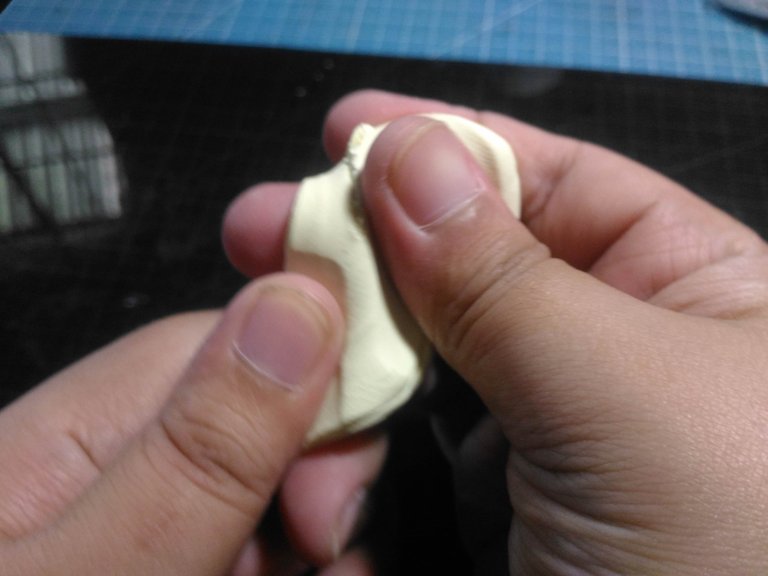
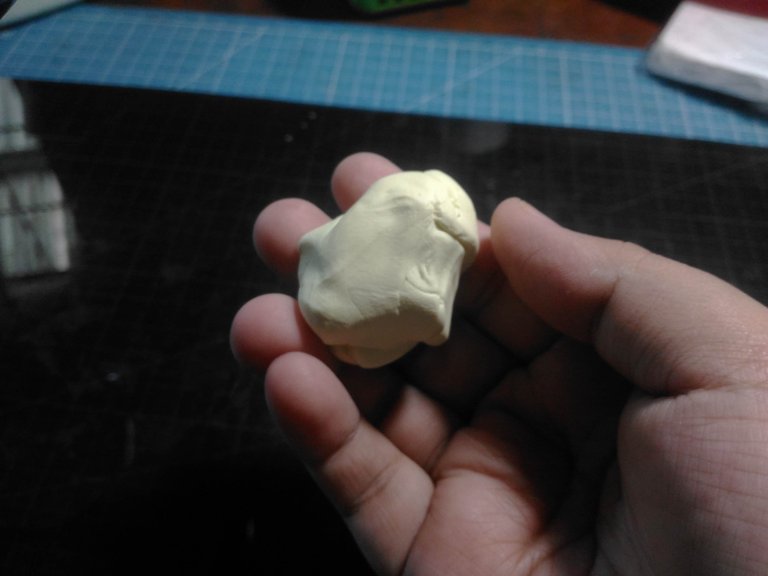
The first thing to do is condition the polymer clay until smooth.
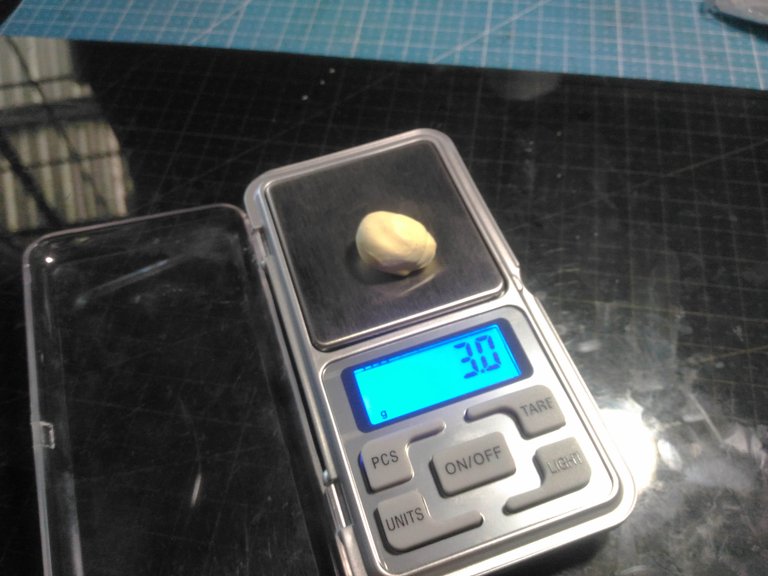
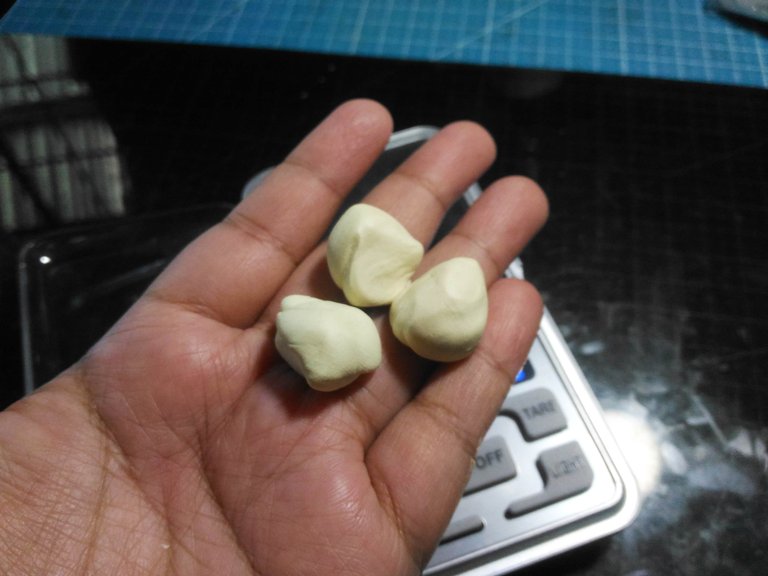
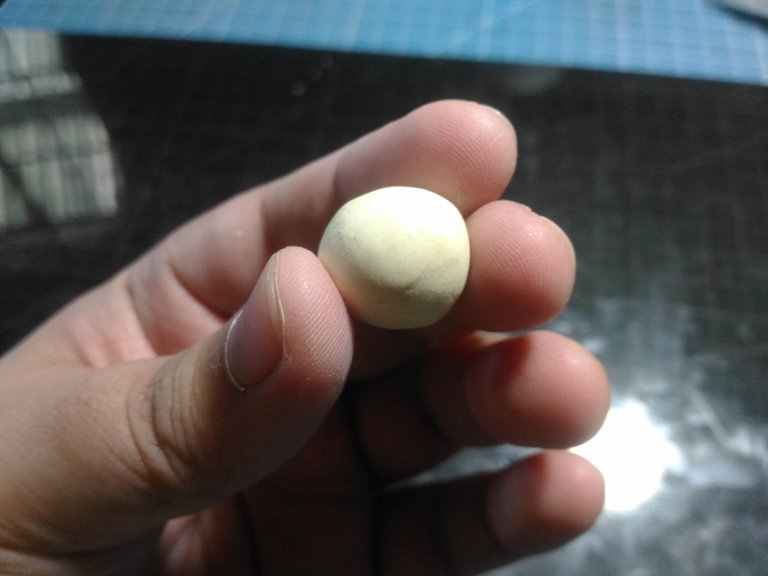
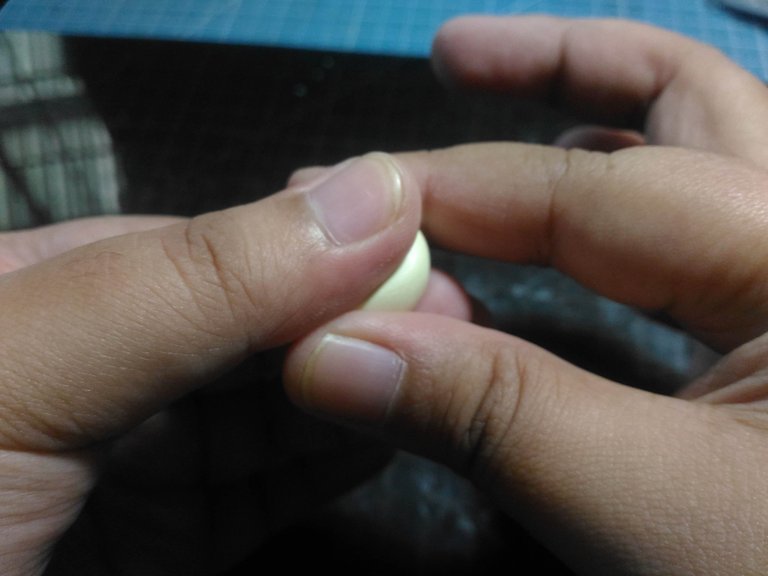
Next, I roll the polymer clay with the shape of a circle and then I sculpt it with the shape of a pancake.
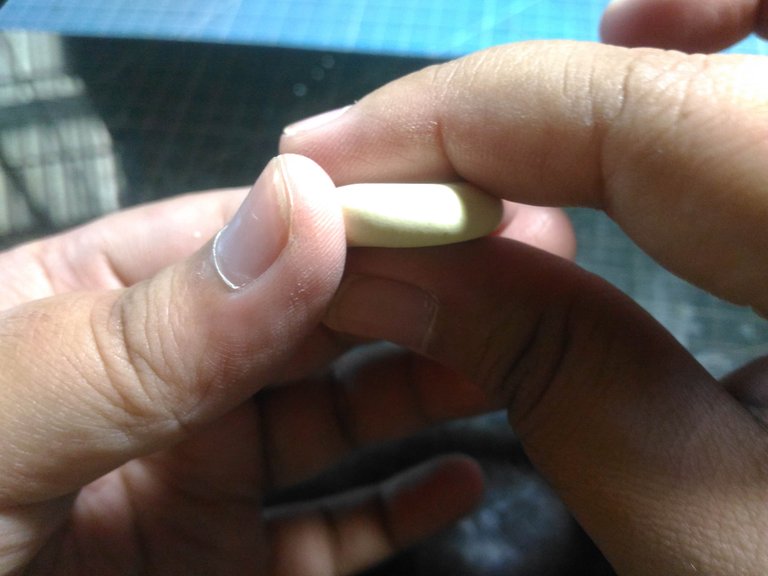
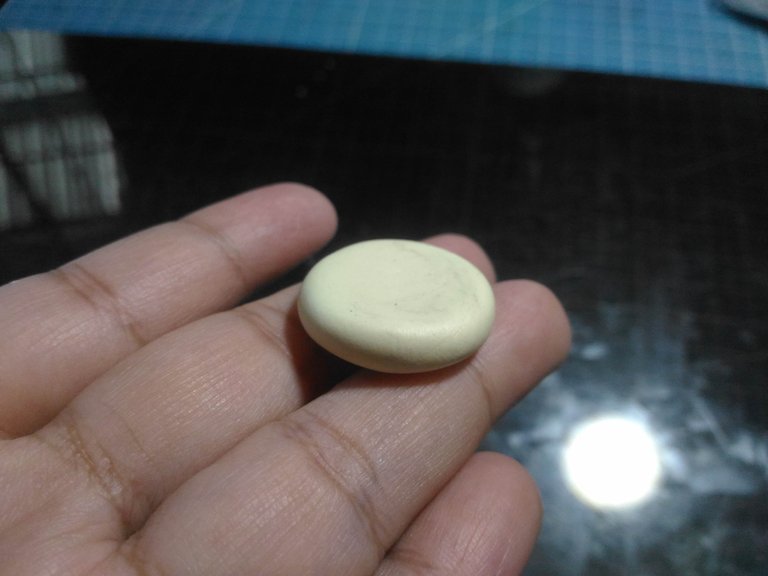
I do this step for each of the three polymer clay. It is okay even if it is not perfectly shaped so it will look more realistic.
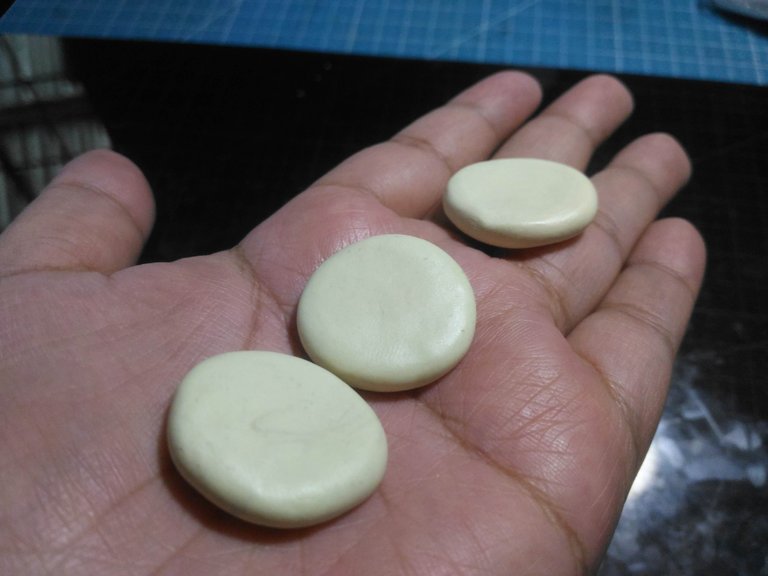
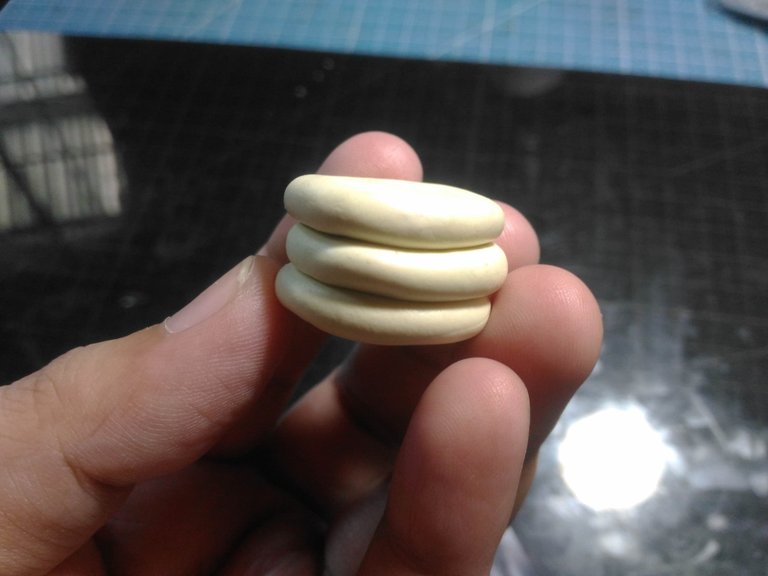
This is how should it look like and then I stack them layer by layer. Again it is not supposed to be perfectly aligned.
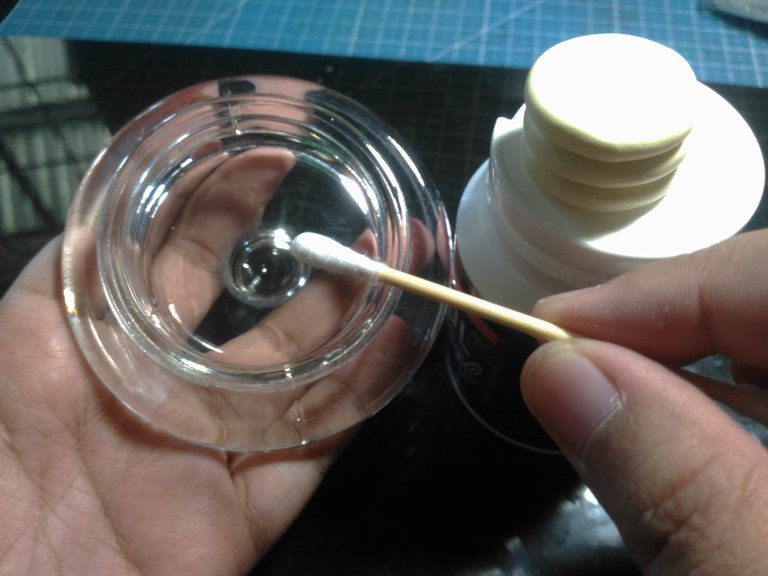
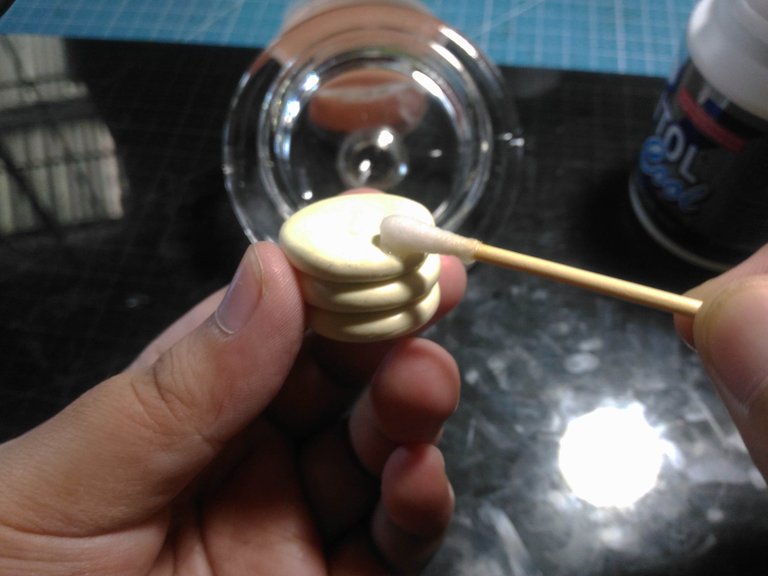
Next, I used alcohol and cotton buds to clean all the visible dirt or dust on the polymer clay.
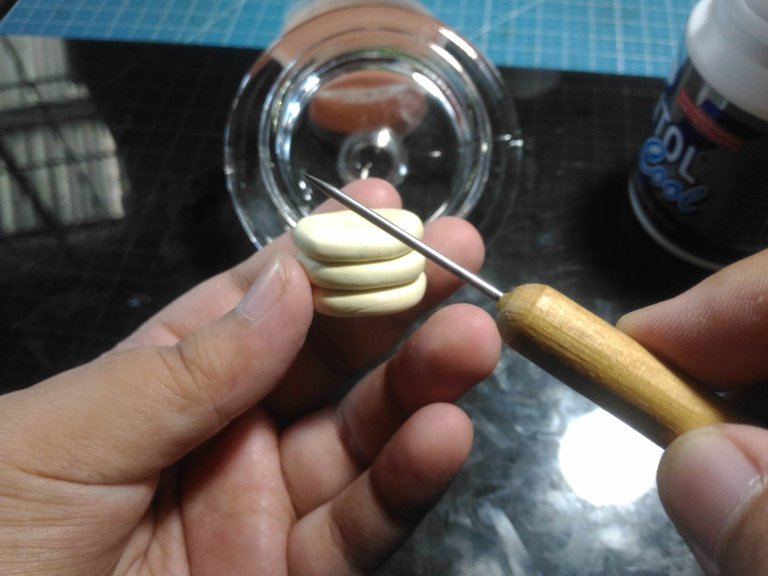
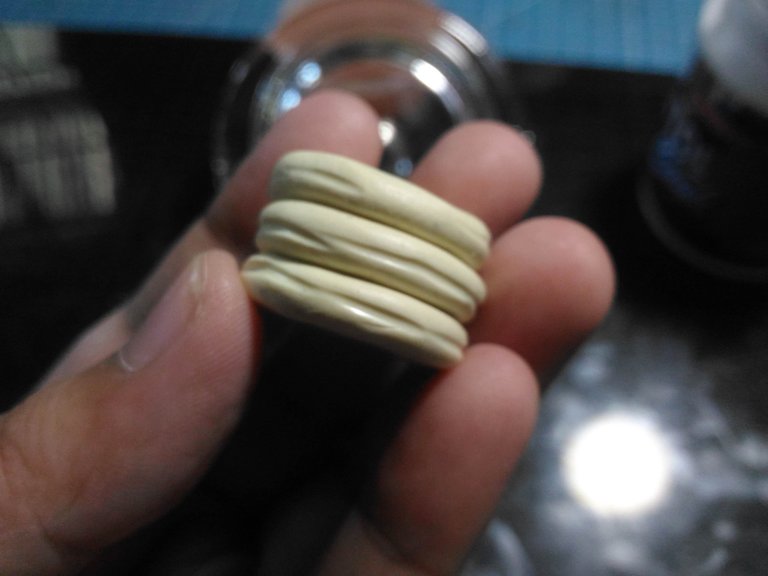
Using the dotting tool I used it to add texture to the polymer clay.
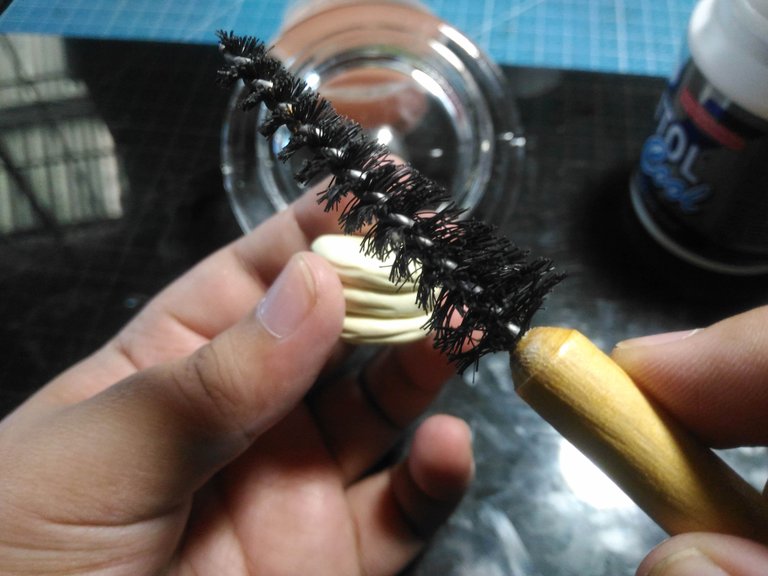
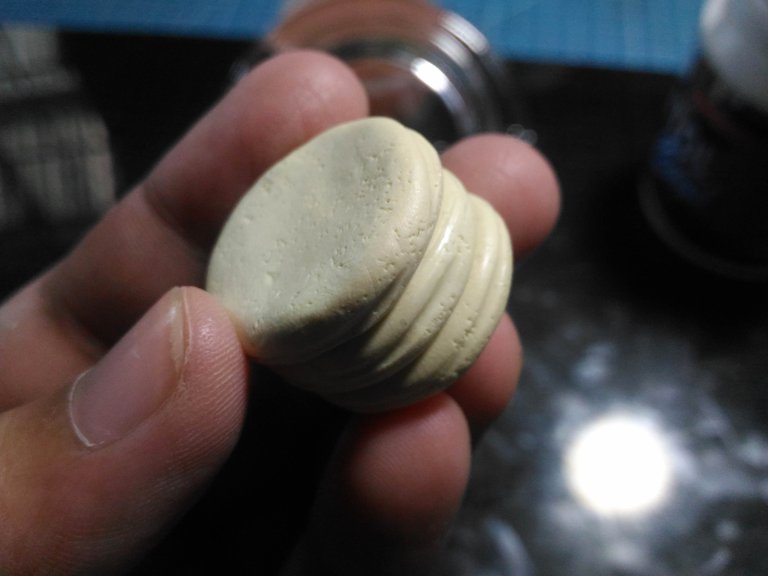
And then I used this tree brush to add another texture to the clay.
Adding Color To The Clay:
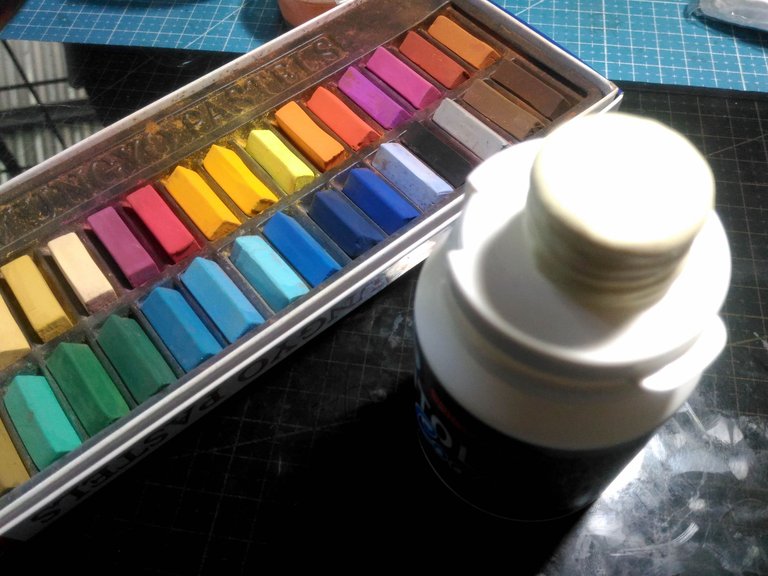
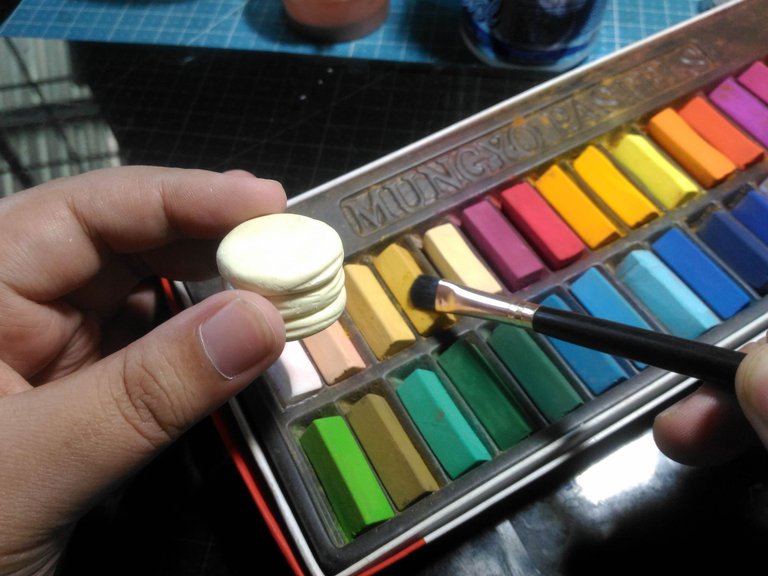
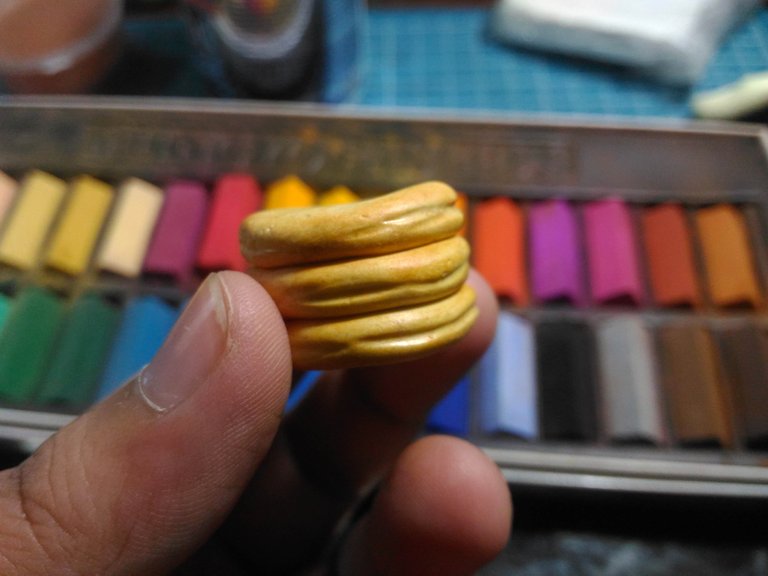
Next is to add shade to the polymer clay I am using soft pastel to do it and a makeup brush. Using this it has a more realistic look on it. I used this light yellow ochre first.
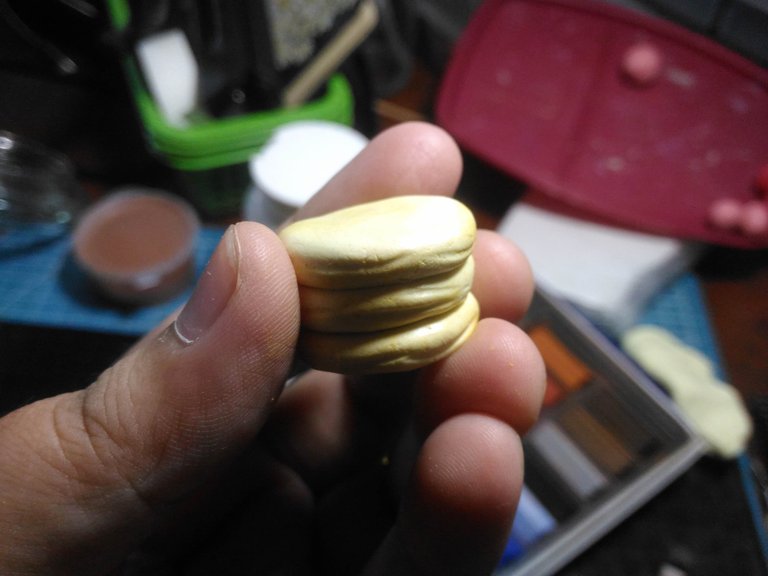
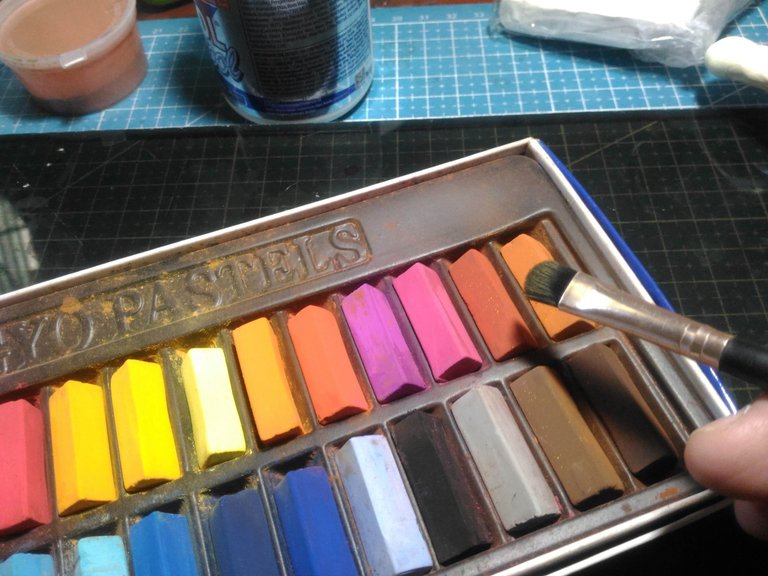
After that I used burnt sienna and brushed it at the side of the clay, I made sure to apply it little by little so I could control the shade I wanted.
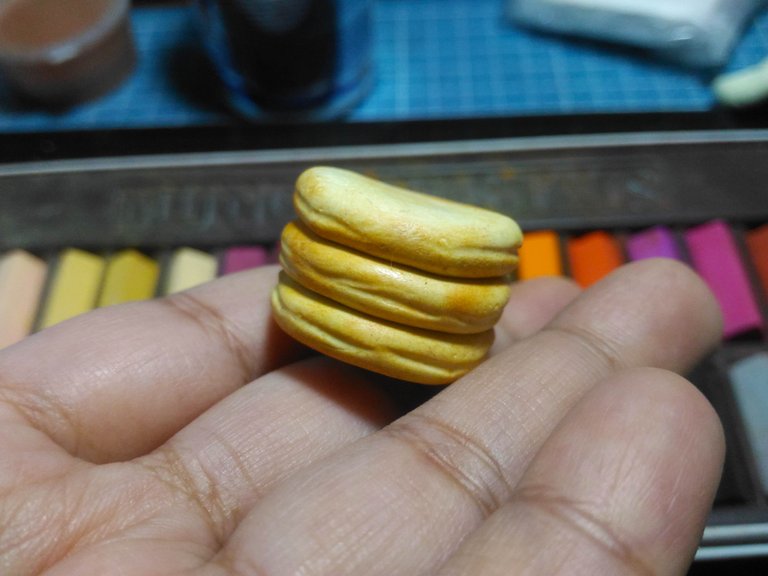
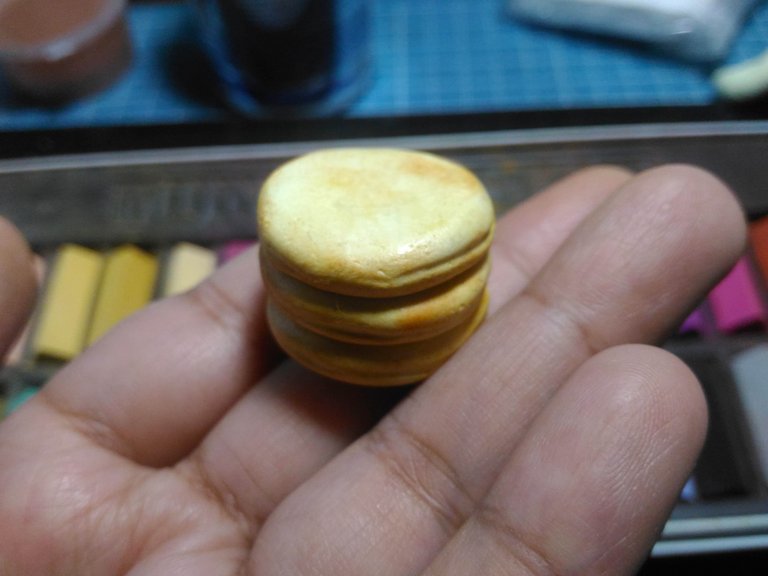
This how it looks like.
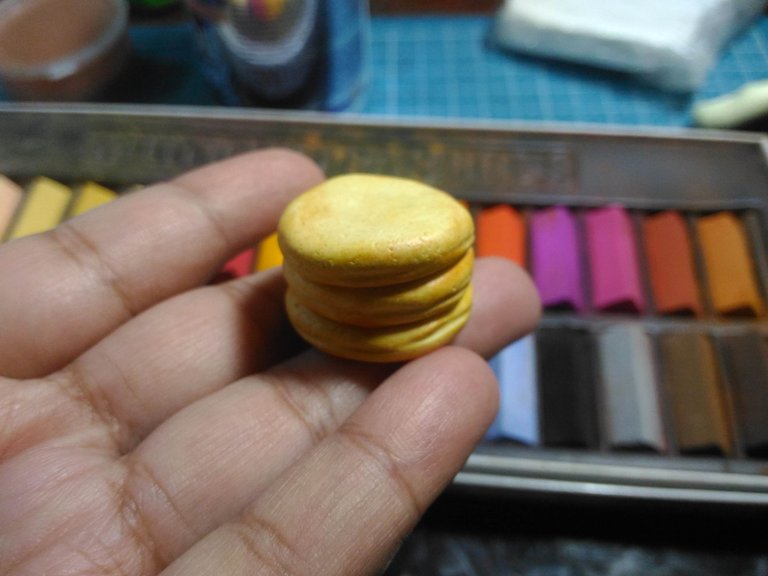
Adding the Toppings and Baking the Clay:
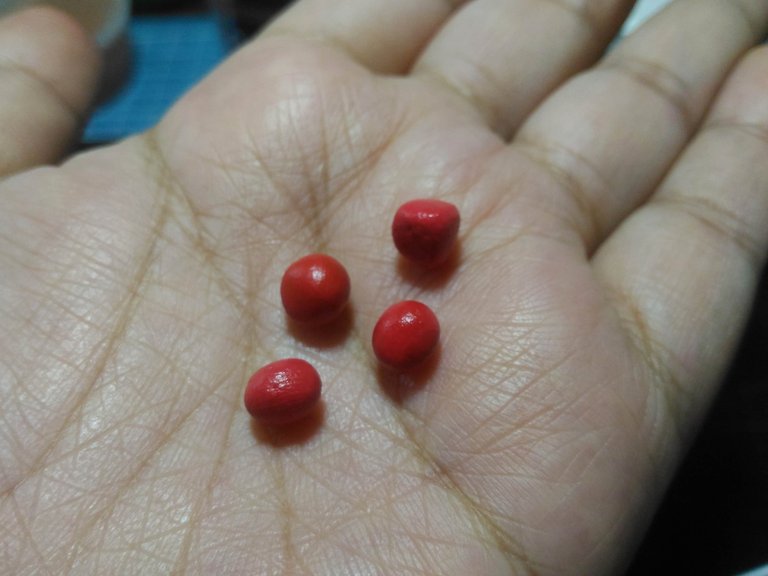
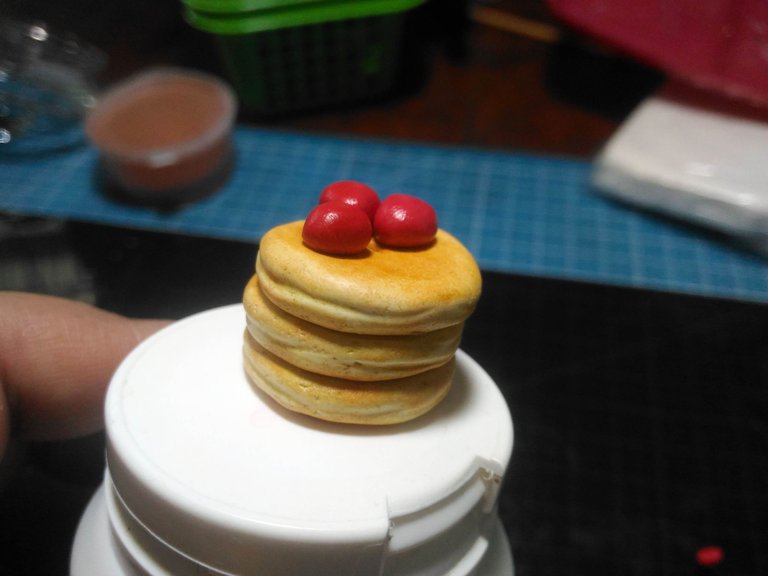
Next, I shape 4 clay into strawberry and then put it above the pancake. But I only used three of them when I realized I needed to add the butter too LOL.
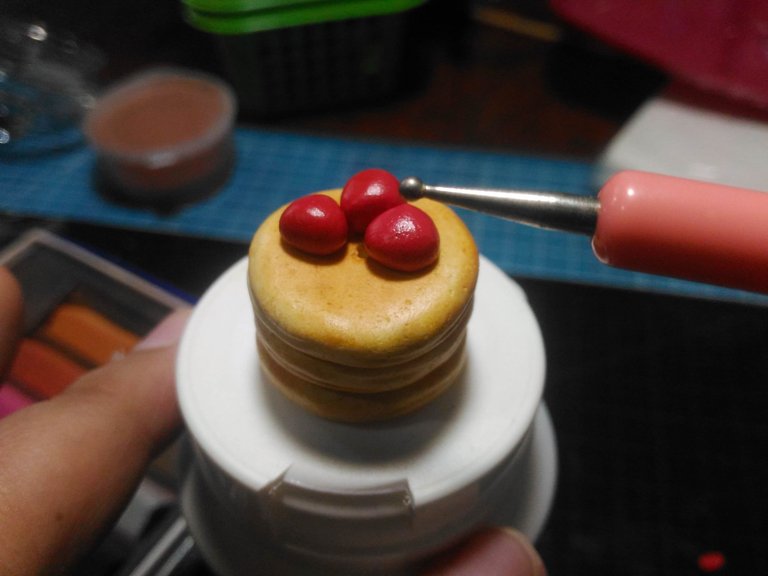
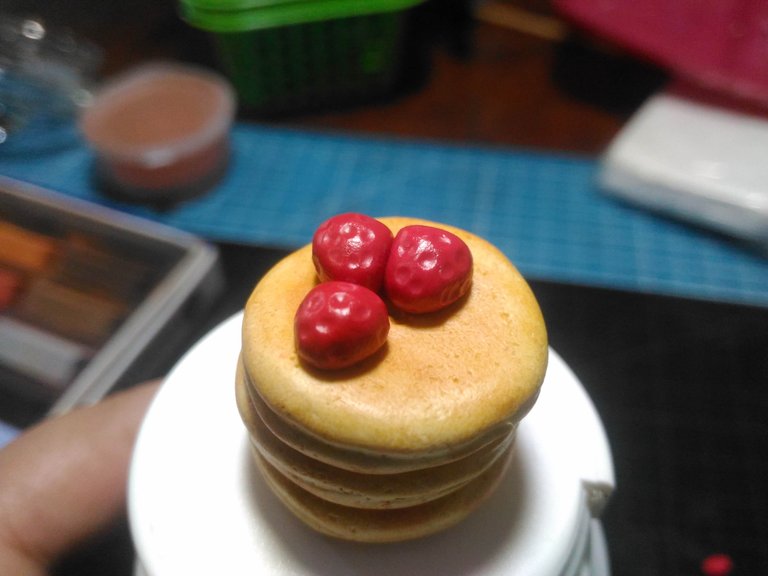
I did not do too many details on the strawberry. I used the dotting tool again to add the dents to make it look more like a strawberry.
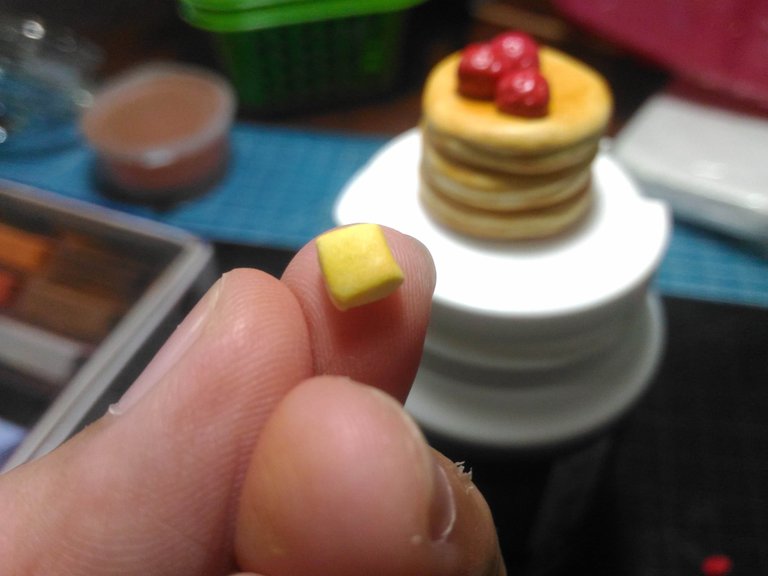
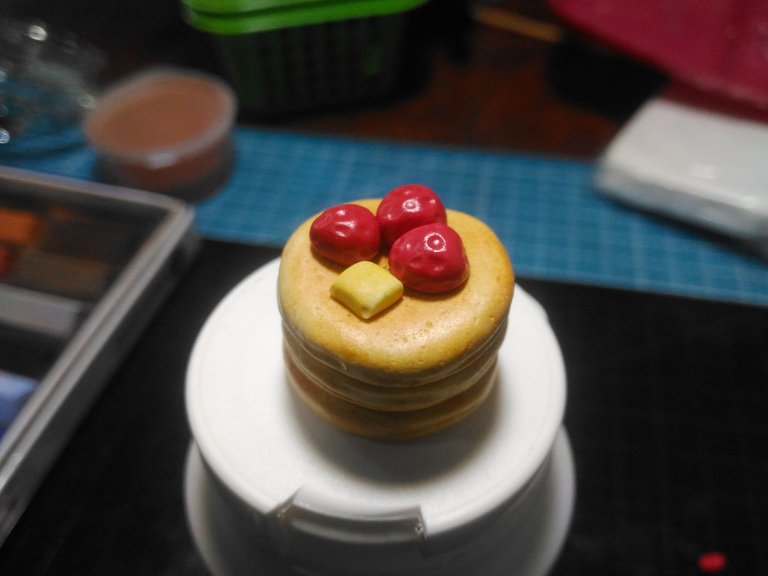
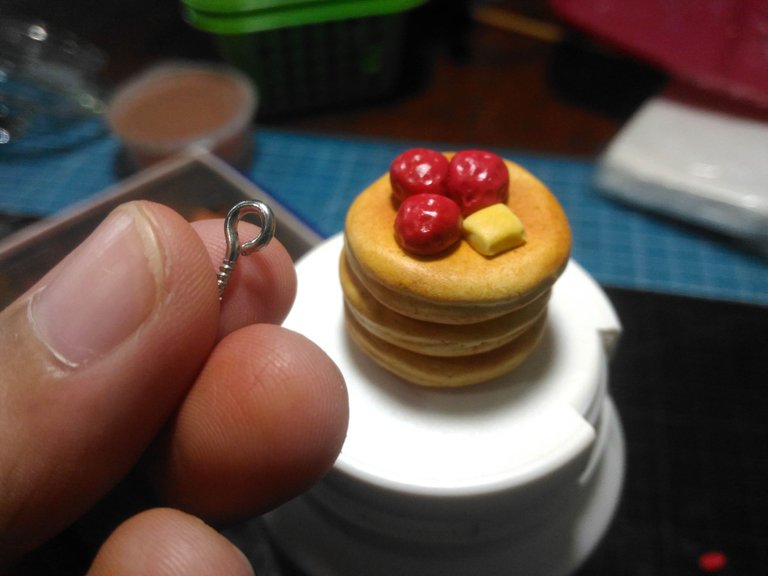
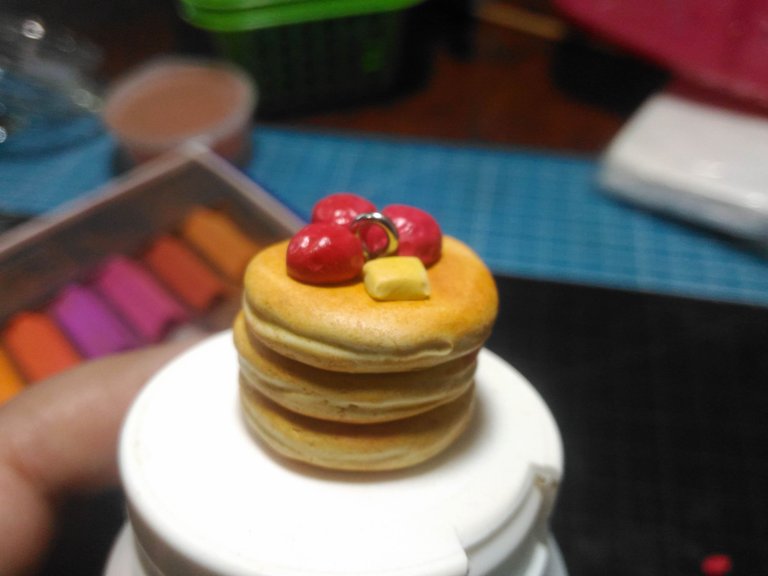
This is the last step before I bake the clay I put the eye pin in the center of the strawberries and we are done It is ready to be baked.
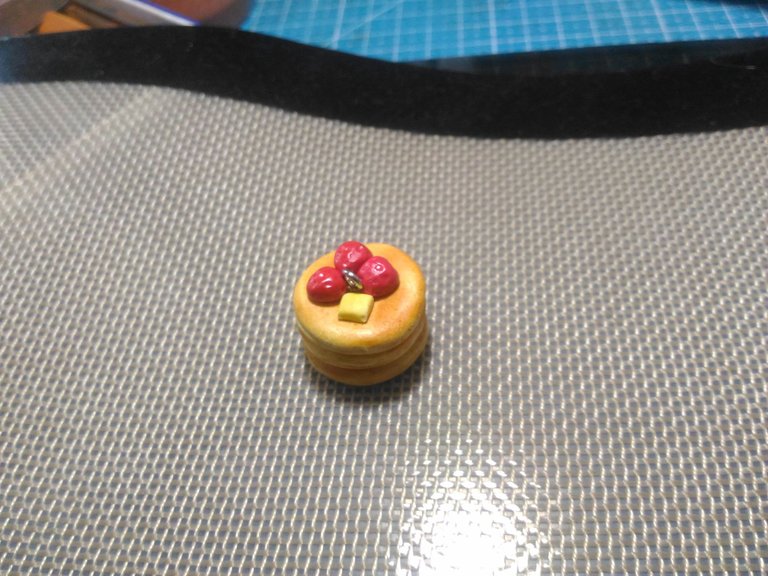
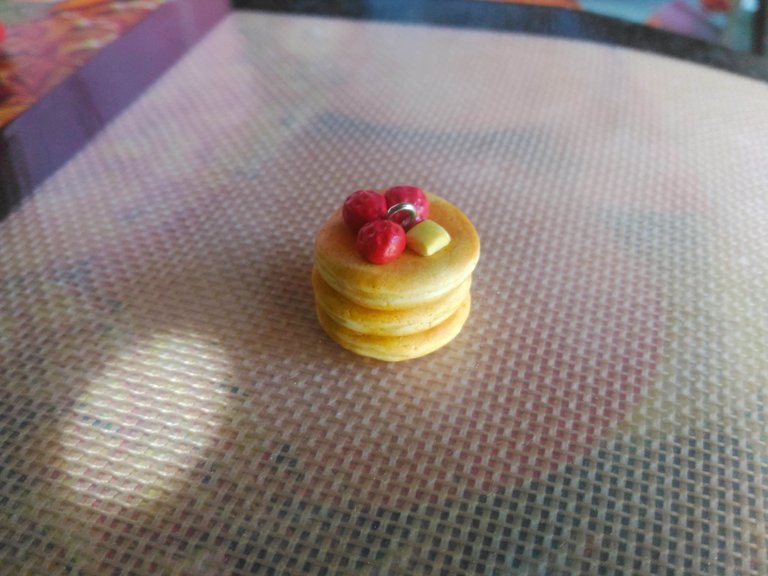
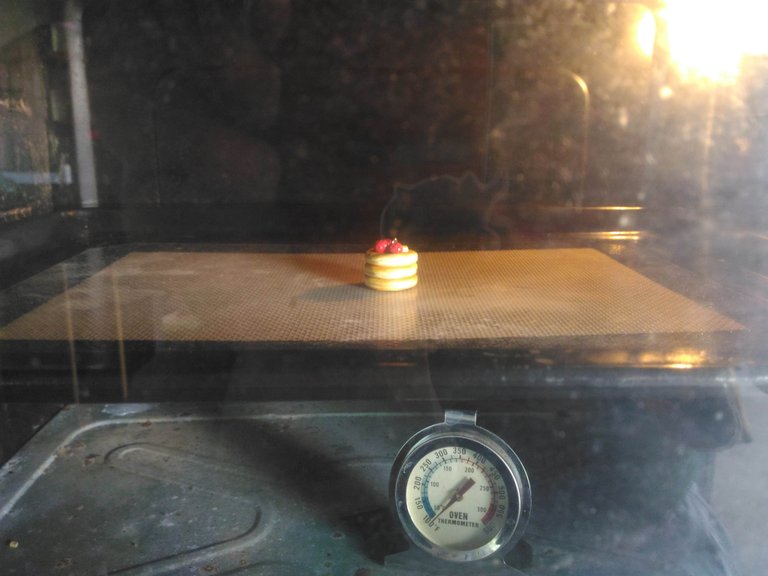
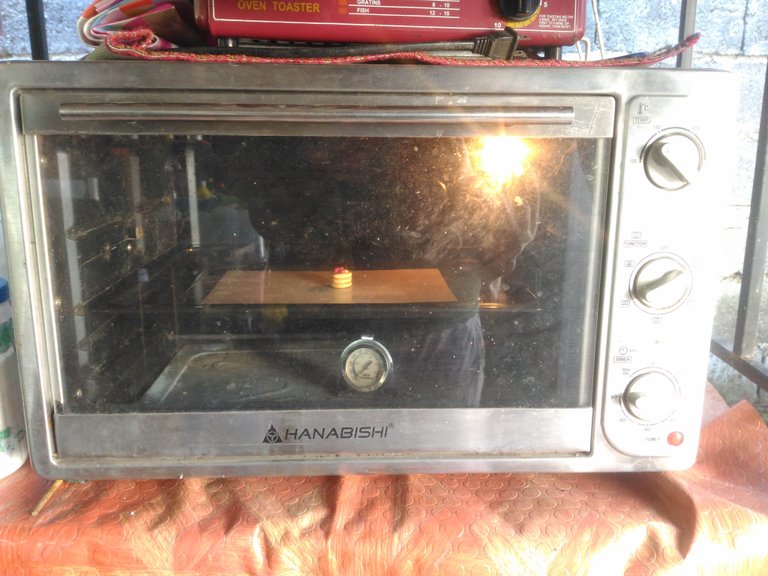
After baking let the polymer clay rest until it cools down.
Adding the Syrup:
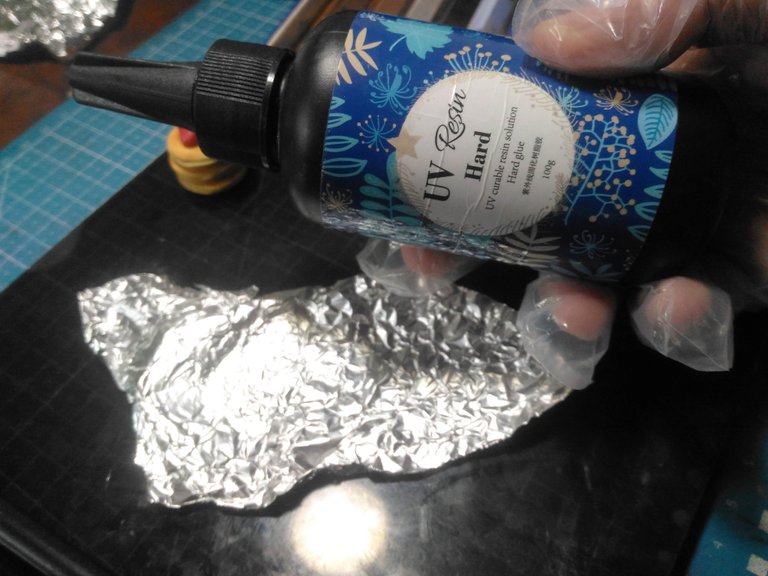
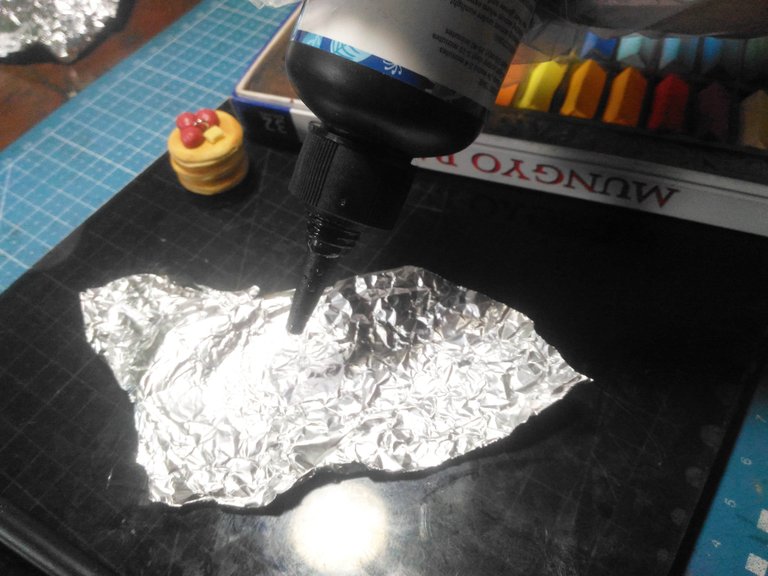
The next thing I do is to add the syrup to the pancake to make it I use UV Resin and Soft Pastel to add color to the resin and I have the UV Lamp with me to cure it.
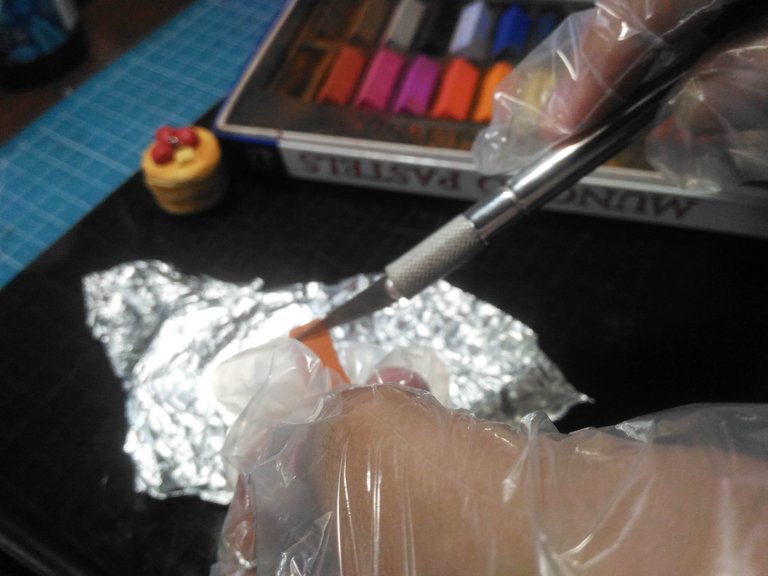
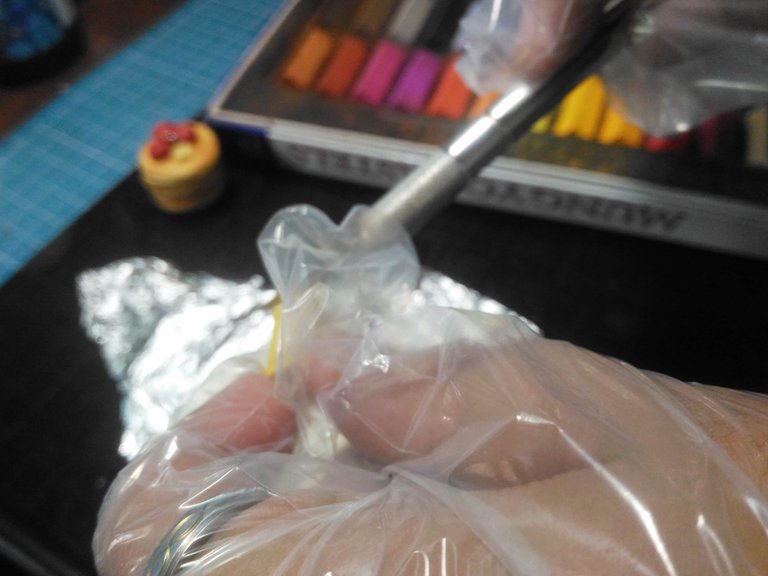
Then I scrap pale yellow and the burnt sienna.
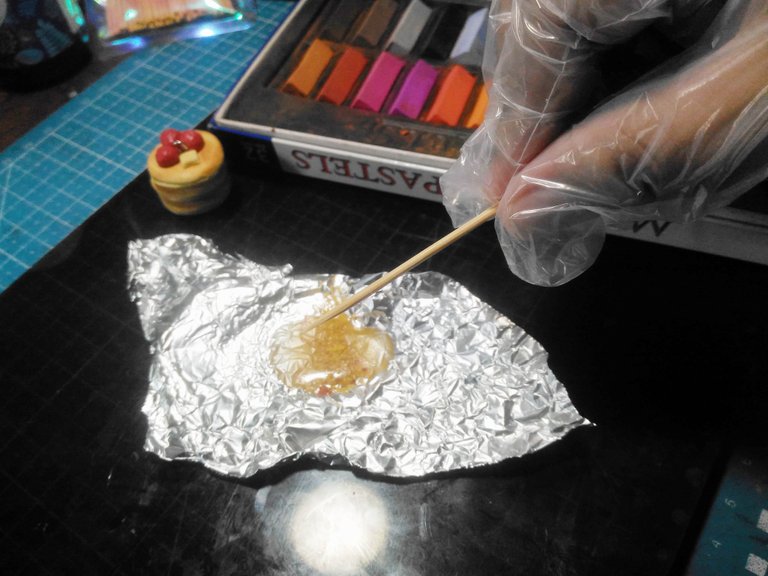
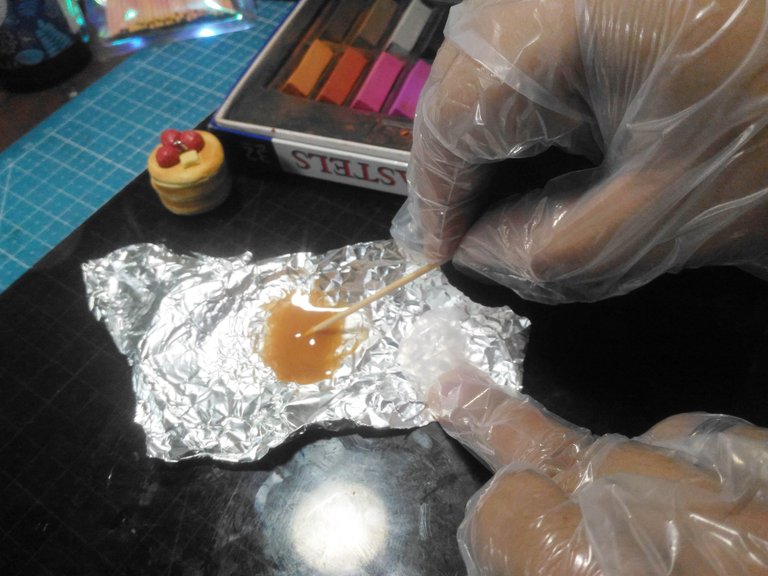
Then I mix them well until well combined using a toothpick so I can just throw it after use. Oh, I make sure I use disposable gloves too to avoid mess.
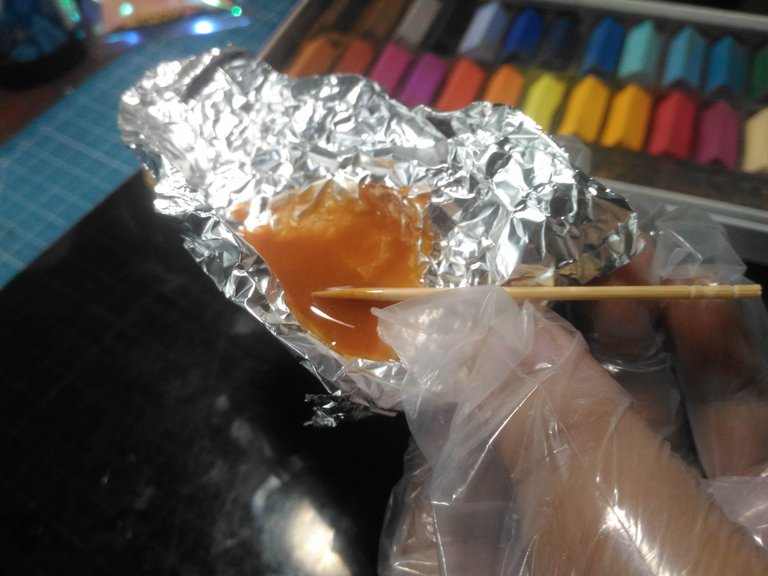
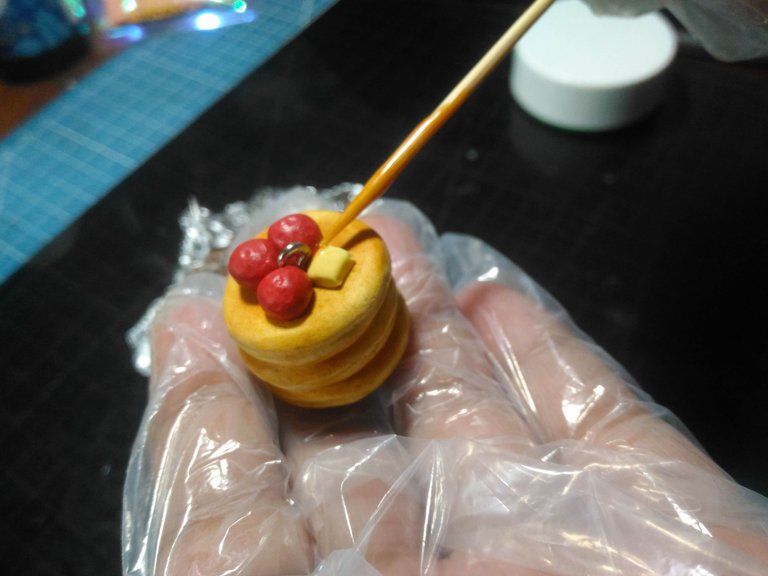
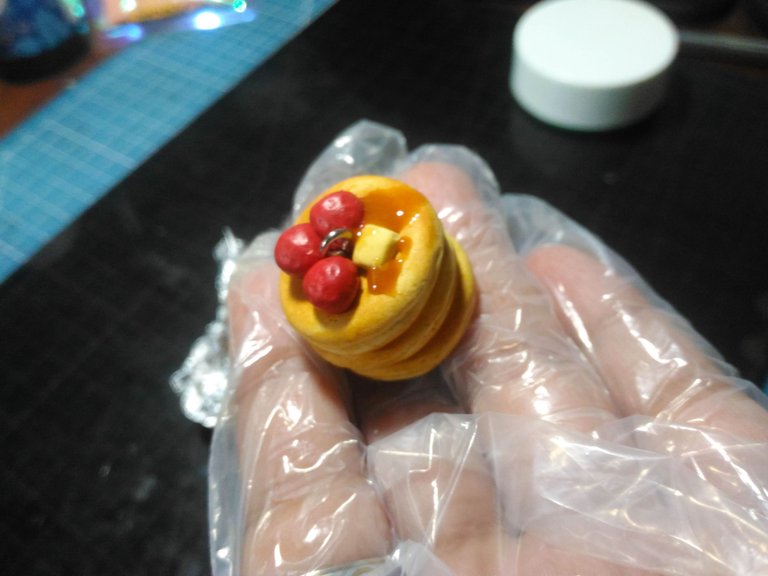
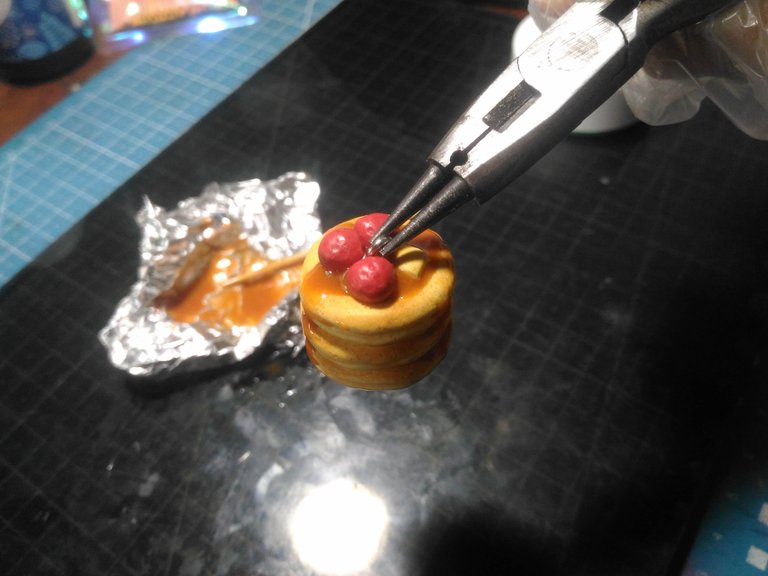
I just imitate how pancake syrup looks when poured and then I use a plier to hold the clay too.
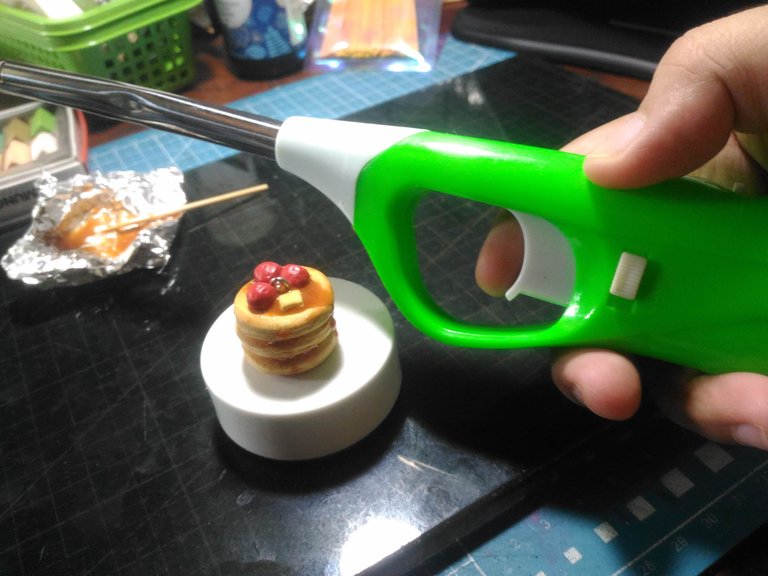
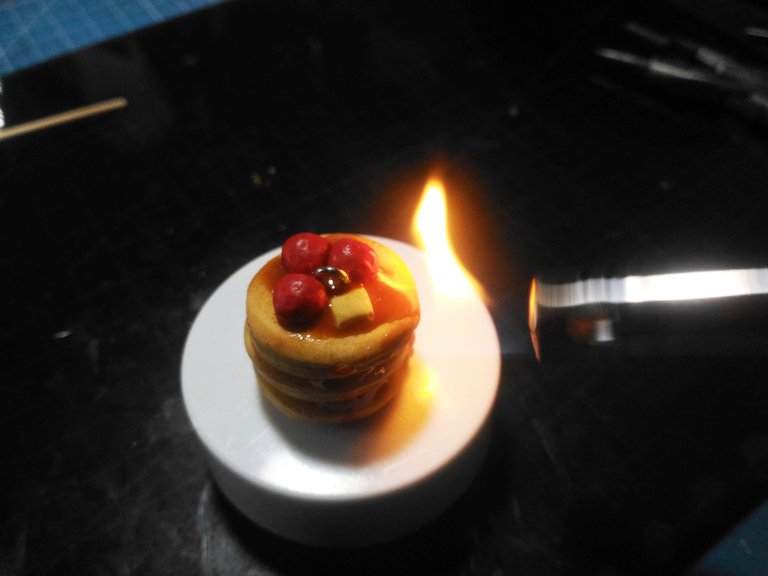
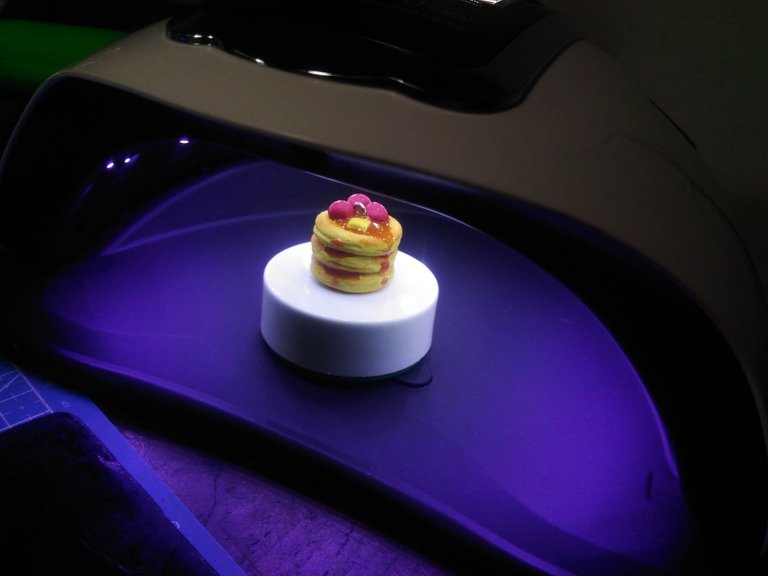
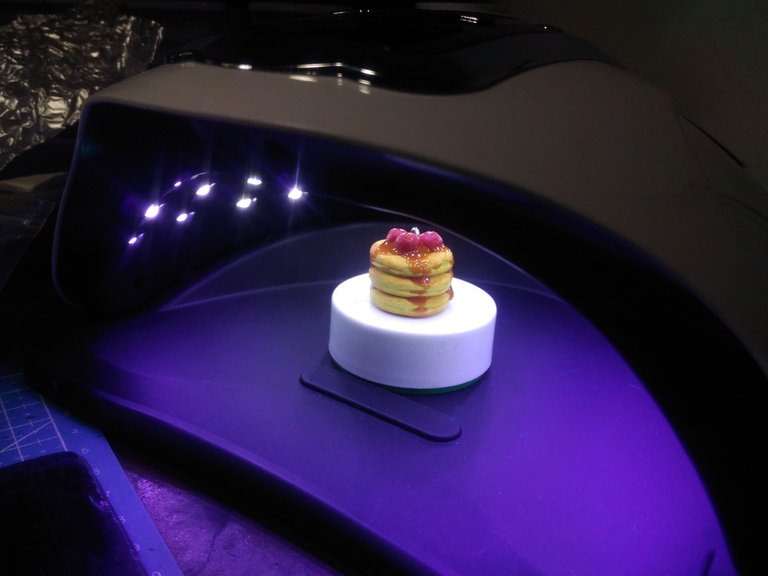
And then cure it under UV Lamp until it is not sticky anymore.
Putting the Lobster Clasp:
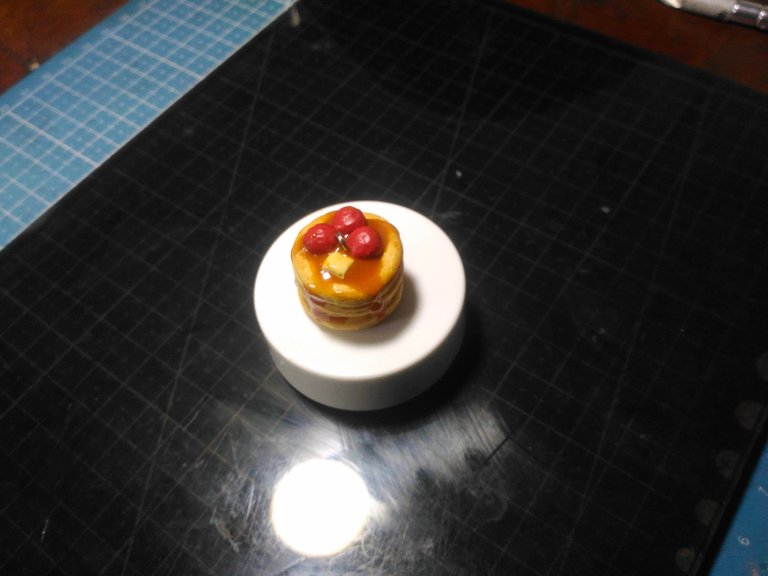
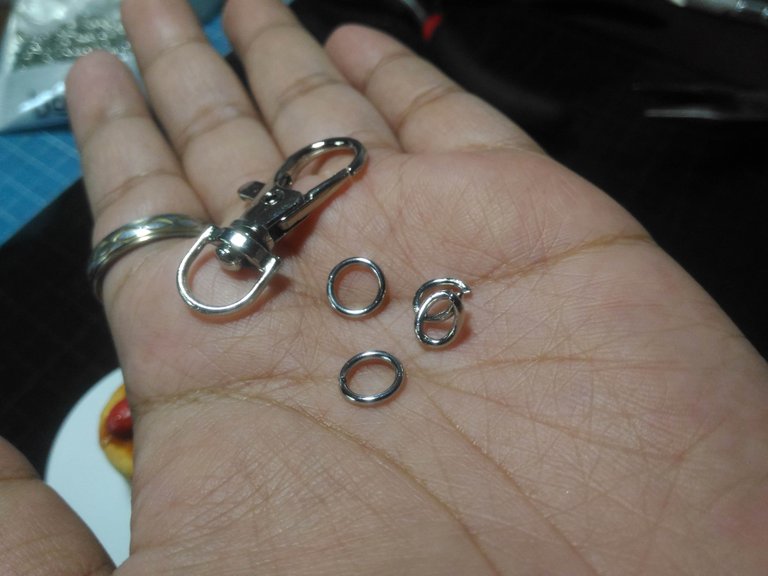
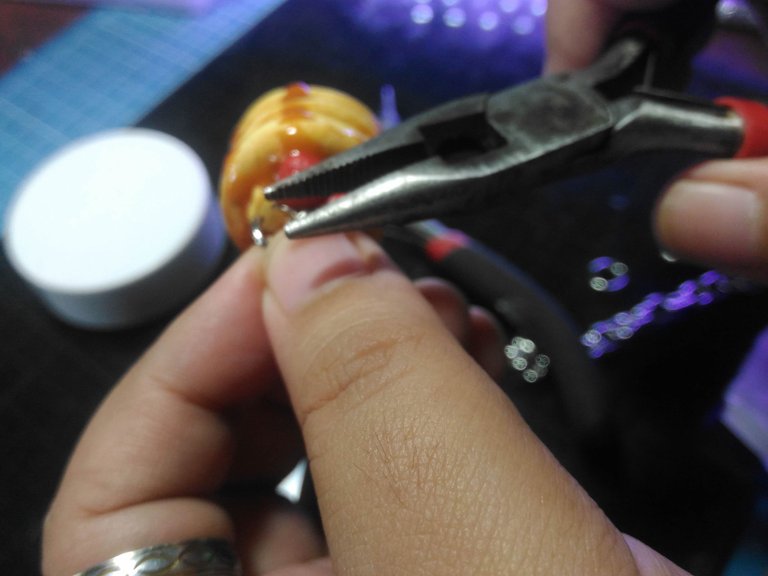
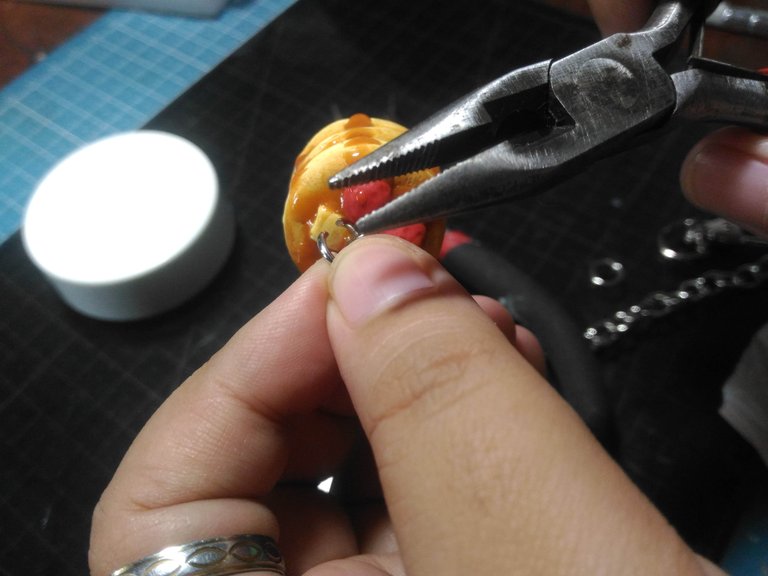
Using the two pliers I put the jump ring in the eye pin first and then hoop the chains next.
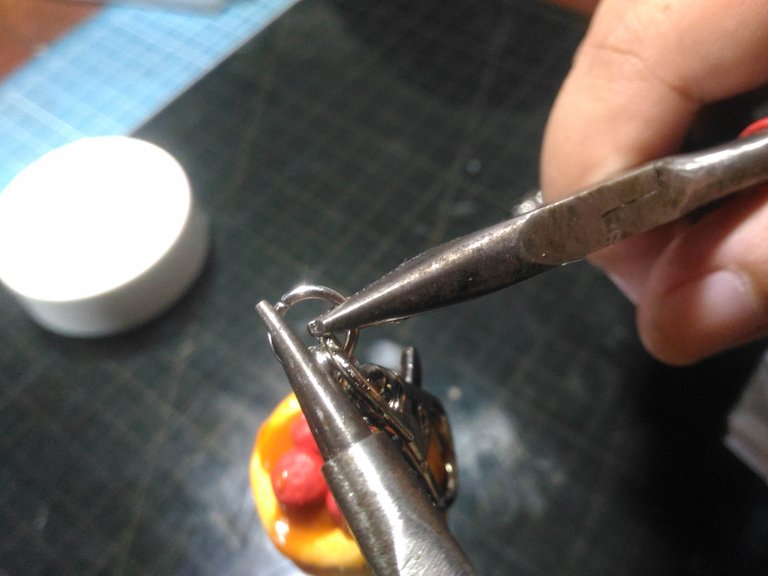
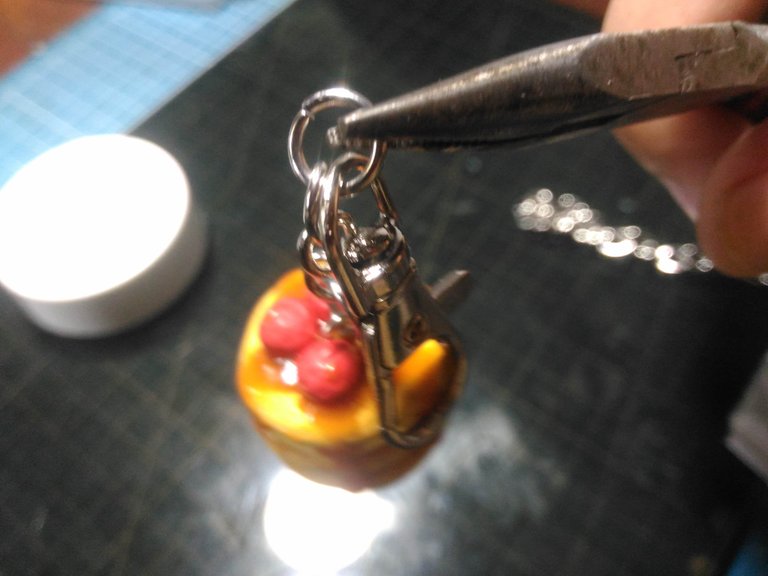
After that, I lock the jumping and we are done.
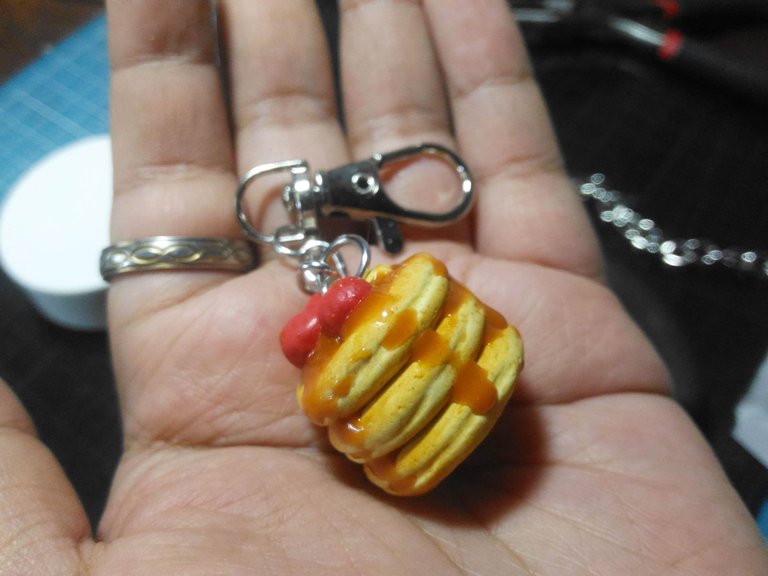
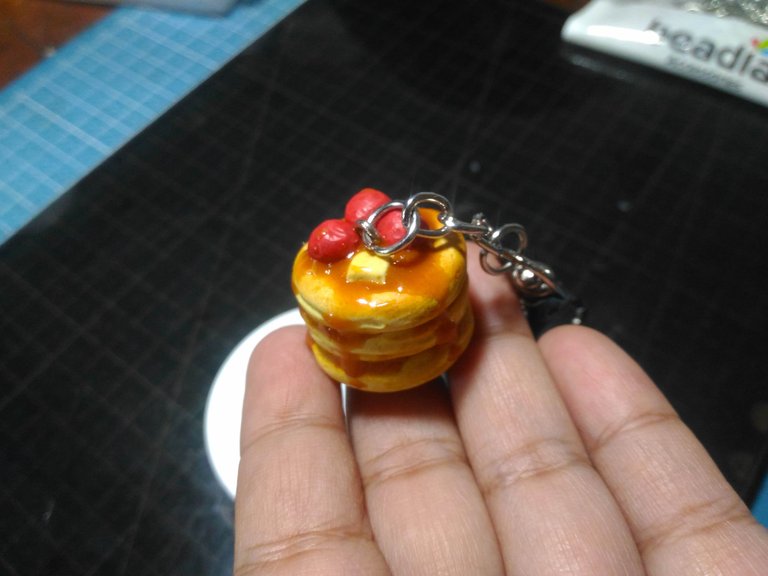
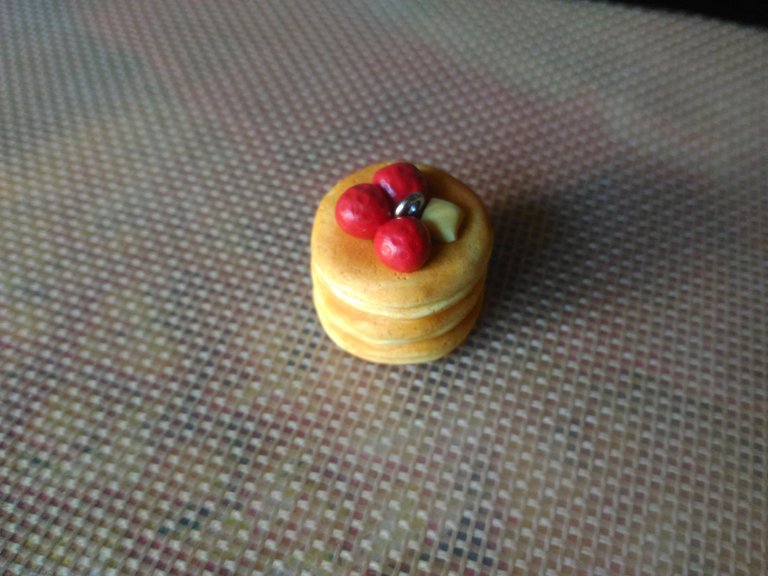
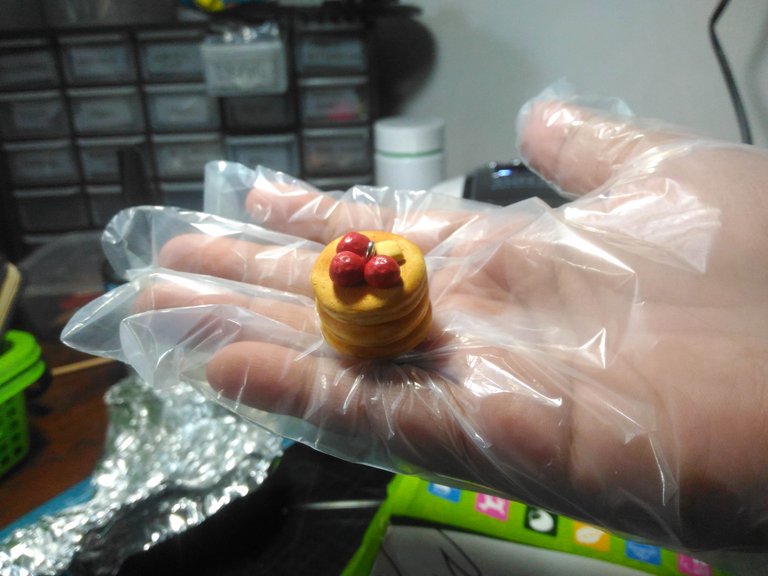
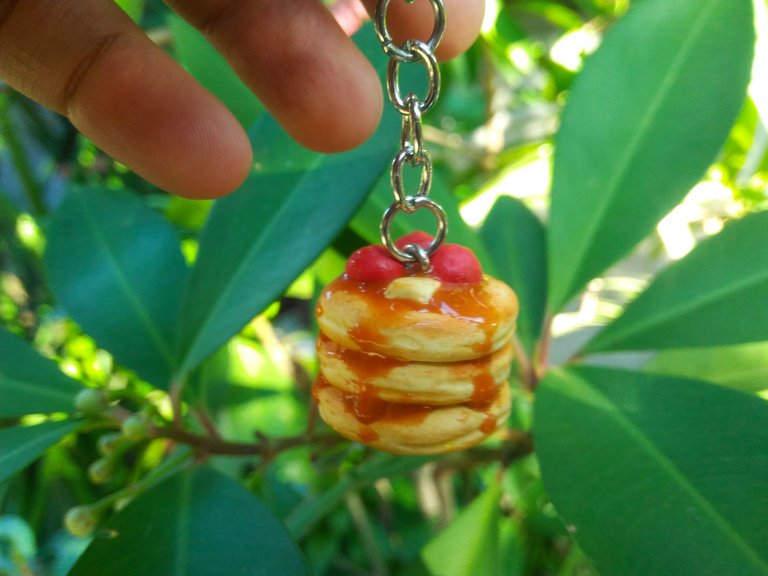
Now I have a pancake keychain!
Pancake Photoshoot:
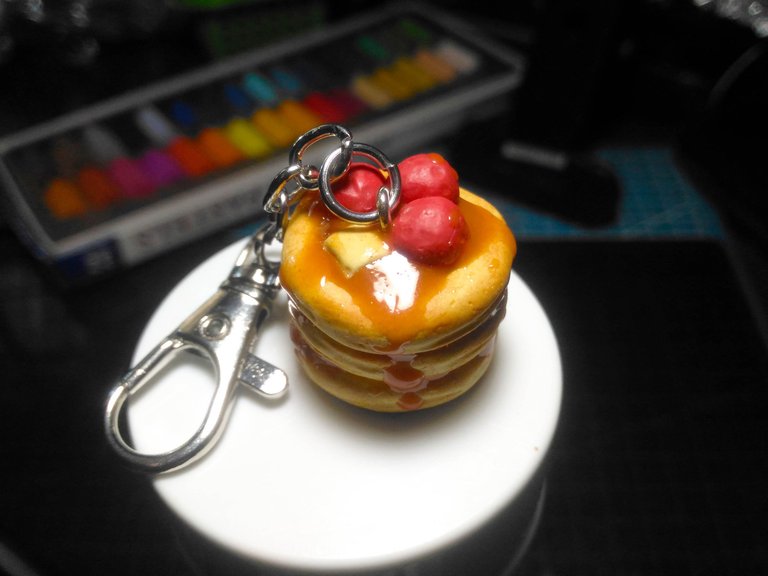
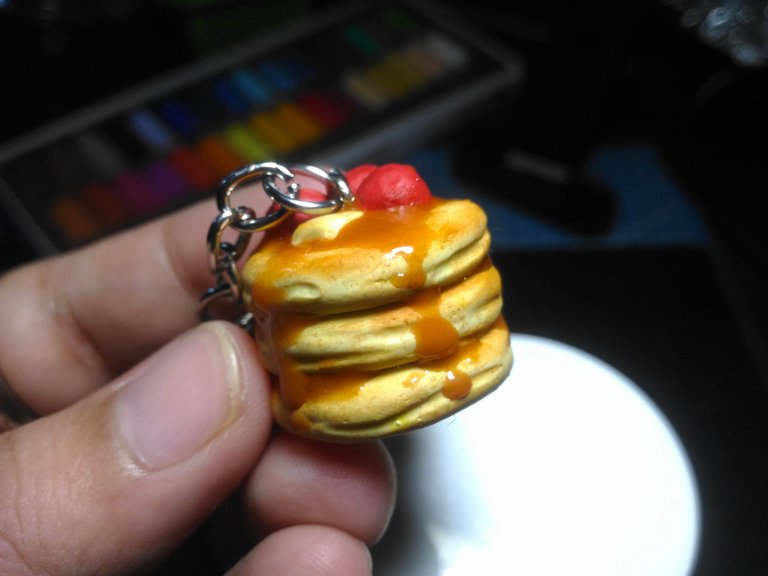
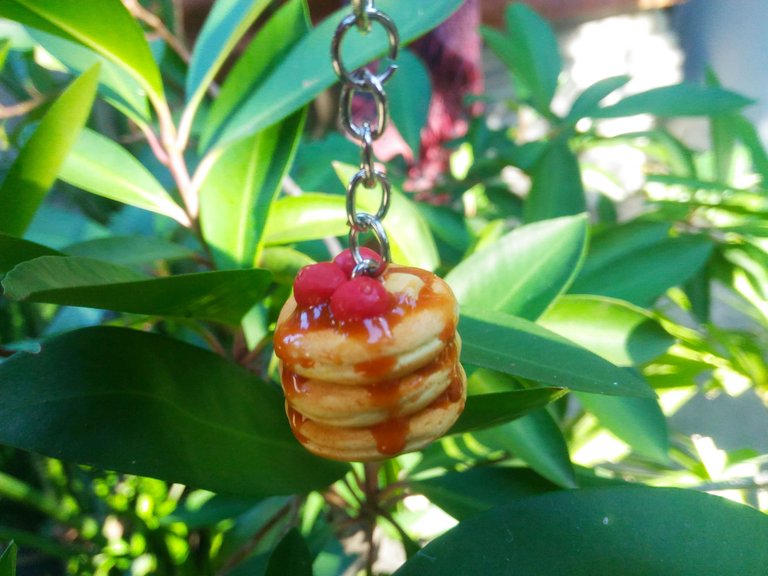
Thank you for visiting, see you on my next blog. :D
Please take care of your mental health as well.
I hope you are okay today :))
Please take care of your mental health as well.
I hope you are okay today :))
Omg! It looks so beautiful and yummy!
Thank you :D
Whoa that looks so real. Well done leann!
Thank you solumviz :D
It is an excellent craft. You did a great job with all the finishing, it's certainly a beautiful thing!
!discovery 40
Thank you :D
This post was shared and voted inside the discord by the curators team of discovery-it
Join our Community and follow our Curation Trail
Discovery-it is also a Witness, vote for us here
Delegate to us for passive income. Check our 80% fee-back Program
Thank you :D
Congratulations @leannwithdoublen! You have completed the following achievement on the Hive blockchain And have been rewarded with New badge(s)
Your next target is to reach 600 replies.
You can view your badges on your board and compare yourself to others in the Ranking
If you no longer want to receive notifications, reply to this comment with the word
STOPCheck out our last posts:
What a detailed process, and such cute craft! Well done!
Thank you so much :D