How I Make Kamote Cue Using Polymer Clay
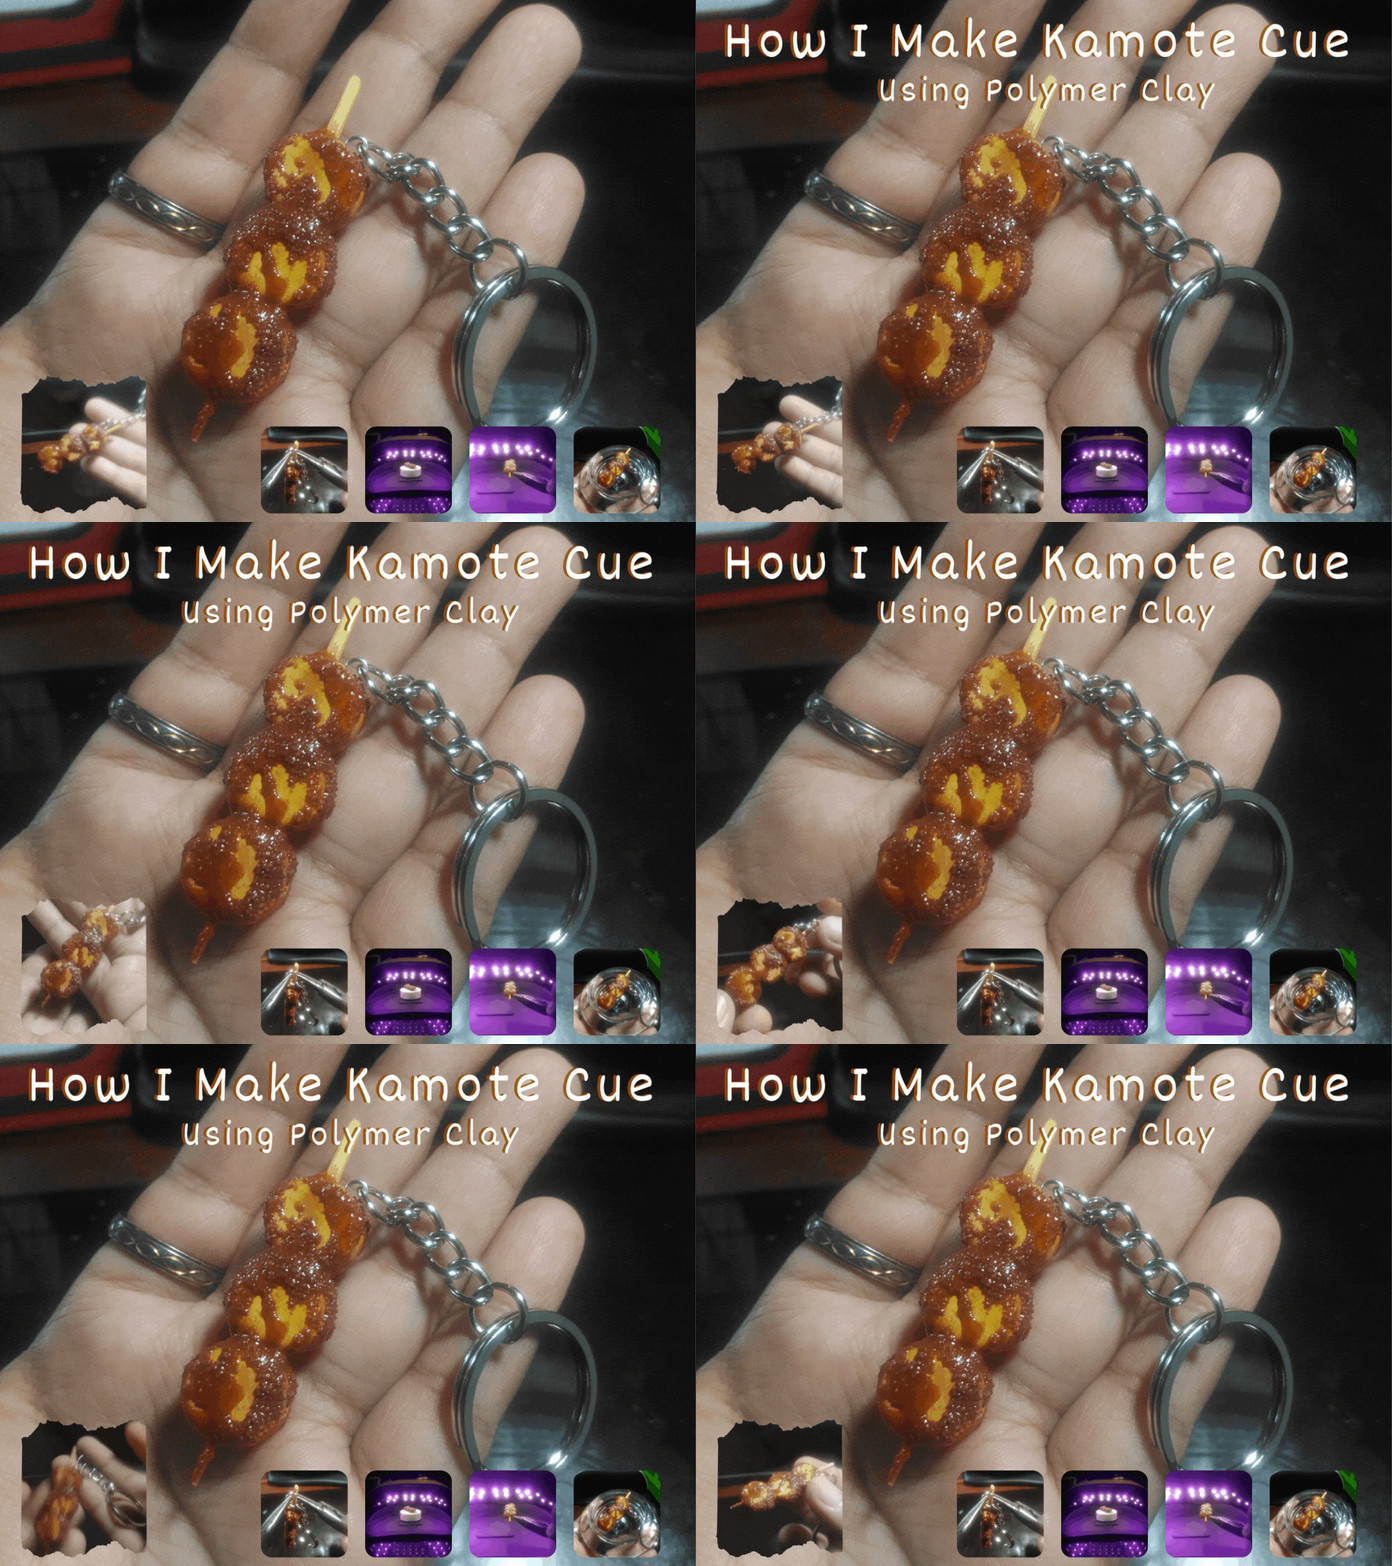
Hello, How are you? I am not the only one who likes Kamote Que especially when it has a lot of caramelized sugar in it that is the reason why I always buy one before I always eyeing for that one so now I can cook it on my own but the funny thing I can make it as a keychain too... LOL yeah, I will make a keychain made out of polymer clay. hehe
By the way, excuse me for the quality of the photos because a few days ago I decided to touch my phone's main lens, and now it has become like this I can't clean it anymore looks like it has a bokeh effect on it. But nothing going to stop me now LOL I might buy a new phone or If the lens I bought will fit on my phone camera lens cross the finger for this. It is hard to let go of this phone's camera quality is a bomb.
I bought new polymer clay so I have a lot of stock with me right now I have a lot of ideas in my mind about what to do with it so I hope you will like this one.
Materials:
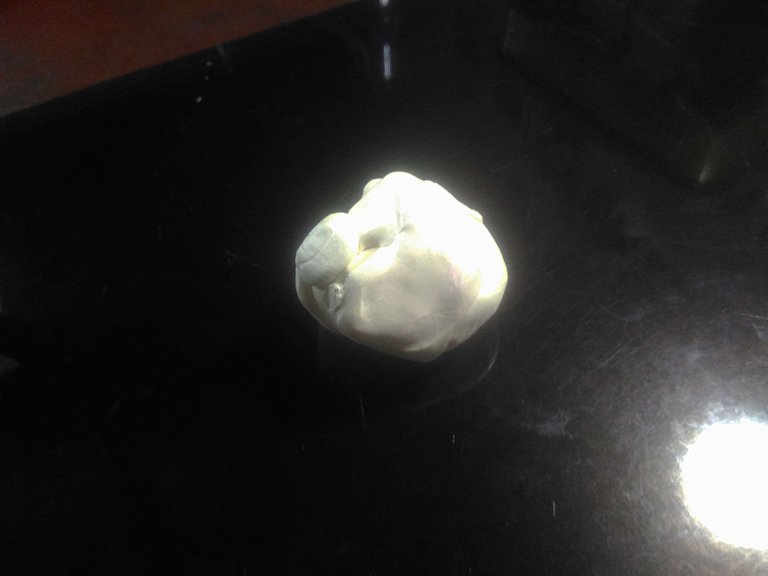
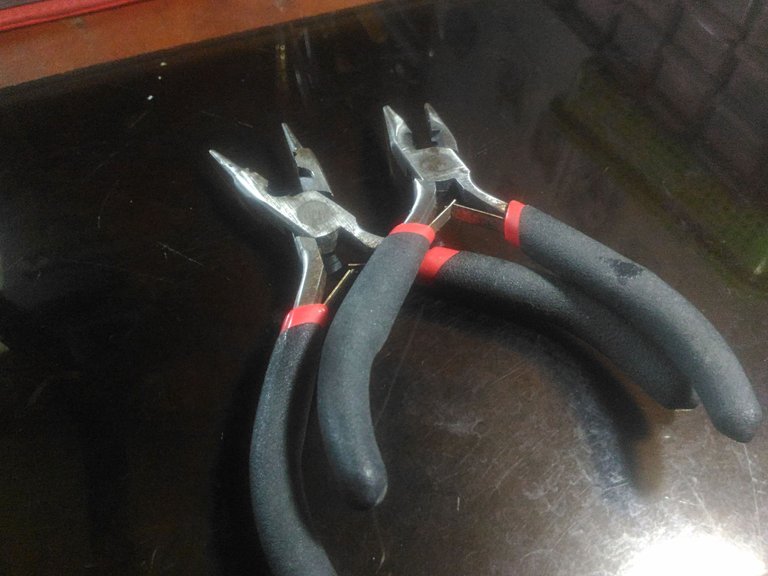
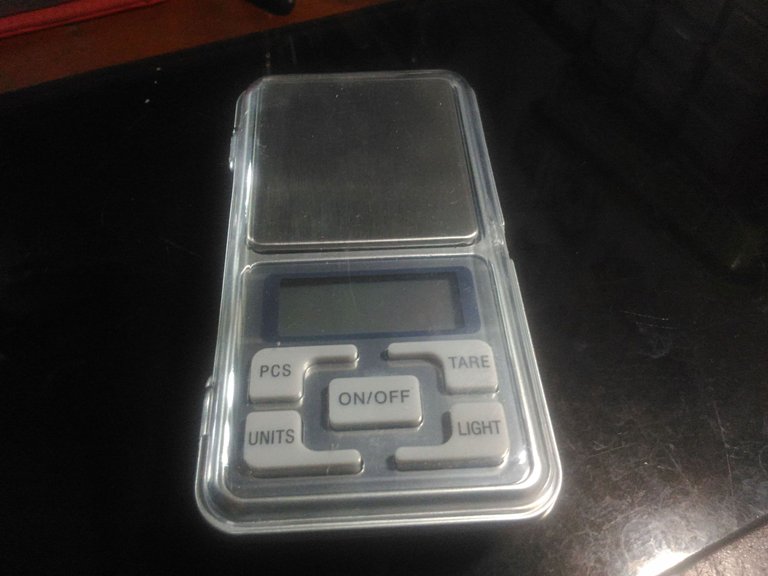
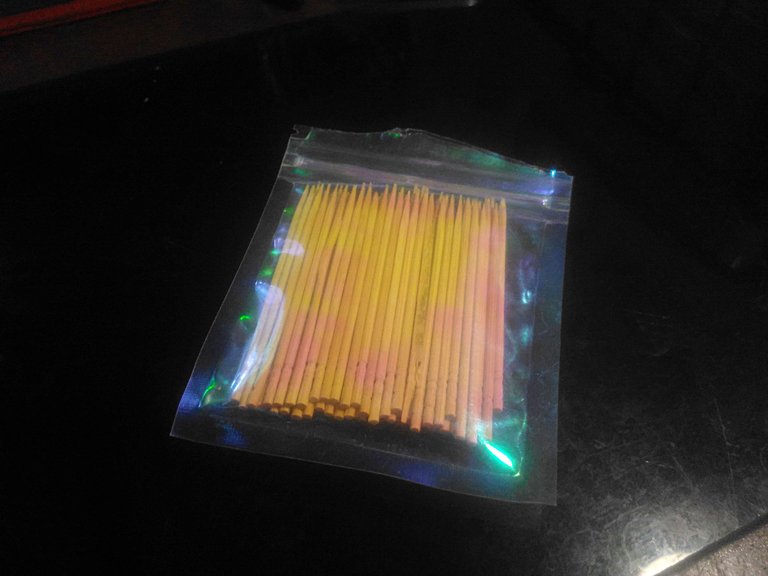
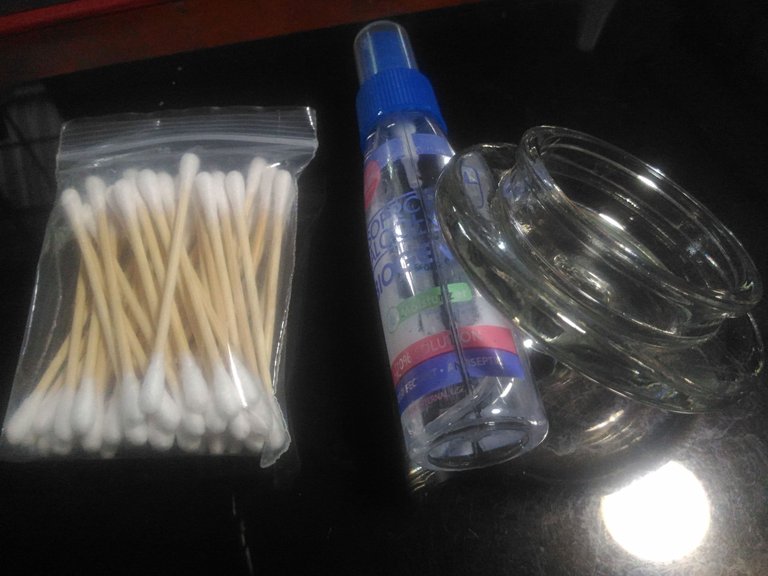
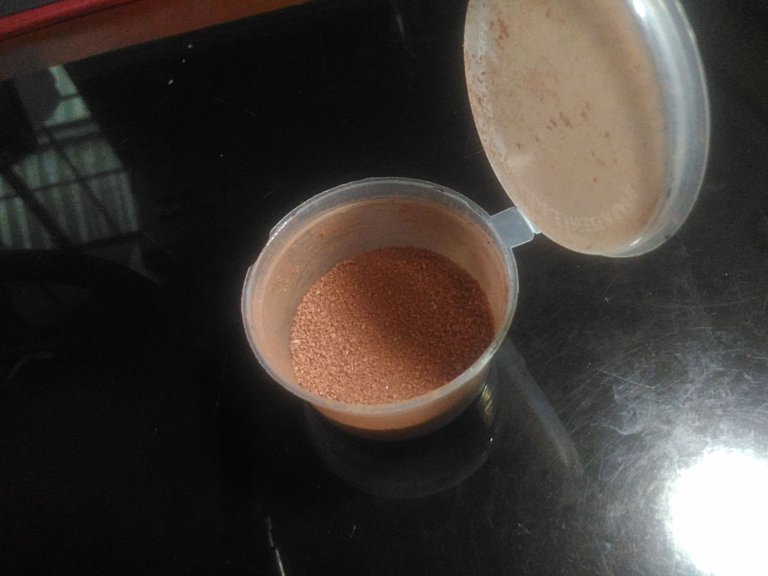
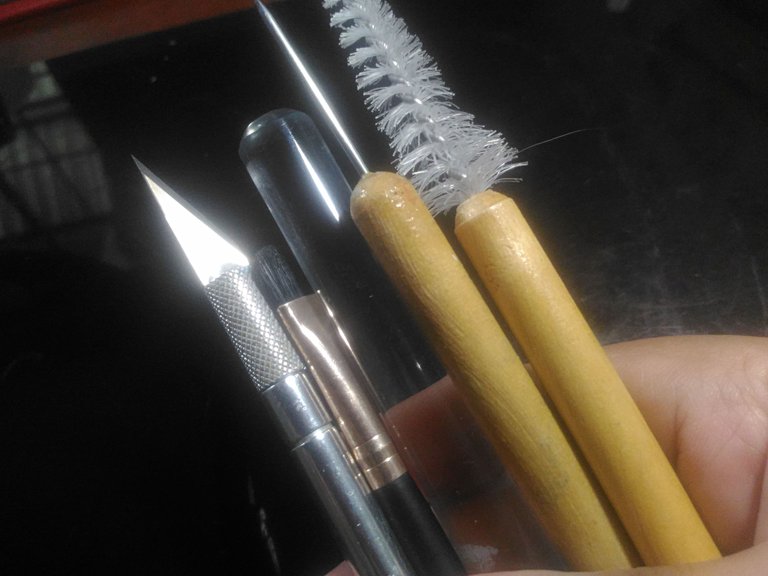
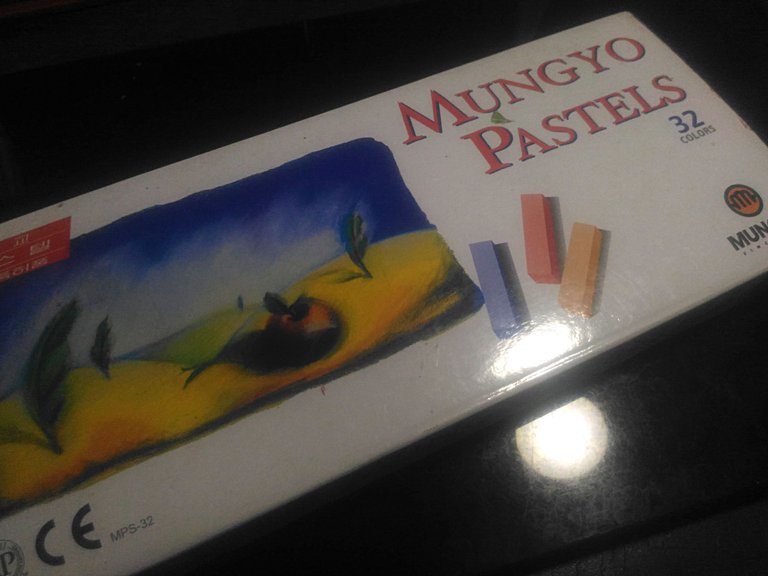
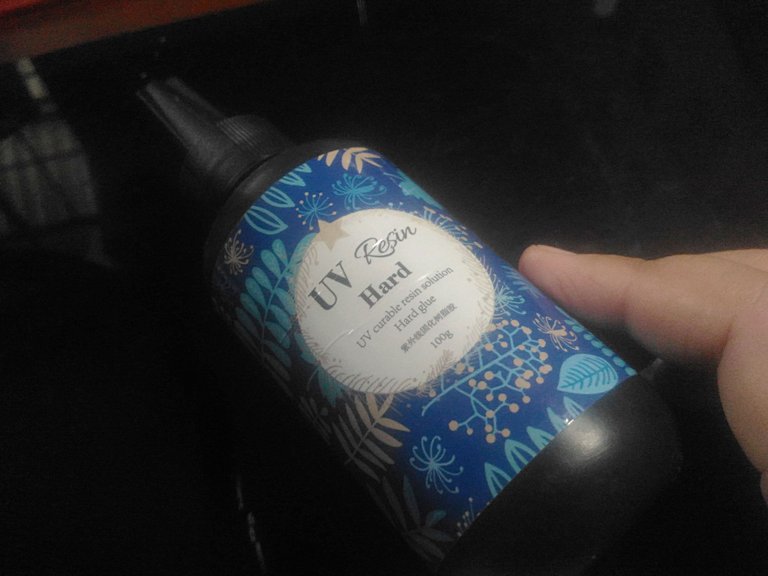
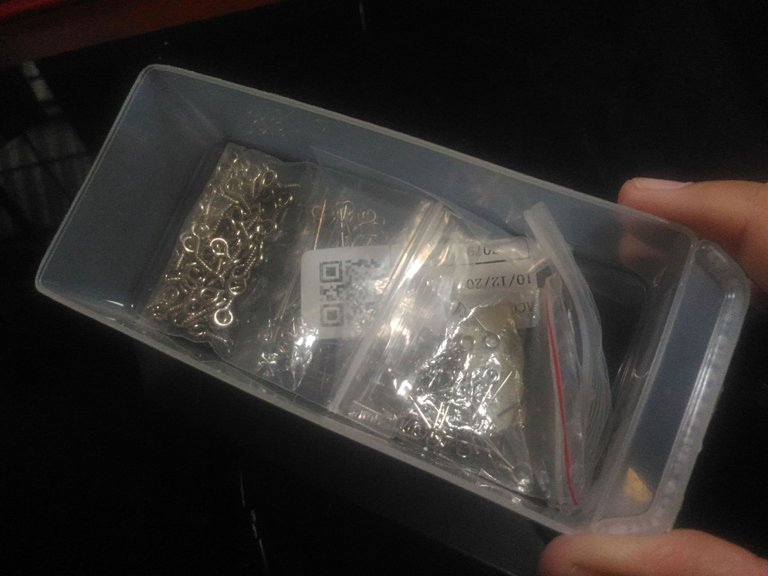
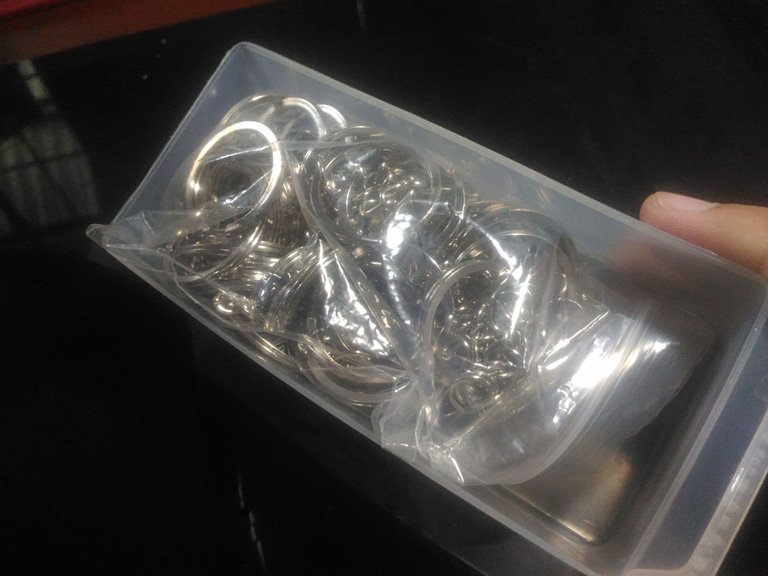
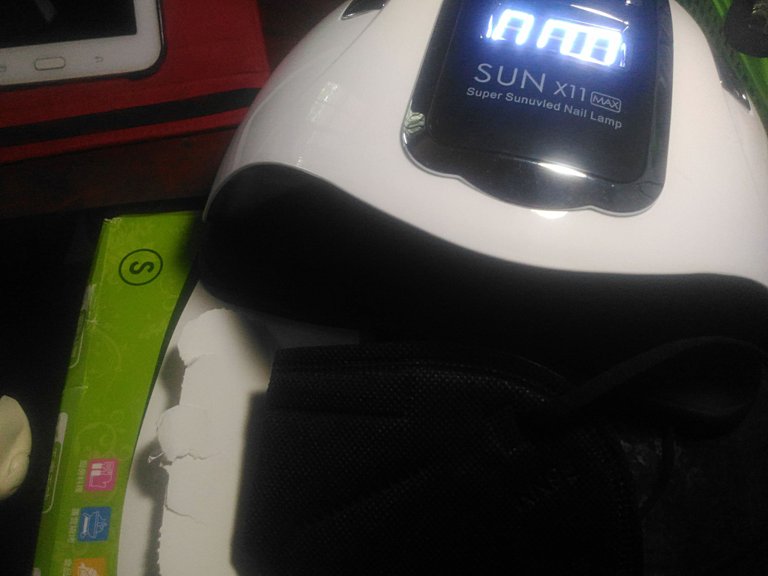
- Polymer Clay
- Glass Sheet
- Pliers
- Toothpick
- X Acto Knife
- Brush
- Clay Tools
- UV Resin
- Mask
- Weighing Scale
- Keychain
- Gloves
- Uv Light
- Cotton Buds
- Alcohol
- Glass Container
- Colored Sand
- Soft Pastel
The Process:

First, I condition the clay until it is well combined. By the way, I use pale yellow with this one.
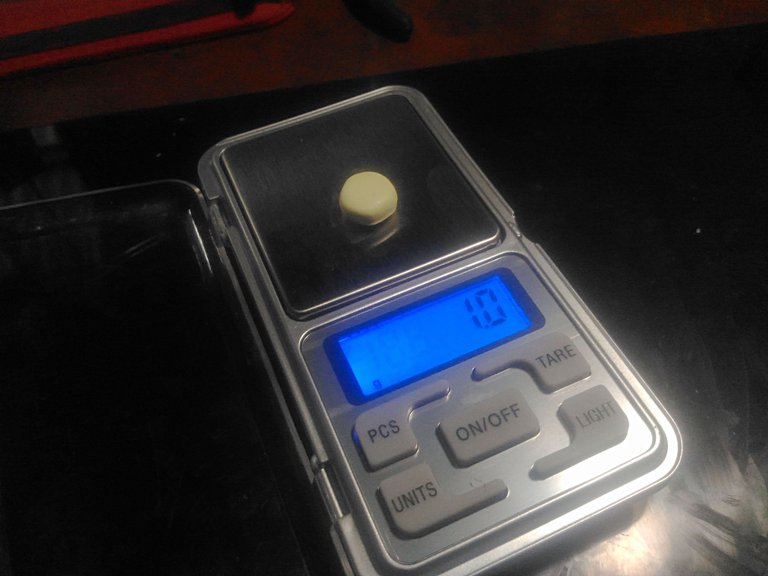
Then I weighed clay using my mini portable weight scale each clay weighing 1 gram.
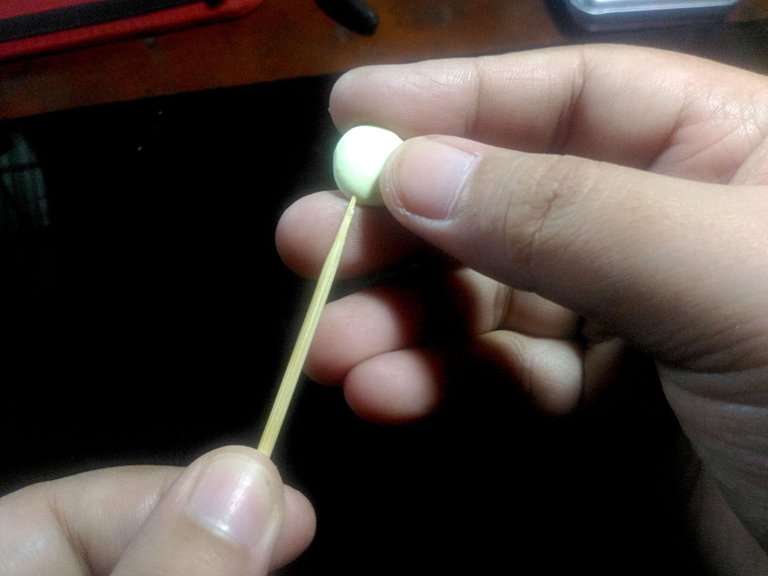
And then I sculpt them with the shape of cut Kamote. Then I grab a toothpick which serves as the BBQ stick for the clay.
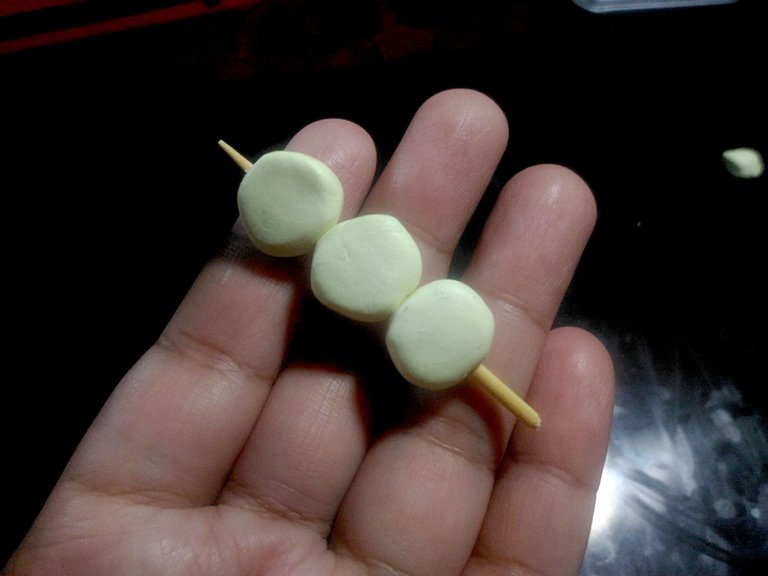
There are three pieces of Kamote-shaped clay. They are ready to be textured and colored.
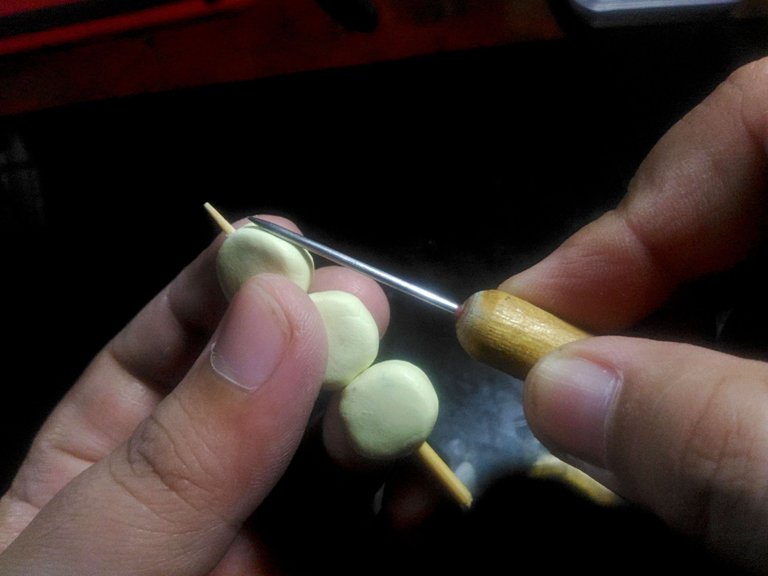
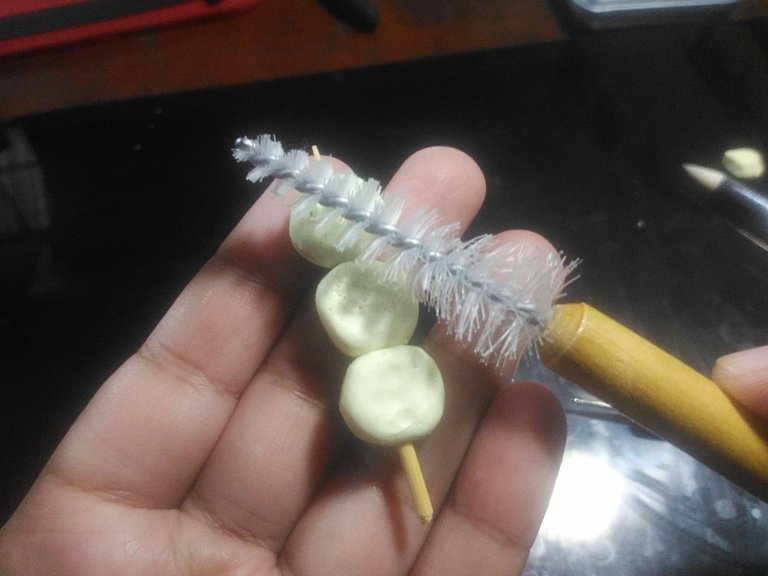
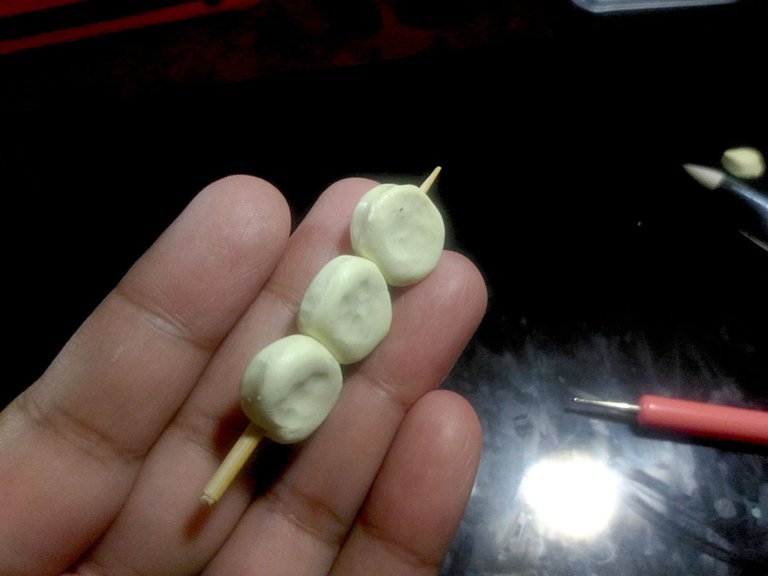
But before that, I need to add texture to the clay first using this pointing tool.
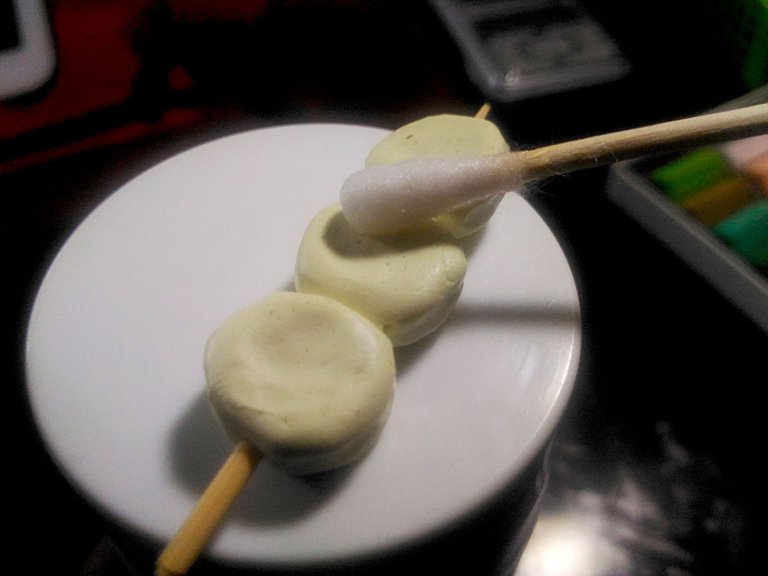
I see some fine dust so I clean the clay first with alcohol and cotton buds.
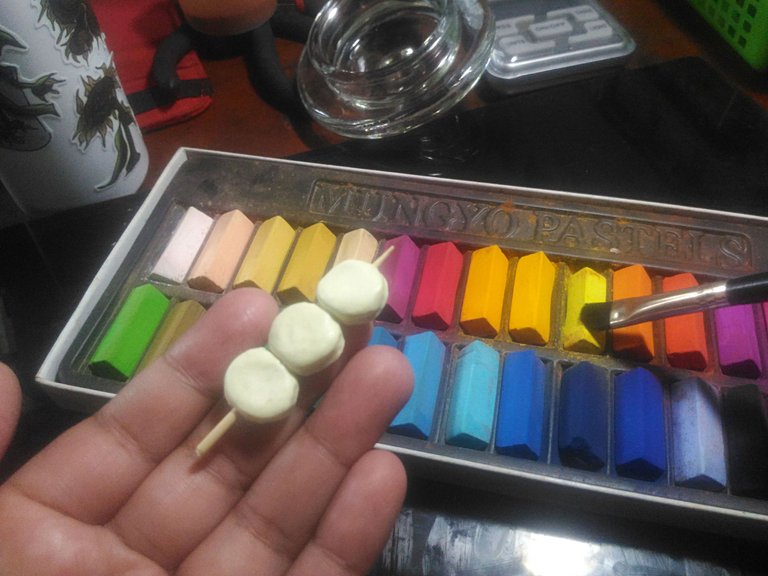
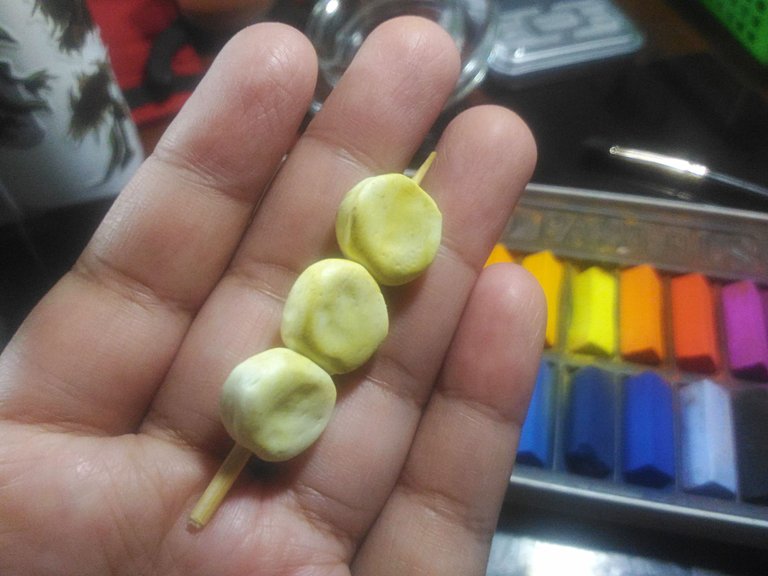
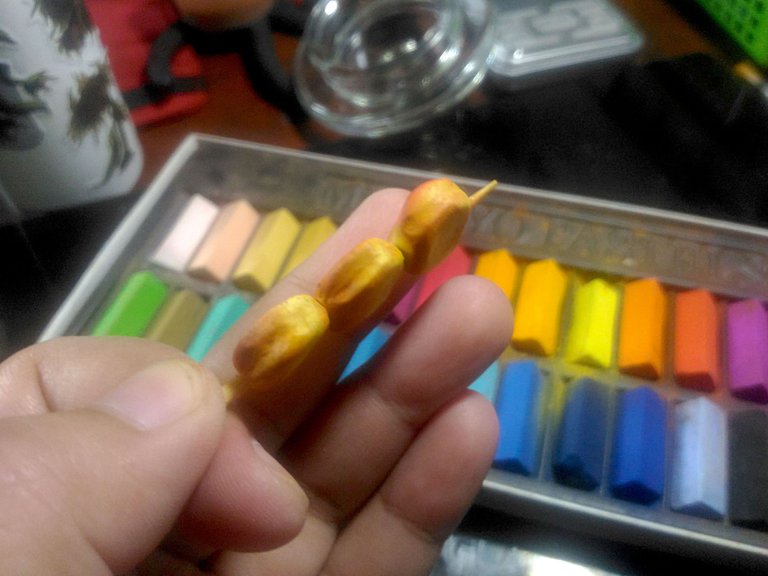
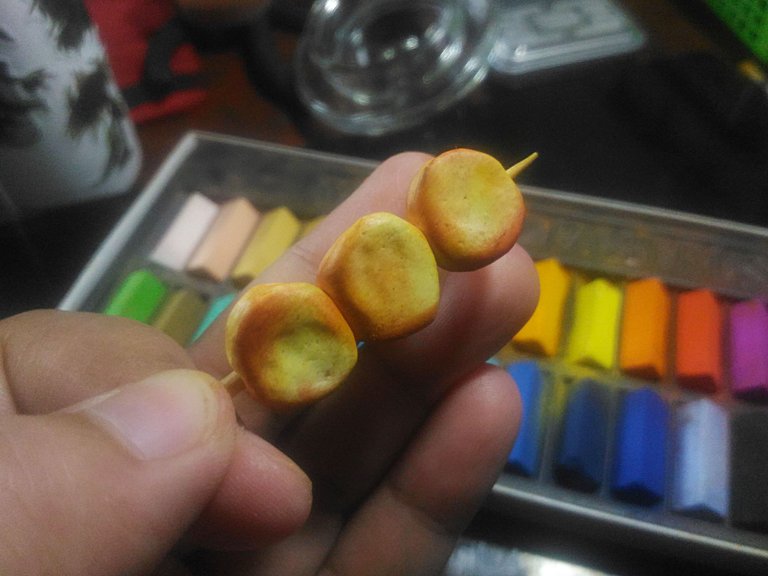
Using soft pastel and brush I shade the polymer clay like the real kamote cue. As you can see "How come this is Kamote Que?" it will in a second after it got baked the magic will happen LOL.
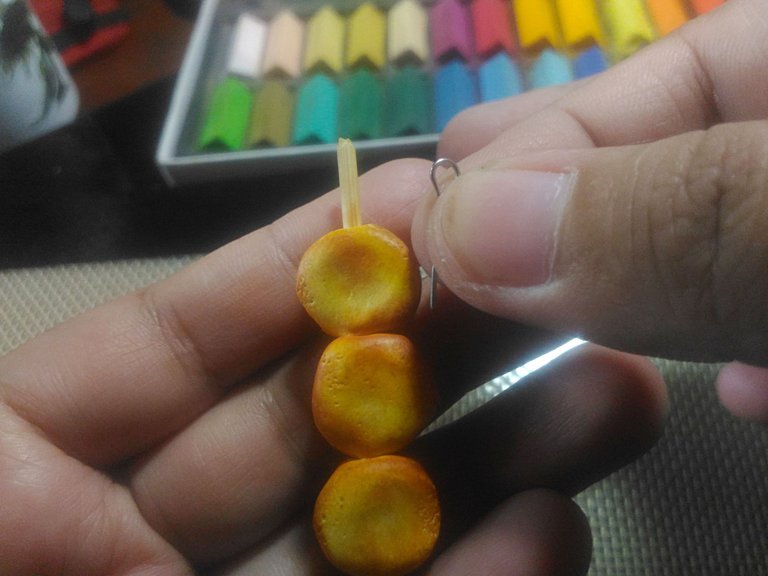
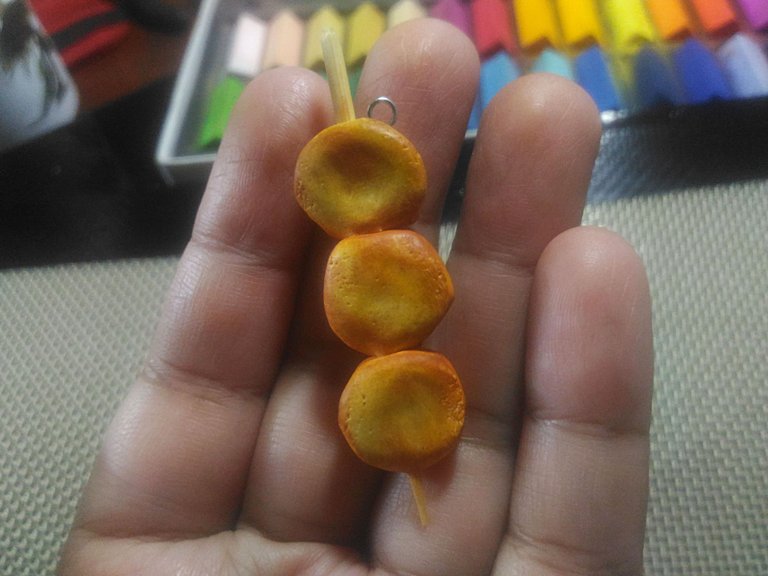
Before I bake the clay I added the eye pin in first.
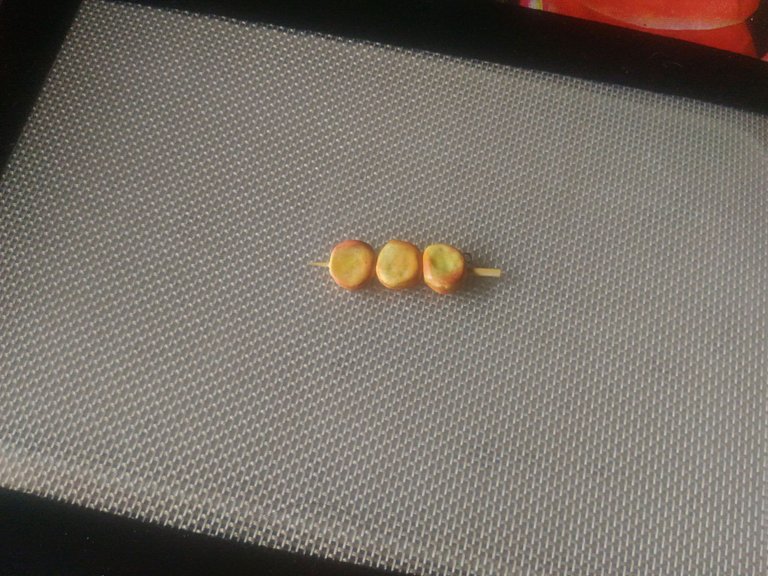
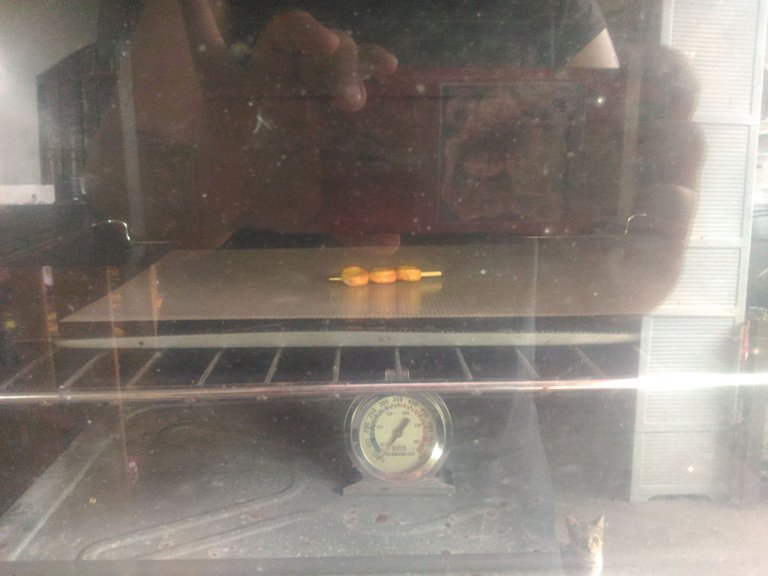
It is ready to be baked, I bake it as the instructions on the packaging say.
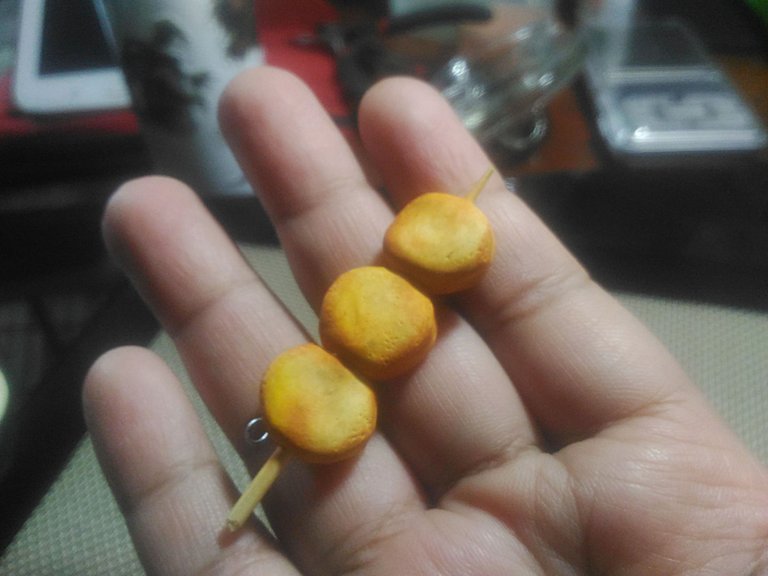
Now I have a baked Kamote Keychain, as you can see it became matte after baking.
Adding the Caramelize Sugar effect:
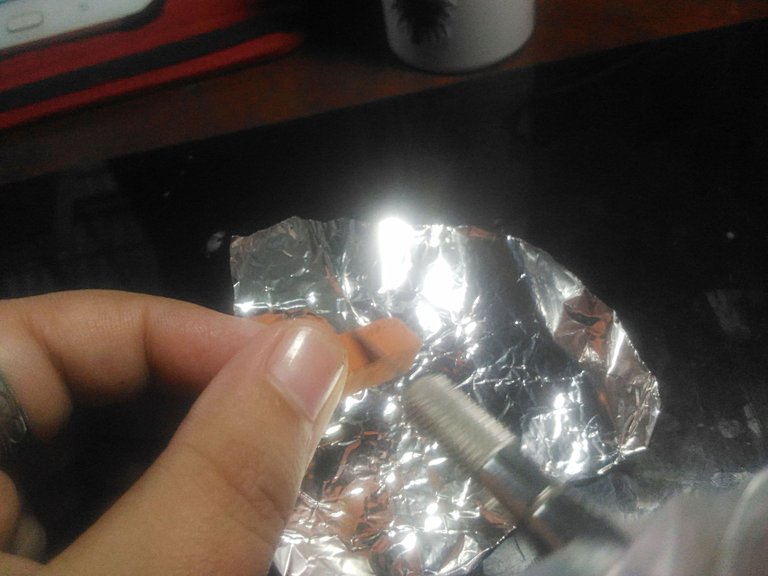
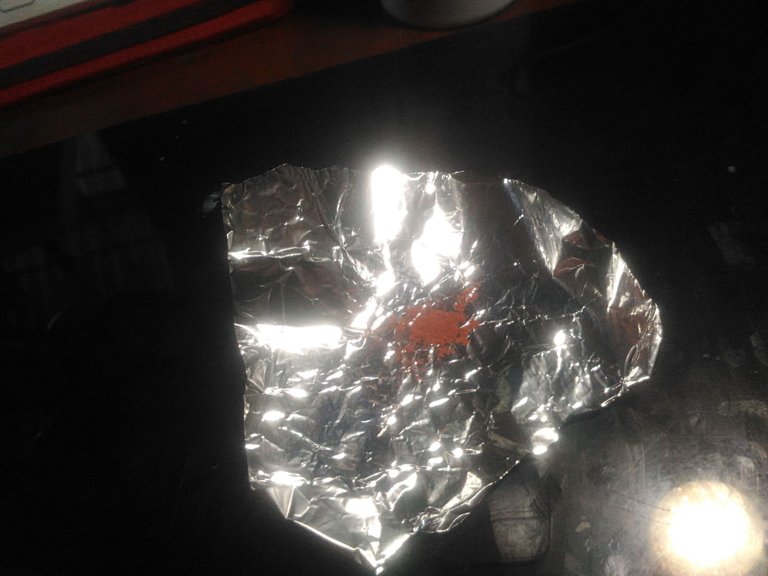
First I grab a soft pastel that is close to color or caramelized sugar and scrape it on the foil.
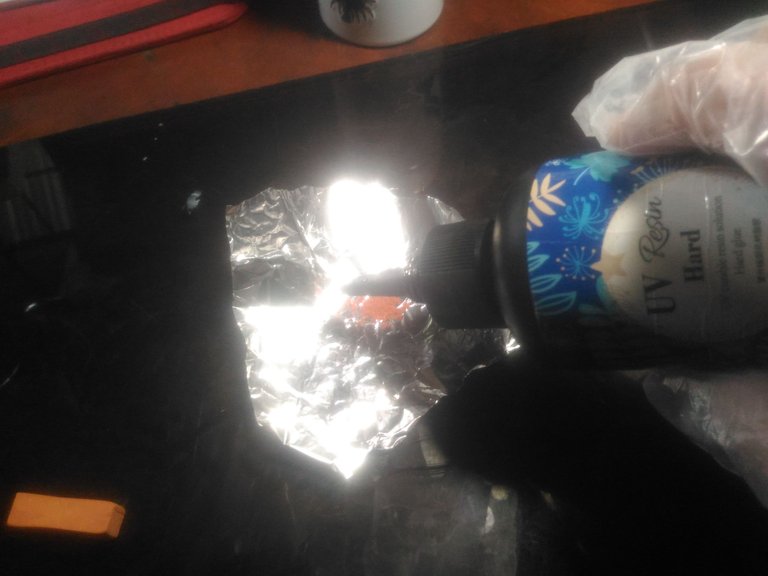
And then I added the UV Resin.
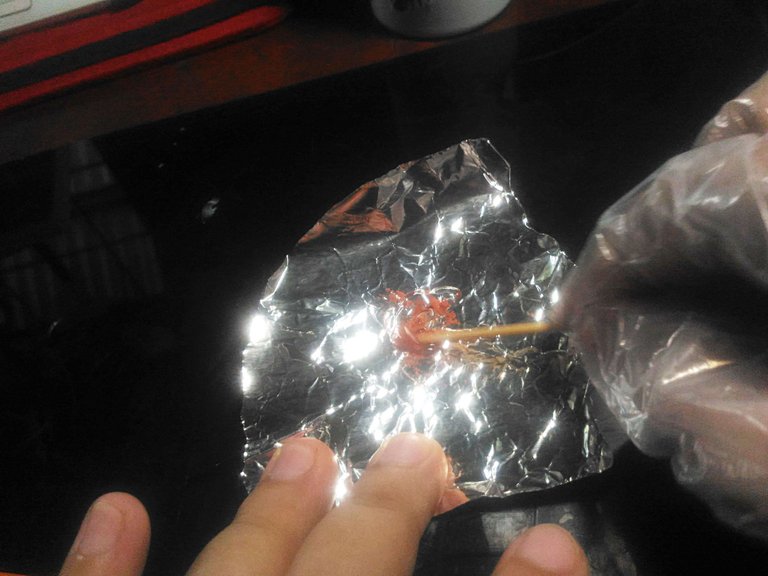
Then I mix it until well combined.
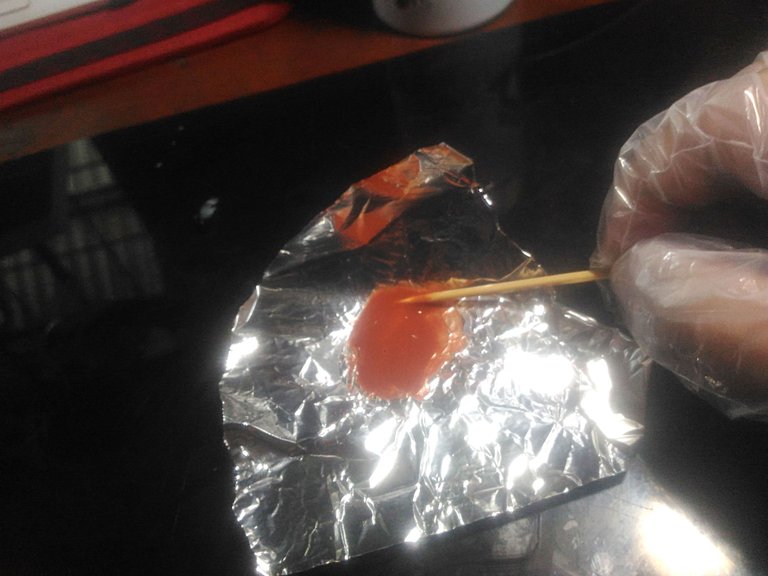
The mixture is ready.
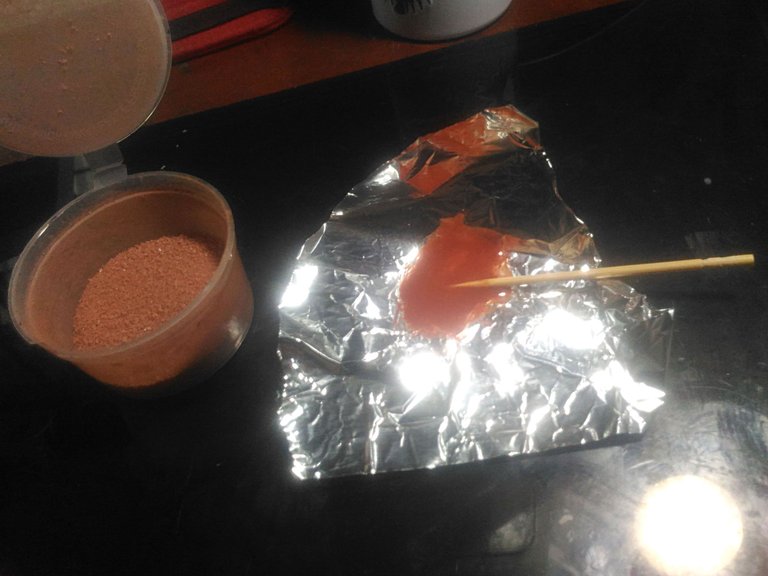
I have colored sand on the side which will serve as the caramelized sugar.
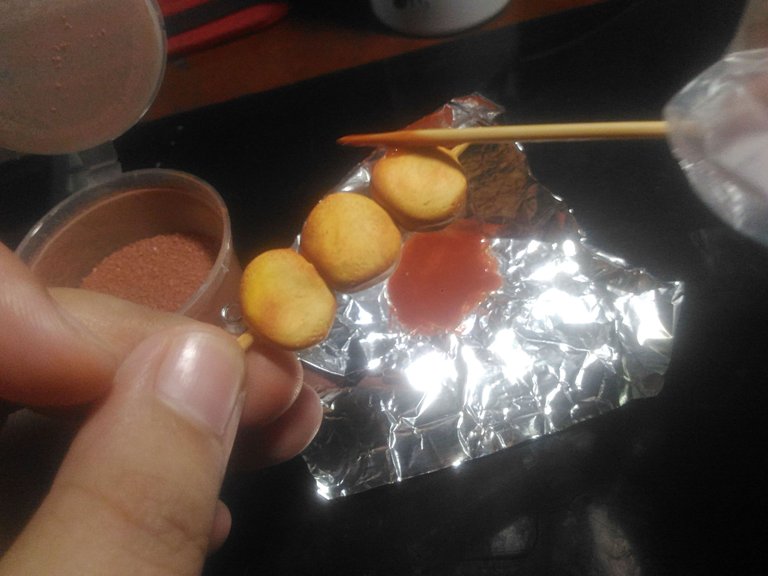
Now, I am going to add the colored resin to the clay.
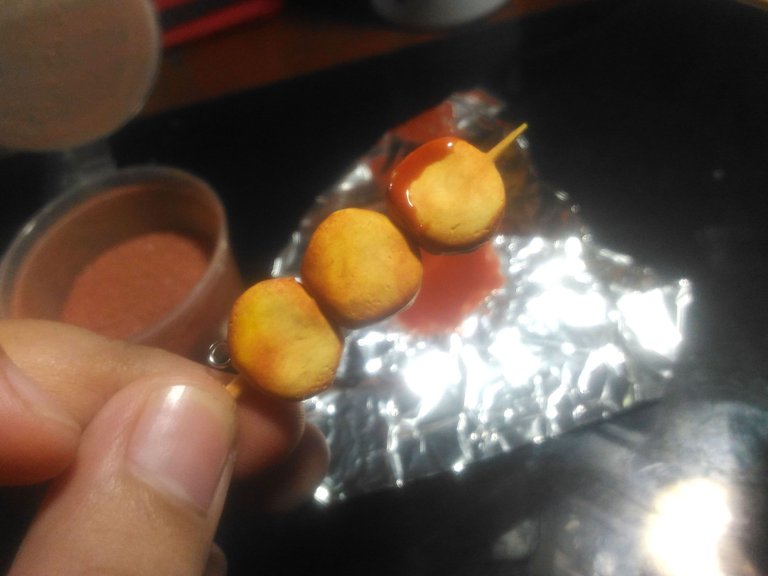
I observed that most of the caramelized sugar stayed on the side of the food so that is what I did.
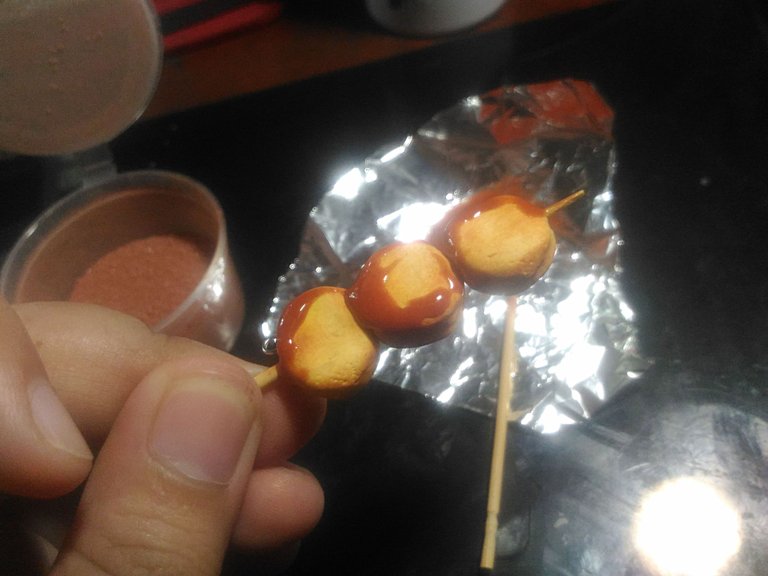
It should look like this.
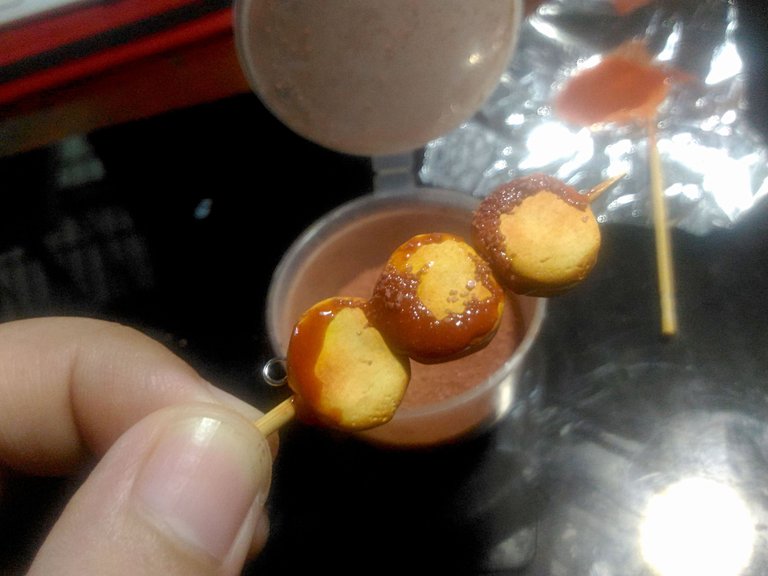
Now this is the best part adding the melted sugar which is the colored sand I just sprinkled onto the colored resin.
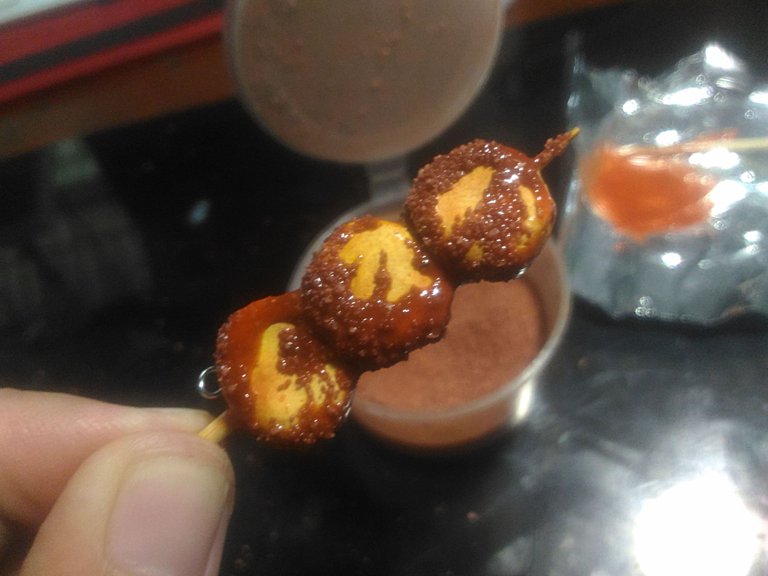
It should look like this.
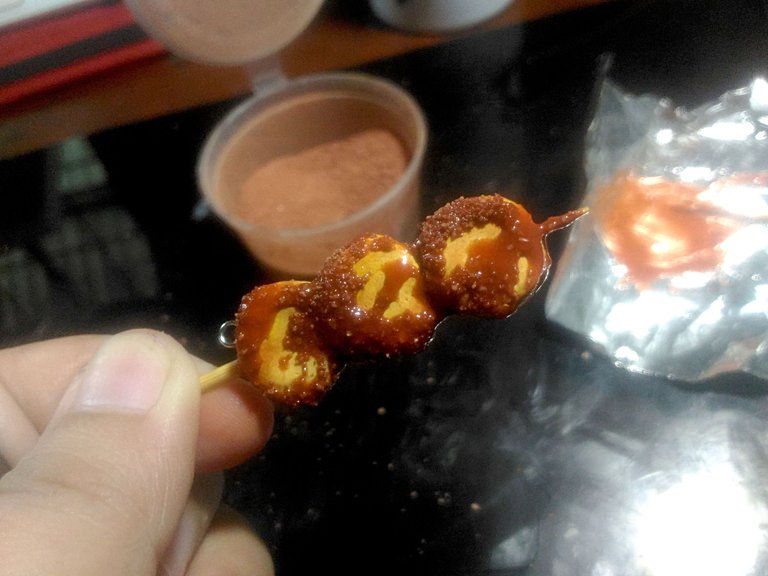
I do the same thing on the other side. It is ready to be cured.
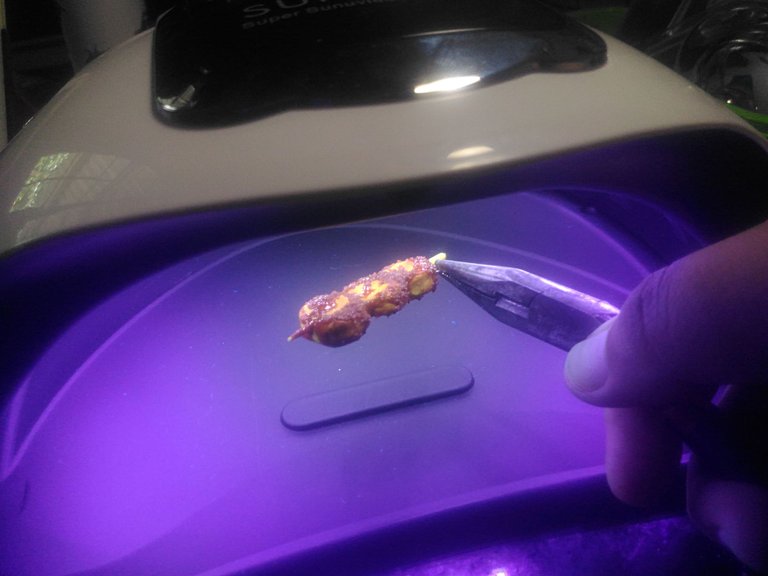
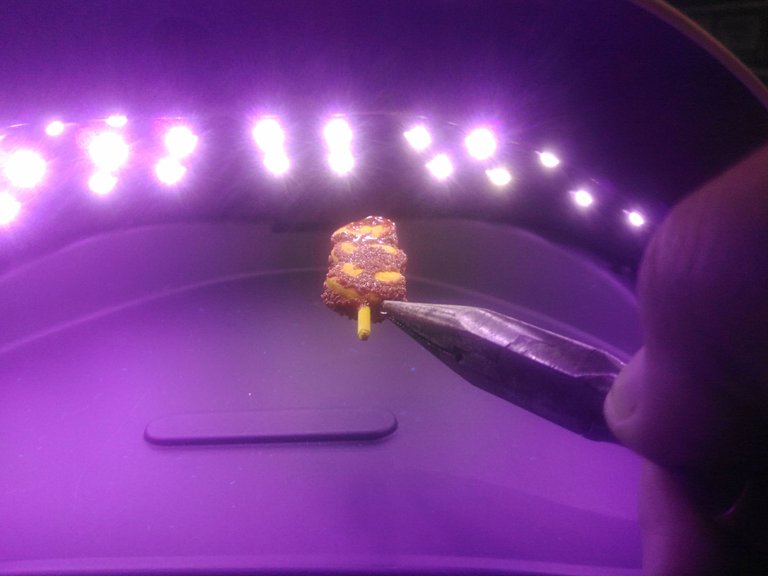
I then cure it with UV Lamp I make sure to rotate the clay so it will cure the UV Resin evenly.
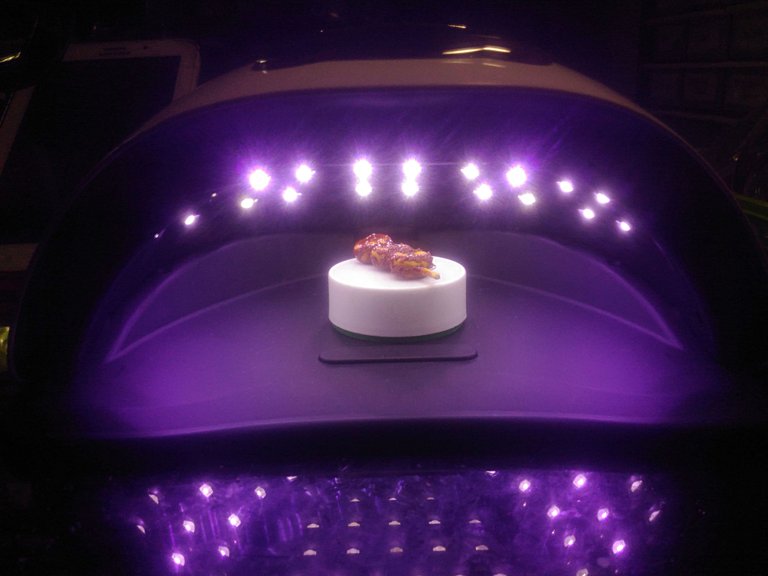
And then I run it to the UV lamp more to cure it completely.
Time to add the Keychain:
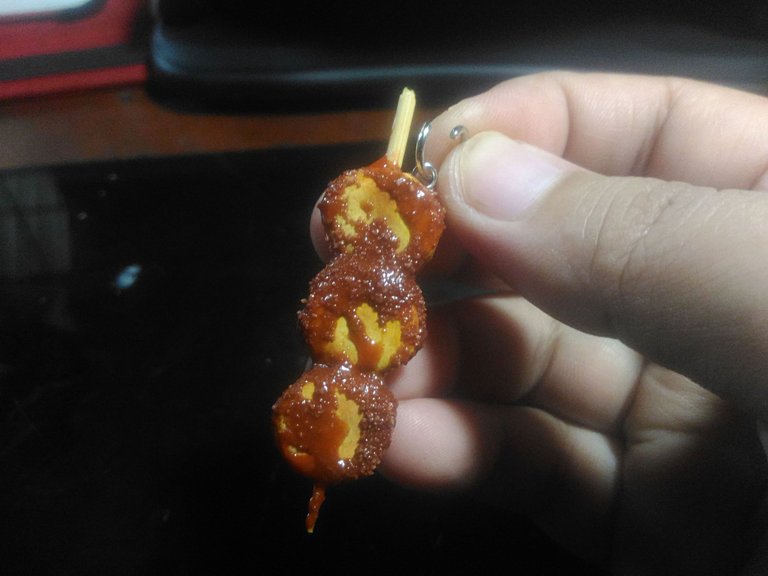
I first put in the jump ring.
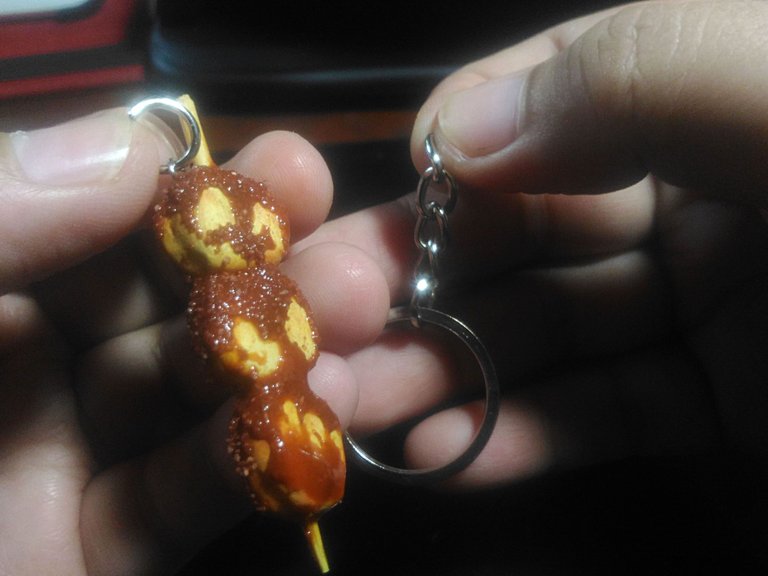
Next is the keychain.
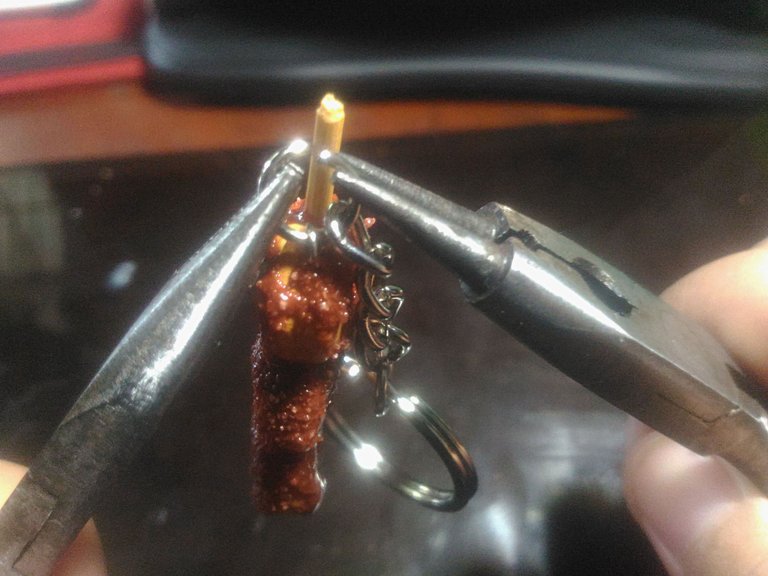
And then close the jump ring with two pliers.
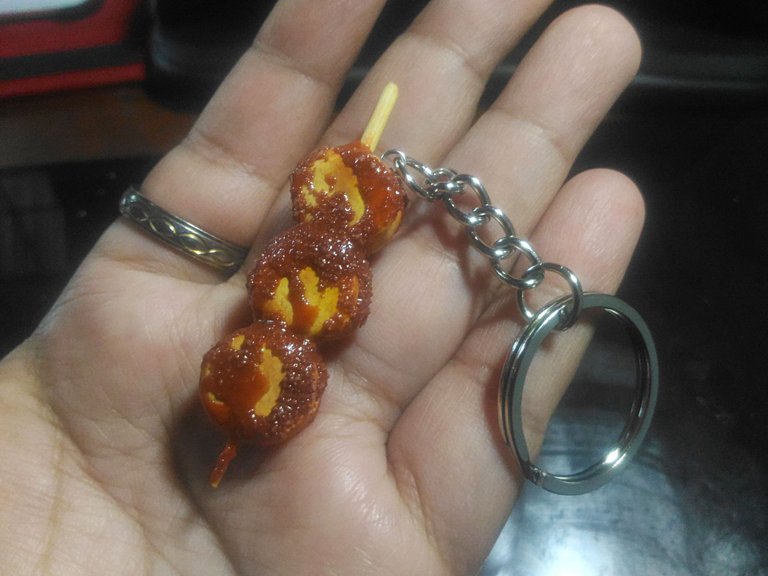
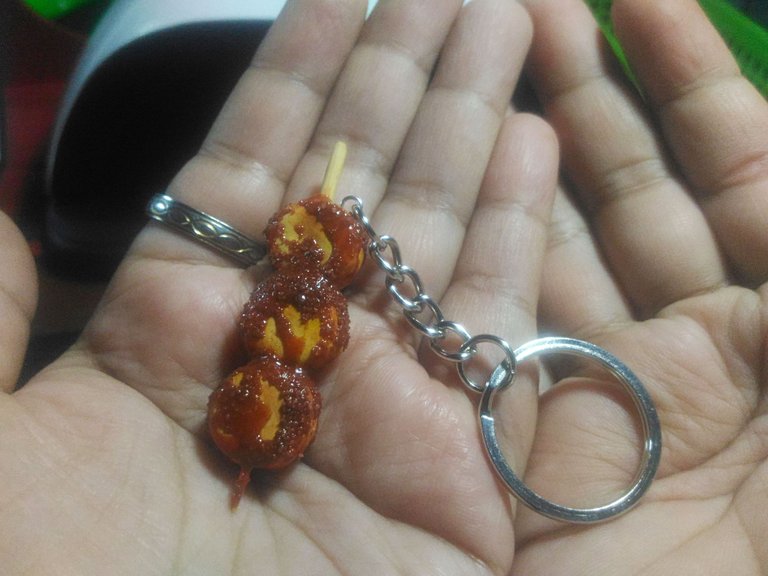
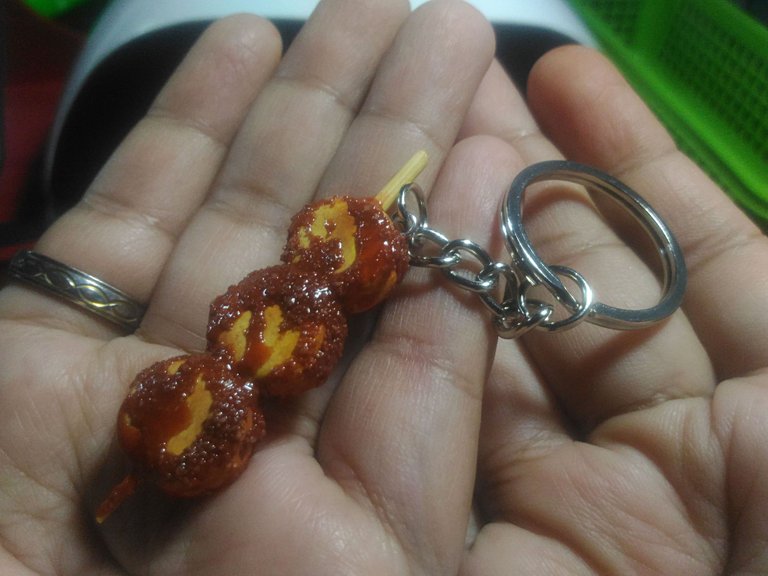
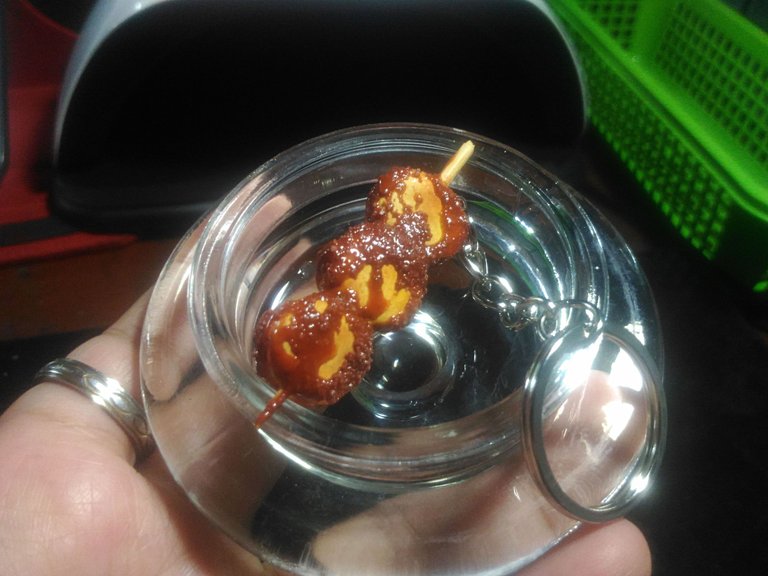
Walaahh~ Mini Kamote Que. The most enjoyable part is adding the caramelized sugar to it, it makes it realistic.
Thank you for visiting, see you on my next blog. :D
Please take care of your mental health as well.
I hope you are okay today :))
Please take care of your mental health as well.
I hope you are okay today :))

It looks pretty cool. It shows your creativity and skills. Good to see how you made this one. Love it. Thanks!
Thank you so much for always supporting :D
That looks incredibly realistic. I'm impressed.
Thank you :D
Congratulations @leannwithdoublen! You have completed the following achievement on the Hive blockchain And have been rewarded with New badge(s)
You can view your badges on your board and compare yourself to others in the Ranking
If you no longer want to receive notifications, reply to this comment with the word
STOPCheck out our last posts: