MWM|| Simple And Beautiful Headbands
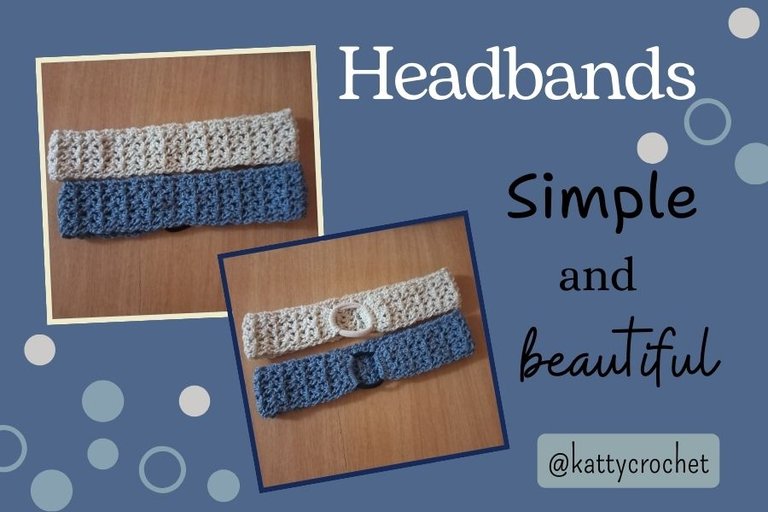

Regalar cosas elaboradas con mis propias manos me llena de satisfacción, no obstante es algo que amerita de tiempo y dedicación. Es por ello que para poder tener estos obsequios listos antes de navidad he tenido que tejer por las noches, después de haber cumplido con todas mi jornada laboral. Pero puedo decir que el sacrificio vale la pena.
Hello, hello dear and appreciated artisan friends. I wish you a day full of success and blessings. Today I want to show you a rather simple project that I was knitting last night. It is a pair of bandanas that I made as a gift to one of my friends this Christmas.
Giving gifts made with my own hands fills me with satisfaction, however it is something that requires time and dedication. That's why in order to have these gifts ready before Christmas I had to knit at night, after having completed all my workday. But I can say that the sacrifice is worth it.

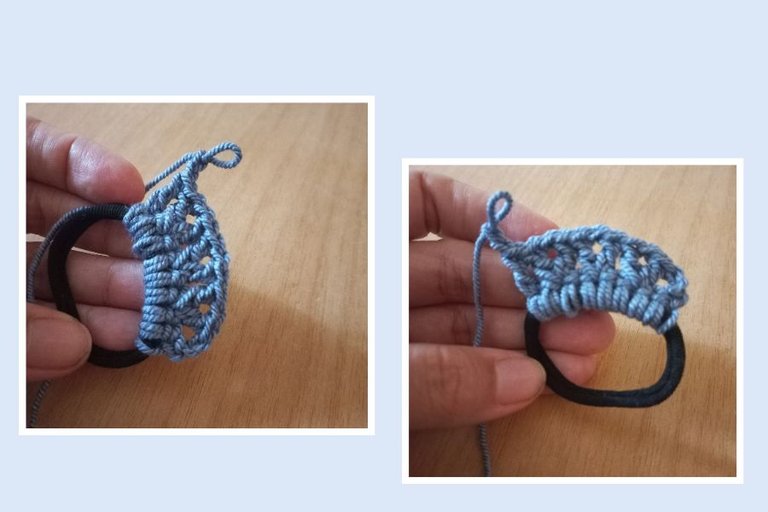
Estas bandanas tienen un patrón bastante simple y fácil de seguir.
Lo primero que se necesita es una gomita o liga para el cabello. Sobre esta liga se inicia el tejido con 8 puntos bajos.
En la siguiente vuelta se realiza la siguiente secuencia:
- 1 punto alto, dejamos un punto sin tejer, tejemos una "V" formada por 1 punto alto, 1 cadena y 1 punto alto en el mismo espacio.
Luego volvemos a dejar un espacio sin tejer, formamos la segunda "V"; nuevamente un espacio sin tejer, formamos la tercera "V", dejamos otro espacio sin tejer y finalizamos con un punto alto.
I am choosing to make simple projects that I can knit in a short time, but this does not mean that they are not beautiful projects. The important thing is that I can give every loved one a detail made by my hands.
These bandanas have a fairly simple and easy to follow pattern.
The first thing you need is a rubber band or hair tie. On this garter you start the knitting with 8 single crochet stitches.
In the next round, the following sequence is performed:
- 1 high stitch, we leave a stitch without knitting, we knit a "V" formed by 1 high stitch, 1 chain and 1 high stitch in the same space.
Then again we leave a space without knitting, we form the second "V"; again a space without knitting, we form the third "V", we leave another space without knitting and we finish with a double crochet.
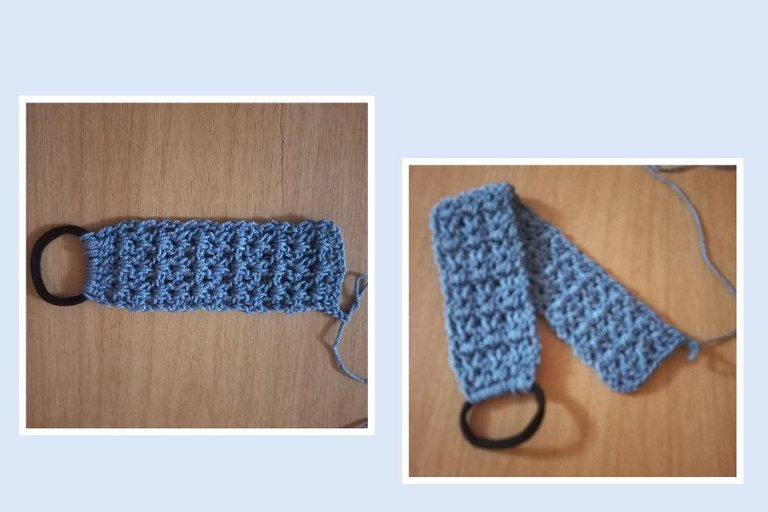
In summary, the 8 low stitches at the beginning are filled in with a total of 1 high stitch on each edge, 3 "V" and three spaces without knitting. At the end of the row with this sequence, turn the fabric and continue knitting the following rows with the same pattern until the desired length is obtained.
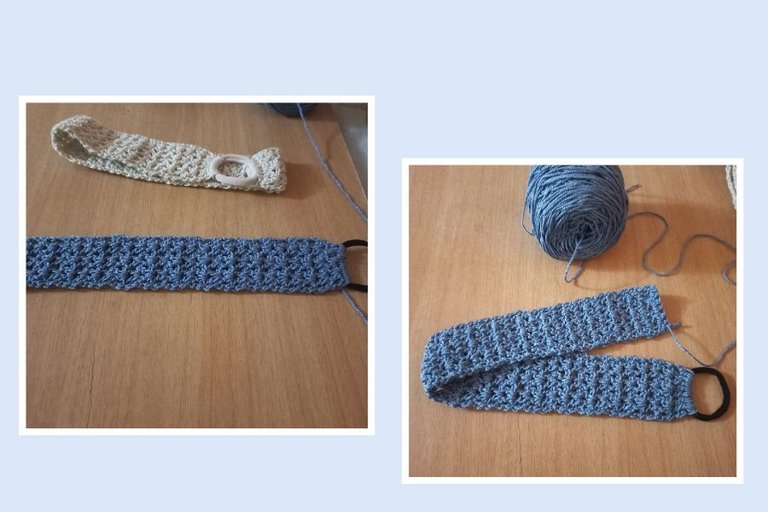
A este modelo se le pueden añadir algún aplique de flor para hacerlas más llamativas en caso de que sean para una niña. En mi caso, las voy a dejar así sencillas, ya que mi amiga es muy minimalista y le gustan las cosas simples.
To finish, knit 8 single crochet stitches at the end and knit again over the rubber band to close the bandana.
You can add a flower applique to this model to make it more eye-catching if it is for a little girl. In my case, I am going to leave them simple, since my friend is very minimalist and likes simple things.
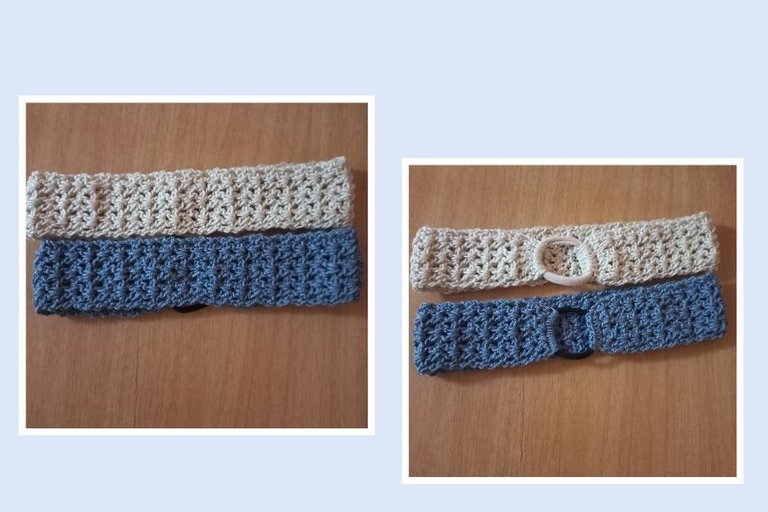
I was happy to share with you this little project, I hope you liked it. I wish you a nice and creative week. Thanks for reading, greetings and blessings.

Todas las fotos fueron tomadas con mi celular Samsung A32.
El banner de portada y los separadores de textos son diseñados por mi en Canva.com
Uso traductor Deepl
Saludos @kattycrochet, tu amiga estará muy feliz con las bandanas, es gratificante hacer los regalos que daremos a nuestros seres queridos, es un gusto ver tus creaciones tienes un gran talento para tejer.
Feliz miércoles!
You’re so kind to want to make gifts by your hand for your loved ones.
They are simple yet beautiful.
I love the colors as well.
Thanks for sharing the process too.