Splinterlands art contest 252: Terraceous Hulk (Fan Art)
English
Hello friends of Hive!
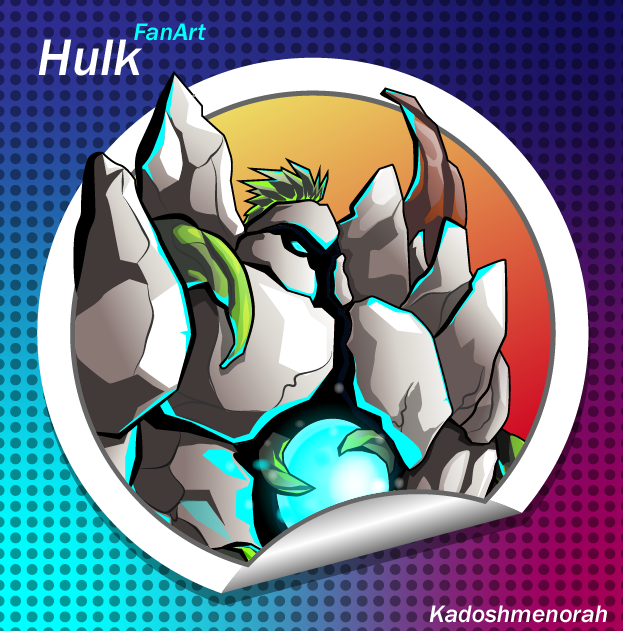
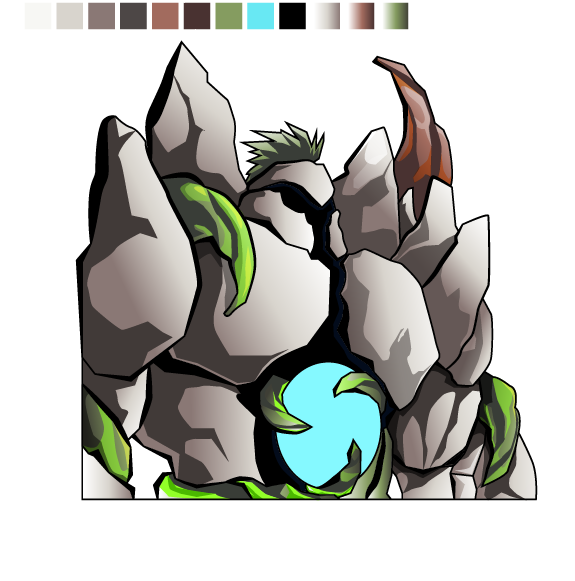
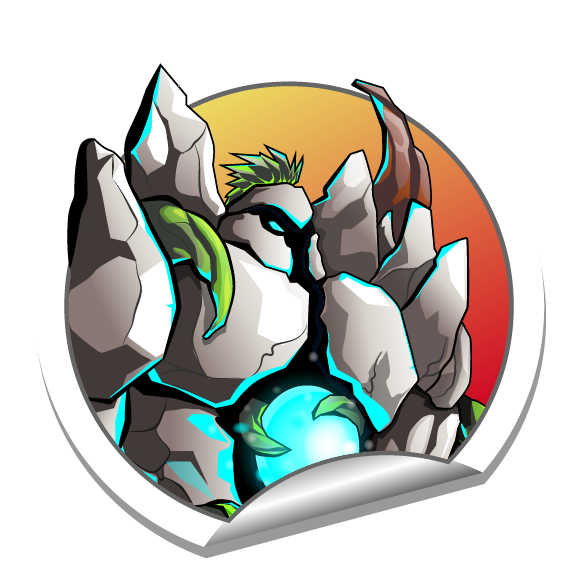
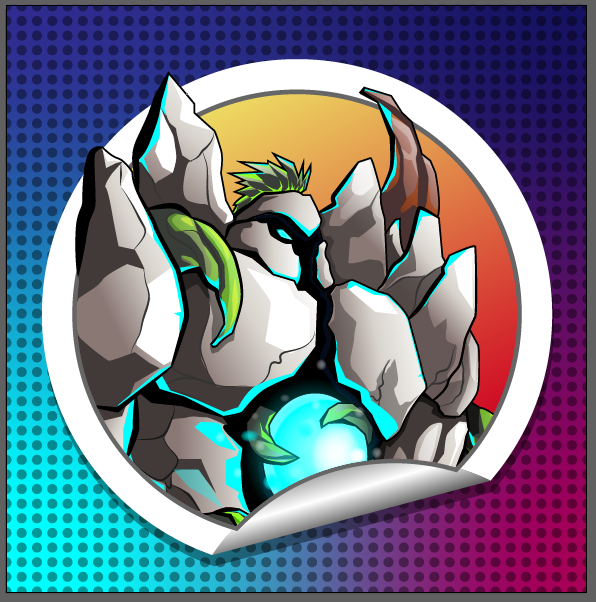
Greetings my people! A hug to all, today I bring you my participation for Splinterlands art contest 252, this time I chose the Terraceous Hulk (Fan Art) card, The stone colossus, giant and imposing!. I loved the result, this colossus reminded me of the Giant trees of the Lord of the Rings. Below I share the process of this illustration. I hope you like it.
Español
¡Hola amigos!
¡Saludos mi gente! Un abrazo a todos, hoy les traigo mi participación para Splinterlands art contest 252, esta vez elegí la carta de Terraceous Hulk (Fan Art), El coloso de piedra, gigante e imponente!. Me encanto el resultado, este coloso me hizo recordar a los arboles Gigantes del Señor de los Anillos. A continuación les comparto el proceso de esta ilustración Espero que les guste.

PROCESO / PROCESS
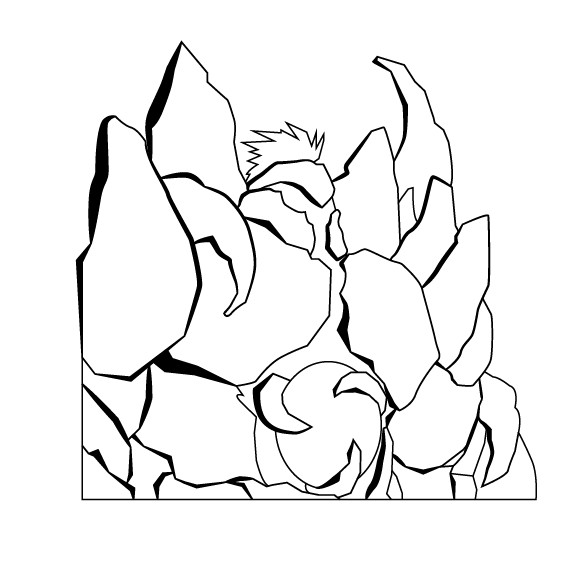
Paso 1 (Boceto y Line arte) / Step 1 (Sketch and Line art)
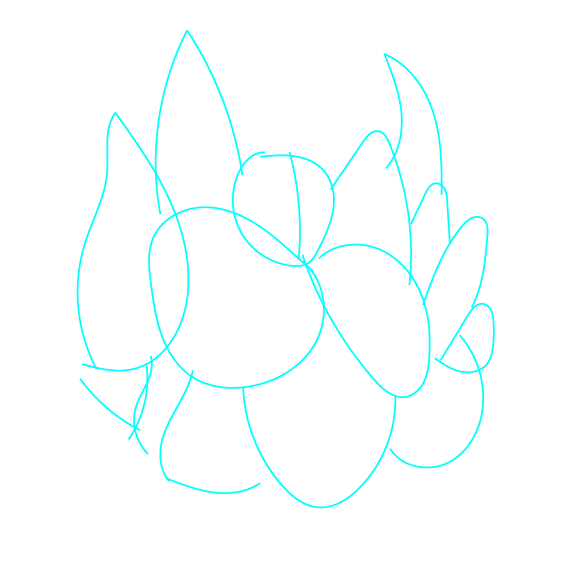
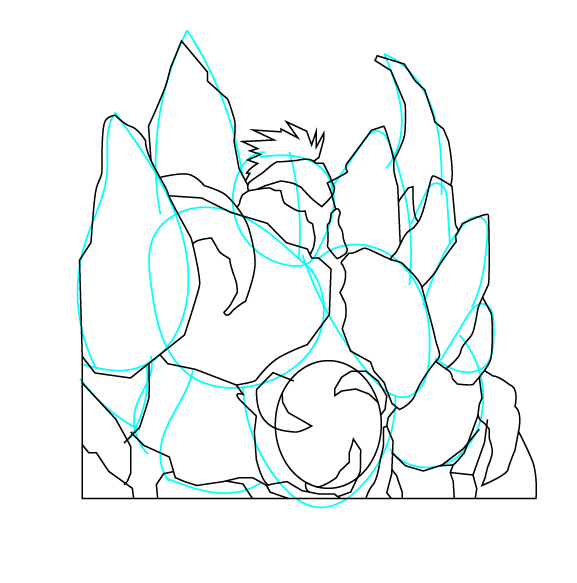
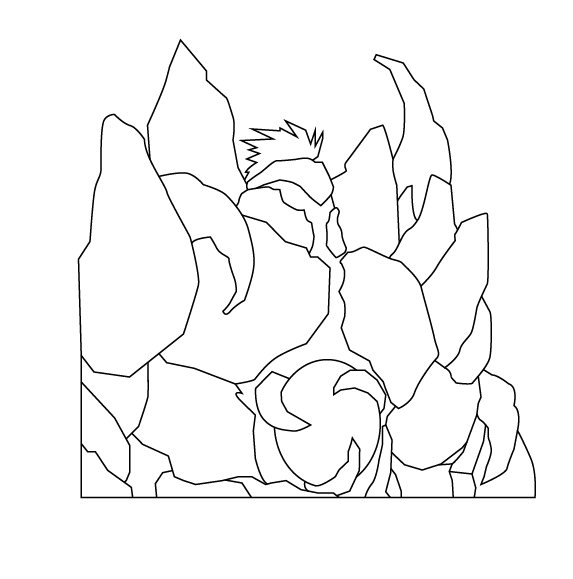
Lo primero que hice fue dibujar un boceto de Terraceous Hulk, luego delinee todo con la herramienta pluma y modifique el trazo con la herramienta anchura, para tener listo el line art. Para este trabajo estoy haciendo uso de adobe illustrator.
The first thing I did was draw a sketch of the Terraceous Hulk, then I outlined everything with the pen tool and modified the stroke with the width tool, to have the line art ready. For this work I am using adobe illustrator.

Paso 2 (Color) / Step 2 (Colour)
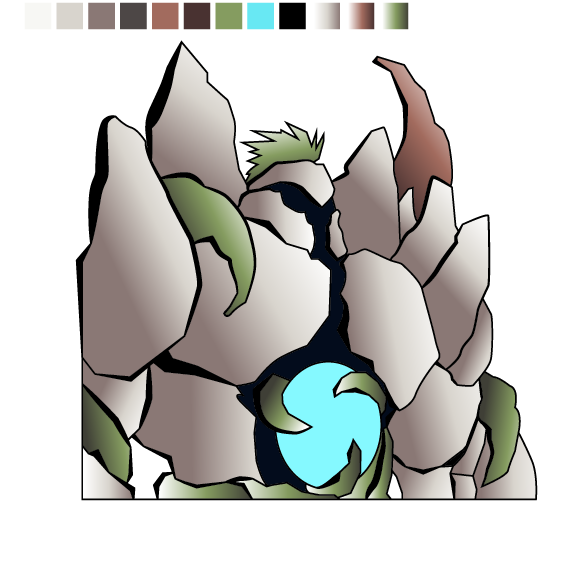
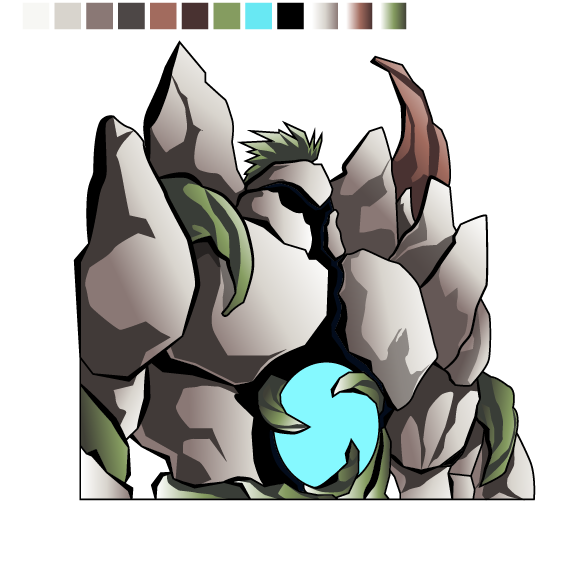
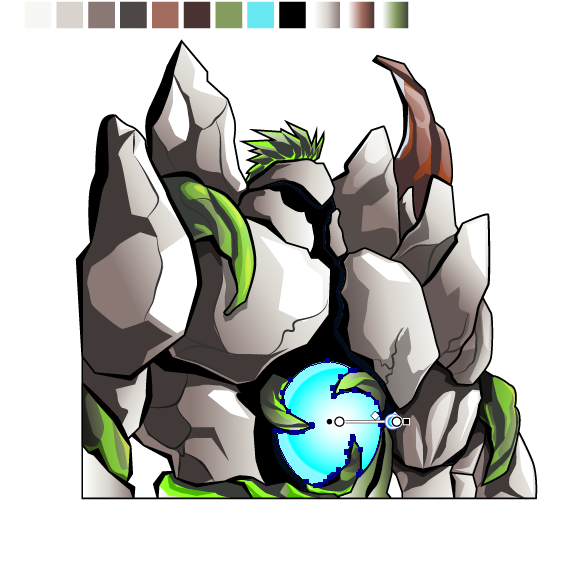
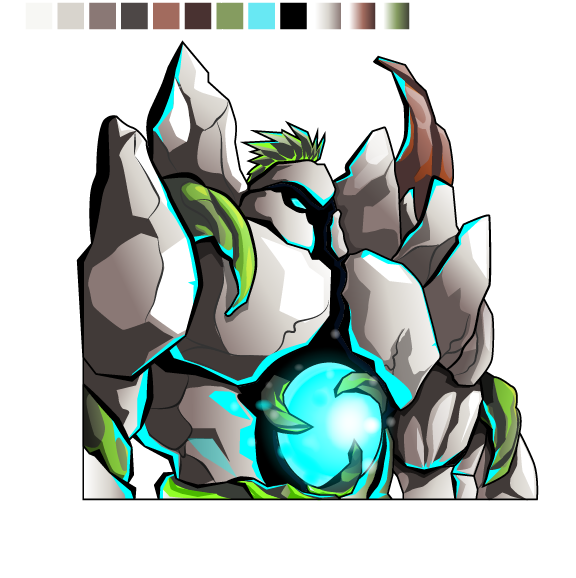
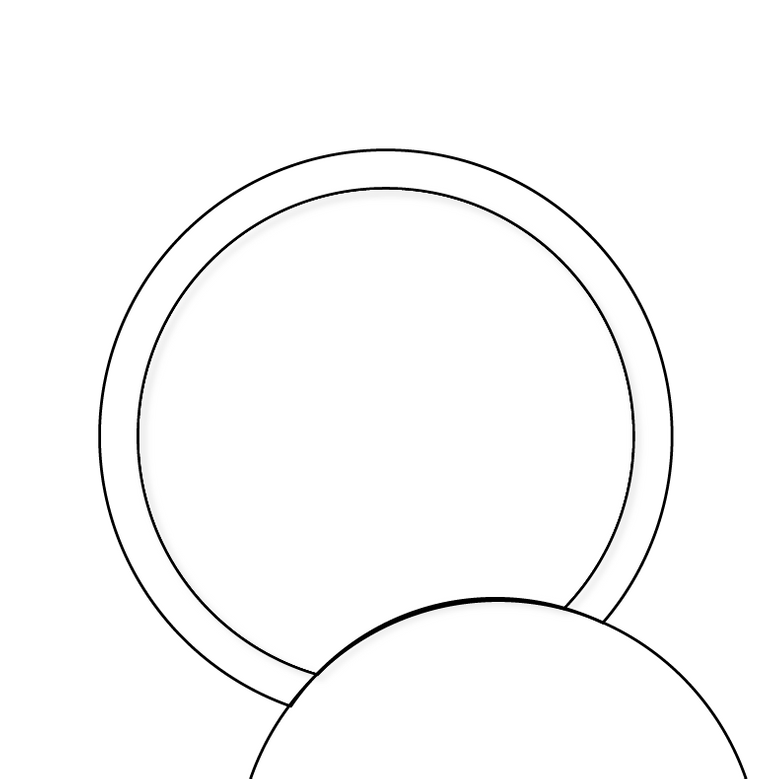
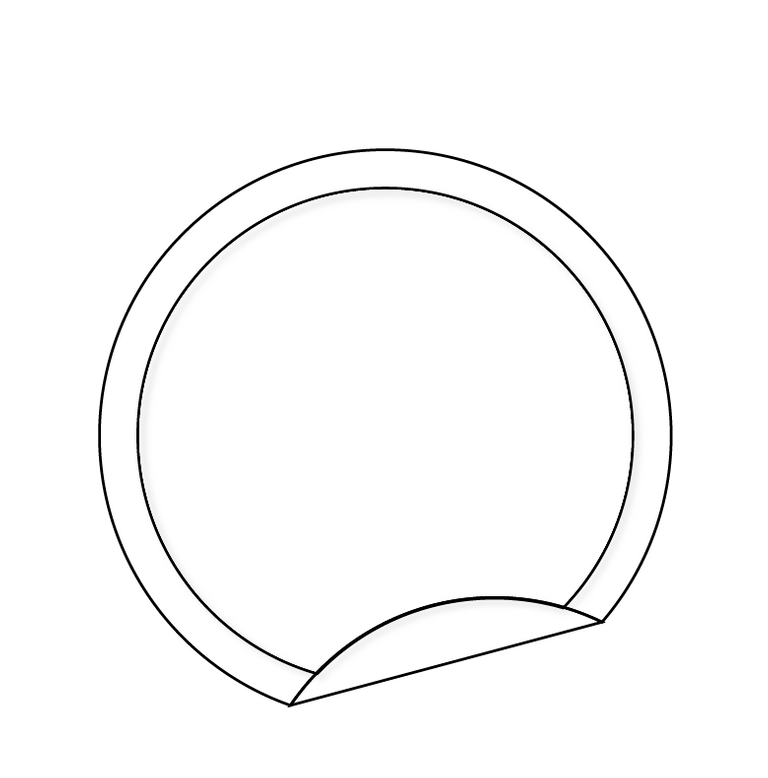
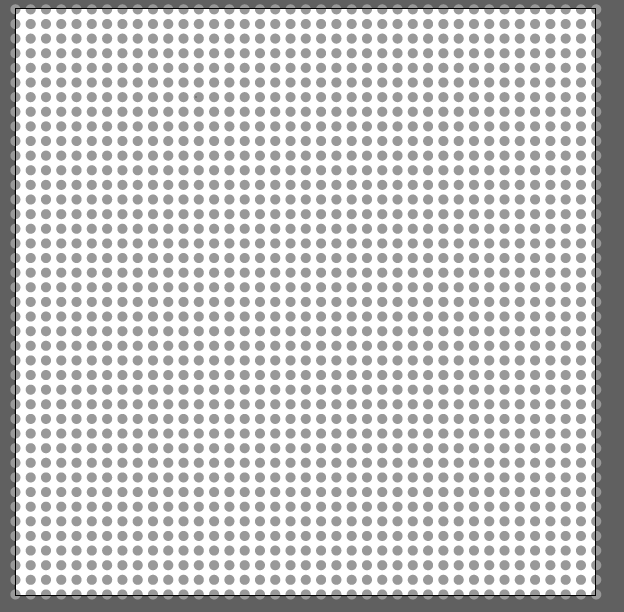
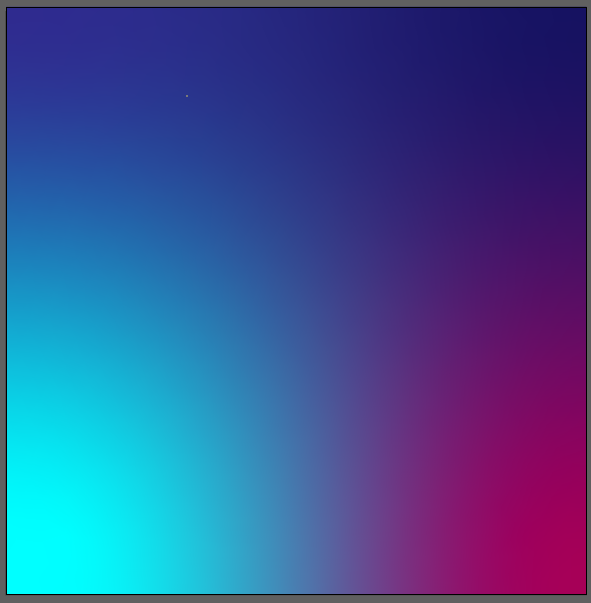
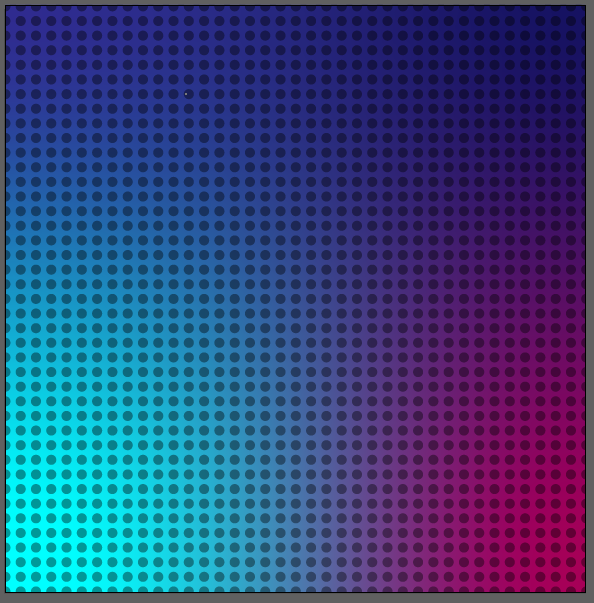
Empecé por aplicar un color base a Terraceous Hulk en tonos grises para el color de las rocas y verde las raices. Luego empecé a trabajar degradados en el cuerpo, las sombras y luces para crear más volumen, luego aplique de detalles grietas y luz de neón. Luego dibuje dos círculos para crear la pegatina y un fondo multicolor con círculos perforados. Espero que les guste.
I started by applying a base color to Terraceous Hulk in shades of gray for the color of the rocks and green for the roots. Then I started to work gradients on the body, the shadows and lights to create more volume, then I applied cracks and neon light details. Then draw two circles to create the sticker and a multicolored background with perforated circles. Hope you like.

Arte Final/ Final Art

Resources:
Créditos: splintercards
Banner: Of my authorship
Adobe Illustrator: Descargar
Translator: DeepL Web Site
Recursos:
Créditos: splintercards
Banner: De mi autoria
Adobe Illustrator: Descargar
Traductor: DeepL Sitio Web
Soy kadoshmenorah y hasta una próxima oportunidad y no olvides dejar tus comentarios acá abajo.
Me pueden encontrar en las redes sociales:
 --- Abrazos ---
English
Hello friends of Hive!
Greetings my people! A hug to all, today I bring you my participation for Splinterlands art contest 252, this time I chose the Terraceous Hulk (Fan Art) card, The stone colossus, giant and imposing!. I loved the result, this colossus reminded me of the Giant trees of the Lord of the Rings. Below I share the process of this illustration. I hope you like it.
Español
¡Hola amigos!
¡Saludos mi gente! Un abrazo a todos, hoy les traigo mi participación para Splinterlands art contest 252, esta vez elegí la carta de Terraceous Hulk (Fan Art), El coloso de piedra, gigante e imponente!. Me encanto el resultado, este coloso me hizo recordar a los arboles Gigantes del Señor de los Anillos. A continuación les comparto el proceso de esta ilustración Espero que les guste.

PROCESO / PROCESS
Paso 1 (Boceto y Line arte) / Step 1 (Sketch and Line art)
Lo primero que hice fue dibujar un boceto de Terraceous Hulk, luego delinee todo con la herramienta pluma y modifique el trazo con la herramienta anchura, para tener listo el line art. Para este trabajo estoy haciendo uso de adobe illustrator.
The first thing I did was draw a sketch of the Terraceous Hulk, then I outlined everything with the pen tool and modified the stroke with the width tool, to have the line art ready. For this work I am using adobe illustrator.


Paso 2 (Color) / Step 2 (Colour)
Empecé por aplicar un color base a Terraceous Hulk en tonos grises para el color de las rocas y verde las raices. Luego empecé a trabajar degradados en el cuerpo, las sombras y luces para crear más volumen, luego aplique de detalles grietas y luz de neón. Luego dibuje dos círculos para crear la pegatina y un fondo multicolor con círculos perforados. Espero que les guste.
I started by applying a base color to Terraceous Hulk in shades of gray for the color of the rocks and green for the roots. Then I started to work gradients on the body, the shadows and lights to create more volume, then I applied cracks and neon light details. Then draw two circles to create the sticker and a multicolored background with perforated circles. Hope you like.


Arte Final/ Final Art

Resources:
Créditos: splintercards
Banner: Of my authorship
Adobe Illustrator: Descargar
Translator: DeepL Web Site
Recursos:
Créditos: splintercards
Banner: De mi autoria
Adobe Illustrator: Descargar
Traductor: DeepL Sitio Web

Soy kadoshmenorah y hasta una próxima oportunidad y no olvides dejar tus comentarios acá abajo.
Me pueden encontrar en las redes sociales:
 --- Abrazos ---
PROCESO / PROCESS
Lo primero que hice fue dibujar un boceto de Terraceous Hulk, luego delinee todo con la herramienta pluma y modifique el trazo con la herramienta anchura, para tener listo el line art. Para este trabajo estoy haciendo uso de adobe illustrator.
The first thing I did was draw a sketch of the Terraceous Hulk, then I outlined everything with the pen tool and modified the stroke with the width tool, to have the line art ready. For this work I am using adobe illustrator.


Empecé por aplicar un color base a Terraceous Hulk en tonos grises para el color de las rocas y verde las raices. Luego empecé a trabajar degradados en el cuerpo, las sombras y luces para crear más volumen, luego aplique de detalles grietas y luz de neón. Luego dibuje dos círculos para crear la pegatina y un fondo multicolor con círculos perforados. Espero que les guste.
I started by applying a base color to Terraceous Hulk in shades of gray for the color of the rocks and green for the roots. Then I started to work gradients on the body, the shadows and lights to create more volume, then I applied cracks and neon light details. Then draw two circles to create the sticker and a multicolored background with perforated circles. Hope you like.


Resources:
Créditos: splintercards
Banner: Of my authorship
Adobe Illustrator: Descargar
Translator: DeepL Web Site
Recursos:
Créditos: splintercards
Banner: De mi autoria
Adobe Illustrator: Descargar
Traductor: DeepL Sitio Web

Soy kadoshmenorah y hasta una próxima oportunidad y no olvides dejar tus comentarios acá abajo.
Me pueden encontrar en las redes sociales: --- Abrazos ---
Te quedó genial, realmente parece un gigante de película. Saludos 🤗
Gracias 🫂 @irenenavarroart que bueno que te haya gustado.
Gracias 🫂 @irenenavarroart que bueno que te haya gustado.
¡Felicidades! Esta publicación obtuvo upvote y fue compartido por @la-colmena, un proyecto de Curación Manual para la comunidad hispana de Hive que cuenta con el respaldo de @curie.
Si te gusta el trabajo que hacemos, te invitamos a darle tu voto a este comentario y a votar como testigo por La Colmena.
Si quieres saber más sobre nuestro proyecto, te invitamos a acompañarnos en nuestro servidor de Discord.
Tiene un efecto bastante colorido
y si,pues color gris roca es inerte, pero la luz fluorescente le da bastante enfoque
Esta bien elaborado y destaca.
Gracias amigo, que bueno que te haya gustado. Gracias 🫂 por dejar tu comentario.
Realmente luce muy bien su diseño.
Felicitaciones.
Gracias 🫂 saludos.