KAWAII ART FOR KIDS: QOOBEE LAUGHING│ARTE KAWAII PARA NIÑOS: QOOBEE RIENDOSE [ING - SPA]
English
Hello friends of Hive!
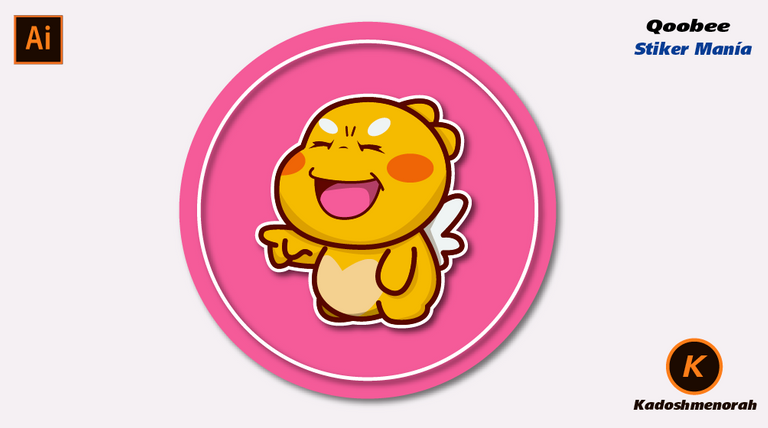
Happy Thursday to everyone. And welcome once again to my blog, where every day I share creative and fun designs for adults and children. This time I share a drawing of QooBee laughing.
Español
¡Hola amigos de Hive!
Feliz jueves a todos. Y bienvenidos una vez más a mi blog, donde día a día te comparto diseños creativos y divertidos para grande y chicos. En esta oportunidad les comparto un dibujo de QooBee riendose.

PROCESO / PROCESS
Paso 1 (Boceto y Line arte) / Step 1 (Sketch and Line art)
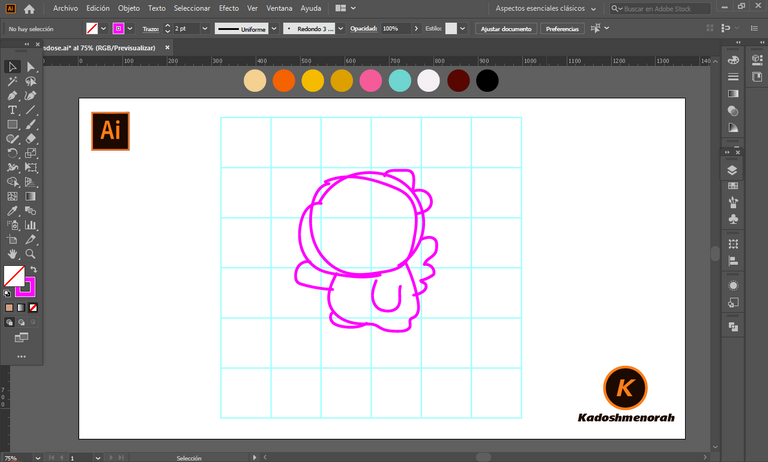
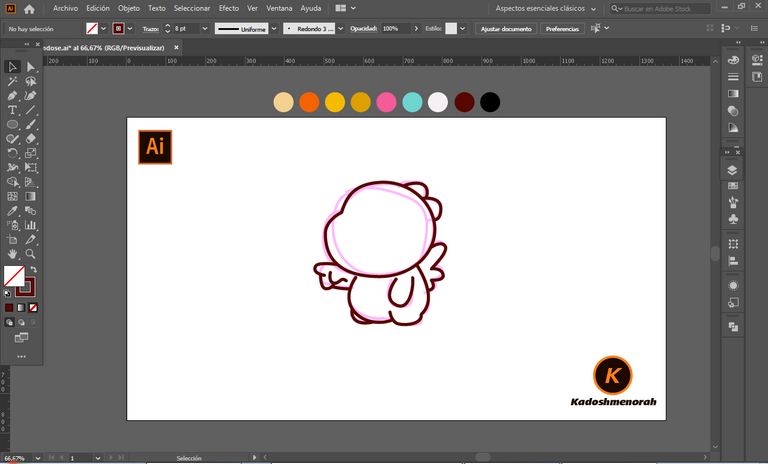
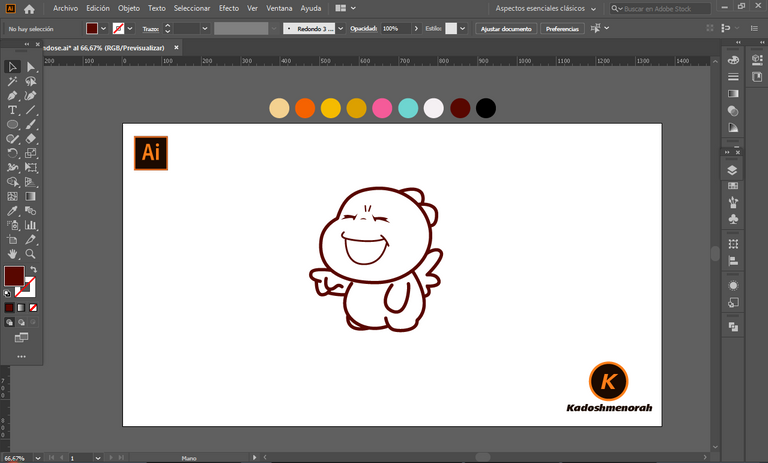
Lo primero que hice, fue dibujar una cuadricula 6x6 y luego el boceto a mano alzada de QooBee riéndose. Después delinee el boceto ayudándome con la herramienta plumas; luego pase a seleccionarlo todo y segmentar con la herramienta forma, teniendo así listo el line art.
The first thing I did was draw a 6x6 grid and then the freehand sketch of QooBee laughing. Then I outlined the sketch helping me with the pens tool; then go on to select everything and segment with the shape tool, thus having the line art ready.
Paso 2 (Color) / Step 2(Colour)
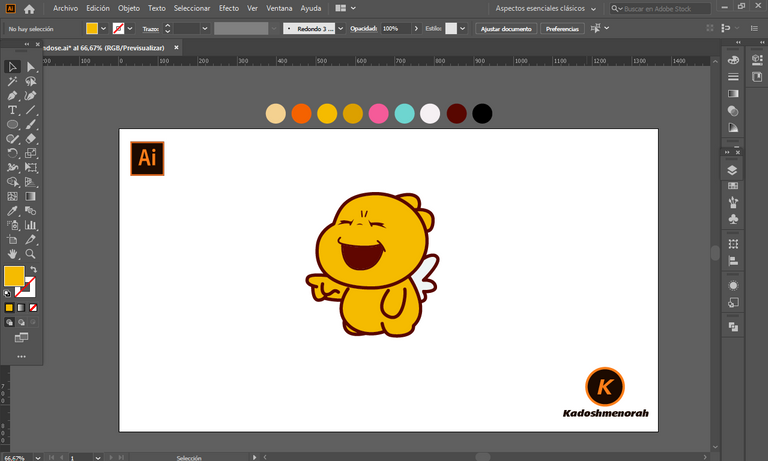
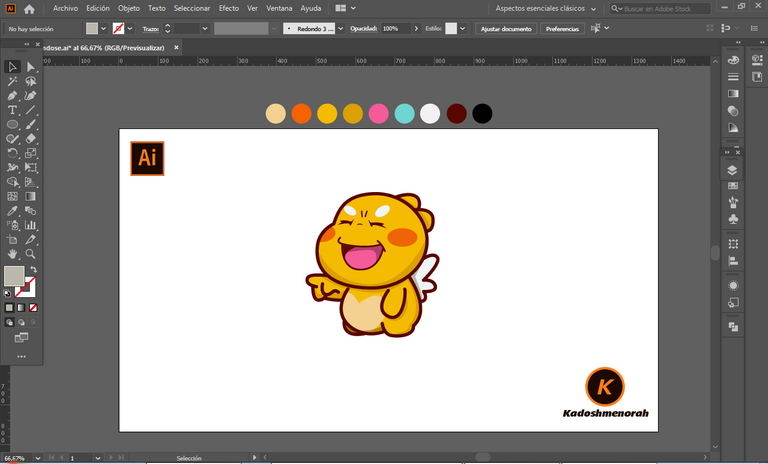
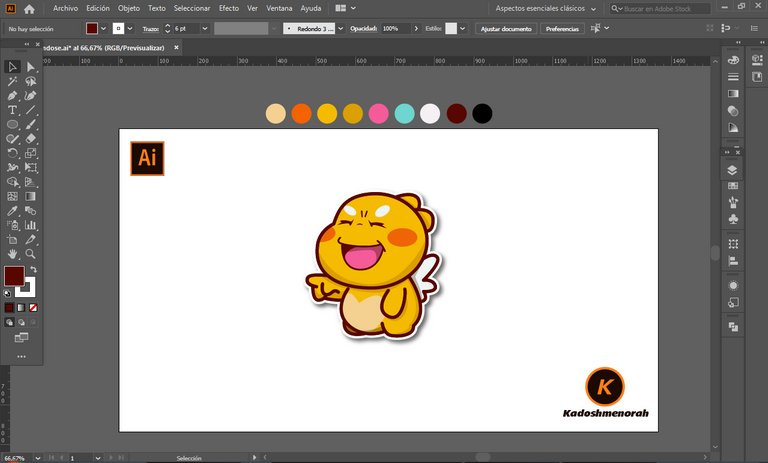
Aplique color base. Luego agregue zonas de sombras y detalles de luces. Y aplique una silueta y un diseño de dos círculos para darle el estilo de pegatina.
Apply base color. Then add shadow areas and highlight details. And apply a silhouette and a two-circle design to give it the sticker look.
Arte Final/ Final Art

Resources:
Image: Source
Banner: Of my authorship
Adobe Illustrator: Descargar
Translator: DeepL Web Site
Recursos:
Imagen: Fuente
Banner: De mi autoria
Adobe Illustrator: Descargar
Traductor: DeepL Sitio Web
Soy kadoshmenorah y hasta una próxima oportunidad y no olvides dejar tus comentarios acá abajo.
Me pueden encontrar en las redes sociales:
 --- Abrazos ---
English
Hello friends of Hive!
Happy Thursday to everyone. And welcome once again to my blog, where every day I share creative and fun designs for adults and children. This time I share a drawing of QooBee laughing.
Español
¡Hola amigos de Hive!
Feliz jueves a todos. Y bienvenidos una vez más a mi blog, donde día a día te comparto diseños creativos y divertidos para grande y chicos. En esta oportunidad les comparto un dibujo de QooBee riendose.

PROCESO / PROCESS
Paso 1 (Boceto y Line arte) / Step 1 (Sketch and Line art)
Lo primero que hice, fue dibujar una cuadricula 6x6 y luego el boceto a mano alzada de QooBee riéndose. Después delinee el boceto ayudándome con la herramienta plumas; luego pase a seleccionarlo todo y segmentar con la herramienta forma, teniendo así listo el line art.
The first thing I did was draw a 6x6 grid and then the freehand sketch of QooBee laughing. Then I outlined the sketch helping me with the pens tool; then go on to select everything and segment with the shape tool, thus having the line art ready.


Paso 2 (Color) / Step 2(Colour)
Aplique color base. Luego agregue zonas de sombras y detalles de luces. Y aplique una silueta y un diseño de dos círculos para darle el estilo de pegatina.
Apply base color. Then add shadow areas and highlight details. And apply a silhouette and a two-circle design to give it the sticker look.


Arte Final/ Final Art

Resources:
Image: Source
Banner: Of my authorship
Adobe Illustrator: Descargar
Translator: DeepL Web Site
Recursos:
Imagen: Fuente
Banner: De mi autoria
Adobe Illustrator: Descargar
Traductor: DeepL Sitio Web
Soy kadoshmenorah y hasta una próxima oportunidad y no olvides dejar tus comentarios acá abajo.

Me pueden encontrar en las redes sociales:
 --- Abrazos ---
PROCESO / PROCESS
Lo primero que hice, fue dibujar una cuadricula 6x6 y luego el boceto a mano alzada de QooBee riéndose. Después delinee el boceto ayudándome con la herramienta plumas; luego pase a seleccionarlo todo y segmentar con la herramienta forma, teniendo así listo el line art.
The first thing I did was draw a 6x6 grid and then the freehand sketch of QooBee laughing. Then I outlined the sketch helping me with the pens tool; then go on to select everything and segment with the shape tool, thus having the line art ready.


Aplique color base. Luego agregue zonas de sombras y detalles de luces. Y aplique una silueta y un diseño de dos círculos para darle el estilo de pegatina.
Apply base color. Then add shadow areas and highlight details. And apply a silhouette and a two-circle design to give it the sticker look.


Resources:
Image: Source
Banner: Of my authorship
Adobe Illustrator: Descargar
Translator: DeepL Web Site
Recursos:
Imagen: Fuente
Banner: De mi autoria
Adobe Illustrator: Descargar
Traductor: DeepL Sitio Web
Soy kadoshmenorah y hasta una próxima oportunidad y no olvides dejar tus comentarios acá abajo.

 --- Abrazos ---
https://twitter.com/kadoshmenorah/status/1565316397869289477
The rewards earned on this comment will go directly to the people( @kadoshmenorah ) sharing the post on Twitter as long as they are registered with @poshtoken. Sign up at https://hiveposh.com.