Making A Honeycomb Ball Ornament
Good morning, everyone; how was your night's rest? I hope it went well. Mine went well though I'm not feeling too well, but I believe I will be fine.
It's the 28th of November. And, I have something special for you.
I want to share with you my handcraft. I started the craft yesterday but I finished in the evening, in case you notice some changes in the photos.
I want to tell you how I made it and the steps I took.
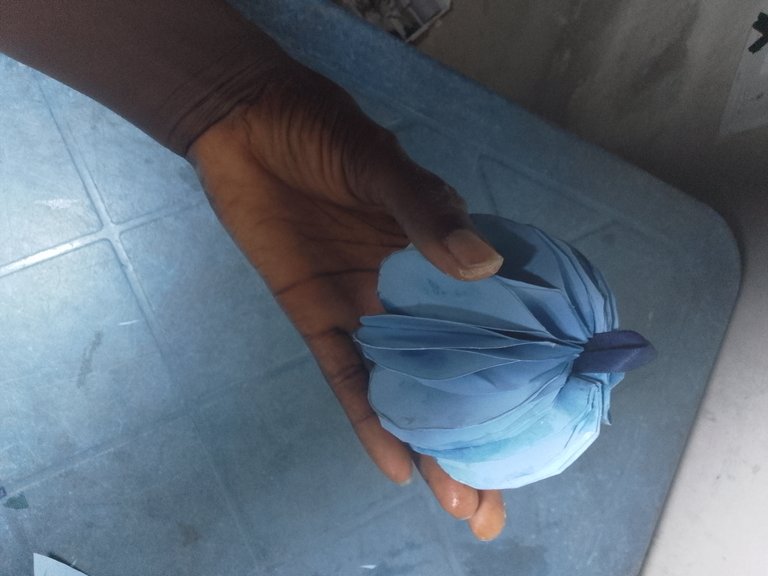
I made a Honeycomb ball ornament.
Steps:
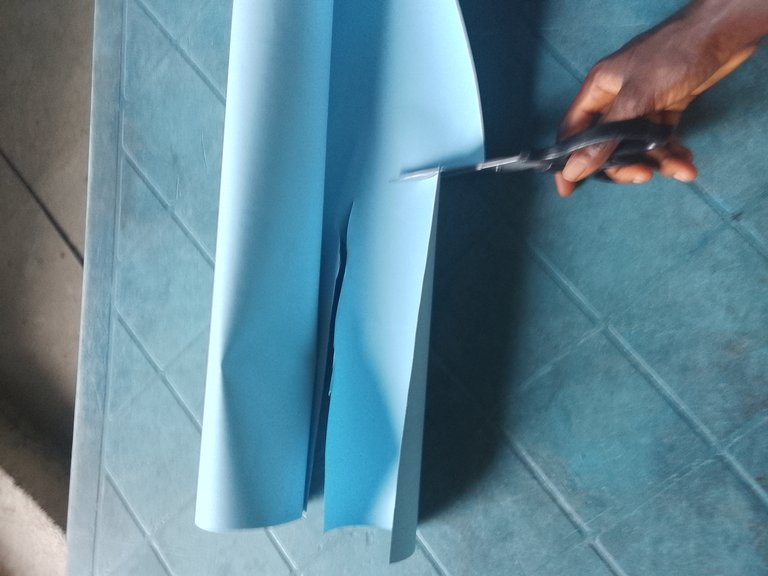
First, I placed the cardboard paper on the table; I used scissors to carve out a rectangular shape. The color of the cardboard paper was sky blue.
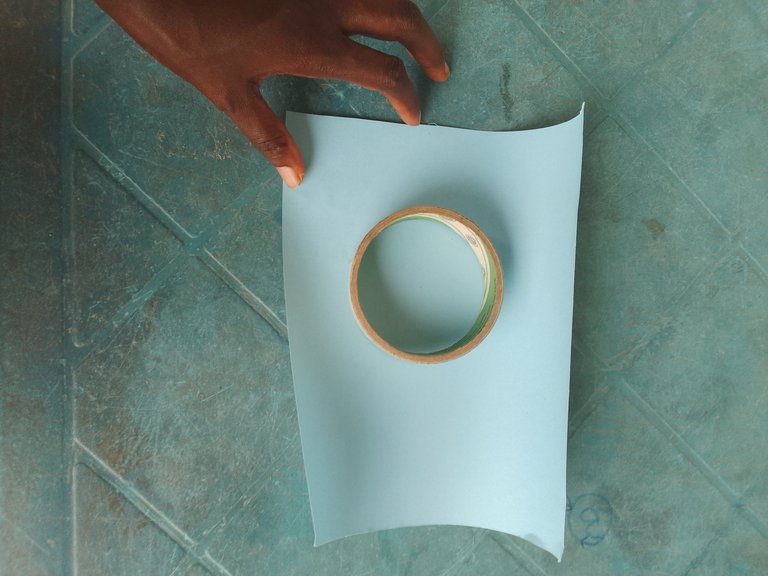
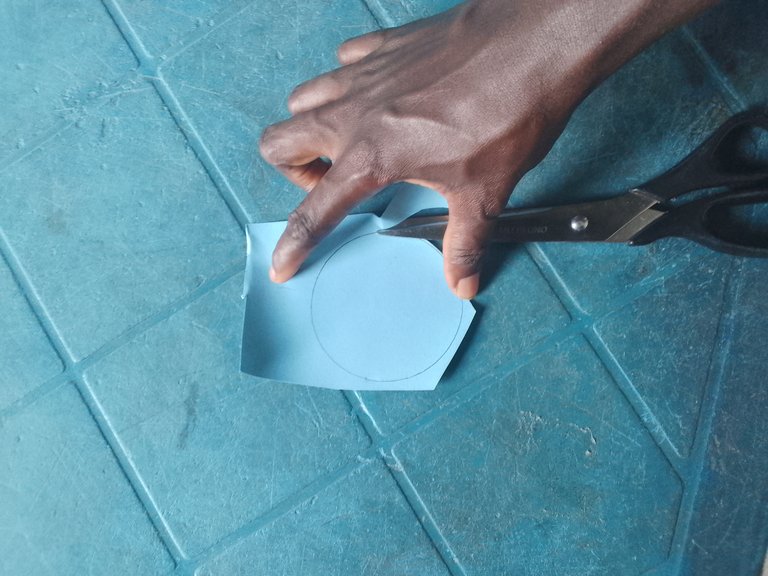
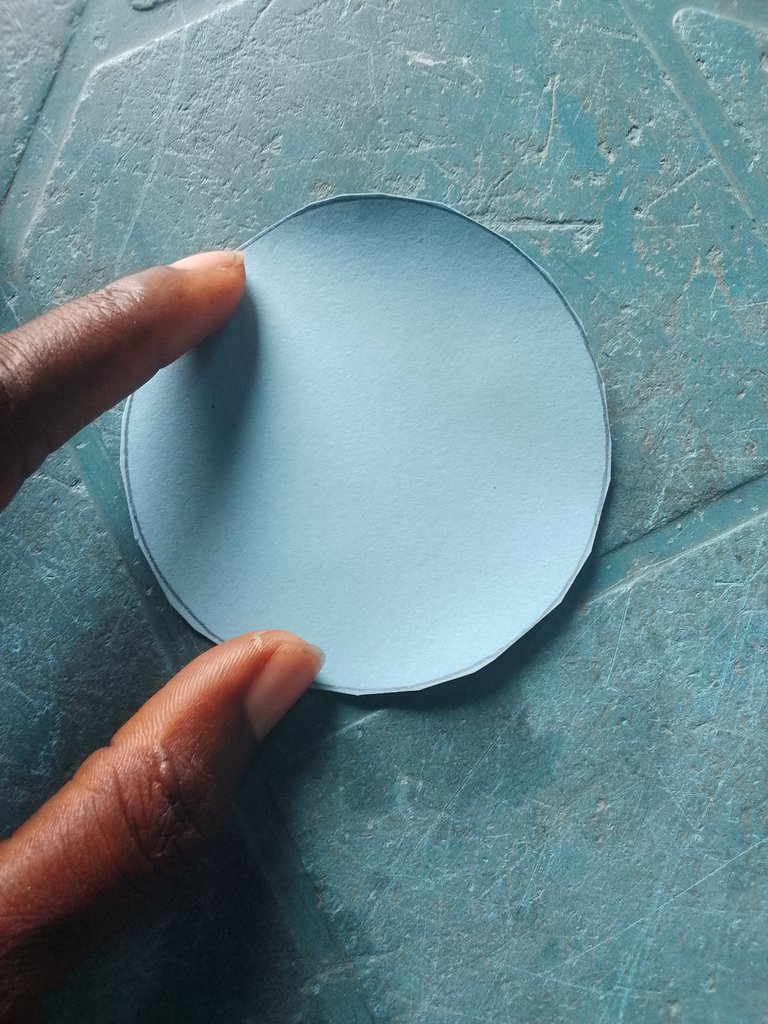
Second step:I used the Seebest tape to draw a circle. I used a scissors to carve out the circle.
Third step: I folded the one I carved out into two.
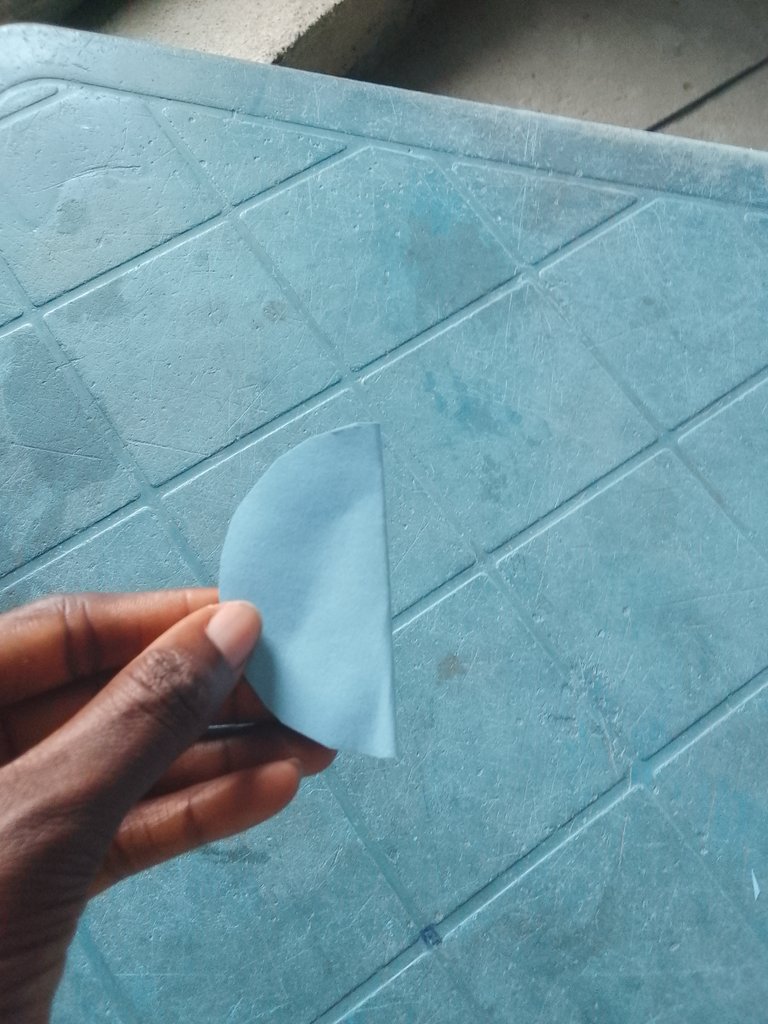
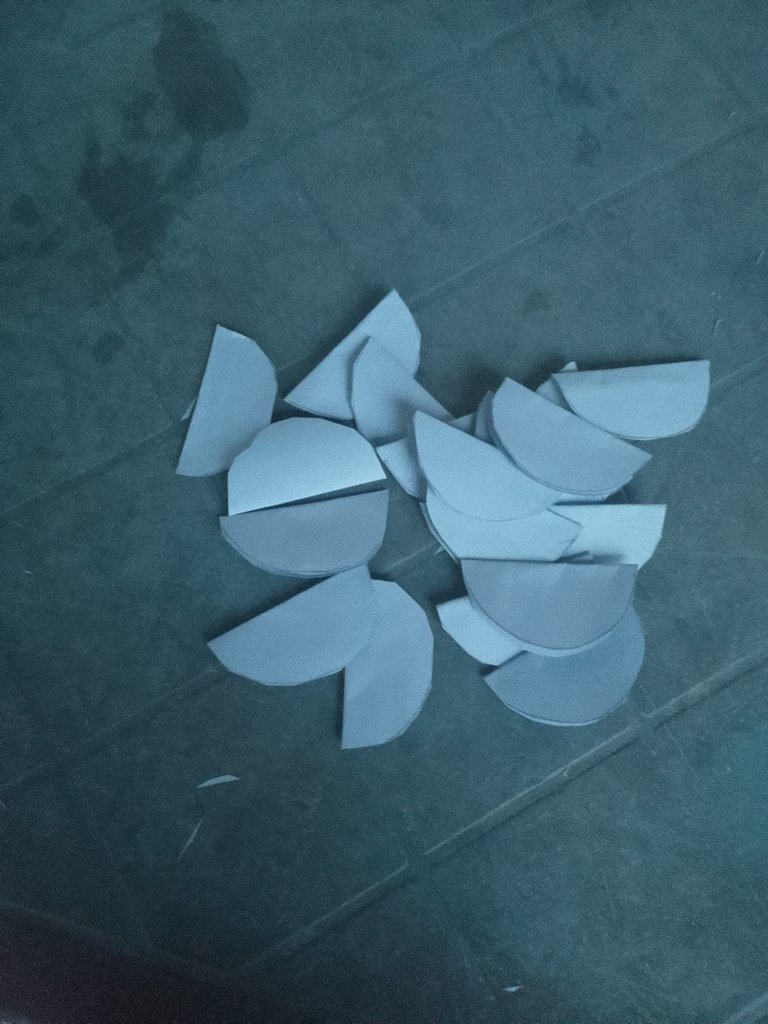
Fourth step: I cut out another cardboard and folded the two sides, I drew the shape I wanted on it.
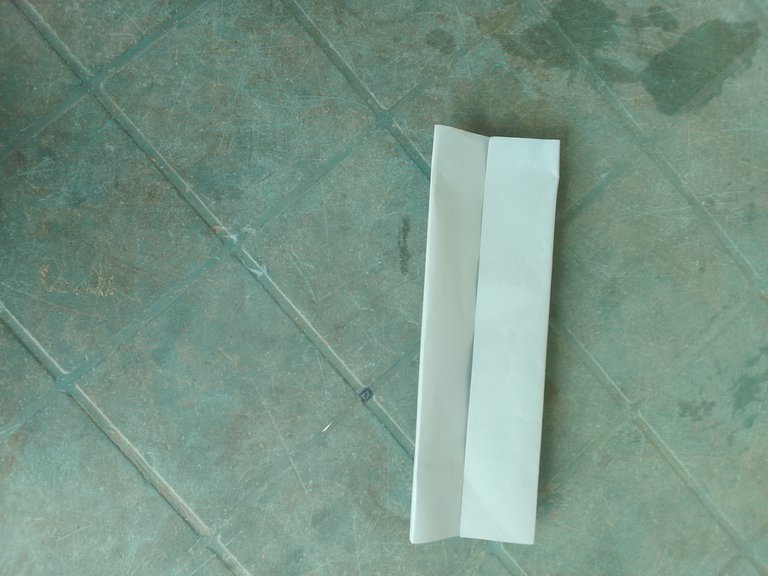
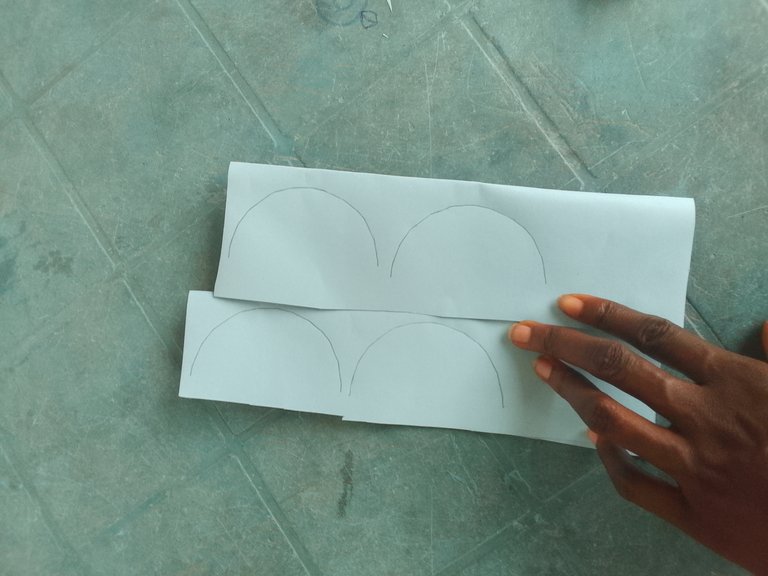
Fifth step: I carved it out.
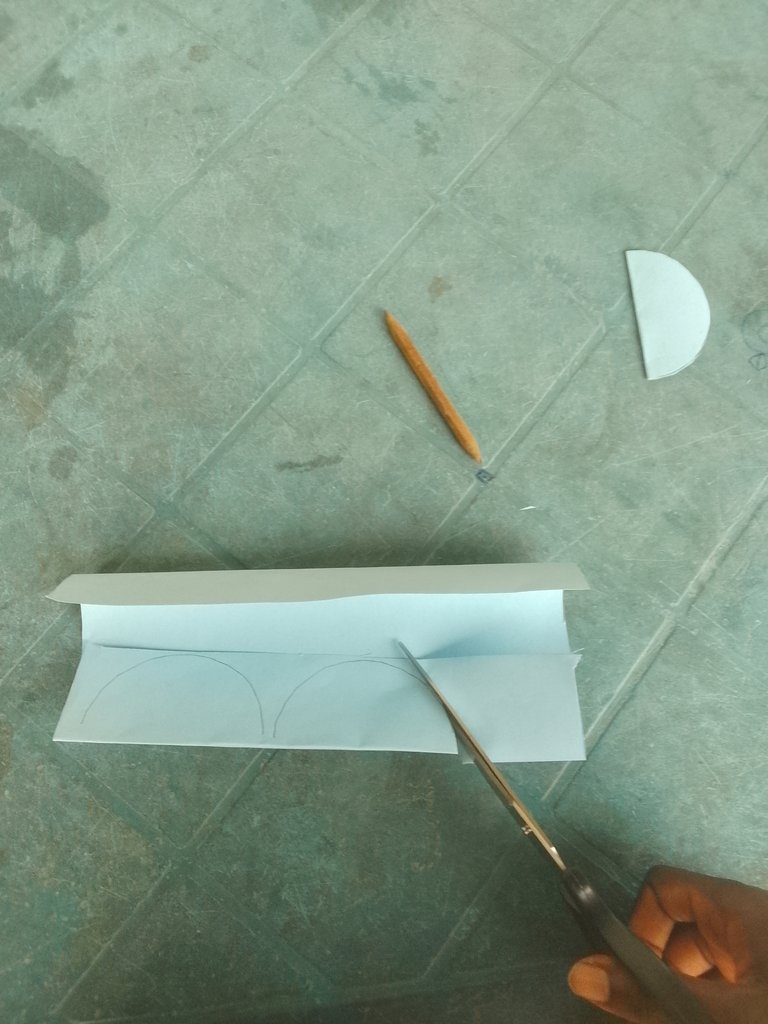
Sixth step: I open the ones I've carved, apply gum on the right-hand side, and I fold it.
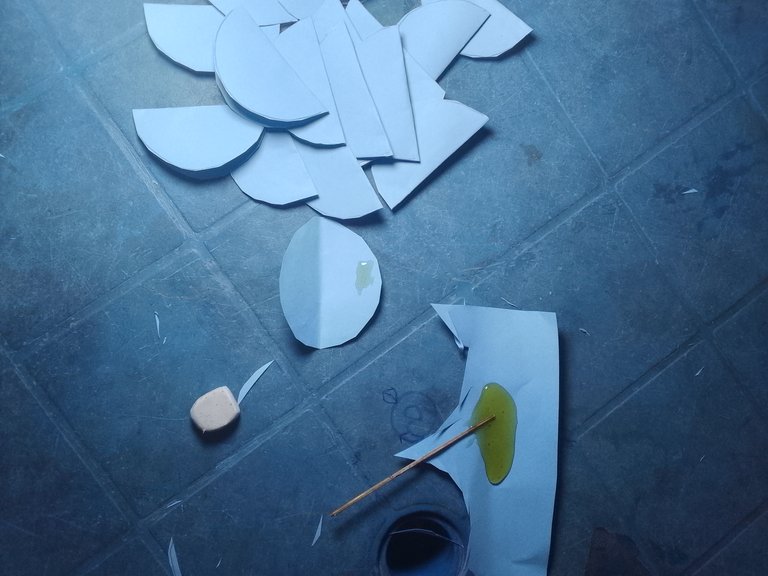
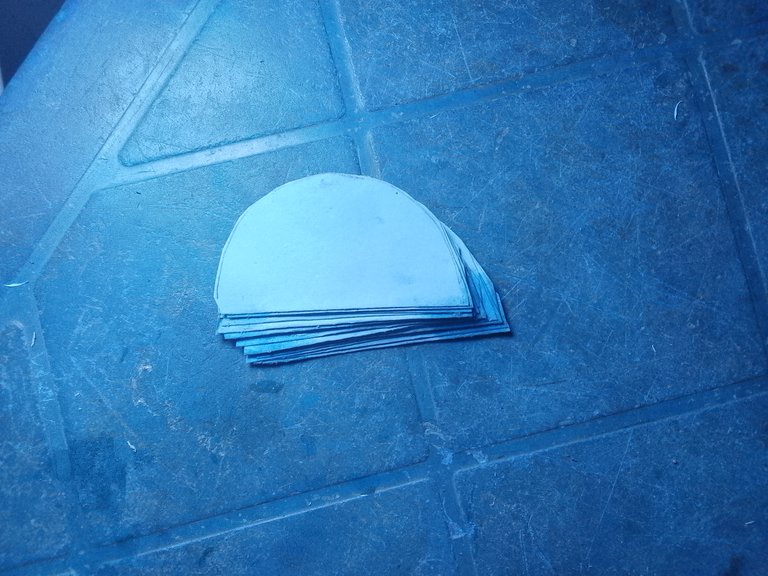
Seventh step: I applied gum on top of the ones I folded, and then I placed the remaining ones there.
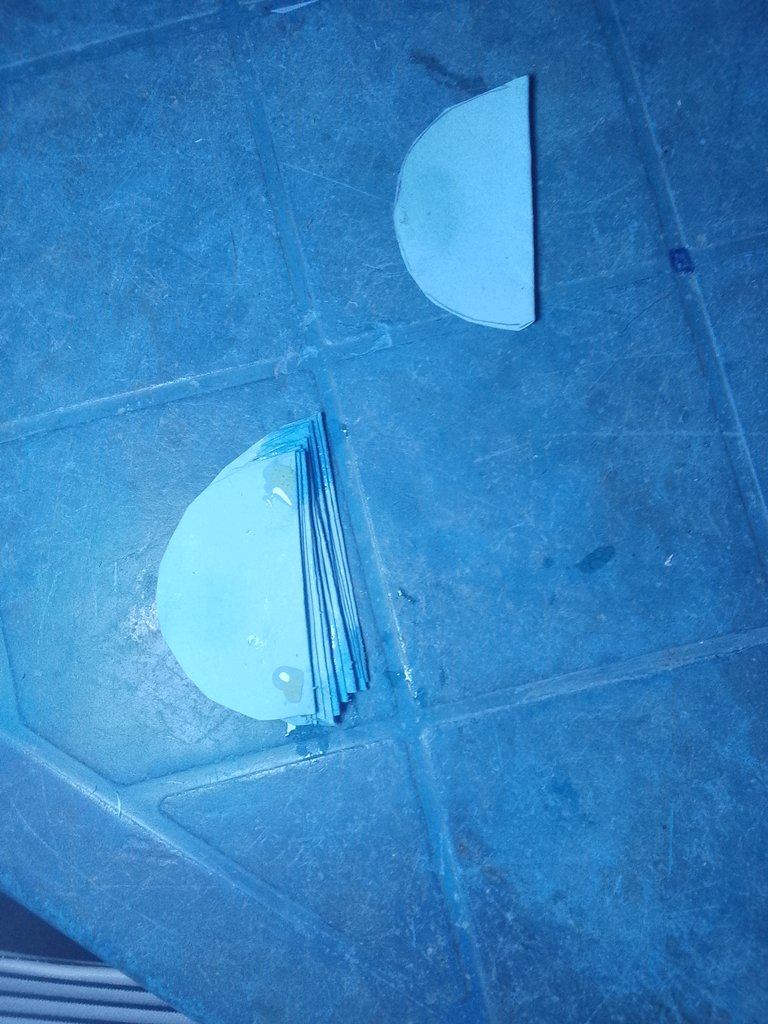
Eight steps: I applied gum beside it, and I put on a robe.
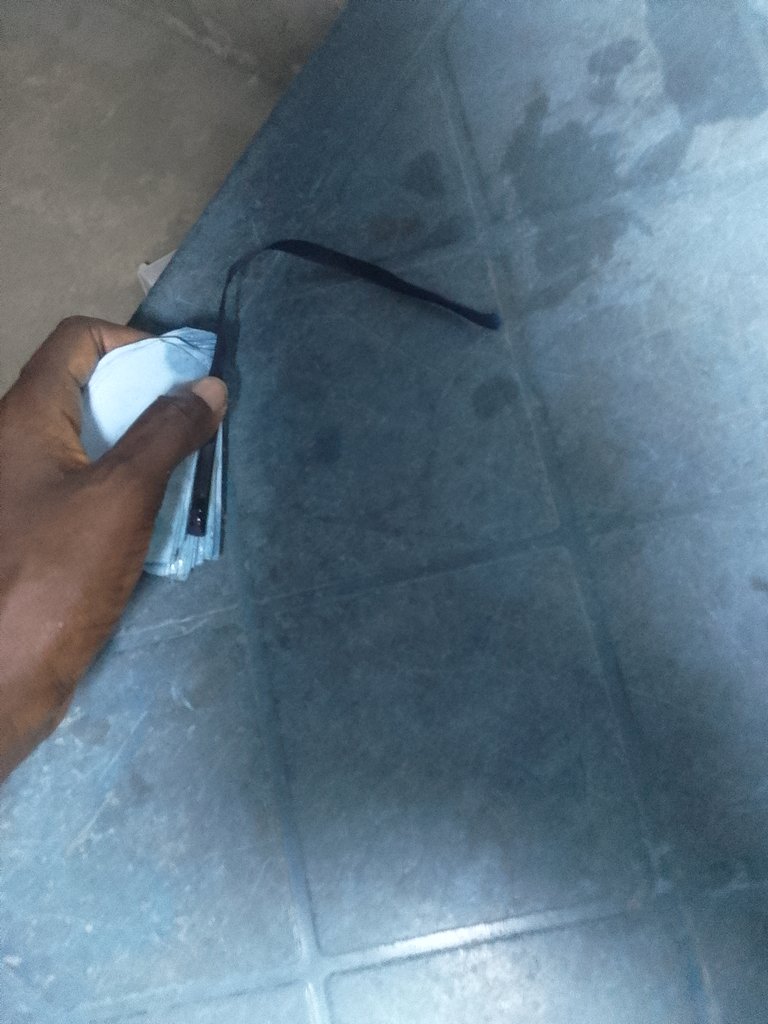
Lastly, I made a Honeycomb ball ornament.
Thank you for your time.
This honeycomb ball ornament is such a creative and beautiful project. It’s a simple yet elegant decoration idea. Thank you for sharing
Oh it's a good thing that you shared with us your steps and how you achieved this awesome craft.
You honeycomb ball looks really nice.
Thank you very much ma
Good morning ma, please ma help me reblog this post