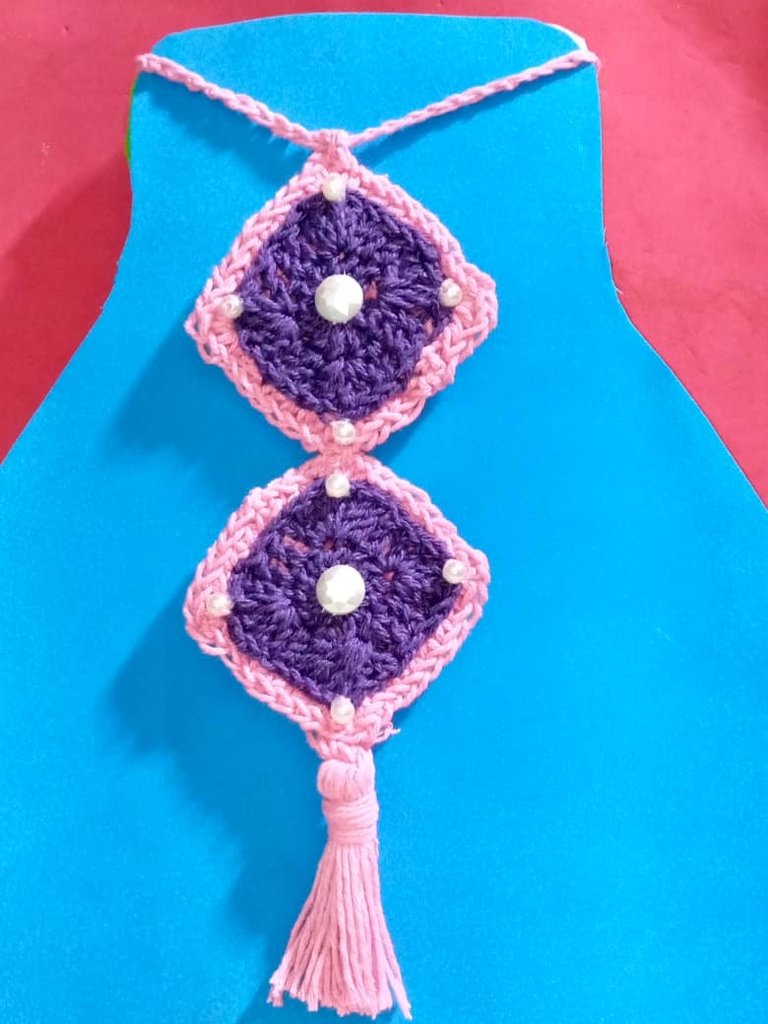
(Esp/Eng) Lindo collar tejido a crochet, inspirado en el mago de batalla del caos, en el concurso de arte 313 de Splinterlands/ Cute crocheted necklace, inspired by the chaos battle mage, in the Splinterlands 313 art contest.
¡Bienvenido a mi blog!
¡Welcome to my blog!
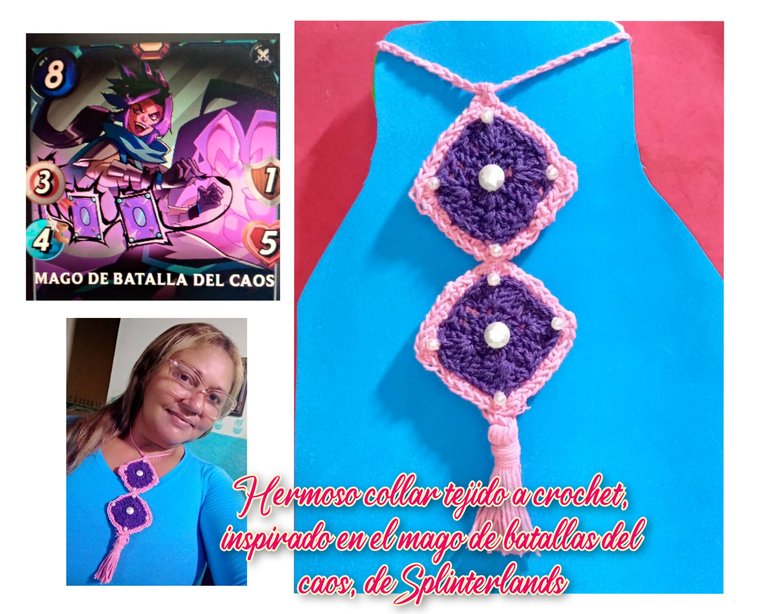
Hola a todos los integrantes de esta comunidad #diyhub, feliz jueves por la noche, espero que estén bien y que en sus hogares reine la paz y el amor . Dios les bendiga .
Hello to everyone in this community #diyhub, happy Thursday night, I hope you are well and that in your homes reign peace and love . God bless you.
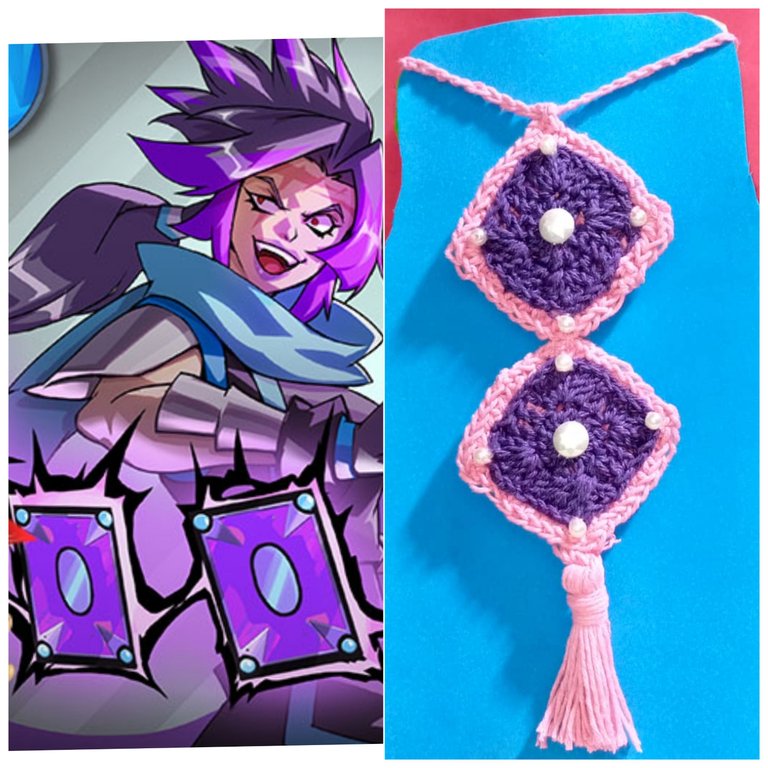
Hoy , quiero mostrar a través de un tutorial, como hacer un lindo collar tejido a Crochet,inspirado en el mago de batallas del caos de @Splinterlands,en el concurso de arte 313
Este collar es sencillo , pero luce bastante con colores claros.
Invito a mis amigas a que realicen el lindo collar , los puntos tejidos son los más fácil : punto bajos, punto alto,punto
deslizados y cadenetas .
Sin más que decir , vamos a los materiales.
Today, I want to show through a tutorial, how to make a nice crochet necklace, inspired by the chaos battle wizard from @Splinterlands, in the 313 art contest.
This necklace is simple, but it looks great with light colors.
I invite my friends to make the cute necklace , the knitted stitches are the easiest : single crochet , double crochet , slip stitch and chain stitch .
slipped stitches and chain stitches.
Without further ado, let's get to the materials.
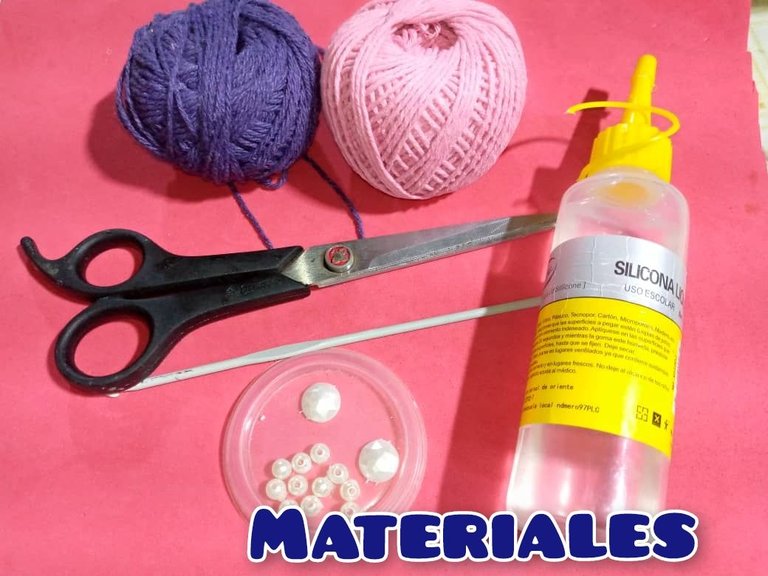
Materiales para realizar el collar tejido a crochet:
- Hilo de tejer , colores : morado y rosado.
- Aguja lanera y de tejer ,número 3.
- Perlas blancas y dos piedras chatas.
- Tijera.
- Silicona líquida.
Materials to make the crochet necklace:
- Knitting yarn , colors : purple and pink.
- Wool and knitting needle, number 3.
- White beads and two flat stones.
- Scissors.
- Liquid silicone.
Realización del collar :
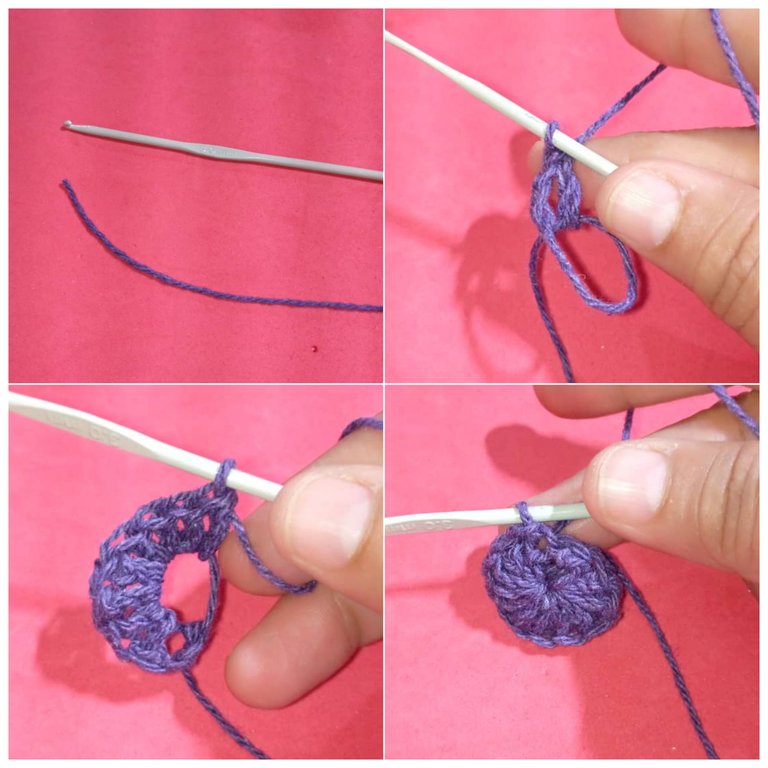
- Lo primero que haremos es ,tomar el hilo morado con la aguja, número 3. Hacer una anillo mágico y levantar tres cadenas.Luego meter en el anillo mágico 12 puntos altos , terminar esta vuelta con un punto deslizado.
- Para la siguiente vuelta levantamos 3 cadenas y en el mismo punto meter 5 puntos altos, Hacer dos puntos altos seguidos.
- Luego hacer 5 puntos altos en el mismo punto, continuar con dos puntos altos (puntos seguidos). Y así vamos a hacer hasta terminar con la vuelta.
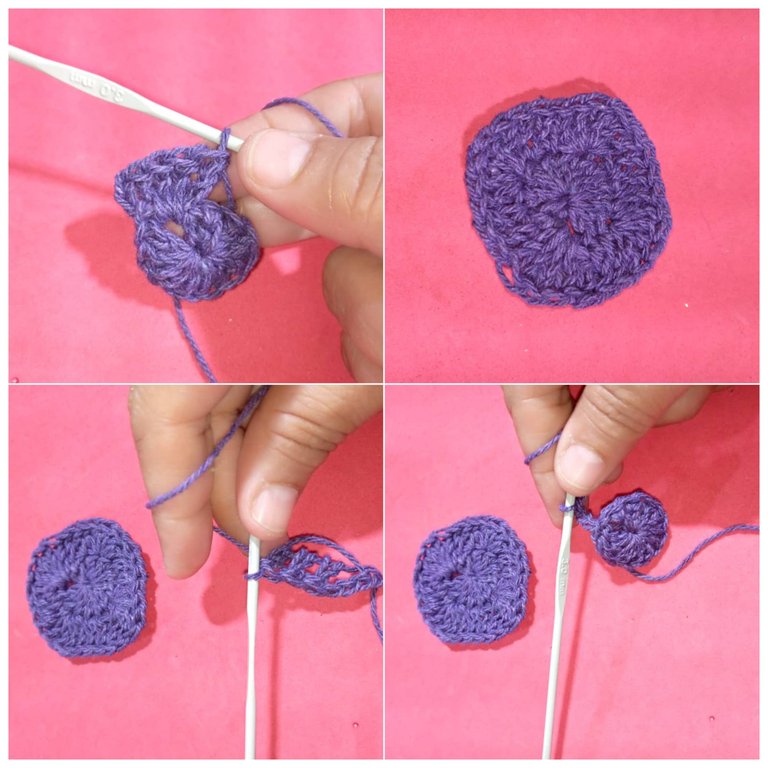
- De estos tejemos 2 motivos.
- The first thing we will do is, take the purple yarn with the needle, number 3. Make a magic ring and pick up three chains, then put in the magic ring 12 double crochet stitches, finish this round with a slip stitch.
- For the next round pick up 3 chains and in the same stitch put 5 double crochet stitches, make two double crochets in a row.
- Then knit 5 double crochet in the same stitch, continue with two double crochet stitches (back to back stitches). And so we are going to do until the end of the round.
- From these we knit 2 motifs.
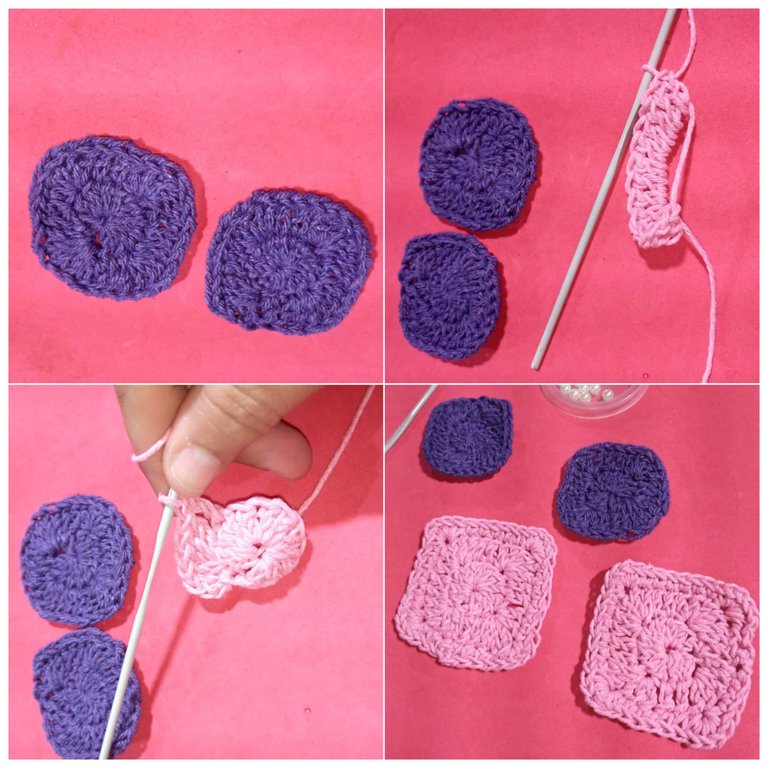
- Ahora de la misma manera hacemos dos motivos más pero de color rosado pálido. Para este motivo se le anexa una vuelta más pero de la siguiente manera: comenzamos con 6 puntos bajos y donde está el 3 punto de los 5 allí hacemos 5 puntos más. Así será toda la vuelta.
- De estos tenemos 2 más.
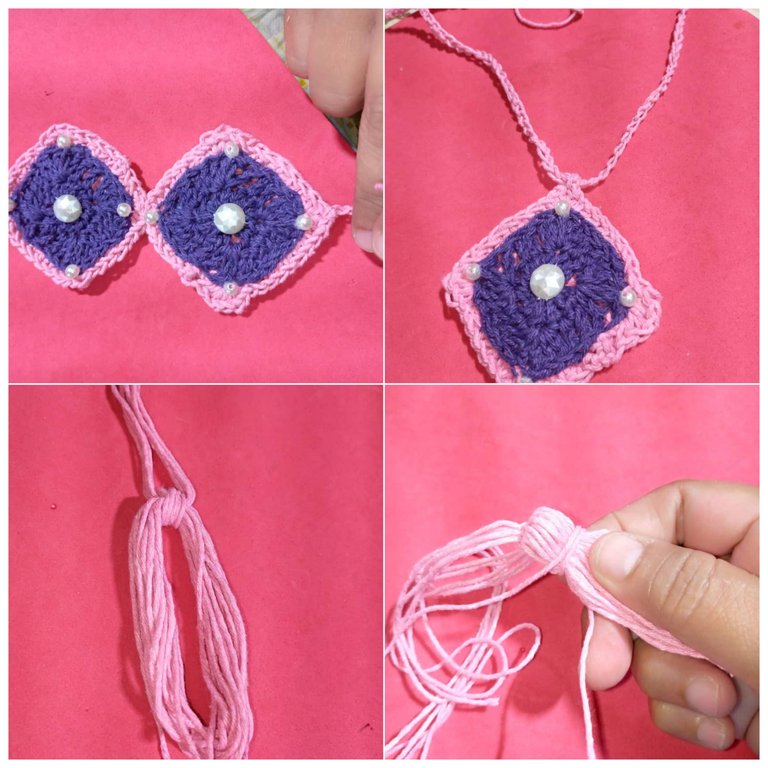
- Ahora procedemos a pegar en el centro del motivo la perla chata blanca y por las esquinas las perlas pequeñas.
- Luego con una aguja pegamos los dos motivos.
- Y en la parte de arriba , hacemos unas 40 cadenetas de ambos lados para guindar el collar.
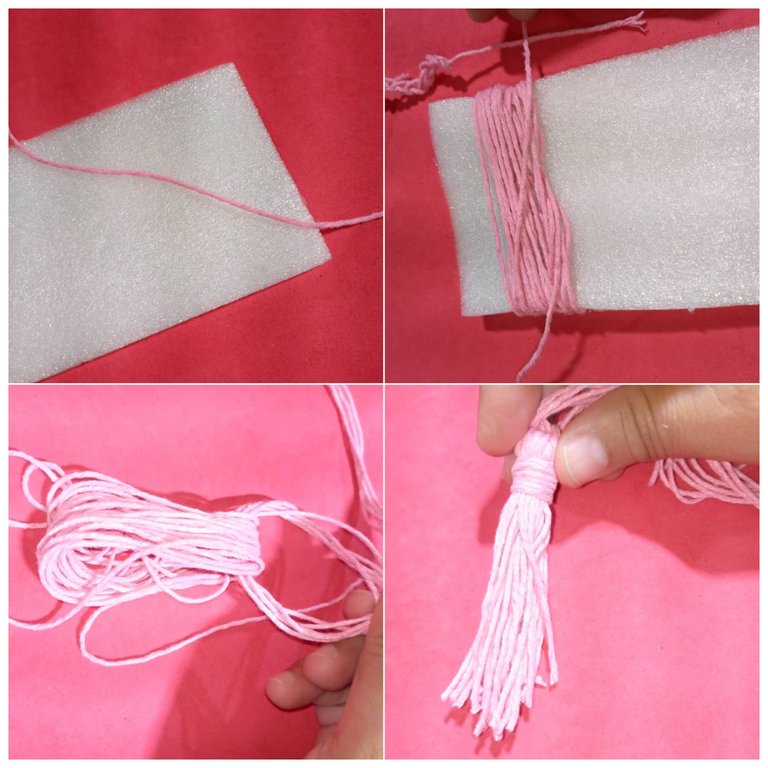
- Por último hacemos una borla pequeña.
- Con un cartón cuadrado le damos vuelta con el hilo, lo sacamos y por la parte de arriba con un hilo largo ,damos vuelta y recortamos con las tijeras.
- Ahora lo colocamos en la parte de abajo del motivo.
- Now in the same way we make two more motifs but in pale pink. For this motif we add one more row but in the following way: we start with 6 single crochet stitches and where the 3rd stitch of the 5 stitches is, we knit 5 more stitches. This will be the whole round.
- From these we have 2 more.
- Now we proceed to glue in the center of the motif the white flat pearl and in the corners the small pearls.
- Then with a needle we glue the two motifs.
- And at the top, we make about 40 chains on both sides to hang the necklace.
- Finally we make a small tassel.
- With a square cardboard we turn it with the thread, we take it out and on the top with a long thread, we turn and cut with scissors.
- Now we place it at the bottom of the motif.
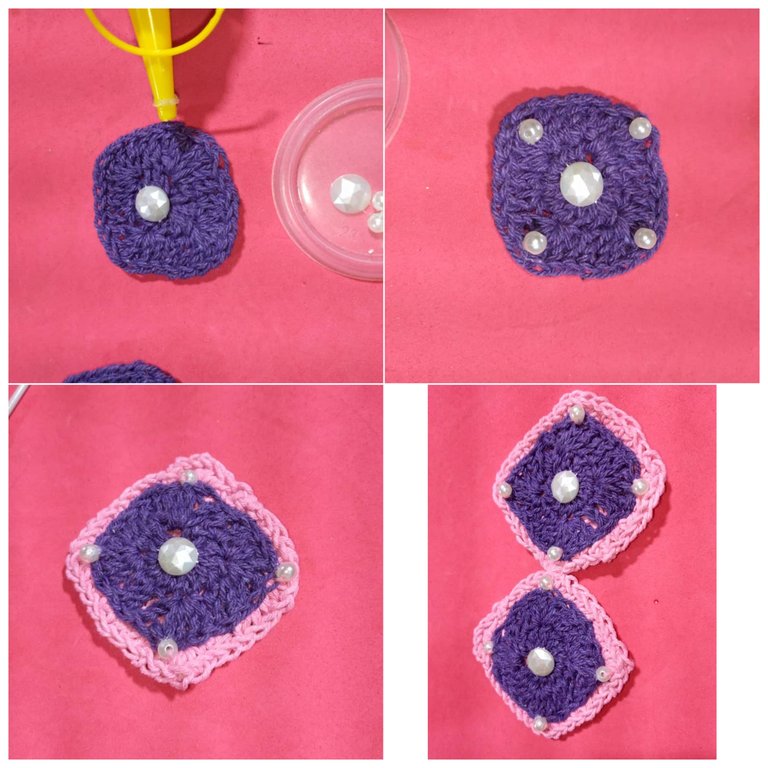
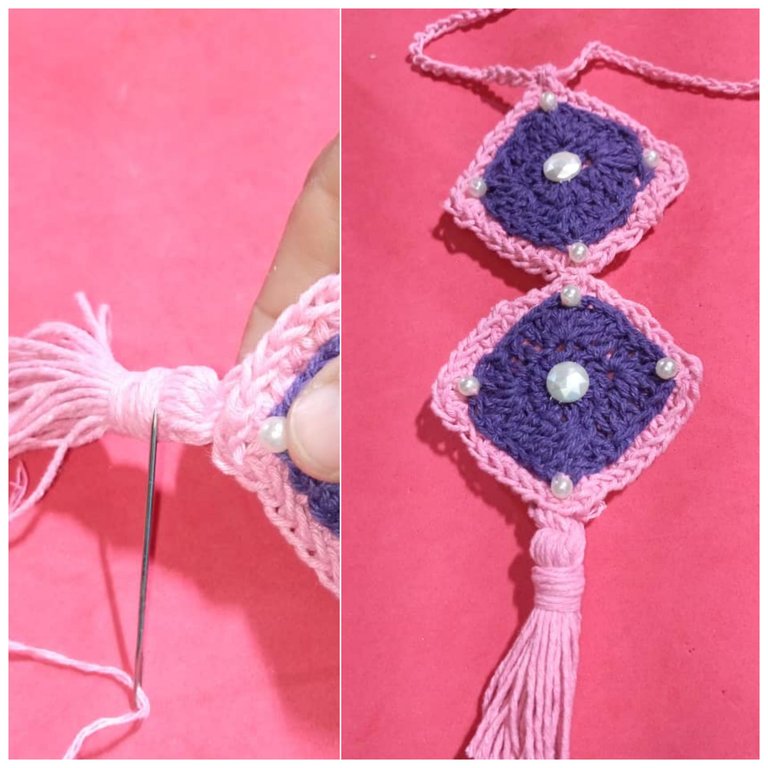
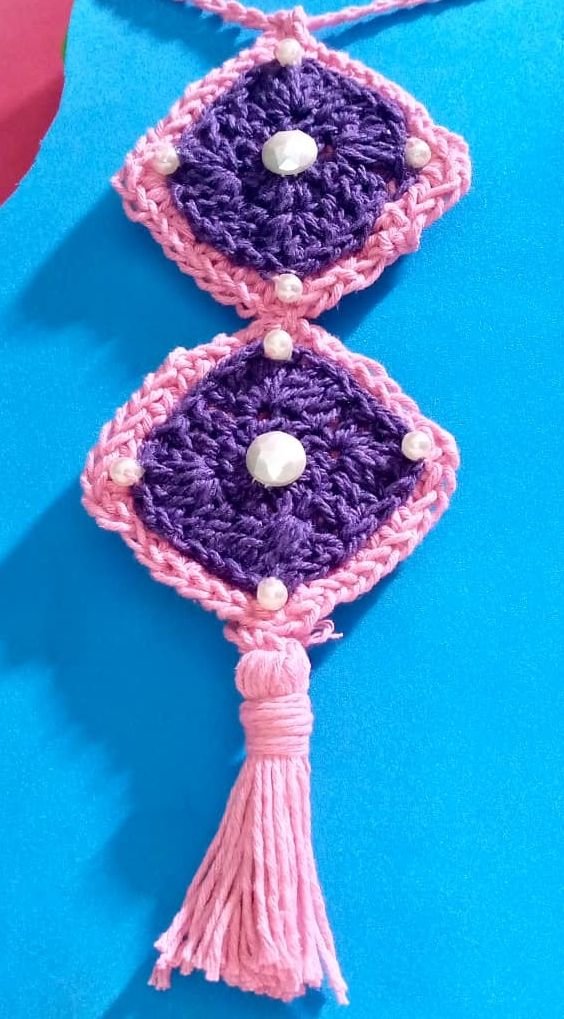
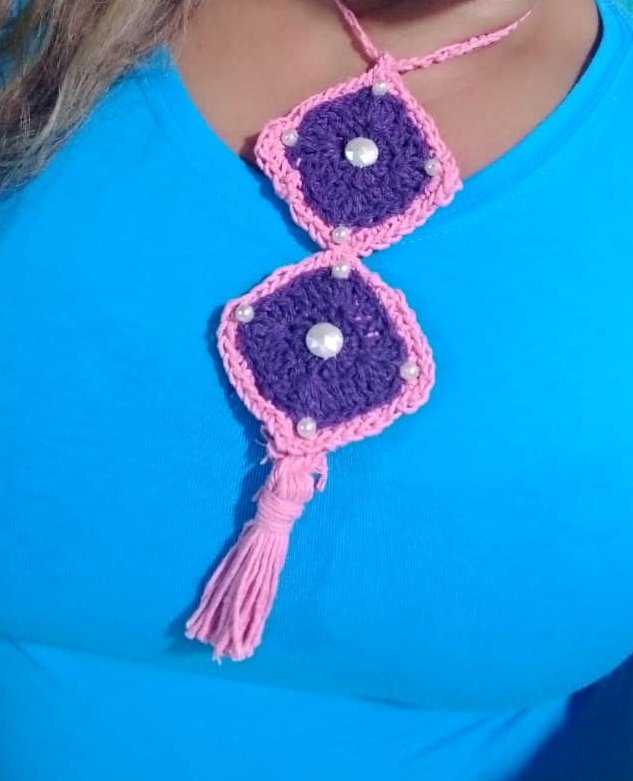
Aquí el resultado final del hermoso collar tejido a crochet.
Here is the final result of the beautiful crocheted necklace.
Gracias por leer mi post. Muchas bendiciones ,hasta la próxima . Las fotos son mías , tomadas con teléfono infinix, editado con incoñlage y traducido con Depll
Thank you for reading my post. Many blessings, see you next time. The photos are mine , taken with infinix phone , edited with incoñlage and translated with Depll
Muchas gracias por el apoyo @splinterboost . Bendiciones. Saludos.
Delegate Tokens and HP to Fallen Angels to earn weekly rewards!
Delegate | Join to the guild
Gracias por el apoyo @fallen.angels , bendiciones
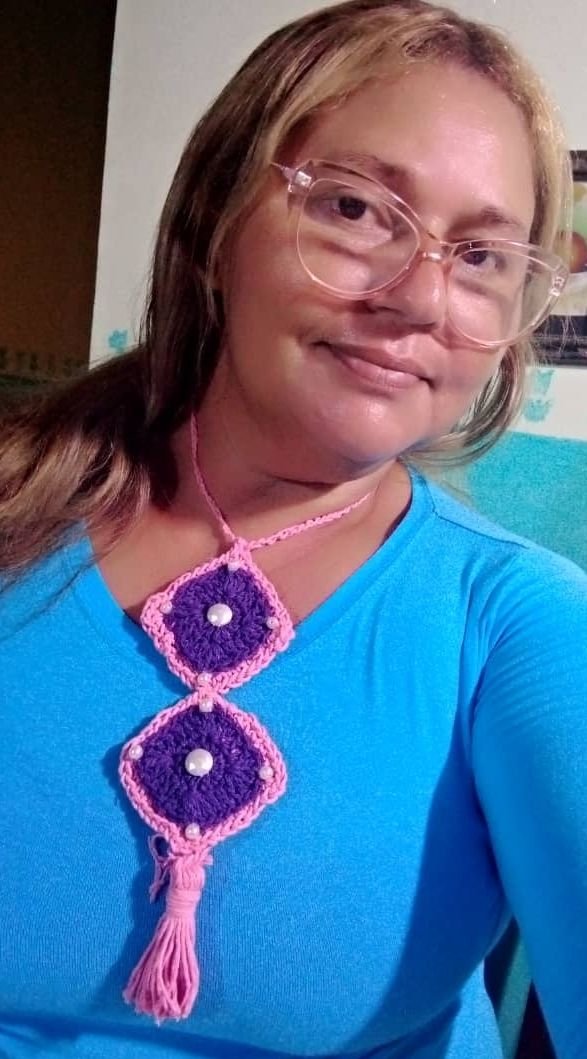
. All thanks to the chaos battle wizard we got to see such a beautiful crochet necklace. It looks really good on you. The color complements your skin and you did a great job. Thanks for sharing.
Que lindas palabras @diyhub , gracias por el apoyo. Bendiciones.
Its a wonderful necklace and the colors are just so perfect and suites you very well, well done and success to you
Gracias @eberechi01 . Muchas bendiciones.
Your hands are so blessed when it comes to knitting.
Thank you for sharing such a beautiful work
Ay ,gracias a ti por leer mi post , bendiciones, saludos.
esta genial., los colores están bonitos y concuerda con la imagen!
it's great, the colors are beautiful and it matches the image!
Me egra que te guste. Saludos.