Tutorial para decorar Cintillo con 3 diseños en 1 | Tutorial to decorate headband with 3 designs in 1
Buenas noches apreciados amigos , espero que se encuentren muy bien , sean todos bienvenidos a mi nuevo post , quiero presentarles un nuevo tutorial para decorar cintillos , con tres piezas diferentes pero que combinan muy bien , la principal un corazón , la segunda unas pequeñas rosas y la última un lazo para combinar la parte de abajo
Good evening dear friends, I hope you are very well, you are all welcome to my new post, I want to present a new tutorial to decorate headbands, with three different pieces but that combine very well, the main one a heart, the second a few small roses and the last one a bow to combine the bottom part.
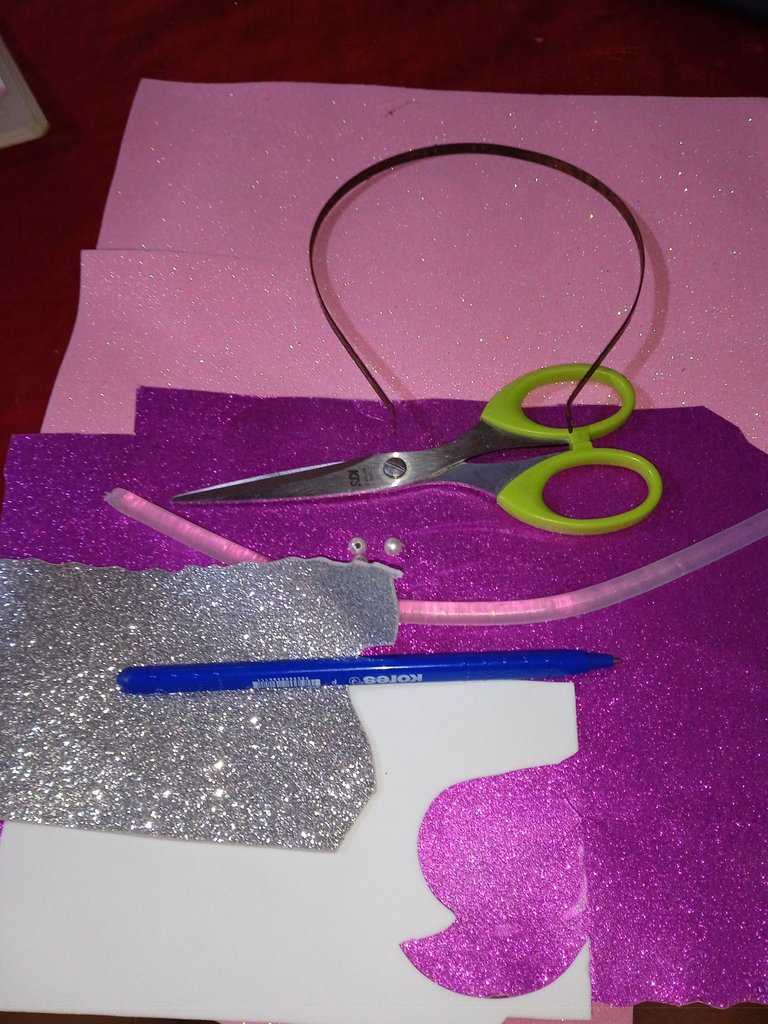
Materiales para la decoración :
-Foamis
-Cintillo
-Cartulina escarchada
-Piedras plástica
-Tijera
-Silicon
Materials for decoration :
-Foamis
-Cintillo
-Frosted cardboard
-Plastic stones
-Scissors
-Silicon
A continuación los pasos a seguir :
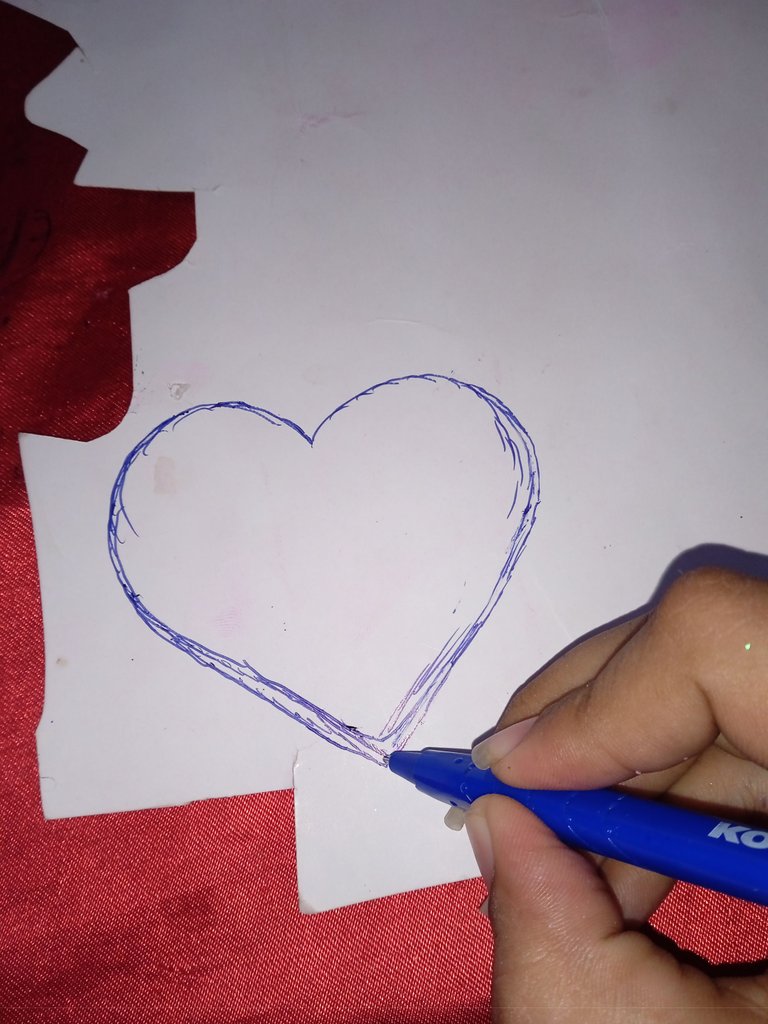
Comenzaremos realizando la temática principal de nuestro cintillo, un corazón, en la parte de atrás de nuestra cartulina dibujaremos uno de el tamaño que deseamos ,este no lo realice tan grande ,versión mediana aproximadamente 7 centímetros de altura
Here are the steps to follow:
We will begin by making the main theme of our headband, a heart, on the back of our cardboard we will draw one of the size we want, do not make it so big, medium version approximately 7 centimeters high.
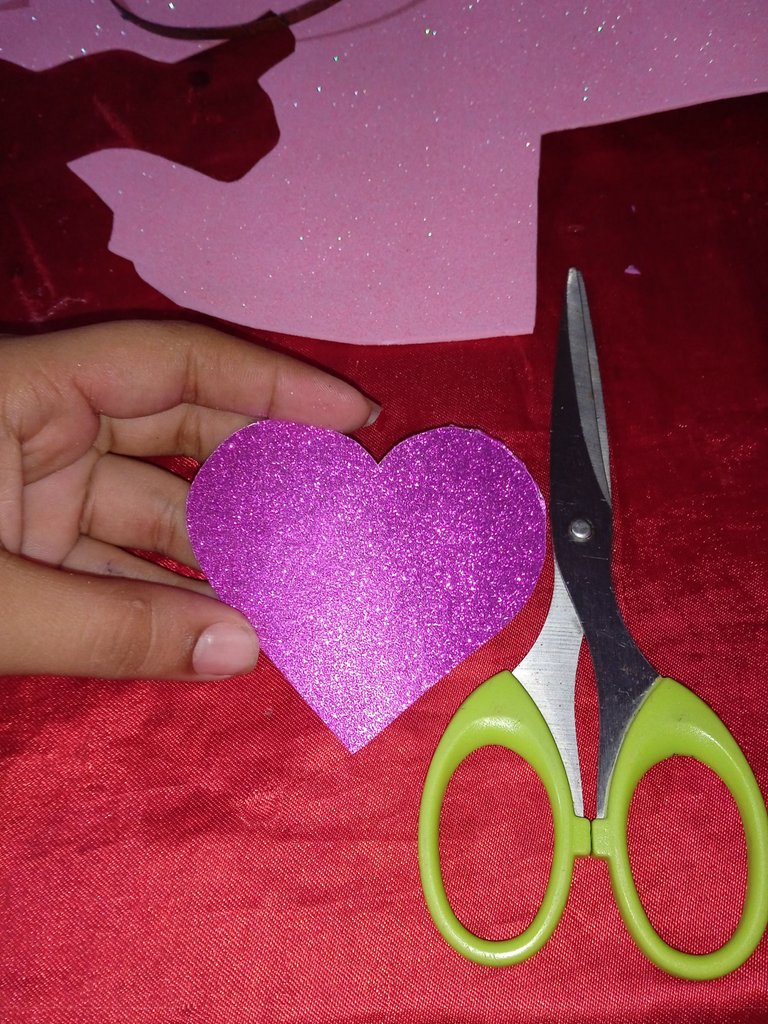
Una vez que dibuje el corazón en nuestra cartulina vamos a continuar recortando lo con nuestra tijera
Once we draw the heart on our cardboard we will continue cutting it out with our scissors.
Para decorar el alrededor de nuestro corazón y que no quede tan simple , vamos a realizar un tejido , para esto recortaremos una tira dividida en tres tiras , luego que tengamos lista nuestra tira vamos a proceder a tejer como si fuera un moño de cabello
To decorate around our heart and that it is not so simple, we will make a fabric, for this we will cut a strip divided into three strips, after we have our strip ready we will proceed to weave as if it were a hair bow.
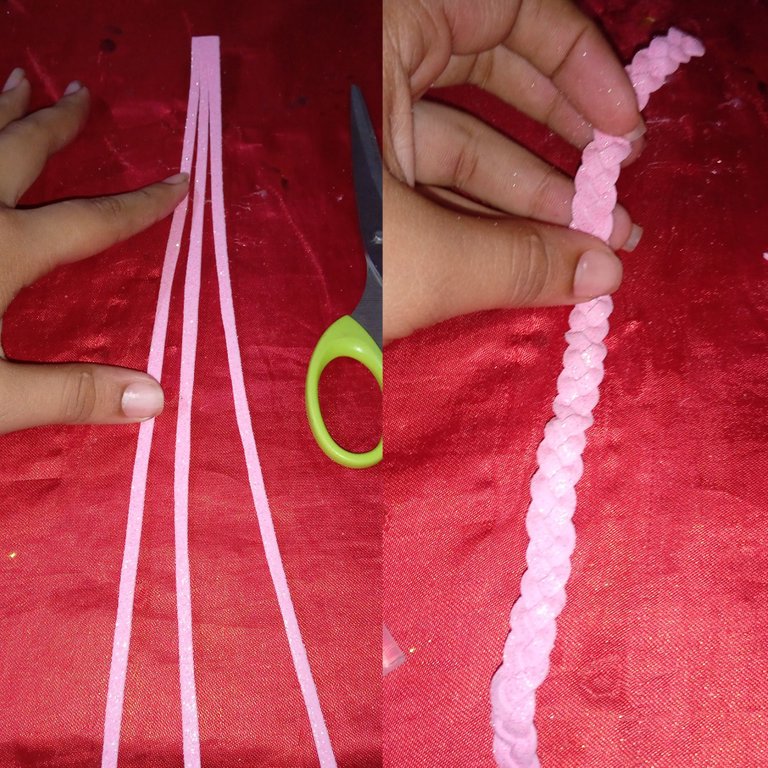
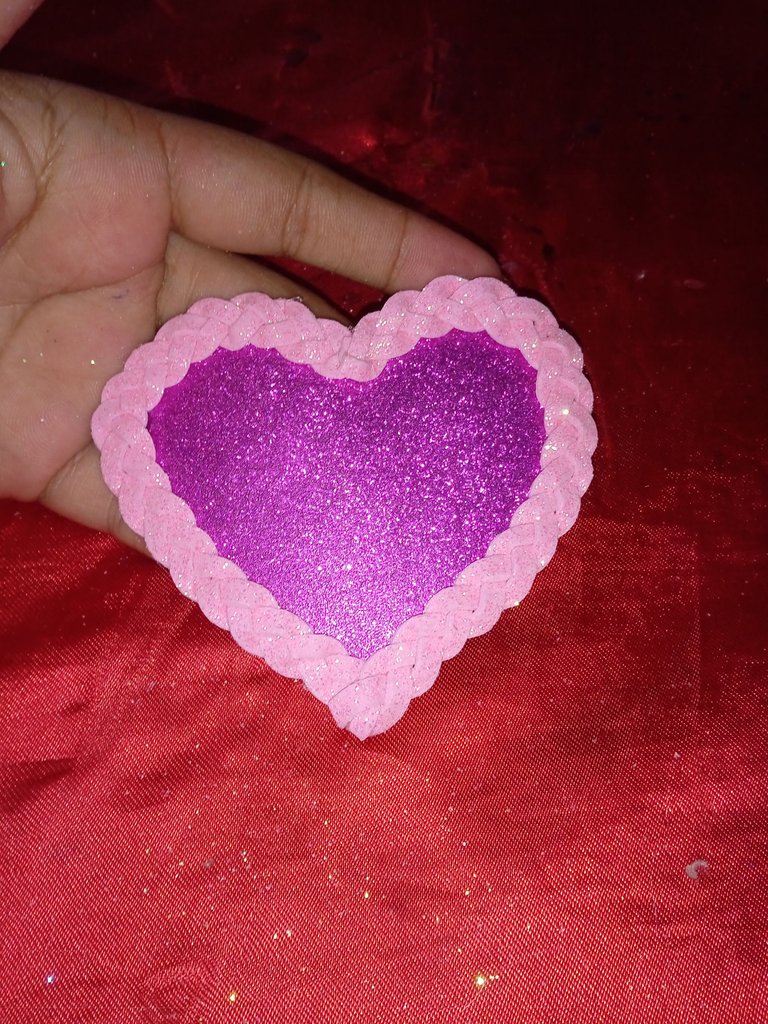
Una vez que tengamos listo nuestro tejido vamos a proceder a decorar el alrededor de nuestro corazón , tomaremos nuestro tejido y comenzaremos pegando desde la parte de arriba de nuestro corazón tipo V hasta cubrir todo hacia el otro extremo
Once we have our fabric ready we will proceed to decorate around our heart, we will take our fabric and start gluing from the top of our heart type V to cover all the way to the other end
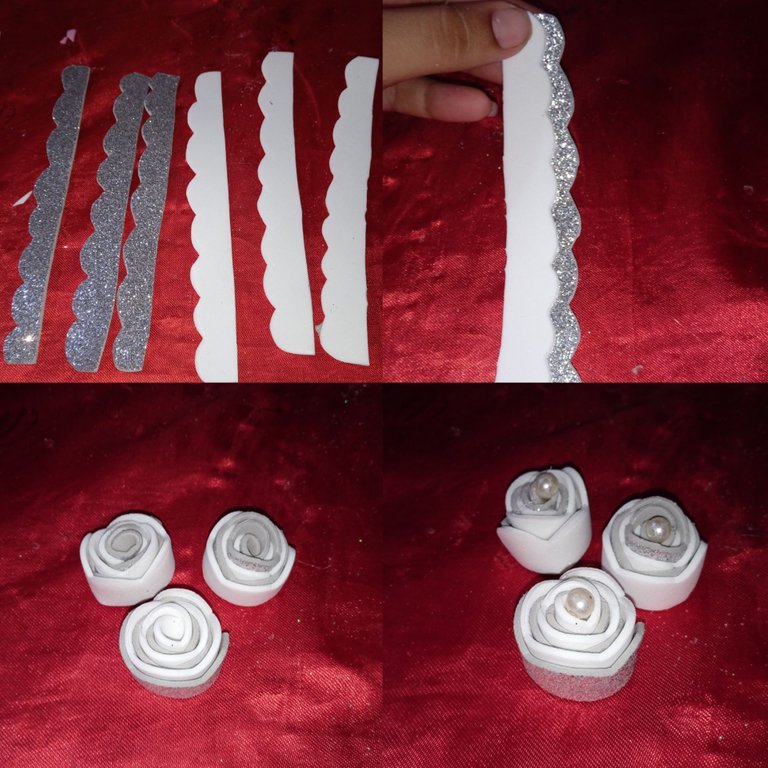
A continuación en nuestro siguiente paso vamos a realizar tres pequeñas rosas de dos tonos ,blanco y plateado escarchado , recortaremos en total seis tiras ,tres blancas y tres plateadas , estás serán recta en la parte de abajo y moldeado en la parte de arriba tipo arcos , ambas las pegaremos y comenzaremos a enrollar hasta obtener una pequeña rosa redondita , por último tomaremos las piedras plásticas y las pegaremos en el centro de ellas
Then in our next step we will make three small roses of two tones, white and silver frost, we will cut a total of six strips, three white and three silver, these will be straight at the bottom and molded at the top type arches, both will paste and begin to roll up to get a small round rose, finally we will take the plastic stones and paste them in the center of them.
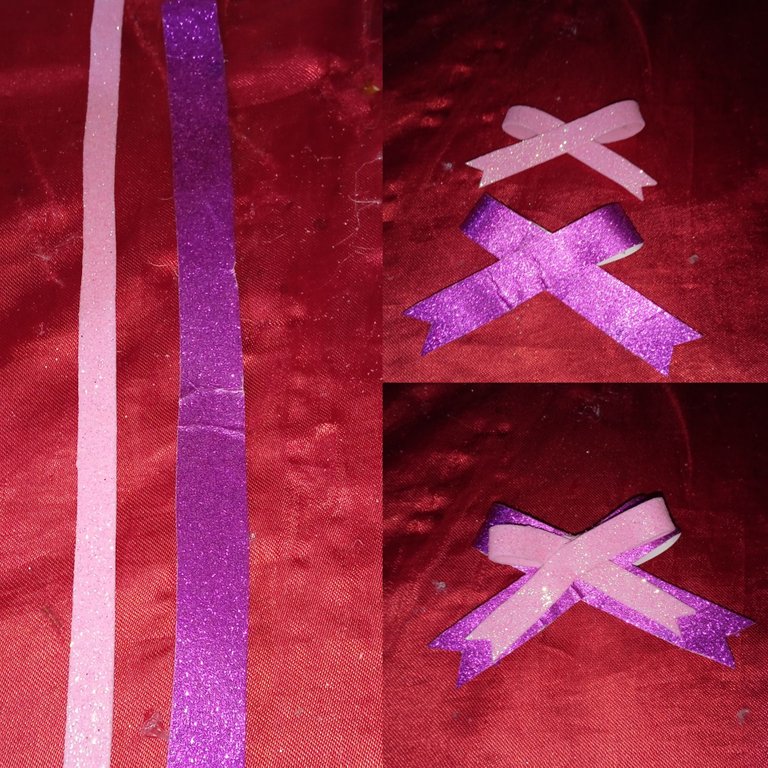
Luego vamos a realizar nuestro pequeño lazo para decorar la parte final de nuestra decoración , un pequeño lazo con dos tonos , recortaremos una tira de cartulina de 15 centimetros , y una tira de foamis de 12 sentimientos , estás la doblaremos las puntas hacia los lados contrario y pegaremos en el centro hasta obtener nuestro pequeño lazo , luego pegaremos nuestros lazos uno arriba de el otro , el rosado encima de el morado por ser el pequeño
Then we will make our small bow to decorate the final part of our decoration, a small bow with two tones, we will cut a strip of cardboard of 15 centimeters, and a strip of foamis of 12 feelings, we will bend the ends to the opposite sides and glue in the center until we get our small bow, then we will glue our bows one above the other, the pink one above the purple one for being the small one.
Luego para decorar nuestro cintillo vamos a tomar una tira de nuestro foamis , añadiremos silicón y comenzaremos a enrollar por todo el cintillo que rehusamos hasta cubrirlo completo
Then to decorate our headband we will take a strip of our foamis , we will add silicone and we will start to roll it all over the headband until we cover it completely.
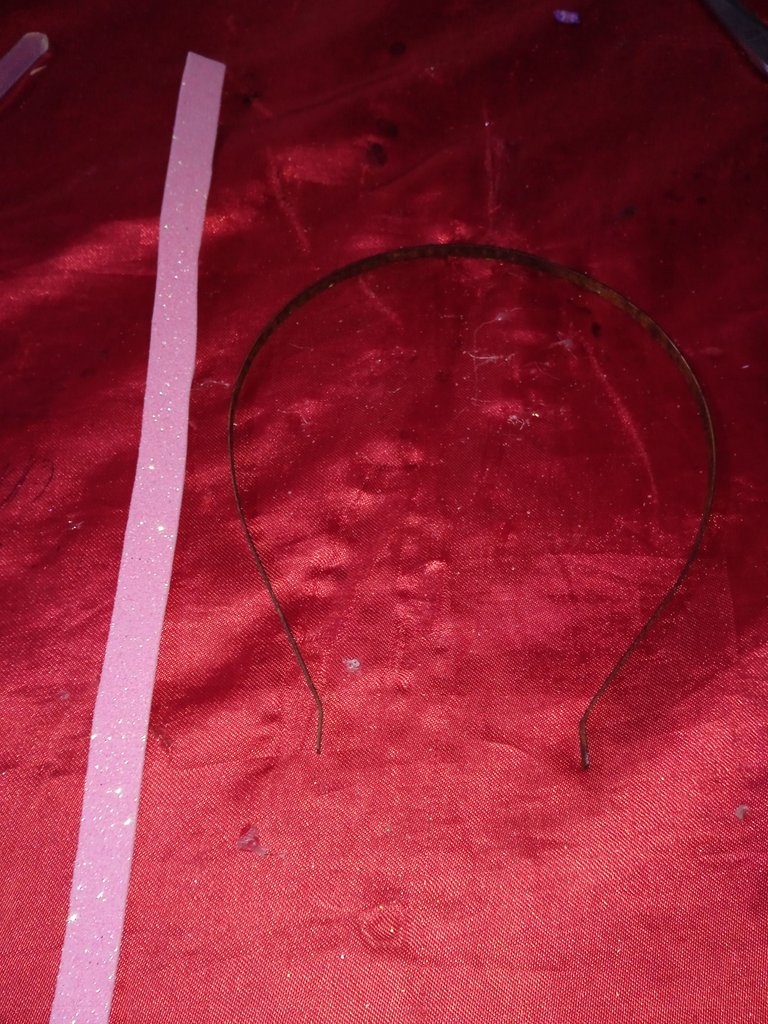
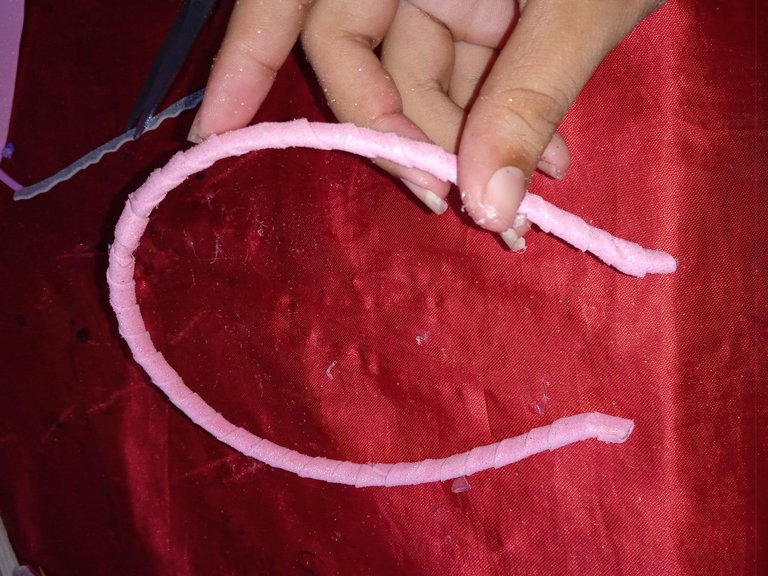
Para finalizar con nuestro cintillo tomaremos nuestro corazón y lo pegaremos en la parte de arriba por ser la decoración principal , luego Seguidamente pegaremos nuestras tres rosas cada una al lado y la otra arriba , por último tomaremos nuestro lazo y lo pegaremos en la parte de abajo
To finish with our headband we will take our heart and we will stick it on the top because it is the main decoration, then we will stick our three roses each one on the side and the other one on the top, finally we will take our bow and we will stick it on the bottom.
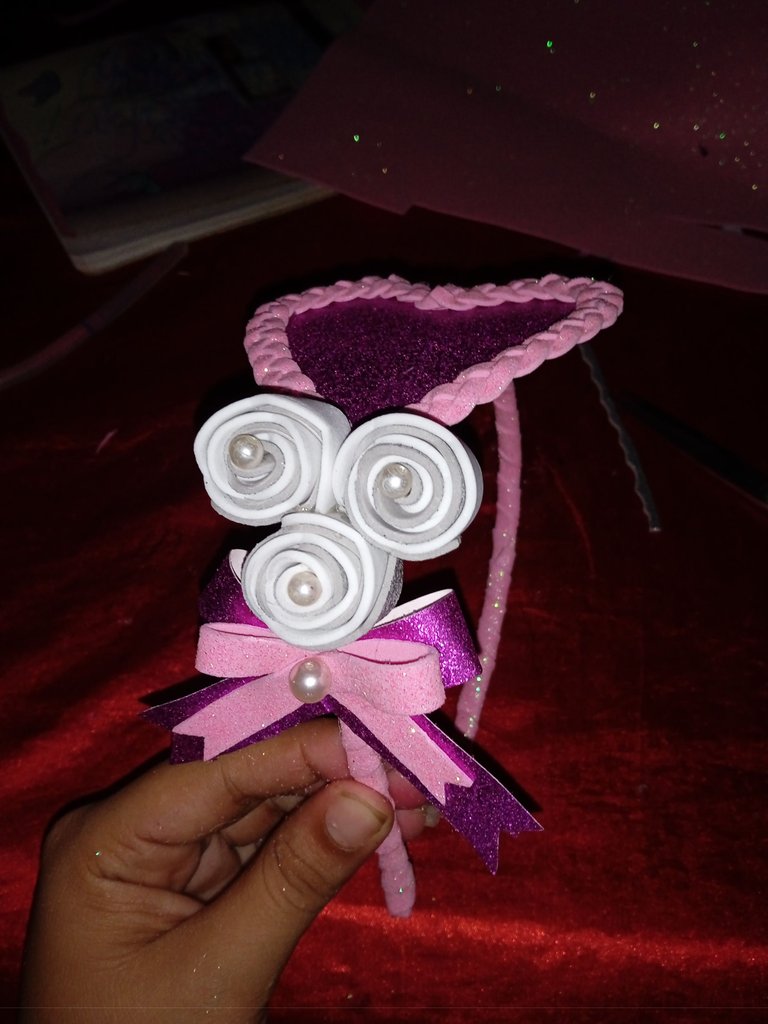
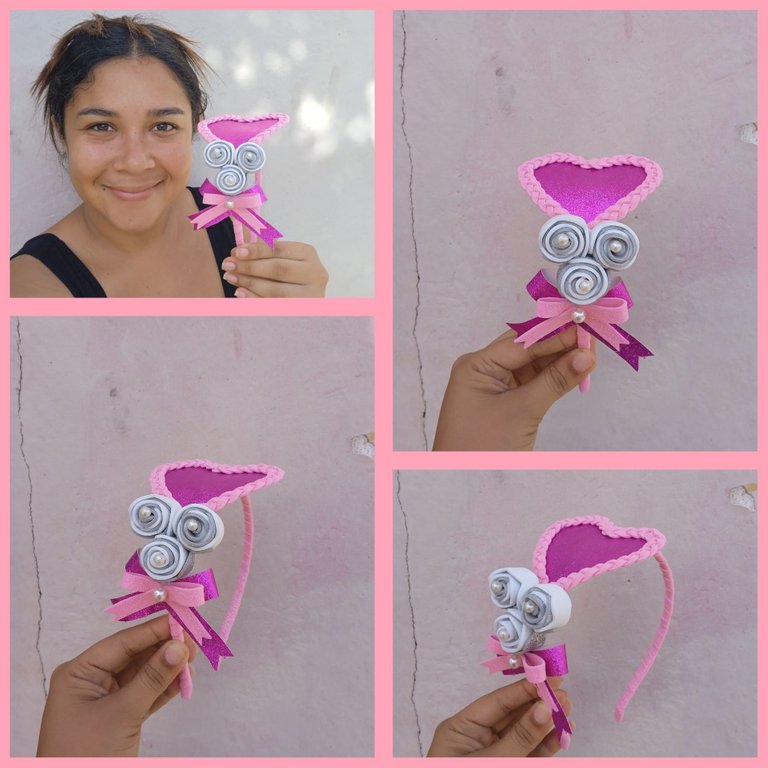
Este es el resultado final de mi hermoso cintillo utilizando tres diseños en uno , una decoracion para nuestras princesas que merecen todo , las fotografías fueron tomadas con mi Redmi 9C , que pasen bella noche ,gracias por la atención
This is the final result of my beautiful headband using three designs in one, a decoration for our princesses who deserve everything, the pictures were taken with my Redmi 9C, have a nice evening, thank you for your attention.
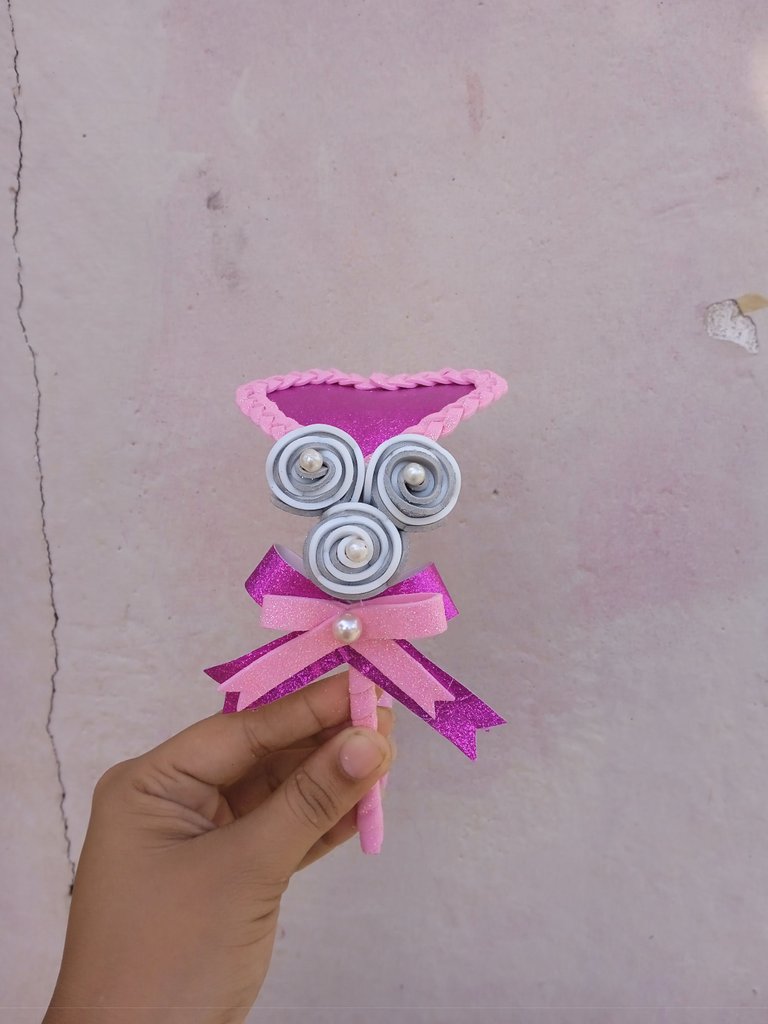
Hermoso cintillo, en color rosado amiga @jorgelissanchez
Gracias amiga
Hermoso cintillo 😍 😍 lo tomaré como modelo para realizar uno
Gracias amiga , también quedaría perfecto en cintas