Marcapáginas de ballena ,para el regreso a clases | Back to school whale bookmarks , for back to school
Hola buenos días tengan todos mis amigos creadores de contenidos, espero que se encuentren bien, quiero aprovechar de compartir un Marcapáginas con ustedes , aprovechando que yá el inicio escolar se dió, este está inspirado en una ballena , espero puedan realizarlo desde sus hogares, ideal para libros , cuadernos , en especial para esos niños que aman el mar y sus especies
Hello good morning to all my friends content creators, I hope you are well, I want to take the opportunity to share a Bookmark with you, taking advantage of the school start was given, this is inspired by a whale, I hope you can make it from home, ideal for books, notebooks, especially for those children who love the sea and its species.
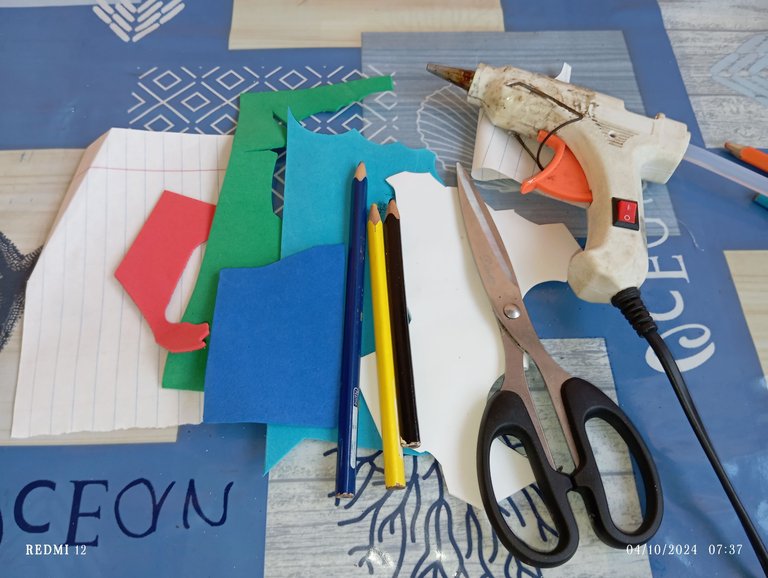
Materiales qué utilicé para mí Marcapáginas de ballena :
-Foamis
-Silicon
-Tijera
-Hoja
-Lapices de colores
-Conchas marinas
Materials I used for my whale bookmark:
-Foamis
-Silicon
-Scissors
-Sheet
-Colored pencils
-Seashells
A continuación los pasos a seguir:
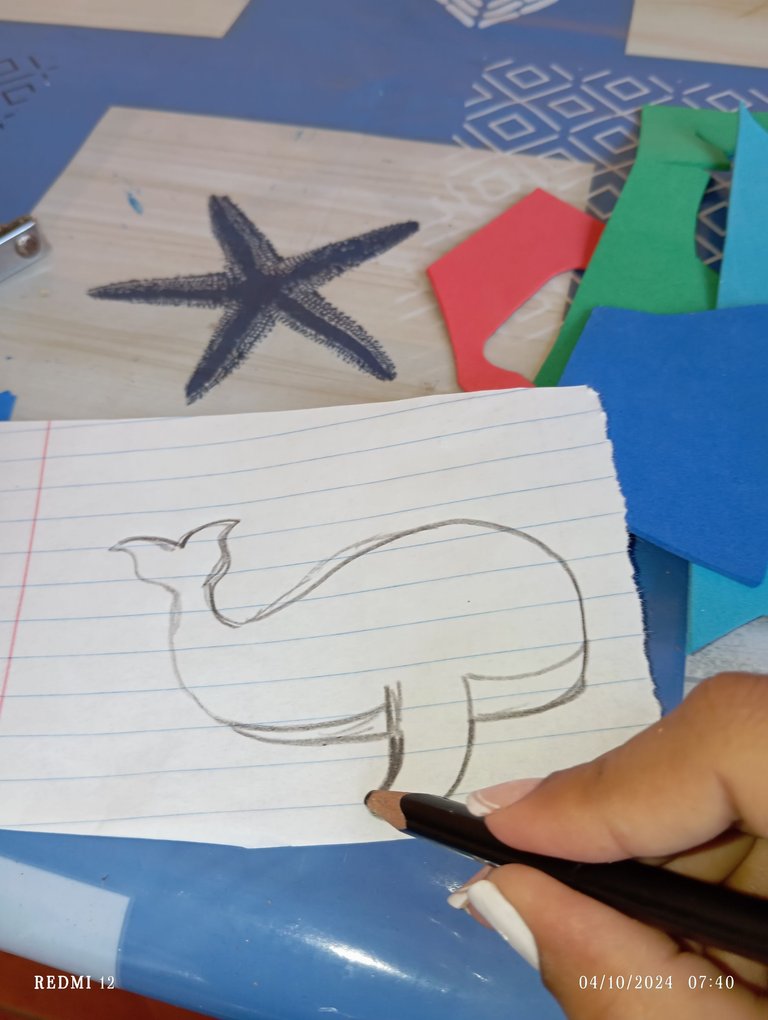
Paso número 1: iniciaremos realizando un patrón con el que vamos a trabajar, esta será nuestra temática , en esta ocasión realicé una ballena ,me gusta trabajar con patrón porque es más fácil y cómodo a la hora de trabajar , sobre todo cuando hay que marcar varias piezas
Here are the steps to follow:
Step number 1: we start by making a pattern with which we will work, this will be our theme, this time I made a whale, I like to work with pattern because it is easier and more comfortable when working, especially when you have to mark several pieces.
Paso número 2: en nuestro segundo paso una vez que tengamos listo el patrón, iniciaremos marcando las piezas en los colores correspondientes, en este caso utilicé azul para la ballena y blanco para la parte de abajo de su barriga
Step number 2: in our second step once we have the pattern ready, we will start marking the pieces in the corresponding colors, in this case I used blue for the whale and white for the bottom of its belly.
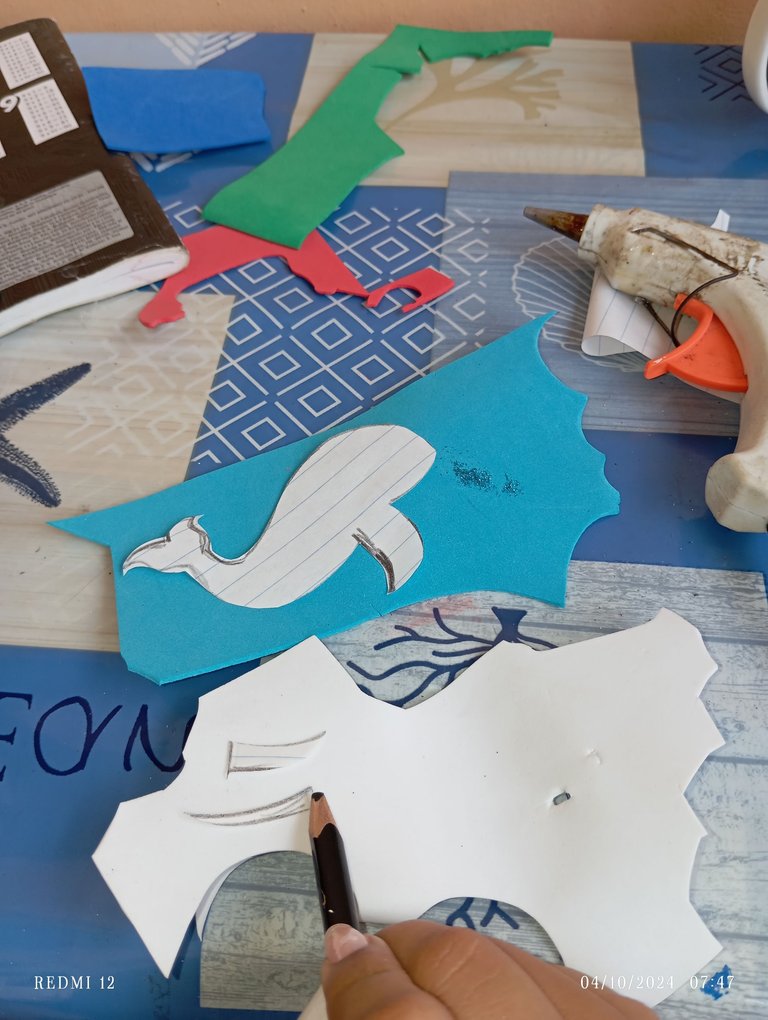
Paso número 3: una vez que hayamos marcado nuestras piezas , vamos a proceder recortando cada una con la ayuda de nuestra tijera
Step number 3: once we have marked our pieces, we will proceed by cutting out each one with the help of our scissors.
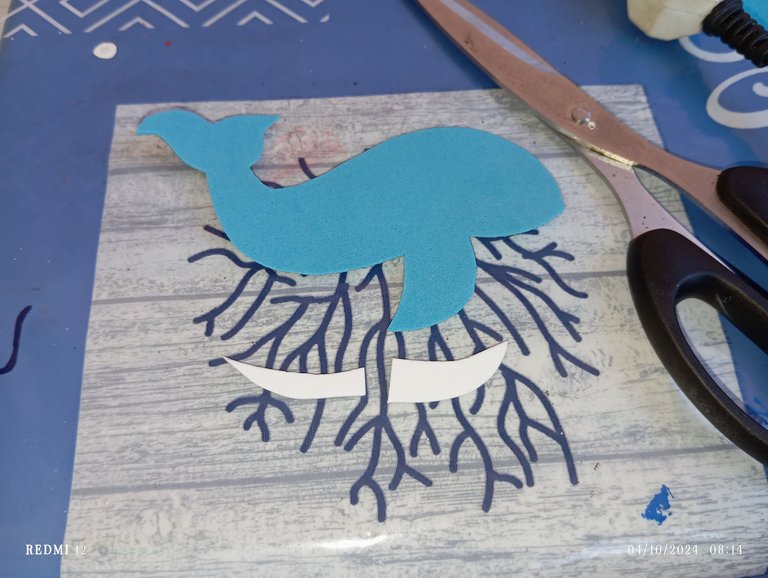
País número 4: en nuestro cuarto paso vamos a continuar tomando la parte blanca y la pegaremos a la parte de abajo de nuestra ballena ya que será como su barriga o la piel que lleva abajo
Country number 4: in our fourth step we are going to continue taking the white part and glue it to the bottom of our whale as it will be like its belly or the skin underneath.
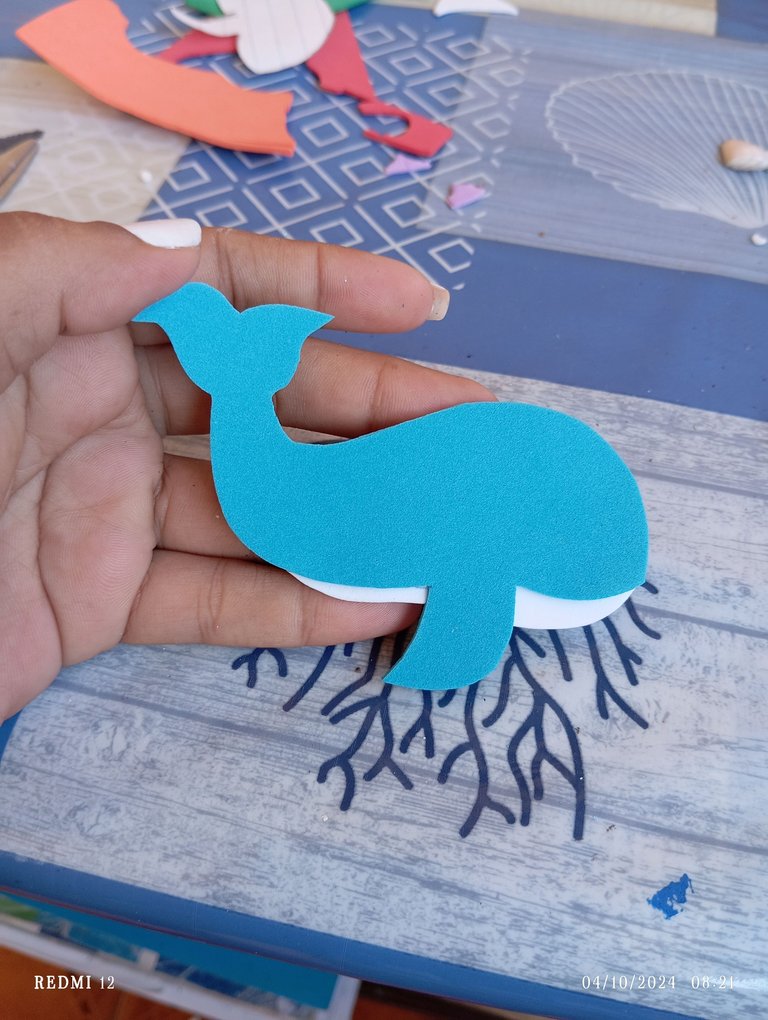
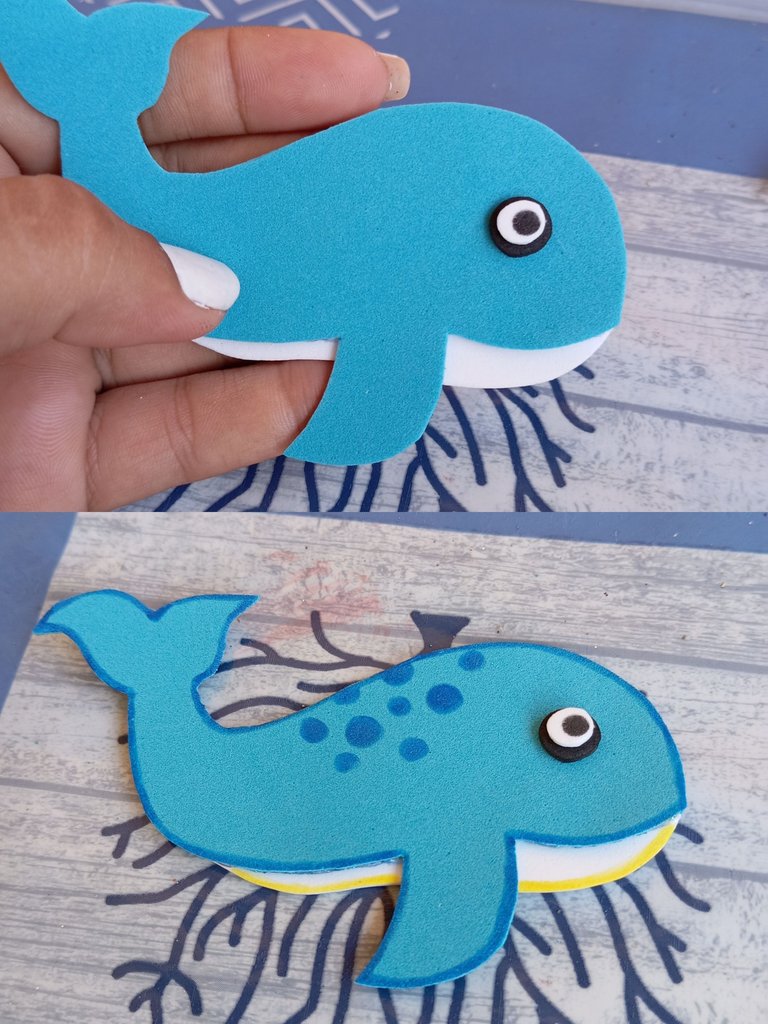
Paso número 5: a continuación vamos a iniciar pegando el ojo de la ballena , pegaremos uno solo porque está en posición de lado , luego vamos a proceder retocando sus bordes con lápiz azul oscuro y amarillo por abajo y al mismo tiempo realizando unos lunares en el lomo o la parte de arriba de su cuerpo
Step number 5: next we will start by gluing the eye of the whale, we will glue only one because it is in sideways position, then we will proceed by retouching its edges with dark blue and yellow pencil below and at the same time making some polka dots on the back or the top of its body.
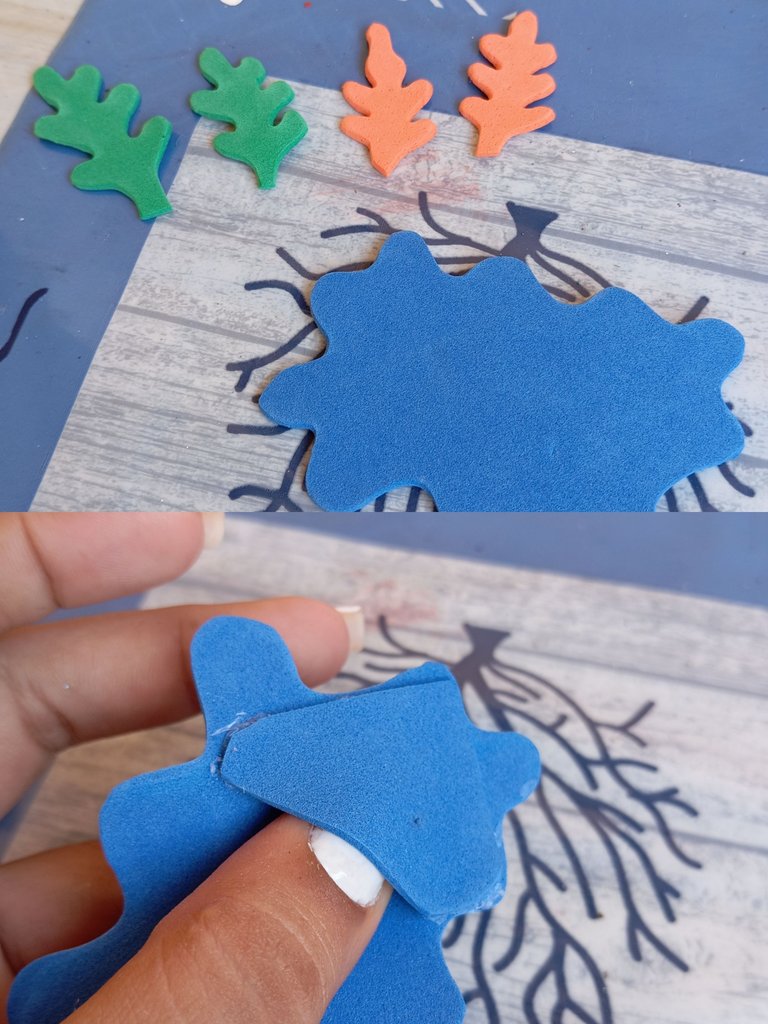
Paso número 6: luego continuaremos recortando unas algas color verde y naranja , también recortaremos una pieza azul que simule el mar , en la parte de atrás de la pieza azul pegaremos una forma similar a un triángulo, solo los bordes pegaremos dejando sin pegar el centro , para que de esta manera podamos introducir las puntas de las hojas de los libros o cuadernos
Step number 6: then we will continue cutting some green and orange algae, we will also cut a blue piece that simulates the sea, in the back of the blue piece we will paste a shape similar to a triangle, only the edges will paste leaving the center unglued, so that in this way we can introduce the tips of the leaves of the books or notebooks.
Paso número 7: en nuestro séptimo paso a continuación iniciaremos pegando la ballena en la pieza azul que simula el mar , en todo el centro lo vamos a ubicar , en la parte de abajo pegaremos dos conchas marinas semi separadas
Step number 7: in our seventh step we will start gluing the whale on the blue piece that simulates the sea, in the center we will place it, at the bottom we will glue two seashells semi separated.
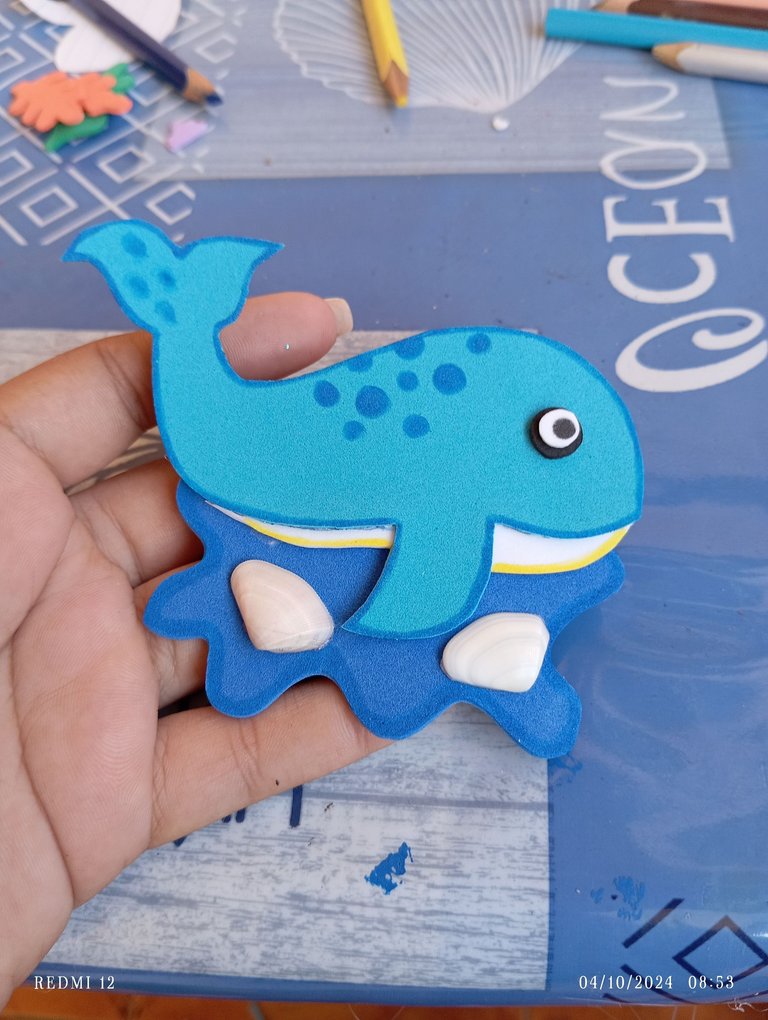
Paso número 8: finalmente continuaremos pegando las algas , separadas pero que vayan en la misma dirección color con color ,como lo pueden apreciar alrededor de la ballena
Step number 8: finally we will continue gluing the seaweed, separated but going in the same direction color by color, as you can see around the whale.
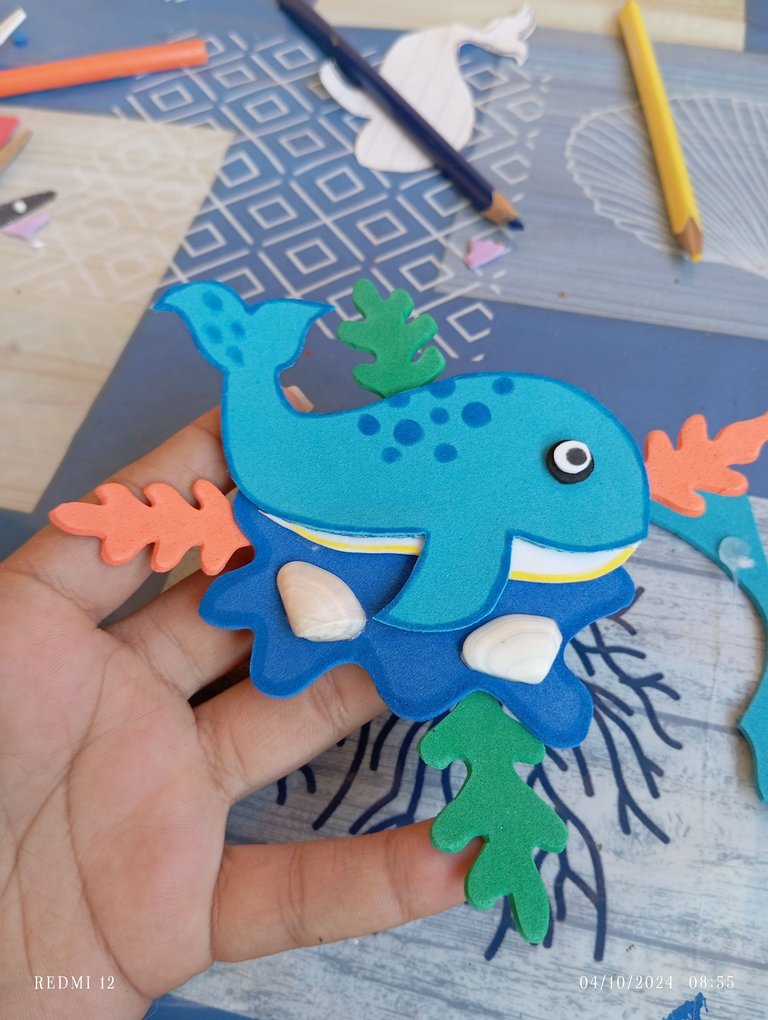
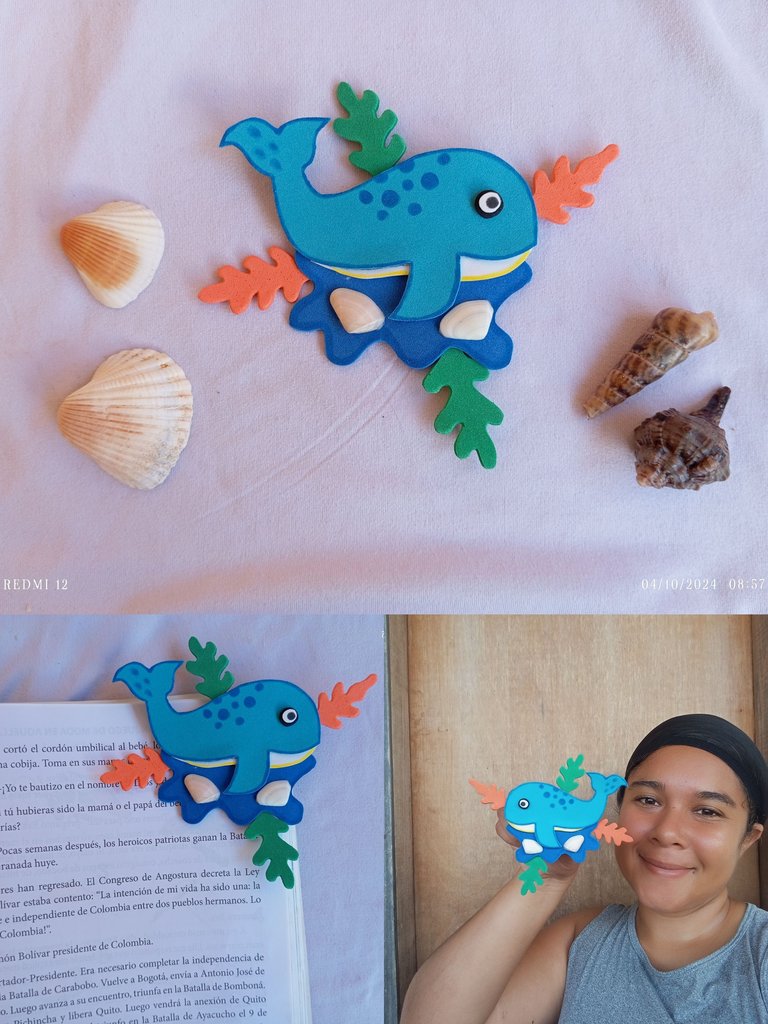
Resultado final : de esta manera realicé mi Marcapáginas de ballena para este regreso a clases ,espero pasen un buen día , hasta luego
Créditos: las fotos las tomé con mi redmi 12 y traduje los textos con el traductor deepl , besos
Final result: this is how I made my whale bookmark for this back to school, I hope you have a nice day, see you later.
Credits: the pictures were taken with my redmi 12 and I translated the texts with deepl translator , kisses
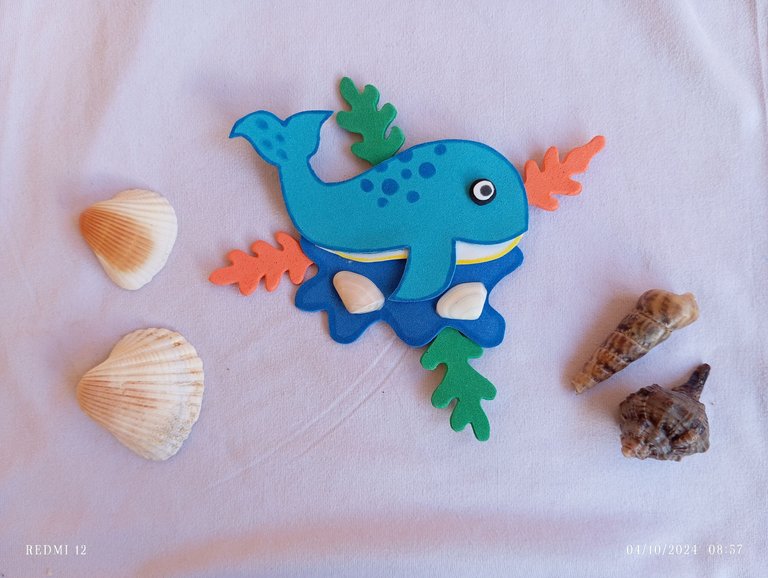
Now this is one beautiful bookmark and it's so cute that it can pass as so many other things than even a bookmark. You did a good job friend, thanks for sharing this with us and for walking us through the process. Your post must have inspired someone out there to make a beautiful bookmark. Well done and have a great day.
Thank you for appreciating my work, I'm glad you liked it, greetings happy day
🎉 Upvoted 🎉
👏 Keep Up the good work on Hive ♦️ 👏
❤️ @equipodelta suggested sagarkothari88 to upvote your post ❤️