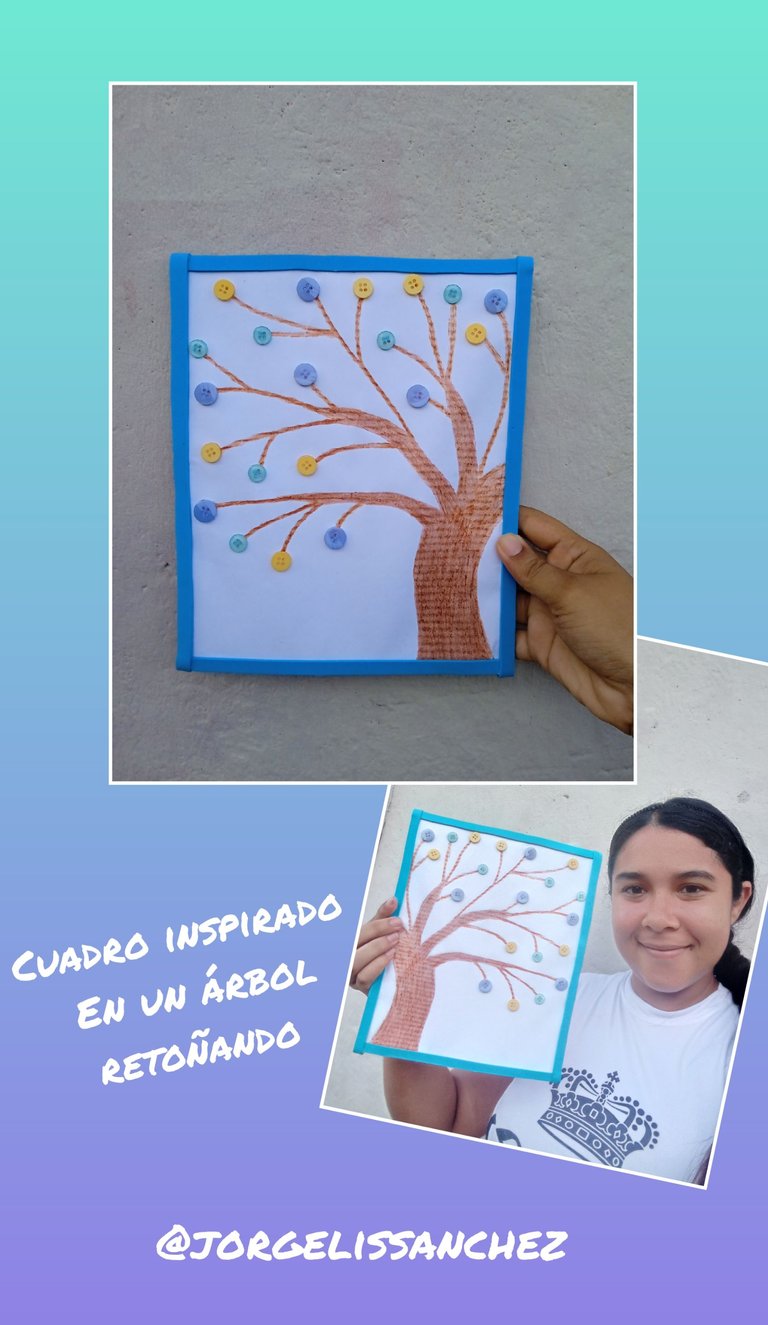
Cuadro inspirado en un árbol retoñando | Picture inspired by a tree sprouting
Hola a todos mis queridos y apreciados amigos de nuestra comunidad Hivediy,feliz noche para todos ,espero que se encuentren pasando un excelente fin de semana,hoy les quiero compartir un hermoso cuadro que realice inspirado en un árbol que se encuentra retoñando utilizando botones para decorar , ideal para decorar cualquier espacio de nuestro hogar u oficina,es una manualidad sencilla ,pero que servirá para decorar y que los niños también aprendan
Hello to all my dear and appreciated friends of our community Hivediy, happy evening to all, I hope you are having a great weekend, today I want to share a beautiful picture I made inspired by a tree that is sprouting using buttons to decorate, ideal for decorating any space in our home or office, is a simple craft, but that will serve to decorate and children also learn
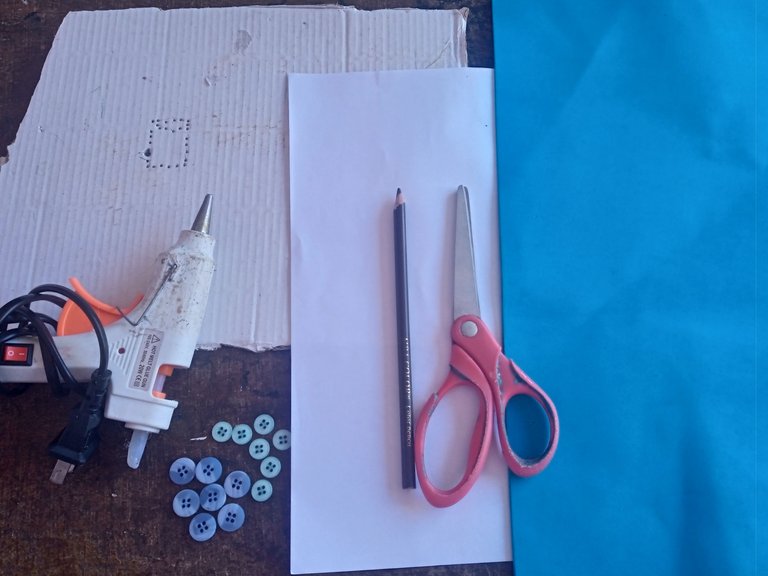
Materiales que utilicé:
-Carton
-Foamis
-Botones
-Silicon
-Tijera
-Hoja blanca
-Lapiz marrón
Materials I used:
-Carton
-Foamis
-Buttons
-Silicon
-Scissors
-White sheet
-Brown pencil
A continuación los pasos a seguir :
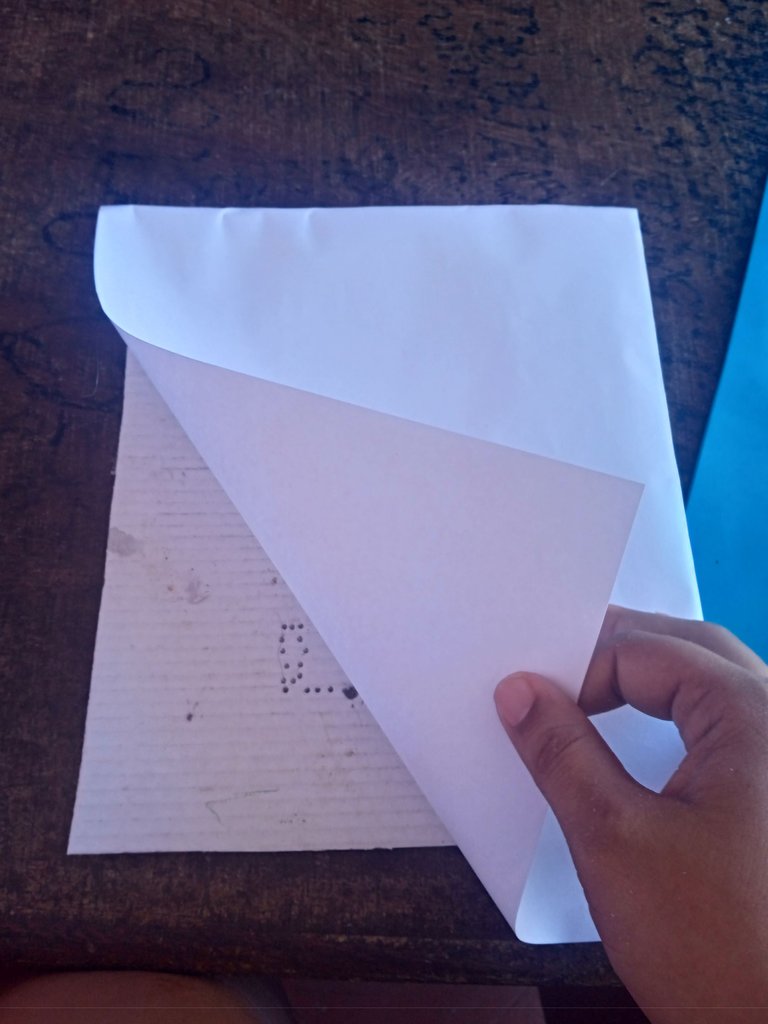
Iniciaremos colocando un fondo a nuestro cuadro o decorando , para ello utilice una hoja blanca como material, por todo el borde de el cuadro continúe añadiendo silicón y al mismo tiempo pegando nuestra hoja hasta cubrirlo todo , debemos estirar bien el papel de modo que no quede arrugado y podamos dibujar y trabajar cómodamente
Here are the steps to follow:
We will begin by placing a background to our picture or decorating , for this use a white sheet as material, around the edge of the picture continue adding silicone and at the same time sticking our sheet to cover everything , we must stretch the paper well so that it is not wrinkled and we can draw and work comfortably.
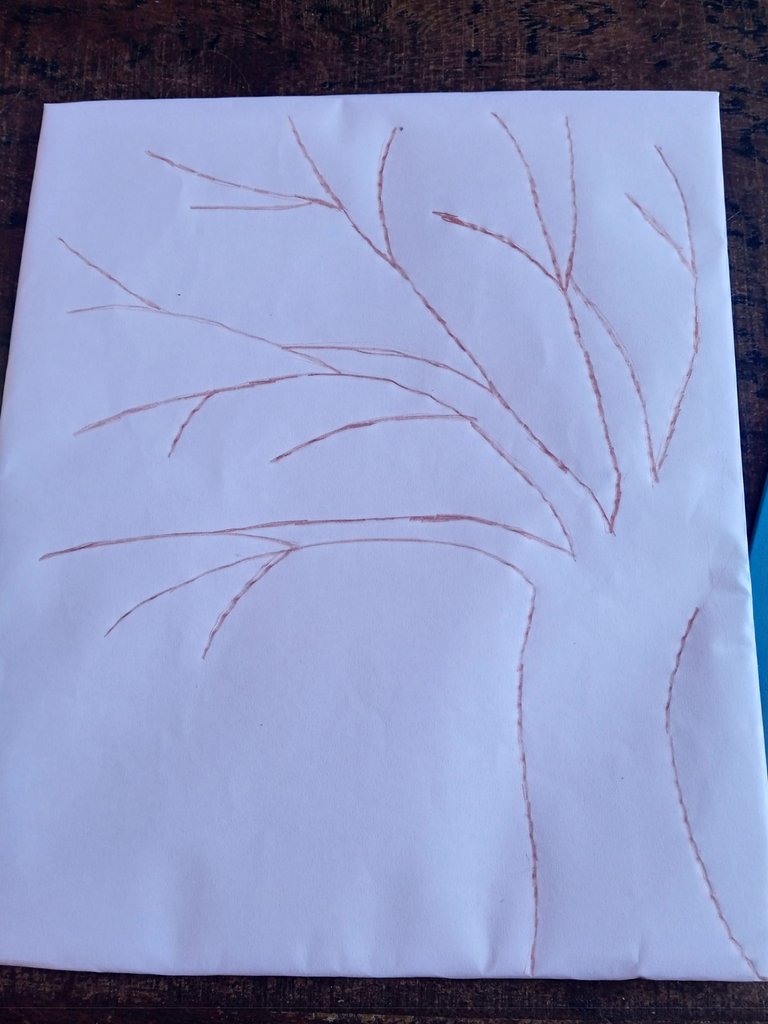
Una vez que tengamos nuestro cuadro forrado, vamos a continuar tomando nuestro lápiz color marrón y al mismo tiempo dibujando un árbol con sus ramas y que cada rama tenga sus ganchos adicionales, el árbol lo dibujaremos hacia un lado de nuestro cuadro ,también pueden optar por dibujar lo en el centro si así lo desean
Once we have our frame lined, we will continue taking our brown pencil and at the same time drawing a tree with its branches and that each branch has its additional hooks, we will draw the tree to one side of our frame, you can also choose to draw it in the center if you wish.
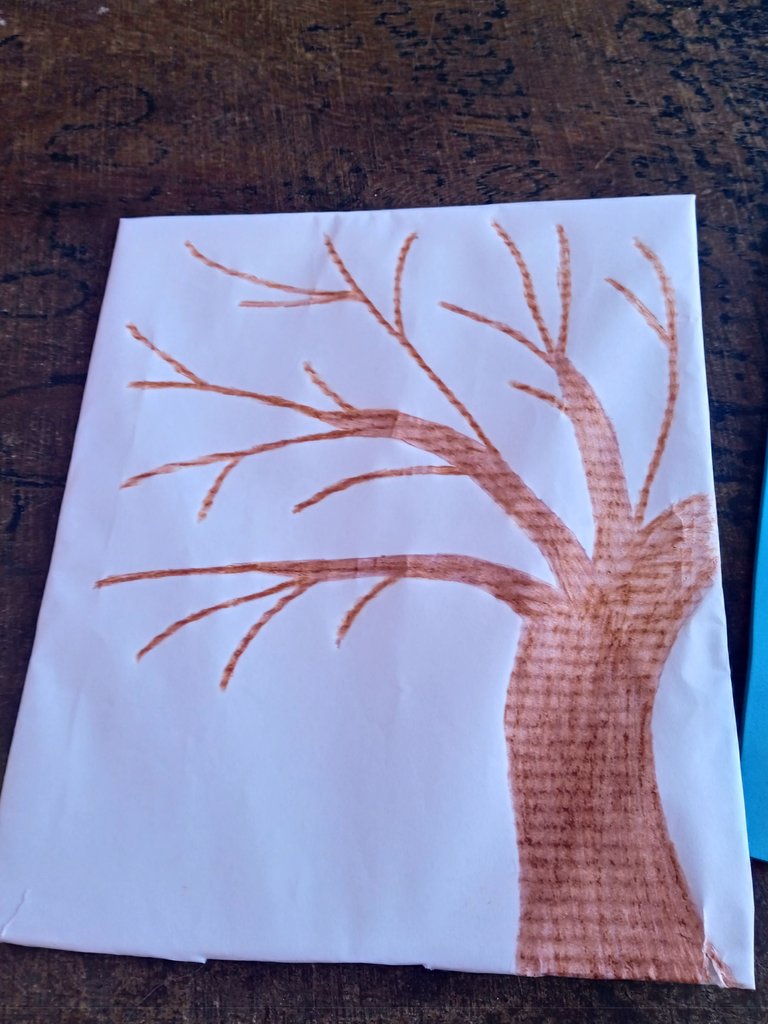
Luego en nuestro siguiente paso continuaremos añadiendo color a nuestro árbol , para eso utilizaremos el mismo lápiz color marrón ,rellenaremos el tronco y sus ganchos los resaltar emos
Then in our next step we will continue adding color to our tree, for that we will use the same brown pencil, we will fill in the trunk and its hooks to highlight them.
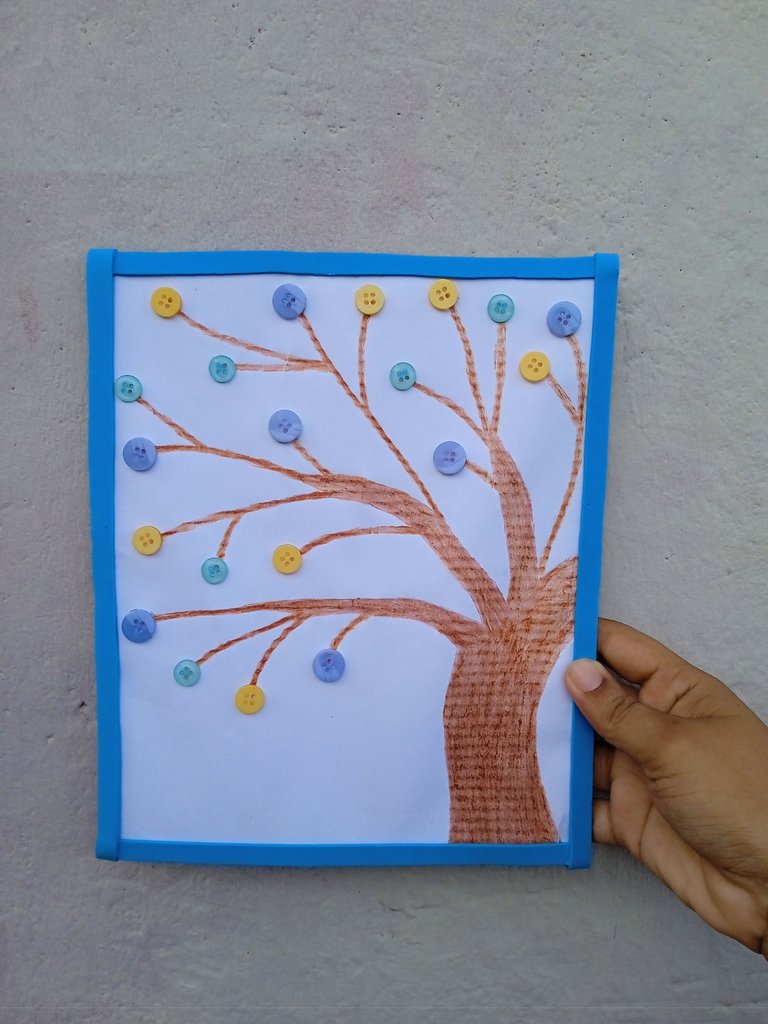
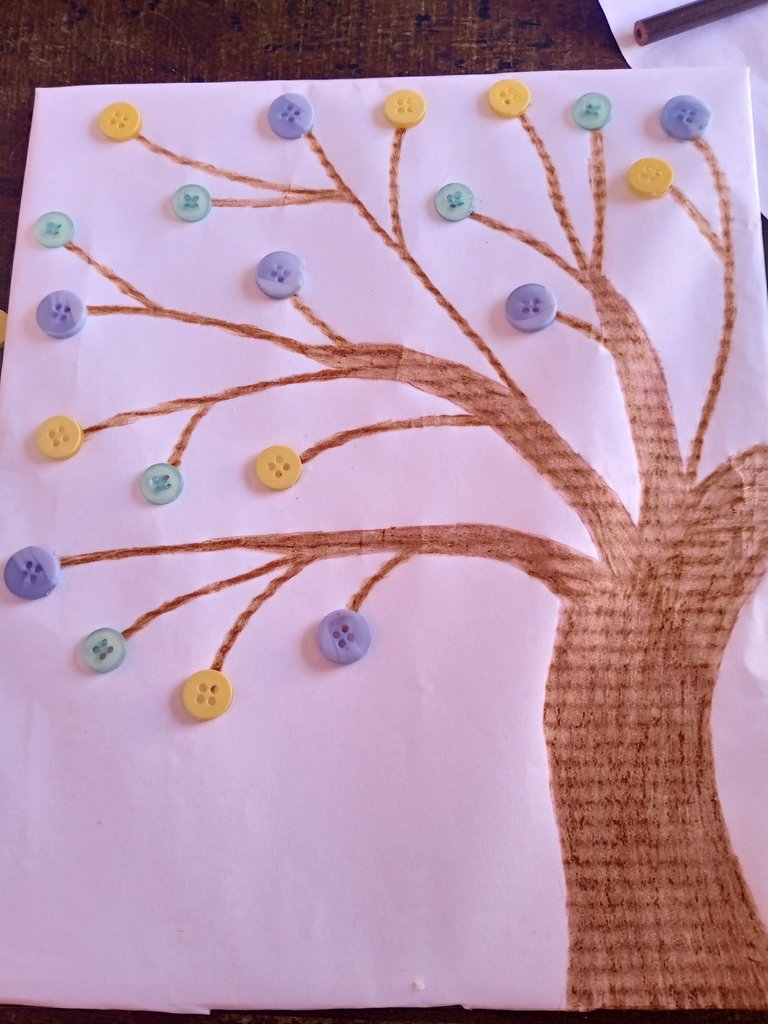
A continuación vamos a proceder realizando el retoño de nuestro árbol ,utilizaremos nuestros botones los cuales irán ubicados en las puntas de los ganchos de nuestro árbol ,ya que será un árbol que se encuentra retoñando ,opte por pegar botones amarillos por motivo que eran muy pocos los azules y también que estos combinarían a la perfección
Next we will proceed to make the sapling of our tree, we will use our buttons which will be located at the tips of the hooks of our tree, as it will be a tree that is sprouting, I chose to paste yellow buttons for the reason that there were very few blue ones and also that these would combine perfectly.
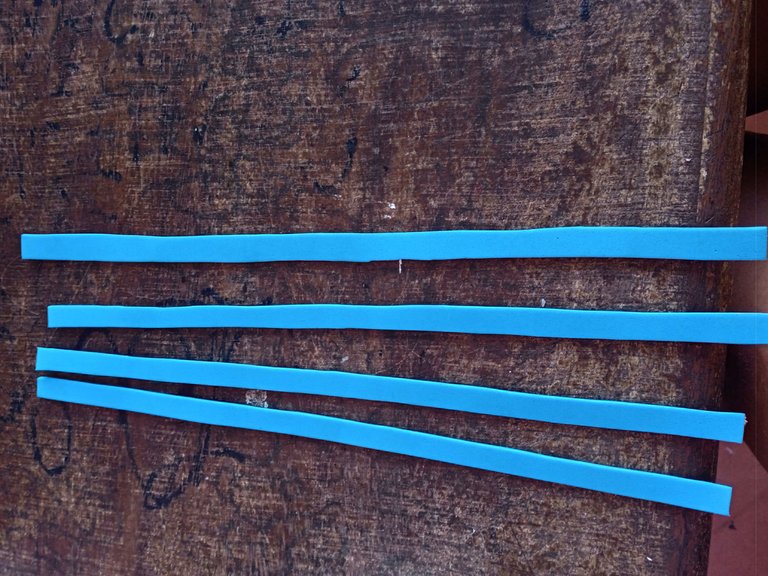
Luego continuamos recortando cuatro tiras de foamis para decorar el alrededor de nuestro cuadro y realizar sus bordes, las tiras deben tener la misma medida de nuestro cuadro de altura y el grosor será a nuestro gusto ,utilice un centímetro de ancho para mis tiras
Then we continue cutting four strips of foamis to decorate around our picture and make their edges, the strips must have the same measure of our picture height and thickness will be to our liking, use a centimeter wide for my strips.
Una vez que finalicemos de recortar nuestras tiras vamos a proceder a pegar cada tira a los lados de nuestro cuadro, es decir borde por borde ,realizando de esta manera nuestro paso final
Once we finish cutting our strips we will proceed to glue each strip to the sides of our picture, that is to say edge by edge, thus making our final step.
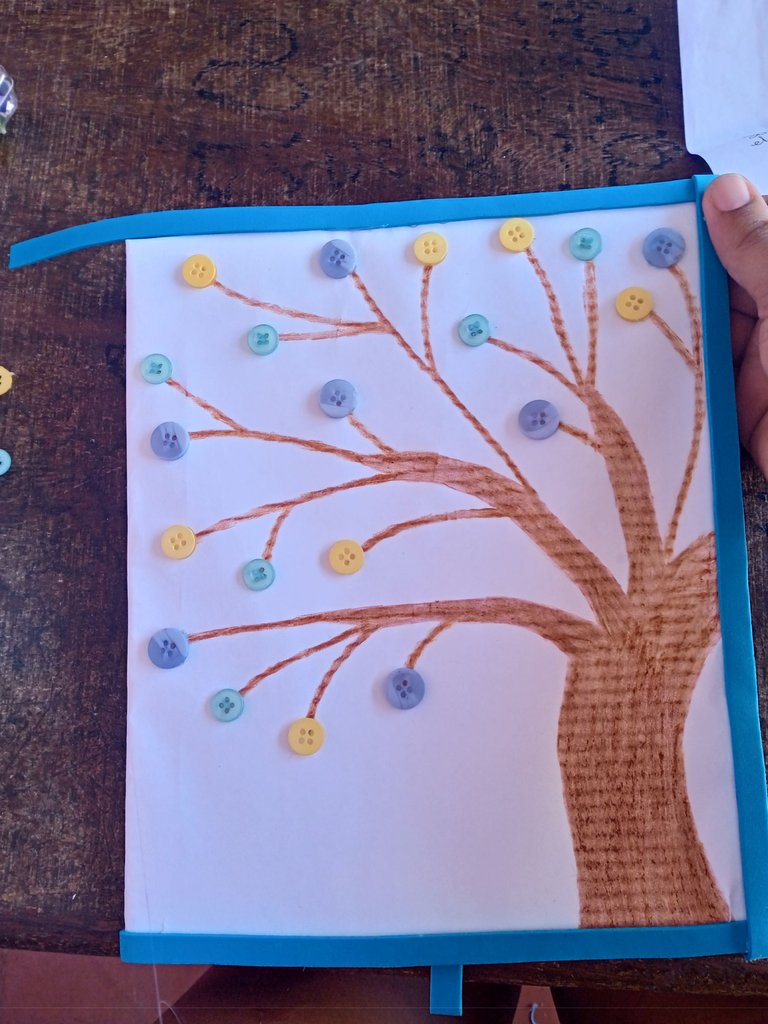
Este es el resultado final de mi hermoso cuadro como lo pueden apreciar inspirado en un árbol el cual se encuentra retoñando ,utilizando materiales faciles de conseguir desde nuestra comodidad ,y decorar nuestro hogar , las fotos las tomé con mi teléfono Redmi 9C y los textos los traduje con el traductor DeepL , que pasen feliz noche amigos
This is the final result of my beautiful picture as you can see inspired by a tree which is sprouting, using materials easy to get from our comfort, and decorate our home, the photos were taken with my phone Redmi 9C and the texts were translated with the translator DeepL, have a nice evening friends.
