Splinterlands Social Media Challenge / COASTAL NYMPH / FanArt
Arte Digital | Digital Art
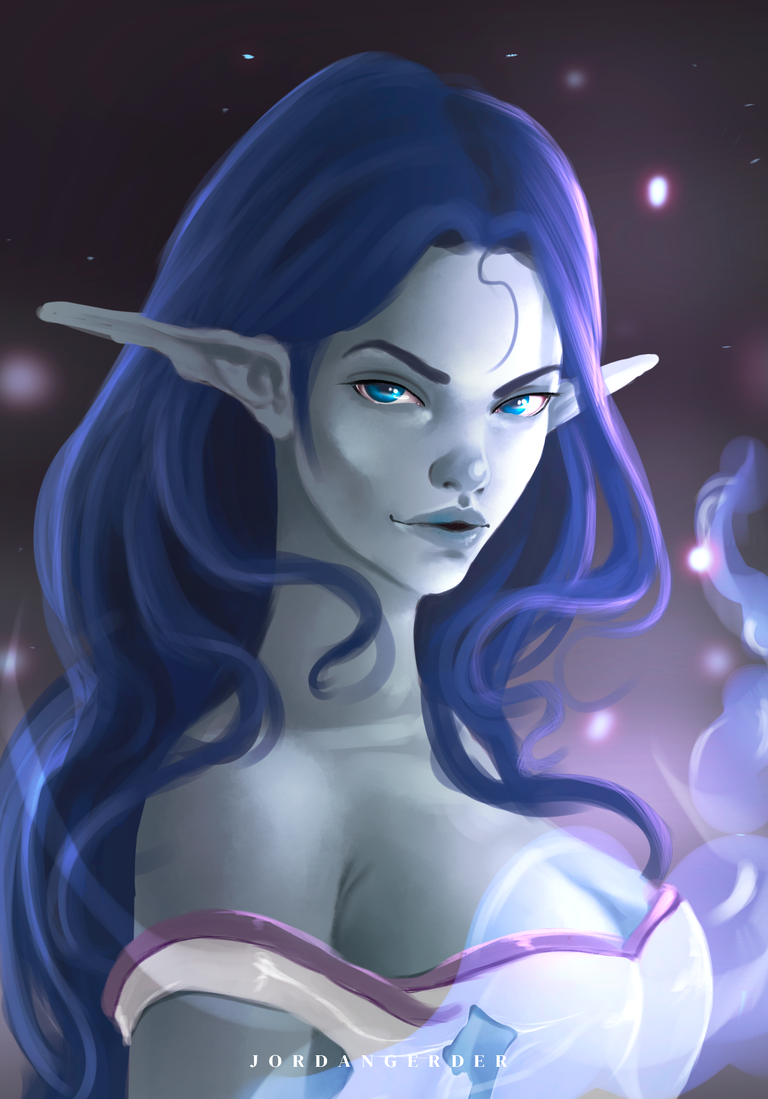
Hello people, how have you been? I have been somewhat missing 🙃, duty calls me but also my community that is why I always take a moment to create new art, on this occasion I present my entry for the social media Challenge of @splinterlands, a portrait of the beautiful coastal nymph, it was ideal For this entry, a face known to the entire community, sexy and powerful water nymph, I love these characters, I would never stop recreating them...
Let's see a little about the creation process, it's always good to see what's behind each art, join me⏩⏩⏩...
Materiales | Materials
- Desktop computer
- Tableta Huion H950P
- Programa Adobe Photoshop 2019
- Ordenador de mesa
- Huion H950P tablet
- Adobe Photoshop 2019 program
Proceso | Process
Paso 1
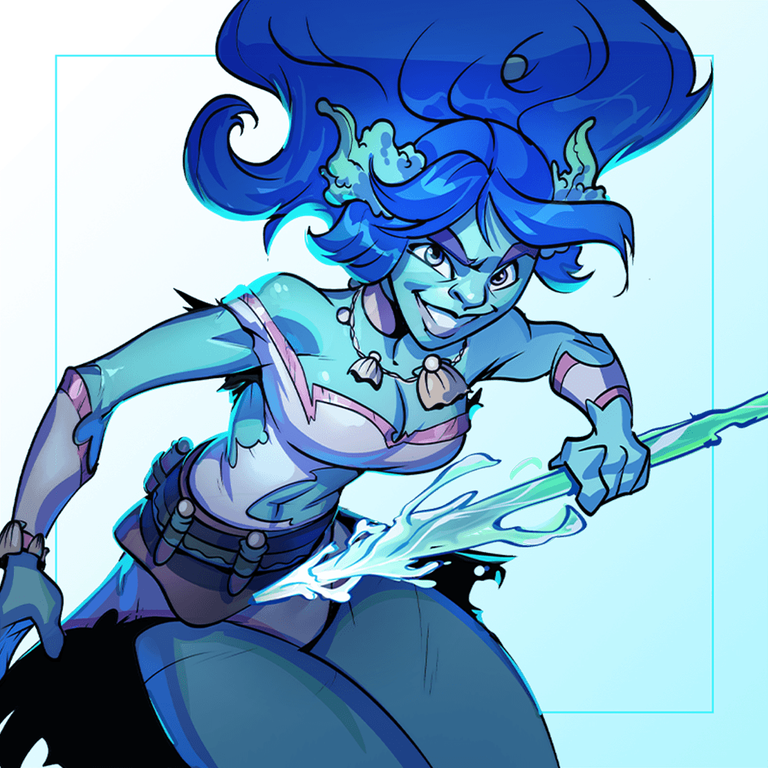
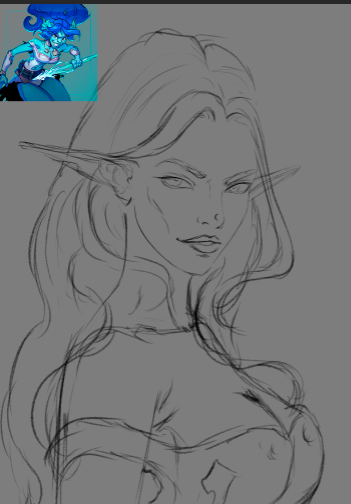
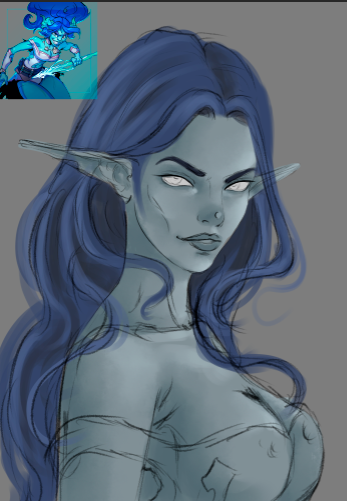
- Inciamos con un bosquejo de lo que sería el personaje agregué al personaje orginal en un extremo para captar todas las partes y no perder ningun detalle, asi es como resulta mas facil su creación:
Step 1
- We start with a sketch of what the character would be, I added the original character at one end to capture all the parts and not lose any details, this is how its creation is easier:
Paso 2
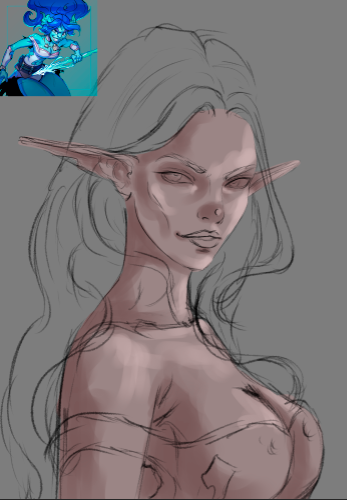
- Una ves que conseguimos un bosquejo mas claro, o donde se aprecie el personaje al cual agregaremos color, es momento de pasar a la siguiente etapa donde se seleccionan tres tonos de color no muy saturados para empezar a crear volumen en su piel:
Step 2
- Once we get a clearer sketch, or where we can see the character to which we will add color, it is time to move on to the next stage where three not very saturated color tones are selected to start creating volume in their skin:
Paso 3
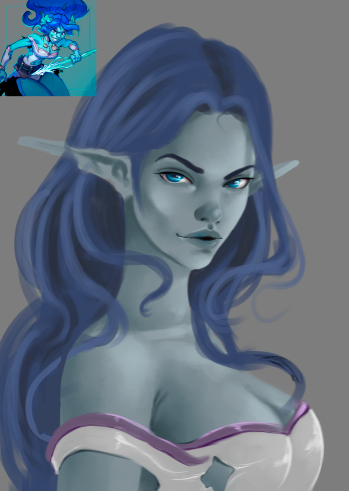
- Es momento de mezclar los parches de color que agregué anteriormente (este paso lo hago con la herramienta dedo), para luego suavizar un poco con un pincel difuso, y asi es como conseguimos una piel mas trabajada:
Step 3
- It's time to mix the color patches that I added previously (I do this step with the finger tool), and then soften a little with a diffuse brush, and this is how we get a more polished skin:
Paso 4
- Fui eliminando las líneas guias y me enfoqué en los detalles del rostro, sus labios y ojos serán quienes llamen la atención en este personaje, di forma en su cabello ondulado y trabajé en su vestuario, ya estaba lista para agregarle un fondo que se adapte...
Step 4
- I was eliminating the guide lines and focused on the details of the face, his lips and eyes will be the ones that draw attention to this character, I shaped his wavy hair and worked on his wardrobe, I was ready to add a background that suits him. ..

Paso final
- Para finalizar todo el proceso de creación agregué detalles finales como brillos, mas luces y ajustes totales de color.
Final step
- To finalize the entire creation process, I added final details such as highlights, more highlights and total color adjustments.
We got an incredible result, I really enjoyed the creation process. I hope you liked it, I have elaborated it with love for all the viewers who visit this publication, see you in the next one 😍
𝑮𝒓𝒂𝒄𝒊𝒂𝒔 𝒑𝒐𝒓 𝒗𝒊𝒔𝒊𝒕𝒂𝒓 𝒎𝒊 𝒃𝒍𝒐𝒈, 𝒂𝒑𝒓𝒆𝒄𝒊𝒐 𝒎𝒖𝒄𝒉𝒐 𝒕𝒖 𝒂𝒑𝒐𝒚𝒐 / 𝑻𝒉𝒂𝒏𝒌 𝒚𝒐𝒖 𝒇𝒐𝒓 𝒗𝒊𝒔𝒊𝒕𝒊𝒏𝒈 𝒎𝒚 𝒃𝒍𝒐𝒈, 𝑰 𝒓𝒆𝒂𝒍𝒍𝒚 𝒂𝒑𝒑𝒓𝒆𝒄𝒊𝒂𝒕𝒆 𝒚𝒐𝒖𝒓 𝒔𝒖𝒑𝒑𝒐𝒓𝒕.
TWITTER ⚪ NFT SHOWROOM ⚪ INSTAGRAM ⚪ DISCORD



Congratulations @jordangerder! You have completed the following achievement on the Hive blockchain And have been rewarded with New badge(s)
Your next target is to reach 1300 posts.
Your next target is to reach 5000 comments.
Your next target is to reach 5250 replies.
You can view your badges on your board and compare yourself to others in the Ranking
If you no longer want to receive notifications, reply to this comment with the word
STOPCheck out our last posts:
Checkout our BDVoter Daily Hive Showcase & Participate into our Daily giveaway to win various prize.
Thanks for sharing! - @alokkumar121
