Illustration: Third Eye
Arte Digital | Digital Art
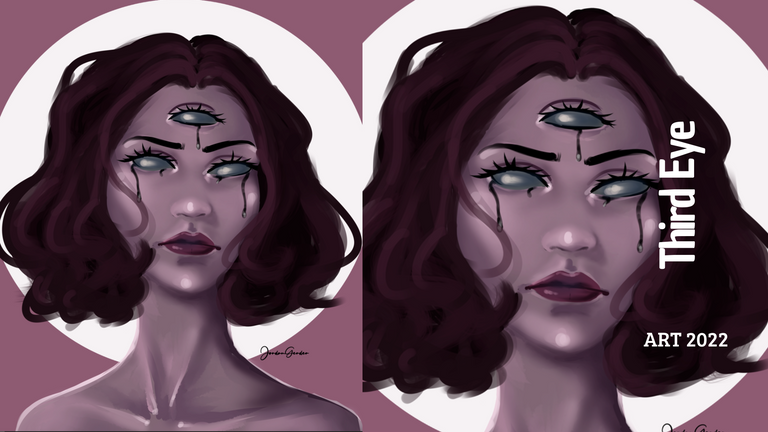
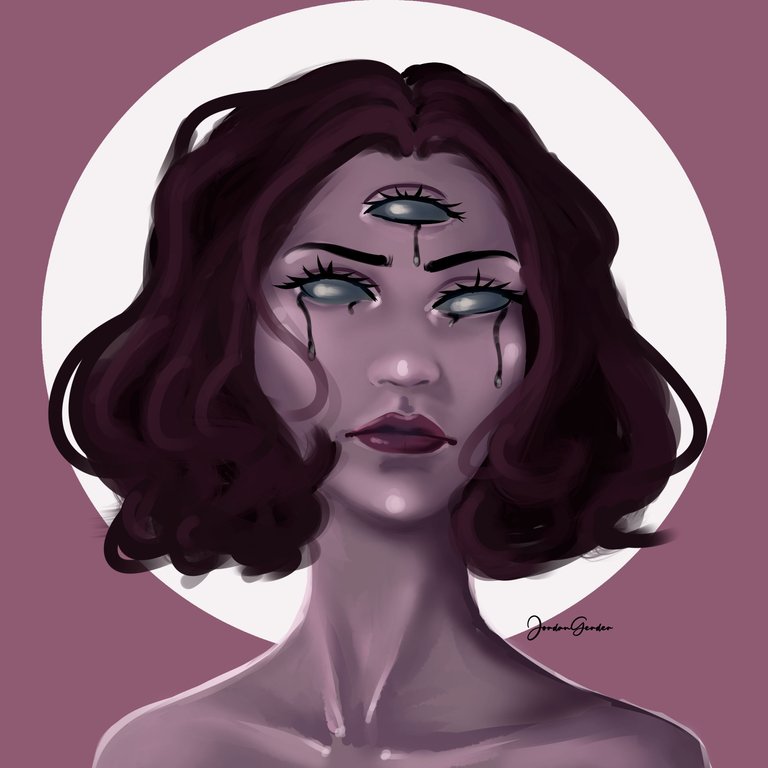
Saludos querida comunidad, presento un nuevo trabajo digital, hace tiempo que no dibujaba inspirado en la fantasia, y hoy quise hacer un post especial, de un personaje con un brote, su tercer ojo, en esta ilustracion quise resaltar mucho los brillos del rotro da otra vista total a todo el rostro, esto me ha encantado...
Greetings dear community, I present a new digital work, it's been a long time since I drew inspired by fantasy, and today I wanted to make a special post, of a character with a bud, his third eye, in this illustration I wanted to highlight a lot the brightness of the da face Another total view of the whole face, I loved this...
¡Espero te guste! | I hope you like!
Presentación del diseño | Desing presentación
Materiales | Materials
- Mini laptop
- Tableta Huion H950P
- Programa Adobe Photoshop 2019
- Mini laptop
- Huion H950P tablet
- Adobe Photoshop 2019 program

Proceso | Process
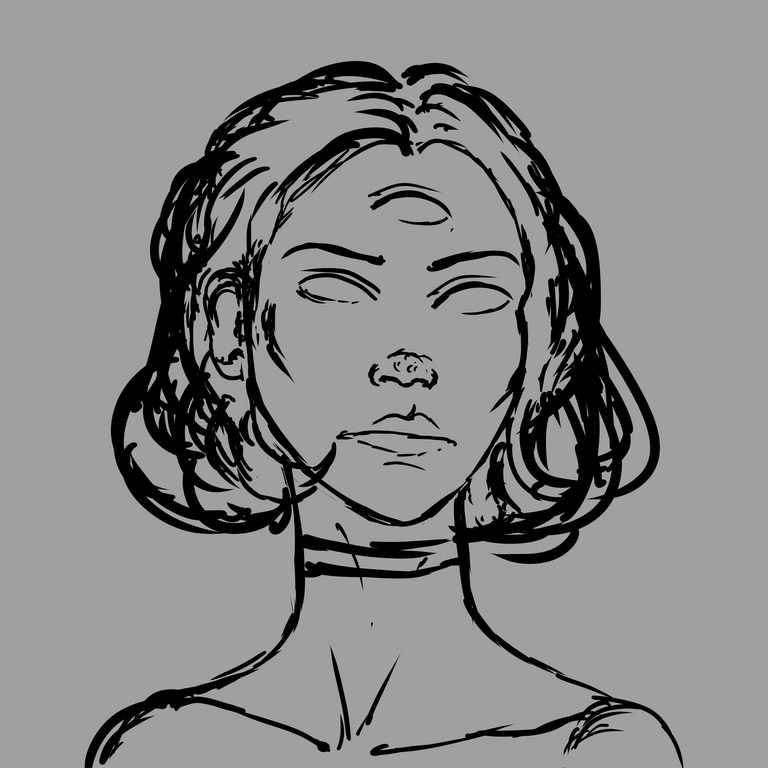
Primer paso: El boceto, es donde creamos la mayor parte de lo que queremos, despues tener lineas entendibles, continuamos al segundo paso:
First step: The sketch is where we create most of what we want, after having understandable lines, we continue to the second step:
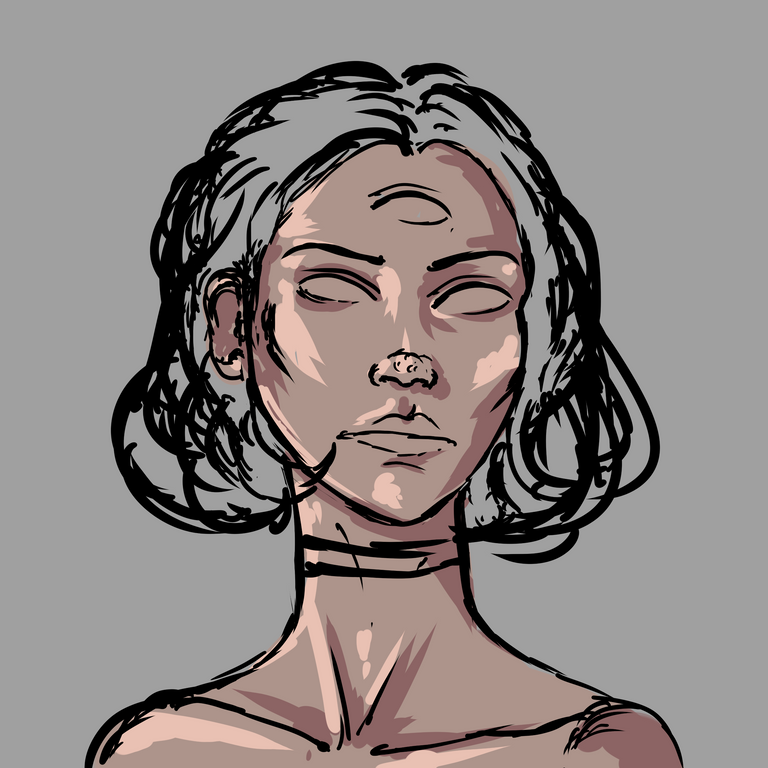
Segundo paso: colores base, Selecionamos algunas tonalidades un tono medio y adicional a este uno oscuro partiendo de la base y un claro partiendo de la misma base escogida anteriormente, y una tonalidad saturada para que sea mejor trabajada al piel al momento de mezclar las tonalidades.
Para este paso uso un pincel difuso, resulta mejor al momento de mezclar el color:
Second step: base colors, we select some shades a medium tone and in addition to this a dark one starting from the base and a light one starting from the same base chosen previously, and a saturated shade so that it is better worked to the skin when mixing the shades .
For this step I use a diffuse brush, it is better when mixing the color:
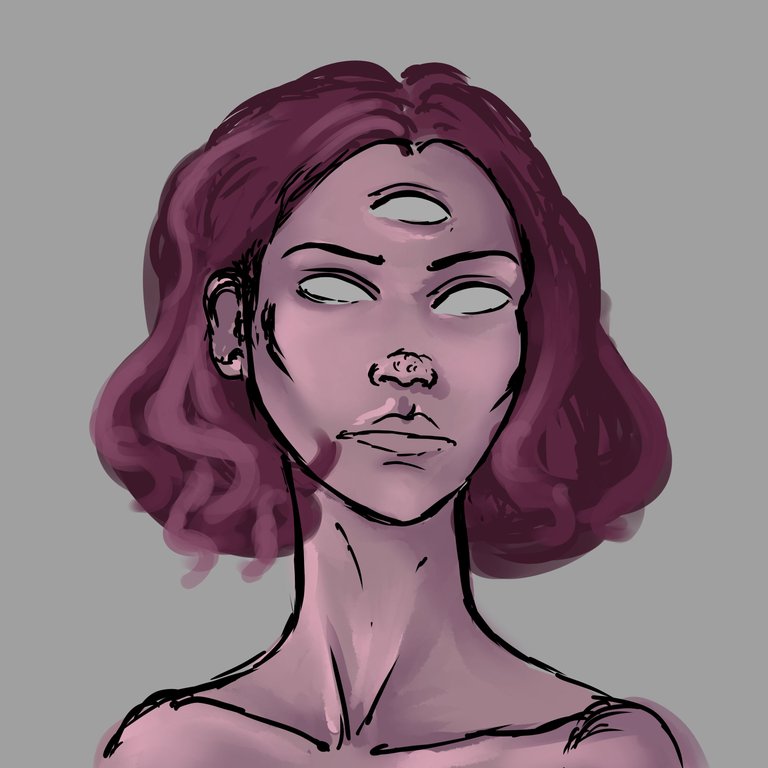
Tercer paso: una vez mezclamos todo el color de la piel es momento de detallar las otras partes de la ilustracion, en este paso quise aislarlo mas a lo fantasia y cambie los colores iniciales:
Third step: once we mix all the color of the skin it is time to detail the other parts of the illustration, in this step I wanted to isolate it more to the fantasy and change the initial colors:
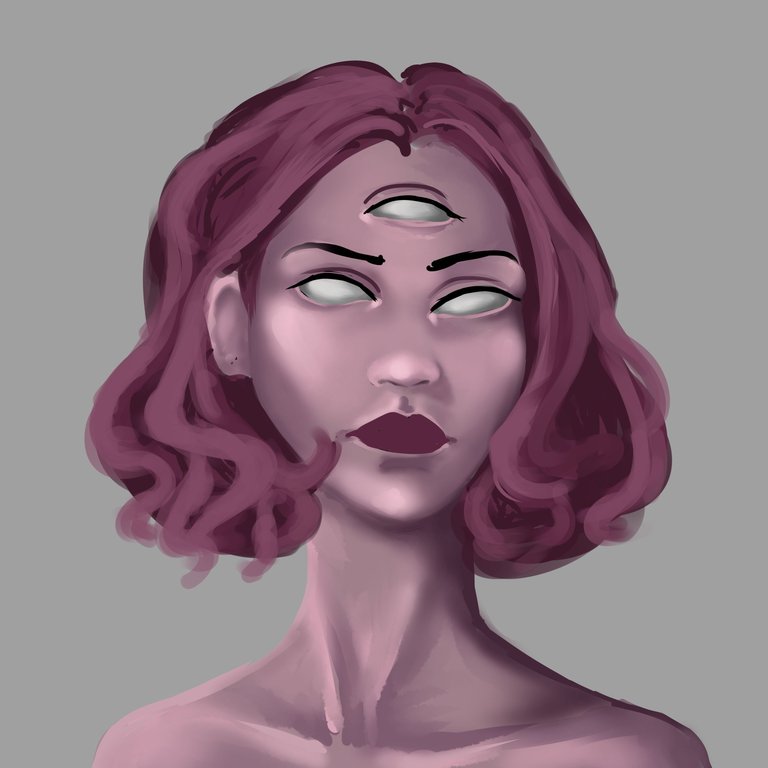
Paso cuatro: en este paso ya empece a eliminar las lineas negras del bocetoy a dar volumen al rostro y ojos:
Step four: in this step I already began to eliminate the black lines of the sketch and to give volume to the face and eyes:
Ajusté detalles finales y así obtuve el fino resultado:
I adjusted final details and that was how I obtained the fine result
Espero te haya gustado lo he elaborado con cariño para ustedes, nos vemos en la próxima 😍
I hope you liked it, I have elaborated it with love for you, see you next time 😍
¿Cómo pintar la piel en Photoshop? (piel difusa) | How to paint skin in Photoshop? (fuzzy skin)

Presentación del diseño | Desing presentación

Materiales | Materials
- Mini laptop
- Tableta Huion H950P
- Programa Adobe Photoshop 2019
- Mini laptop
- Huion H950P tablet
- Adobe Photoshop 2019 program

Proceso | Process
Primer paso: El boceto, es donde creamos la mayor parte de lo que queremos, despues tener lineas entendibles, continuamos al segundo paso:
First step: The sketch is where we create most of what we want, after having understandable lines, we continue to the second step:

Segundo paso: colores base, Selecionamos algunas tonalidades un tono medio y adicional a este uno oscuro partiendo de la base y un claro partiendo de la misma base escogida anteriormente, y una tonalidad saturada para que sea mejor trabajada al piel al momento de mezclar las tonalidades.
Para este paso uso un pincel difuso, resulta mejor al momento de mezclar el color:
Second step: base colors, we select some shades a medium tone and in addition to this a dark one starting from the base and a light one starting from the same base chosen previously, and a saturated shade so that it is better worked to the skin when mixing the shades .
For this step I use a diffuse brush, it is better when mixing the color:

Tercer paso: una vez mezclamos todo el color de la piel es momento de detallar las otras partes de la ilustracion, en este paso quise aislarlo mas a lo fantasia y cambie los colores iniciales:
Third step: once we mix all the color of the skin it is time to detail the other parts of the illustration, in this step I wanted to isolate it more to the fantasy and change the initial colors:

Paso cuatro: en este paso ya empece a eliminar las lineas negras del bocetoy a dar volumen al rostro y ojos:
Step four: in this step I already began to eliminate the black lines of the sketch and to give volume to the face and eyes:

Ajusté detalles finales y así obtuve el fino resultado:
I adjusted final details and that was how I obtained the fine result

Espero te haya gustado lo he elaborado con cariño para ustedes, nos vemos en la próxima 😍
I hope you liked it, I have elaborated it with love for you, see you next time 😍
¿Cómo pintar la piel en Photoshop? (piel difusa) | How to paint skin in Photoshop? (fuzzy skin)

0
0
0.000
Congratulations @jordangerder! You have completed the following achievement on the Hive blockchain and have been rewarded with new badge(s):
Your next payout target is 12000 HP.
The unit is Hive Power equivalent because post and comment rewards can be split into HP and HBD
You can view your badges on your board and compare yourself to others in the Ranking
If you no longer want to receive notifications, reply to this comment with the word
STOPTo support your work, I also upvoted your post!
Check out the last post from @hivebuzz:
Support the HiveBuzz project. Vote for our proposal!
¡Felicidades! Esta publicación obtuvo upvote y fue compartido por @la-colmena, un proyecto de Curación Manual para la comunidad hispana de Hive que cuenta con el respaldo de @curie.
Si te gusta el trabajo que hacemos, te invitamos a darle tu voto a este comentario y a votar como testigo por Curie.
Si quieres saber más sobre nuestro proyecto, acompáñanos en Discord: La Colmena.